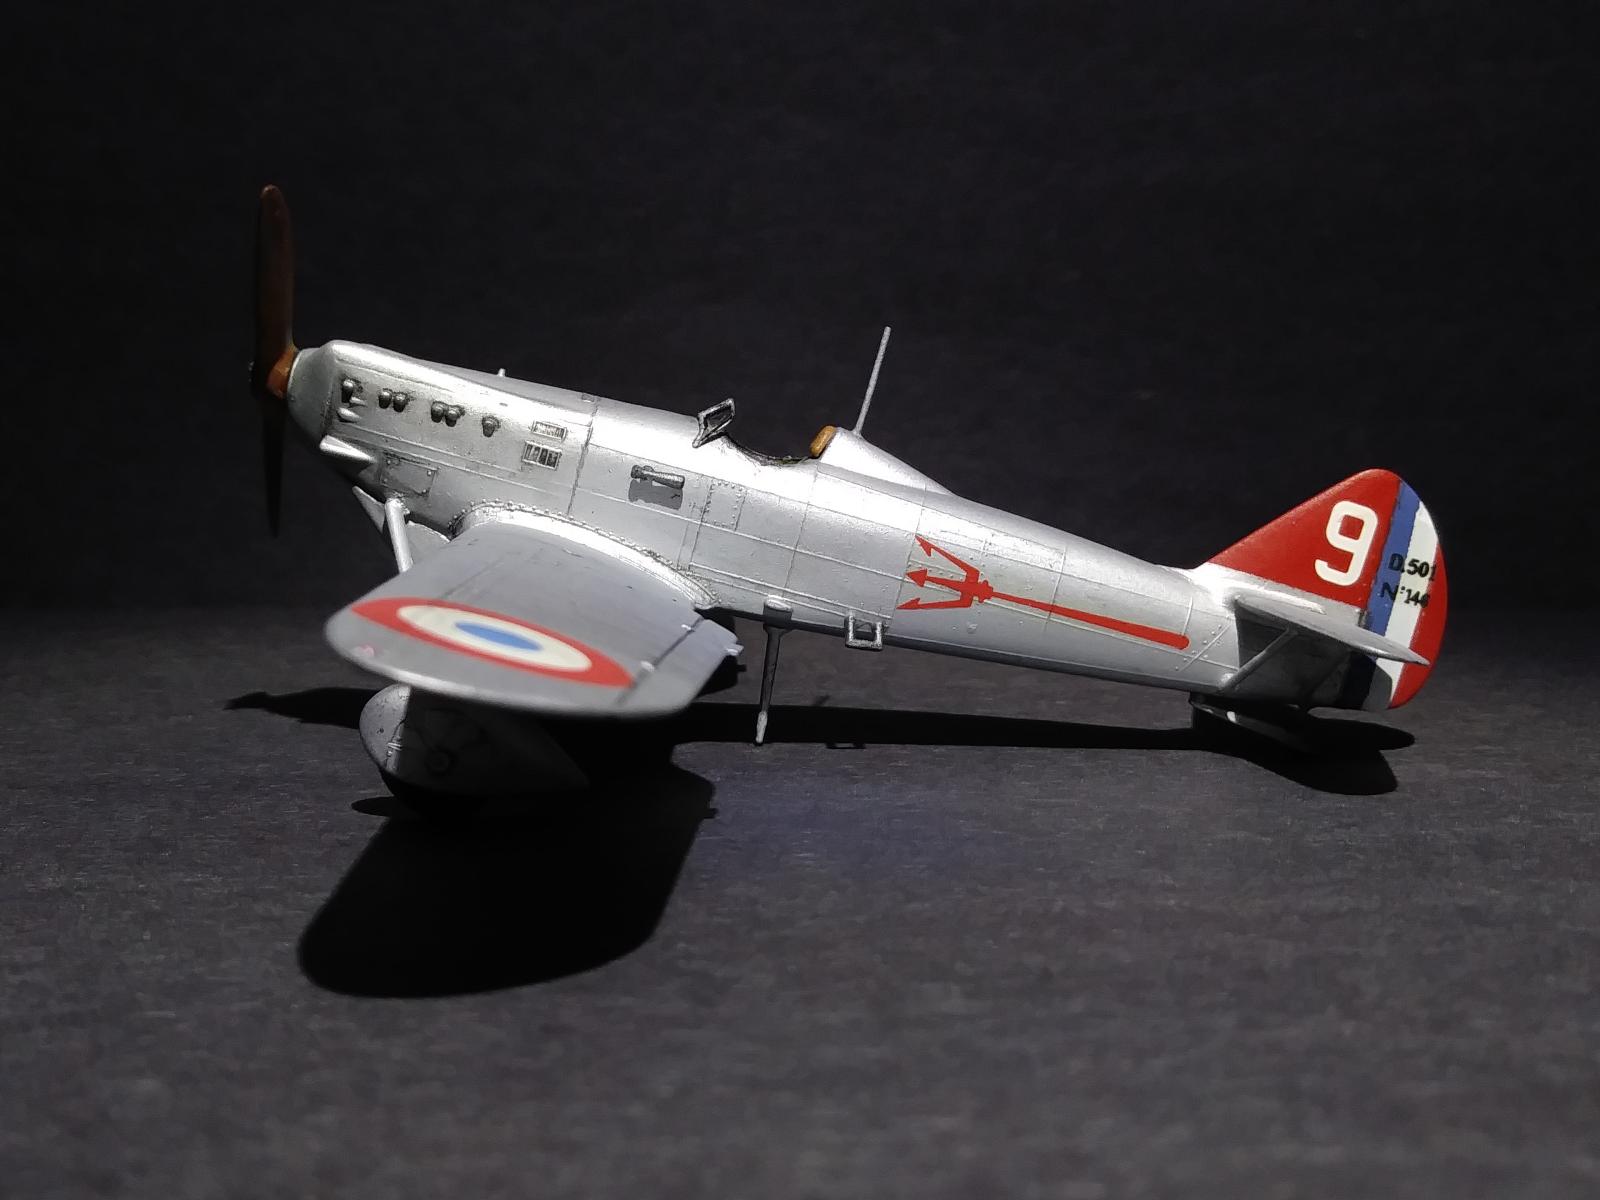
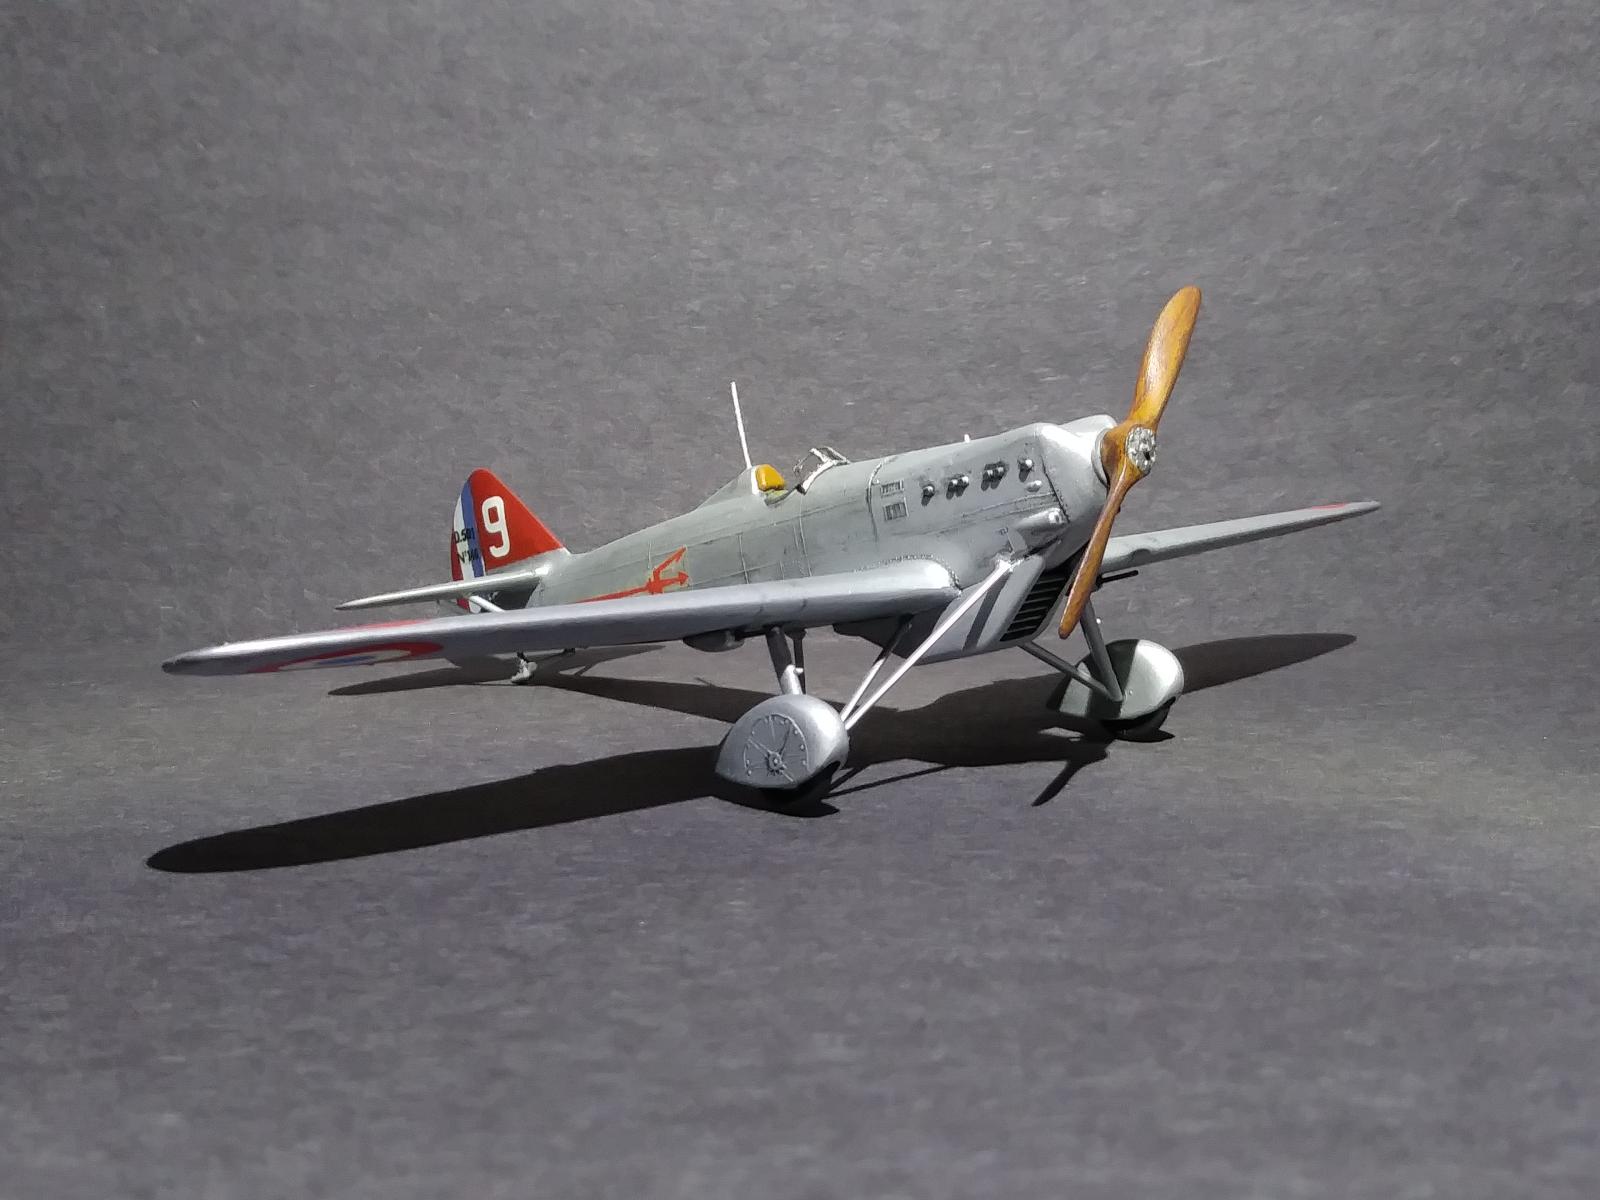
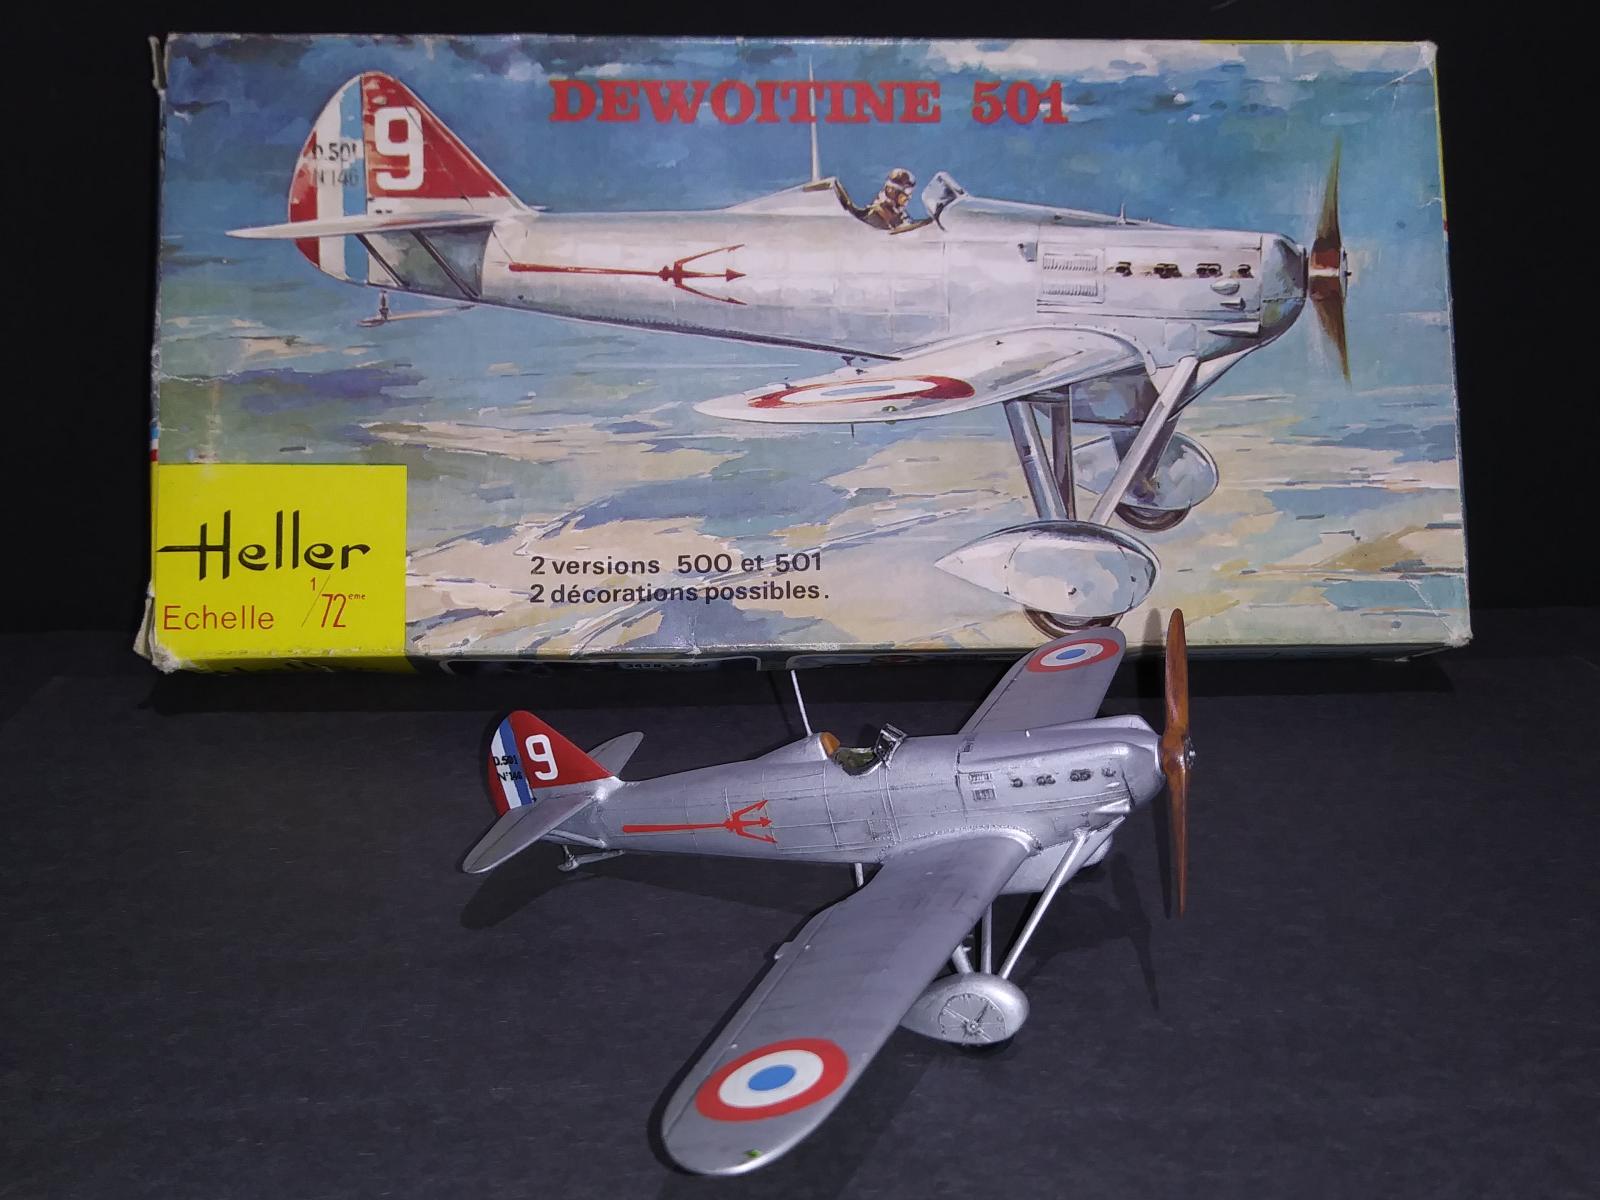
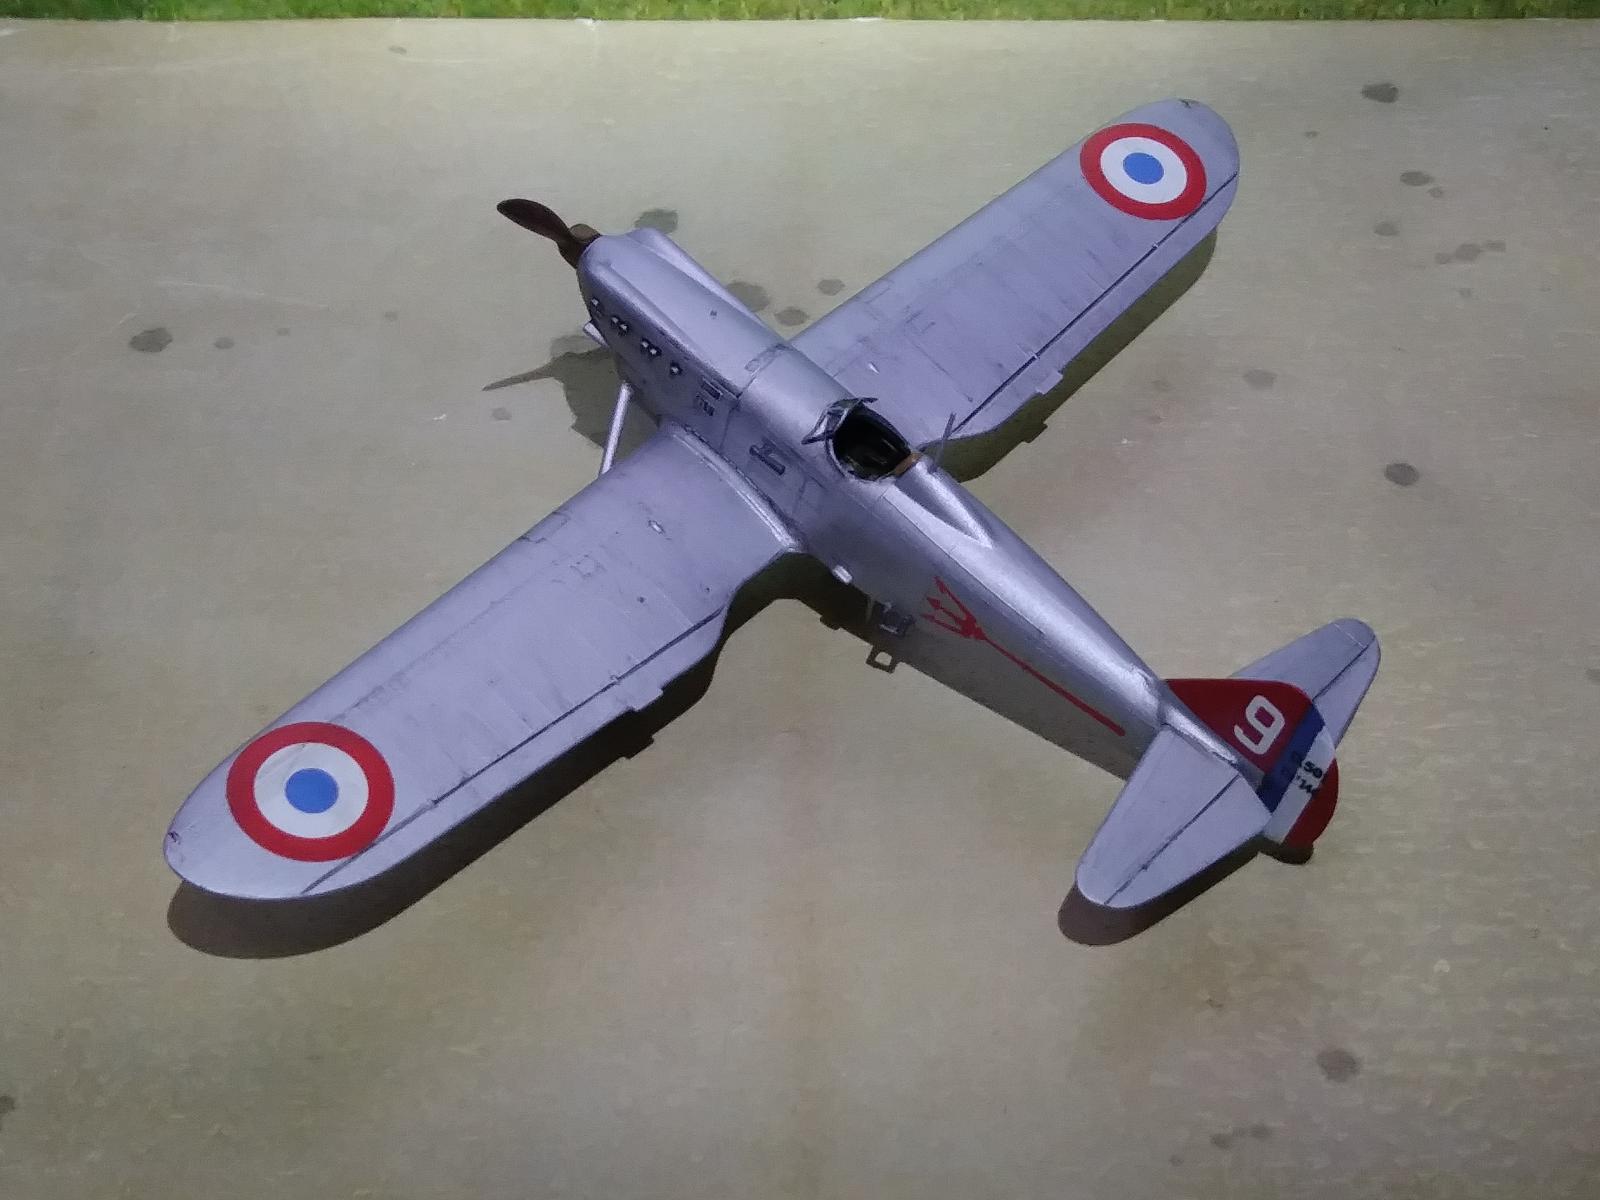
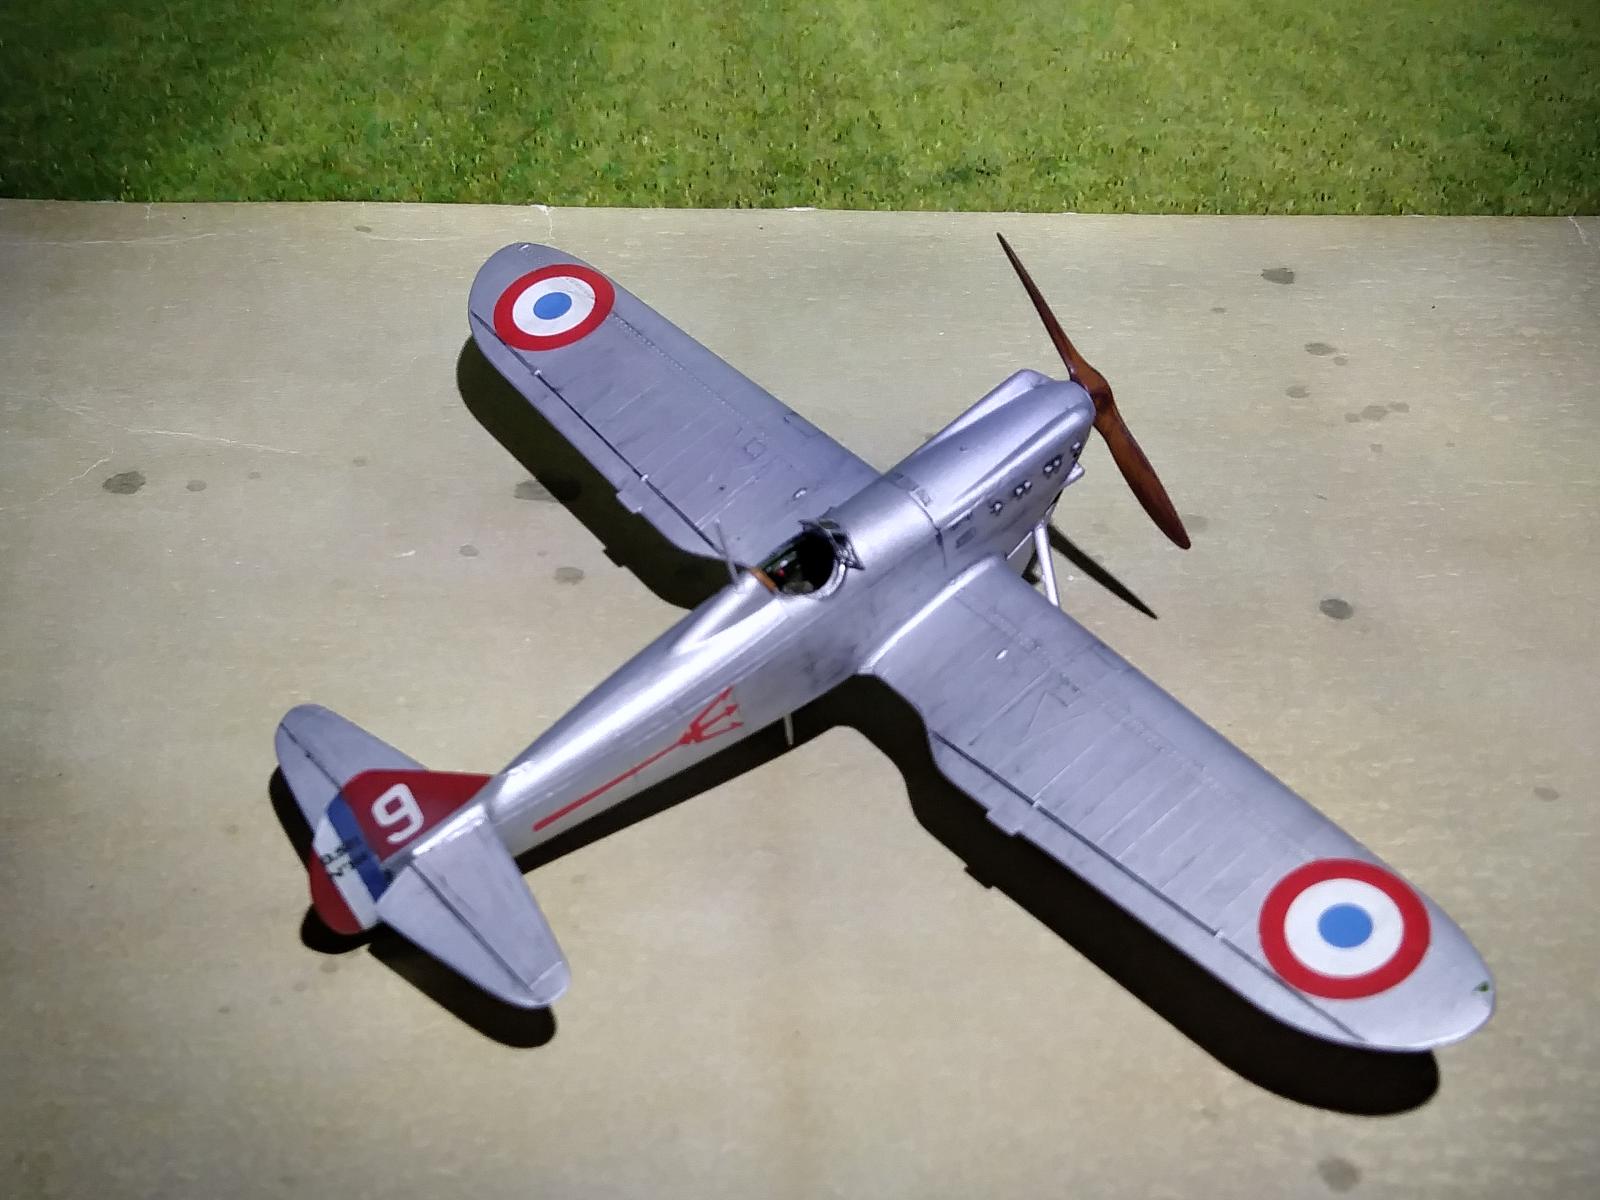
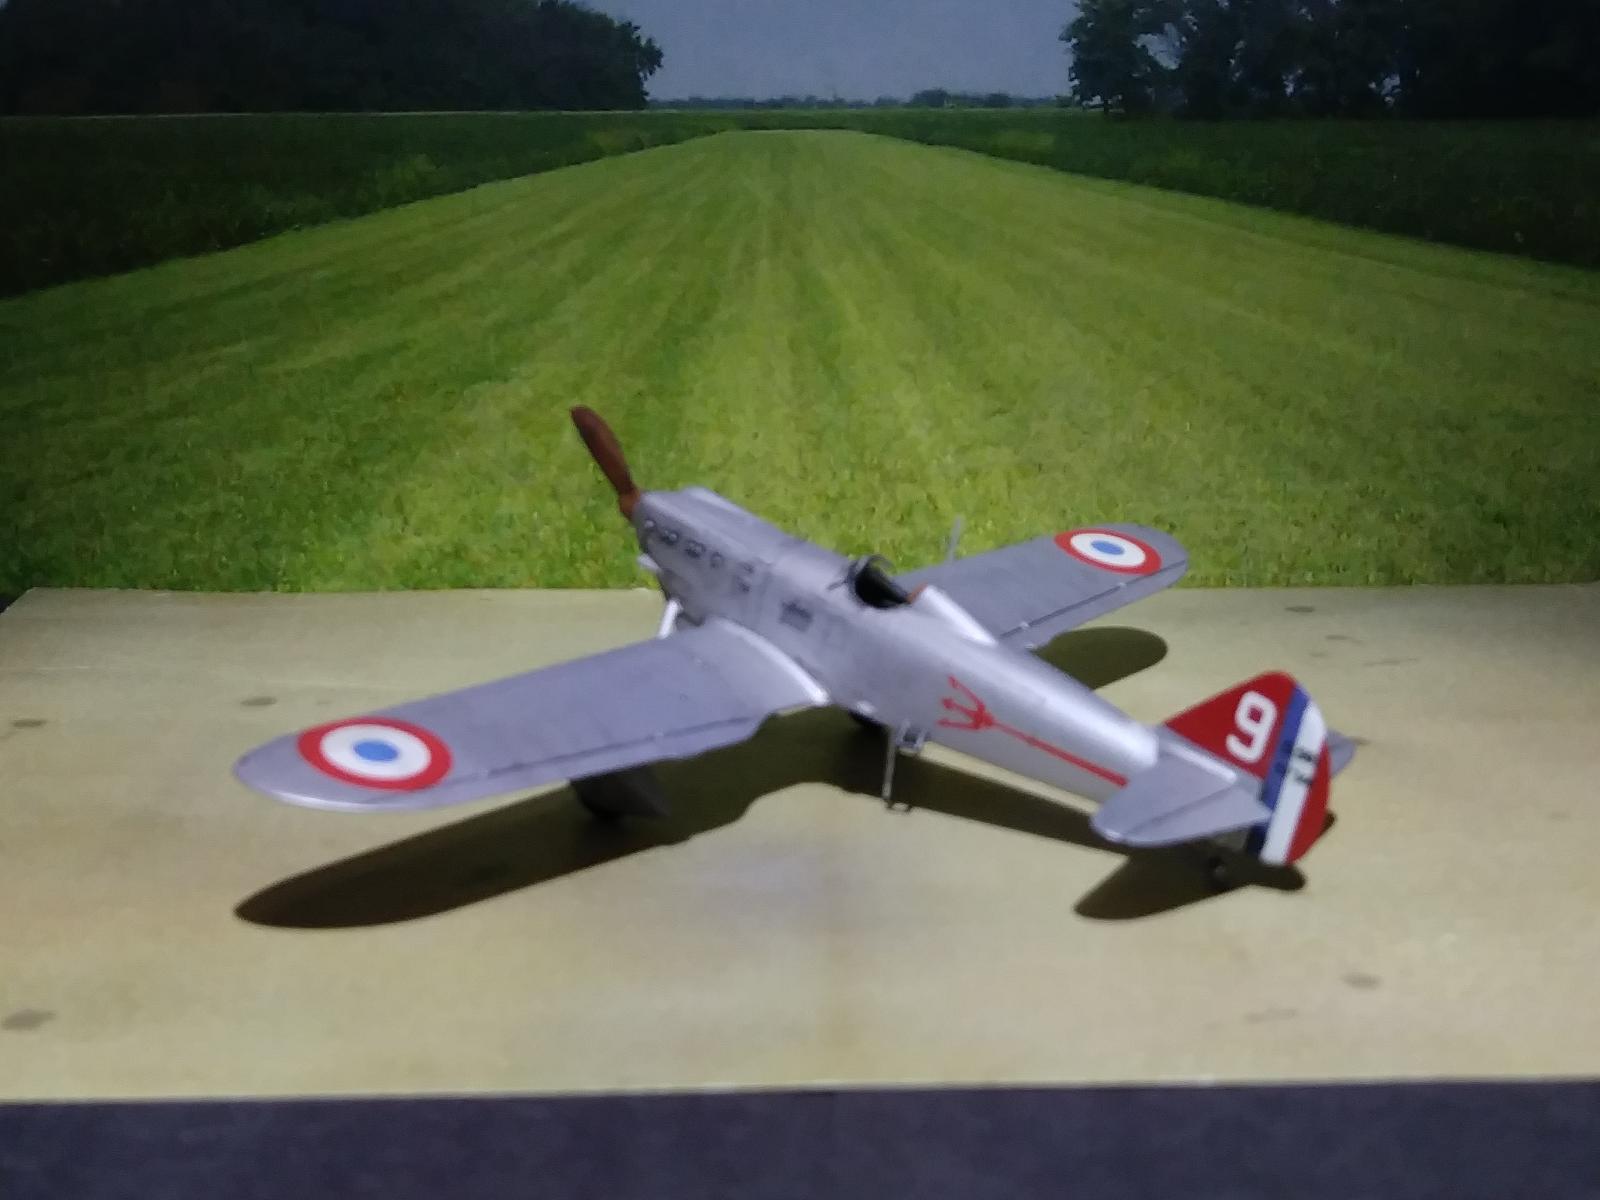
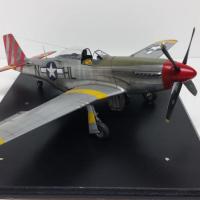
Heller's 1/72 Dewoitine D.501
I decided to build something different and went with an interwar French fighter plane from the 30's. A monoplane with fixed gears and an inline engine. First released as the D.500, then D.501 and later the D.510. They were obsolete by the time WWII started but so were most of the other nations' fighters from the early 30's. Dewoitine would use what was learned from this series and would develop the D.520.
The D.500/501/510 would see service with the:
- French Air force and Navy
- Spain during the Civil War
- Republic of China Air Force
Other exports:
- D.500V built for Venezuela - 3 built.
- D.501L built for Lithuania - 14 built.
Britain, Russia and Japan evaluated them but did not put in orders.
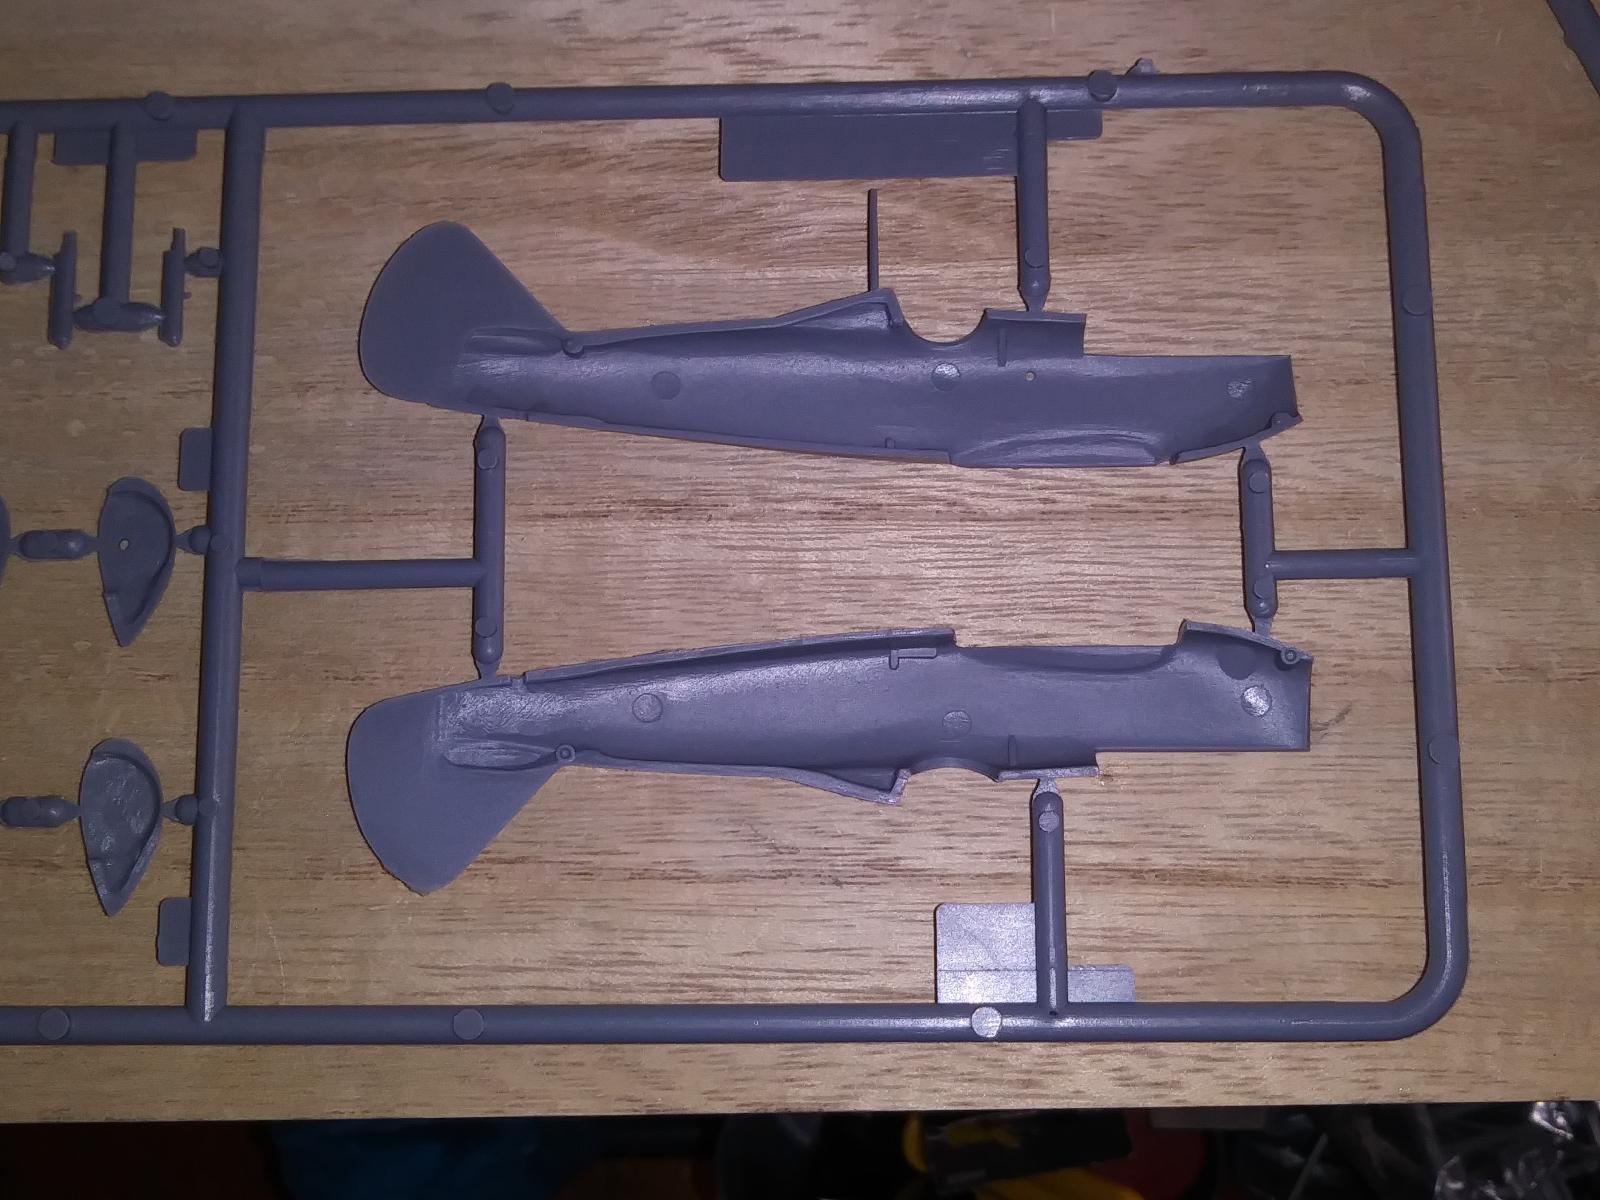
The Build
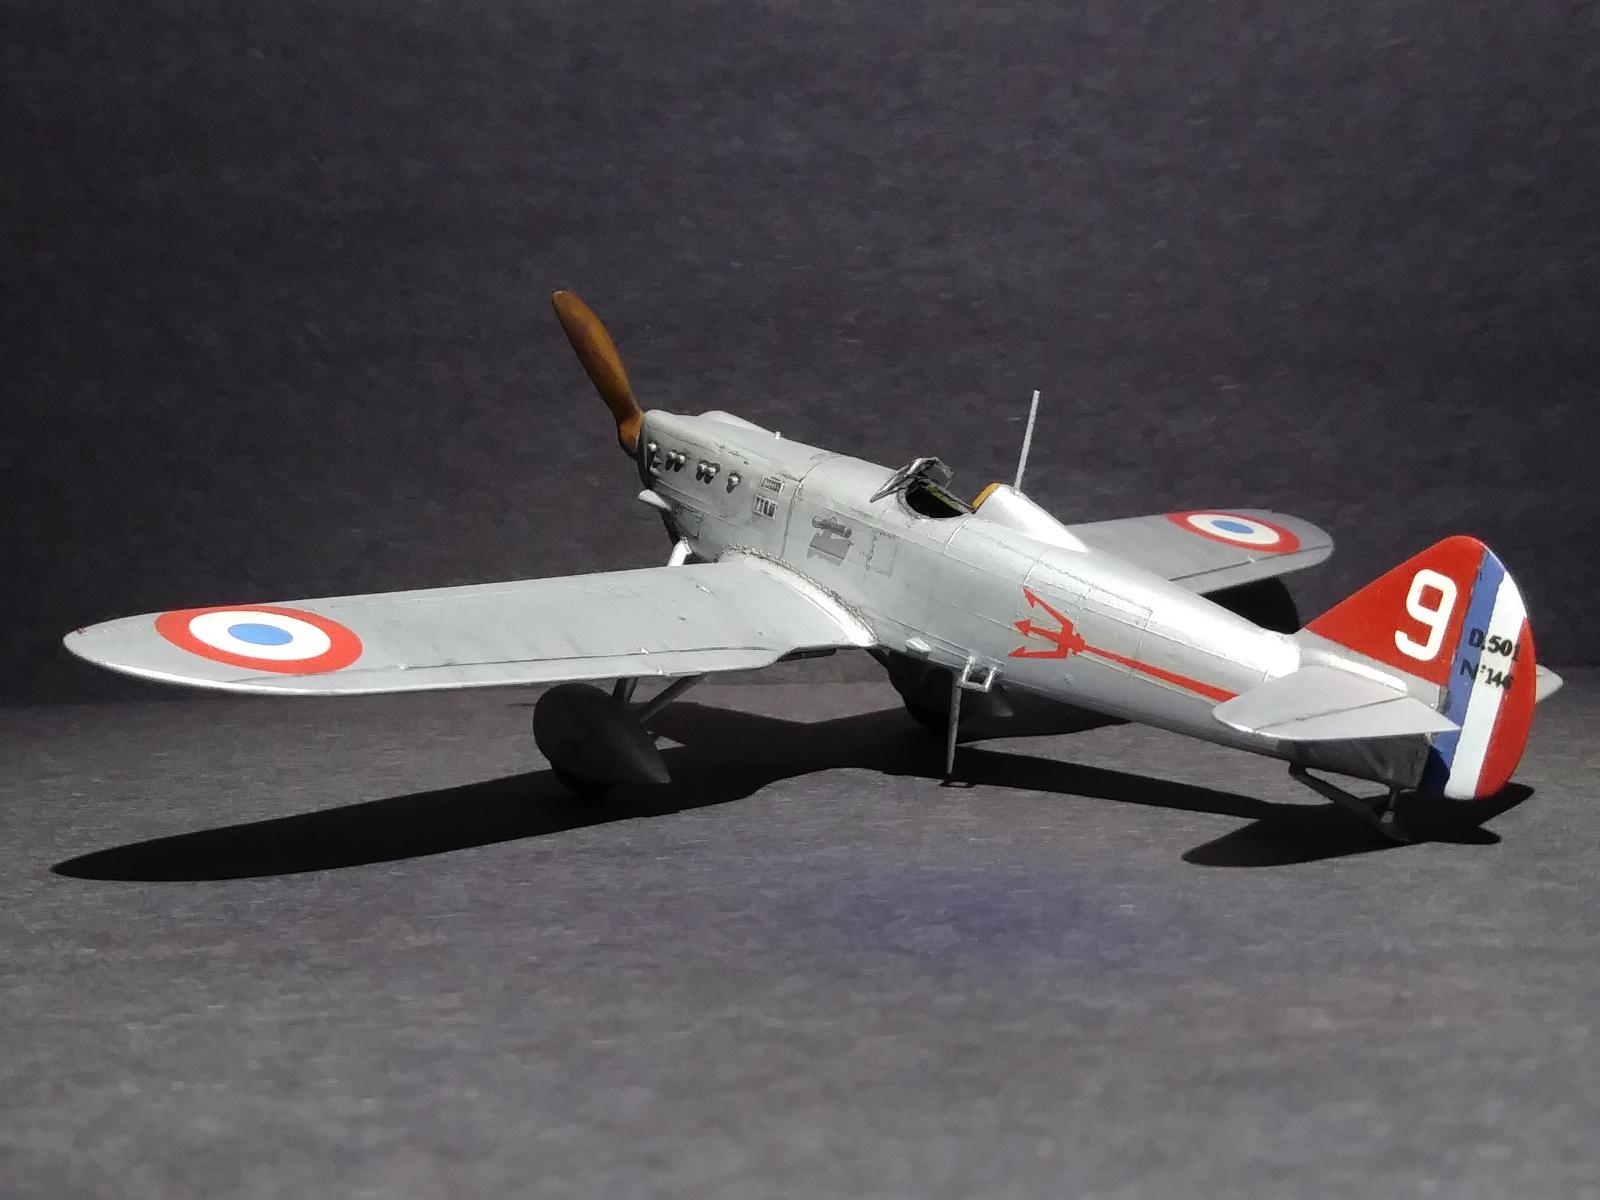
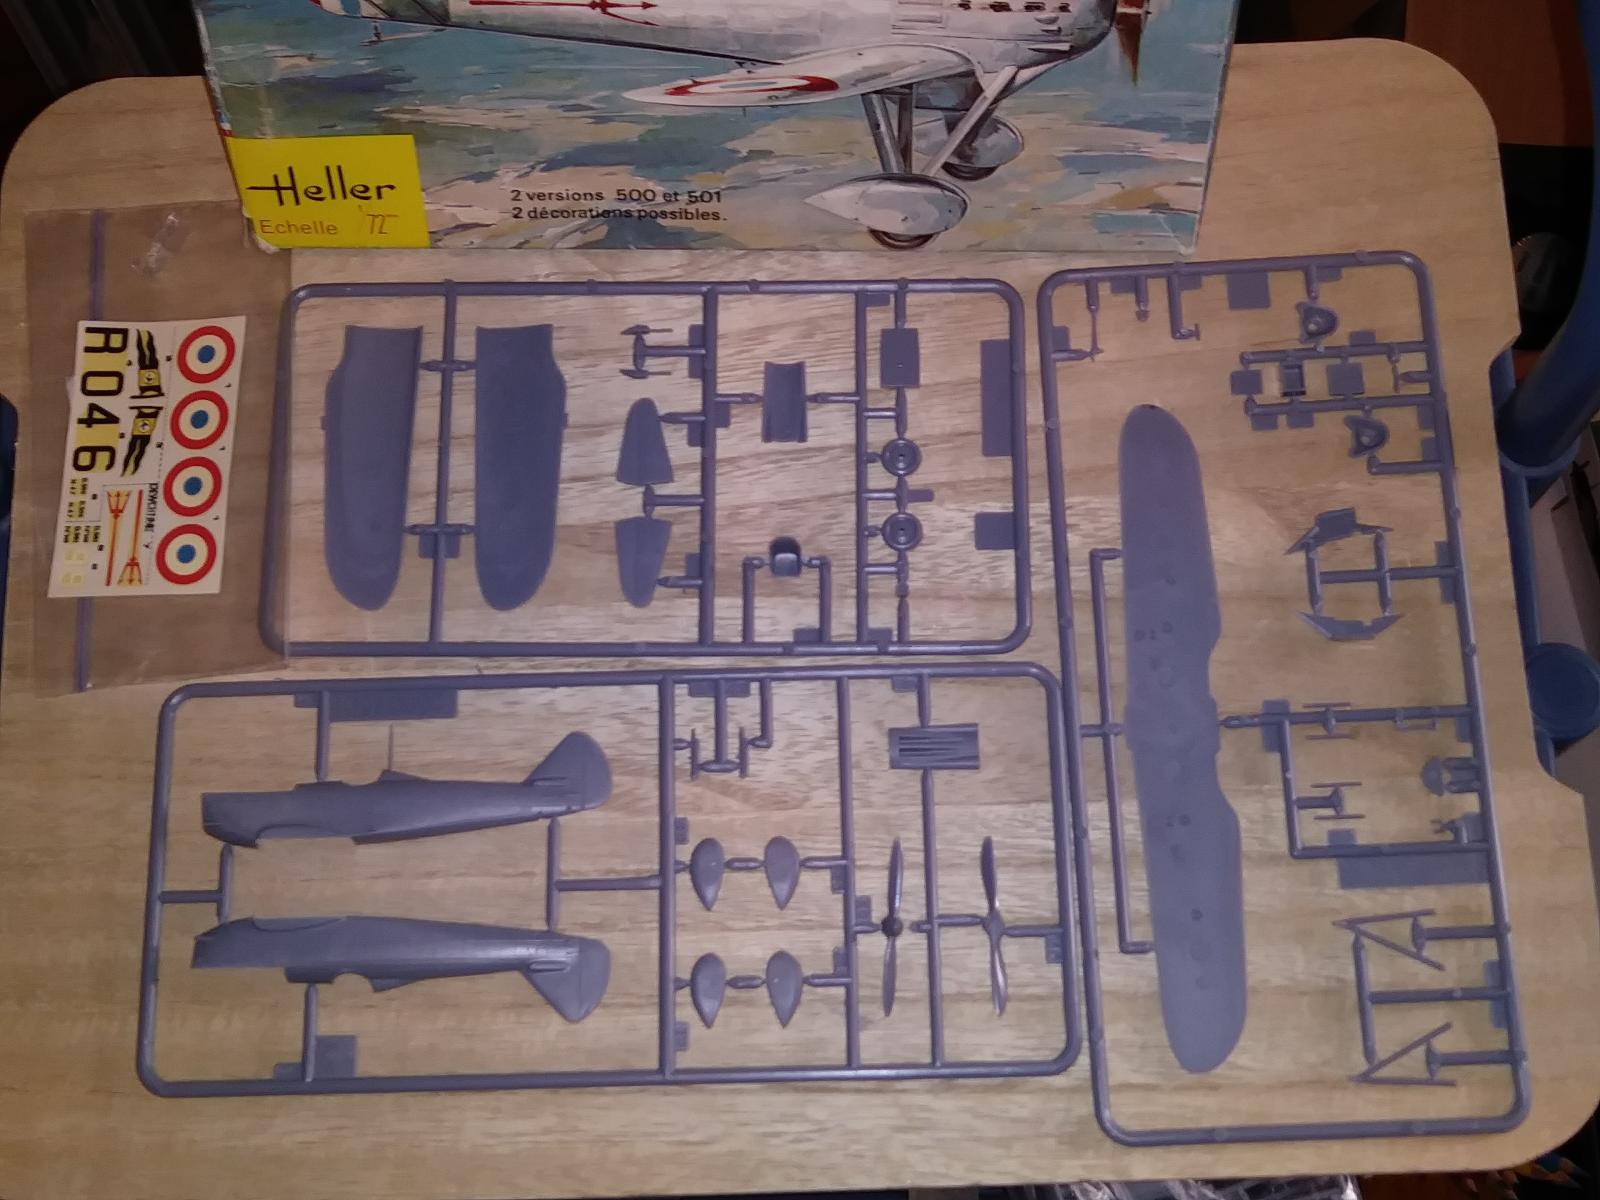
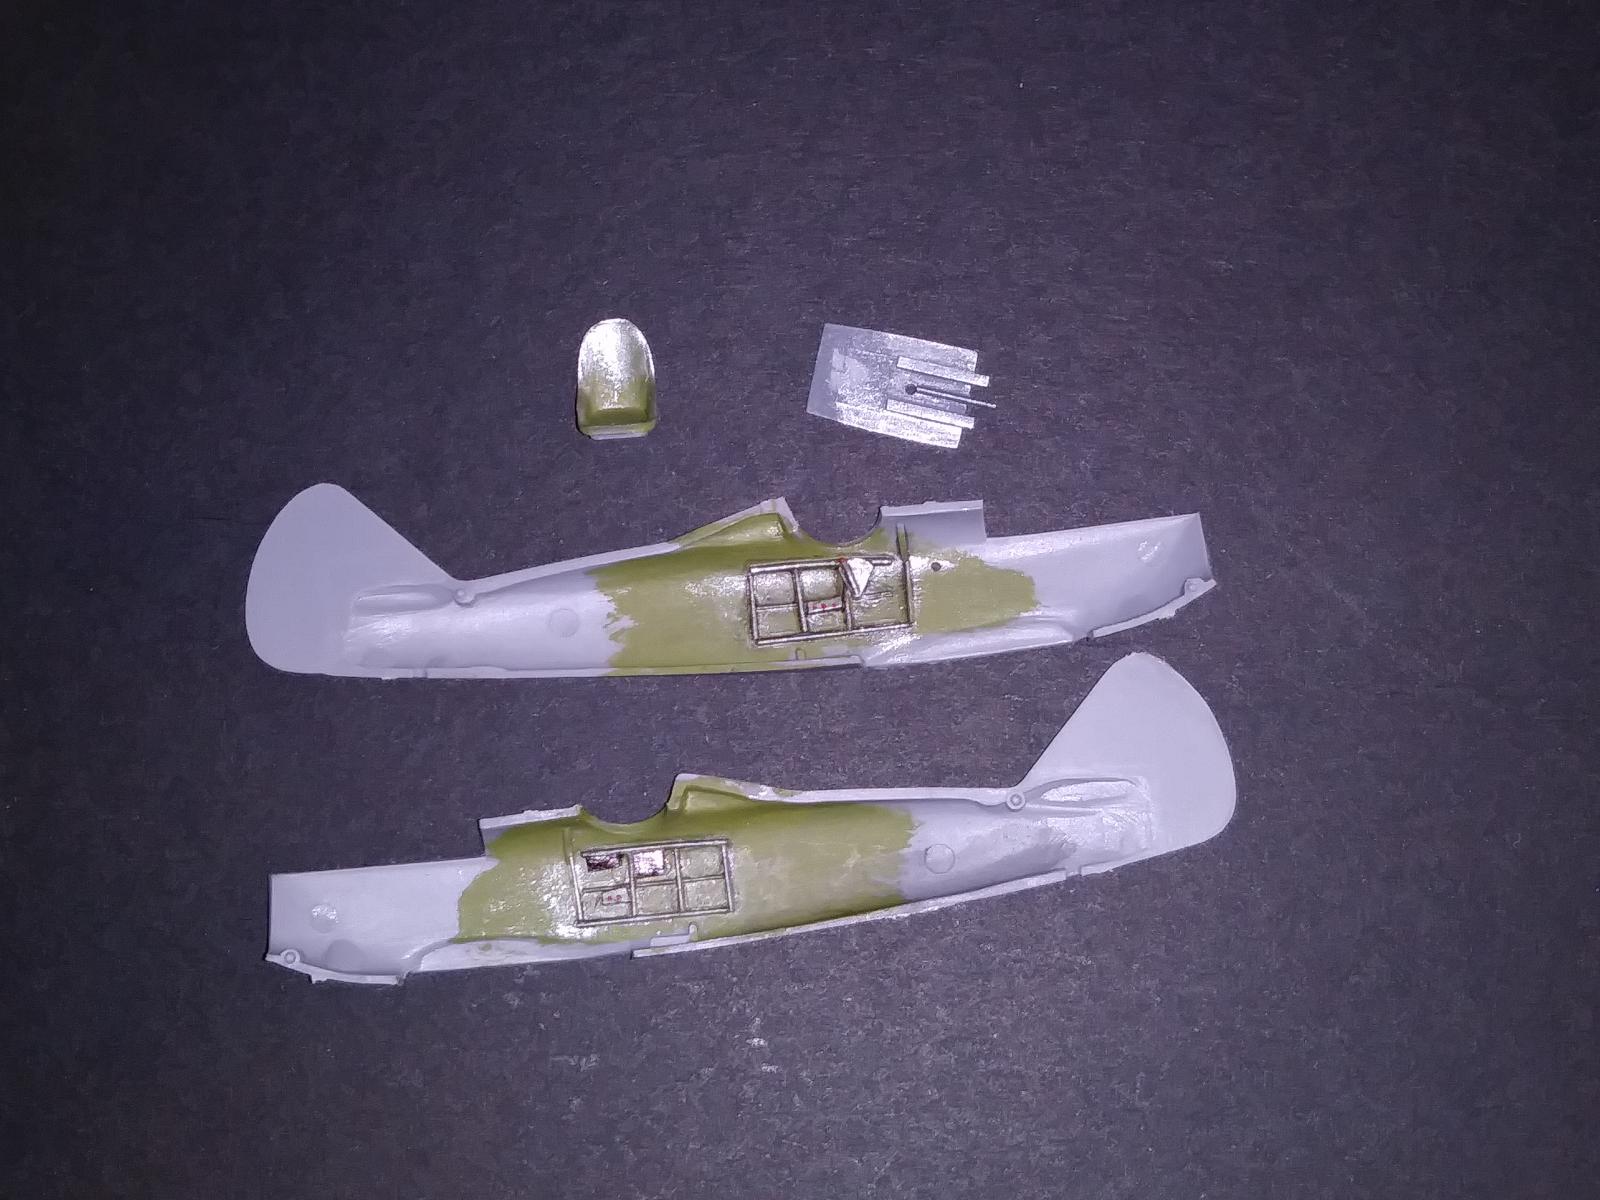
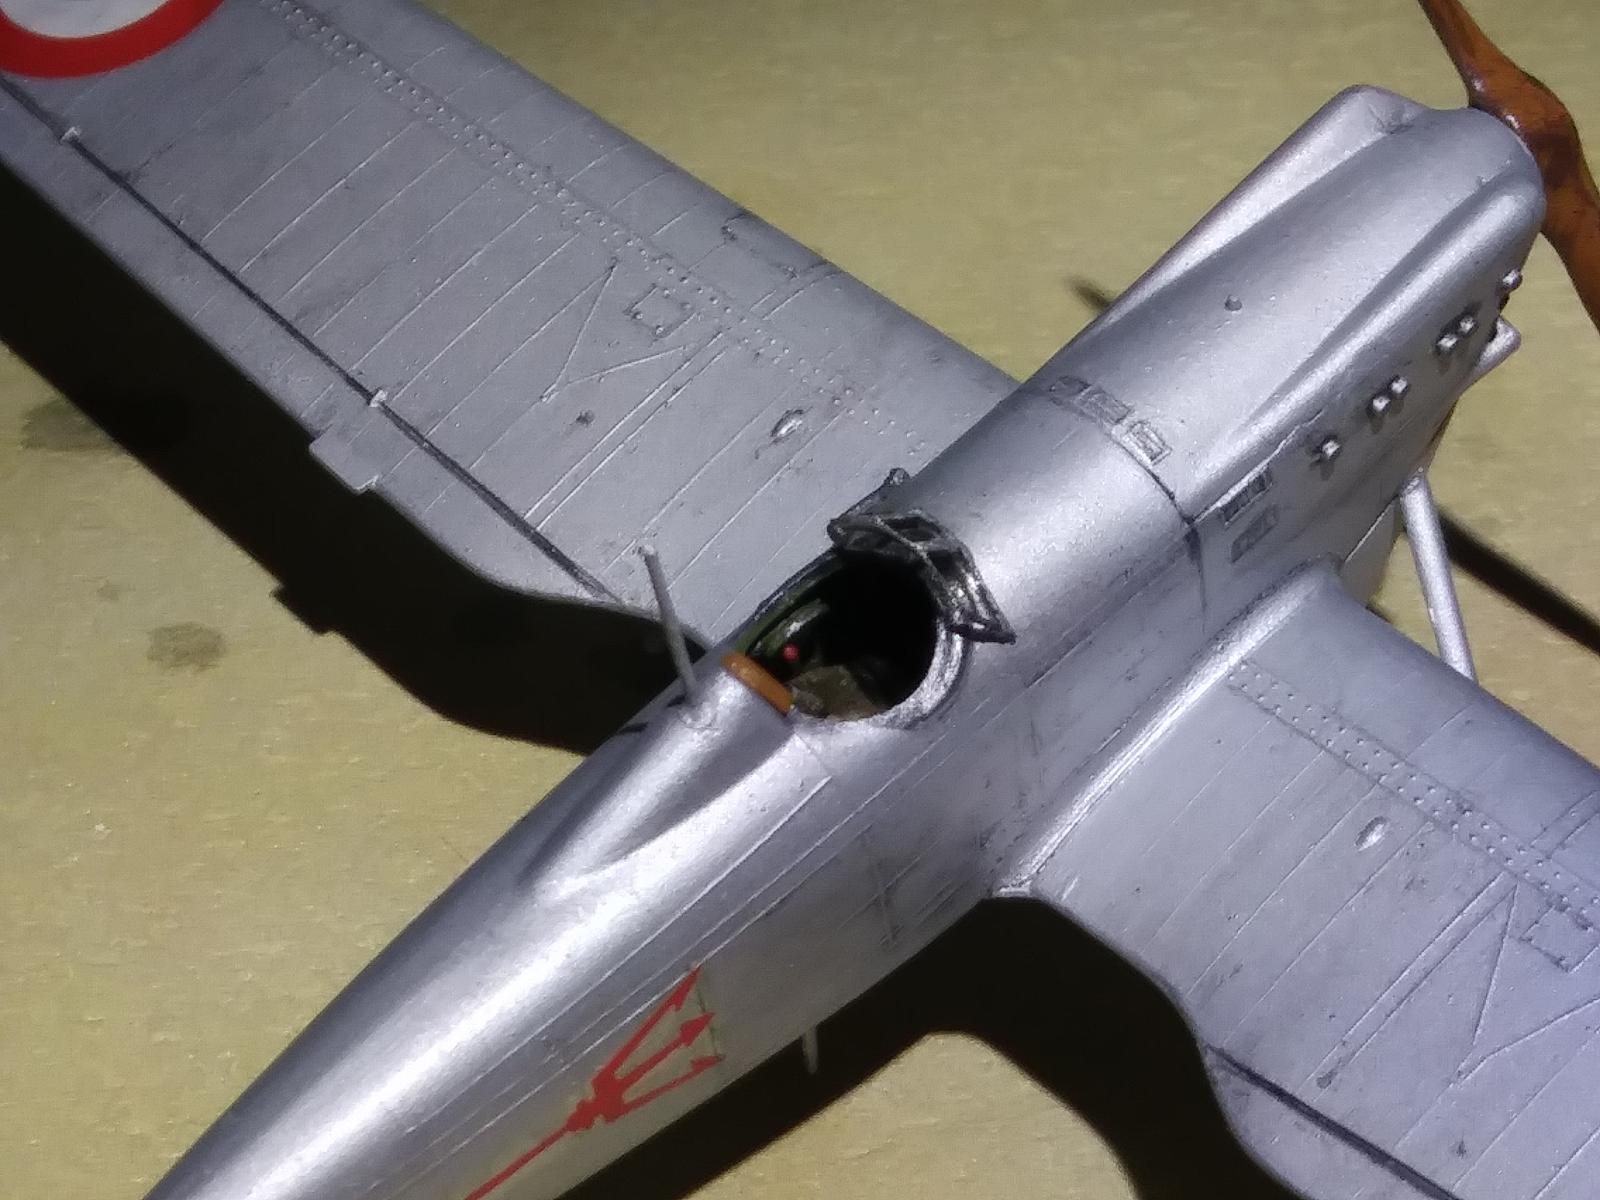
This is a clean kit with hardly any flash, it has fine raised details. The cockpit sidewalls had no details. I added some details to the sidewalls and to the cockpit's floor.
The slightly yellowed decals had to spend 7 days on the window facing the sun to bleach out the yellow from it.
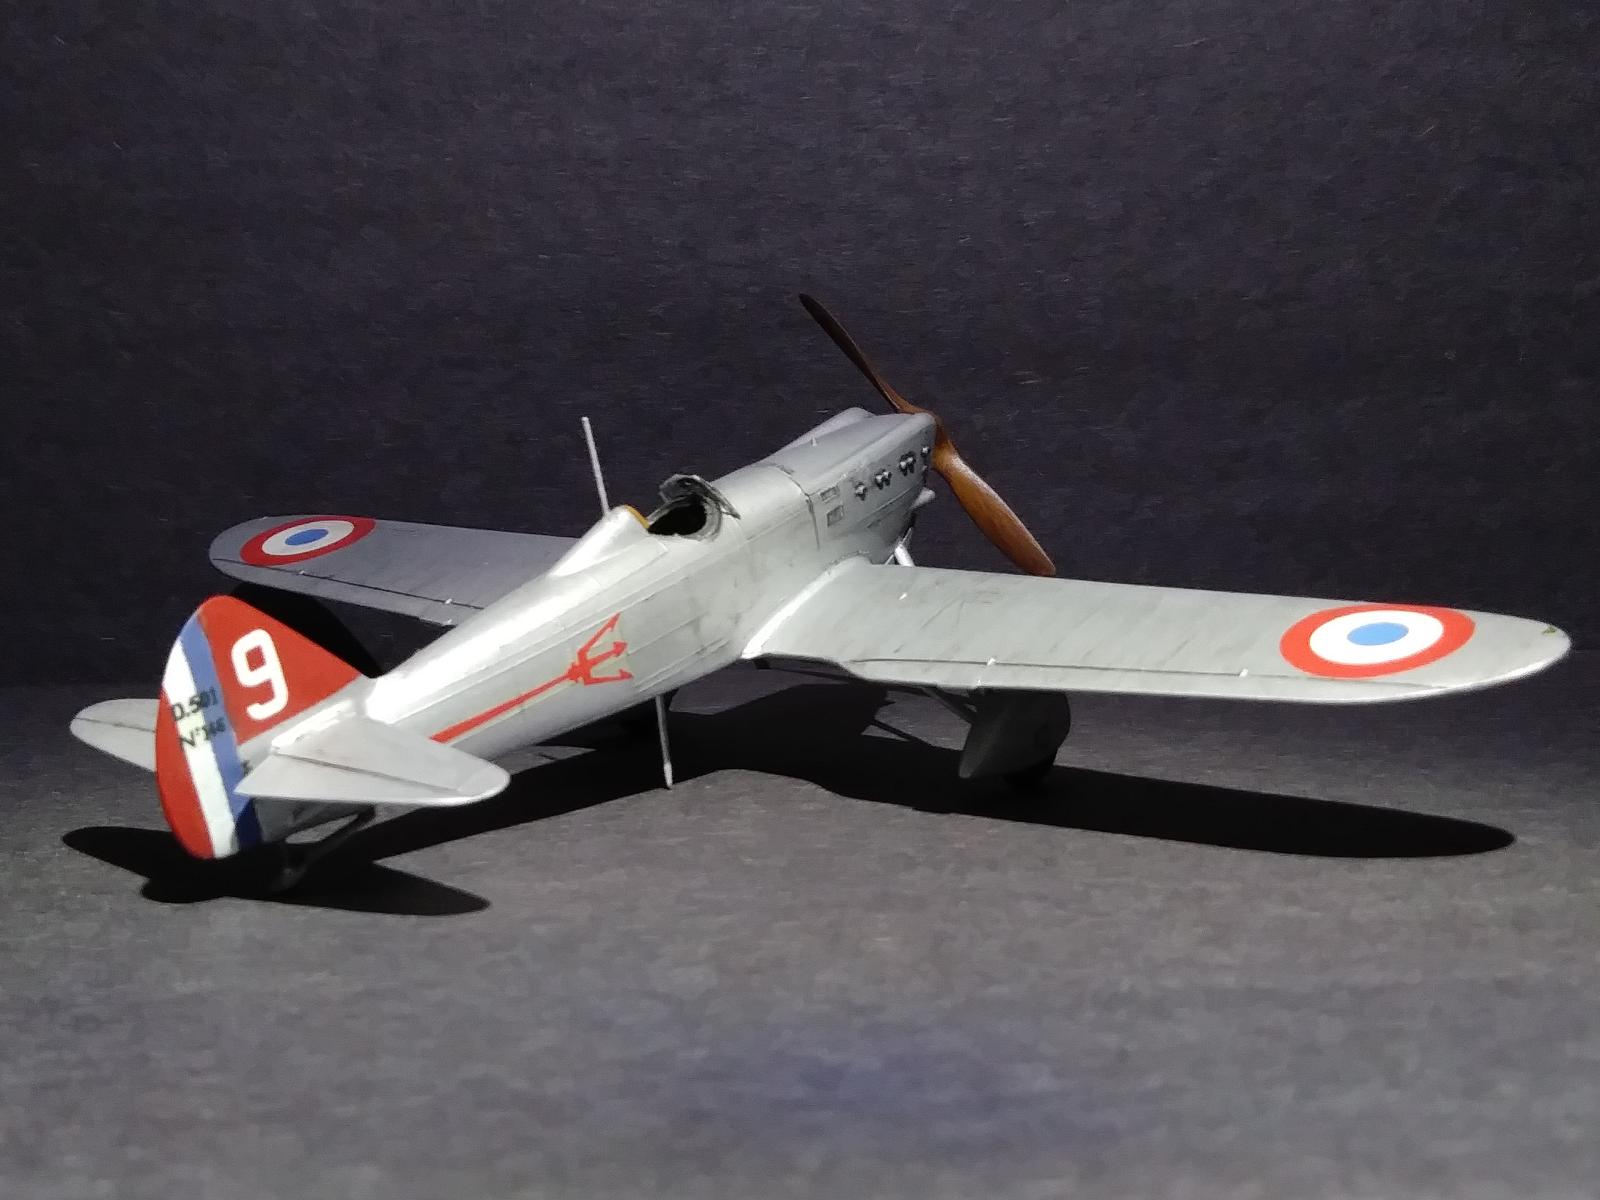
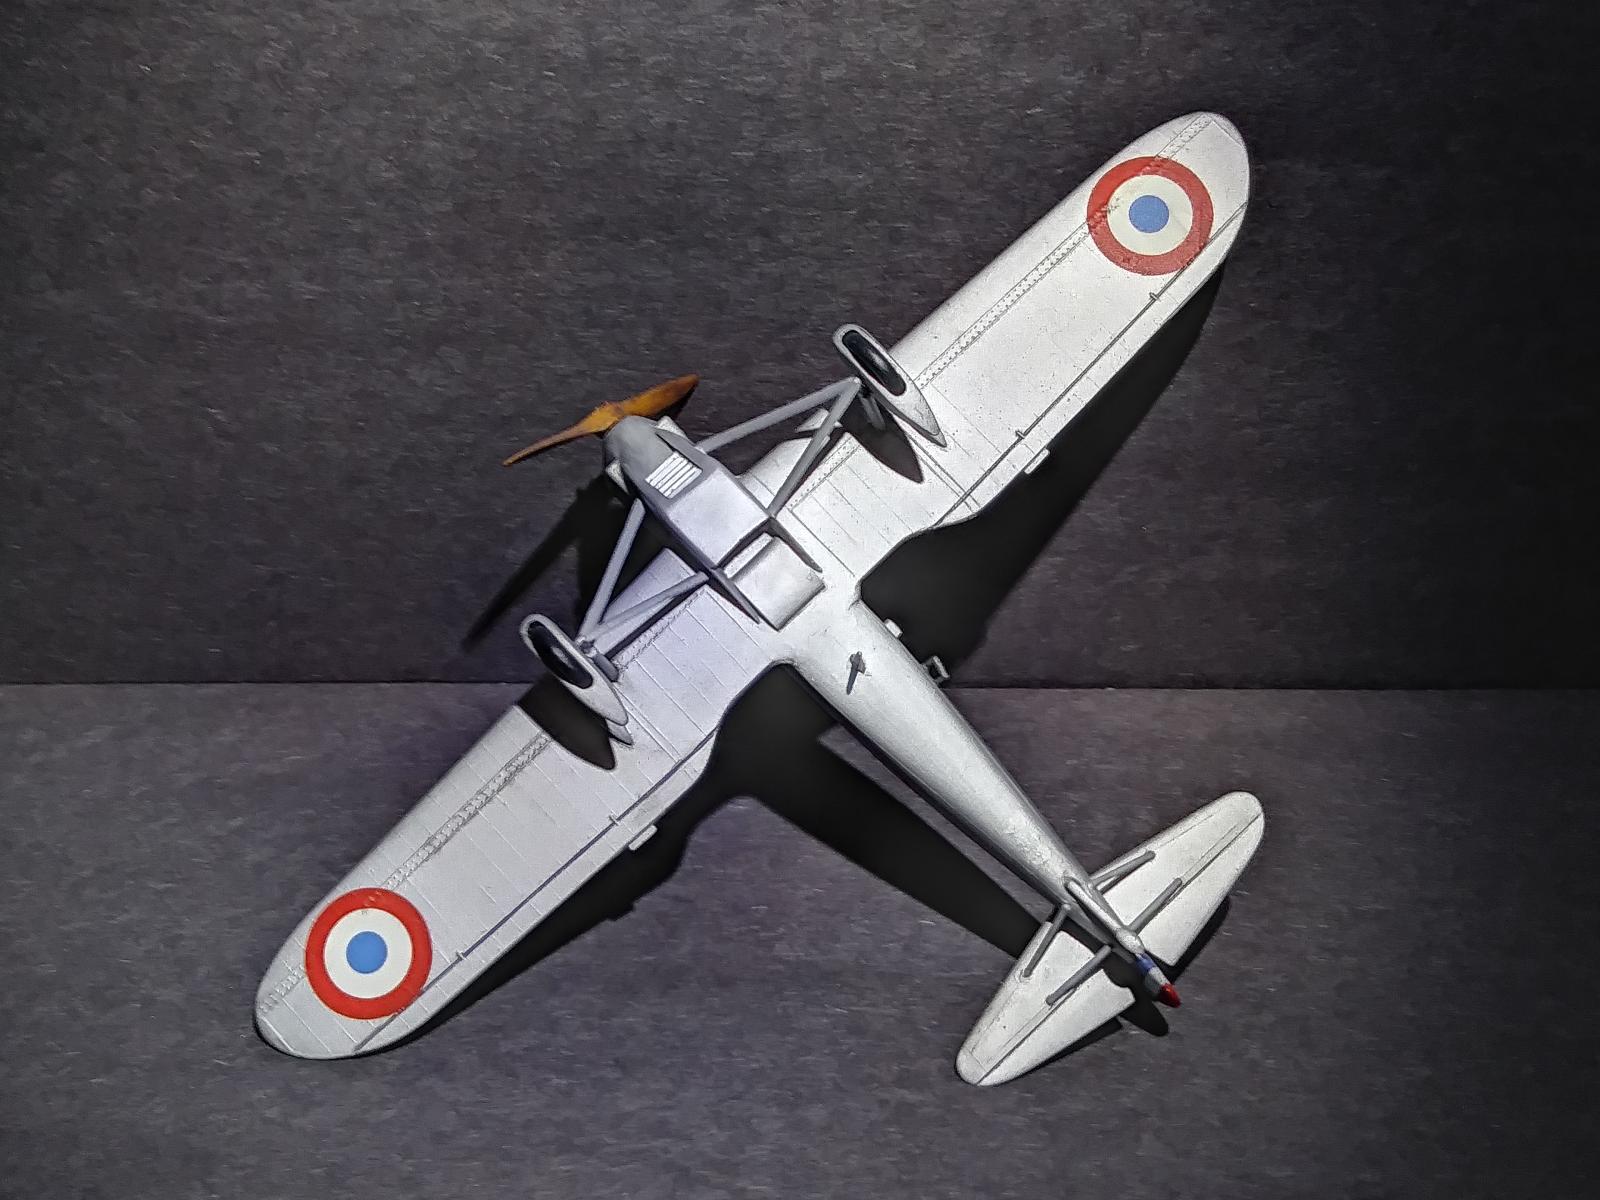
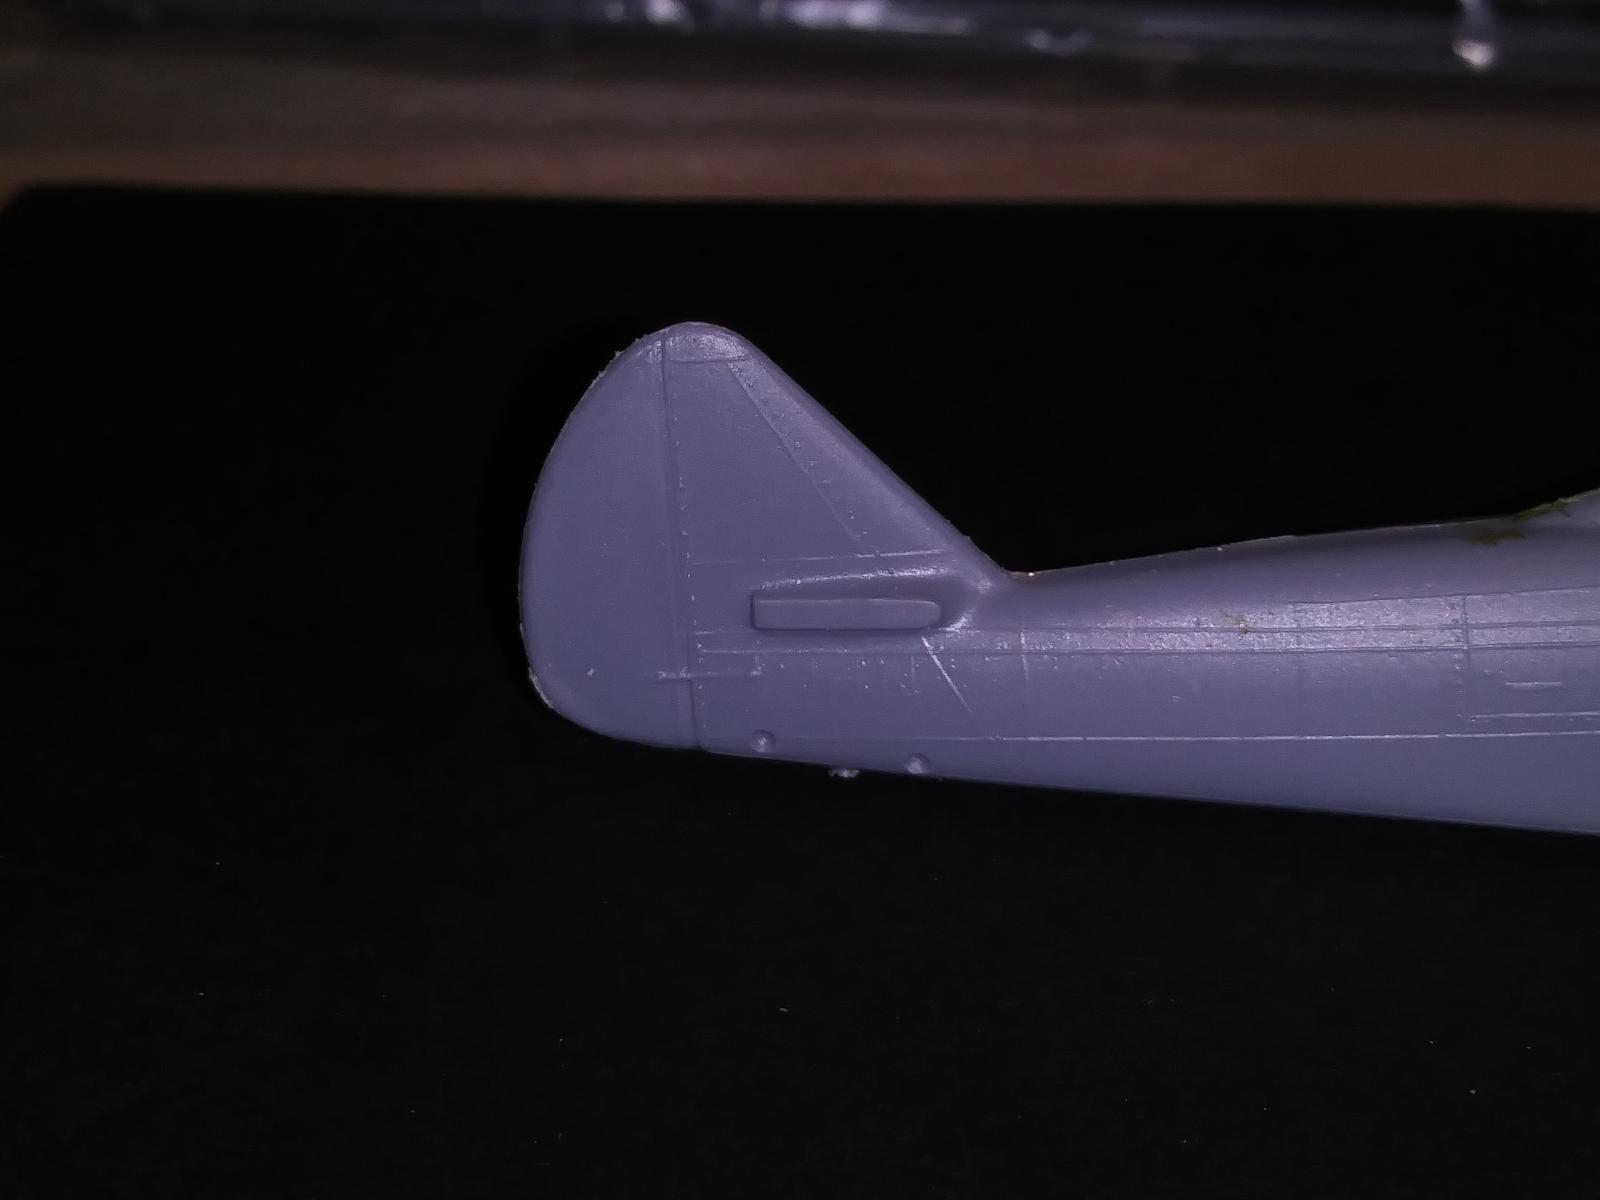
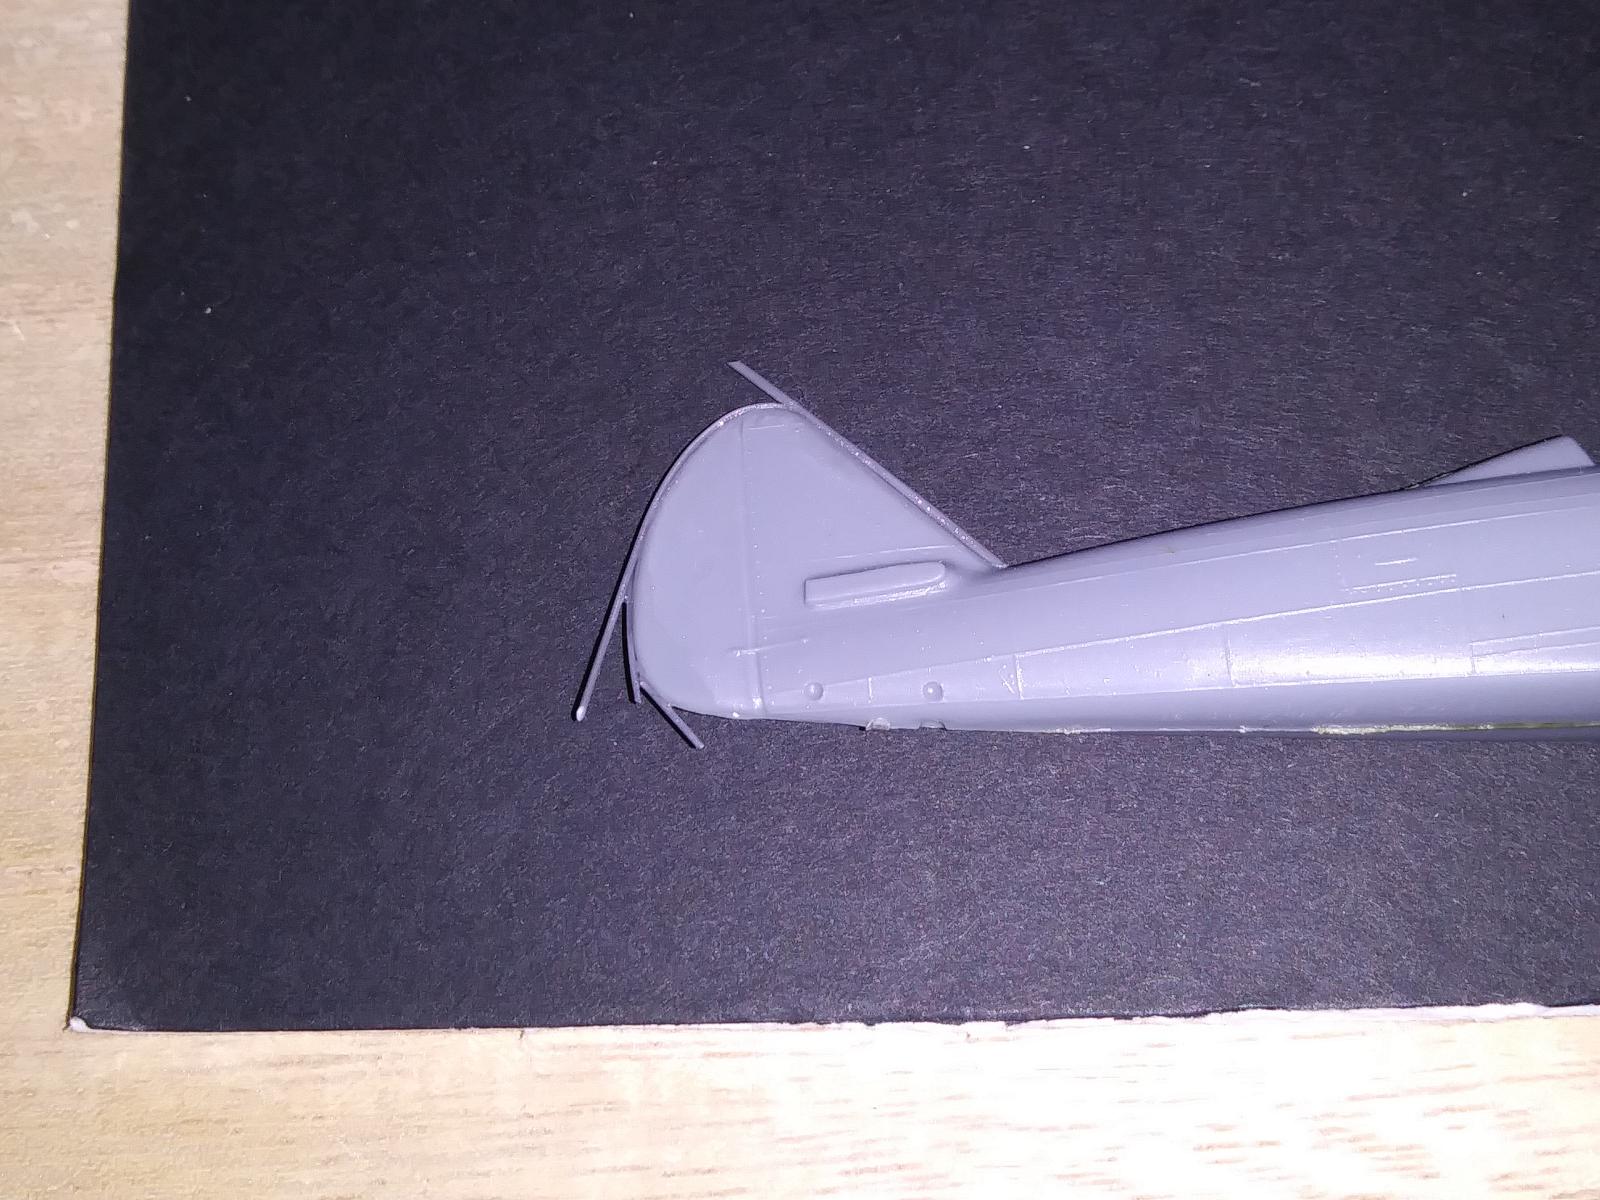
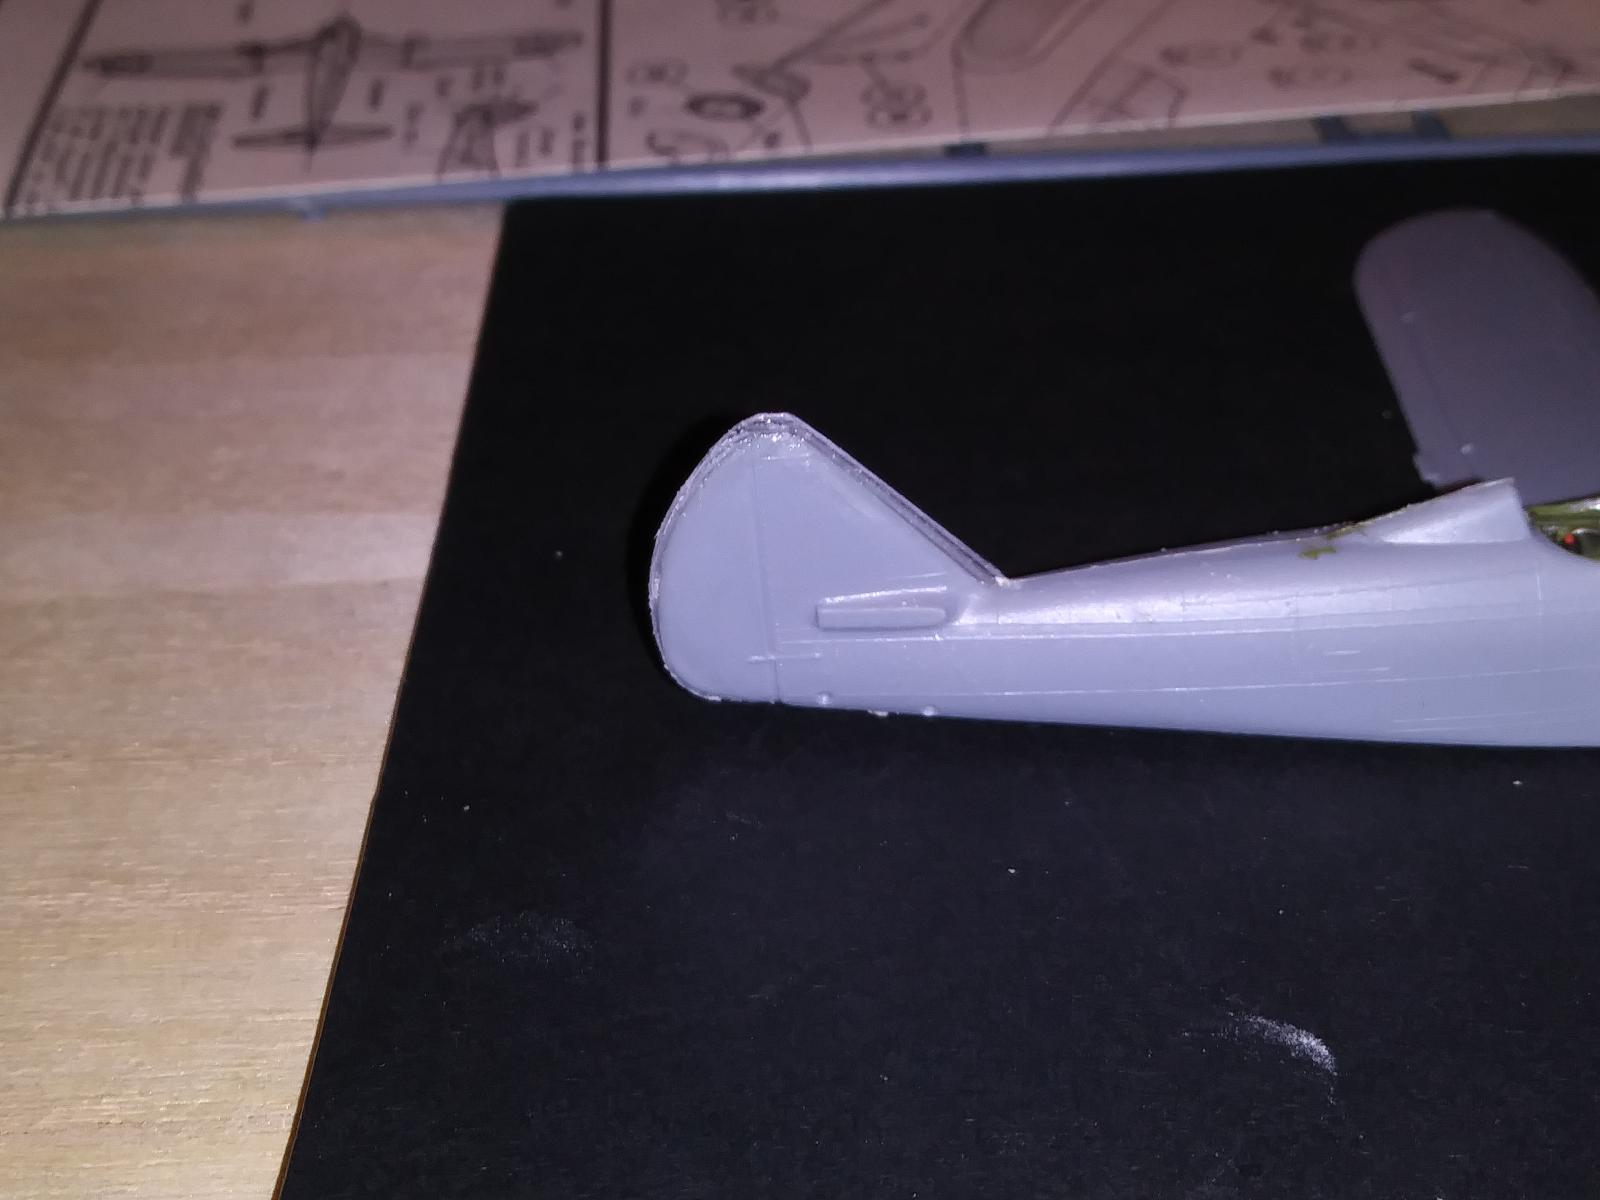
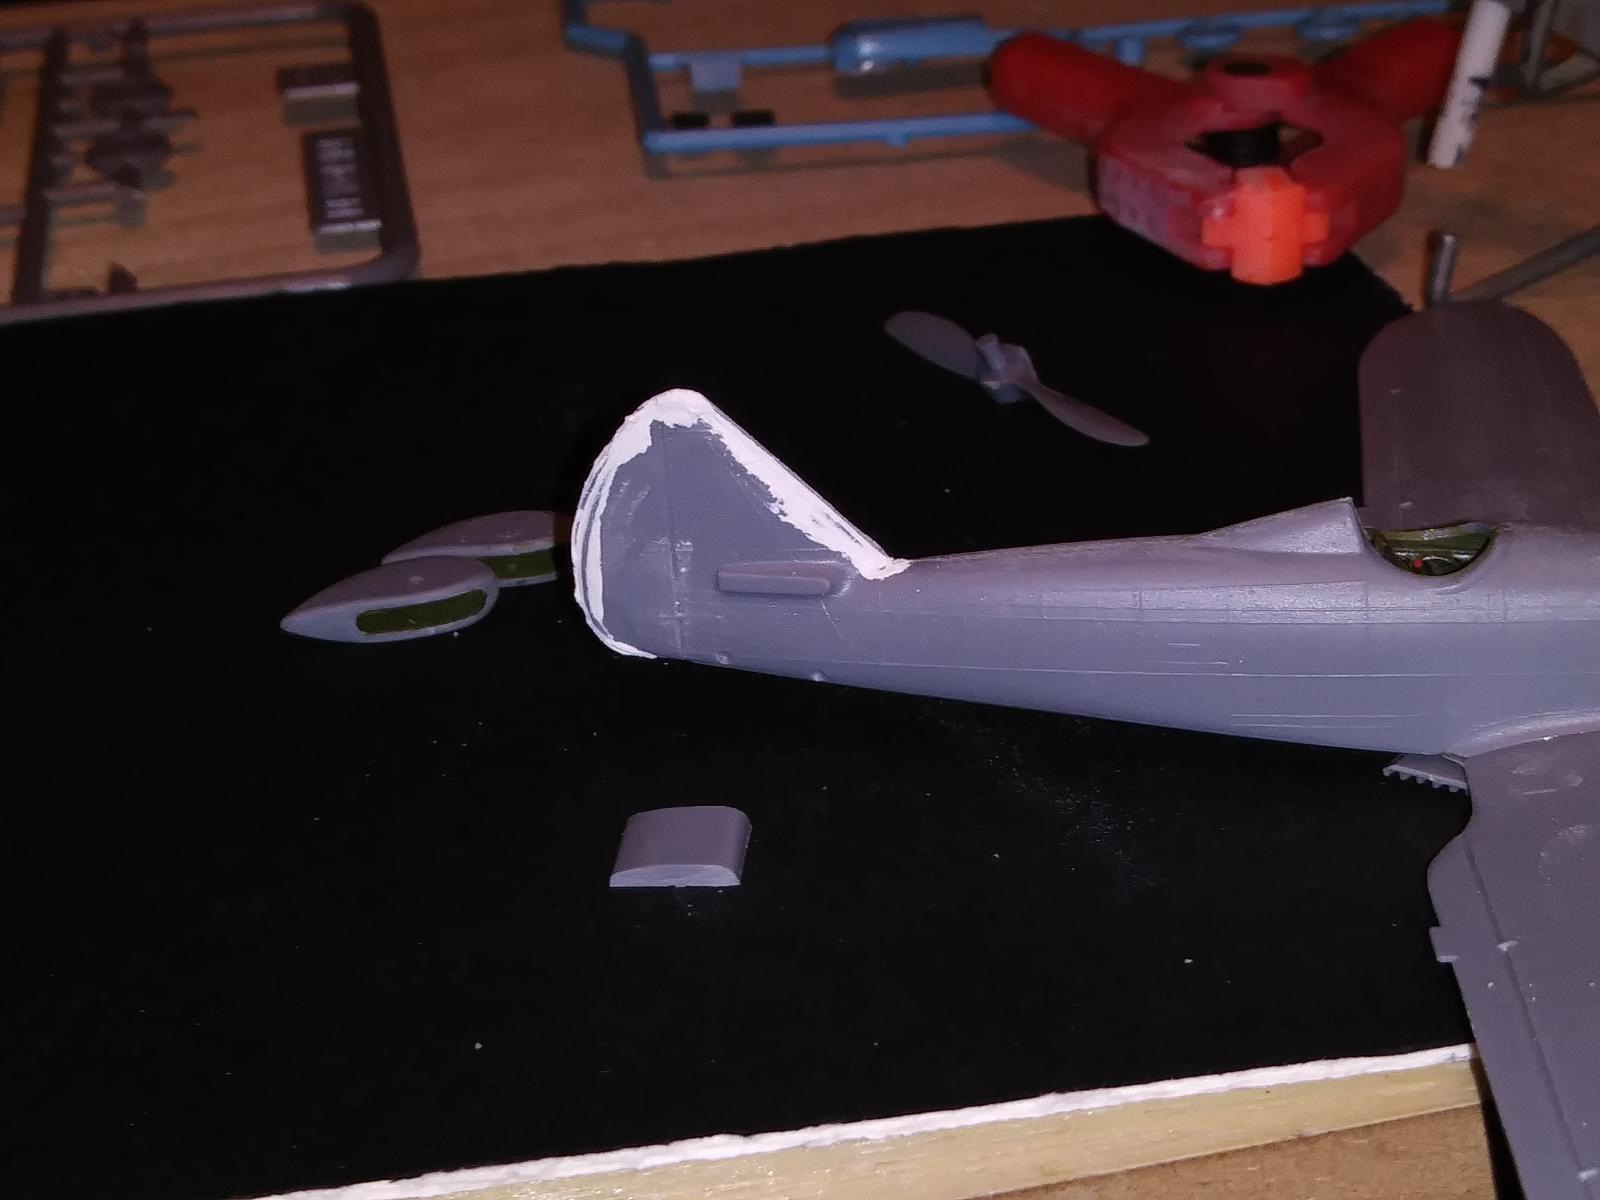
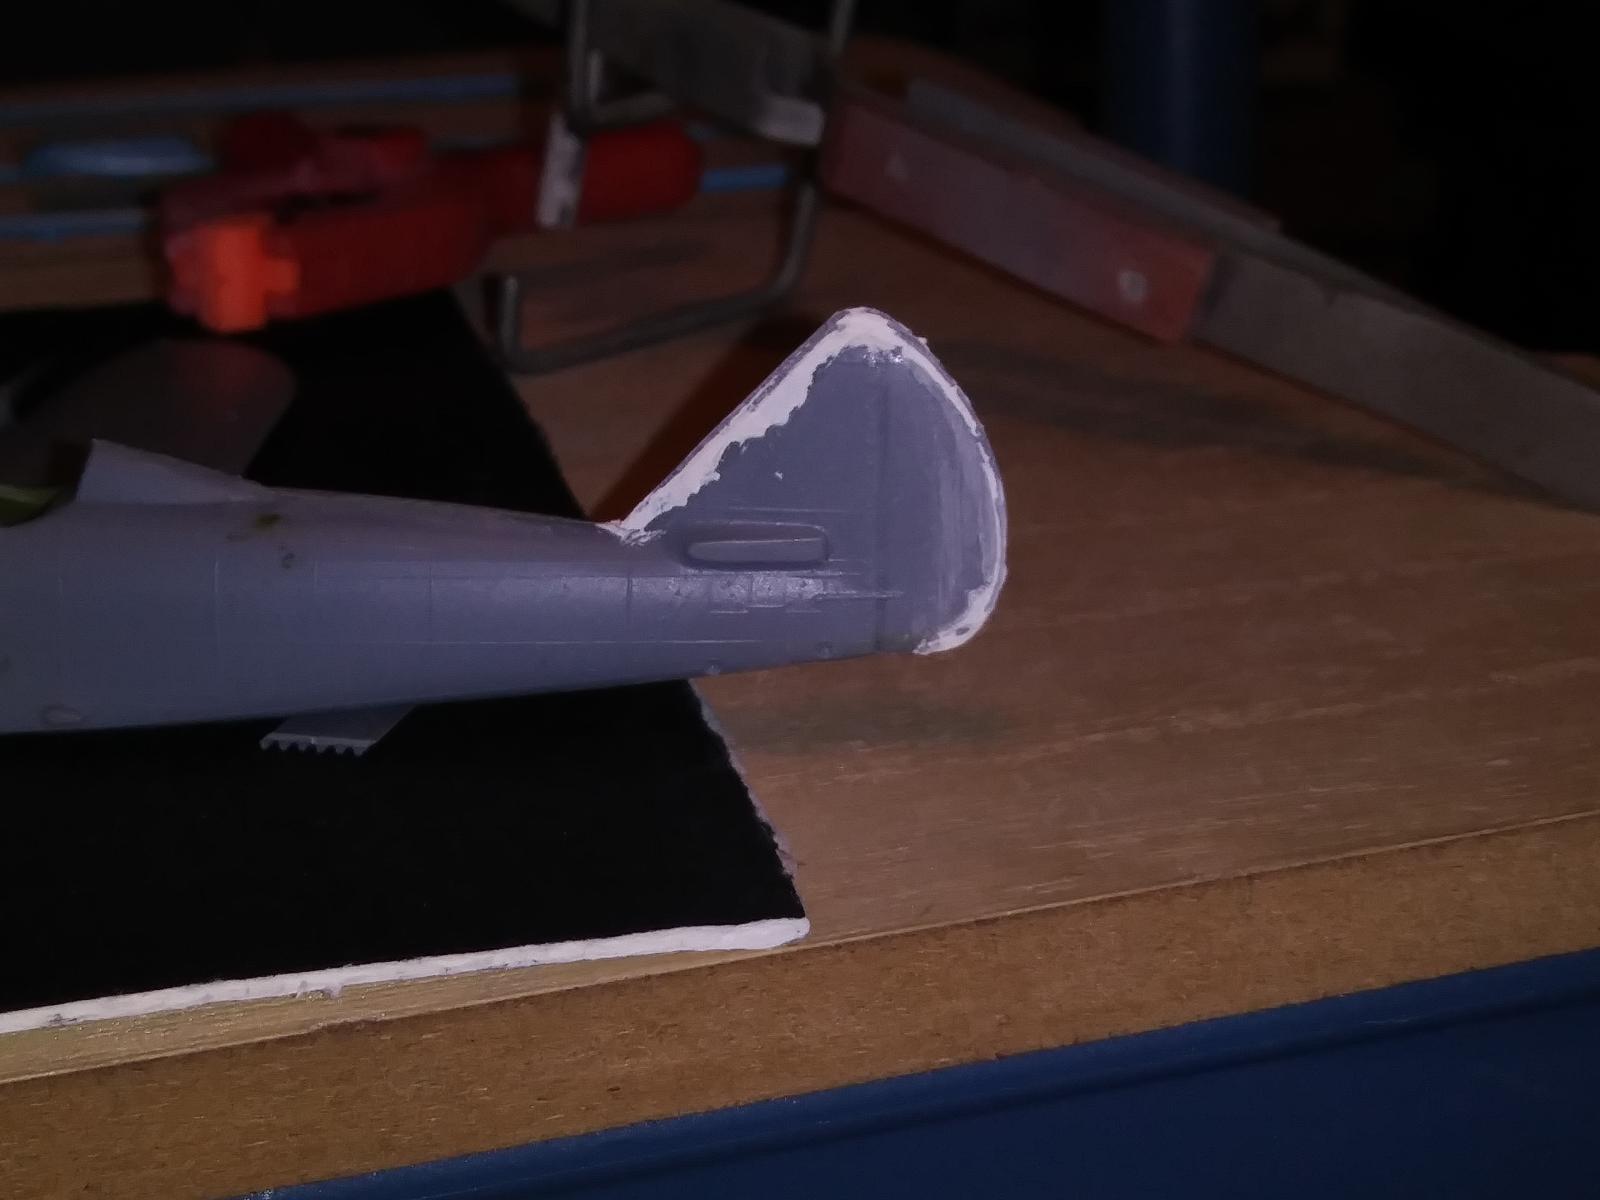
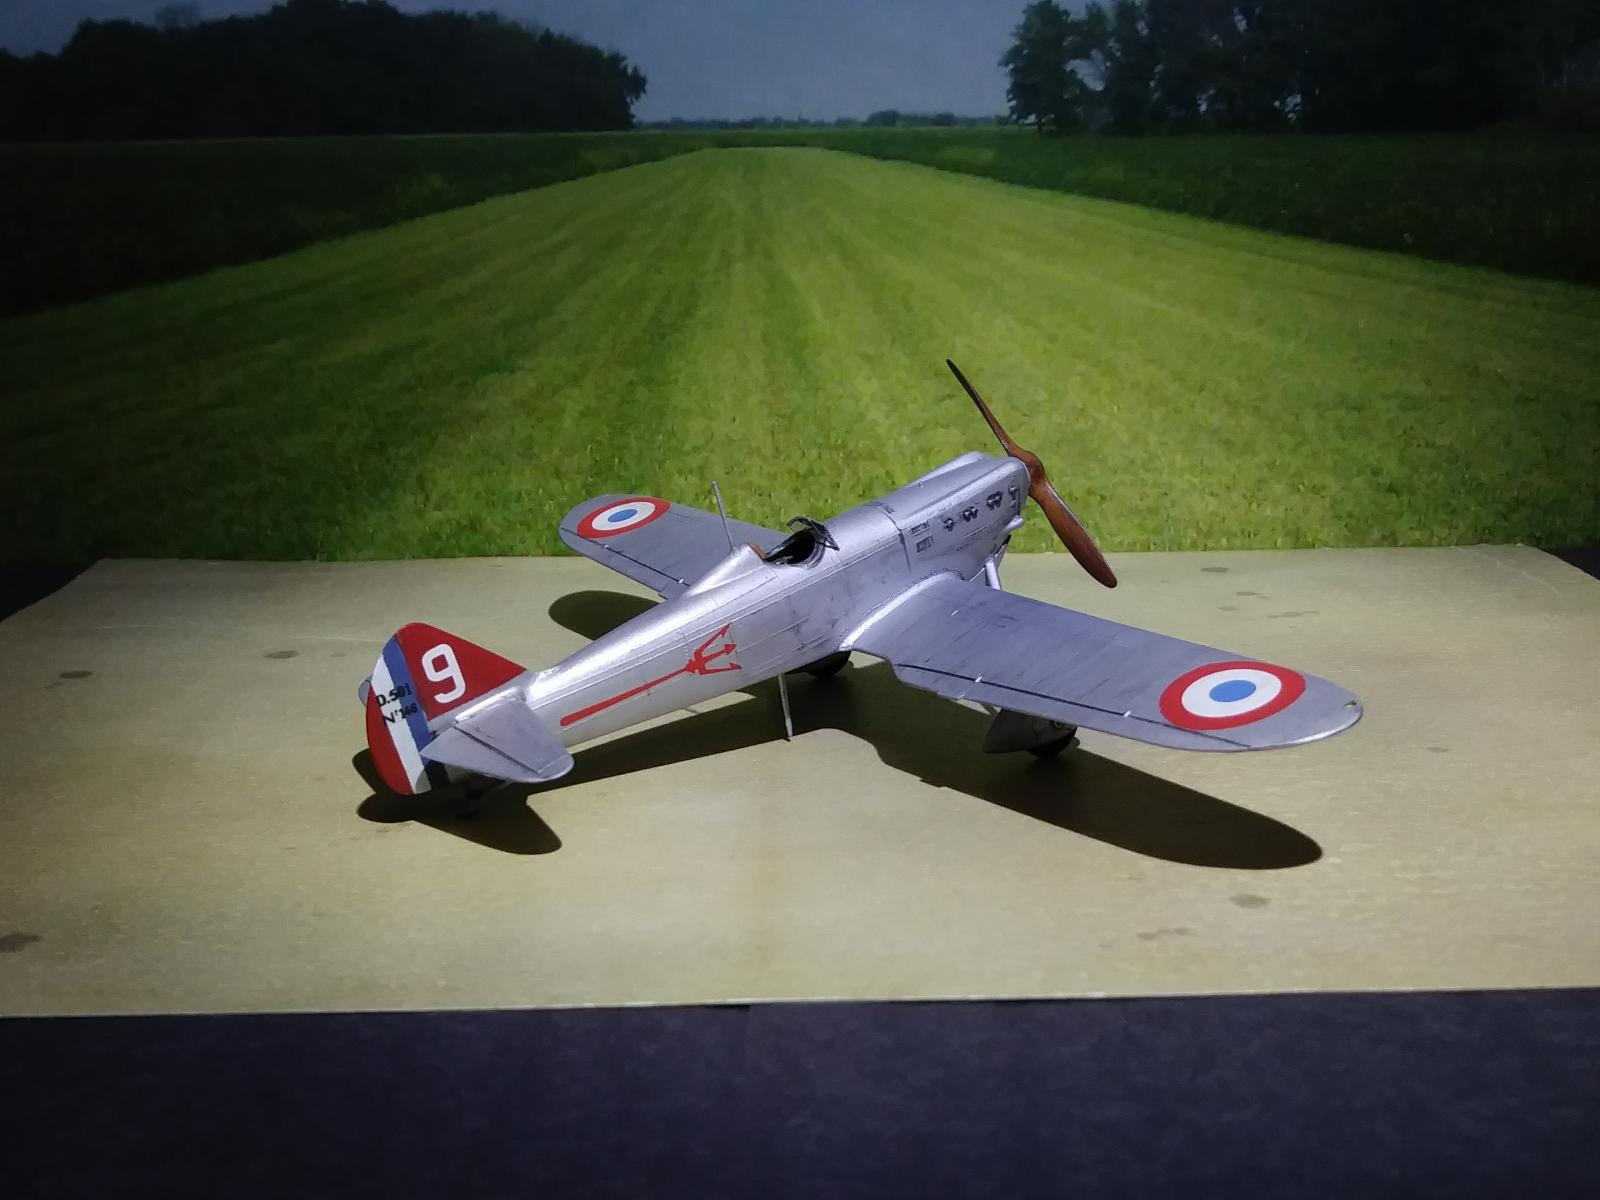
The tail looked a bit too small. I added cut pieces of stretch sprue and putty to increase the tail area. Then I sanded the tail to get the shape and size I was looking for.
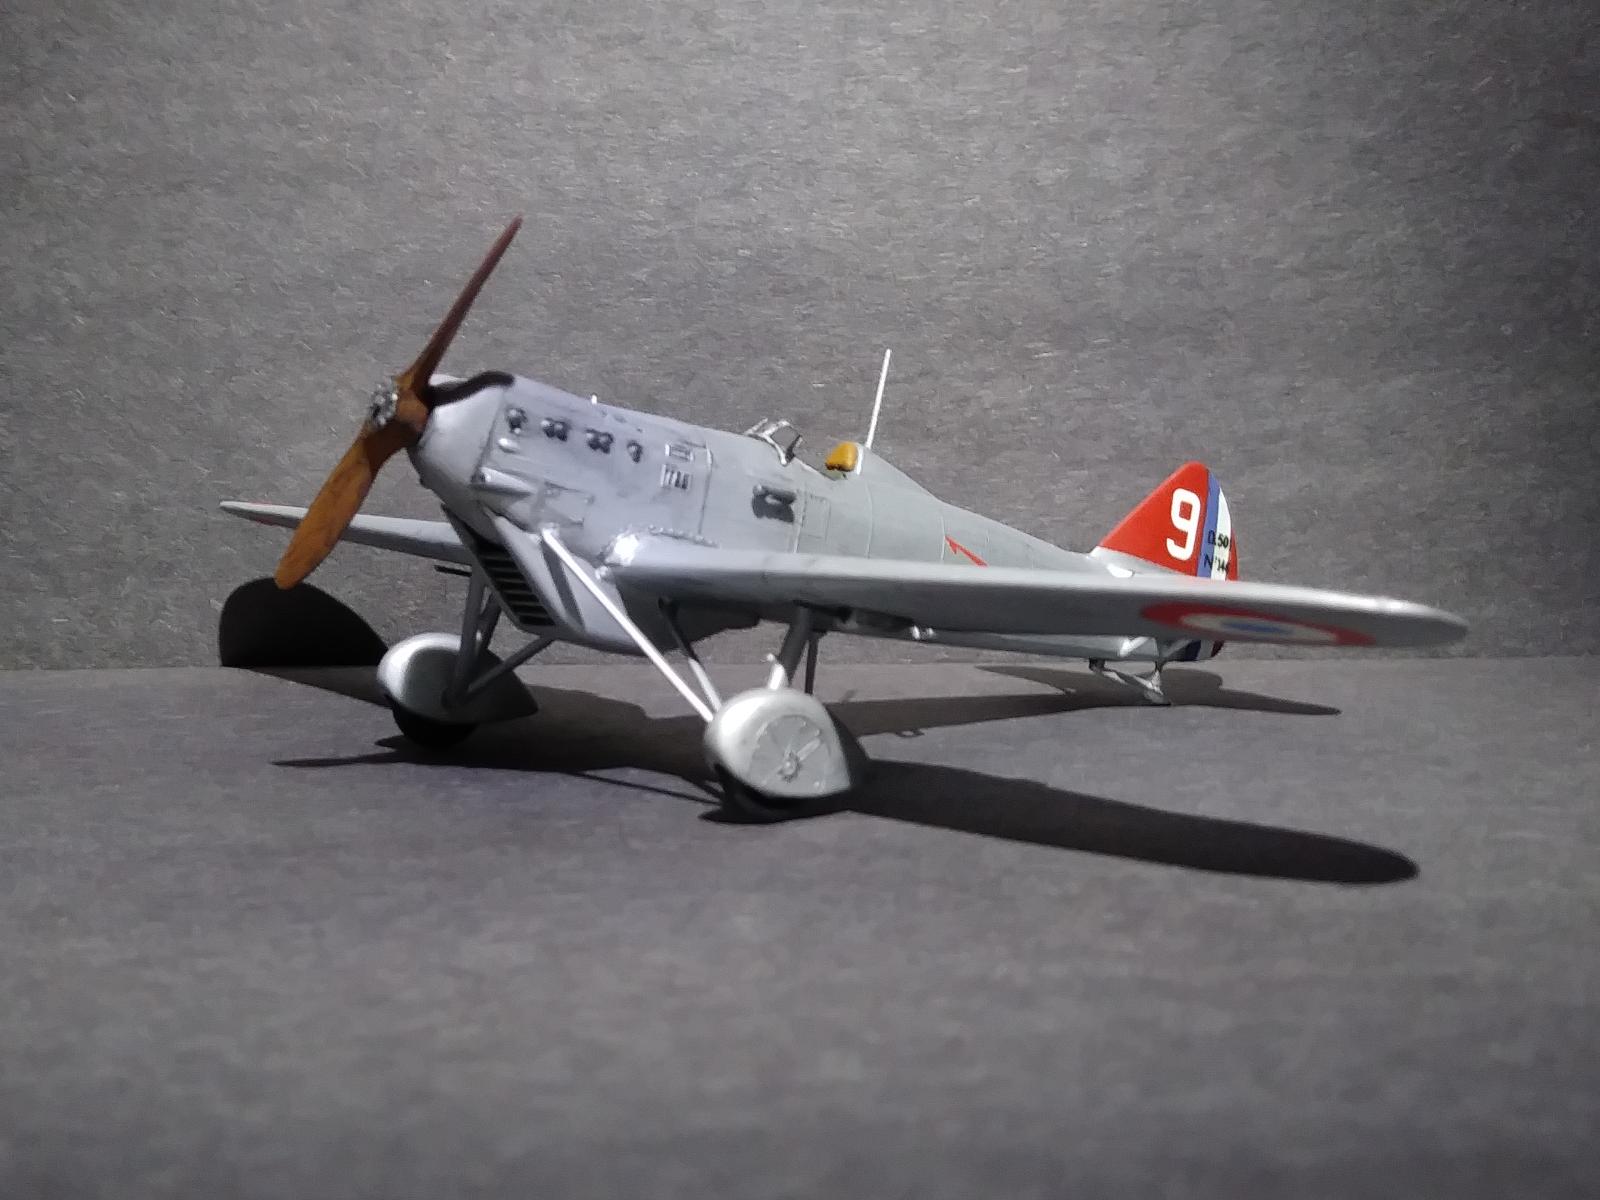
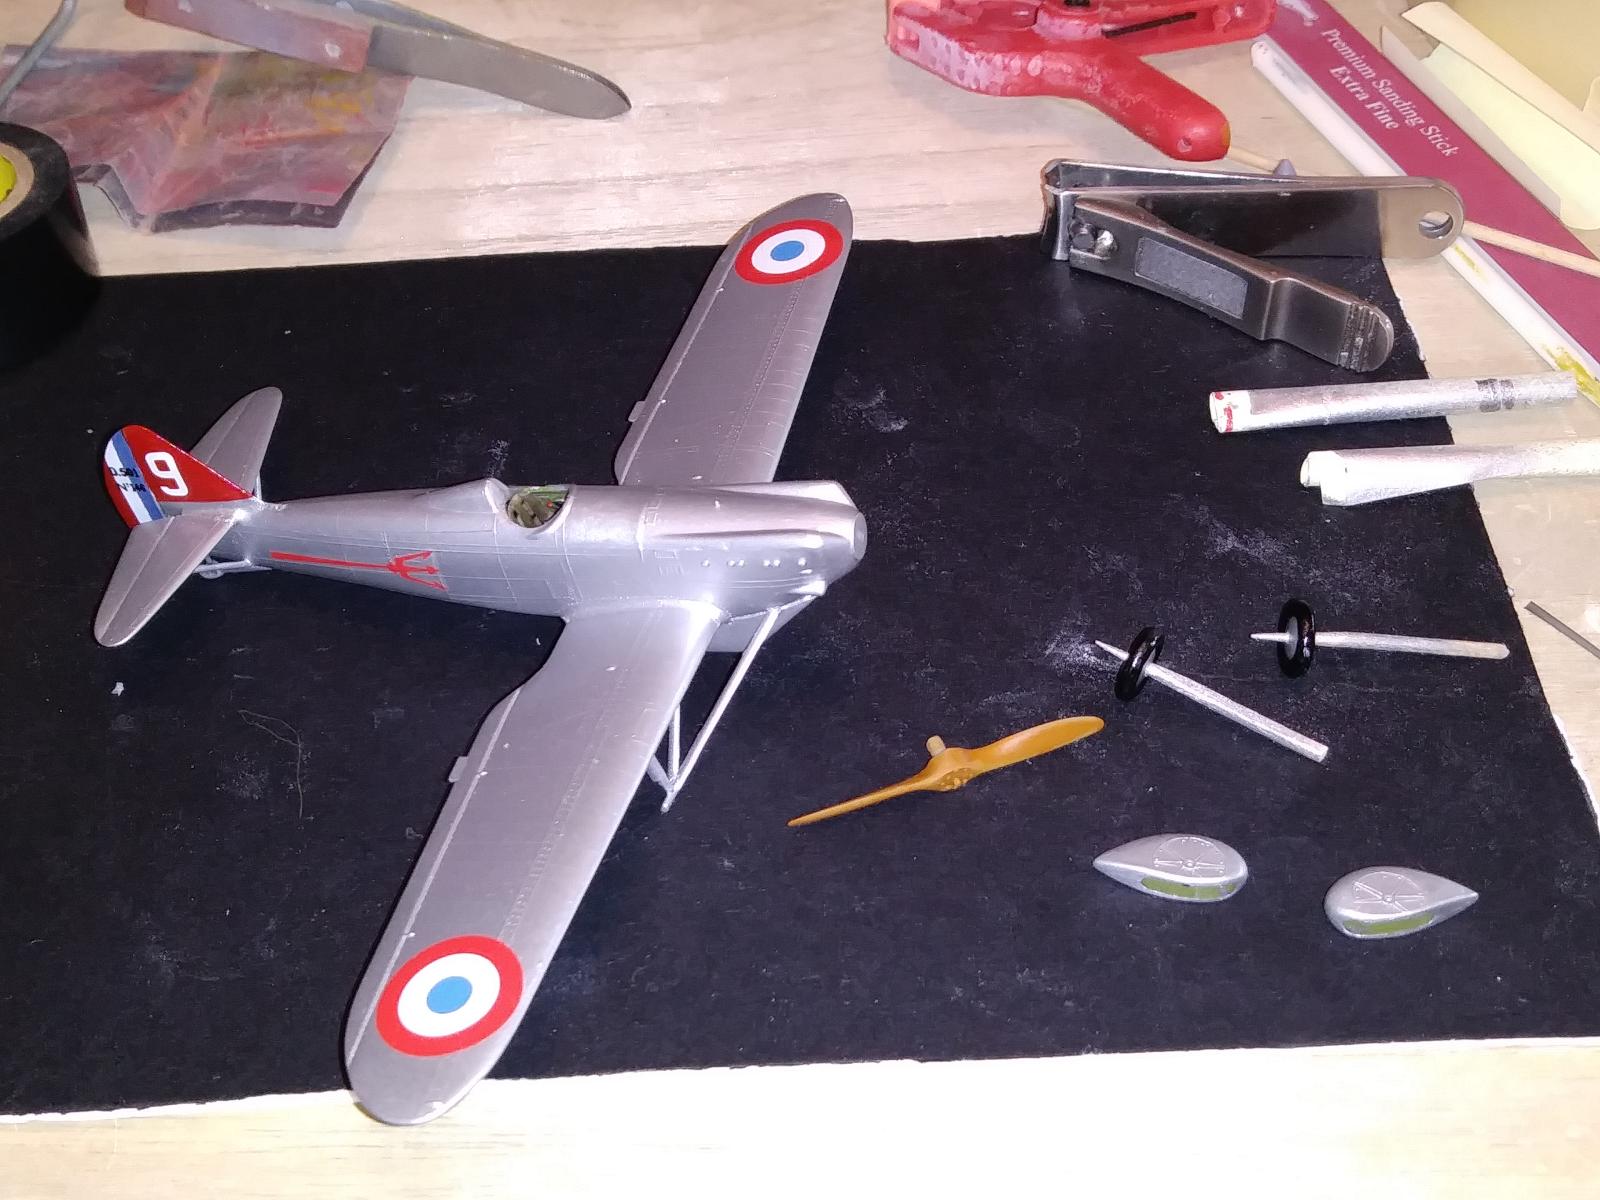
I first hand brushed Tamiya flat aluminum but was not happy with the looks. So instead I used Testor's Silver from a spray rattle can and that did the trick. Before I sprayed the silver paint, the red tail and blue/red paints were applied first, then masked before the silver paint was sprayed on. I used Future (Pledge) for the clear gloss coats, then applied the decals. The Heller decals worked out okay but they were a little fragile. The white stripe on the rudder is from a white Microscale decal sheet that I measured and cut to complete the red/white/blue tail rudder.
I applied Tamiya's Panel line high lighter and a black pencil to bring out some of the panel lines and flight control surfaces. I used Testors Model Master Acrylic Paint for the clear flat coat.
The instructions were wrong on where to glue the tail skid on to. I had to remove it, clean up the tail area, repair the tail skid and re-glue it further back.
All and all, not a bad kit. For the most part, I enjoyed this build. I do like the Heller kits, this was my fifth Heller build in the past 3 years. I've enjoyed them all.
The decals marking represents D.501: N 146 (R-206) of 4th Sqn. of GC ll/4 at Reims in 1938.

Wow, what a clean and beautiful finish, Bob @v1pro! The propeller looks really awesome, btw.
Thank you Felix @fxrob. This was my first wooden prop in 40 years, I am glad it came out looking the way it did because I totally winged it...LOL..
Great finish on a very pretty french fighter Bob. Excellent 😊
Thank you Guy!
Amazing job, Bob! Love the subject chosen!
Thank you Spiros @fiveten!
Very smart looking plane, Bob.
George,yes. This is a pretty nice looking plane.
Nice work Bob. Smart idea on the rudder mods.
Your result is another example of why people should build their older Heller kits.
Thank you George, the tail fix was pretty easy and I am glad it worked out. Heller does have some really nice kits and subjects. It is nice to see that Smer also box and sell some of the Heller's moulds.
Nice work on this model, Bob @v1pro ! Looks great !
Thank you Jay @ssgt. It's a happy looking plane.
I love that it's "1/72 Friday" - lots of posts of 1/72 builds to review! This looks great. I also enjoy the old Heller kits - building a Heller J-29 Tunan now! That was a nice, simple way to expand the tail - I'll remember that technique.
Thank you Greg, yes the Heller kits are a joy to make. I plan on making more from them. Their J-29 Tunan is a nice kit, looking forward to your finished build.
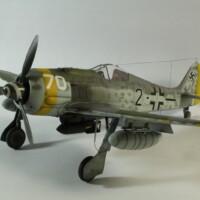
Expanding on tail surfaces I've done this on my Heller S-199 (converted from their Bf-109K) and on my recent Revell P-39. Stretch sprue works great to build up the area or to bridge the area that is needed to increase.
Some shots from both builds.
6 attached images. Click to enlarge.
1. S-199 conversion, stretch sprue added to the leading edge. A small hole was drilled in front of the base of the vertical stabilizer to glue the stretch sprue into place to hold the correct angle of the leading edge.
1. Putty applied to fill in the small gap.
1. P-39 build: Similar process but to increase the leading edge angle, the stretch sprue was glued to the old leading edge and to a piece of cut styrene.
Great work with this old kit!
Thank you Lis!
Very nice, Bob (@v1pro). Heller kits can be a real challenge, but you really made this one shine.
Thank you George @gblair. I agree that Heller builds do have their challenges, some of the small pieces are a bit thick, but they do provide us modelers great subjects to build and they are not expensive.
A great job, Bob. great work on the tail.
Robert, thank you!
That looks great Bob @v1pro! Extra kudos for the rare machine you've built!
Gary, thank you. I hope to build more subjects like this one in the future.
Excellent result, Bob @v1pro
Didn't know you could bleach decals by just putting them in the sun, thanks for sharing that tip.
Thank you Jon.
Using the sun works great, depending on the season it will take from a few days to 2 weeks. Where I live even in the winter months we have enough sun to bleach out the yellow from the decals. I have never done this with a UV Light but I have read it works too, perfect in areas with less sun availble. Especially in northern lalitude areas in the winter or places with little sun during the wet/gray seasons.
Looks good Bob, nice clean 1/72, well done.
Thank you Allan.