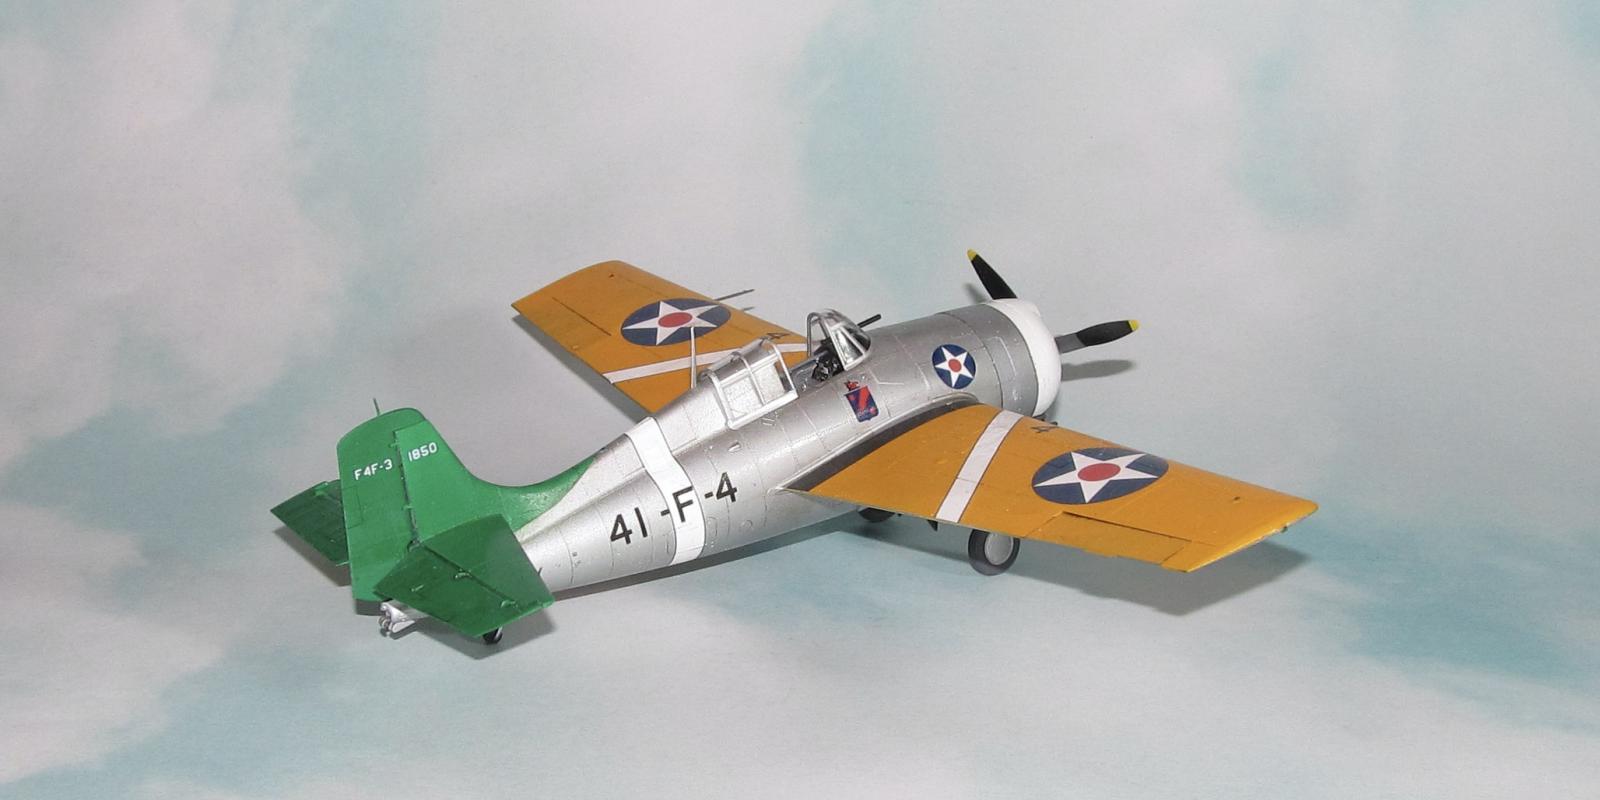
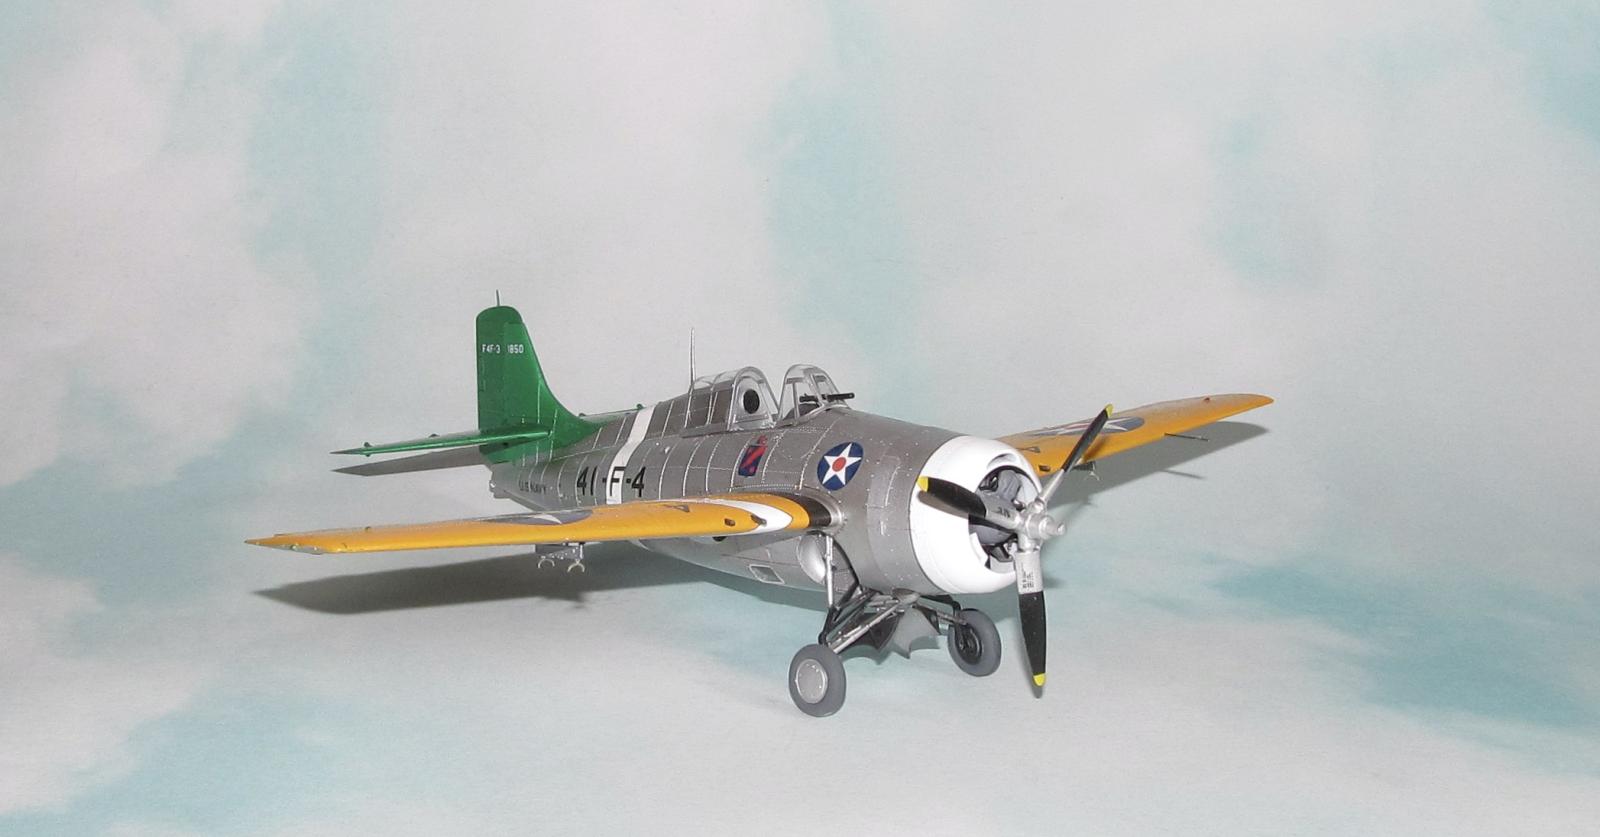
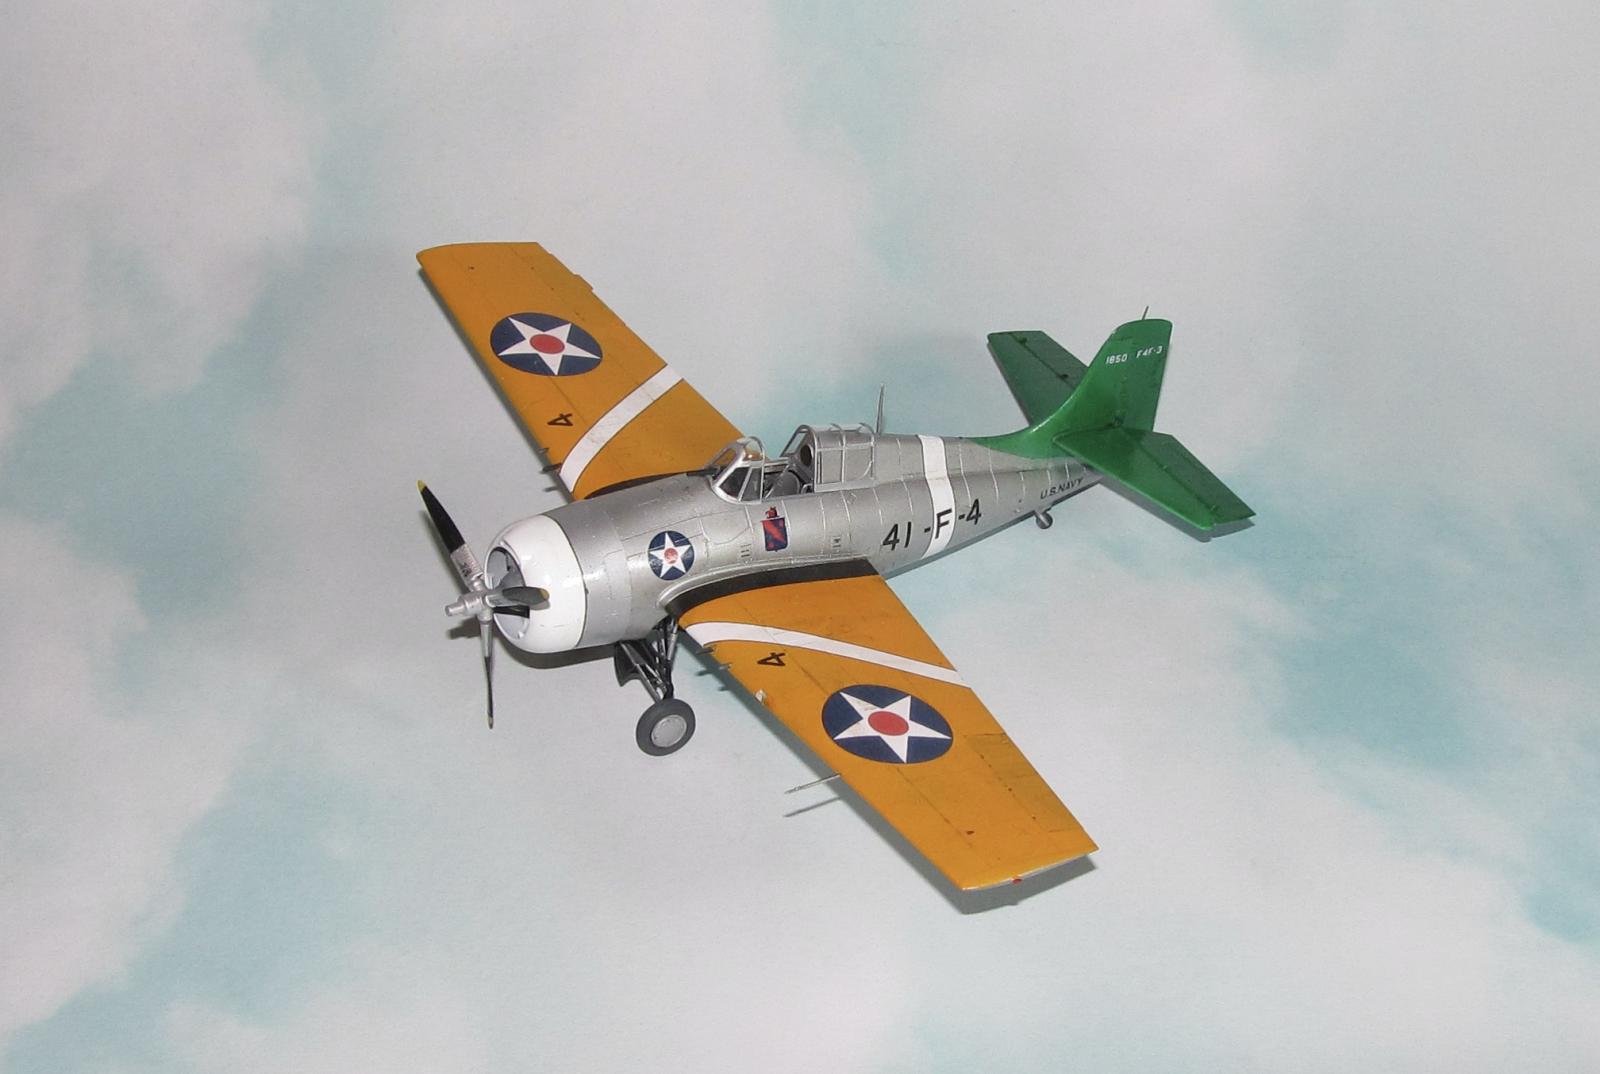
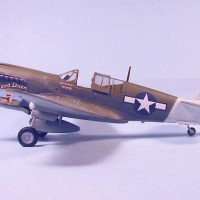
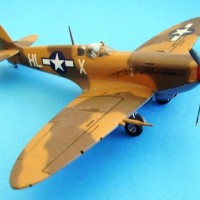
1/48 Eduard F4F-3 Wildcat
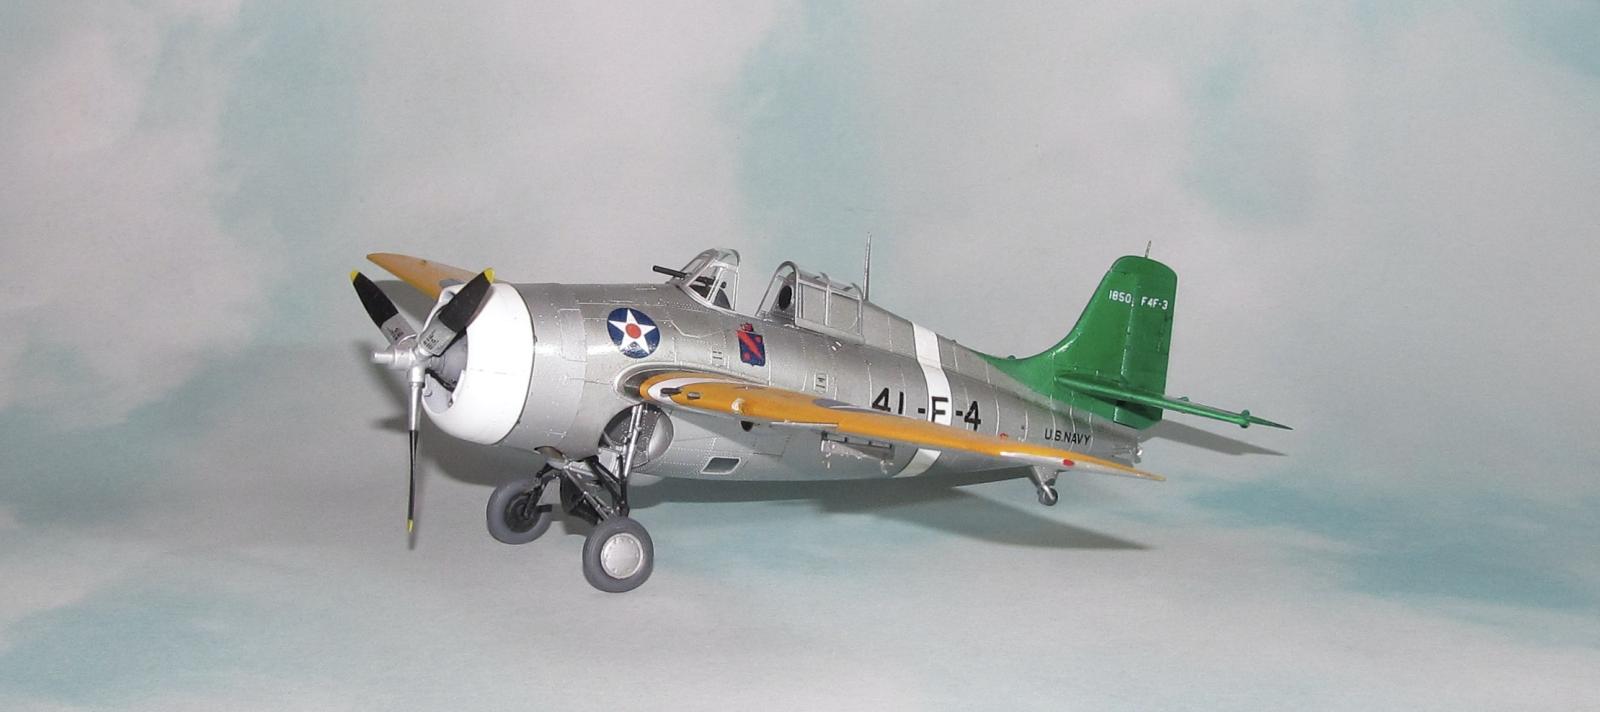
The Grumman F4F-3 Wildcat was borne from the failures of the F4F-1 and F4F-2 which was lacking in performance than the winner of the US navy monoplane fighter competition, the Brewster Buffalo. It was quickly ordered by the French and British who were in need of naval fighters and eventually ordered by the US Navy after Brewster's poor manufacturing setup couldn't keep up with the Navy's delivery schedule.
The Dash Three was the early version preferred by USN pilots due to its four wing guns and large ammo load, but the machine guns sometimes had jamming/feed problems due to the poor layout of the wing guns ammo feed trays that would be fixed in the later Hellcat.
All Wildcats would suffer from the landing gear system borrowed from the F3F series which was hand cranked (creating a medical condition known as Grumman Wrist) and frequently cause landing accidents due to the landing gear not being locked.
The Squadron
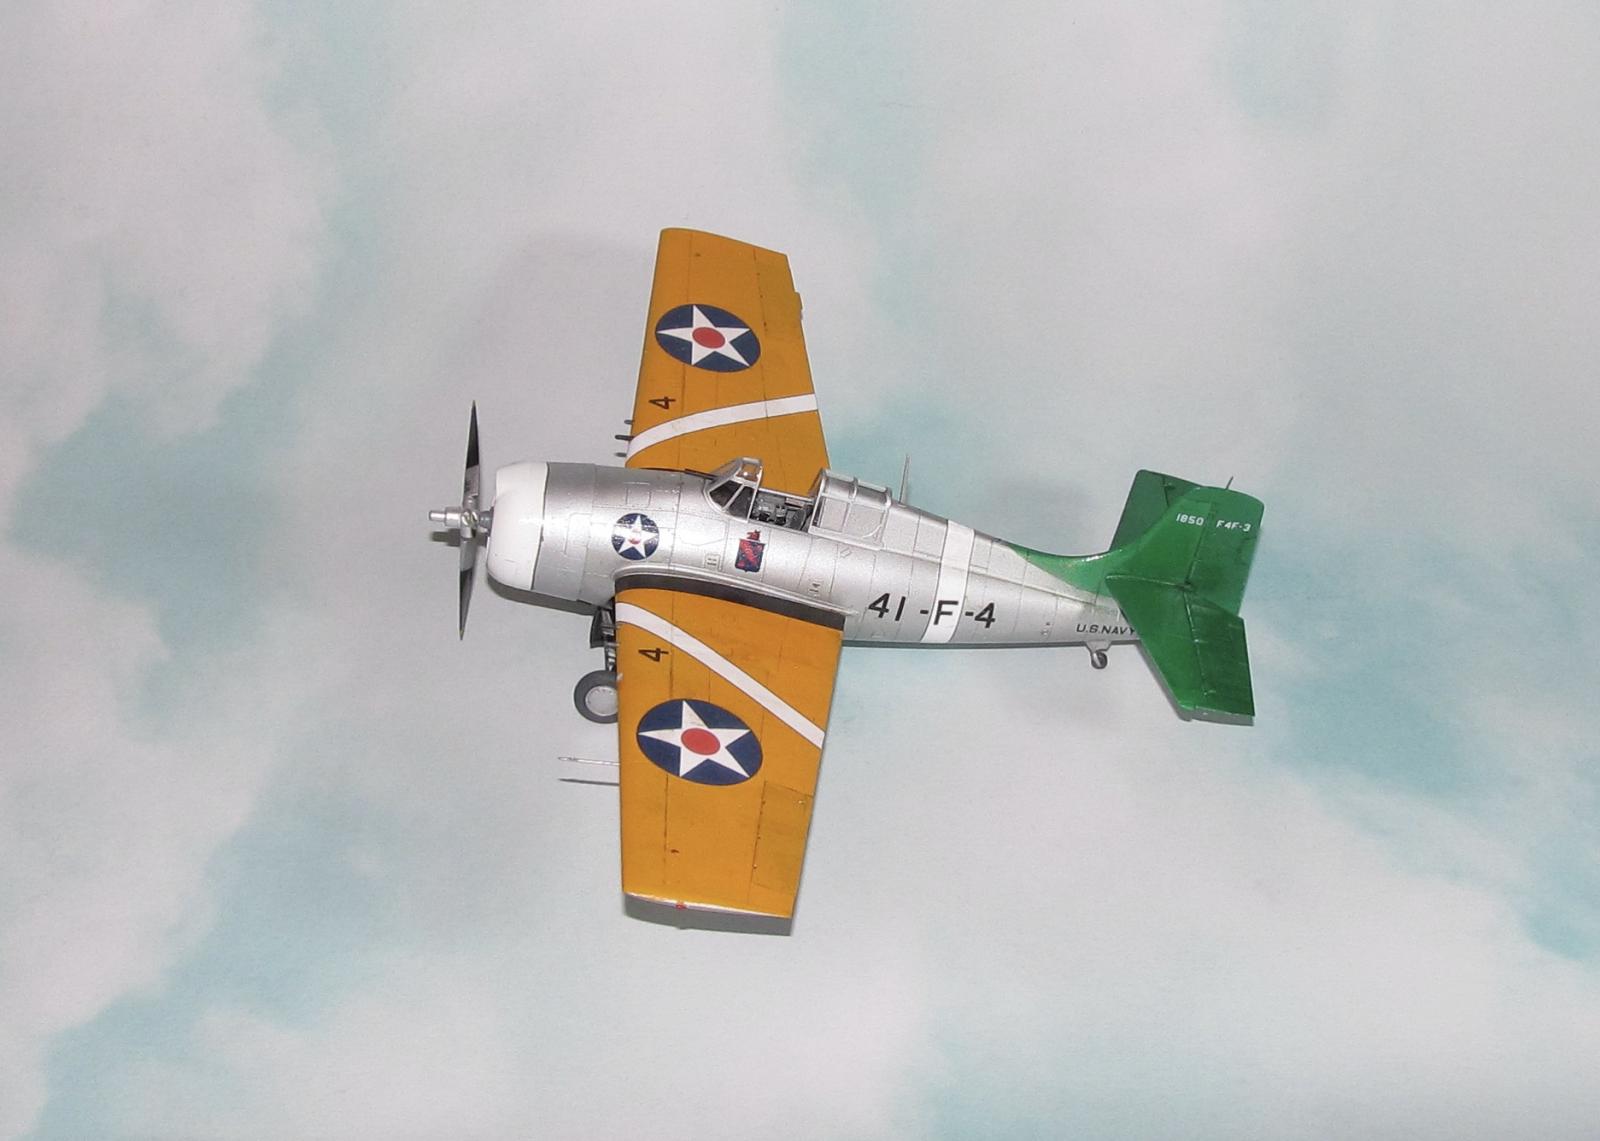
Pre WW2 USN squadrons have some really strange lineage. Among them was VF-41 which was originally called VF-5 then the following: VF-5S, VF-5B, VS-1B, VF-5S, VF-5B, VF-4 before being designated VF-41 in 1941. VF-41 remained as such till 1943 when it was re-designated VF-4. Post war it was also known as VF-1A and VF-11 till it was disestablished in 1959. It was known as the Red Rippers which the still existing squadron took on the traditions, designation and name after the original was disestablished.
During WW2, the OG Rippers served on the USS Ranger in the Atlantic with their first combat being Operation Torch until mid 1943 when they were transferred to the Pacific on board the USS Bunker Hill and later the USS Essex.
CONSTRUCTION
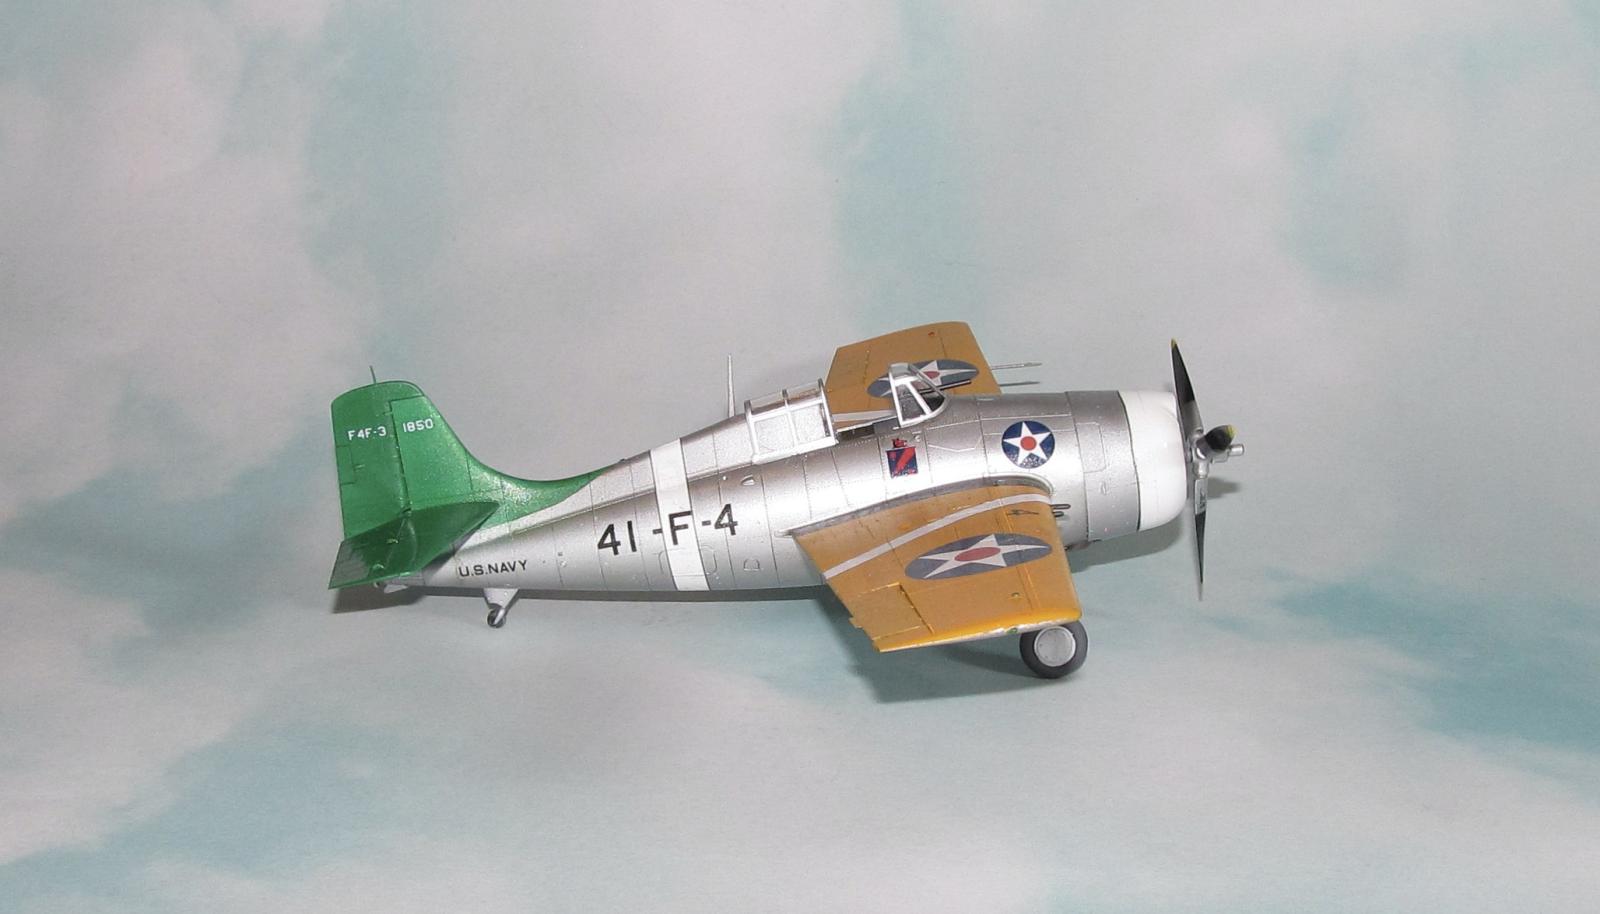
I had my heart set on building a Golden Wing era Wildcat so I went painting most of the plastic parts Vallejo Air Aluminum as per instructions. In this case, this particular airplane was part of the first batch produced so it had the Aluminum painted cockpit. I then added all the PE which wasn't all that difficult to add but I left off the levers till after the paint and decals were done.
The wings were pretty easy to assemble. CA glue on the leading edges and Tamiya Extra Thin Cement on the hidden seams. The leading edge seams required some sanding/filling with various grades of wet/dry sandpaper. I polished the seams on both wings with a 3200 grit polishing cloth. Next the ailerons were given the same treatment.
The prop was cleaned up and painted as per instructions.
The cowling was the biggest headache of the whole kit. It went together well, but it cracked on me a couple of times at the seams (one of the drawbacks to using CA glue is it cracks easily with sheer/lateral force. The reason why this happened to me was that I had to fill in some seam lines and create two new ones as well as add some really tiny PE latches to represent the first batch cowling. I ended up repainting the damn cowling several times because I had issues lining up the white cowling ring.
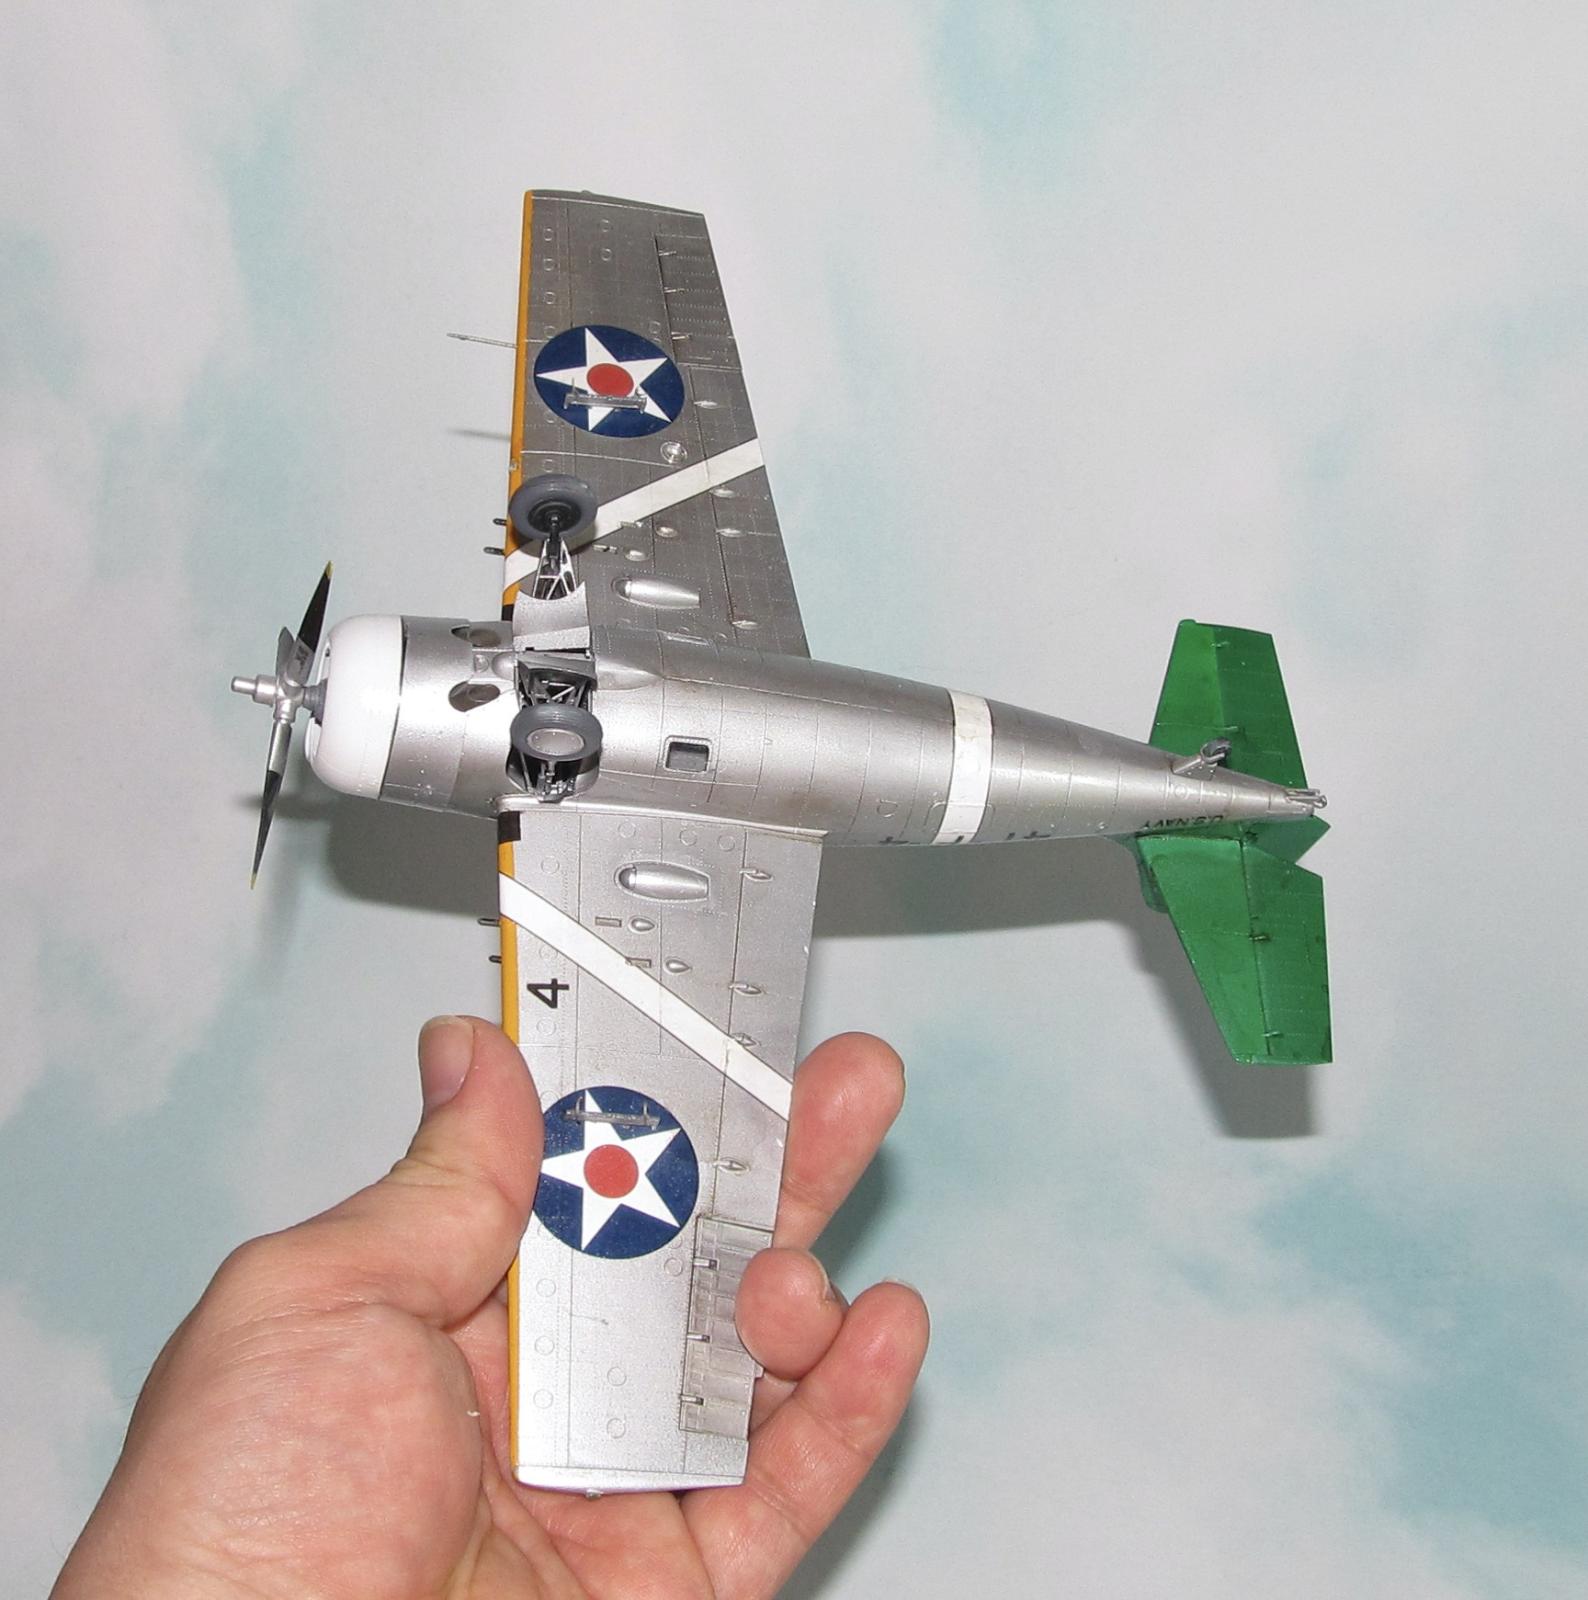
The landing gear wasn't as fiddly as my experience with the 1/72 Arma version, but it had its moments due to the way Grumman did the real life landing gear. One major difference between the Tamiya Wildcat and the Eduard Wildcat is that the Eduard landing gear is easy to install into the fuselage and stays in place unlike my experience with the finicky Tamiya landing gear.
COLORS AND MARKINGS
Painting
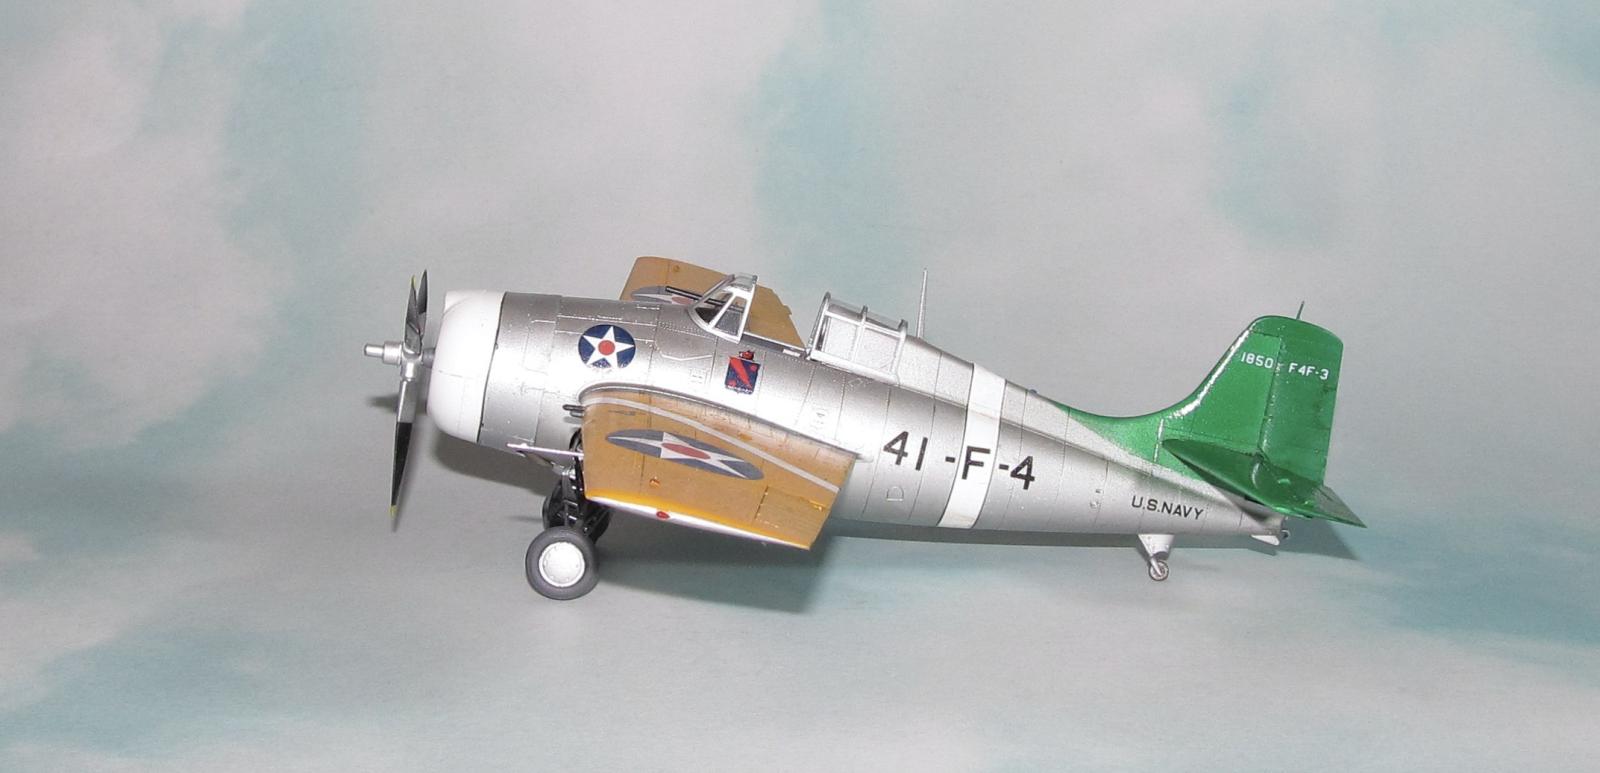
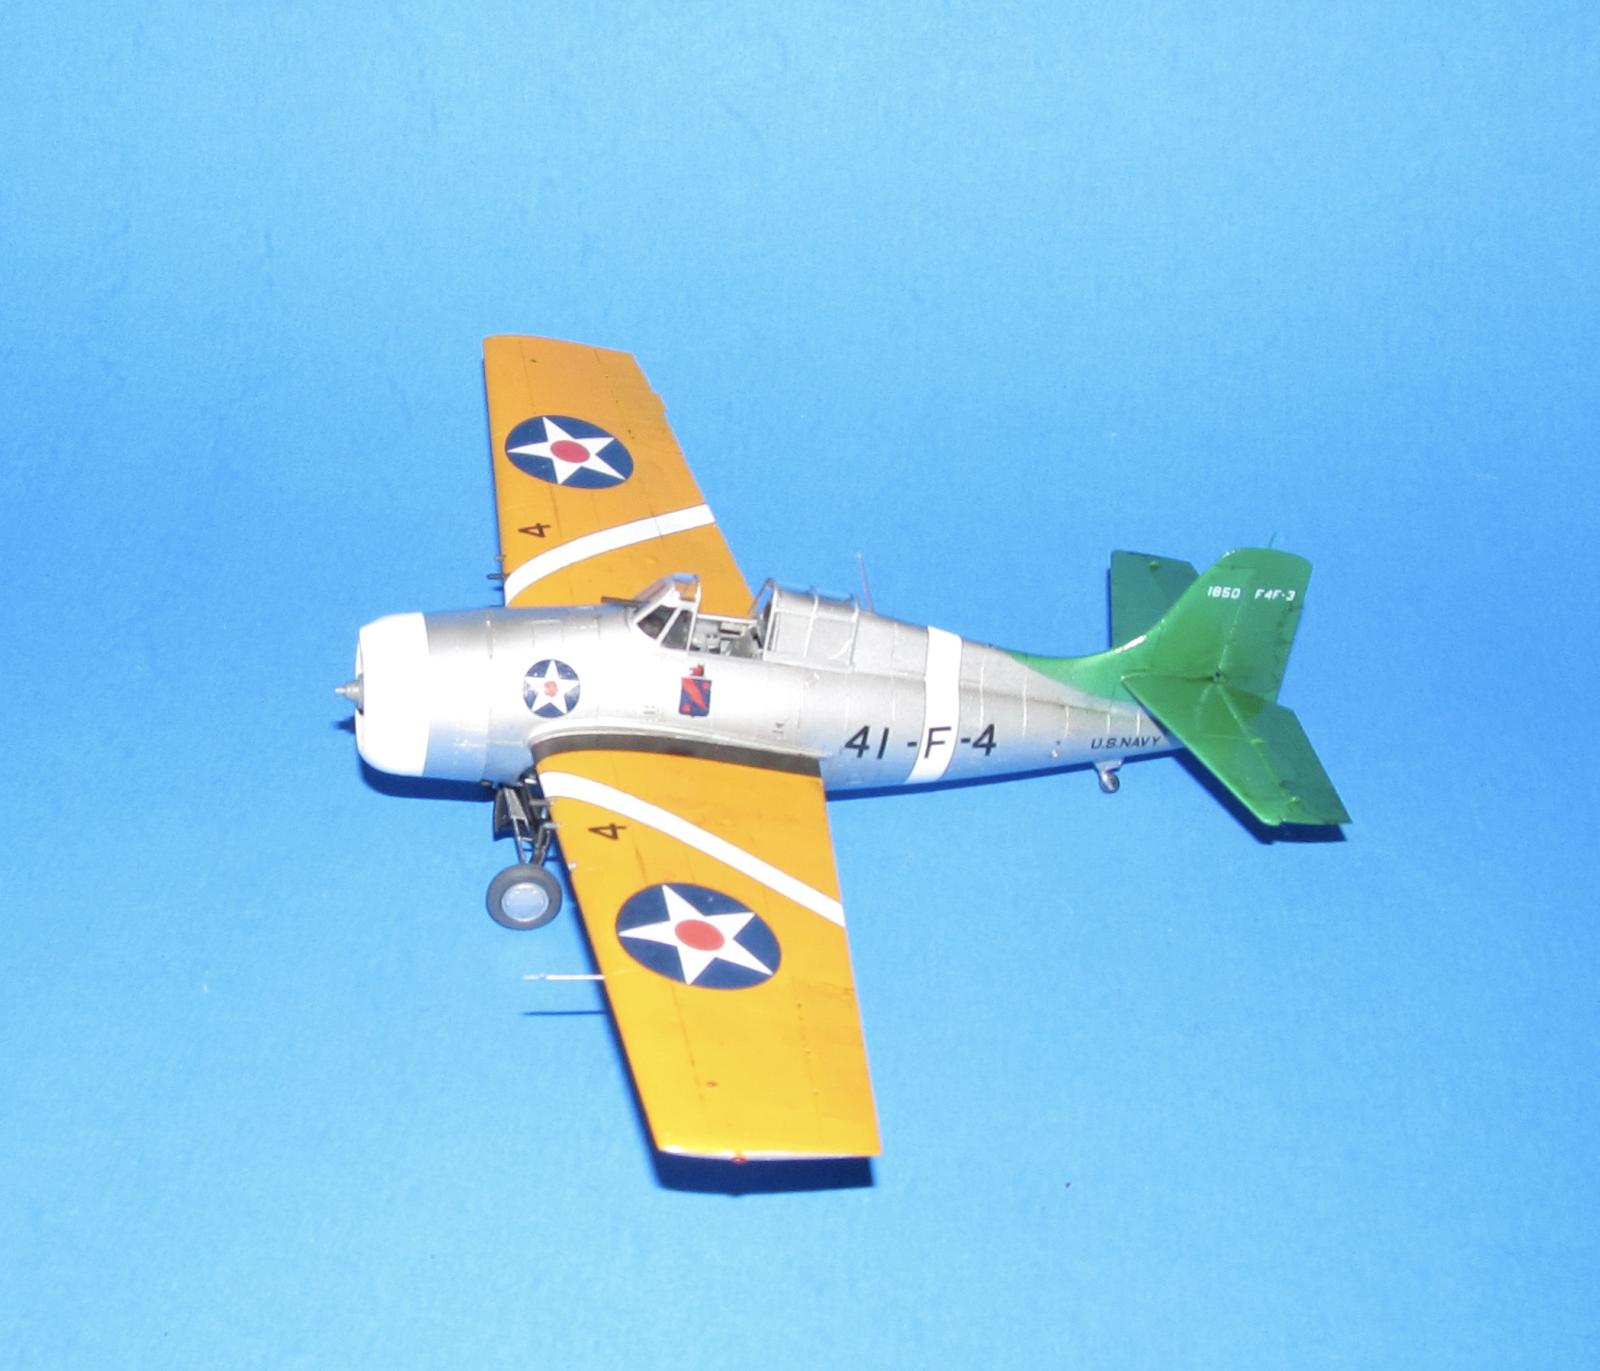
I went with painting the fuselage with Vallejo Air Aluminum. I find it is a decent representation of the aluminum paint the US Navy used in the Golden Wings area. The trick with all Vallejo metallic paints is the spray it in thin coats and let it build up gradually.
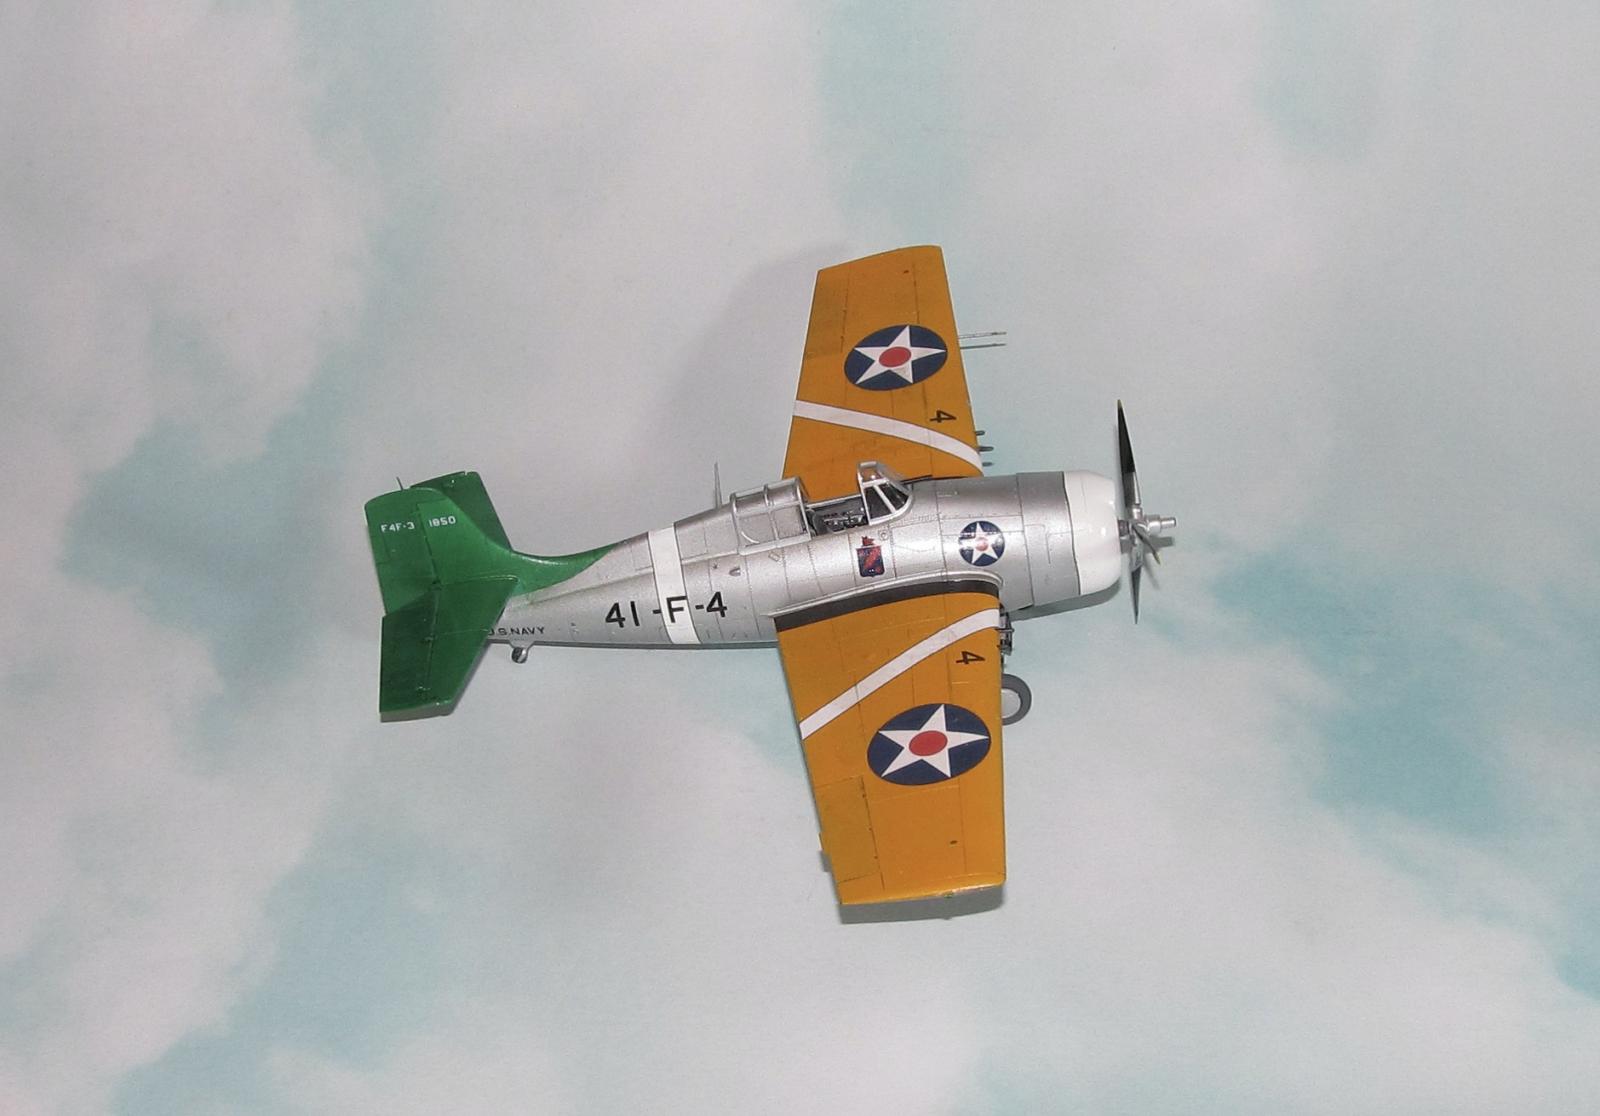
I used the Eduard supplied canopy masking and sprayed the open sliding canopy part as well as the windscreen with Vallejo Air Aluminum.
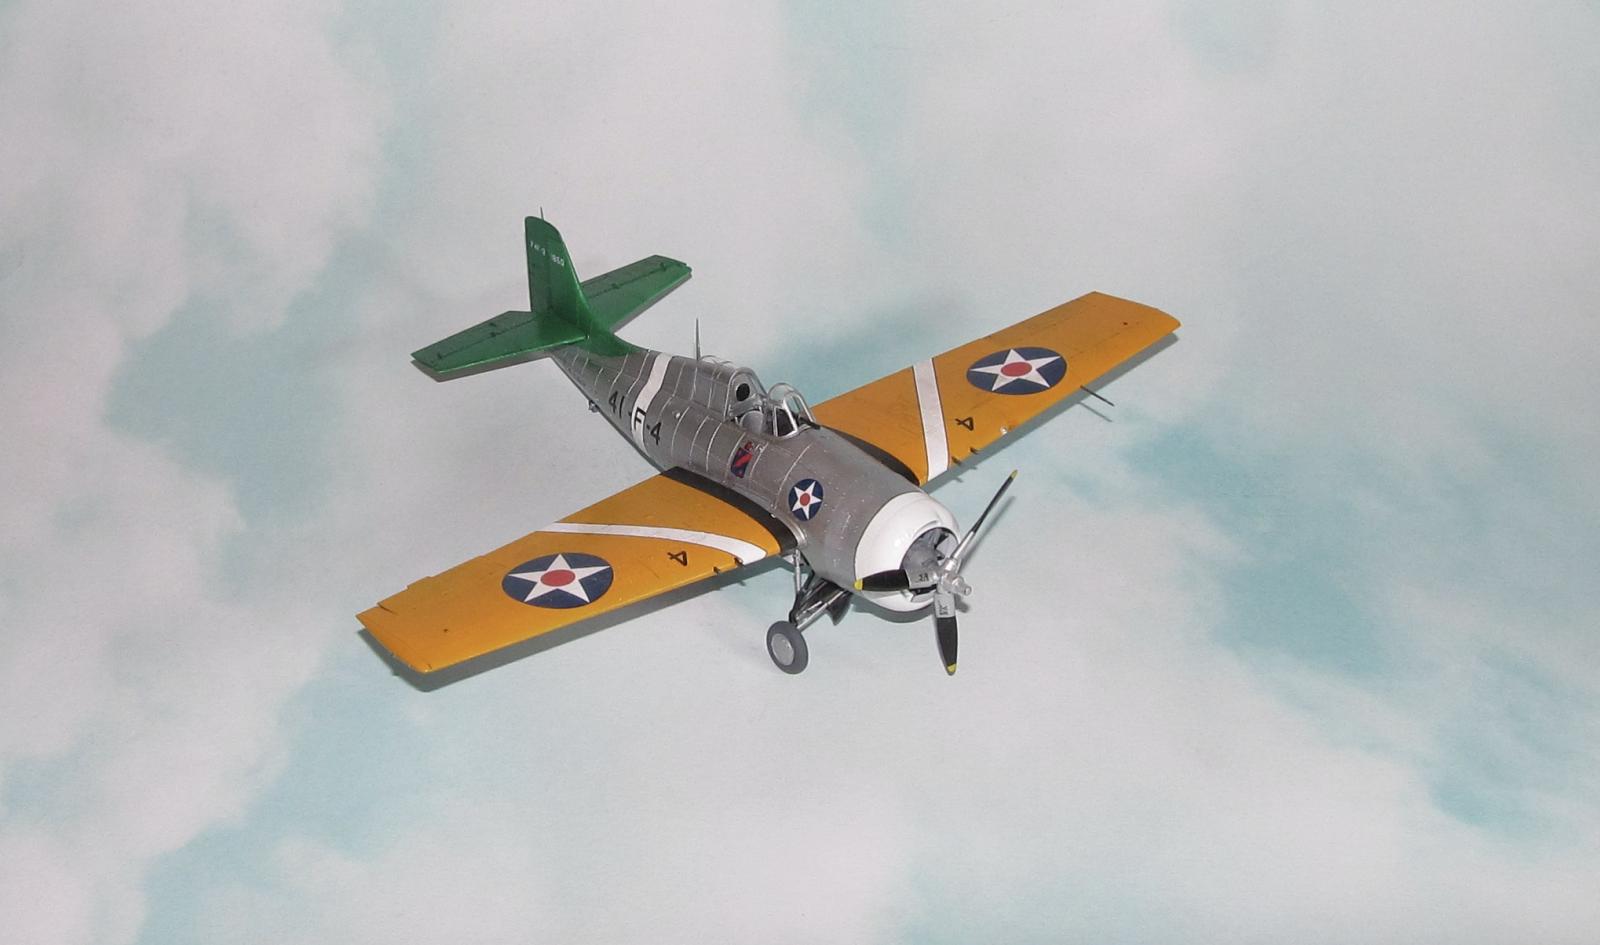
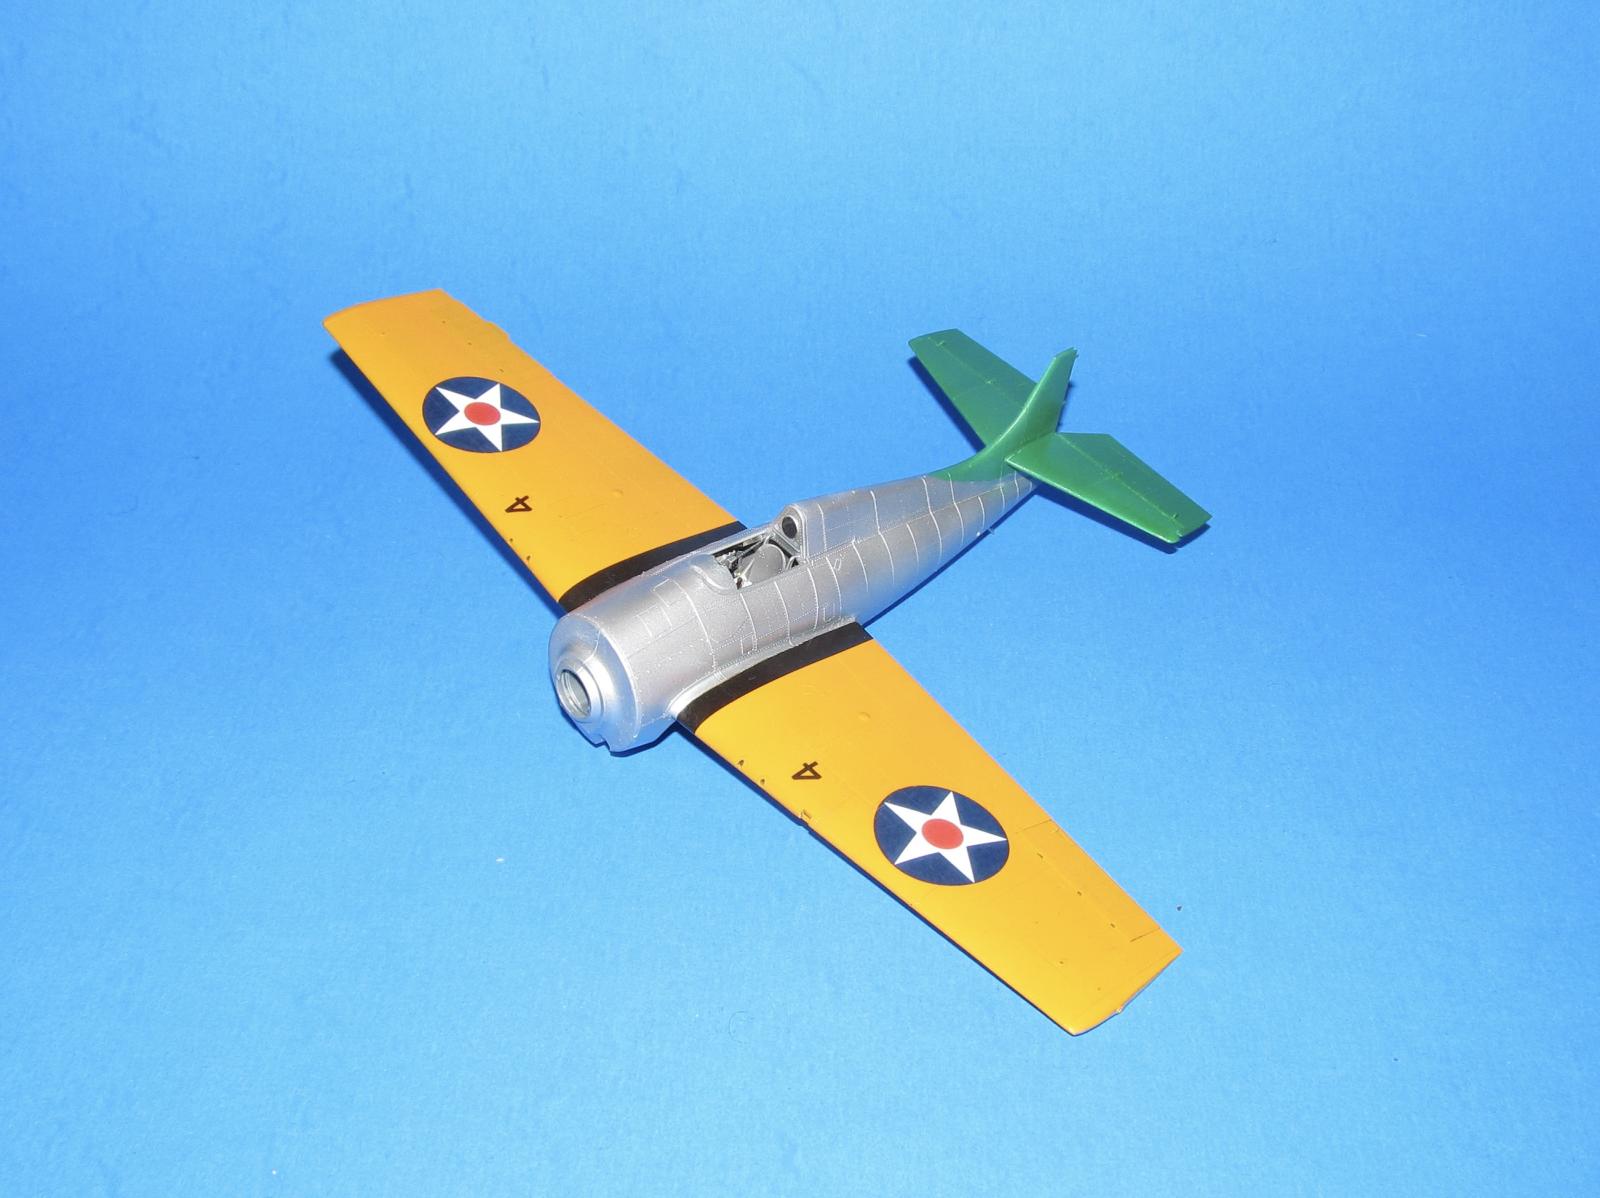
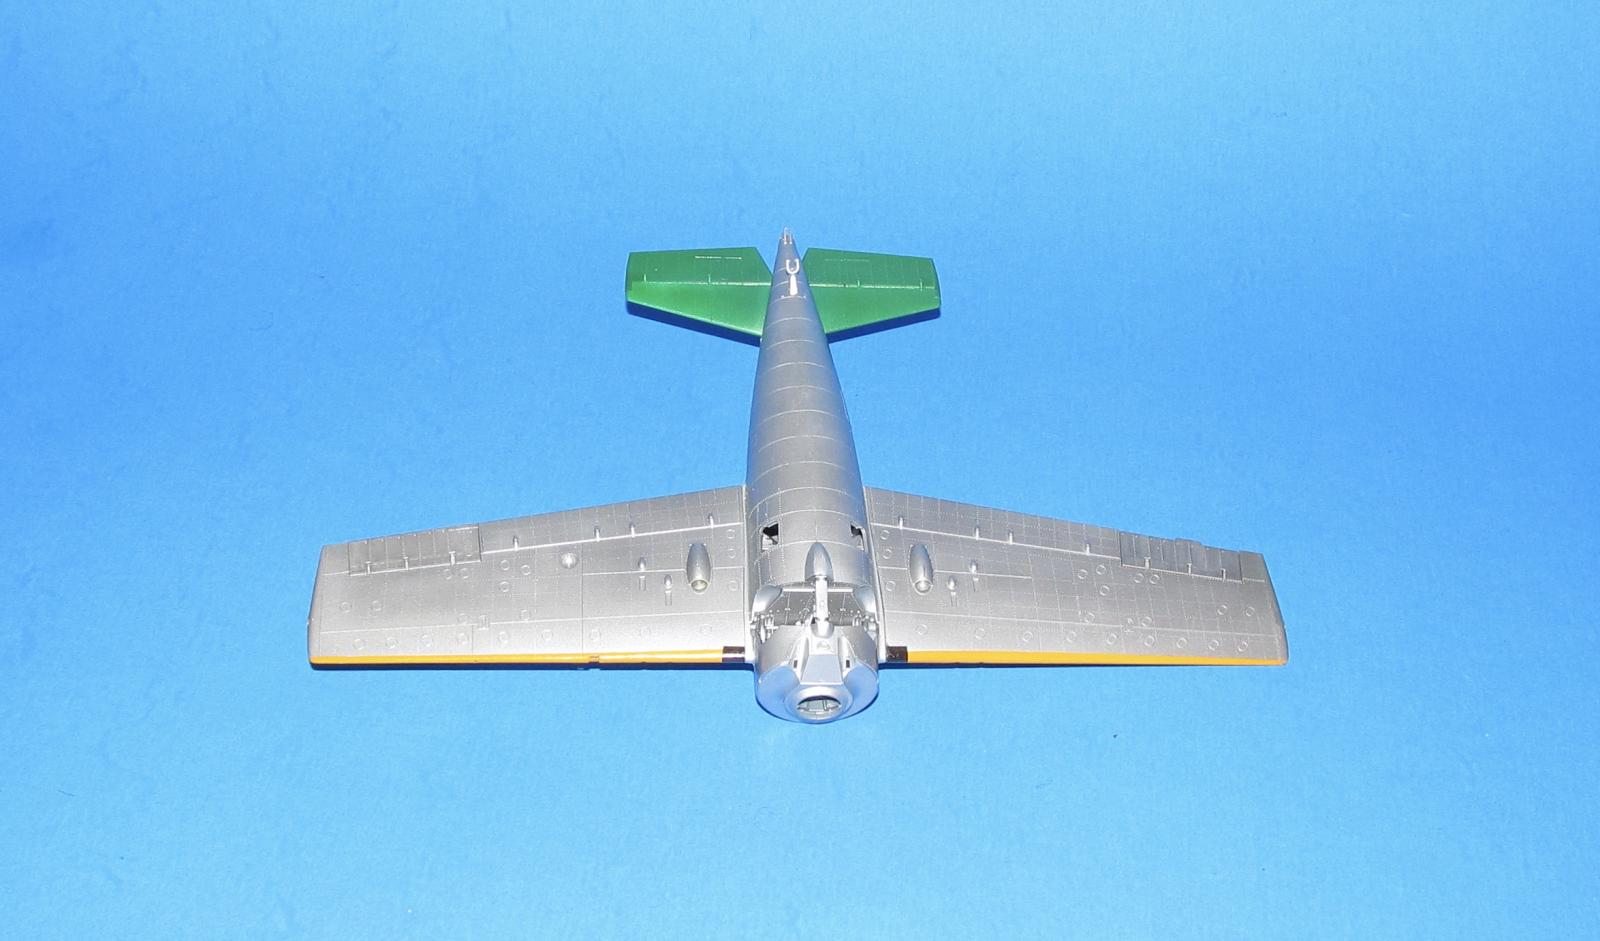
The cloth portions of the ailerons and rudder were left in the original plastic color while the metallic areas were primed with flat white. Next I sprayed both with light coats of Model Master Gloss Green which gave the slight appearance of differences in material or paint (a trick I learned while painting the wings of biplanes (one paint two tones!))
Only drawback to Vallejo Air paints is they are fragile to handle and I did more touch ups than I wanted to because of it.
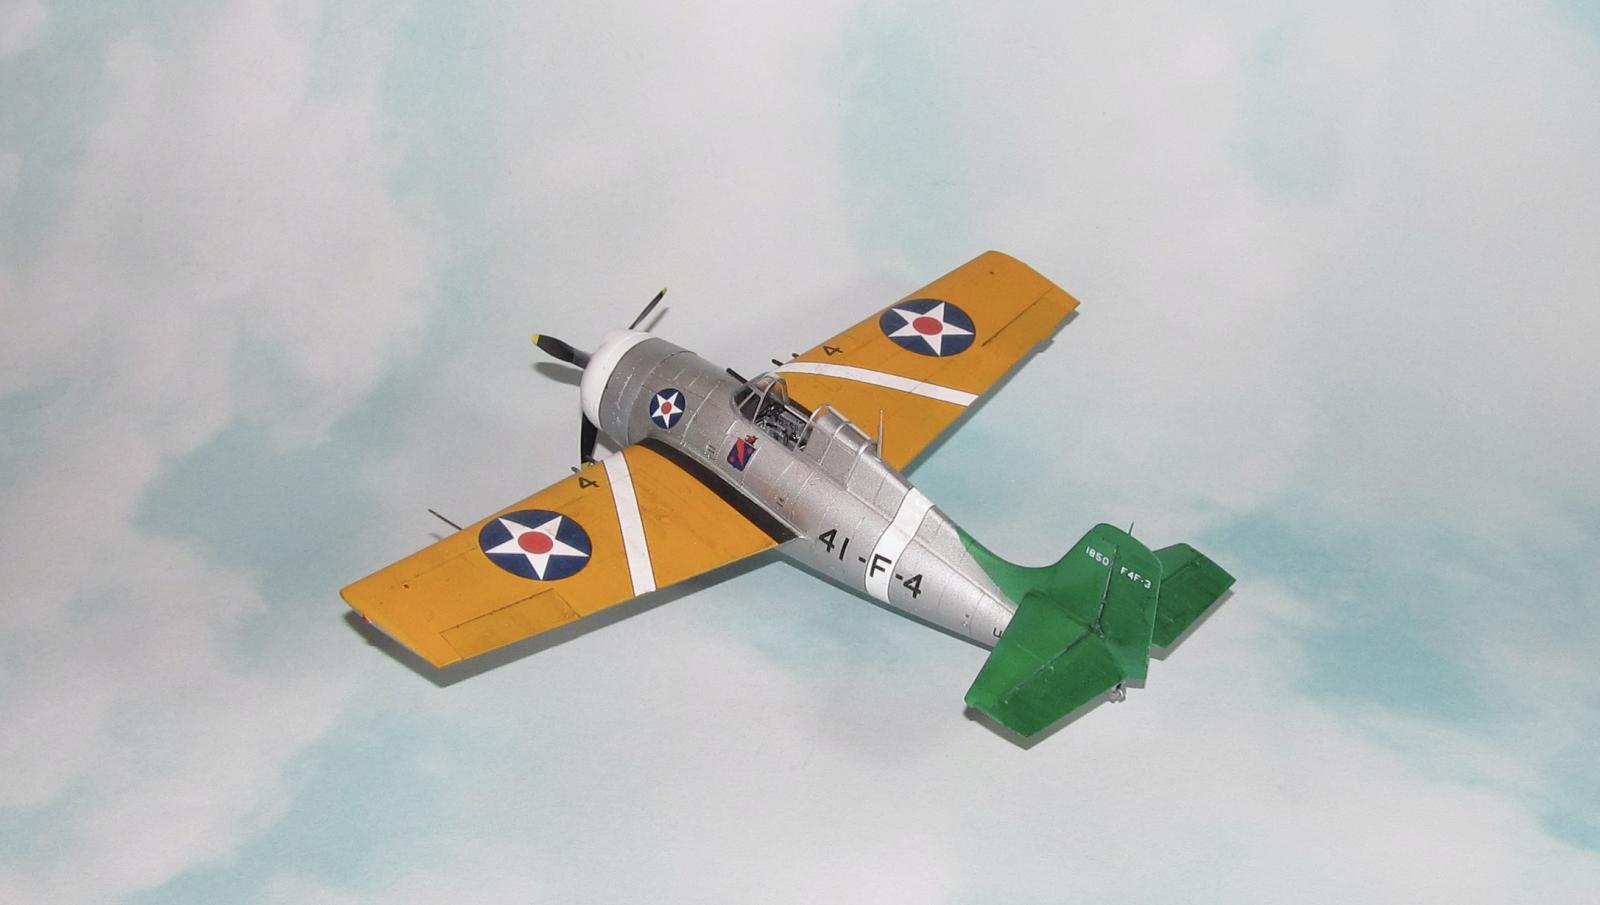
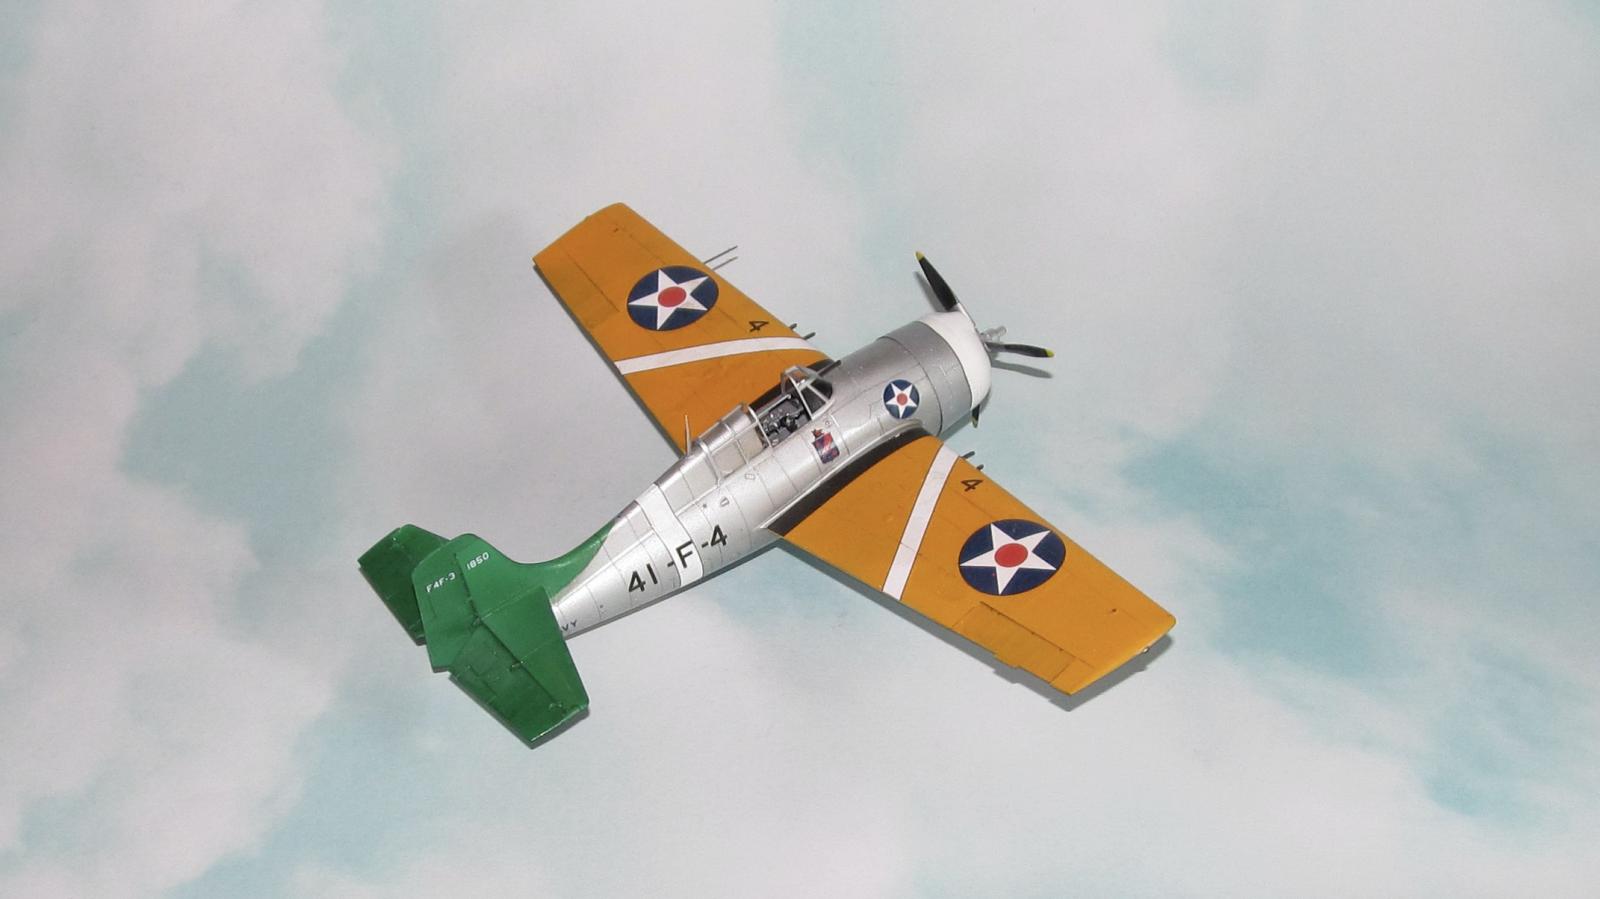
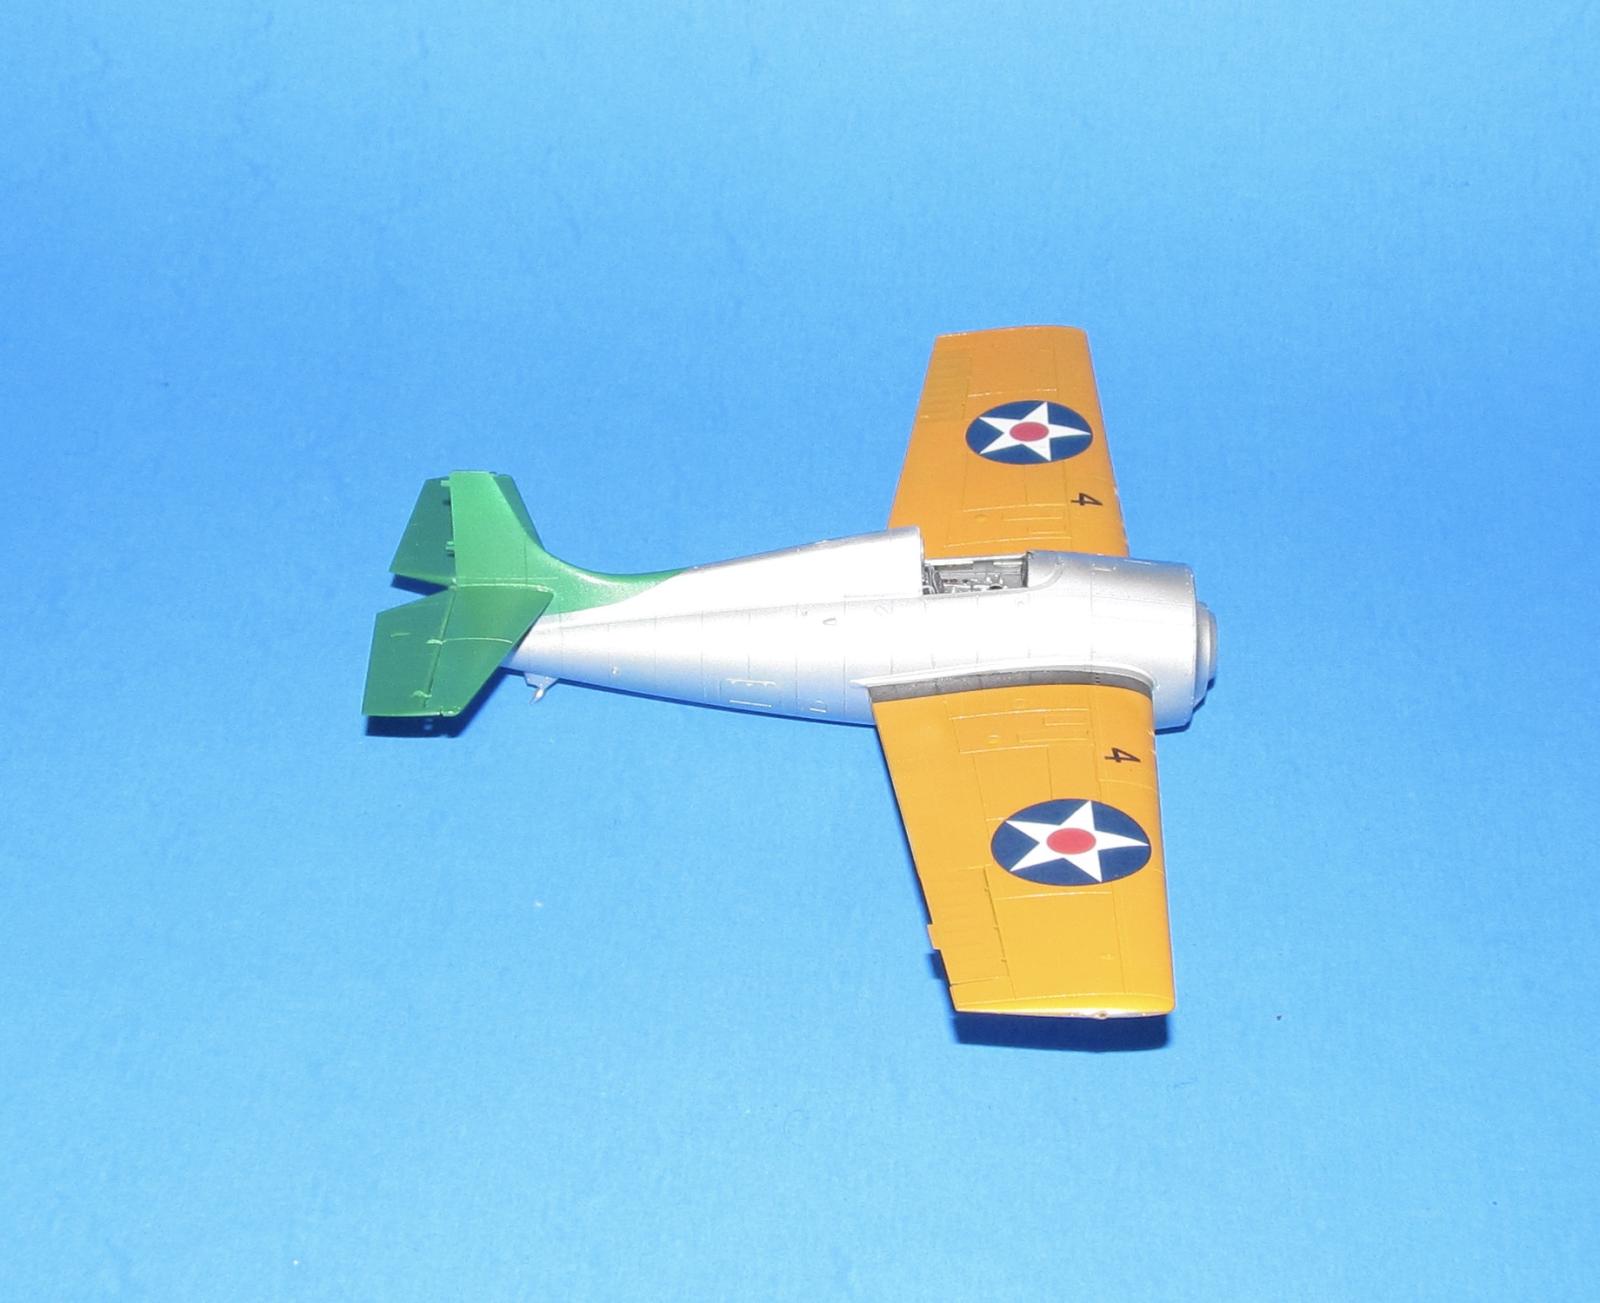
The golden wings minus the flaps were painted flat white and when the white paint was dry then painted Gunze Orange-Yellow which is much closer to the real life color than US Army Chrome Yellow. My 15 year old bottle was still good and sprayed on well.
Once everything was dry and assembled together, I sprayed on two thin coats of Vallejo Gloss Acrylic to provide the smooth surface for the decals.
Decals
I went with the VF-41 in golden wings. The decals went on with some issues. Eduard's long decals have a propensity to fold onto themselves. This creates some serious headaches. I found the best solution was to cut the decal into smaller bits and lay them down instead of fighting with one long decal (the cowling and fuselage thin black stripes.)
Thankfully, the US Navy didn't cover their aircraft with a large number of stencils till mid World War 2 so working on a model with only a few decals is a treat.
Weathering and Final Coat
Ha! I did very little weathering except some panel line washes as based on the photos, the Golden Wing era aircraft were kept in very good condition.
I sprayed the model with Vallejo Semi-gloss acrylic and left it at that.
FINAL CONSTRUCTION
The engine, cowling, rudder, ailerons and landing gear were added post painting, but before the decals.
The windscreen, sliding canopy, gunsight and other clear parts were added without major issues except the tiny wing tip lights as they are a nice touch, but again I found out that they like to fly from my tweezers where I would spend many minutes looking for that tiny piece on the floor. I ended up losing one of them and had to replace it with a drop of white glue painted clear green (starboard light) instead.
Lastly, I added the prop which sticks on the shaft with a dab of white glue.
CONCLUSION
The Eduard F4F-3 is a much more accurate rendition from the earlier Tamiya conversions and Hobby Boss models. Both model kits still make nice models, but the Eduard is king of the heap for the Wildcat family. I also found it less fiddly than the Tamiya landing gear (which drove me nuts on the two Tamiya Wildcats I built.) It was fun (and sometimes frustrating) to build a Gold Wings era Wildcat, but I enjoyed the build.
Anyone from a beginner with patience up to an expert can build a quite nice model with this kit.

This is really nice, Dan. Good work and a great result. I think this is one of your best. Inspiration to pull out my kit and do one in these markings, so thanks.
It is one of my favorites. Thanks
Looks too colorful to be a USN plane (especially compared to the low visibility paint jobs used today). Very nice job on this one!
Thank you very much
Excellent as always, Dan! Awesome write up too!
Always a fine moment to see one of your articles.
Thanks Spiros!
Very nice build!
Thanks Rafi!
A great-looking Wildcat! Vibrant colors definitely!
Thank you very much Greg.
Excellent result on this Wildcat, Dan @dbdlee
Great chosen colorful scheme and perfectly applied.
Thanks John. I'm glad how it turned out (for the most part.)
Awesome early Wildcat - I love the Yellow Wings scheme. Eduard rocks!
Thank you, Chas. I'm looking forward to starting their FM-2 (when I get around to it.)
Nice one Dan! Love those yellow wing schemes.
Thanks Robert!
Nice work Dan (@dbdlee), looks like that 15 yr old Chrome Yellow worked very well! One of my favourite schemes. 😉
Thanks George. I was surprised too, but those Gunze Bottles seal well (too well sometimes.)
Looks great in this colour scheme, I enjoyed reading your write-up.
Thanks George
A very nice-looking Wildcat!
Thanks John
Beautiful