1:8 Excelsior-Henderson Super X – 3D Scratch Built
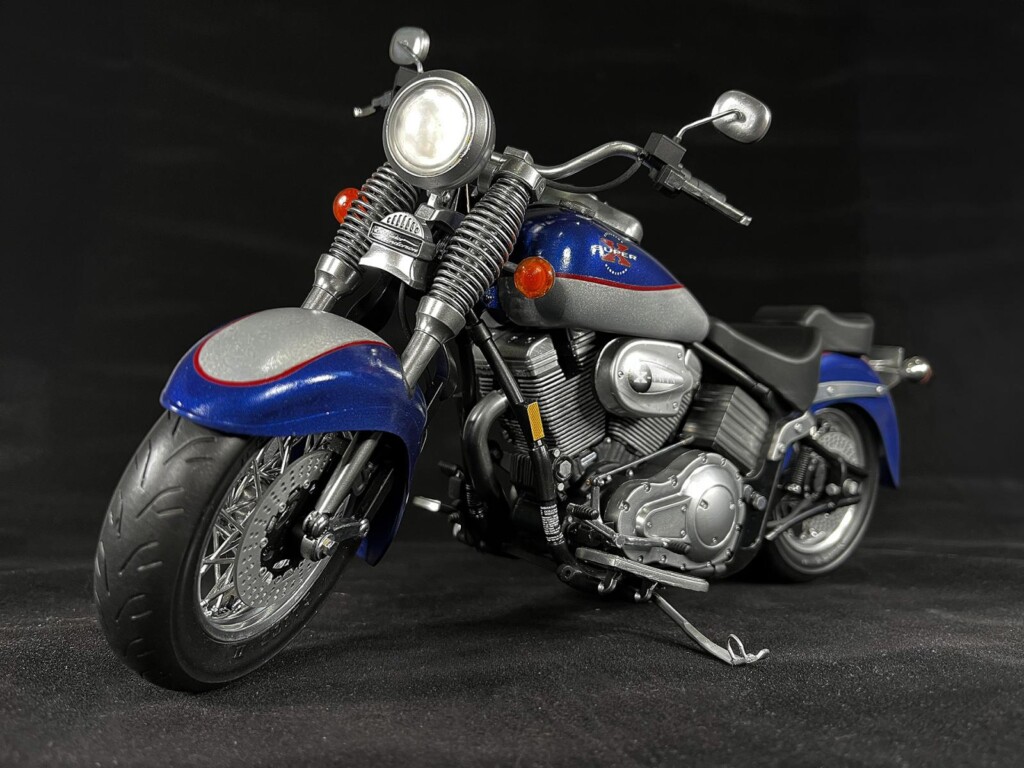
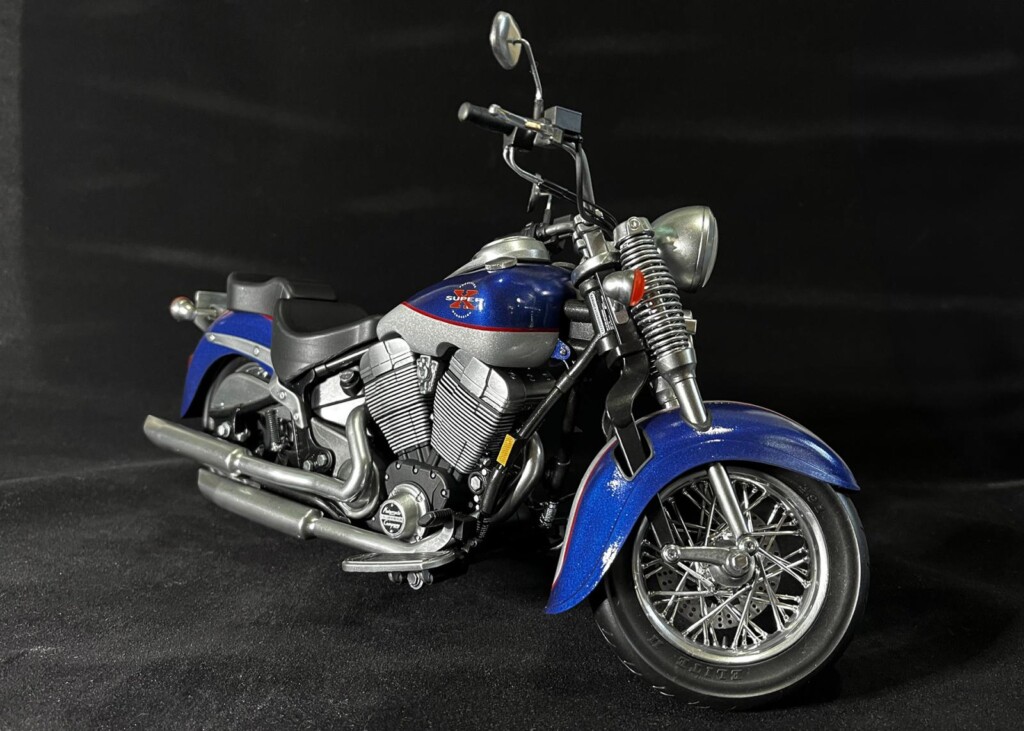
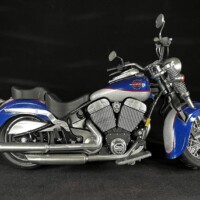
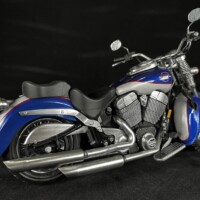
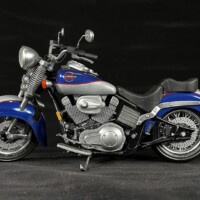
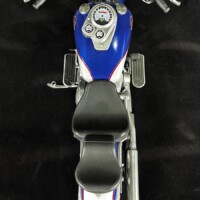
About a year ago I had an idea to scratch build an Excelsior-Henderson Super X. Reason being—a model of one doesn't exist and I worked at E-H in the late 90s and have always wanted to own one. While the real bikes are out there and not all that expensive, I opted for the 1:8 version. After drawing the whole bike in 2D based on the factory drawing I still had copies of, I scratch built the frame from tubing and styrene. As I completed this I struggled with how to build the more complicated parts of the bike and have it still look like a Super X. At this point I began tinkering with 3D CAD. The thought being I could 3D print the more complex parts and hand build others. Once more familiar with the software I started building more and more parts in 3D until the idea of scratch building parts was abandoned. Well, here we are 10 months later and I'm proud to say I DID IT!
3D Scratch
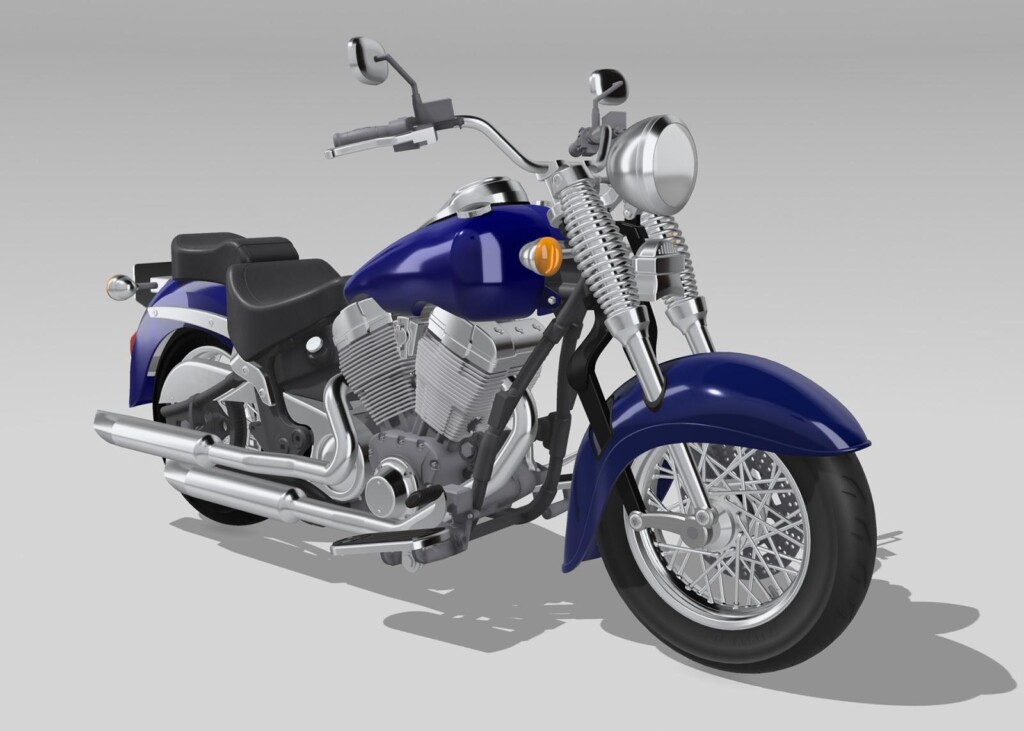
The build is really two build. The first being the 3D modeled parts—yes, every external part including the rims and tires are 3D printed (with help from two great modeling friends). I did work in some real world materials for the mirror posts, kickstand, and shifter linkage. Other than that, this bike 100% resin printed. If you've ever worked in 3D software you know it's a bit different than 2D drawing. I wish a person could just import the 2D art and hit a “render” button, but alas, I had to figure it out. So at this point it was no longer a traditional scratch build, it became 3D Scratch. I say that because I didn't purchase the print files, I created them.
Full Super X rendered in Sharp3D
I'm not going into too much detail here as I created a WIP for this project and if interested you can check that out here: Super X Build WIP
The Assembly
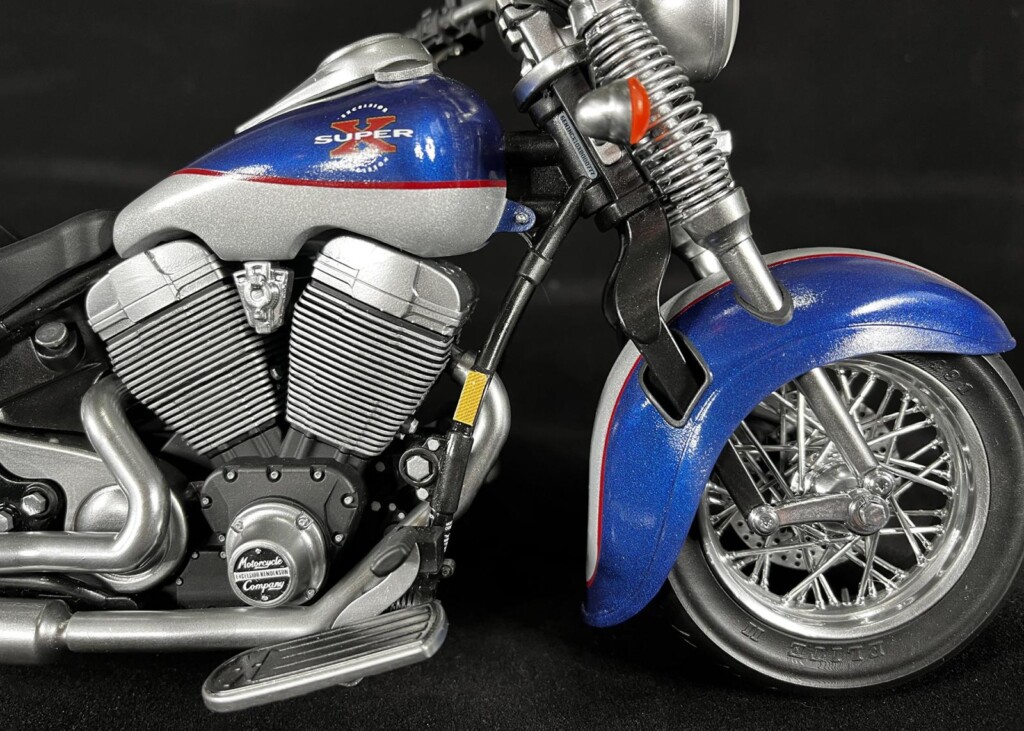
What do motorcycles have an abundance of? Chrome. We all know that chrome is one of he hardest things to get correct in this hobby. Staying away from lacquers, I opted to try the AK Super Chrome. I don't think I've it mastered as some parts look more aluminum than chrome, but I'm going to continue to experiment and hopefully will get it mastered. I did use chrome pens on some of the smaller parts as well. The tank and fenders are shot with Scale Finishes car paints. These are real car paints and work very well and have a nice hard finish. For the decals I created a sheet again from my original drawings and worked with Bedlam Creations to print the decals.
The biggest assembly challenge was the fender/wheel assembly. Since the Super X front forks plunge through the fender, the two parts of the front suspension had to be assembled to the frame, the fender pressed into place and then the wheel attached. One of these times it would have been great to have three hands.
Conclusion
As I said in the WIP, I have no idea how much time or money I spent on this build. I purchased a 3D printer and the 3D software, so those costs I can measure, but otherwise I have no clue. I'd estimate I spent 1500-2000 hours building. Most of which was screen time on the 3D model. And it' was all worth it. 3D printing is an ever-growing part of this hobby and I'm excited for what can be done. I am looking forward to a standard kit with sheet instructions 
Comment away and keep building.
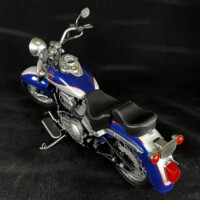
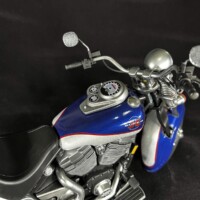
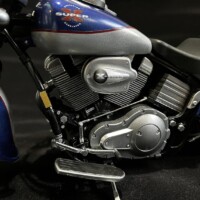
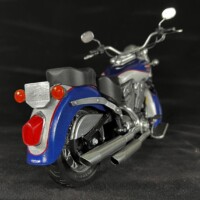

Wow! Excellent modelling skills especially to scratch build a machine like that. I find a very good solution for an excellent chrome finish is a Molotov Chrome pen. It does dry slowly but you really do get a shiny reflective chrome finish.
Christopher
I was about to suggest that alternative.
Totally speechless with the outcome of this build, Matt @coondog
This is superior 3D printing. I can imagine that you are overjoyed with this outcome, it is fantastic.
Thanks for taking us through the entire design and build of this project.
@johnd @fiveten @bikegueen I really appreciate you all following along and giving encouragement along the way. This has been a "grail" build for me. Now on to the second one…
Look forward to all you do! Excellent build and joy to watch you build it
I’m so happy for you to see this magnificent model finished and to such a high standard, Matt.
Congratulations, Matt! Superb job, amazing that you created it from scratch!
Simply magnificent! Thanks for showing the way, using this relatively new media.
@coondog. Great to see it done! Was a pleasure to follow your build! Congrats definitely something to be proud of.
An amazing project ! well done!
Matt your model looks like something out of what Hollyweird would do. With printers you can pretty much take modeling to a new level of detail and expertise. The accuracy police if given the tools could blame themselves for not being accurate enough and talk to themselves in the mirror. This really is cutting edge modeling.
I have a brother who invested in Excelsior-Henderson and toured the companies building. Reading a article by a business mag the writer commented that management focused more on spending money on furniture and fixtures for the office. Creature comforts that Money could have been spent on developing the bikes. Which may have been a sign of why things went south for the company.
Modeling companies will do what your doing when developing their kits. Looks like you've removed the middle man and have pulled back the curtain for what can be done with the hobby. Impressive to say the least.
Two thumbs up.
Excelsior-Henderson was a missed opportunity to say the least. We worked in a 100 million dollar factory with a 3 million dollar paint facility. They spent money like sailors in port to be sure. But, the bike deserved a life longer than it had. Some of the technology pushed H-D and others to modernize.
It was a great experience and some of the most dedicated people I've ever worked with in my career.
Great result, Matt. I was curious how you would go about getting all the individual pieces modelled, and I see you mentioned you had some factory drawings to go off of. How will that translate to the JD tractor project you envision?
@robgenev665 I followed the same method with the 4020. Instead of working from drawing, I referenced photos and my 1:16 Ertl models for reference.
Amazing build. This takes scratch building to a level I can't even imagine doing.
Matt Minnichsoffer (@coondog)
You my friend, have some SERIOUS SKILZ ! Yes I spelled it wrong on purpose trying to be cool...
I am completely blown away with this. I wouldn't know where to start. Thank you for texting me the preview images. I have saved them. You rock brother !
I really enjoyed your build journal. Now that it's done, what do you have planned for the next project ?
Your completed motorcycle reminds me of my old HD Fatboy, only yours is much better looking. It has some similar styling cues. The Fatboy was my favorite all time bike... ever. So when I could, I had to get one. It killed me to sell it, but life goes on.
The whole 3D thing is daunting... and something I would like to try and learn how to do.