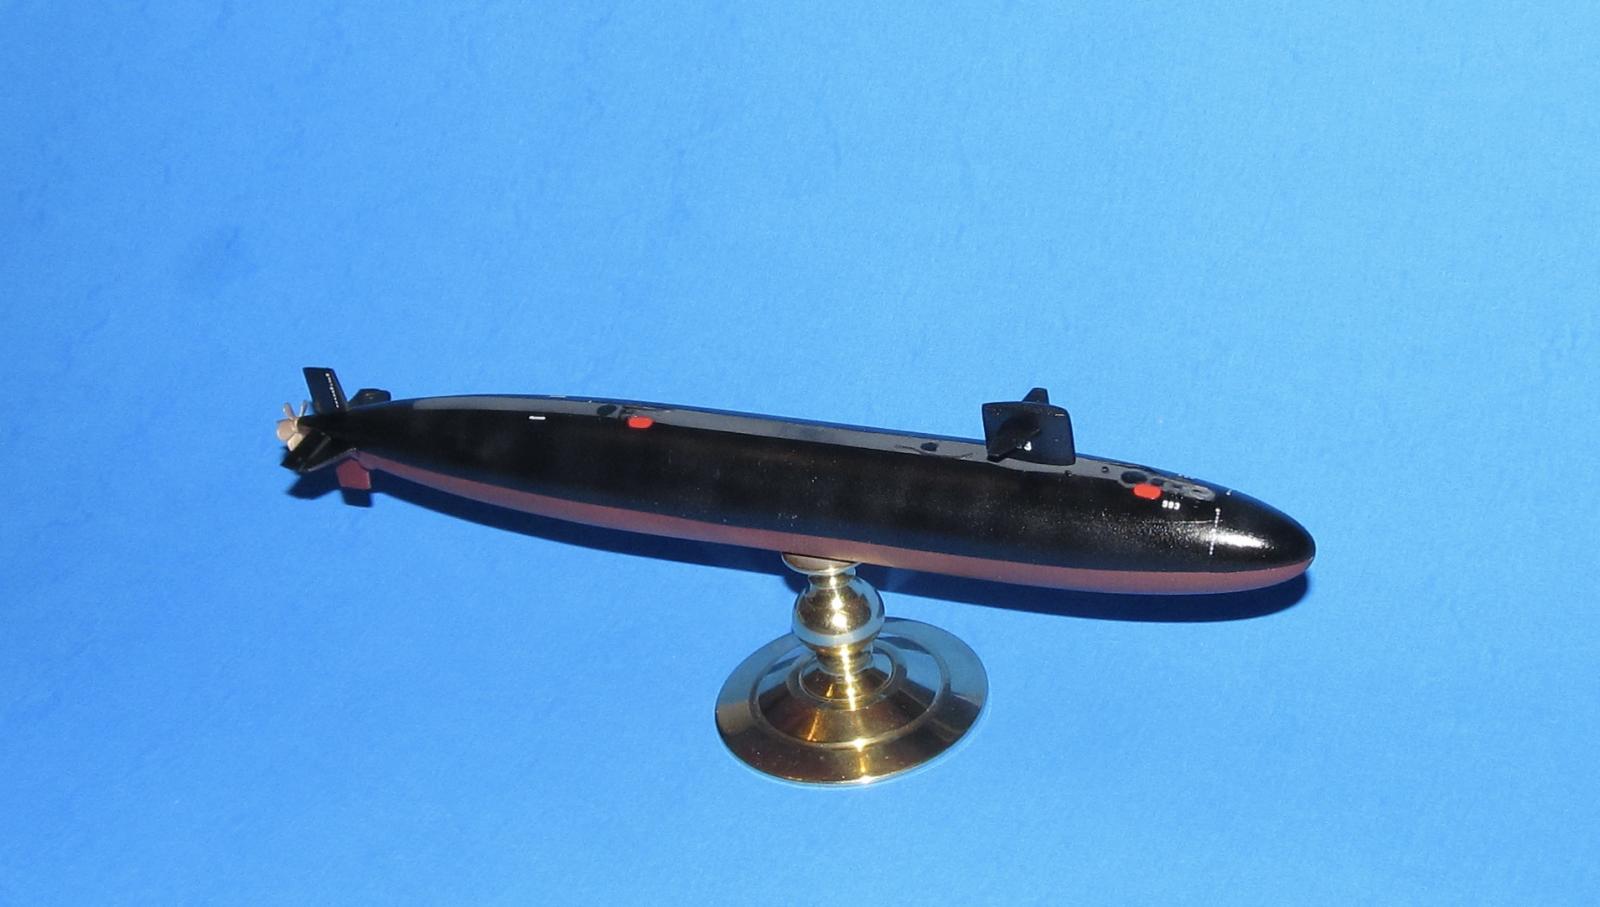
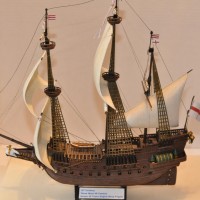
1/350 MikroMir USS Thresher
The USS Thresher was supposed to be the lead ship of an upgraded Skipjack class submarine design. Forsaking speed for stealth, the Thresher class (named after a species of shark and the even more dangerous Tambor class submarine, USS Thresher which was one of the most decorated subs of WW2) was supposed to be the quietest sub of its time and the first purpose designed hunter killer type submarine class whose main job was to sink Soviet submarines to keep the North Atlantic Sea Lanes open.
It was launched in 1960 and commissioned in 1961. The USS Thresher was to used as the primary test bed for the SubROC missile (a torpedo tube launched rocket powered nuclear depth bomb). By July 1962, the Thresher required some overhaul due to being the first of its class and it took nine months to complete which was longer than usual. In April of 1963, the Thresher was recommissioned and put through sea trials to ensure that it was fully operational.
On April 10, 1963, the USS Thresher was off the coast of Cape Cod along with the rescue ship USS Skylark to conduct dive trials. After reaching test depth of 300m and cruising at that depth for an hour, the USS Thresher reported a “minor problem.” No one is certain what it was, but the USN investigation led by the godfather of the Nuclear Submarine Mafia, Admiral Hyman Rickover, put the blame on a salt water leak caused by improper silver brazed piping in the engine room. Several submarines reported the similar incidents which caused dangerous engine room flooding. The theory is that the water from the flooded engine room caused the reactor to SCRAM and the resulting lose of power helped push the USS Thresher below crush depth (approx 730m based on SOSUS data).
No submariner would consider engine room flooding a “minor” problem which is why many believe in an alternative theory pushed by a retired USN submarine captain saying that the USS Thresher was lost due to ice buildup in pressure valves of the ballast tank which blocked compressed air from blowing out the water from these tanks causing the final dive.
For whatever reason, the remains of the USS Thresher hit the seabed in five major sections with the loss of all hands (129 sailors and dock workers) at a depth of 2600m below the surface. In 1964, the bathyscaphe Trieste II was sent down to recover any evidence of why the USS Thresher was destroyed, they managed to recover a piece of mangled pipe which was used as the primary evidence of a water leak.
In response to the loss of the USS Thresher, the USN launched the SUBSAFE program to ensure that submarines (especially nuclear ones) would not be more dangerous to their crews than the enemy. Only one US Submarine has been lost since the SUBSAFE program was launched, the USS Scorpion which was a pre SUBSAFE submarine.
In the early 1980s, Dr Robert Ballard was asked by the Naval Intelligence to conduct a survey of the wreckage of the two lost USN SSNs, (Thresher and Scorpion) under the cover story of finding the HMS Titanic.
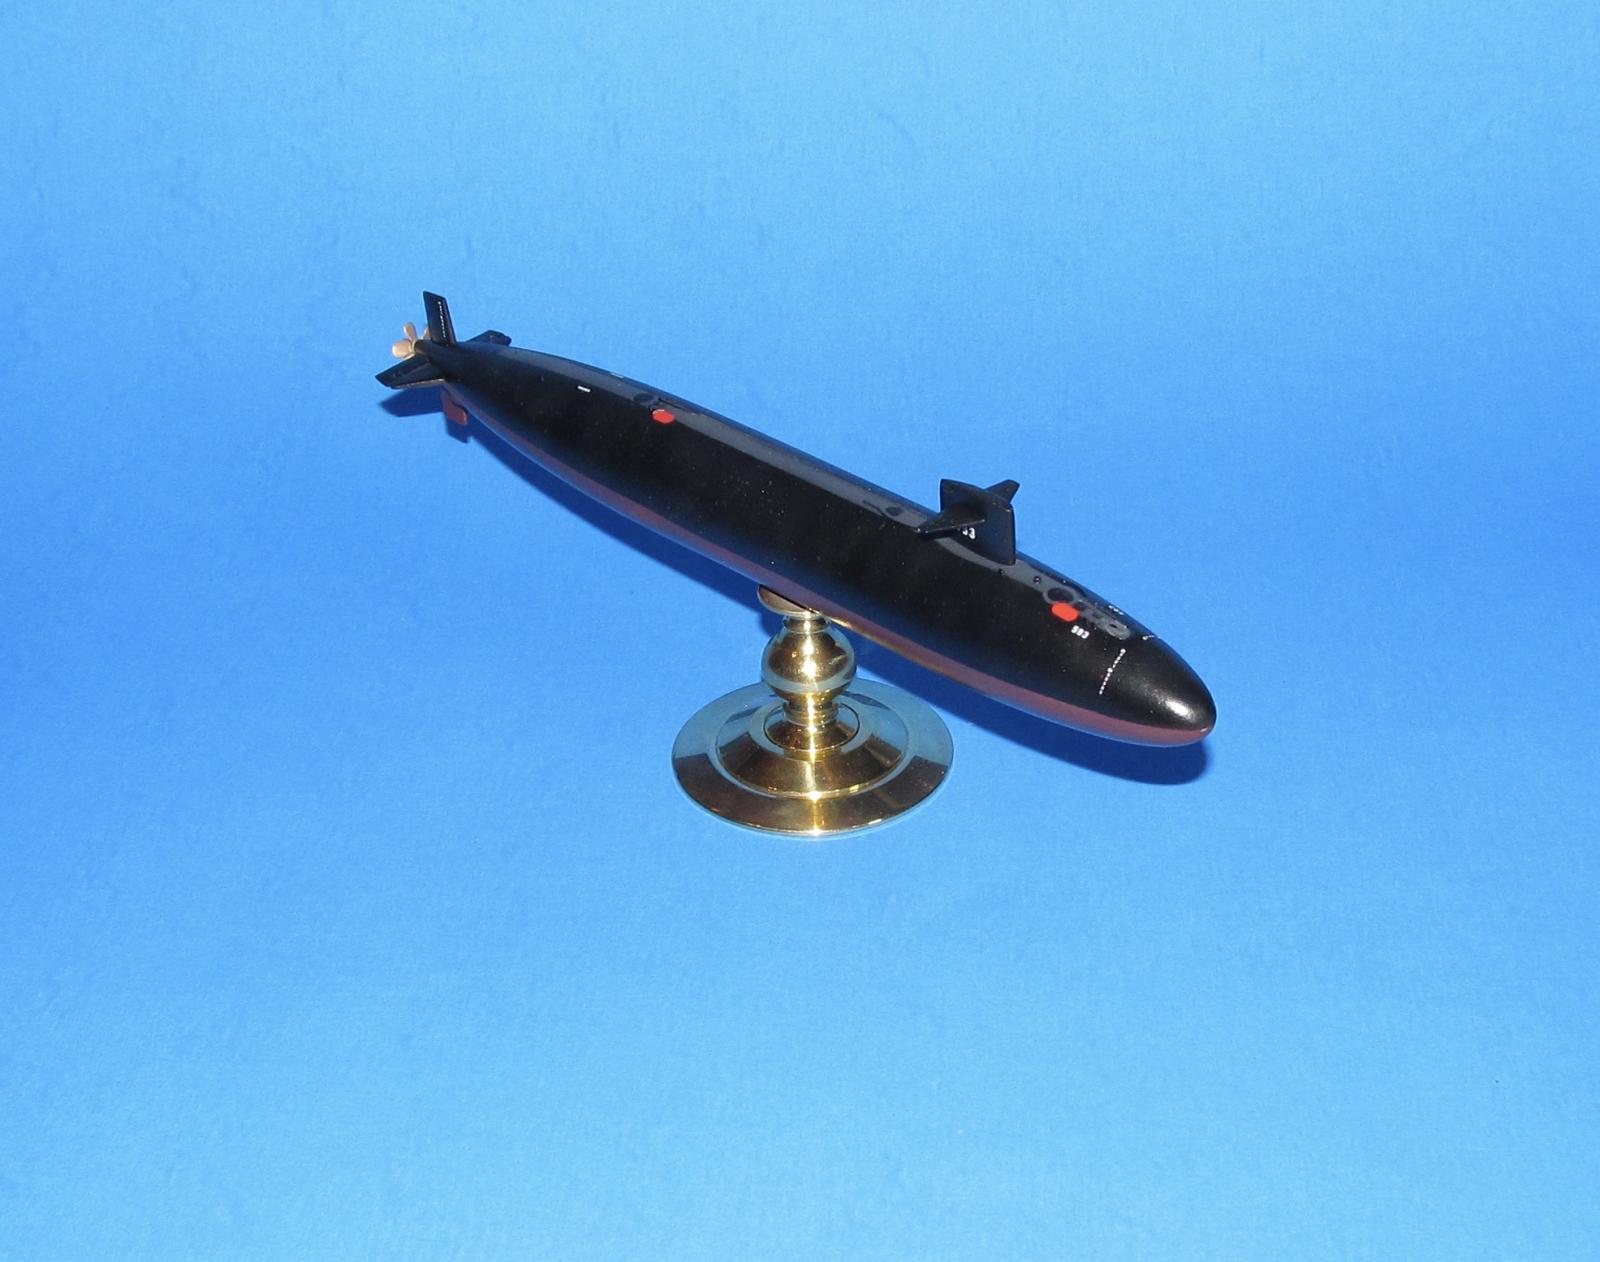
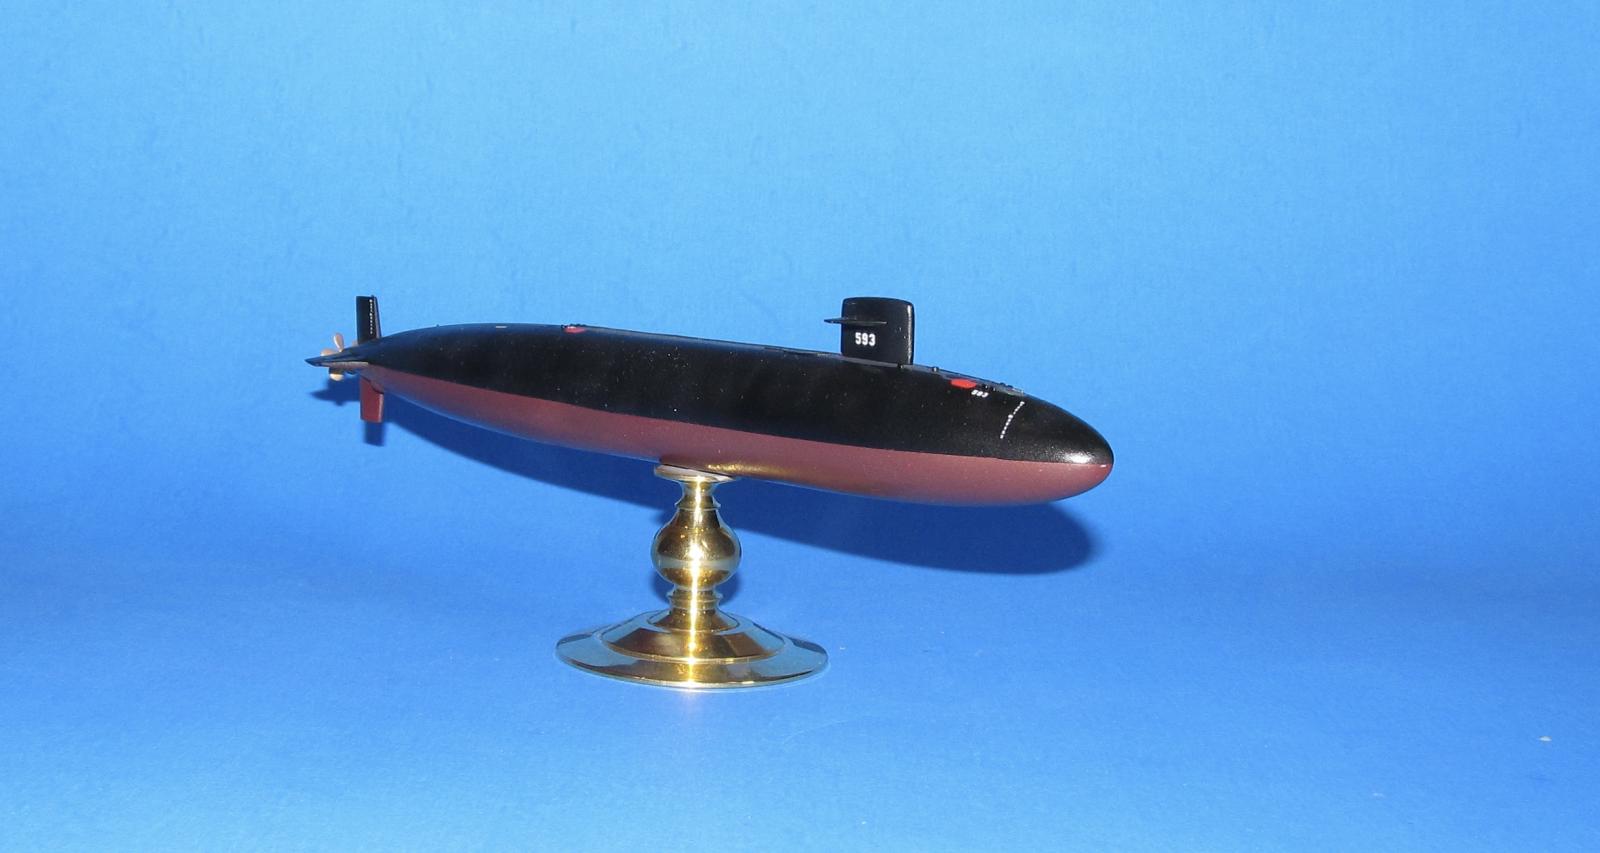
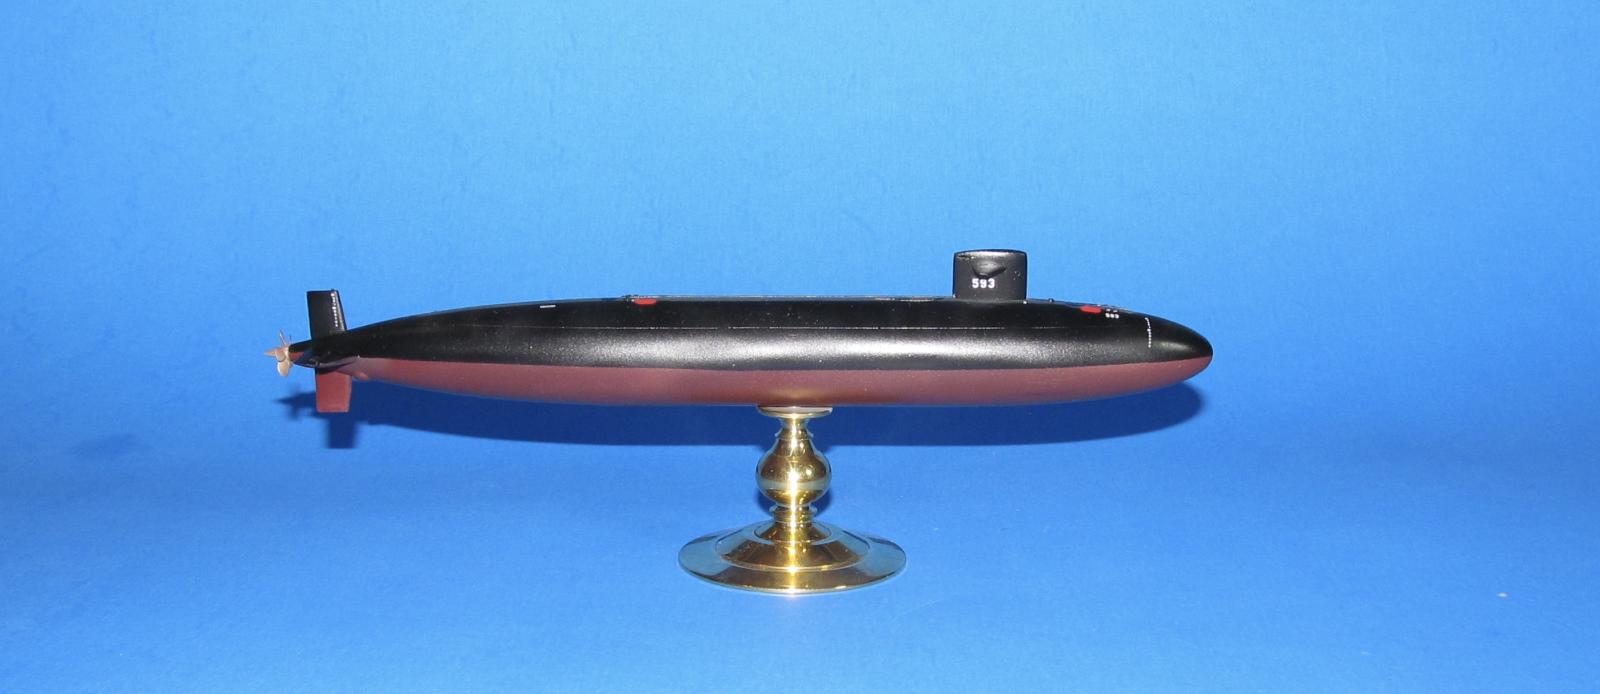
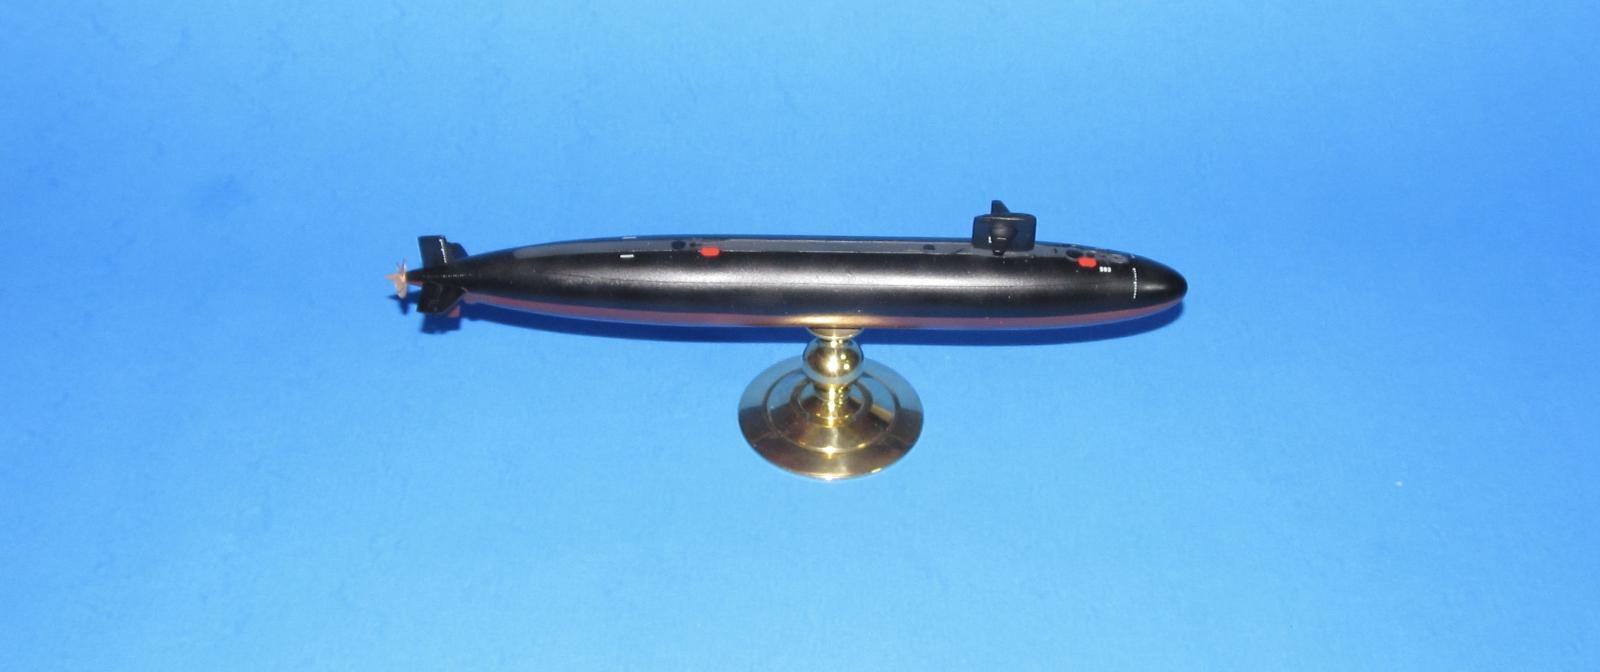
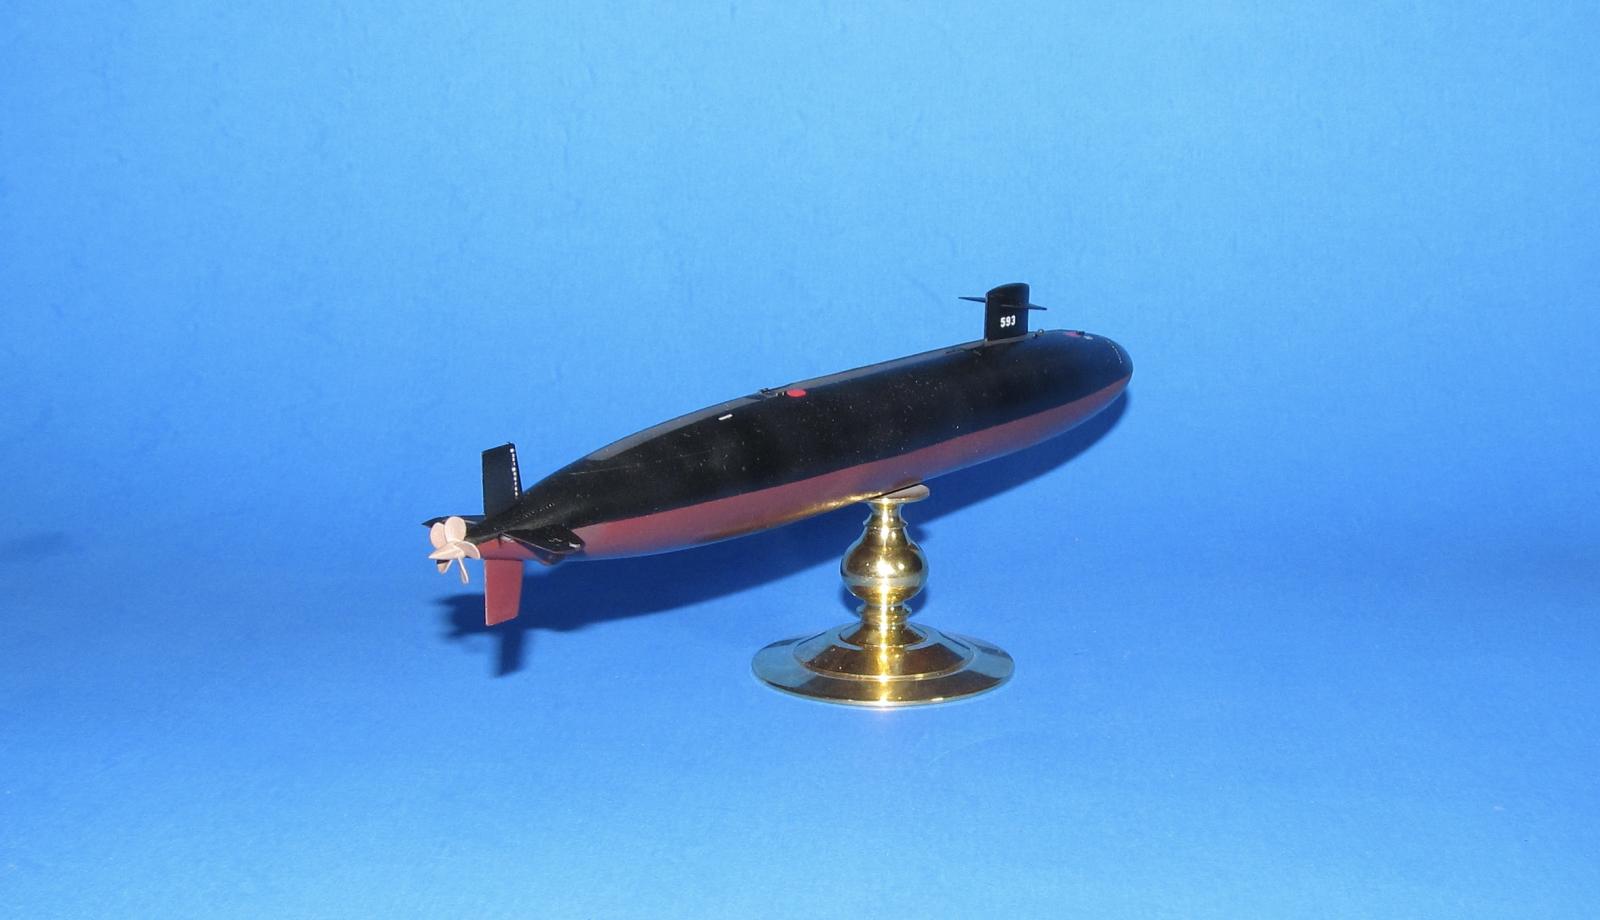
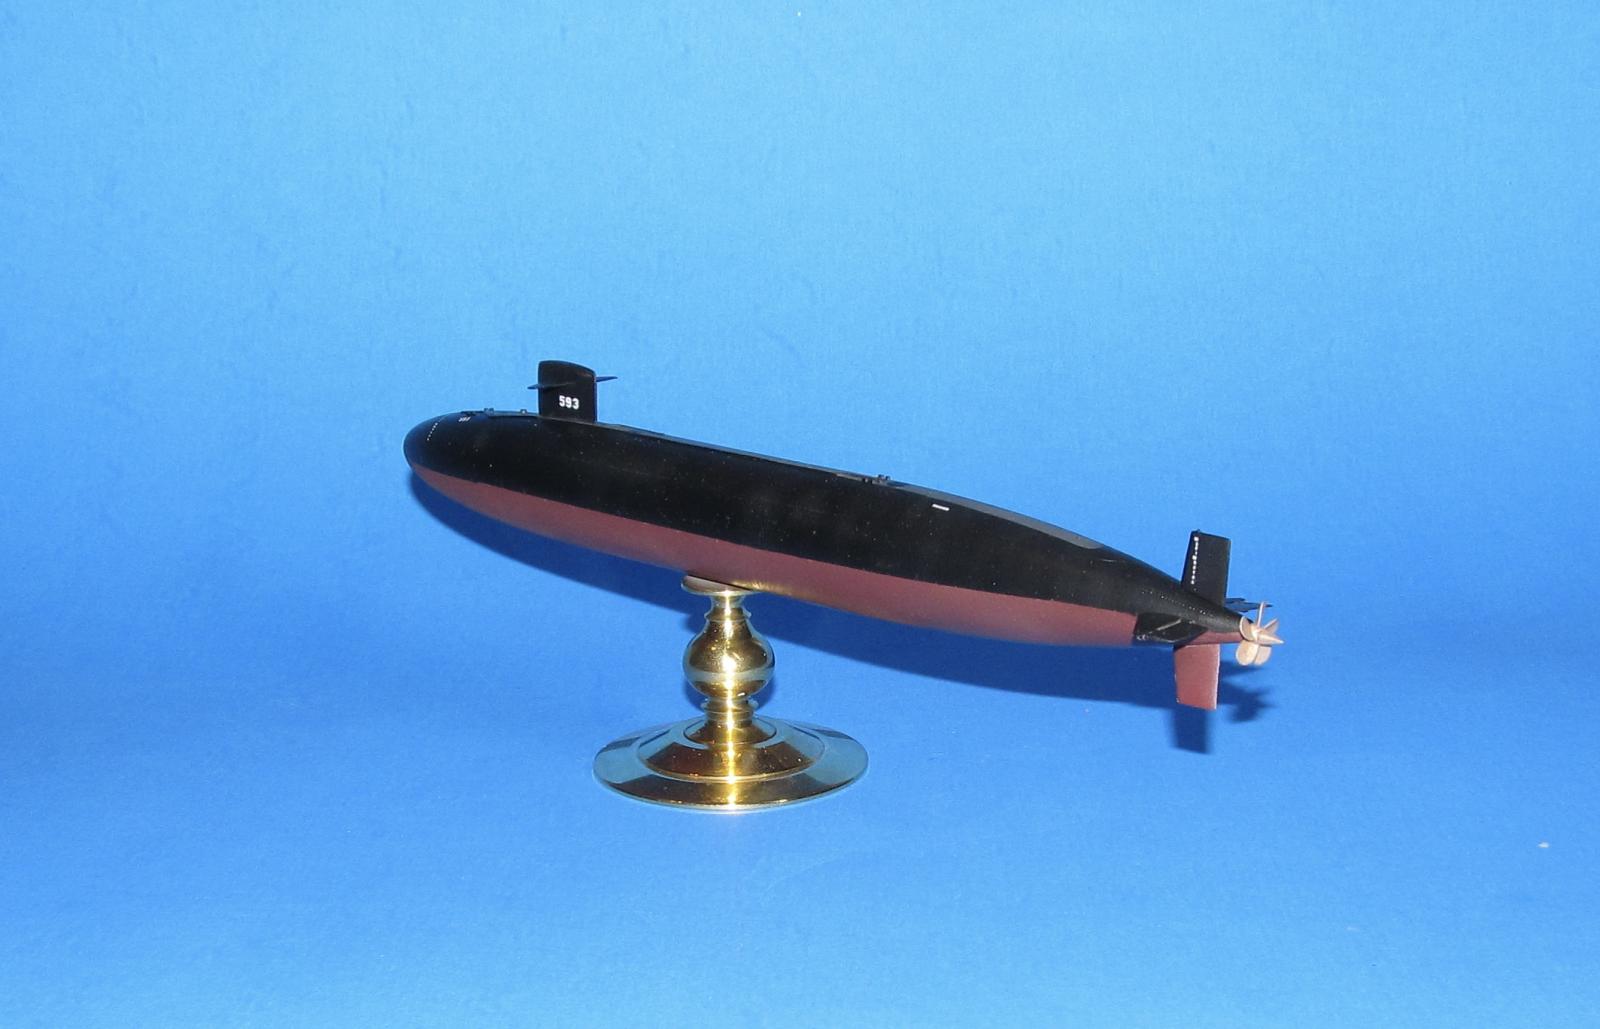
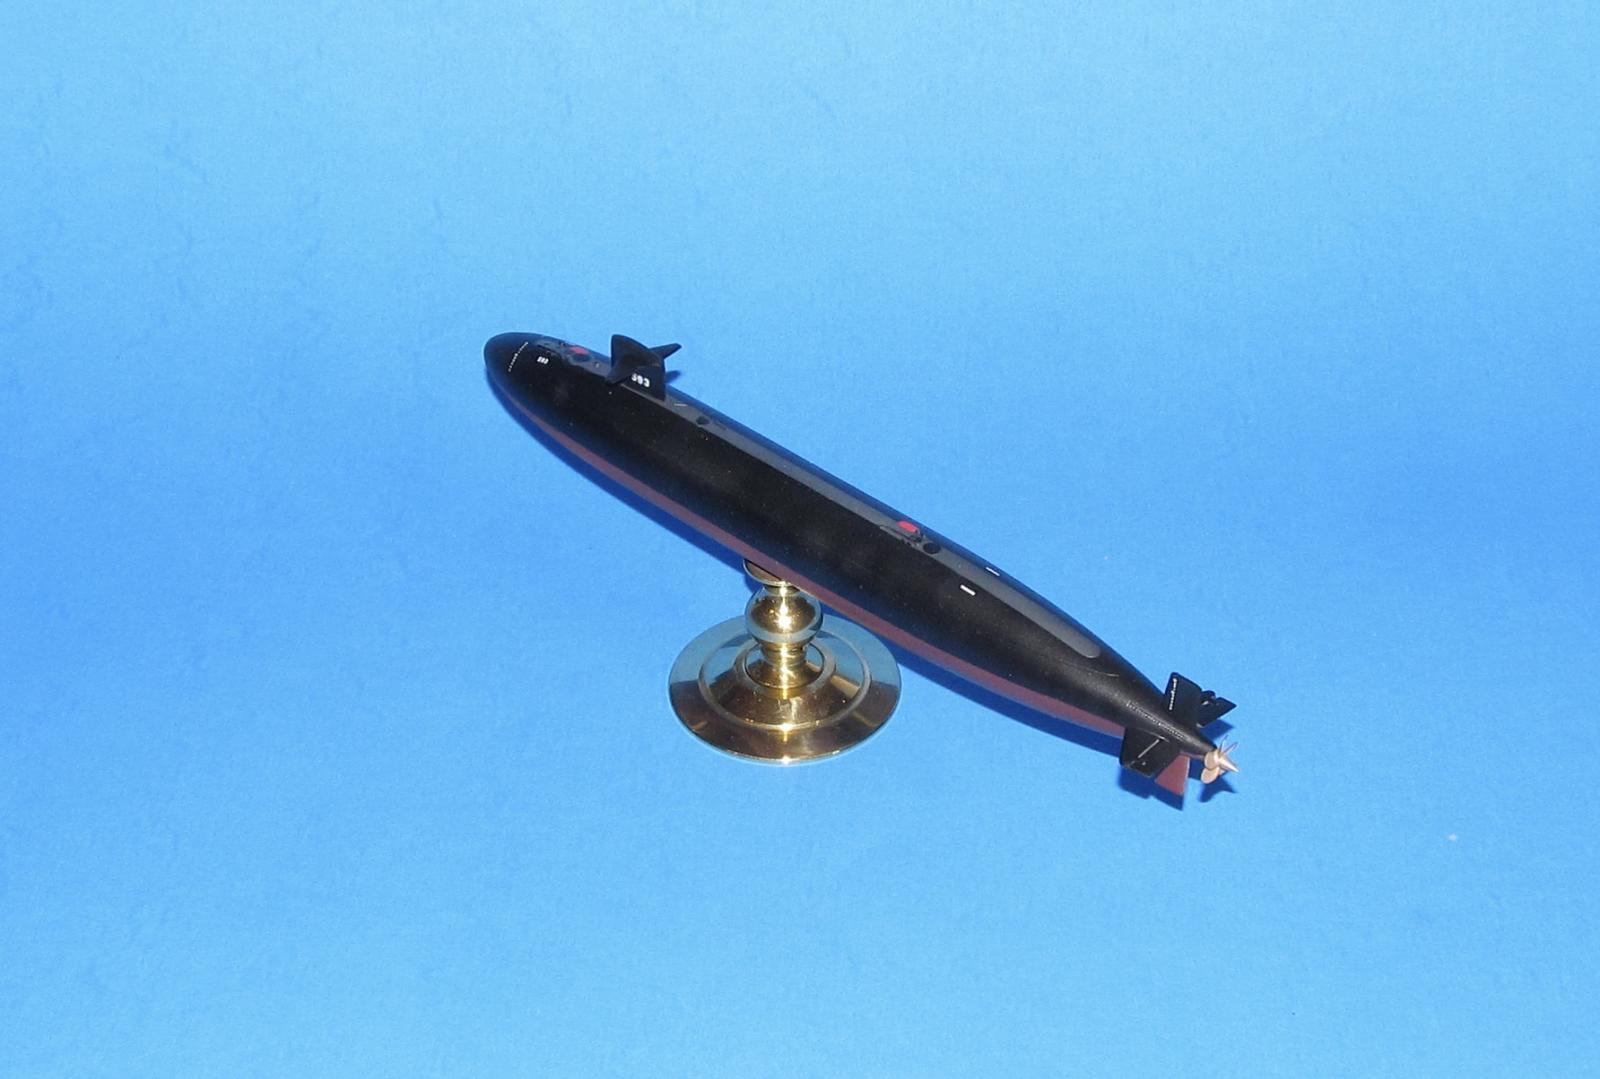
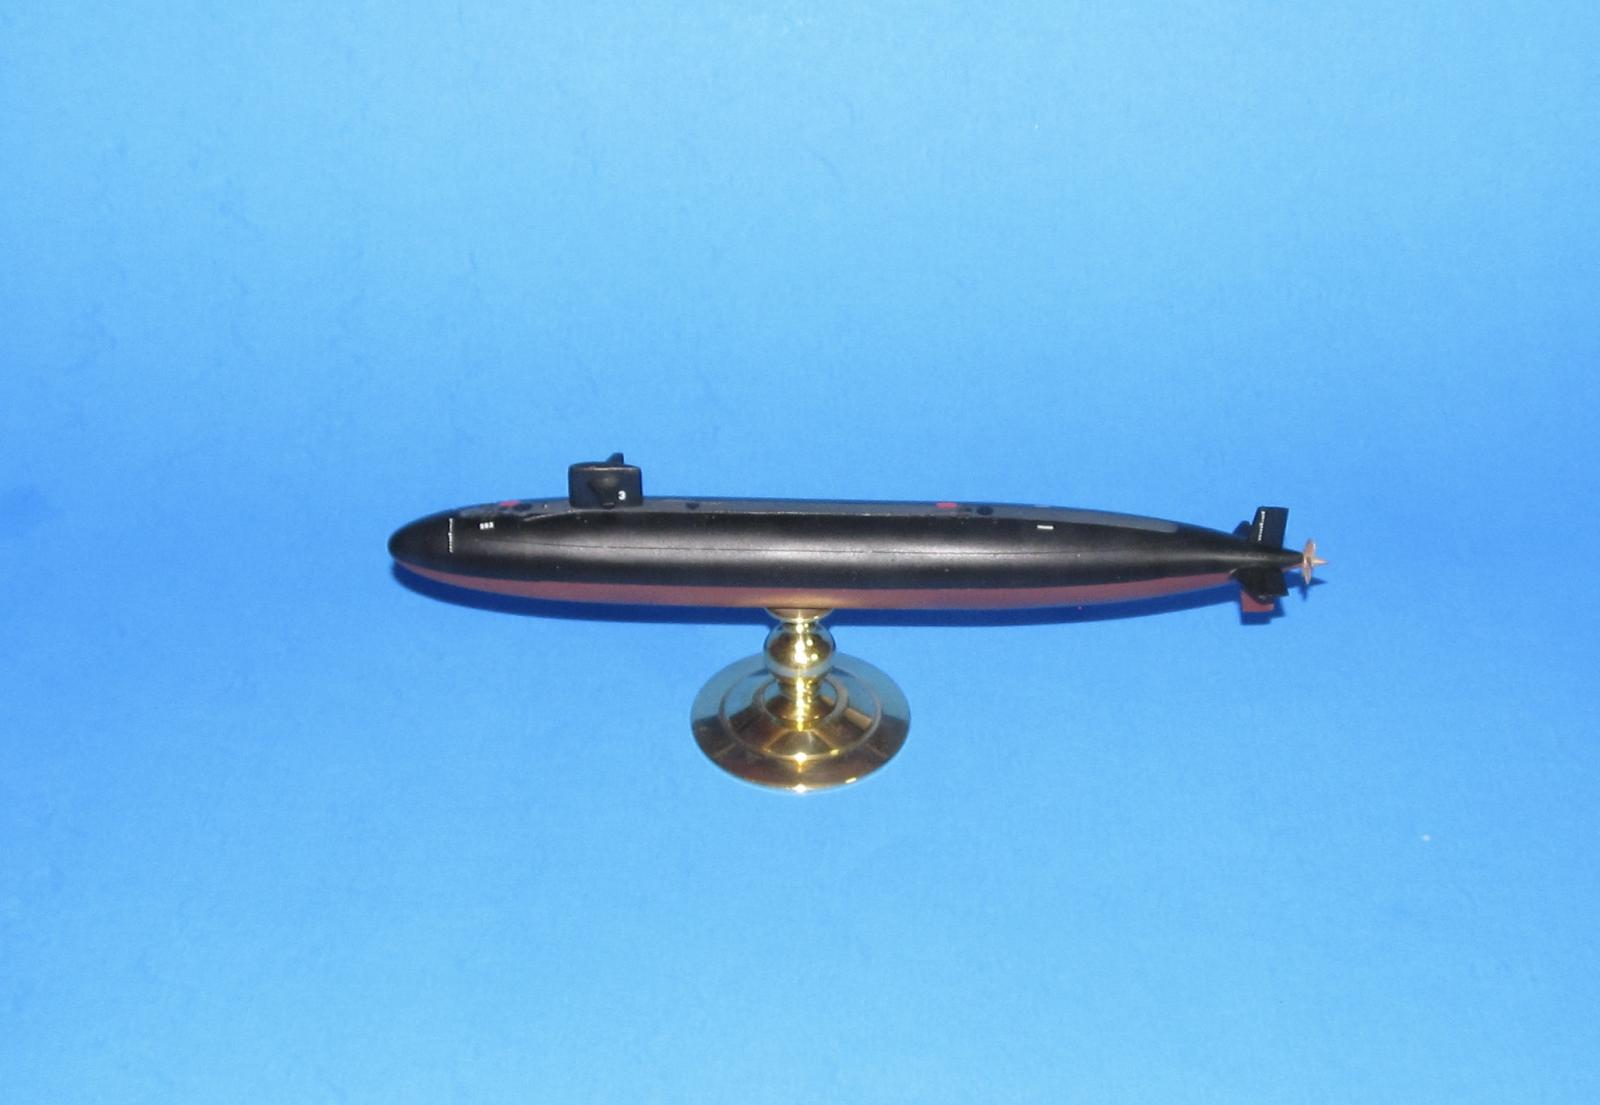
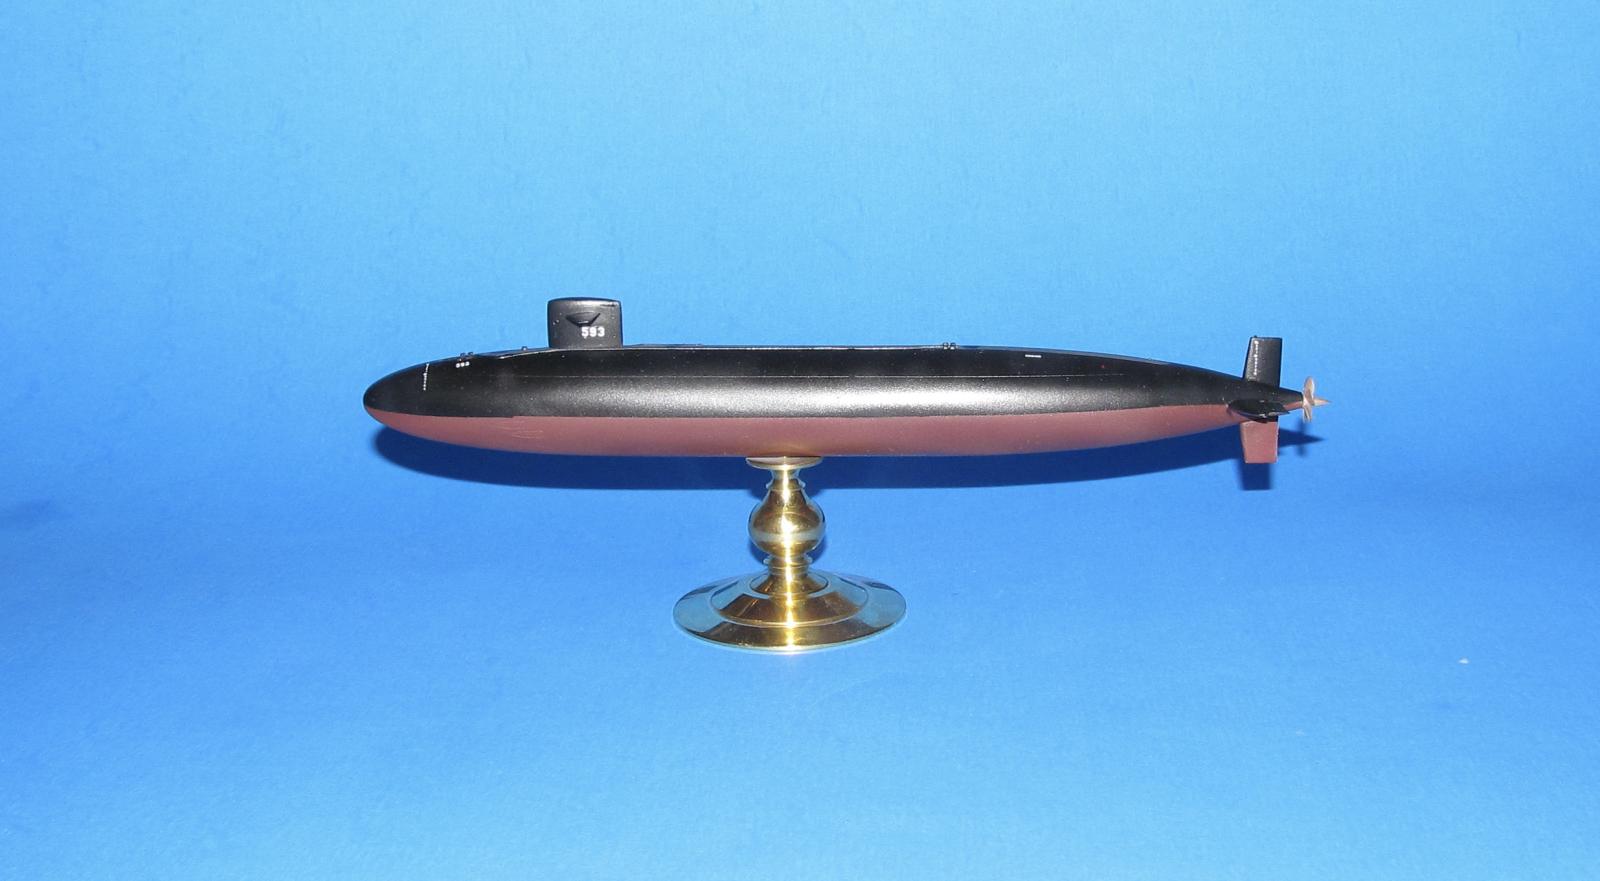
SSN-593 USS Thresher is considered on eternal patrol and still on the books as a commissioned submarine with the USN. Later, the Thresher class was renamed Permit Class which would serve the USN for over 30 years before all of them were decommissioned during the post Cold War drawdowns of the late 1990s.
THE KIT
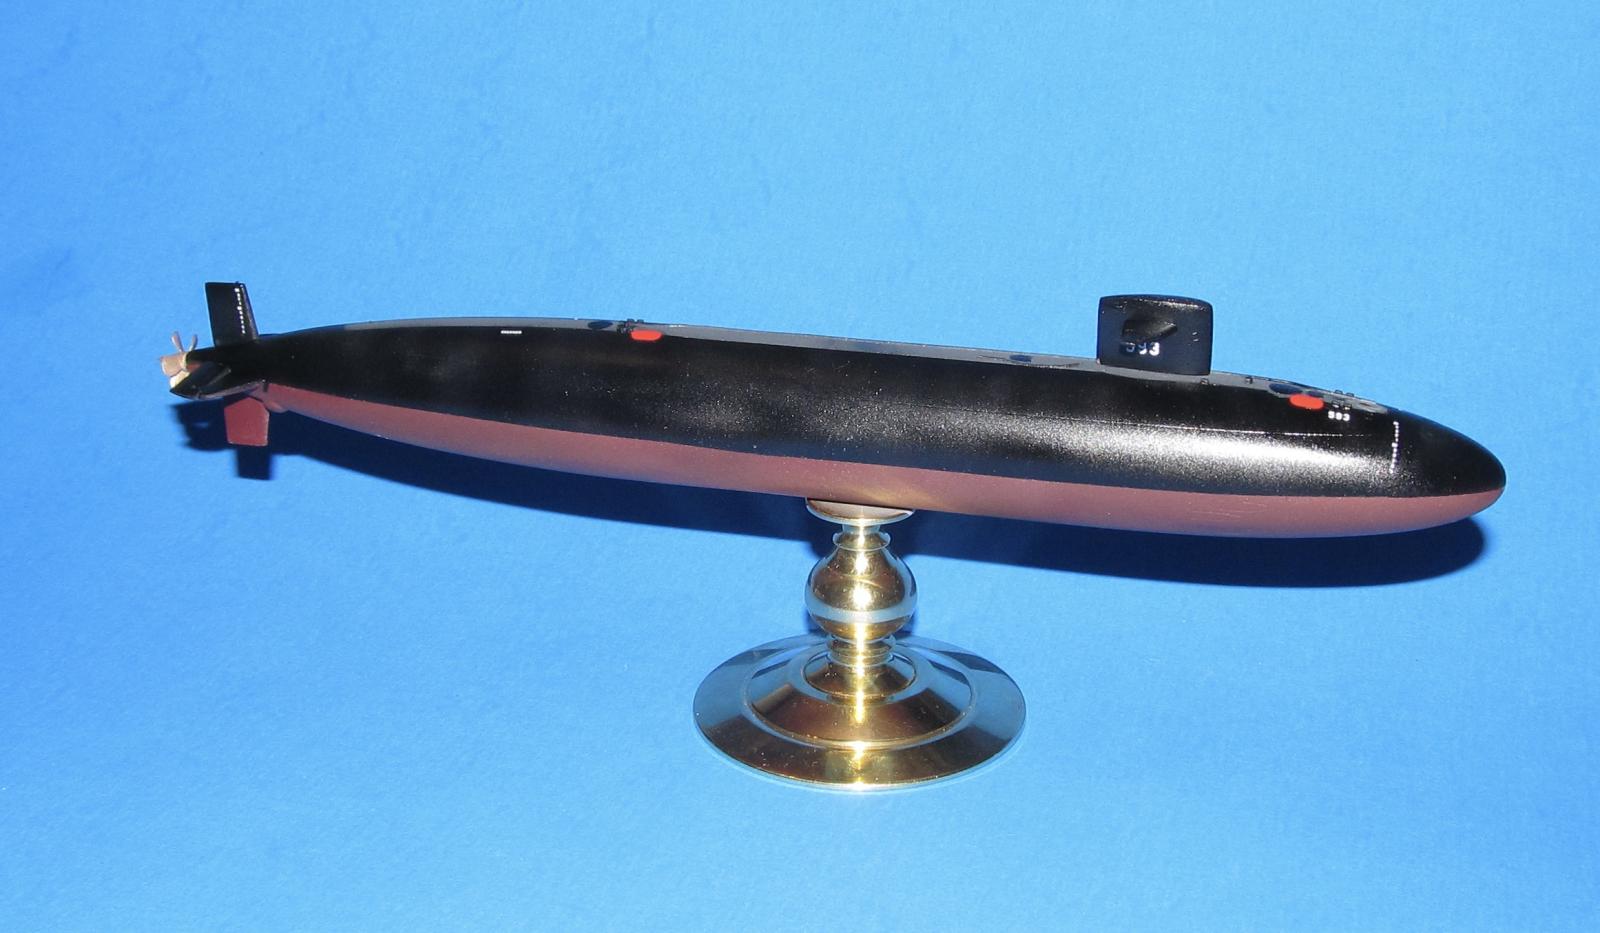
It consists of 21 plastic and photo etched parts including a two piece main hull. The plastic seems quite brittle and with a lot of flash with the detail fine for the scale but there will be a lot of clean up required before assembling the model. The photo etched parts in my copy of the kit are wrong as it has the seven bladed prop of the Permit class and not the five bladed prop that the USS Thresher had. Finally, three of the plastic parts are for the submarine stand where you would have to locate and drill out your own holes as there is no such things on the stand baseplate and submarine hull.
The kit comes with hull number decals for several of the Permit class along with the hull number of the USS Thresher as well as various hull markings. I've never used MikroMir decals before so I can't attest if they will be good decals.
It comes with an small instruction pamphlet that has the painting instructions too (top half black and bottom half hull red.)
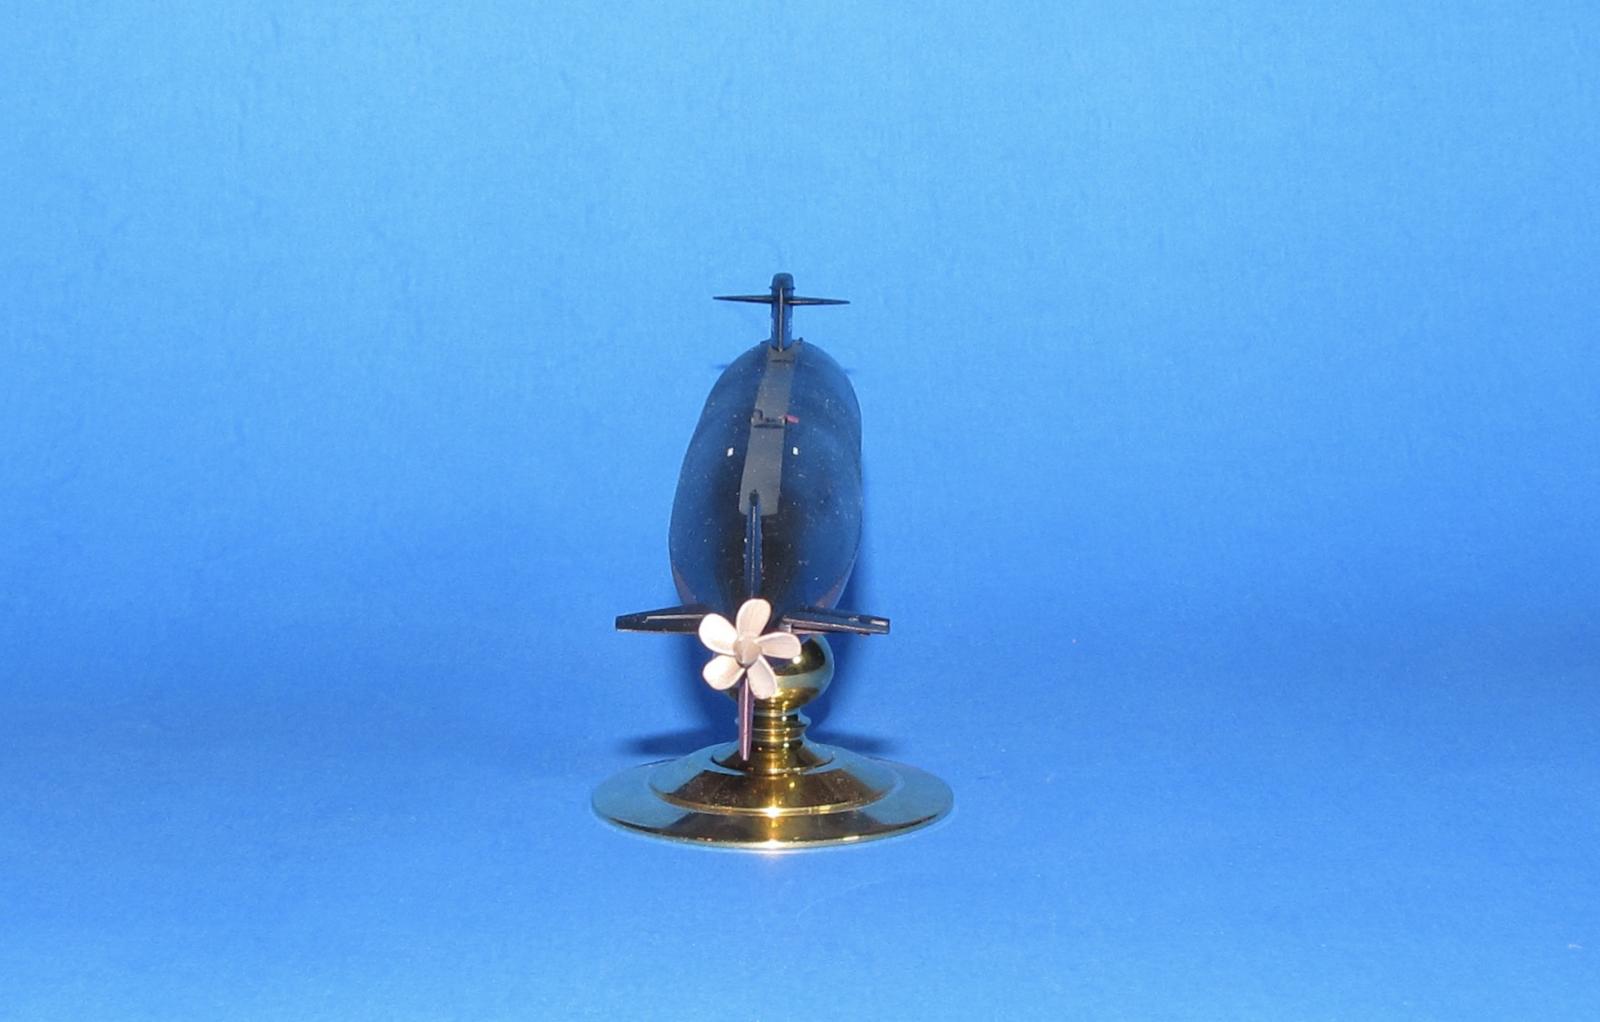
I found a vendor on eBay who sells accurate 3D printed 1/350 scale props including the five bladed prop for the Thresher. I ordered one and a set of two of them showed up on my doorstep (the vendor's reasoning is that the 3D printer plastic is brittle and accidents happen.)
CONSTRUCTION
Submarines are pretty simple models to build in theory. MikroMir split the hull at the middle of the vertical plane not the horizontal as per tradition with airplane fuselages which is logical as most of the surface detail is at the top of the hull anyway and would be destroyed by the sanding/filling process if it were split like an airplane fuselage.
First thing I did was drill a 3/8” hole amidships in the lower hull piece. This was for the Pontos pedestal/display stand as I took the 1/4” nut that comes with the stand and glued it to the bottom of the lower half right at the hole using CA glue. I poured in a lot of CA glue so that the nut wouldn't pop off without a fair amount of force. Once the glue holding the screw was dry I glued the hull pieces and sail pieces together with CA glue. The sail only required a single application CA glue to fix the seams while the hull took several applications of CA glue to fill in all the gaps/cracks between the hull pieces.
It took a bit of sanding to clean up the seams. I used 220, 400 and 600 grit wet/dry sandpaper and then polished the remaining scratches with 1800 and 3200 grit sanding cloths. I had to tape off certain areas to keep from damaging the surface details.
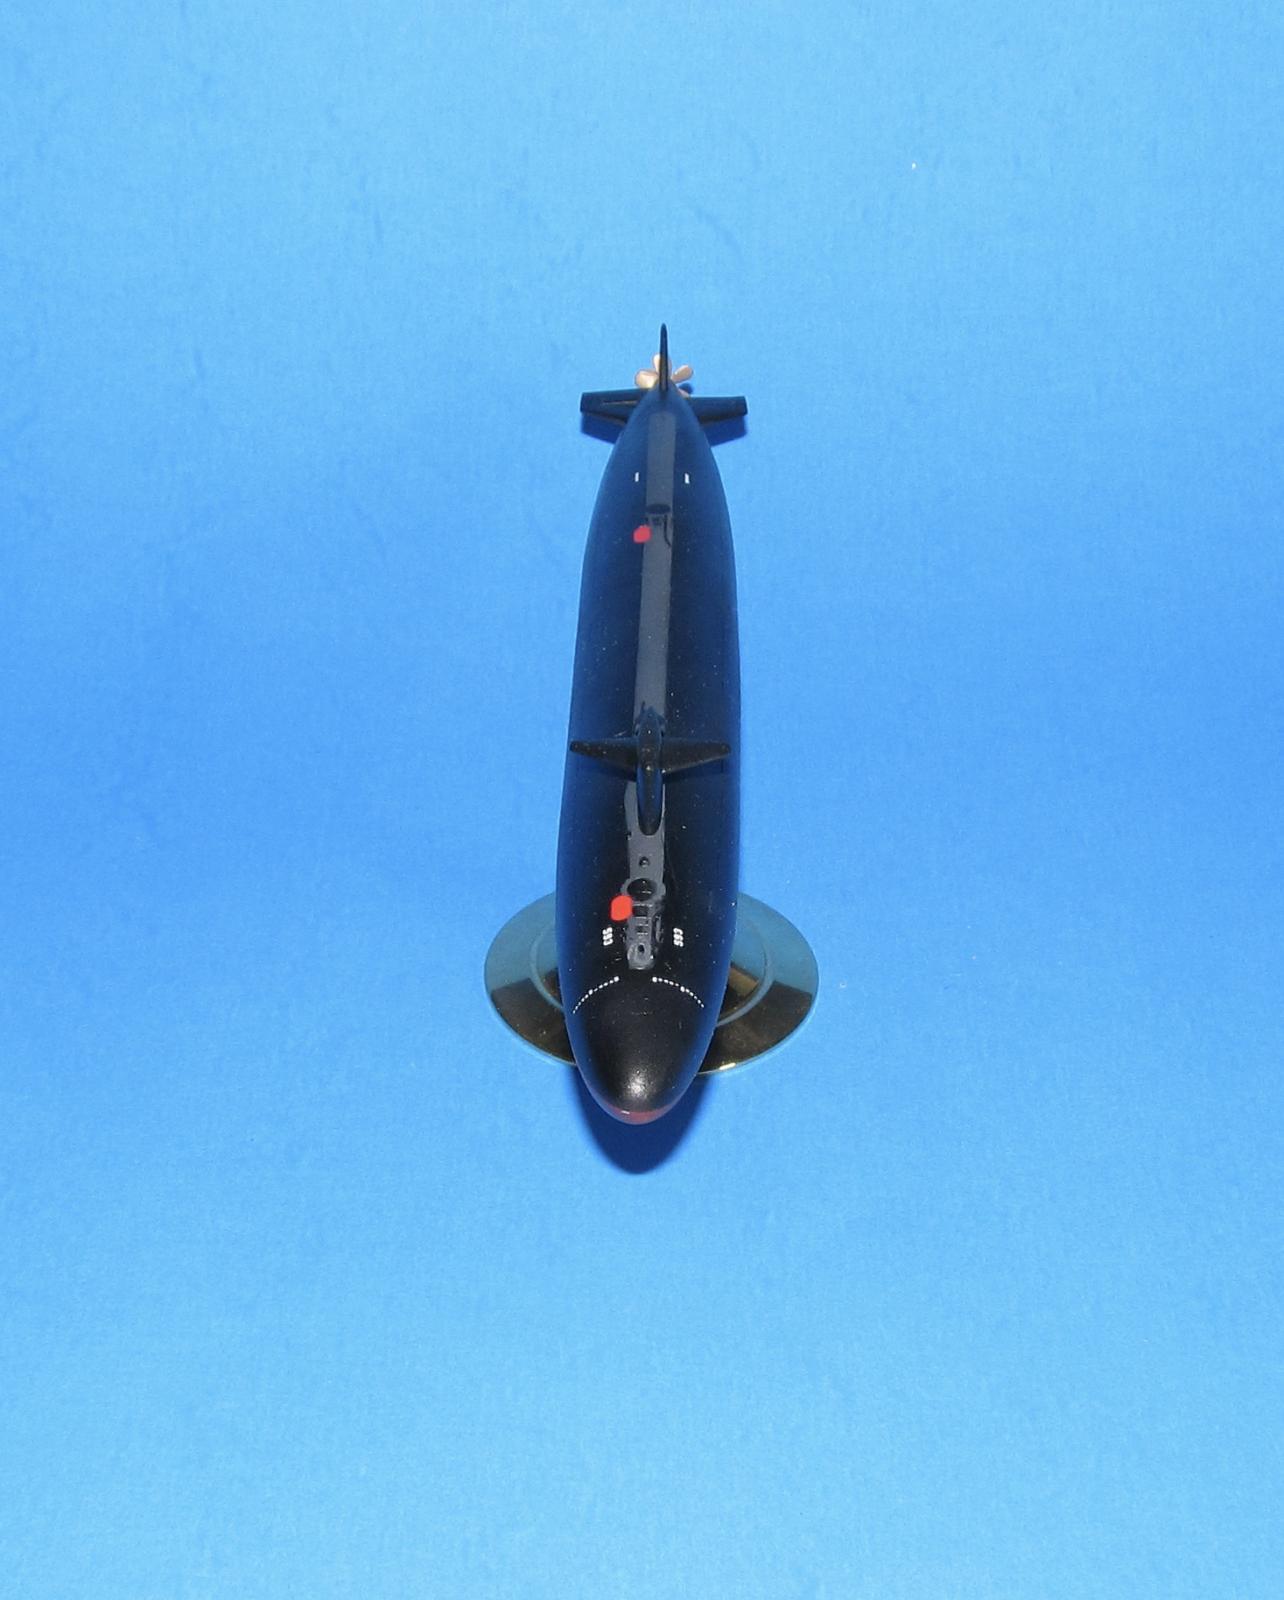
Next I added the PE parts to the sail as well as the plastic diving planes. I did the measure twice drill once to ensure the dive planes are in the right location and mirror each other. I did not add the various antenna and periscopes as I wanted the sub as if it were underwater. I found I had to remove most of the mounting notchs for the sail with a sharp knife as the sail didn't fit well on it. Once the sail could sit flush on the hull, I ran a thin bead of CA glue around the sail and mounted it on the top hull.
I didn't add the Photo etched cleats to the deck of the Thresher because the pieces were too damn small and three of the four the kit provided ended up broken when I tried to remove them from the fret (first with a knife and then with scissors.)
The last thing I did was drill out the holes for the top and bottom rudders and glued them in place.
COLORS AND MARKINGS
Painting
The first thing I primed was the 3D printed prop. It turned out that it had the rippled surface from the 3D printing process and required some sanding/filling. I sanded down the surface using 600 grit and polished it with 1800 and 3200 grit polishing cloths. The 2nd primer coat of Badger Stynylrez grey worked out better. I then sprayed a mix of Vallejo silver and copper to get a slight brass look to the propeller.
The main submarine body was primed. When it was dry the next day, I wet polished the whole submarine and smoothed down the surface. All the various nits, finger prints, sanding marks and various surface imperfections were removed.
I primed the submarine again with a bit of a thicker coat of primer. I did a final rubdown with 3200, 3600 and 4000 grit polishing cloths and after I washed off the polish residue I was ready for painting.
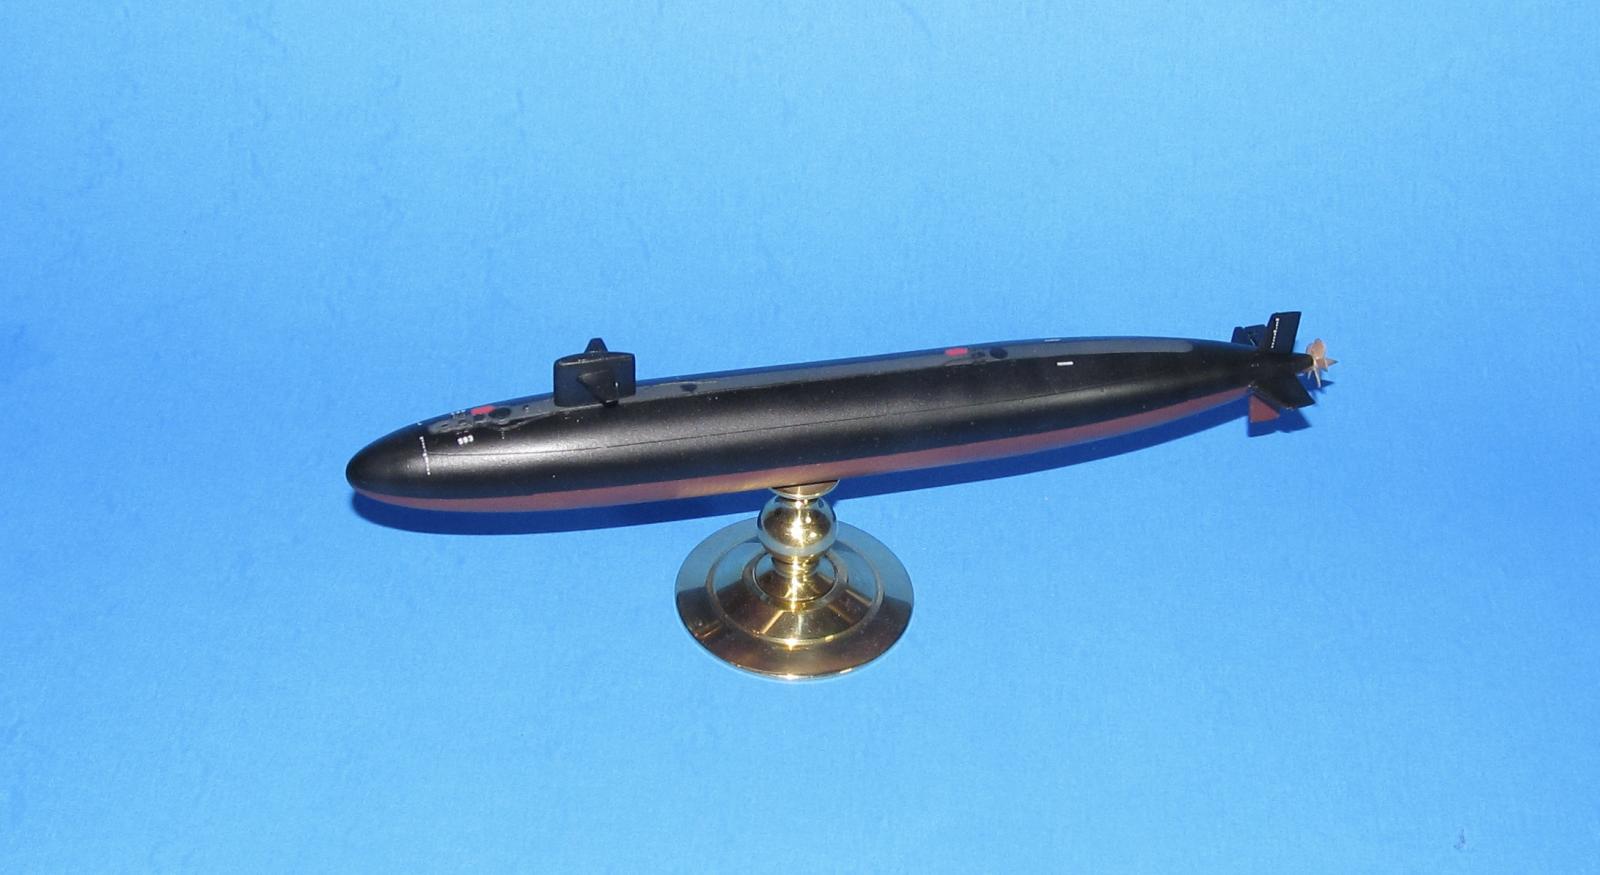
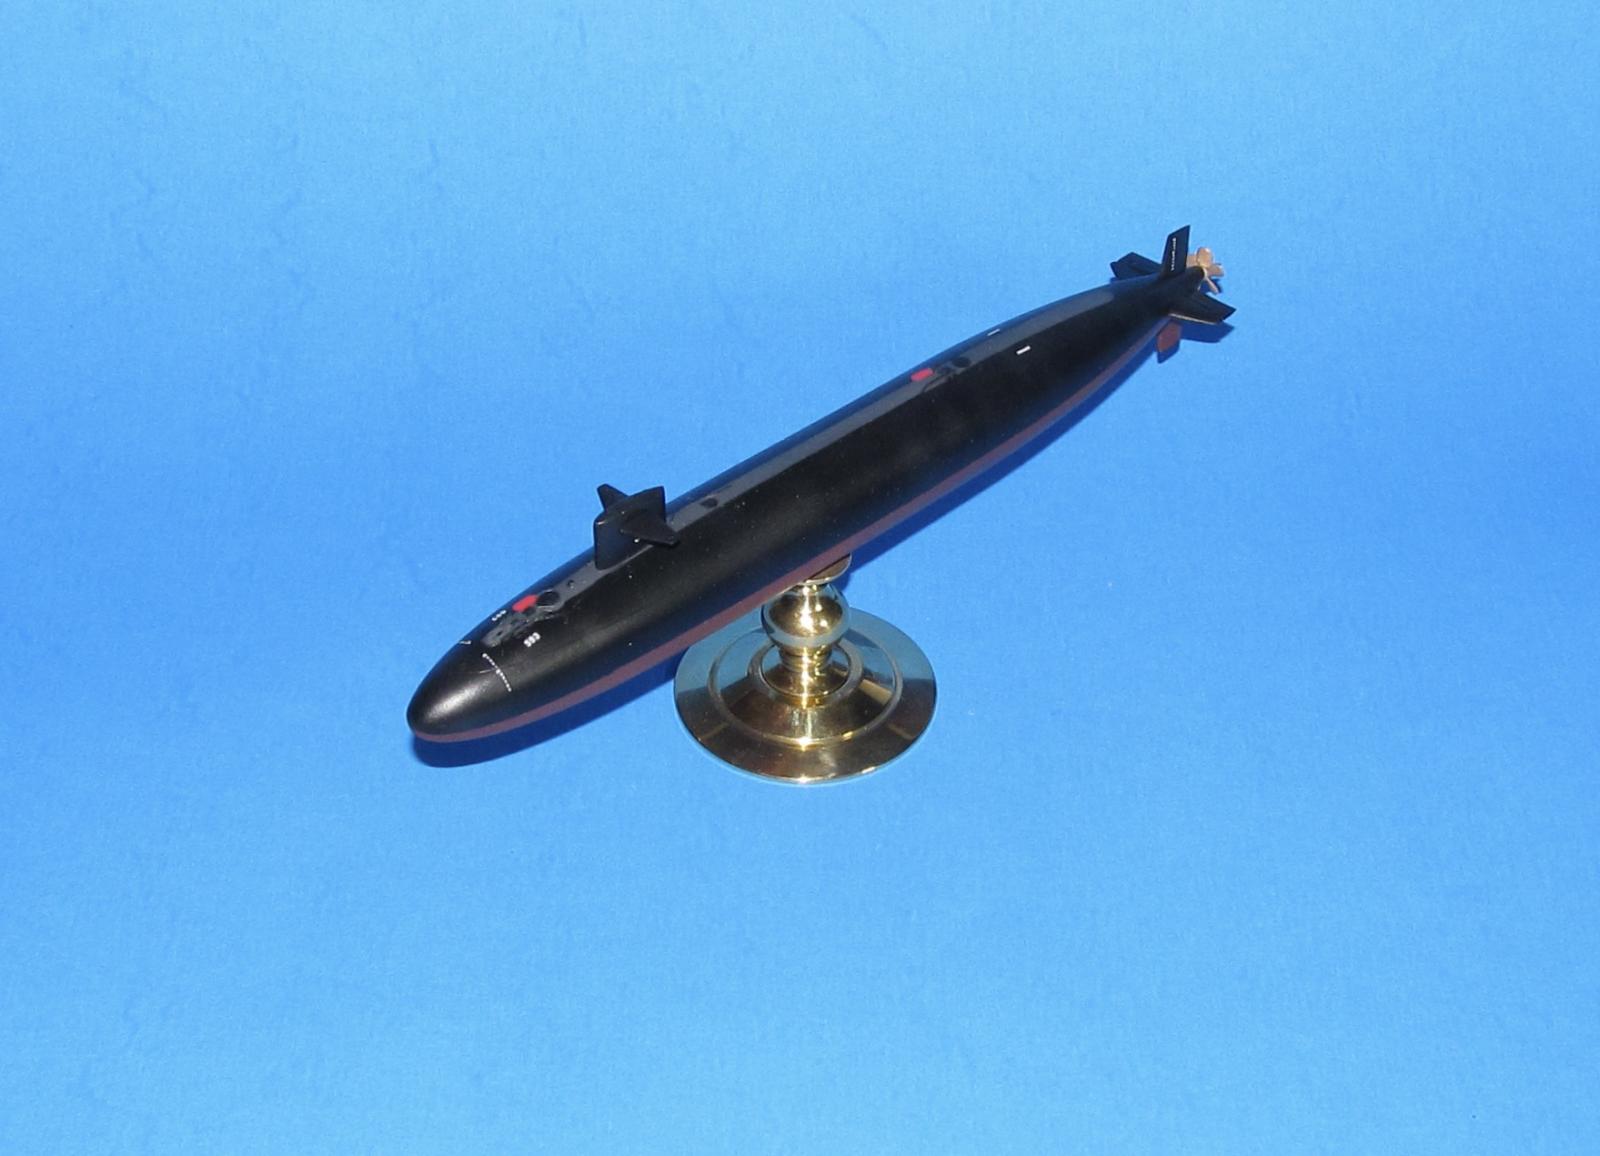
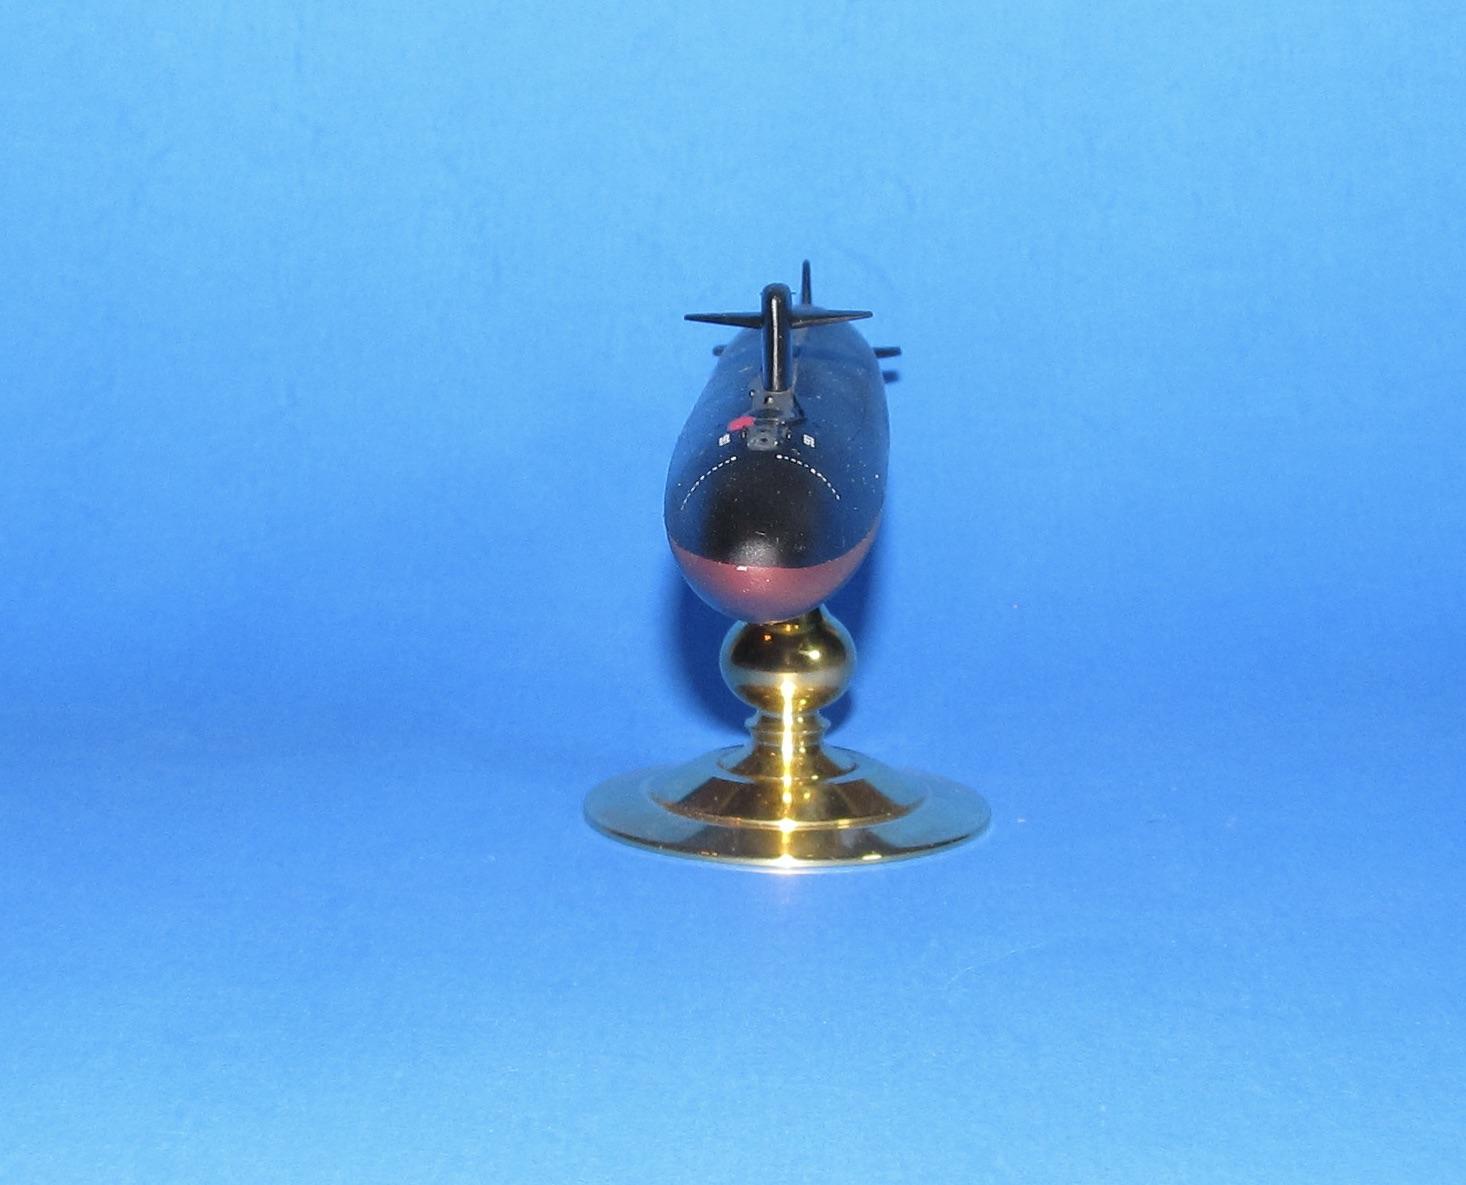
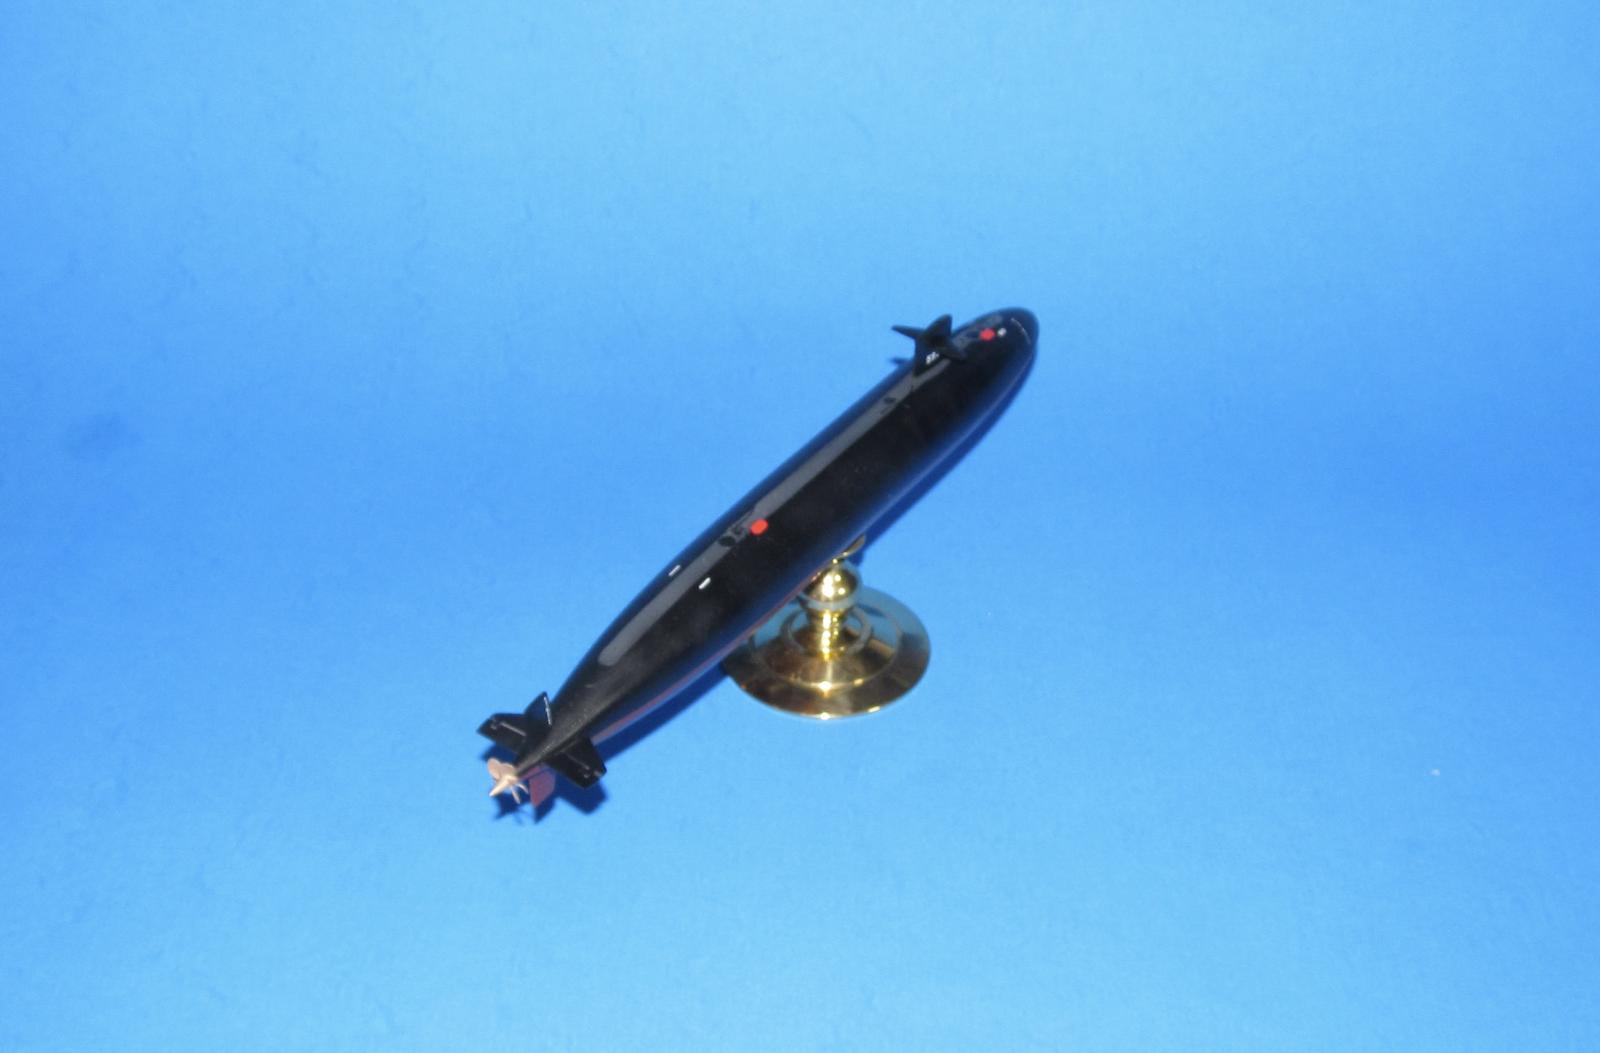
The bottom of the hull was painted with a 75%/25% mix of XF9 Hull Red and XF7 Red to lighten the burgundy-ish hull red.
Next I masked off the lower hull and sprayed on flat black then highlighted it with Tamiya German Grey and NATO Black to break up the monotone black color.
Afterwards, I masked the area around the walkways and sprayed on Dark Grey.
Once everything was dry, I sprayed on Vallejo Acrylic Gloss in preparation for the decals.
Decals and Final Coat
The kit comes with a number of the early Thresher/Permit class submarines. I used the Thresher decals and they went on without too much issue.
When the decals were set, I wiped down the model and sprayed Vallejo Flat. I was going to “weather” the submarine, but left it as the Thresher was pretty much fresh from the dock during it's last dive.
FINAL CONSTRUCTION
I took the painted prop and mounted it into the hole, held in place with a small dab of CA glue.
The Pontos polished stand was screwed into place and I finally had my little monument to the USS Thresher done.
CONCLUSION
The MikroMir submarine kits are pretty easy to build and have modelling skill required especially sanding/filling, but otherwise a straightforward build. They have a whole line of Cold War subs in 1/350 scale from various nations and classes for the submariner at heart. I highly recommend them for anyone interested in Cold War Submarines. Also those Pontos stands while a bit pricey, make for a real nice display stand provided you do the necessary prep work.
This was also my first experience with 3D printed parts. If well designed they are pretty good, but you need to some surface prep work to ensure that the surface is smooth and not rippled from the 3D printing process.

Nice build, Dan. I enjoy making a modern 1/350 sub; it’s usually a nice refresh build for me. I didn’t know about these Micro-Mir kits so thanks for the inspiration! I have added a USS Ethan Allen to the stash (working on it now) based on your Modeling Madness article. Thanks!
Thank you and you're welcome! I'm glad I inspired someone. Hope to see the completed model soon.
A very nice build indeed, Dan @dbdlee
Thanks for sharing the historical part of this submarine.
I like the historical perspective because it gives context to the model. Thanks for the kind words.
Looks great. I’ve never built a ship but this looks fun.
Brings back memories. I was 12 in 1963 and for days the loss of this sub was the big news. Sad end for that crew.
Thanks. Subs can be quite fun builds. I was reminded of the loss of the Thresher due to the recent Oceangate fiasco which indirectly inspired this build.
Very nice build, Dan.
Quite the tragic legacy of this sub, on eternal patrol.
Reading up on the term 'SCRAM', talk about an immediate shutdown.
Thanks. The loss of the Thresher forced the Navy's nuclear sub program to keep in mind safety.
SCRAM is appropriately named.
Excellent result and great historical facts, Dan!
Thanks Spiros.
Good one Dan.
Thank you Allan