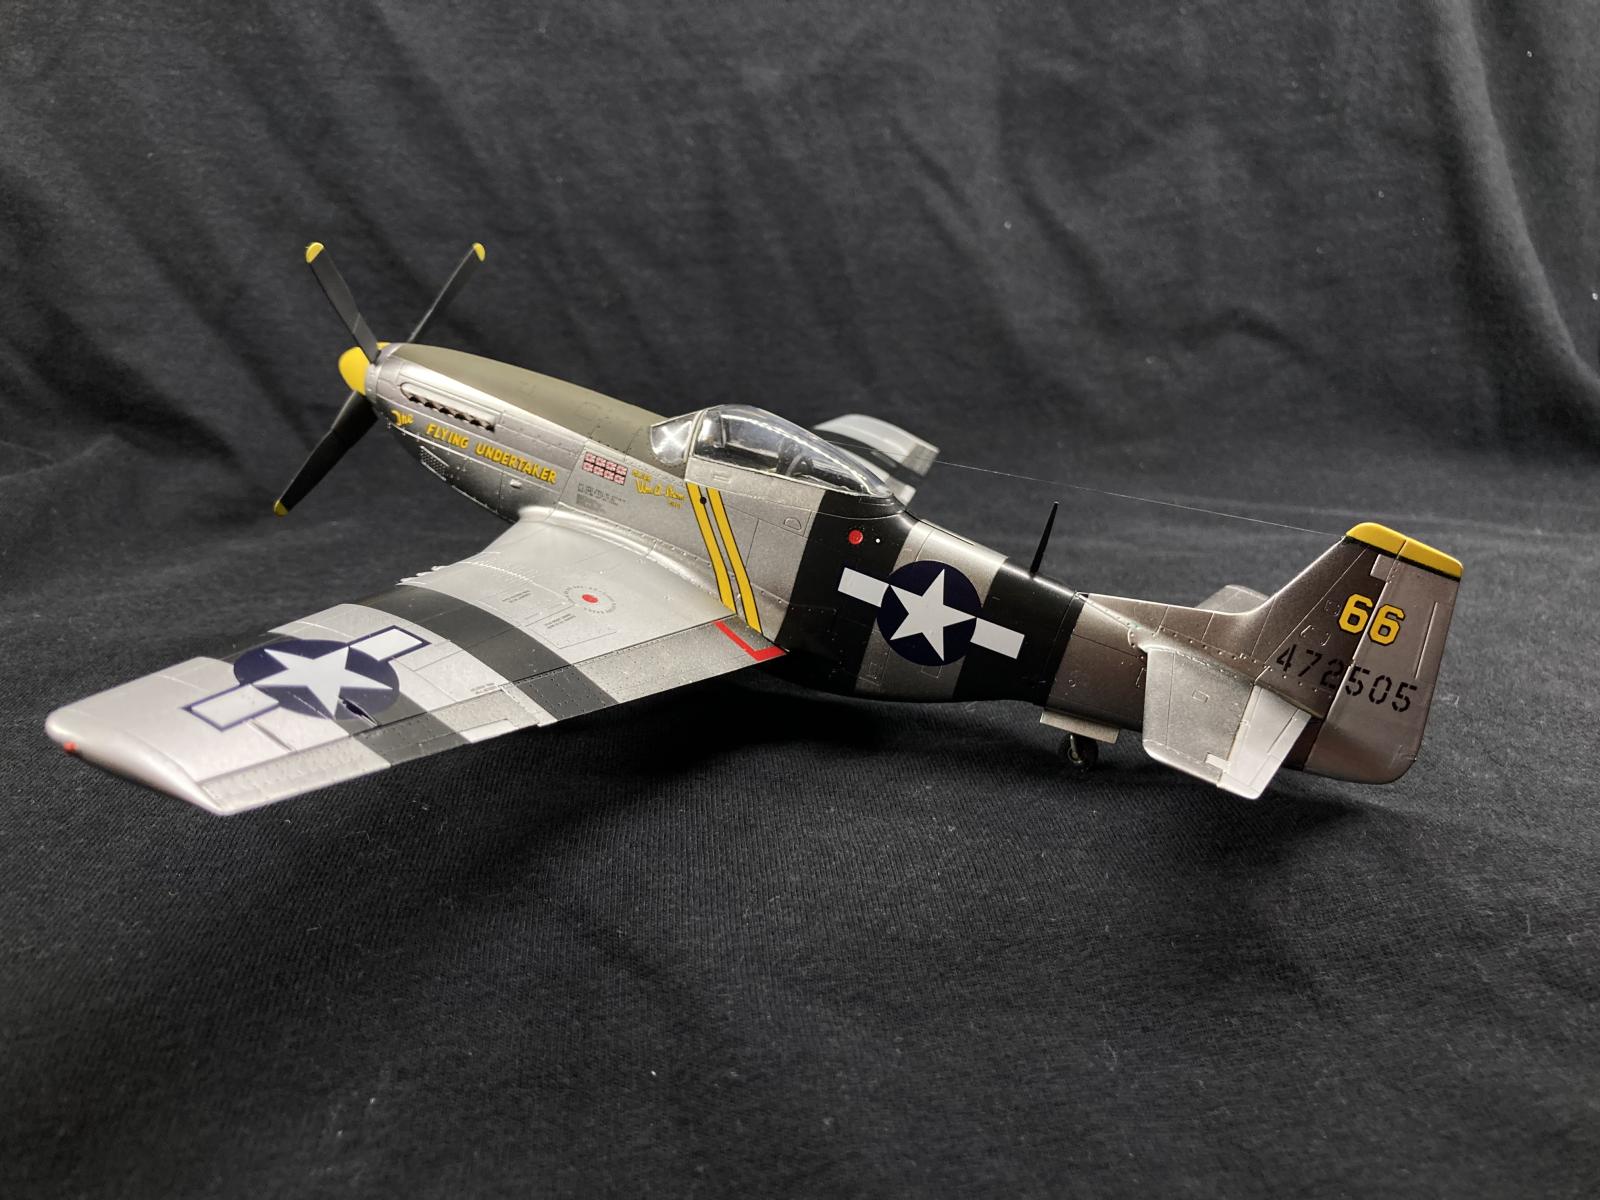
P-51D souvenir build
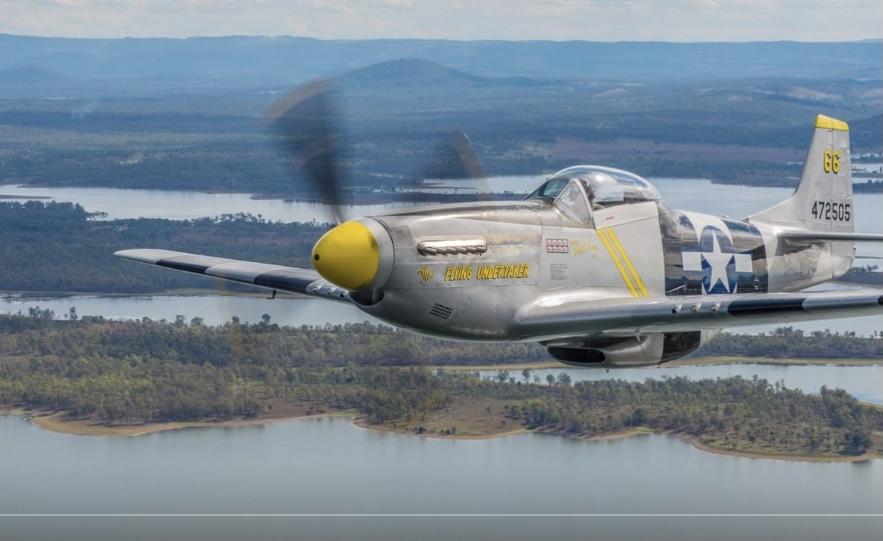
A few years ago I was fortunate enough to have a flight in a P-51 over Moreton Bay in Queensland, Australia.
Needless to say, it was an awesome experience. We spent half an hour doing aerobatics and mock strafing runs on yachts in the bay. Bucket list stuff.
Some time later, I was in a model shop and saw one of those reboxed Hasegawa kits with nice Cartograph decals, including the same scheme as the aircraft I had flown in. SOLD!
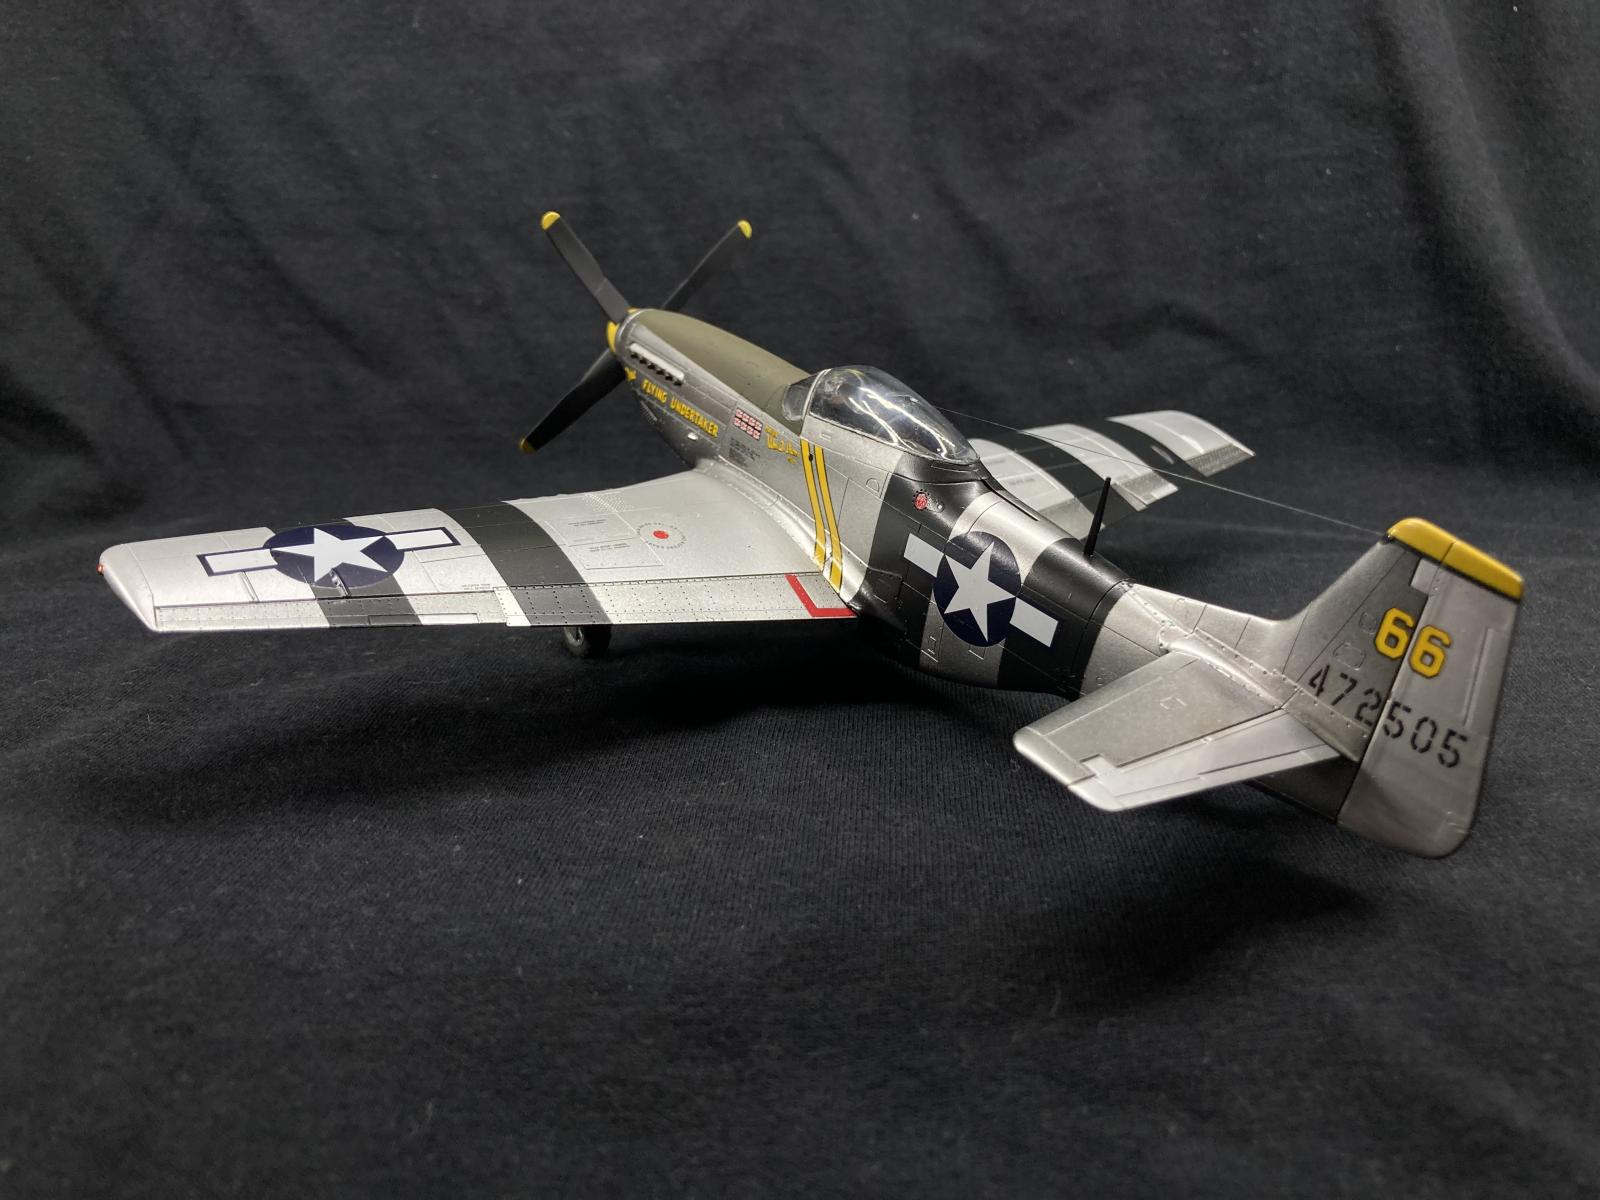
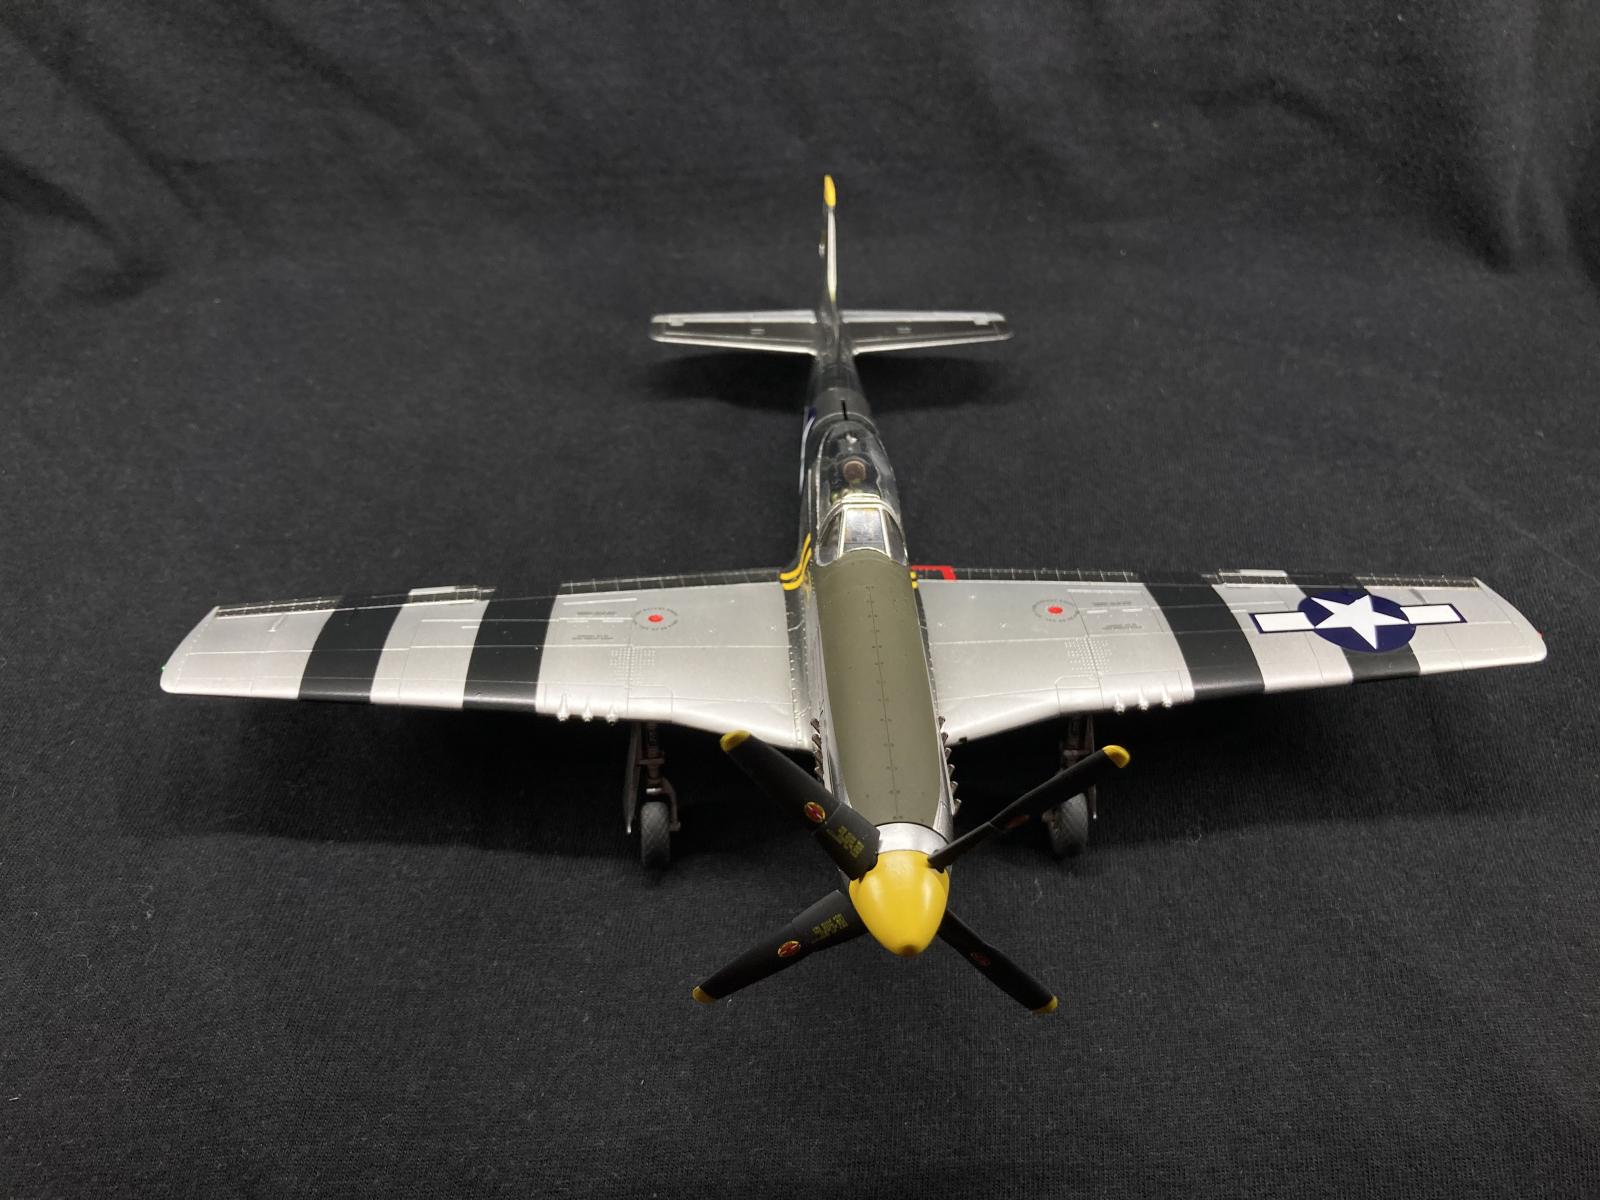
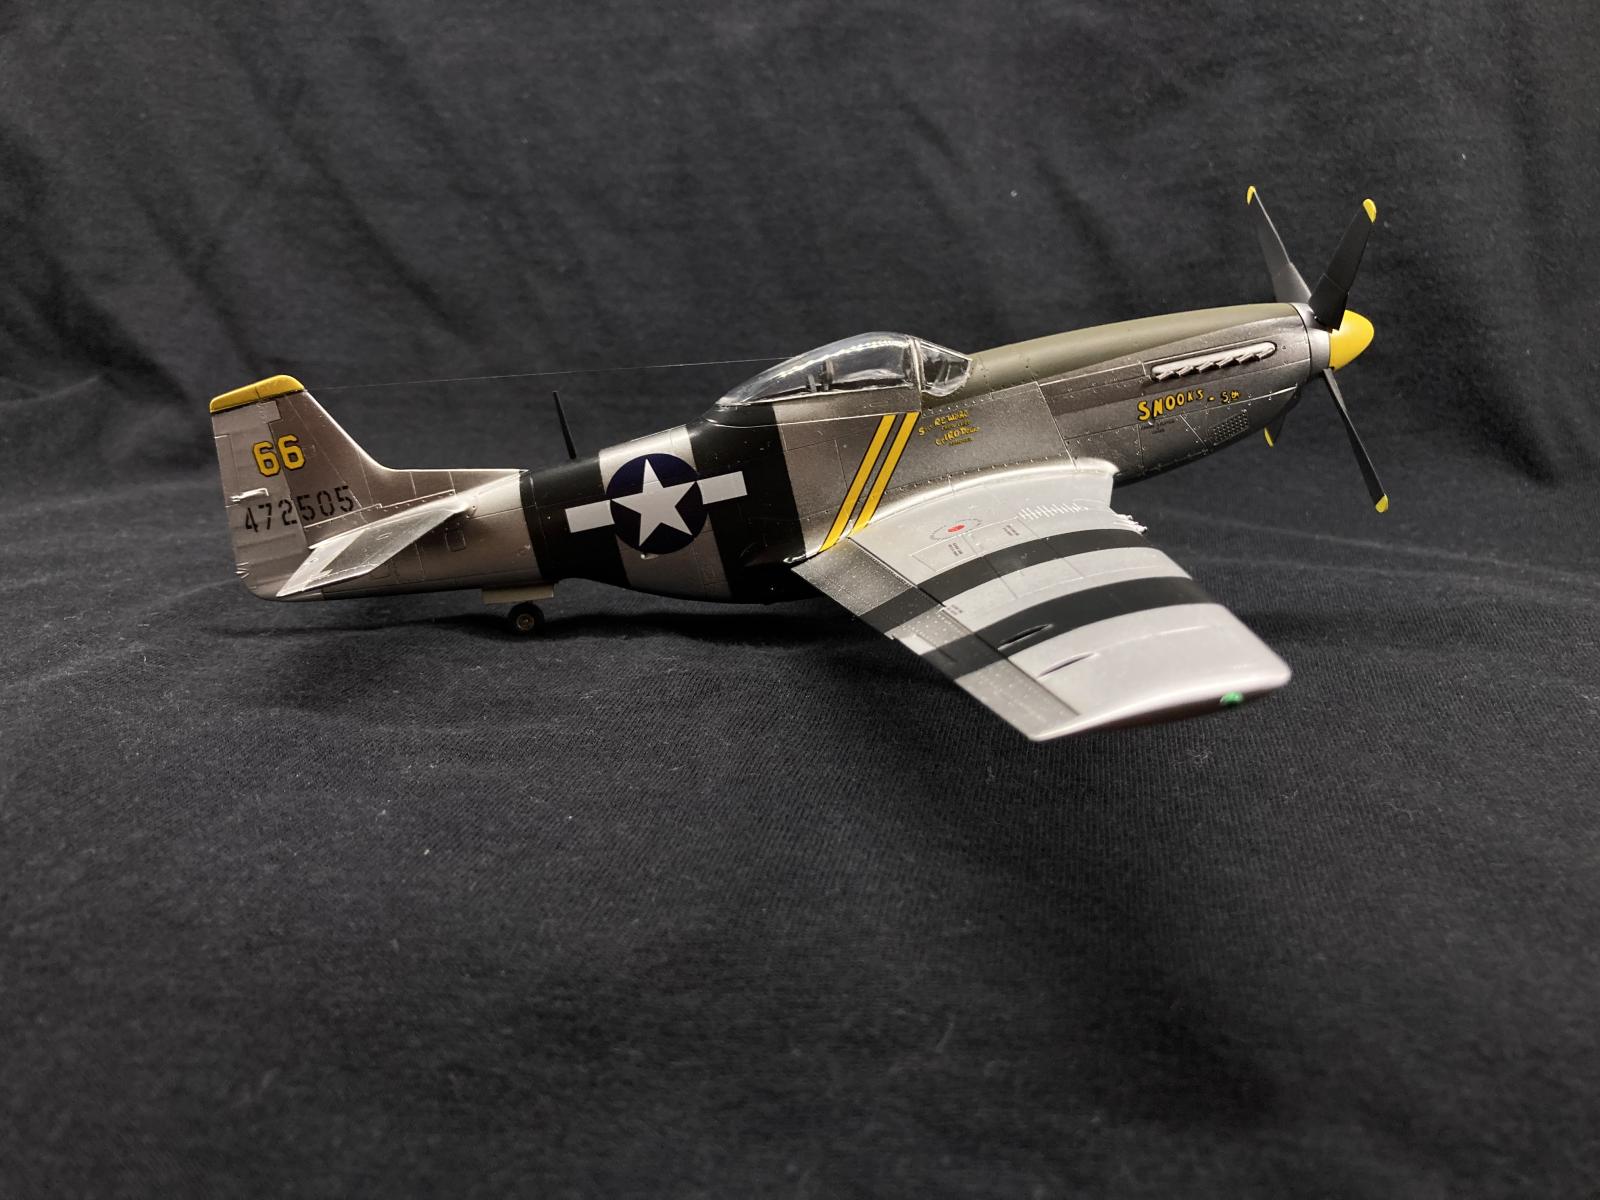
When I eventually got around to building it, I realised that, while not bad, the kit was showing it's age and a dry fit of the major parts revealed some fit issues in a couple of places. As this was my first attempt at a natural metal finish, I took the easy way out and built the Tamiya example I had in my stash.
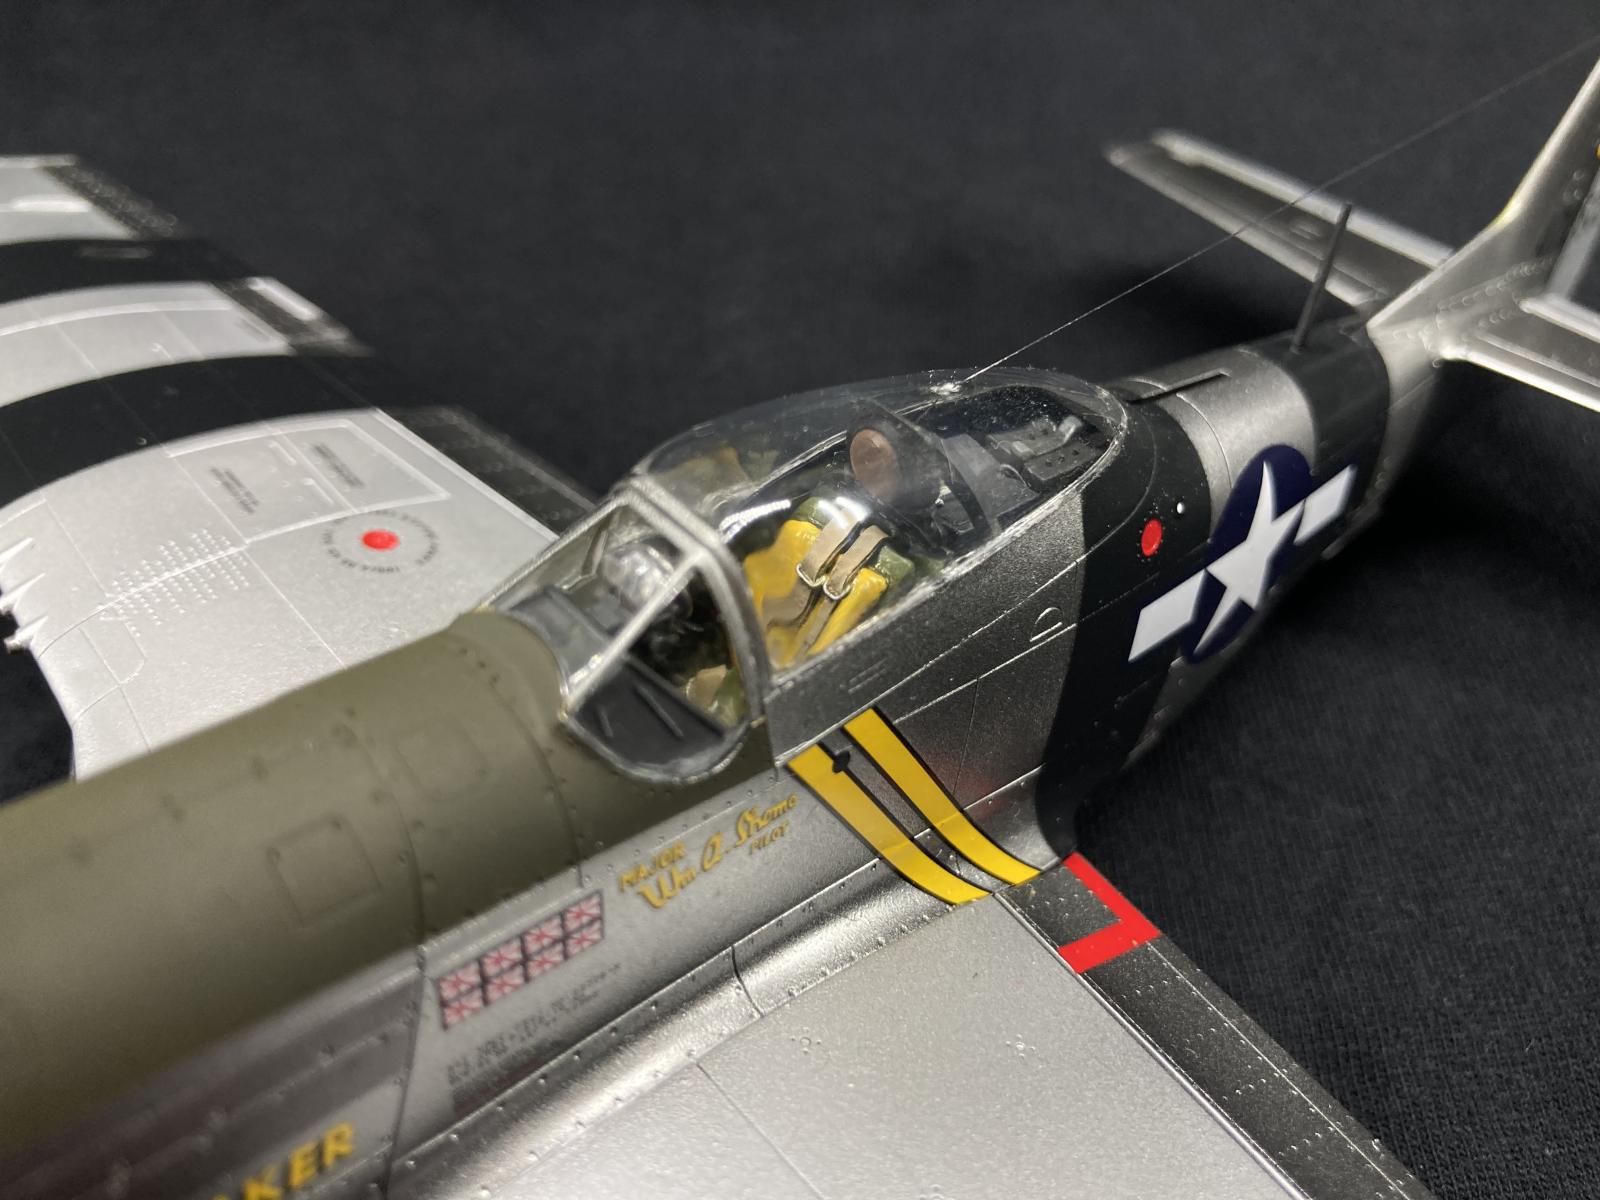
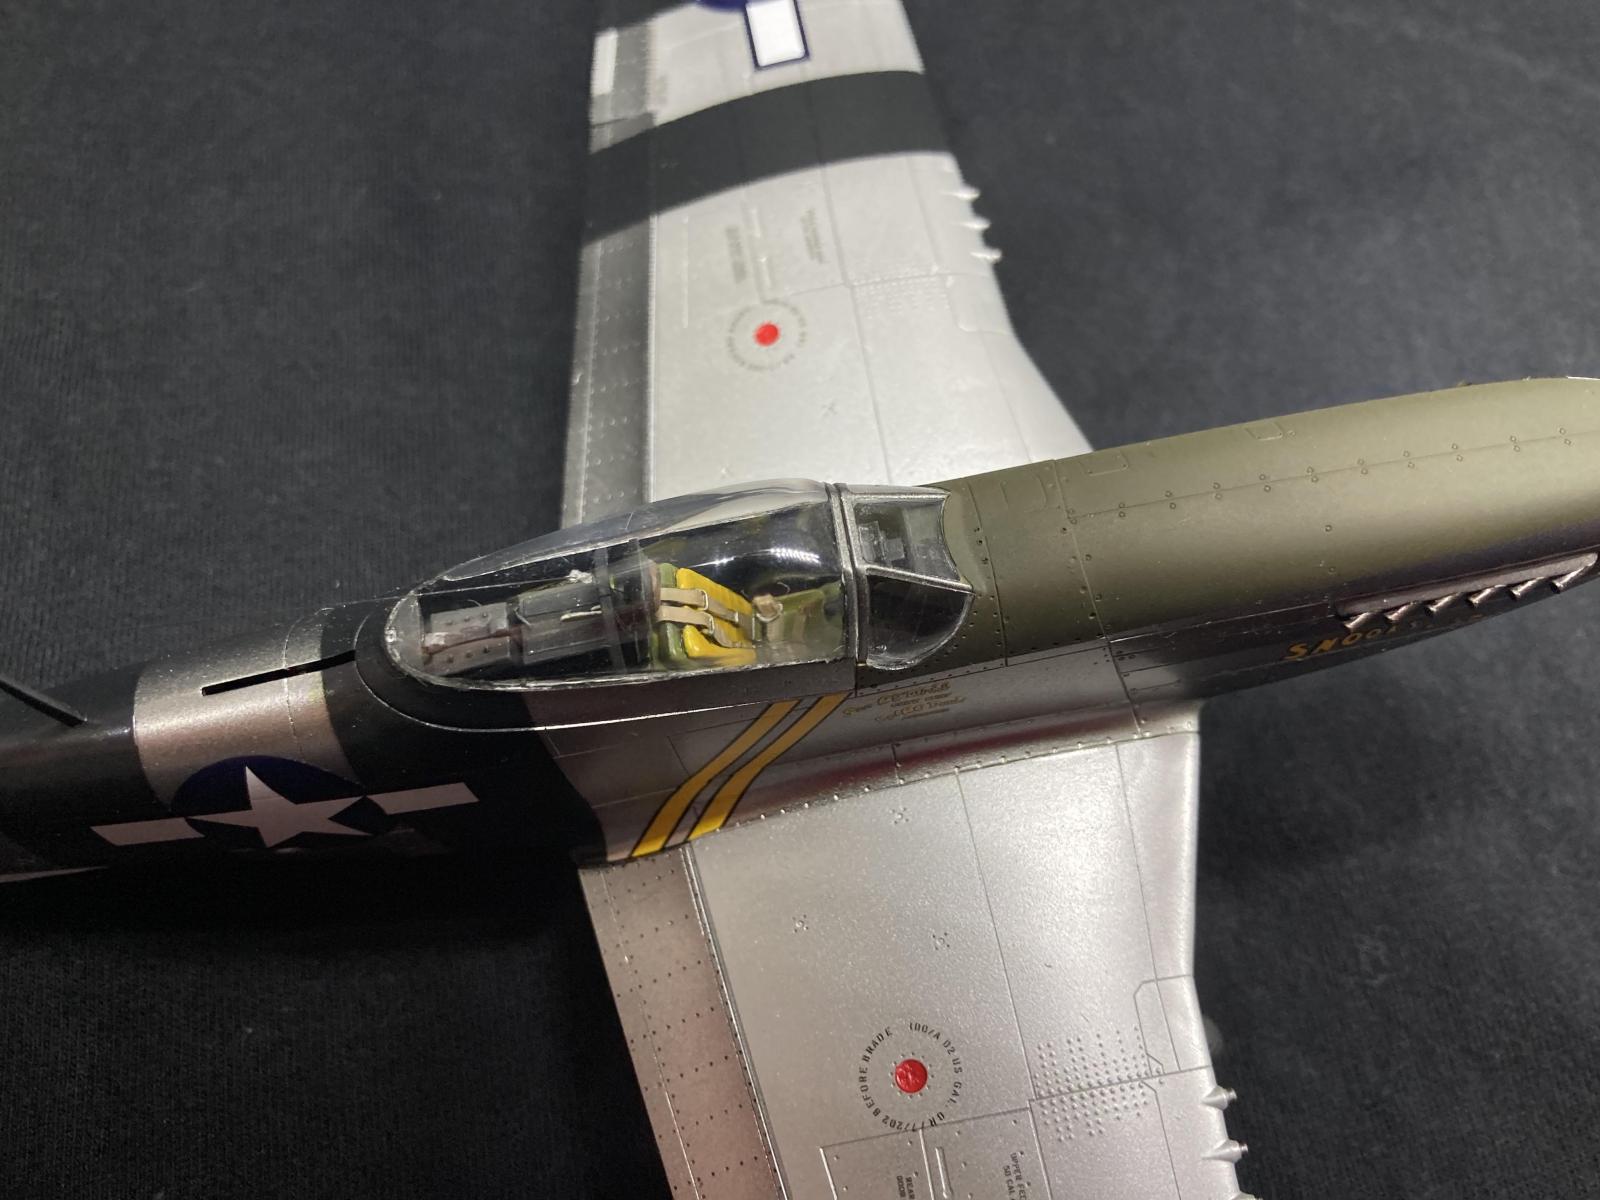
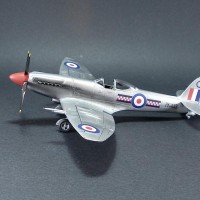
I added a True Details seat (very nice) that I had in the spares box, and battery leads from copper wire.
If there is one thing that lets this kit down, it's the rear canopy frame. The canopy brace is just a vague blob of curved plastic. I cut it off and replaced it with the part from the hasegawa kit, which was much better. I did run into a bit of trouble though, as it was slightly narrower than the canopy frame. I moved it rearwards as much as I could to compensate, but I still ended with a very slightly warped canopy frame. I probably should have shimmed it with plasticard in hindsight.
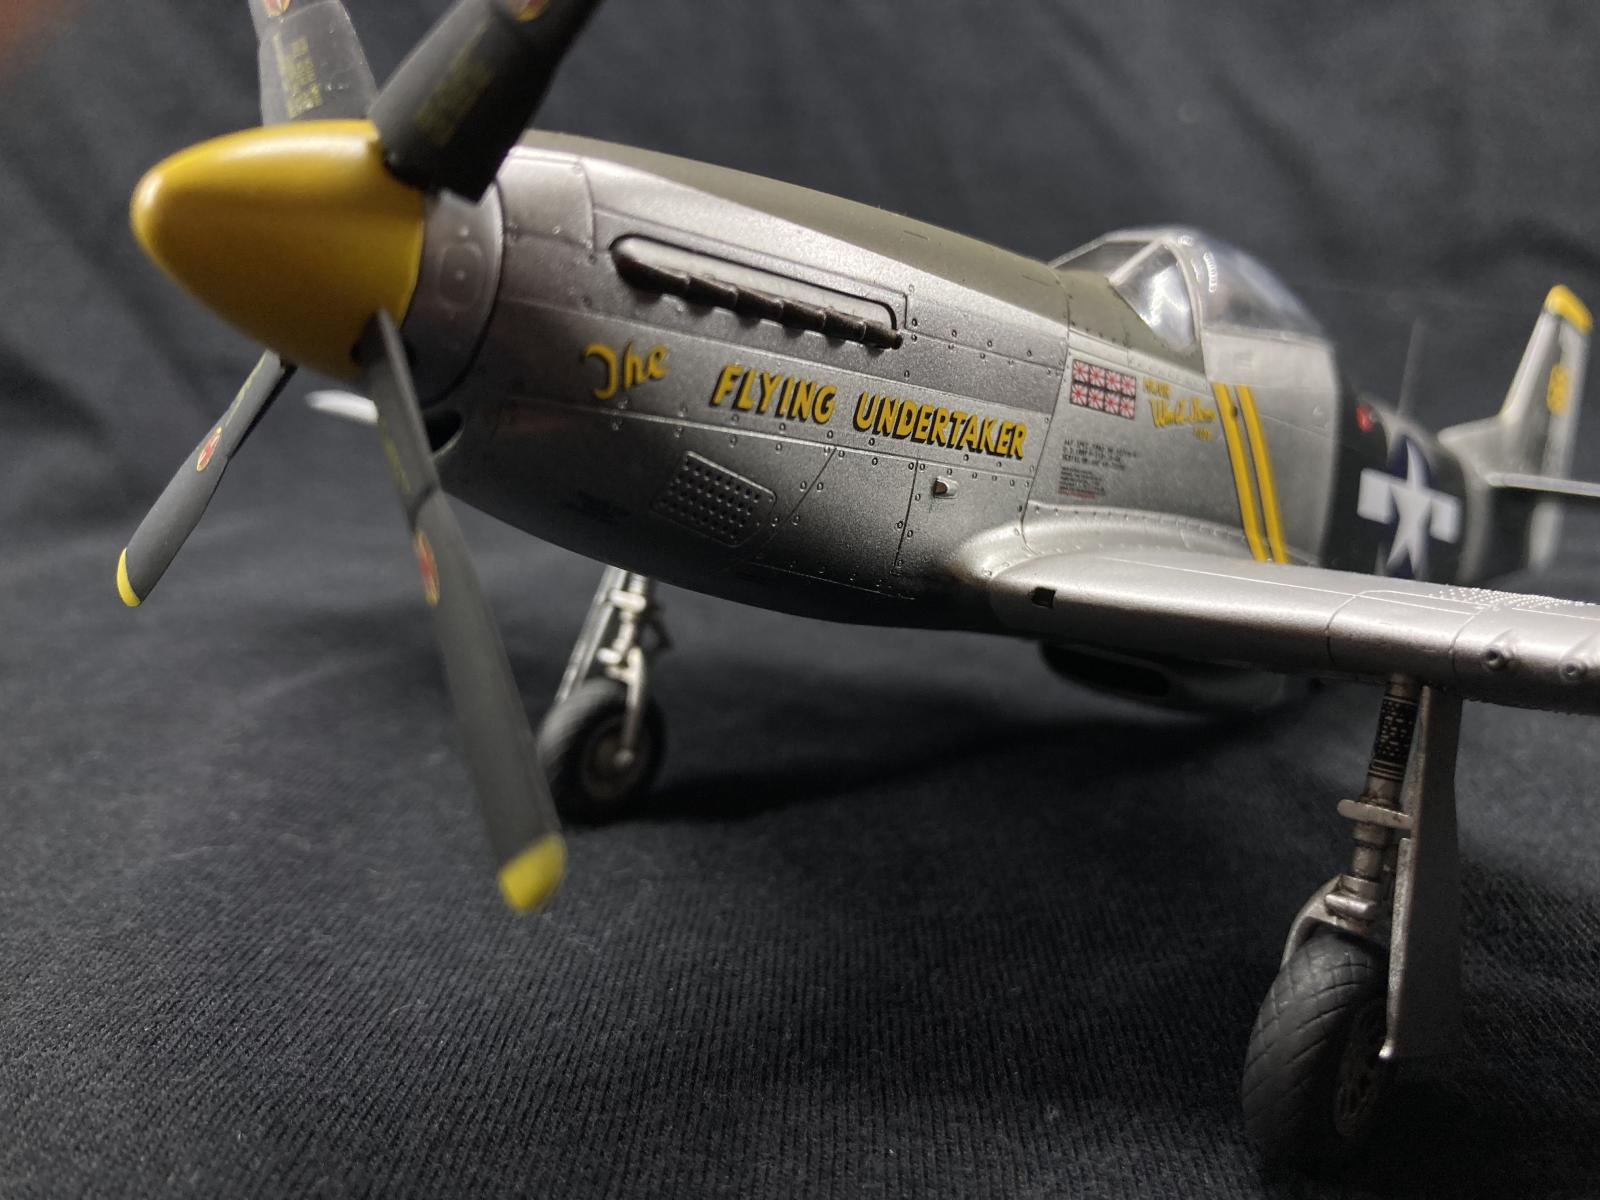
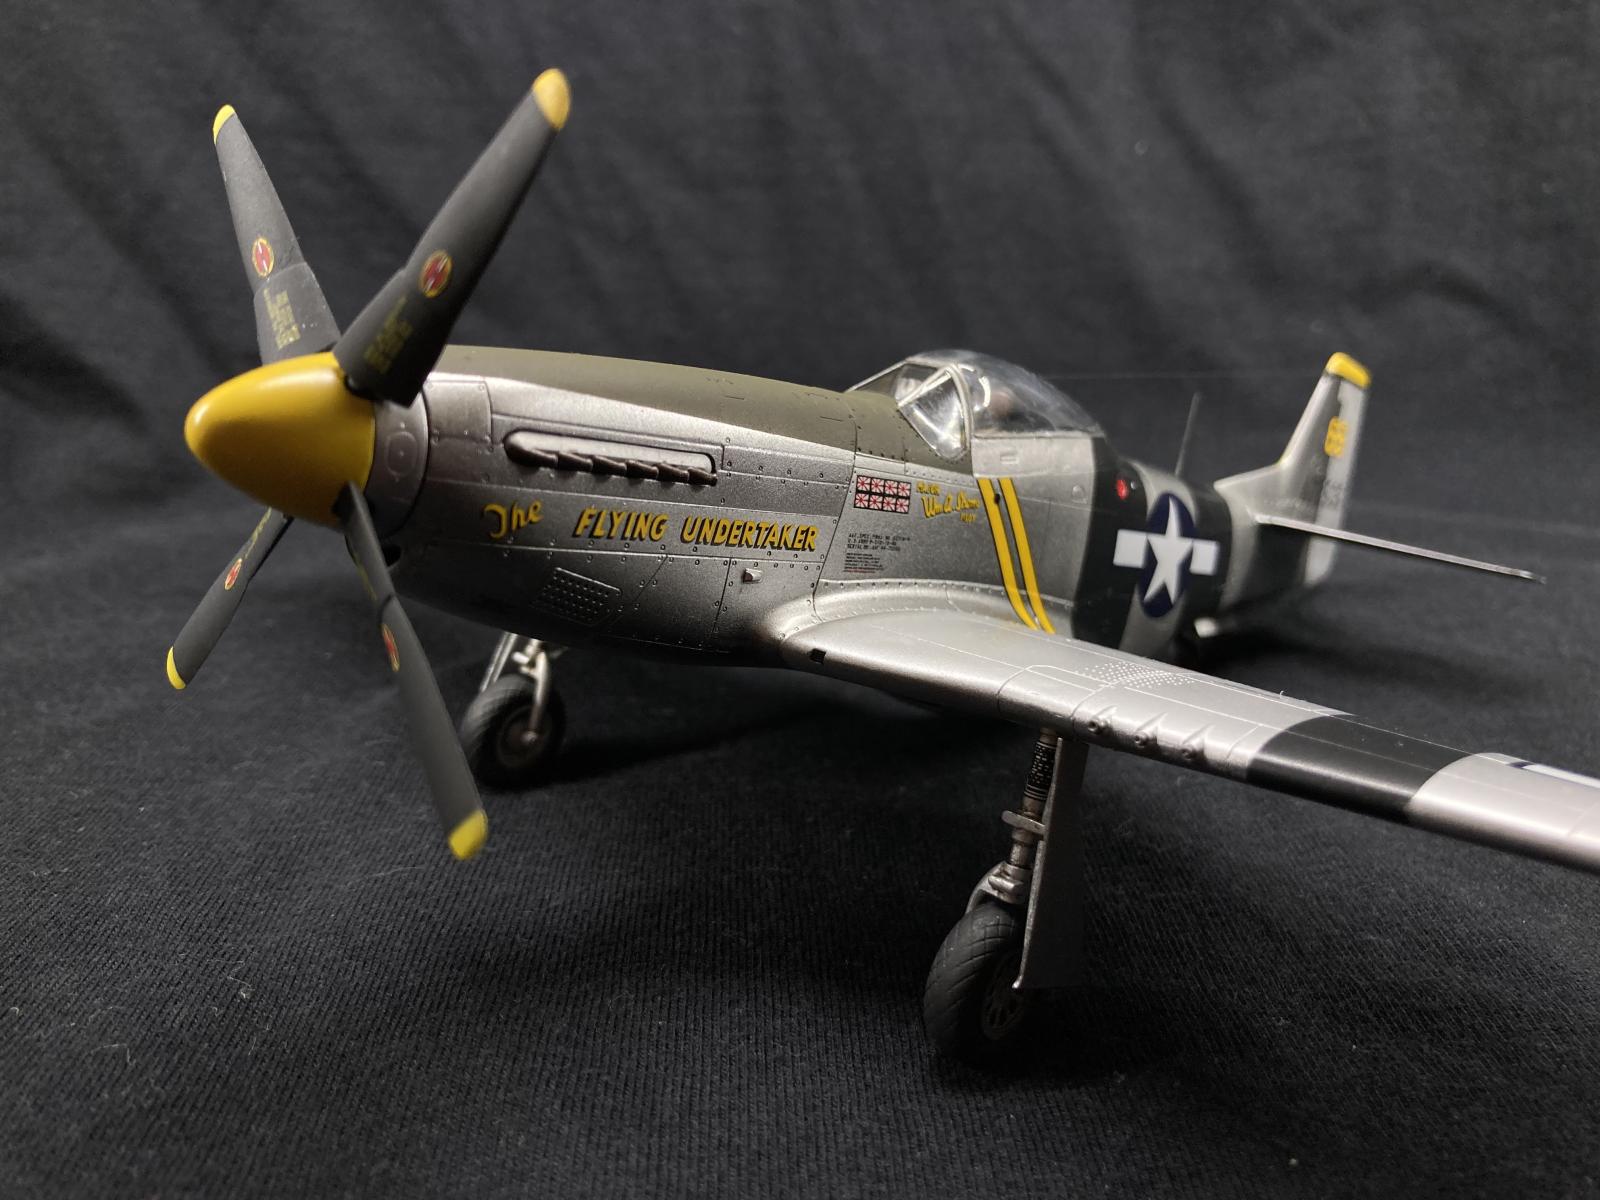
I used Alclad on the fuselage and Ammo acrylics for everything else. Unfortunately, I lost my battle with dust so the paint doesn't bear close scrutiny but it's not too bad. I also managed to get overspray inside the canopy so I had to carefully pop it off and clean it before reattaching it.
The decals were a joy to use although I did have trim the yellow stripes under the cockpit, as they were not designed for this kit and were too long.
I opted to keep it super clean in terms of weathering, going for a well maintained warbird look. I didn't even give it a panel line wash other than a bit of dark wash around the control surfaces.
The scheme represents an aircraft flown by Maj. William Shomo, “Snooks 6th”. The decal on the nose incorrectly states “Snooks 5th”. Apparently, the monicker “The Flying Undertaker” was added to this aircraft at the urging of his ground crew, and reflects Shomo's peacetime occupation.
There's plenty of room for improvement in my nmf game, but overall I'm pleased with the result.
Thanks for checking it out.

A beautiful remembrance of a great experience, Ben @popeofchillitown
You did really well on the NMF.
Thank you very much John
Very nice job, Ben! Great that you found the same scheme!
Thanks Spiros!
That’s a great looking Mustang! You did nice work building it.
Thank you Jay.
Nice clean build. Cool to have a model of a plane you’ve been in.
Thanks Matt.
really good job!
Thank you Capt. R
Very good NMF. The model looks great.
Cheers Tom
Well done, paintwork looks great!
Thanks Chas!
Very nice looking Stallion!
Cheers Greg
I thought I recognised the aircraft in your profile pic. I flew in her last November & what an experience it was. Great result on an epic subject! You've given me motivation to build my Snooks 6th