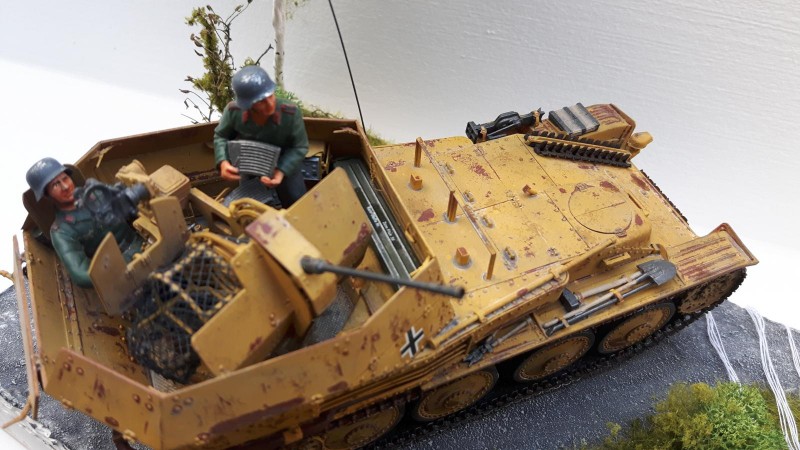
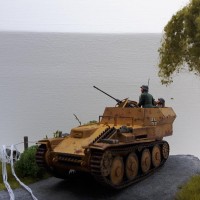
Hobby Boss German 20 mm Flak 38 Pz. Kpfw. 38 (t) in 1:35 (#80140), with Diorama
The "Year of the Cat" group build (ft. Louis Gardner):
This build is my entry to Louis Gardner's "Year of the Cat" group build here. I reported during the build there, see http://imodeler.com/groups/year-of-the-cat/forum/topic/flak-38t-gepard-as-my-entry/
Some history:
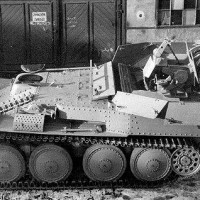
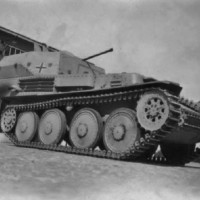
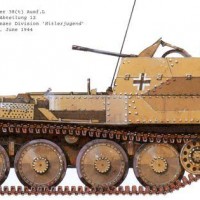
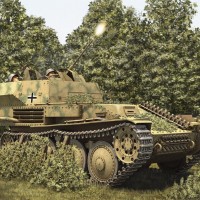
The vehicle is called a Gepard "leopard" in German. It is based on the Pz. 38 (t) chassis built by Skoda, many of which were recovered into the Wehrmacht after the occupation of Czechoslovakia in the late 1930 of the last century. When these tanks became obsolete, the chassis was recovered as munitions carrier or as an auxiliary vehicle, here featured with a 20 mm anti-aircraft gun Flak 38.
The build (Chassis):
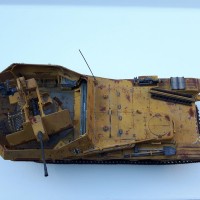
This Hobby Boss kit is a real challenge, offering a fully detailed engine and transmission system 'under the hood'. As I intended to model the vehicle in a late 1944 action setting in Arnhem, The Netherlands, I skipped these intestines and kept the hatches closed. Nevertheless, this has been one of my longest builds, also because I did not want to disappoint Louis of course... 
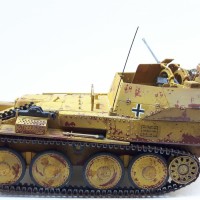
The chassis is very well detailed with crisp molds and a considerable amount of Photo Etch (PE) featured with the kit, as is a hallmark of this manufacturer. This kit taught me several skills I was not familiar with up to now. One was to solder PE and another was to vividly reconstruct a birch tree for the Arnhem diorama.
The build (20 mm gun mount):
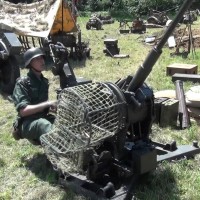
The Flak 38 mount caliber 20 mm is a model in itself. The aiming and fire control mechanism is accurately reproduced and movable until the last steps. Since I recovered Tamiya figures to go with the diorama, I had to pay particular attention to their pose so that the gunner can be positioned accurately at a later stage. To do this, I had to reconstruct the arms of the gunner figure which I took from Tamiya's Flak 37 kit #302.
The recovery basket for spent shells is represented by PE in the kit, but since I did not want to cut my fingers, I decided to replace it with a fine fabric netting. I actually had to reconstruct it using CA glue and ended up sewing the basket closed in the final stage. Gosh, I think I can apply as a tailor now!
Painting & weathering:
I primered the model red oxide, followed by a generous layer of hairspray in preparation for later weathering steps. A layer of dark-yellow followed as I wanted to model the vehicle as part of the 9th panzer division welcoming British paratroopers at the time of the landings in September 1944. These vehicles had of course an open fighting compartment which was not always covered at times of rain. Spending a lot of time exposed to the elements these vehicles wore quickly, so I applied some rust-effects (real home-made rust) and employed the hairspray technique to retrieve patches of red-oxide primer paint laid bare.
The diorama:
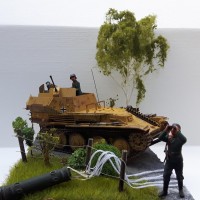
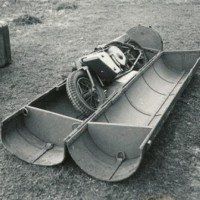
I modeled the vehicle in Arnhem and I researched some pictures showing the surroundings of the Landing Zones (LZ). I twisted and turned a birch tree from thin wire. A full tutorial is on the group build pages. I also scratch built an allied equipment drop container but stopped short of building the chute from silk paper. Maybe next time!?
I am pleased with the result of this effort, which took me one month, about 50 hours I estimate. The diorama was the main challenge on top of the detailed finish of this Hobby Boss kit. The figures were from an older Flak 37 kit from Tamiya #302 and were hand painted with mixed acrylics. The patches are red because Flak batallions were part of the artillery, wearing this color.
I hope these 50 hours of hard labor can please Louis well
What do you think of it?
Happy modelling!
Michel.
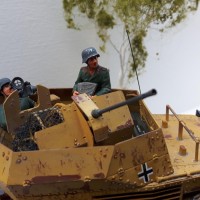
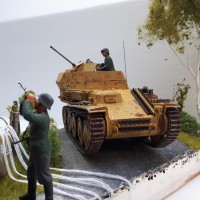
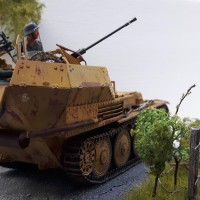
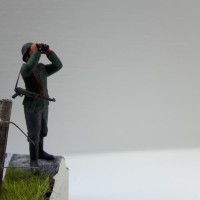

Nicely finished, sir...I like that simple, yet effective, diorama as well.
Really nice model. Excellent weathering and painting. I like the diorama, especially the fence which is a nice touch.
This is a great build! Nice diorama as well.
Thanks all, I appreciate your comments and feedback, Michel.
Michel, an excellent and interesting build. I would love to have one of those airbourne / folding motorcycles !
Very nice. The weathering and finishing look great. Well done!
Michel - this is great! I like it all ()including the dirama base.)
As an aside, I especially like the muddy places where the crew stepped up on the vehicle or got in the hatch (driver's) and other places they would often mount or dismount the track. We had similar muddy spots on my different tanks thanks to the wet weather so common to the lovely German countryside where I spent half my military career.
Bravo!
Uh - diorama, not dirama
OOPS!
It s ok Jeffry, not a drama! Thanks!
LoL!
Beautiful work Michel ! You did not disappoint me

 Louis is VERY pleased ... 50 Hours well spent my friend, and your 38T turned out exceptionally well.
Everything about your build looks fantastic. I especially like the empty shell casing netting you made from scratch and the parachute drop container... the birch tree also looks very authentic. Everything about this is great, and including actual photos of the drop zone is a nice touch...
I have been watching your progress in the Group Build. Like Terry, I would like to have one of those folding airborne motorbikes too...
This makes me want to see the movie "A Bridge Too Far" again...
Thanks Louis, you too made my day mate! I can maybe scratchbuild a bike, must see I'm adding some figures, will then post the final pictures too, stay tuned!