Pilatus PC 21, 1/32 Scale Scratch Build, Part 5
Here we go again, did some major work the last few days, as well as spend time with my Family, which was great, so its off to the DRC tomorrow with a stop over in Johannesburg, then an early departure to Lubumbashi on a Embraer EC 135 Private Jet, which is the coolest part of the trip, as I can spend time in the cockpit.
This is what I managed to do the last few day's:
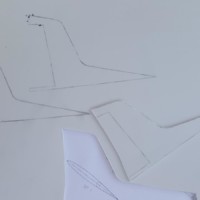
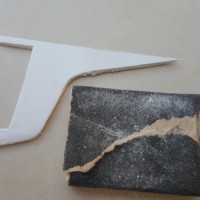
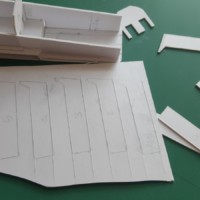
- Laminated 1mm plastic card together for the vertical stabilizer, Cut out and sanded to shape.
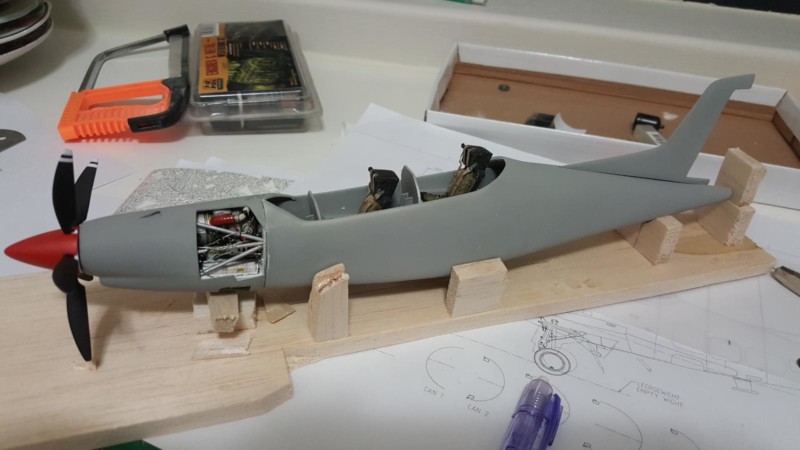
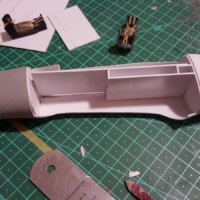
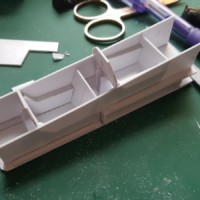
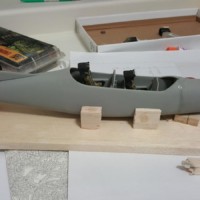
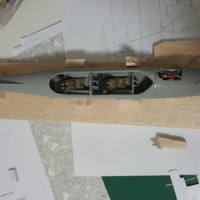
- Made up the cockpit tub, this was the tricky part of the build so far, lots of measuring and test fitting to get the fit ok, as well as the height of the ejection seats, the scale drawings dont give the position of the seats so I had to look at a lot of reference pictures to get it to look ok, hope you approve.
- I made the instrument panels and the instrument side walls as modules so that they can be installed when the instruments have been detailed and installed, and to be able to move them backwards and forwards to get the position ok so that they look just right. I used some old ejection seats to get the fit and sizes for the tub and side walls.
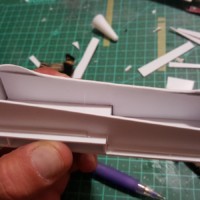
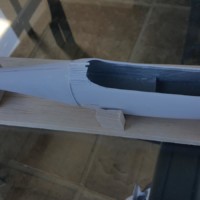
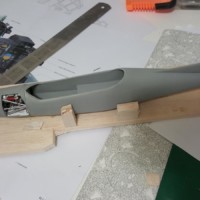
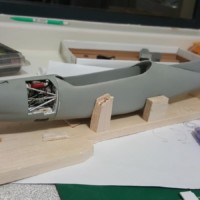
- Installed the cockpit tub and joined the fuselage halves using a jig I made up with Balsa wood. This was important, as a twist or miss alignment would spoil all the work I have done so far, I got it sorted ok, looking like a Pilatus now.
- Filled the joins with super glue, with a sprinkle of Bicarbonate of Soda (this helps to fill the gaps and makes the joint really strong), also did this with the gluing in of the cockpit tub. Before you glue anything, make sure and double check the alignment and fit.
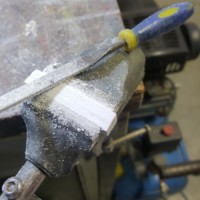
- Sanded the fuselage smooth and sanded all the joints to get them smooth, Filled all imperfections with Tamiya Putty and sanded everything with water paper. Washed everything in dish washing liquid, Dry, and Prime with Humbrol Primer, 4 coats. This fills some of the scratches and small imperfections.
- Used the same jig I mentioned earlier to line up the front cowl and glue into position.
That's it for now, hope you like the pics and the progress report, you will have to excuse me for the next 2 week as I have to go make money to pay the bills.
Chat later.
You are welcome to PM me with any questions.
Marc

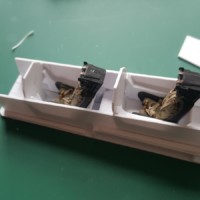


Those seats look fantastic (as does the rest of it, but...) - what'd ya use to replicate the cushions? They sure turned out lookin' good, Marc.
Hey Craig, I usually use a 2 part putty and just shape them, these are old seats that I scratch built, I need to scratch build the Martin Baker 16 L Zero Zero Ejection seat, those are the proper ones for this particular aircraft. Thanks for the comment.
Wow! Compared to you, I'm just a parts gluer ! (Heck, I don't even know if "gluer" is a word !)
Wonderful work you're doing, Marc! It's great to see a true "artist" at work!
Hey Jeff, I am just a parts gluer, only problem is that I have to make them first, I am sure that I am a nut case. I should just buy a kit and build it. Thanks for the comment though.
More remarkable work. Just amazing.
Thanks David, much appreciated.
This is really starting to take shape now...and it looks fantastic. You can see how things are falling into place. Looks like scratch building is a combination of various skill sets, including working with balsa. Figuring out just how you will make something is remarkable.
Please keep the future articles coming ! I'll be watching out for them.
Thanks for your kind comments Louis, yes indeed, you are problem solving all the time. I also dont have a fill workshop with machine tools to make the job easier as well, everything is basically made by hand.
This is looking great already Marc.
Thanks Anthony, still quite a lot of work left to do.
More excellent work - and with the detailed process pics, I picked up a few hints as to how to better create some of the scratchbuilt parts I occasionally need - so thanks for that! Looking forward to seeing progress resume after your trip. Stay safe in your travels.
Hey Greg, thanks for your comment Bud, yip, its never nice to be away from home and the family...Oops, almost forgot, and the hobby.
For reasons you understand, I'm an avid admirer and follower of this series of posts in the possibly vain hope that my eventual project will look even half as realistic as the other scratch builds of yours that I've seen, as well as this one. It looks great and I envy both your skill and build speed.
Cheers - Paul
I am sure it will work out just fine Paul, just persevere and double check everything. Like I always say " if it does not look right, then it isn't right" try again. Cheers
Looking great there buddy. Brilliant work as always.
My Chom...
Have a good trip, I’m sure you will return with renewed enthusiasm for this project.
Thanks George.
Without doubt, some very impressive detail on your build.
Thank you so much for you comment Julian