HobbyBoss USS Miami SSN-755
The Los Angeles class are nuclear-powered fast attack submarines (SSN) currently in service with the U.S. Navy. Making up over half of the Navy's fast attack submarine fleet, the Los Angeles class is the most numerous in the world. Developed in the 1960s from the smaller Sturgeon class, the 110 meter-long, 25+ knot Los Angeles was intended to counter the growing threat that fast Soviet submarines presented to U.S. carrier strike groups. Armament includes anti-submarine mines, torpedos, Harpoon missiles, and Tomahawk cruise missiles, the latter two able to be launched horizontally from the torpedo tubes. An improved version of the Los Angeles (688i) additionally accommodates 12 vertically-launched Tomahawks in the bow.
The naming of the class after U.S. cities broke from the Navy's tradition of naming submarine classes and vessels after aquatic animals, since, as Admiral Hyman Rickover maintains, "Fish don't vote." The public likely knows the Los Angeles subs primarily from Tom Clancy novels and virtually every other pop culture reference to Cold War submarines.
The Kit
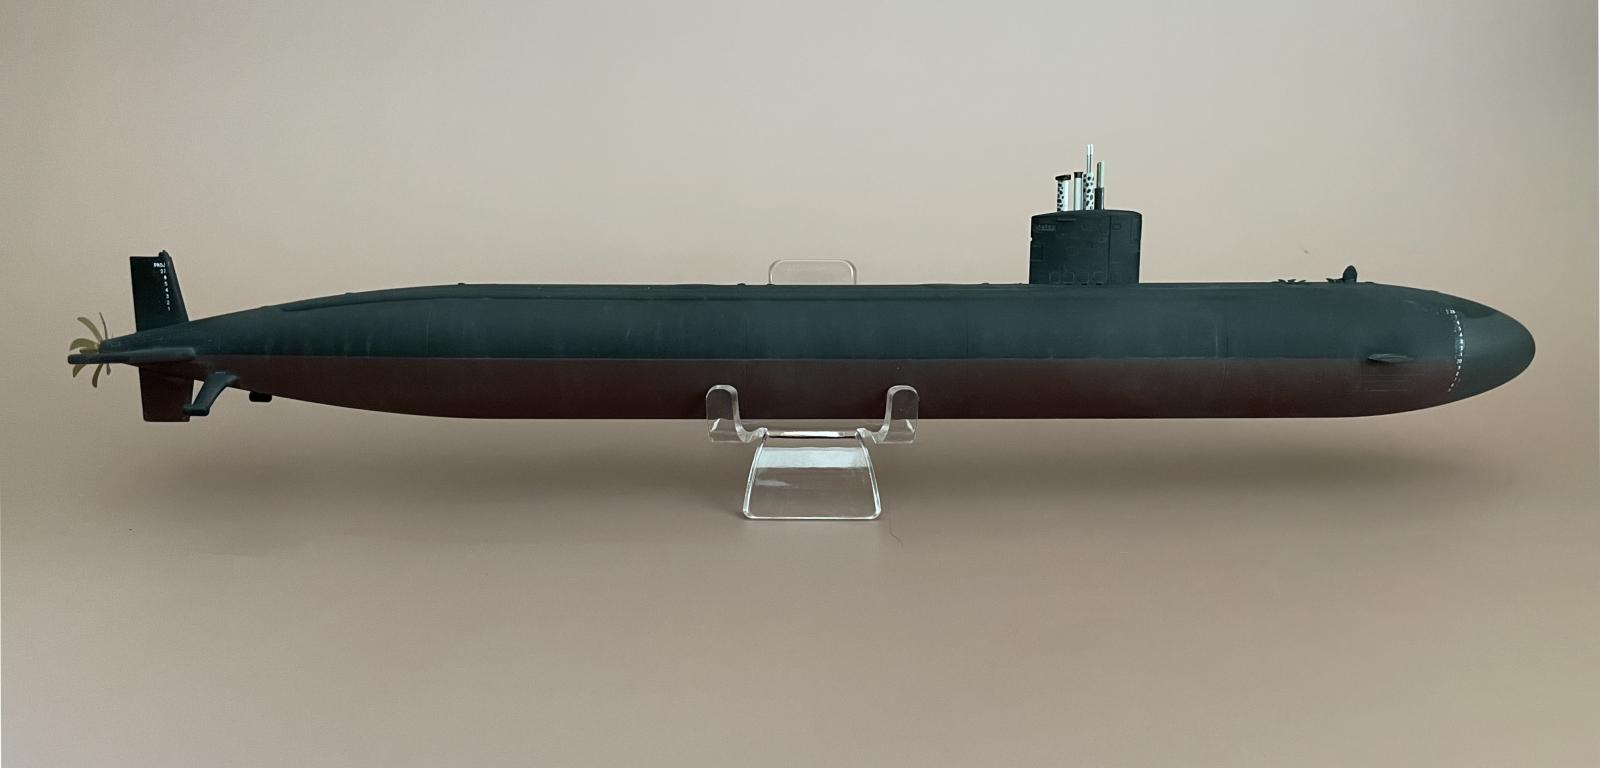
The HobbyBoss 1/350-scale USS Los Angeles is billed as a 3-in-1 kit because you can build three different versions of the class: the standard 688 (referring to all such subs, after the eponymous Los Angeles SSN-688), the 688 VLS (standard version but with 12 vertical launchers in the bow), and 688i, the improved class with VLS but with dive planes moved from the conning tower to the forward part of the hull. We have the option of deploying the various antennas and periscopes or not. This variety is a for sure a plus for this kit; and, despite these options, the parts are few. The clamshell hull halves, tower, 'scopes, and dive planes are very well molded in gray styrene; there is also a photoetch propeller and hatch cover. The kit also comes with a toyish stand.
I decided to go with the 688i (which incidentally is the USS Miami SSN-755) because more launchers (obviously) and who doesn't like oddly placed dive planes?
It's hard to have any nits with such a basic model. But, I have some.
The kit has some design quirks. While there are various versions of the conning tower available, these allow either "everything open and deployed" or "everything closed". For example, why not allow antennas and pericopes up but the hatch closed? I say this particularly because the hatch is tragic: the PE doors are totally not sized correctly, and the hatch is molded shut after a mm or so. So, best to close the hatch, which I did by laying one of the PE flaps across it.
The forward diving planes, particular to the 866i, are the two ends of a single long piece that we sandwich between the two halves of the hull, the planes fitting through two slits which we are to cut out of the hull. This requires us to carefully center the piece, and then to fill-in gaps because the slits we've carefully cut end up being too large. All of this sounds unnecessary since the planes could have just been separate pieces that attach to the outside of the hull (like the rear diving planes).
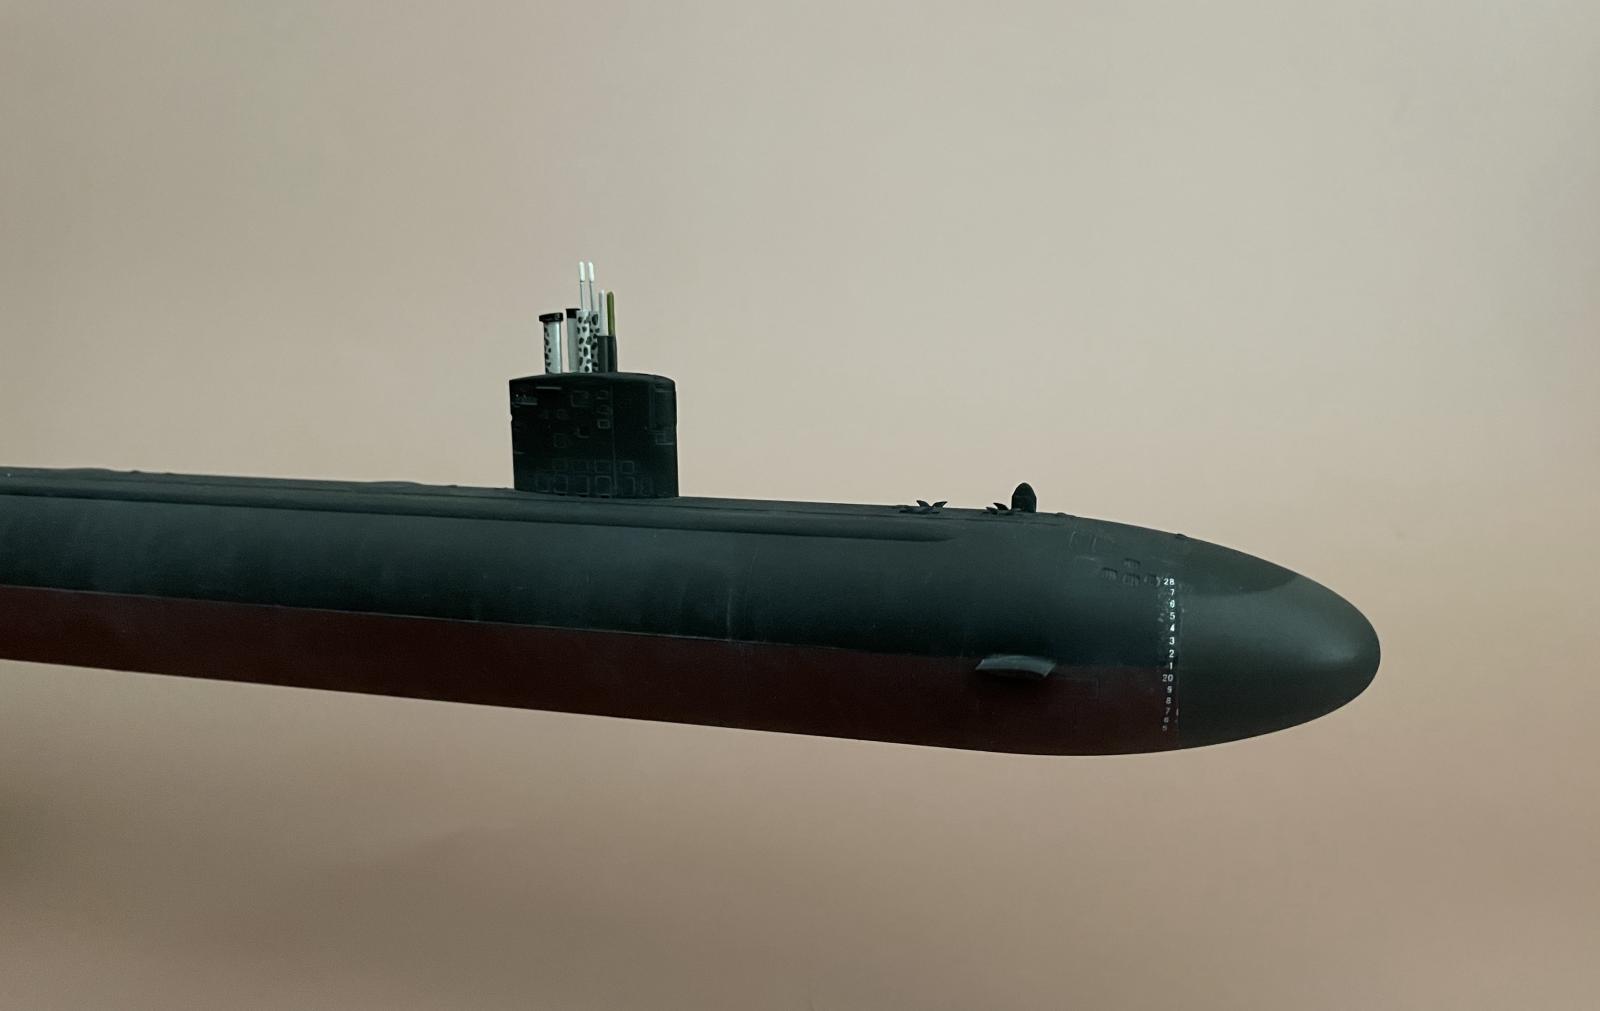
Most of the markings included as decals don't appear on the actual sub, including its bow number, hatch markings, and also inexplicably a massive bull head meant to adorn the nose of the sub. The depth scale decals are vertical, but the sub is tapered where they are meant to go, and so they curve a bit. Not a major flaw, but come on!
As my first sub, I have yet to really know what I'm doing. Weathering in particular was a tough consideration. I've seen some amazingly weathered subs, complete with algal growths, salt crust, and other yuckiness along the water line; such models look as if a giant plucked the real thing straight out of the ocean. My feeling about this, though realistic and artistic, is that it's not how anyone really ever sees the actual thing. Indeed, we probably only ever see the full hull in dry dock, when the sub is relatively clean. I therefore decided to forego these effects and instead tried only for some streaking and fading to lend some texture to the otherwise uniformly bland hull.
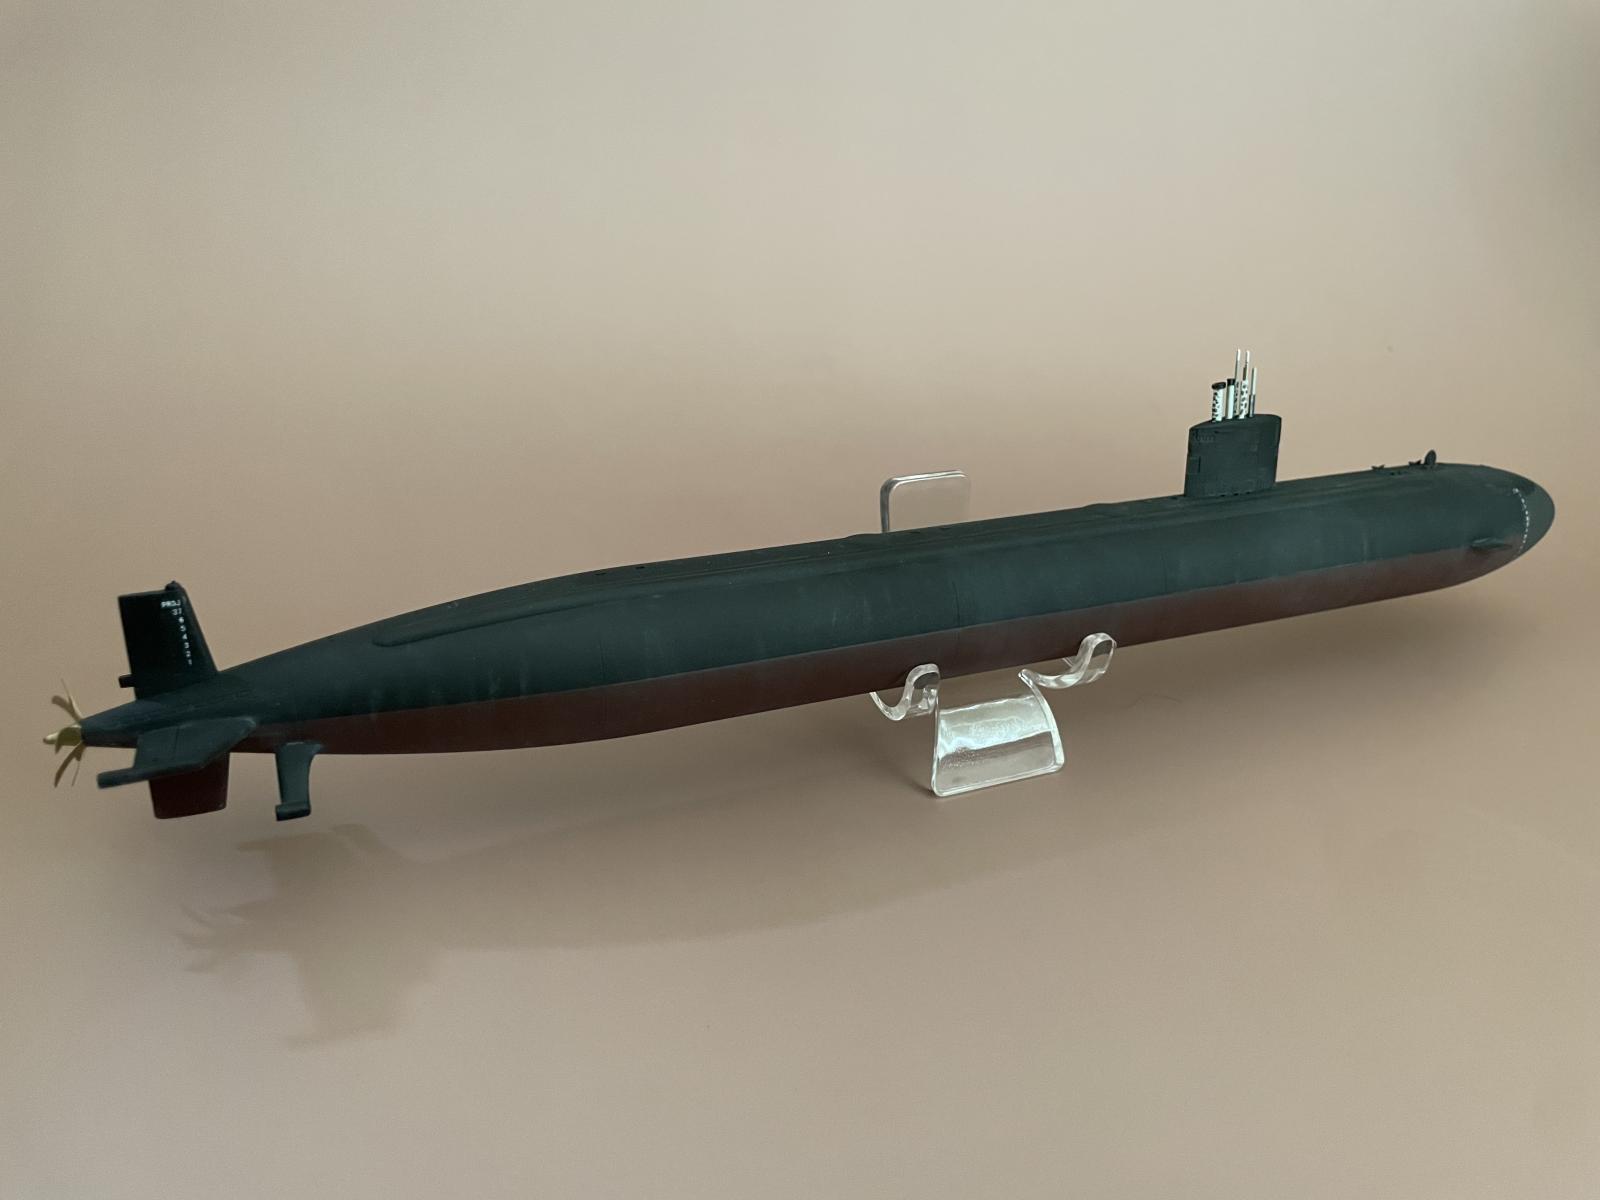
I used some lighter-colored oils down around the hull, and gave the top (bottom) of the hull a light (dark) gray enamel wash. Paints were mostly as instructed: Mr Color Black on top and Hull Red (29) bottom, but the perfect 50/50 mixture of the two for the nose had me suspicious. Online photos reveal a grayer tone there, so I applied some Tamiya Dark Iron (XF-84) to match. The PE propeller was painted in Alclad Pale Gold.
Depending on the type of sub one builds, and depending also on when in its history you decide to render it, the paint schemes will vary; particularly, how high up the hull to paint the red color. The various antennas and scopes are also variably painted: I settled on the "leopard spot" scheme that I hand-painted, as I was unable to find any aids for this (like masks or decals).
In the end, there's not much to it! I ditched the stand provided with the kit and also didn't think this little thing warranted any sort of dignified wooden pedestal; I therefore went with a small clear acrylic stand meant for displaying rocks and minerals.
Some improvements are certainly in order for my next sub. Thanks for looking.

References
I was impressed with and motivated by marcopreto's work. And had it not been for Scott Nelson's post a while back, I never would have considered building a sub. Thanks Scott!

Excellent job, Brian!
Really nice work on this sub, Brian @bapowellphys
Nice job Brian!
Thanks everyone!
That looks great! Thanks for sharing.
Rod