1/48 Airfix English Electric Lightning F1A: Cold War Warrior
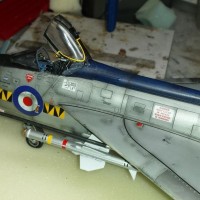
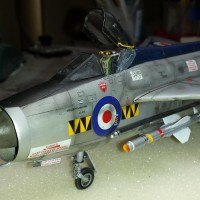
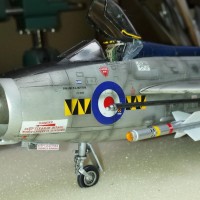
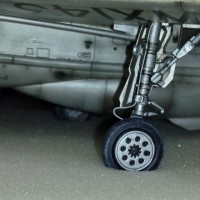
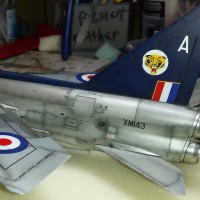
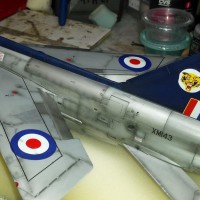
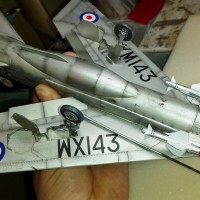
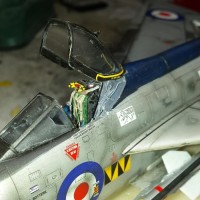
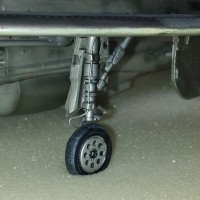
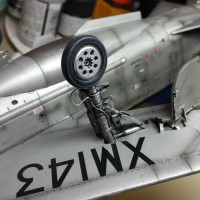
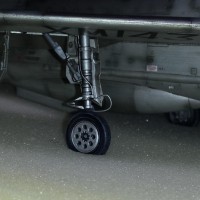
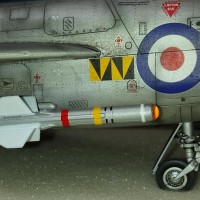
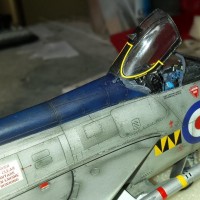
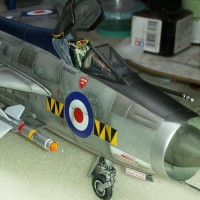
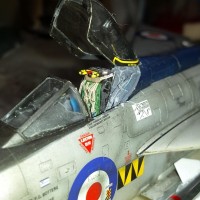
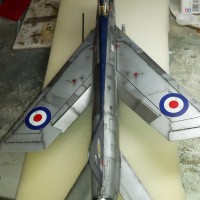
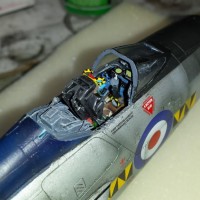
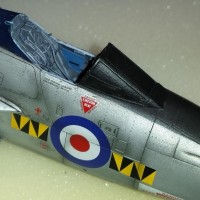
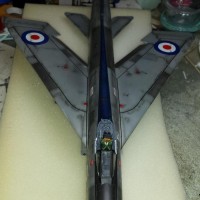
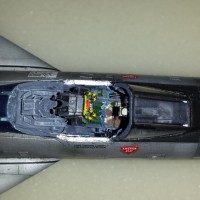
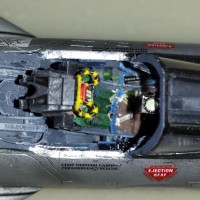
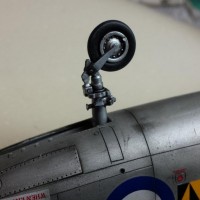
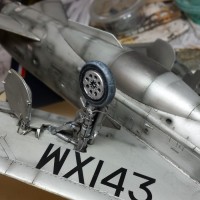
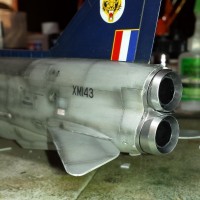
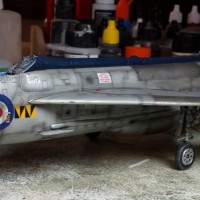
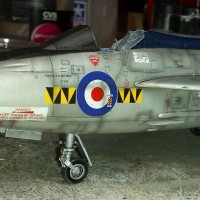
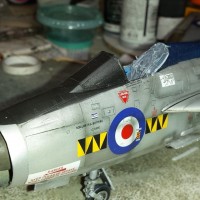
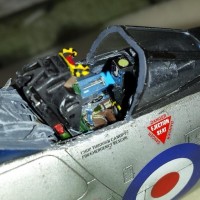
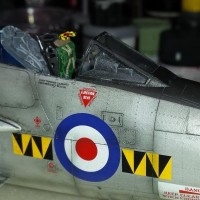
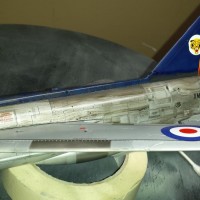
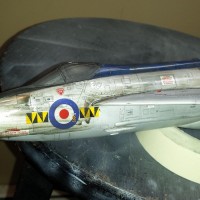
1/48 Airfix English Electric F1A Lightning: Just finished this today after about a week and a half of working on it. It is OOB except for the detail in the cockpit, seat, and behind canopy. Also added a few bits to the main wheel well and some break lines. The cockpit/seat includes details from the Eduard detail set. This was not the easiest of kits to build but was not that bad either. A few trouble spots such as intake lip ring not fitting well. This is a result of the vague manner in which the whole front wheel gear well and intake cone assembly fit. Instructions could be better on this area as well as other areas. When attaching the horizontal stabilizer to the fuselage there is nothing in the assembly to give you an idea of angle relative to surface plane. If you let the stabilizer lay naturally the way the plastic is molded you will end up with a drastic negative angle. The instruction provide no detail or mention of this. Must use external references. The main wings were a bit warped and the fuselage had a slight warp to it which required special handling to assemble properly. The wings attached well to the fuselage with only a little filler needed on bottom side. I give the overall detail level of the kit a 3.5 out of 5. Detail orientated model makers will want to get some extras to busy things up especially in the cockpit and the main gear wells. I give the level of engineering/fit a 3 out of 5. Despite not being a perfect kit it does produce a large impressive model. The decals were a little thick but settled well with some solutions. I used all acrylic paints such as Vallejo Metallic Colors to produce the NMF of the aircraft. I used pre-shading and post-shading techniques to weather the aircraft and enhance details. I also used enamel washed to enhance details and recessed panel lines. It was disappointing that the model surface did not include more rivet detail b/c the real aircraft is covered with rivets and it is apparent in most pictures of the air frame. I was not satisfied with my post-shading job. I feel like I over did it and it appears to stark against the NMF. It looked a lot lighter as I was applying this layer using very thinned black under very low pressure. I forgot how much acrylics can change in color as it dries. There was really no way to fix it w/o a complete re-paint and obtaining a new set of decals.
I have included a few late stage build photos towards the end of the pictures attached.
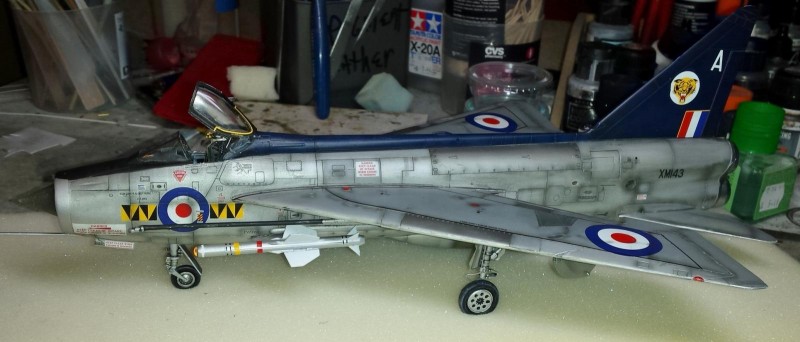
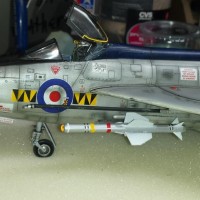
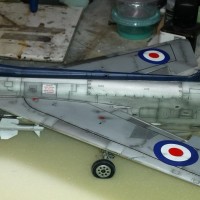
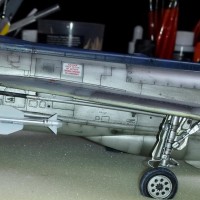
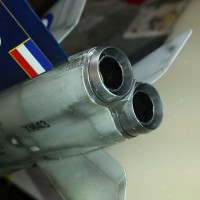
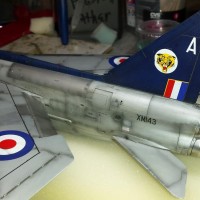
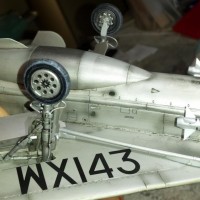
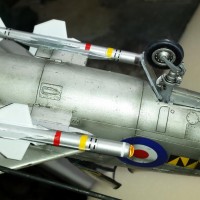
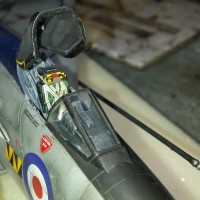
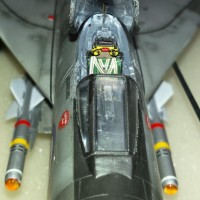
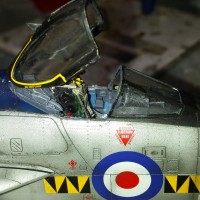
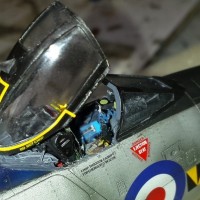
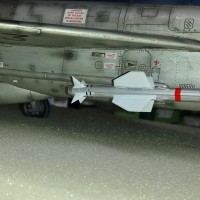
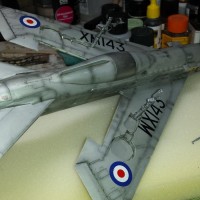

STUNNING detail and finish on this, Paul - stellar workmanship, sir!
Outstanding looking model, I like it a lot Paul. Just one and a half week’s work hein? Amazing accomplishment, I would be still cutting sprues
Funny b/c people have tended to respond with awe regarding my time frames. I never thought of it being that quick. I am not working now so maybe I have more time to build then the average person. I may spend 4 to 5 hrs per day working on model per average day. Basic model really and I am good at cutting corners...LOL. Those things that people say "you must always do!" I dont always do and get same results. My models sometimes look really good but if you put them under a microscope they are very imperfect. They would not win contests b/c I am not a perfectionist. Paint may have mistakes, seams some times show through, NMF does not have a perfectly smooth base so you can see sand marks, etc. Stuff like that.
Come Paul, you are being hard on your modelling skills 😉 no model is perfect, even more for the one who builds it. I guess all of us are our own most severe critiques.
About the time, your daily bench hours are often my weekly time, yet I’m still amazed by the velocity of your build
It looks STUNNING Paul. I like the way you represented the NMF. Looks like a well used Lightning. The post shading does not subtract from the overall appearance. Well done!
A WEEK AND A HALF!
Bugger. A week and a half. I think she's lovely, Paul. I'd ask her out, wine and dine her, but she's out of my league.
A week and a half...
Funny b/c people have tended to respond with awe regarding my time frames. I never thought of it being that quick. I am not working now so maybe I have more time to build then the average person. I may spend 4 to 5 hrs per day working on model per average day. Basic model really and I am good at cutting corners...LOL. Those things that people say "you must always do!" I dont always do and get same results. My models sometimes look really good but if you put them under a microscope they are very imperfect. They would not win contests b/c I am not a perfectionist. Paint may have mistakes, seams some times show through, NMF does not have a perfectly smooth base so you can see sand marks, etc. Stuff like that.
Even so, Paul, you may lack perfectionism but your builds have have character and I'm a big fan.
Beautiful! Absolutely beautiful, Paul!
Paul, marvelous! I much prefer the early, full color markings.
An absolute beauty, Paul. We are always our harshest critics and you are far too harsh!
I'm sure you have seen this F1A from Biggin Hill in 1973
These birds underwent some significant discolouring and weathering as clearly shown in your build! I think you have come extremely close to reality in that respect!
Thanks again for adding this to the RAF100 group! We are very much the better for it!
A lovely Lightning! I built the Airfix 1/72 yarns ago, might me be getting Lightning fever
Well - I can't help myself, I'm going to have to join the chorus of "A Week and a half?!" I could only wish... (maybe I'd get half my stash built before I ascend to the great hanger in the sky!).
Beautiful stressed NMF finish on this. I love it - if only I can get closer to that kind of result - that's what I'm looking for!