M107 175mm Mechanized Howitzer (Tamiya-Italeri) 1:35
This article is part of a series:
Some history:
This kit dates back from the seventies but has been reboxed and retooled by Tamiya recently. There are some kit add-ons and three figures. I was intrigued by the story of these massive L/60 Howitzers during the siege of Khe Sanh in Vietnam 1968. These howitzers were the only means to deter Viet Cong and NVA regulars from massing more troops towards the surrounded base alongside with arclight B-52 raids.
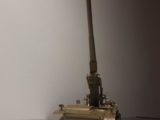
There was an artillery contingent at Camp Carroll about 30 km to the East of Khe Sanh (3rd Marine Division) equipped with this formidable machine. The maximum firing range of this behemoth was 40 km; not bad for a rifled type of gun. The M107 were the only ones able to provide artillery support from outside the sieged Marine base at Khe Sanh just because of their long range. On the last day of March 1968, the US 1st Cavalry broke the siege and relieved the ca. 6000 Marines at Khe Sanh.
The build (ongoing):
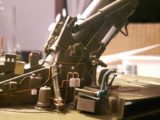
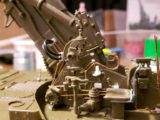
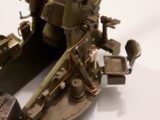
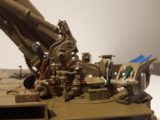
The M107 had a diesel engine and the gun traverse was dual powered: There was a hydraulic system directing the gun while it could be overruled manually. The result is a lot of piping on the gun mount that is only about 30% reproduced in the kit and mostly using relief type molding. I decided to give it a try and researched dozens of pictures on the web. I found a number of reviews too that highlighted how this kit could be brought to life by post-detailing. Material is mainly 0.2 and 0.6 mm copper wire and styrene sheet. I also 3D printed a new driver seat using my Prusa 3D printer (ABS filament).
I have now finished the hydraulics on the gun mount and started to build the interior. The best reference I had was the M110 user manual. Although this was a later modification of the M107 mounting the larger 8 inch/203 mm howitzer, the chassis and direction systems are very similar. I studied the material up to the point where there is a good chance I could load, charge, close and fire the gun myself I think ?
Update 2016-12-04 at 22:00h CET:
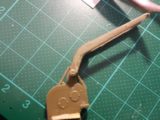
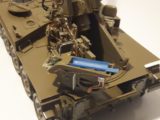
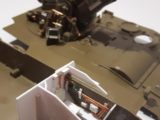
Finished the scratch build and I am happy about it. The loader was a major issue because the kit part is rather crude, see picture. There are two hydraulic cylinders and various feeder pipes. I made a loading tray from a drinking straw (blue) because I found the kit part was way too thick to represent bent steel sheeting.
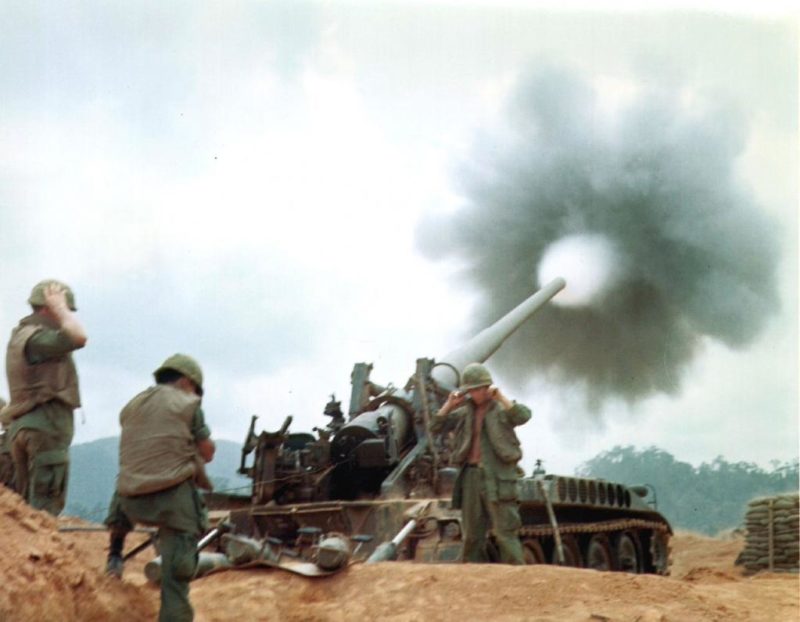
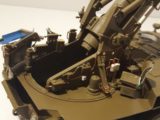
The driver compartment took some hours with numerous wiring and connector boxes. I turned a spring for the seat's vertical positioning from 0.2 mm copper wire. I believe that after a decent paint job, this machine could look fab. My plan is to embed it into a diorama as depicted in the (real) photograph taken at Bien Hoa's airport artillery base in the 60's. To do that, I will need to handcraft the figures in the ears covered position by sculpting. The uniforms and flak jackets could be a major putty job, wish me luck!
Here are some pictures for you to enjoy, comments welcome! I already spent 28 hours on this one including researching the build. More to follow!
Happy modelling!
Michel.

Looking great so far, the extra pipework really brings it to life.
Nice ?
That's really well built and photographed. I thought the headline photo was an actual period photo of the real thing. The hazy background, the tones of the uniforms, and of course, the gun itself are all done perfectly.
Your build is fantastic! The extra levels of detail really brings this to life. I can't wait to see the finished version. Thanks for sharing.
Looking really good so far! All your detail work is really bringing it to life.
Outstanding workmanship, sir...coming along splendidly. Watching with interest.
Very nice detailing, curious to se the finished model.
Michel, this is excellent! I look forward to seeing the completed model & diorama.
Very good work, Michel. Perfect cabling, super.