Hobby Boss PzKpfw I Ausf. C in 1:35, with Diorama
Some history:
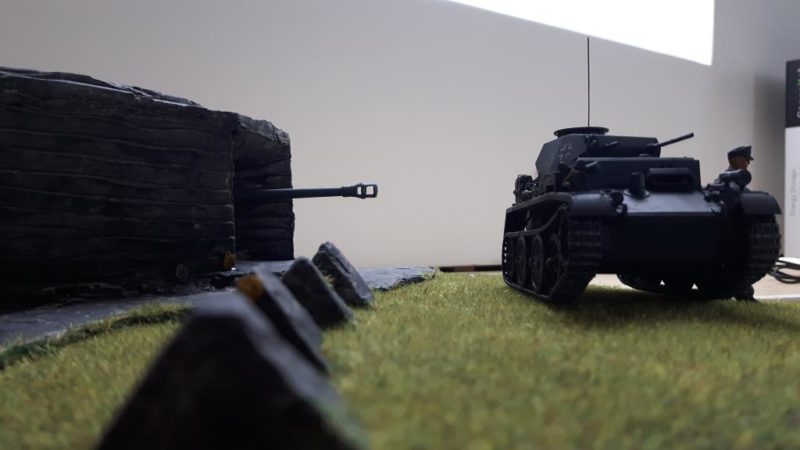
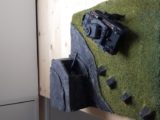
This kit was launched by Hobby Boss in 2010 and is not the most recent version for the light German tank PzKpfw I (Panzer Kampfwagen) available from this kit manufacturer. The kit is well detailed with numerous small plastic pieces and a photo etch fret bringing joy to the average rivet counters. Upon demand from my 10-year old nephew, I positioned the tank in the setting of a reinforced concrete structure with antitank "shark teeth" barriers as he described the scenery of a well known online war game involving tanks. I taught my nephew how to model the bunker for real using plaster, in 3D (much better than on a 2D computer screen) and he continued adding the grass using a static applicator I built from a high-voltage insect smasher.
I think in this hobby, you better start earlier than late learning some of the basic techniques 
The build:
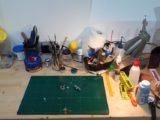
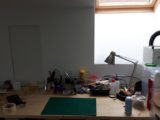
This kit is not really for beginners I find. I found time to assemble it and primer it before major refurbishing took place in my house. For almost 5 months, my workbench was unavailable but the result is worth seeing (photos). Now I finally have a place on my own for this great hobby and it feels fantastic! I even constructed an airbrush spray-booth from scratch. If anyone interested in a build description, just drop me an email.
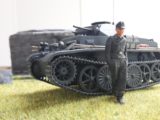
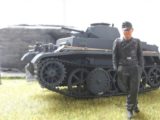
After the build, which was OOB except for the Dio, I painted the tank German grey (enamel) followed by a double layer of flat colorless finish. Then followed a wash using thinned oil paint and some finishing dry brushing. The result is nice but I was surprised by how many hours went in this little project both due to its detail and the surrounding diorama.
The diorama:
The raw outline for the bunker was cut from a cardboard box, after which a generous layer of plaster followed. It was sculpted to shape using a hobby knife. The base is square 10 by 10 inch wood. The coloring of the Dio was done using mixed acrylics after which the grass was added using the static applicator. Caution 1000+ volts from a 9V battery! 
Here are some pictures for you to enjoy this little project, comments welcome! I spent about 25 hours on this one including researching and on the diorama. More to follow!
Happy modelling!
Michel.
Very nice, Michel. I love the figure - it's in such a great pose. You're right about "starting them young!" Good on ya!
PS - Congrats on the new workspace!
Neat lookin' scene, Michel...should've added some overall shots of the rest of your diorama (looks interesting from what I can see). And you need to add some clutter to your work area - that's waaaaaay too stark! lol
Michel, that is just such a great pose that figure has. Just glad to be there! I wore a different uniform at a different time, but that's how I used to look, waiting for the next indignity. Universal soldier.
I want one of those! Best thing I've seen in a long time.
Not that that detracts form the tanks and the bunker. Not a bit!
Also, good for you, teaching the young in the ways of the exacto and glue!
Hi Bernard! The kit which features this soldier figure is a Tamiya kit I cannibalized for several models thus far. There are even two birds and a cat in it. The kit number is 35201 - Tamiya 1:35 scale. Just google it, don't cost much I think.
https://www.scalemates.com/kits/105613-tamiya-35201-tank-crew
Thanks, Michel! The birds and cat would be interesting, as well.
Very nice dio!
Nice job. keep teaching your nephew.
Nice looking Dio, and the soldier really looks good.
Hello Michel,
First place many thanks for the lengthy explanation.
The diorama looks well finished.