Another Tamiya 1:32 Corsair
Just so you all know I'm not sandbagging a shelf full of models to post on the site. I really just discovered iModeler in the last week so I'm playing catch up and really enjoy hearing all your feedback.
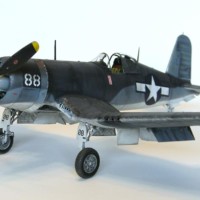
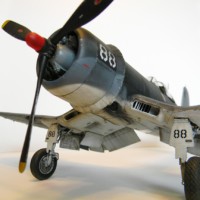
My bride gave me an airbrush for my birthday last year, so this is the first warbird that was all airbrush vs. rattle cans. More on the later…Obviously, everyone knows the Tamiya warbirds are the bomb, they go together like dream and are very accurate. So I chose the Vought F4U-1A Corsair, late model (non-birdcage) version. On the build I really don't have much to share, it was the finishing that I was focused on.
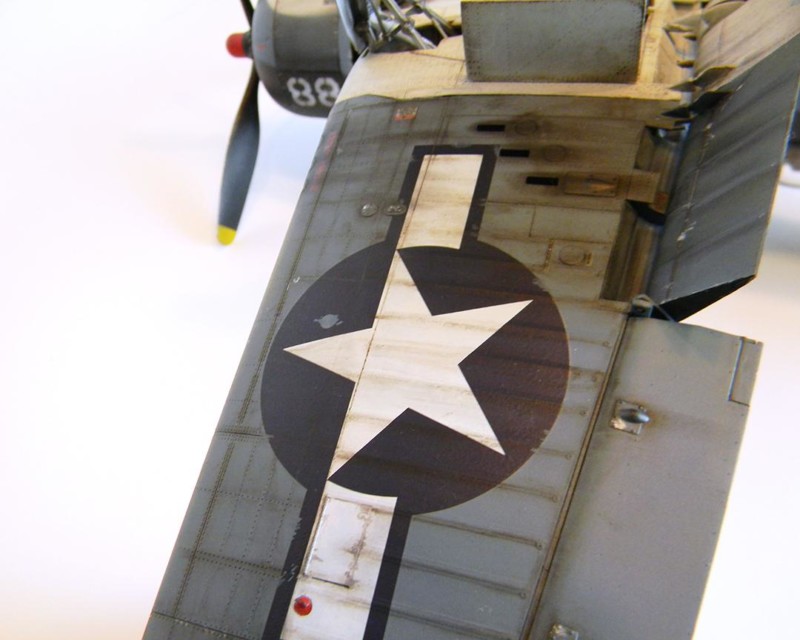
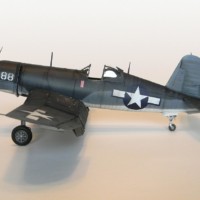
Again, I enjoyed learning a great deal about the plane as I worked on the model. I have a nephew in the Marines, so there was only one option for the service branch—the USMC. Not that the Jolly Rogers wouldn't have been fun, this had to be a Marine bird.
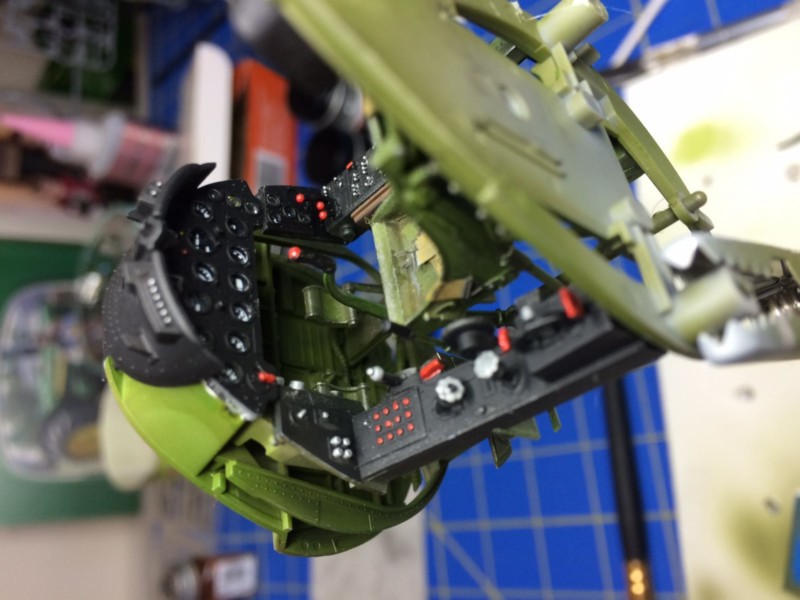
Cockpit
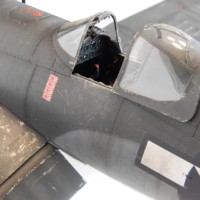
It's funny how much time we all spend detailing the cockpits of these planes. You can hardly see the details, but we all feel a desire to make the working surfaces as detailed as possible. So, I did my best.
After building a Mustang, I took note that the cockpit of a Corsiar is really a cramped working area in comparison and very utilitarian.
The Paint
Once the whole bird was assembled I primered it with Vallejo medium gray primer. Ok, here's where I need to vent a bit. While I think the Vallejo Model Air paints are great, their primer is not that great. I recommend using the black primer for small surfaces (canopy glass, etc). But otherwise, using rattle can primer is much faster and gives a harder finish. I just cannot get the Vallejo paints to stick as hard as the company claims they do.
Maybe it's just me, but dang, I pealed paint off three week later when I was removing the canopy masks. And they claim the stuff is hard after 30 mins…whatever.
Anyway, I also purchased the entire Vallejo US Navy Air War & USMC color kit. I figured they know more than I do, so why not use their paints. After I shot the whole plane I was in a mild state of panic because the “Sea Blue” looked really, really dark based on all the assembled kits I've seen. But I soldiered on.
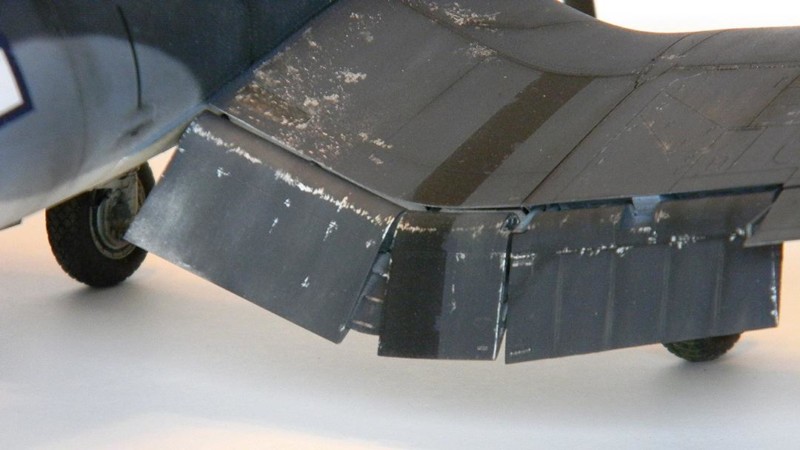
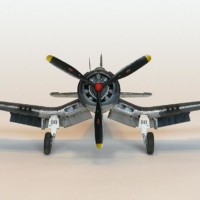
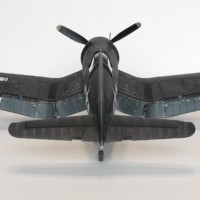
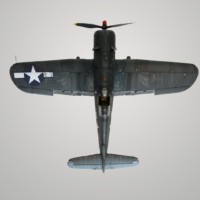
Relying on the facts that all birds in the PTO had the c**p beat out of them by sand, salt and humidity, I figured I'd lighten the entire bird through distressing and it would add to the final outcome.
Finishing
I spent a while deciding which unit designation was the the best for me. I hate using the factory decals since everyone does the same bird based on whats available for decals. My decision was made partly because I ripped one of the number decals during the application. So this became USMC, 88. Pick your unit…
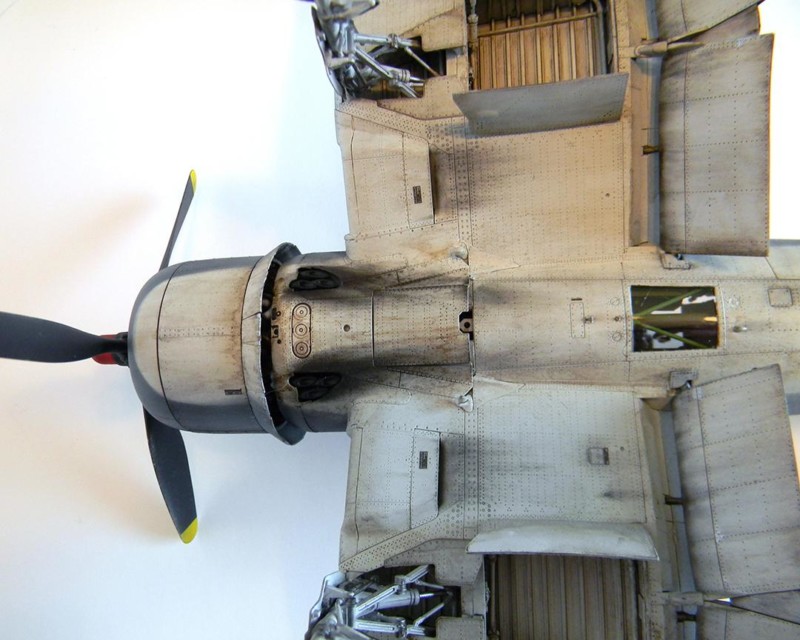
After all the tedious surface decals came the fun part—weathering.
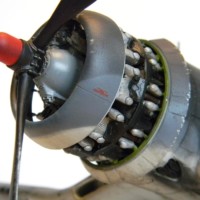
Now, I don't know about you, but I really enjoy this part. I use pastels for almost all my weathering at this point. Mainly because I don't trust myself to do this with the airbrush. Many folks use pastels for the overall distressing, but one thing I have learned is if you intent to clear the entire model at the end, pastels melt. So go heavy on your weathering and the clear will pull it back to what you want in the end.
My Lazy Trick
Lastly, I do a shortcut on the panel seams. Purists, stop reading now. I use a brush tip artist marker. The method is to draw the marker over the seam and then blend the entire panel line with a Q-tip. Yes, you go through a pile of ear swabs, but it works. If you don't like it, just wet the swab and wipe it off.
I also use Jo Sonja acrylic paints for my stained surfaces. I have used these for years on my duck decoys so I thought I'd try them. A little burnt umber or paynes gray and you have oil stains or weathered surfaces. Again, if you don't like the effect, add water and wipe it away.
That's all folks. I look forward to your comments. Keep building!

Beautiful weathering job, not too heavy and it just looks right.
Welcome to the asylum!
Stunning workmanship, Matt - those Tamiya Corsairs are fantastic in ANY scale, but this one is outstanding..! Welcome aboard, sir.
Hello Matt...Yes sir, rode hard and put up wet is pretty much how the Corsair's in the South Pacific looked, especially in the earlier part of the war. You've captured that look very well and it always good to see a nicely done Corsair. Welcome aboard and I think you'll like it here.
Matt, nice work on a beautiful Corsair, and welcome to imodeler (a good group of modelers here !). As for your panel wash with the brush tip marker, I'm way ahead of you on that one. I've been using that trick for years and when it comes to model technics, theres nothing wrong with what works. I look forward to seeing more of your work. Well done !
God damm Matt, are you sure this was your first airbrush work?
I’m not buying that ?
It’ s simply gorgeous, great paint job and stunning weathering. It may be a little too much for some people, but to me it looks real enough like a worn combat aircraft
Interesting techniques, (though the products you mentioned are unkown to me and probably unavailable in my domestic market), the results are very convincing if I may add
Beautiful work! I have ditched all the primers in favour of Tamiya XF-19 thinned with Mr Color levelling Thinners; it gives you a beautiful, satiny and hard finish.
Well done Matt, like you I started using an artist pit pen for panel lines several years ago. Have always liked the finished result. You did an exceptional job on the weathering, she really looks good.
Beautiful Corsair, excellent finish, and thanks for your info on weathering.
That is a real beauty! Love the weathering work, and thanks for the tips - gonna try me one of those artist pens pronto!
Well, if this is your first airbrush job, I can only say very well done.
Hat of for a good build and a great paint job.
A great build!
I want to thank everyone for their comments. I think the greatest thing about this site is that without it, all our creations would sit on our shelves and we would be the only one to admire them. Here we have the opportunity for others who share our passions to see the labors of our trade. Keep building all—if you like it, you did a good job.
This is a fantastic build of my all time favorite plane ! It really looks the part of a Pacific War veteran...You did an outstanding job with your first time using an air brush.
Two thumbs up Sir. I like it... a LOT.
Nice job on the weathering Matt. Very good looking model.
Beautiful! Simply beautiful. 'Nuff said.
I hope MY 1st airbrush experience is as good as yours! Inspirational.
Very nice build, great weathering.
Great build and nicely done weathering. I’m curious how you did your paint chipping?
Ken,
I used a small pice of sponge for the chipping. If you can find the small pore foam used for packaging electronics it works well. You can also probably find it at a craft store.
-Matt
I like your "tricks." And the model.
hello Matt,
You are a perfectionist. Excellent finish.
Regards, Dirk
I think we’re all perfectionist to a point. Thanks for the comments. Still learning on every build