Pilatus PC 21, 1/32 Scale, Scratch Build, Part 3.
Well, here is part 3 of the build, things are moving quite swiftly and needless to say I am having some serious fun. Apart from my husband duties, like going to the beach and chatting with the Wife, I have managed to do some building as well. I seem to be in good luck that everything I am doing seems to be working out, with a few minor issues that I managed to sort out along the way.
Here is what I have done today:
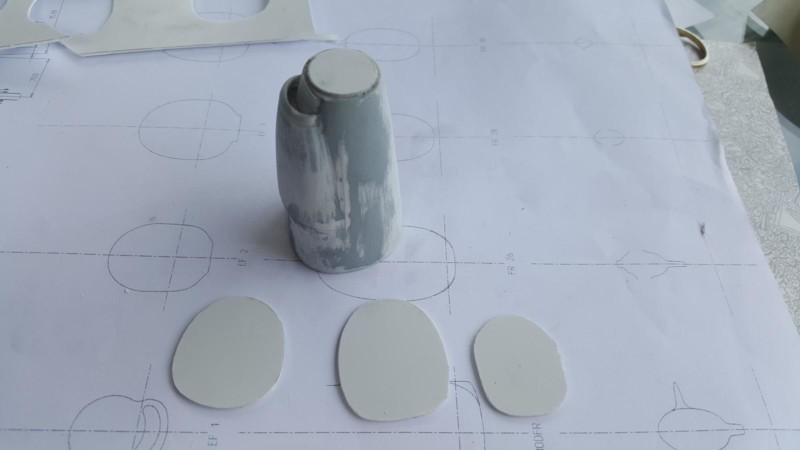
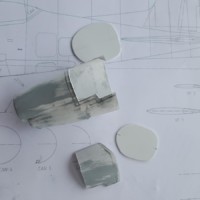
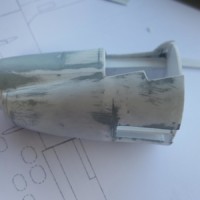
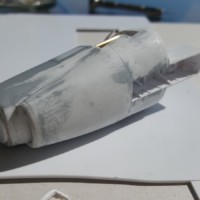
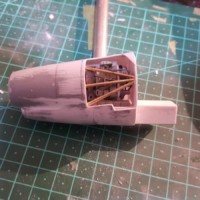
- Vac formed the front nacelle in 3 sections, namely, left side, right side and then the bottom section with the air intake. The reason for molding the intake separately is that it has some complex curves that did not come out when I molded the sides, as you will see in the pictures.
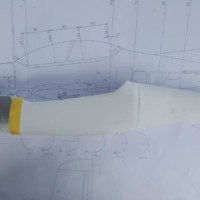
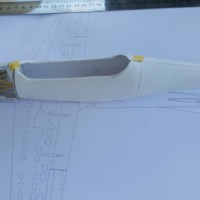
- I then cut the sections to size and placed them over the mold and glued the 2 nacelle sides together, I then cut out a section for the air intake to be installed, and glued hat into place. Sanded and added Tamiya putty for the minor defects, sanded again.
- TEST FIT ALL THE TIME...this is important as you don't want any surprises when you fit the nacelle later.
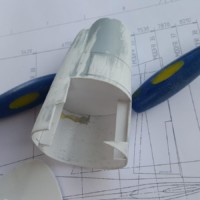
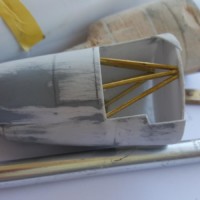
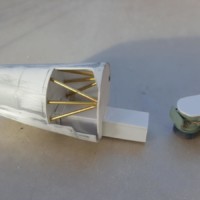
- I then cut out the engine cover where I want to display the engine.
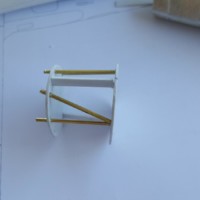
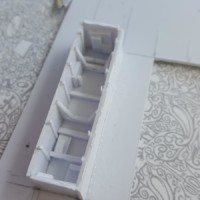
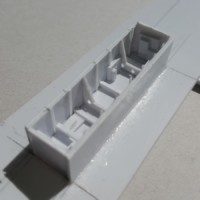
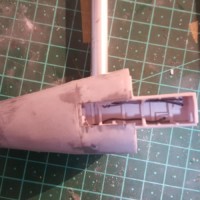
- I then cut out ( using the plans) the rib sections for the fire walls for the engine, installing 2 temporary supports. See Pic's.
- Made up engine mounts using brass rod. When glued, removed temp supports and cleaned up the firewalls.
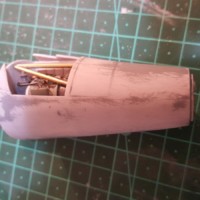
- Scratch built the nose wheel well, this was quite easy so I am not going to elaborate. Check out the pictures.
- Cut a section out of the rear firewall and installed the wheel well, glued into position, TEST FIT ALL THE TIME.
- Started to scratch build engine from plastic card and my spares box, adding wiring (still busy) to engine and wheel well.
When I have completed the engine and checked that everything is fitting ok, I will then prime all the parts, check for defects, repair if needed and then paint up the engine,... man I would love to have you guy's here to see, it would be much easier to explain. Not at all good at writing up all this stuff.
If you would like a more in depth explanation, please PM me and I will be a little more specific.
Hope you like it so far.
Marc
Fascinating ! I'm seeing a Master at work. I admire the Pilatus aircraft and your scratchbuilt miniatures are worthy of GREAT praise !
Bravo, Marc !
Hey Jeff, always good to have a comment from you, glad you like it so far, thanks again.
I've never scratchbuilt any aircraft or whatever, so I'm very interested in learning.
Hey Jeff, give it a go, start with something small and go from there, its not half as bad as it may look.
The nose gear wheel well and turbine look fantastic ! Details, details and more details... amazing work my friend. Happy New Year !
Thanks Louis, Happy New Year.
Dunno how ya do it, Marc...way beyond my expertise for sure.
Thanks for the comment Craig.
Inspiring stuff Marc. Going to the beach, huh? There's an interesting thought from what's called in PR terms, "the sun trap of the south". Today, it's grey, light rain and no more than 5 deg C. Definitely time to start work on the vac former.
Happy New Year! Paul
Hey Paul, nice and hot here, 30 deg C, Move here, Cape Town is the place to be...Let me know haw it go's with the vac form machine.
Amazing Marc - I feel like a putz just trying to get my Privateer done, after seeing what you are accomplishing! Looking great!
Thanks as always Greg, have a great new Year Bud.
Briliant work my brother. What can I say, you are a master.
Ha Ha, I see you are back...Nice...