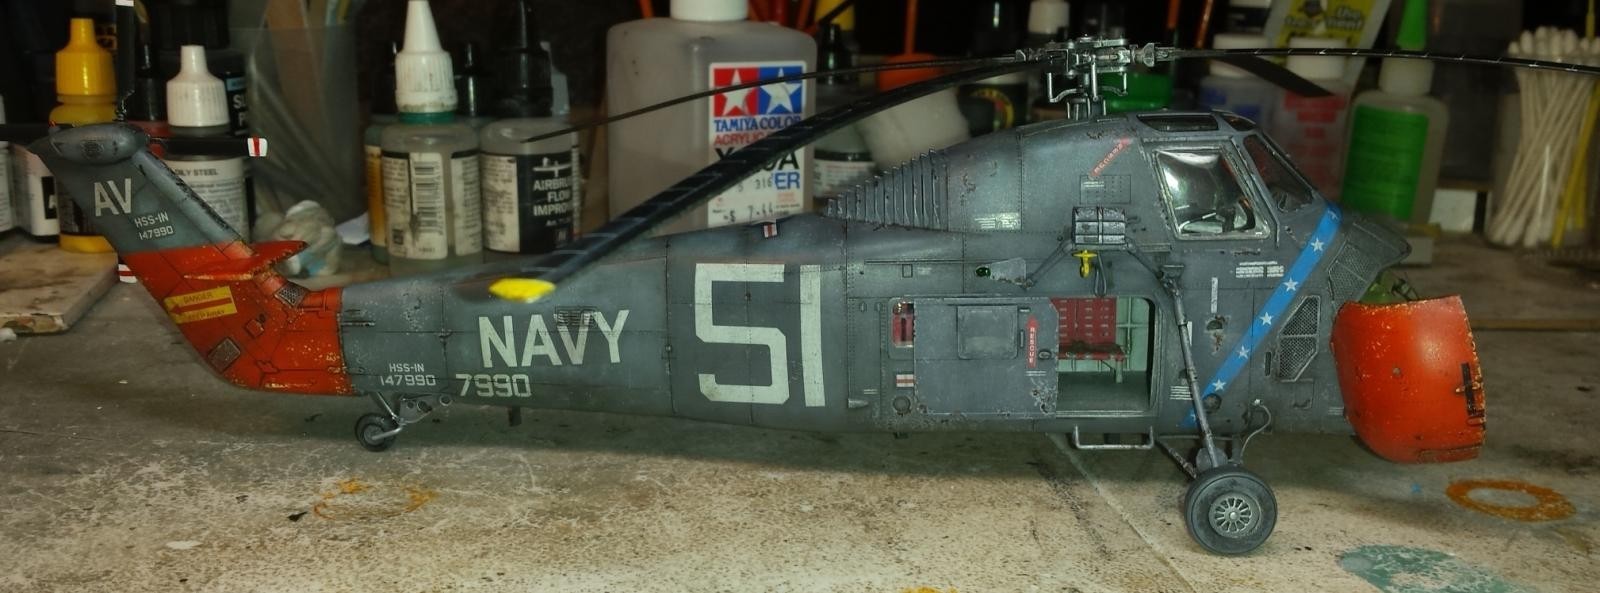
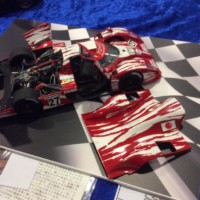
1/48 Gallery UH-34 Navy Helicopter

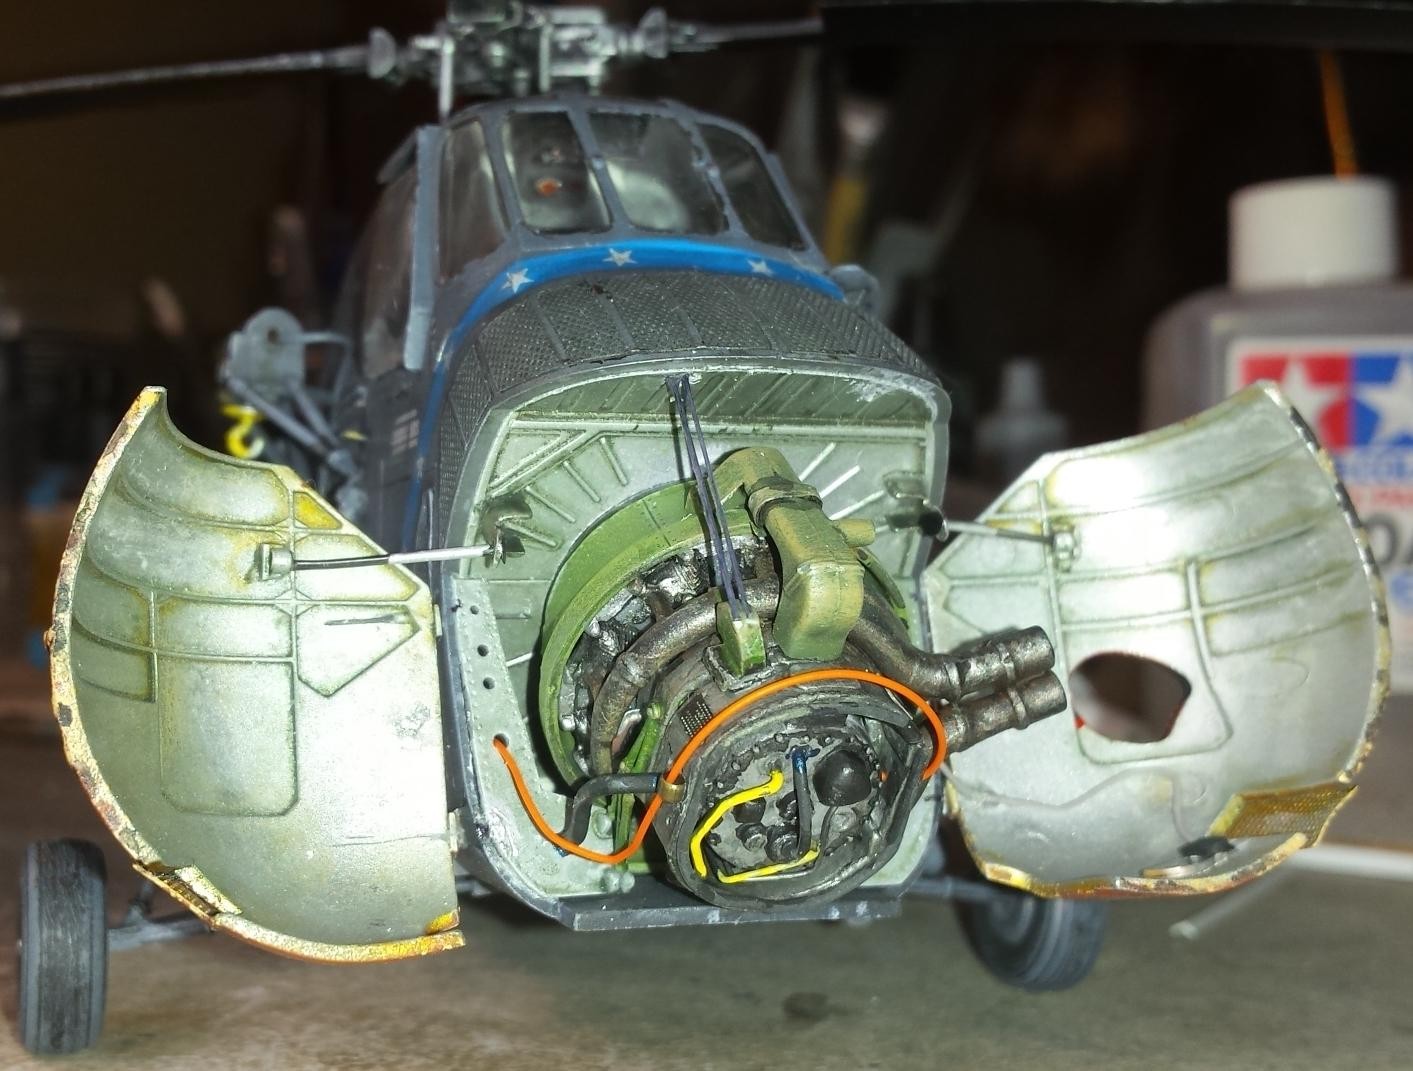
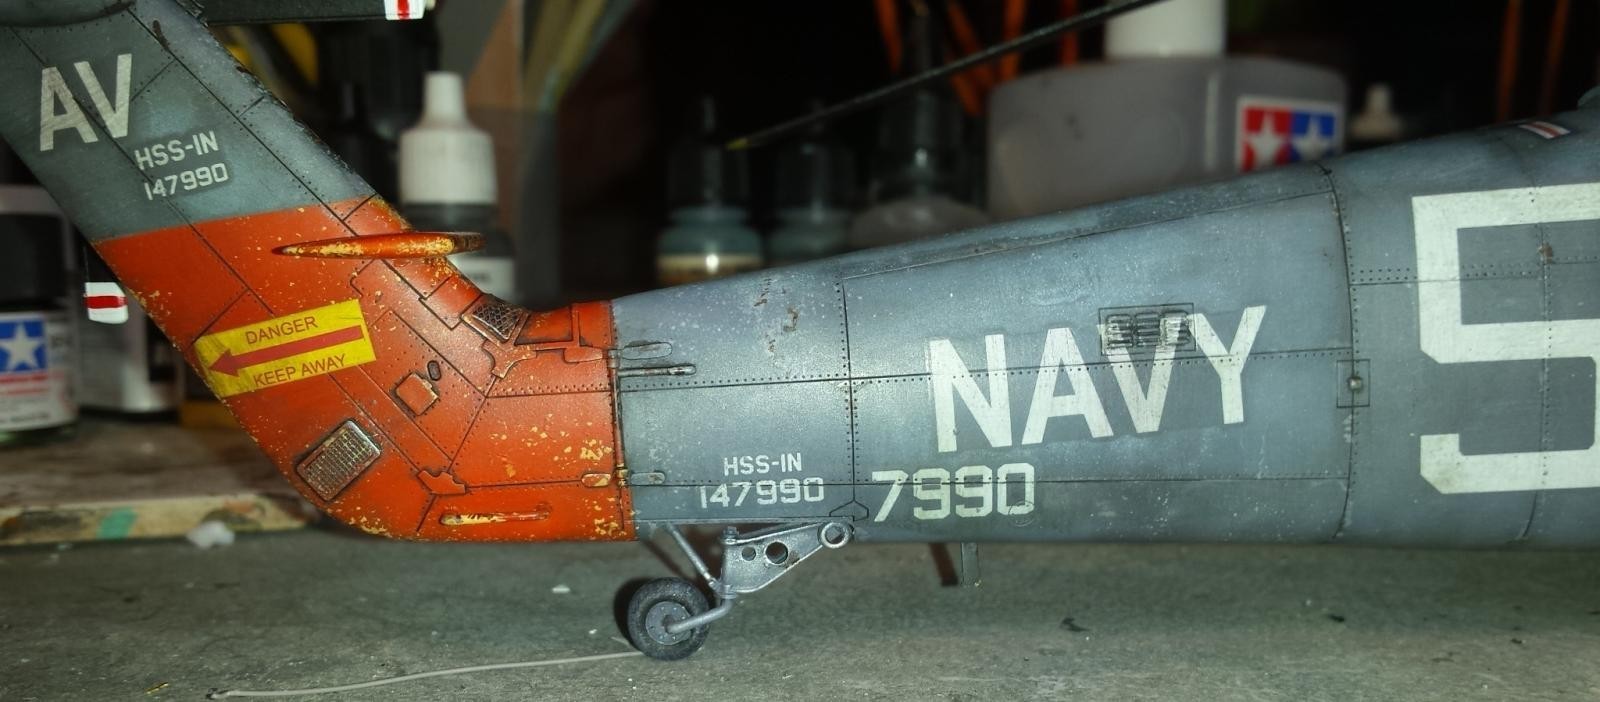
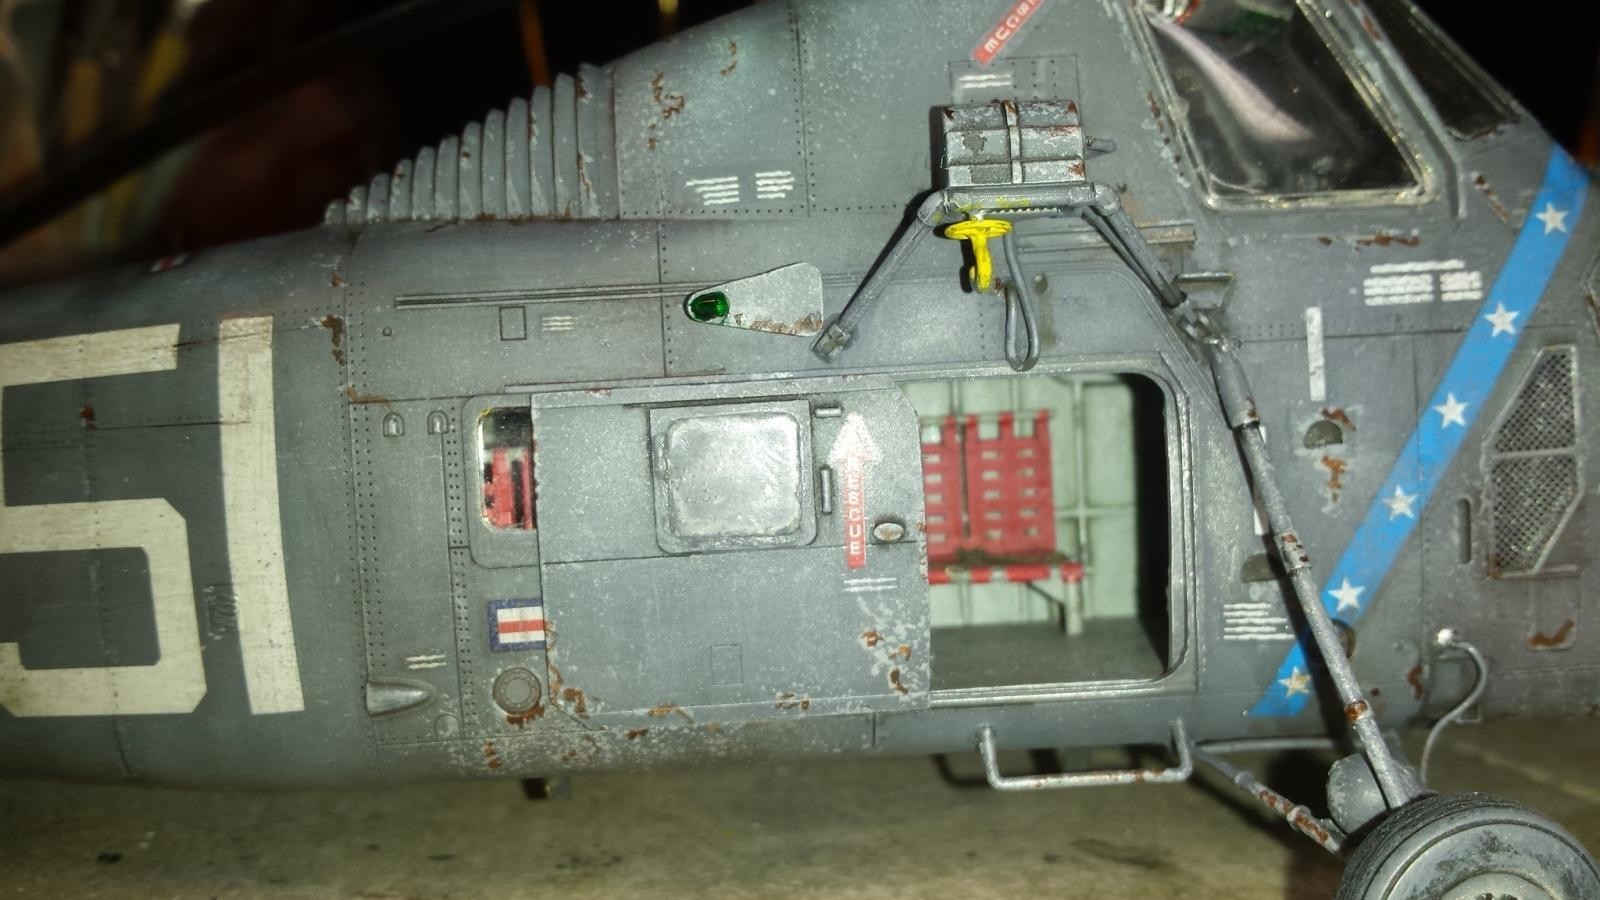
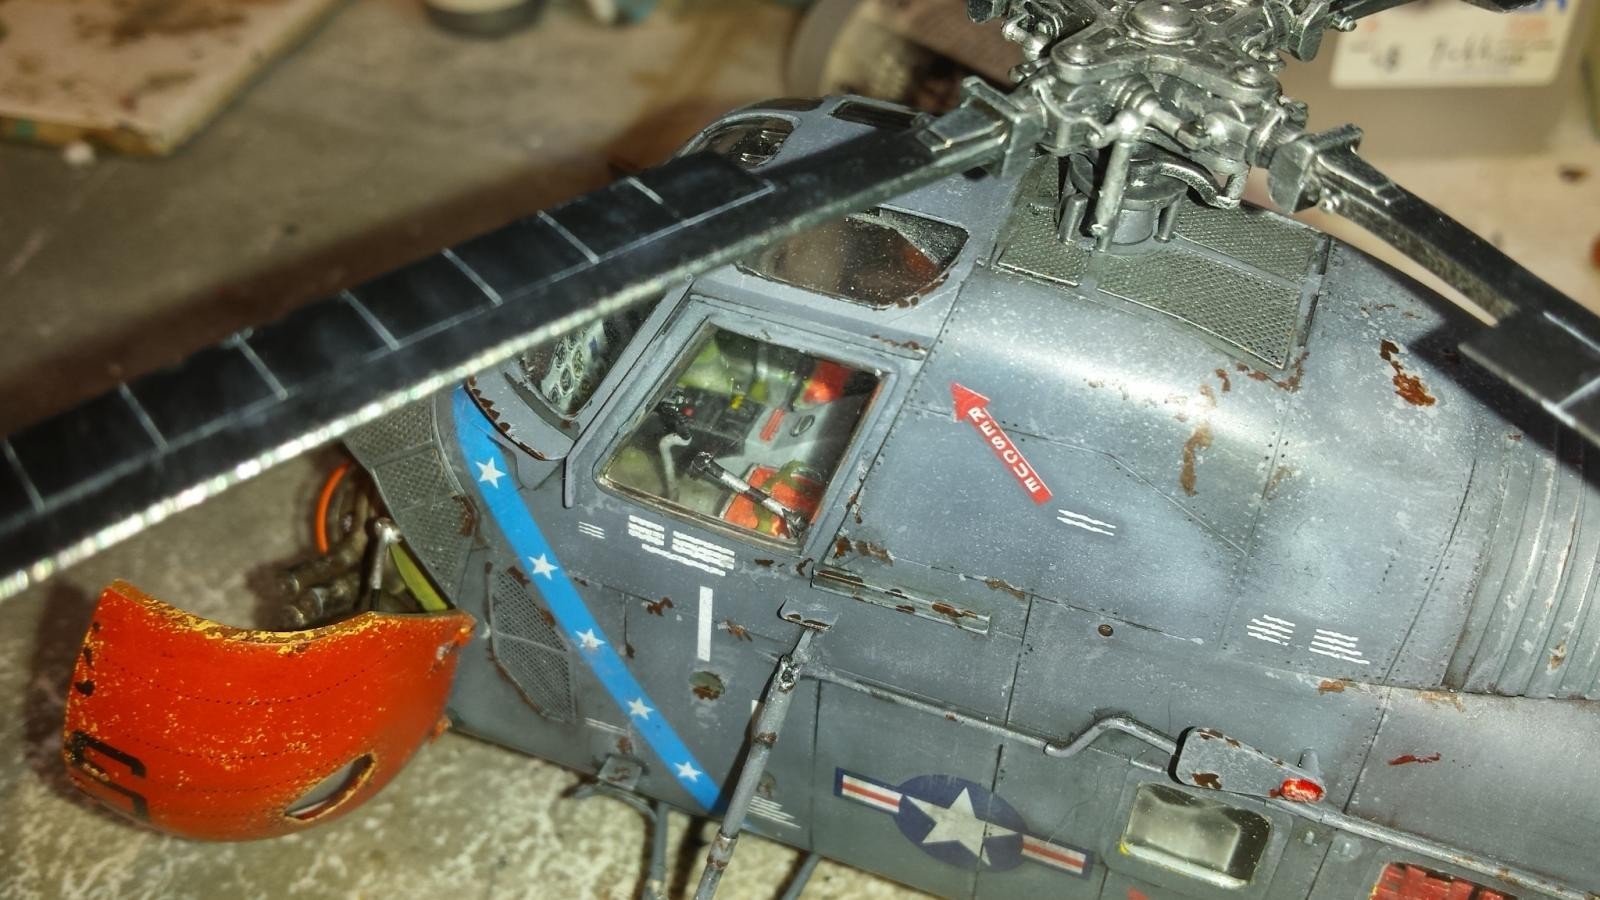
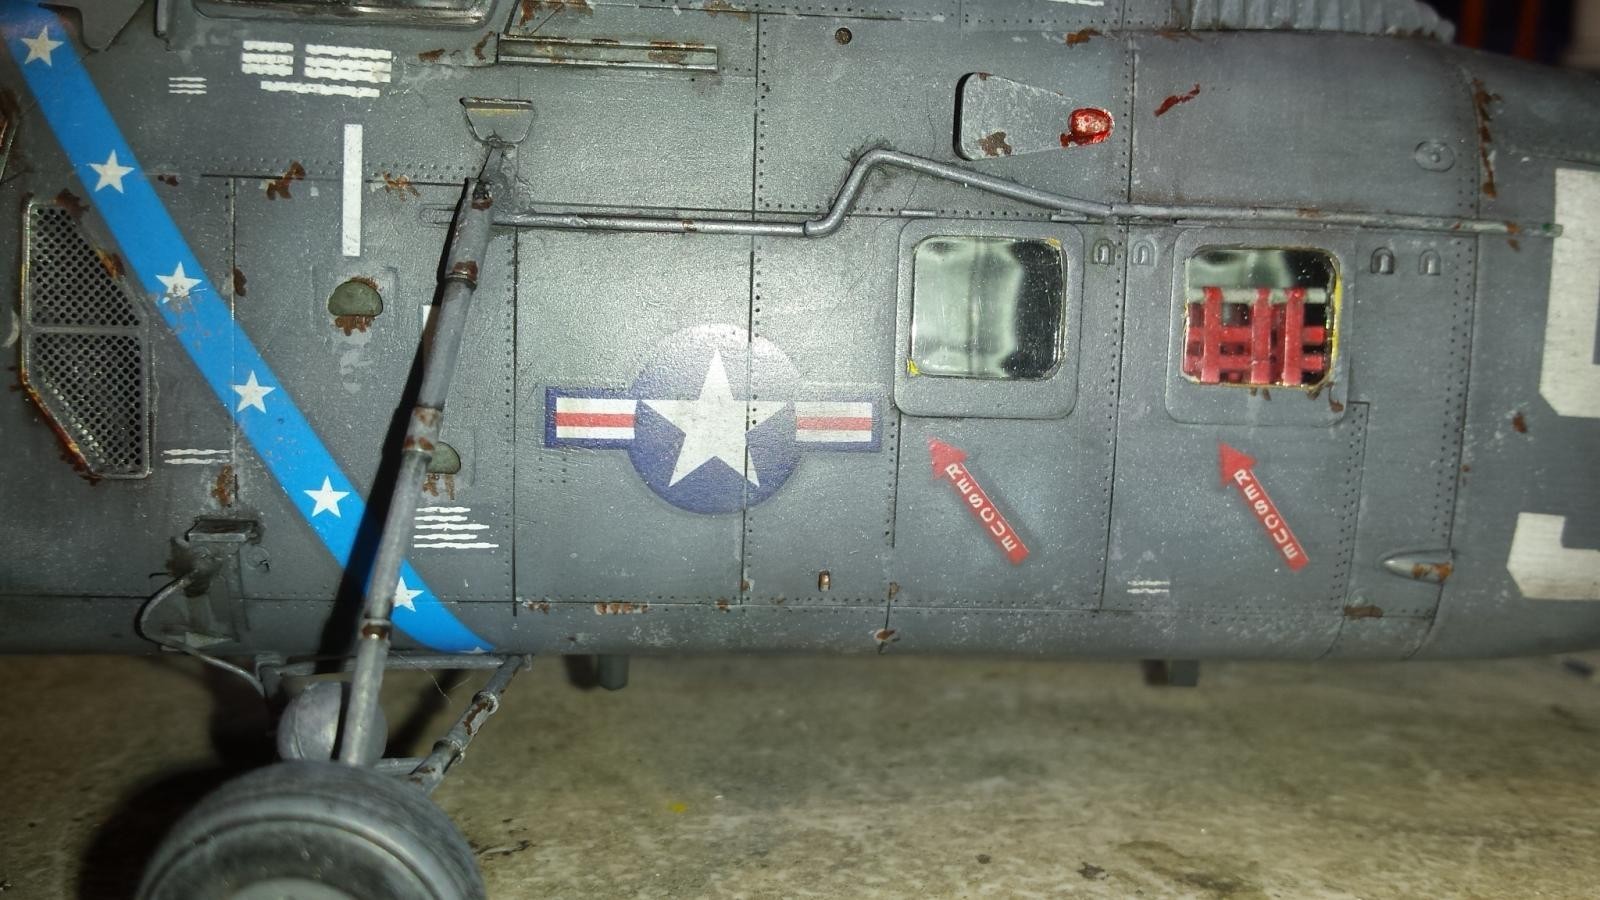
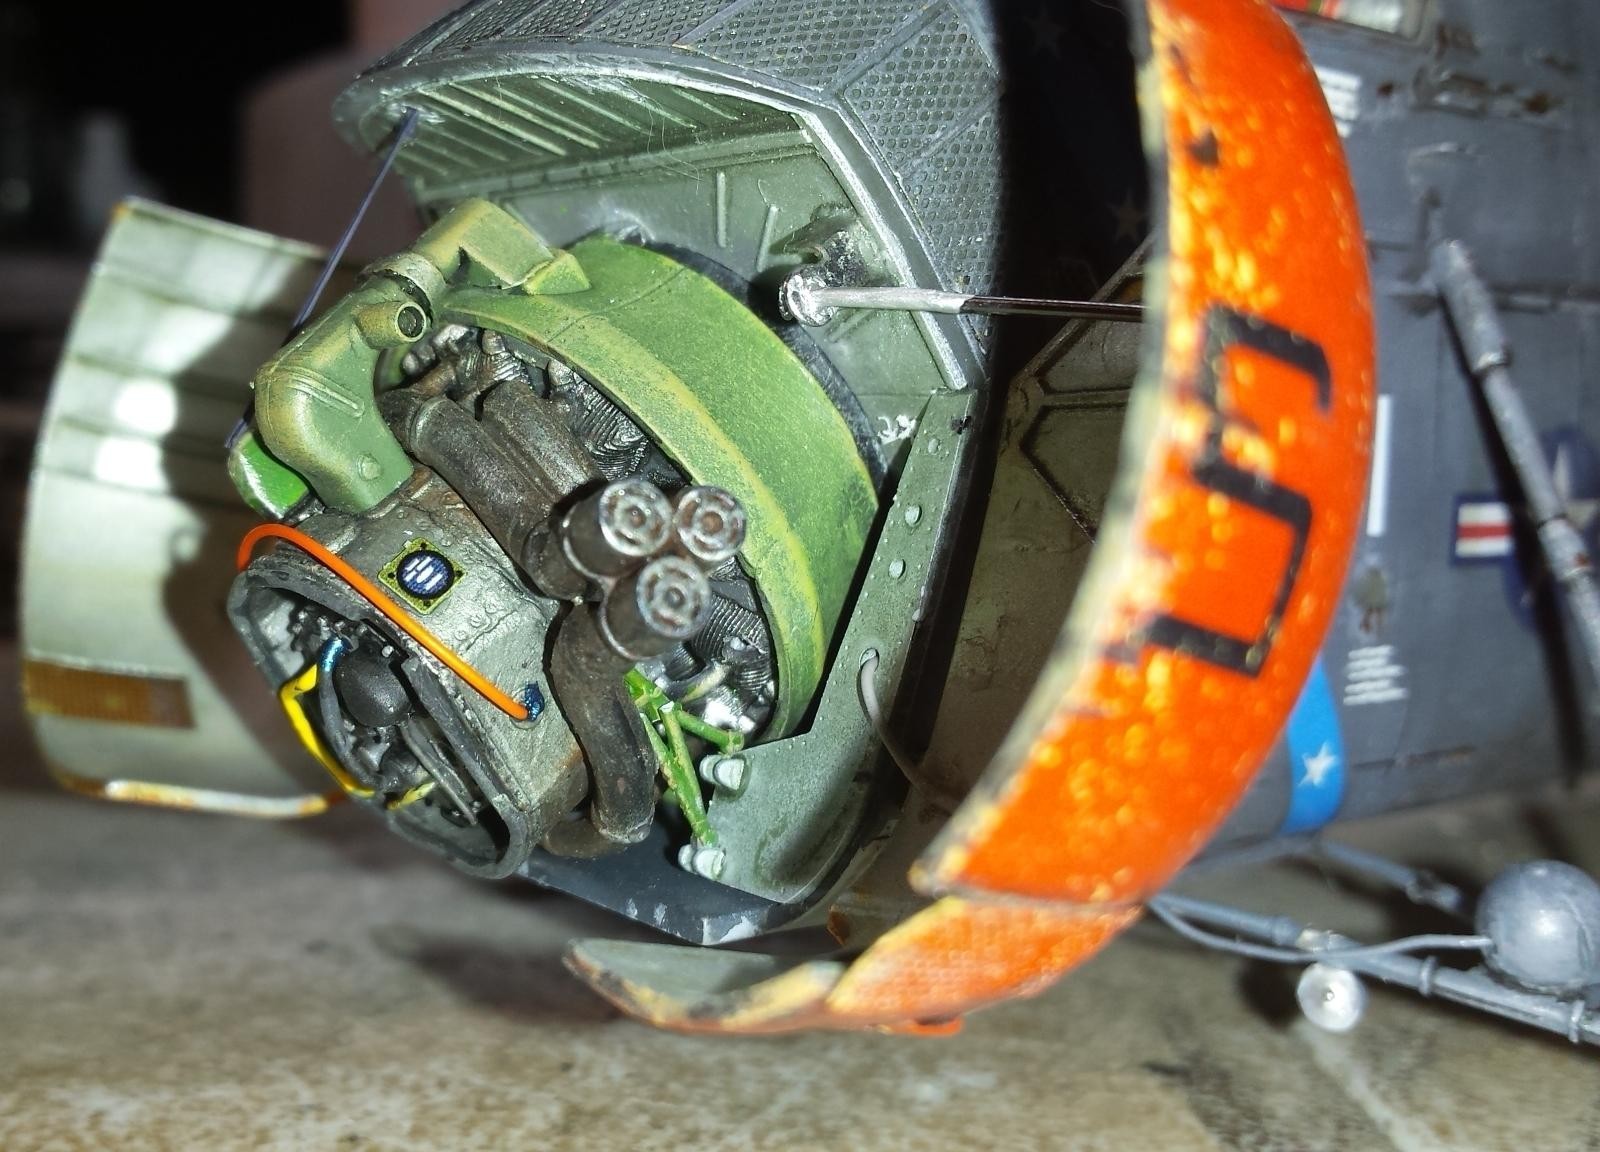
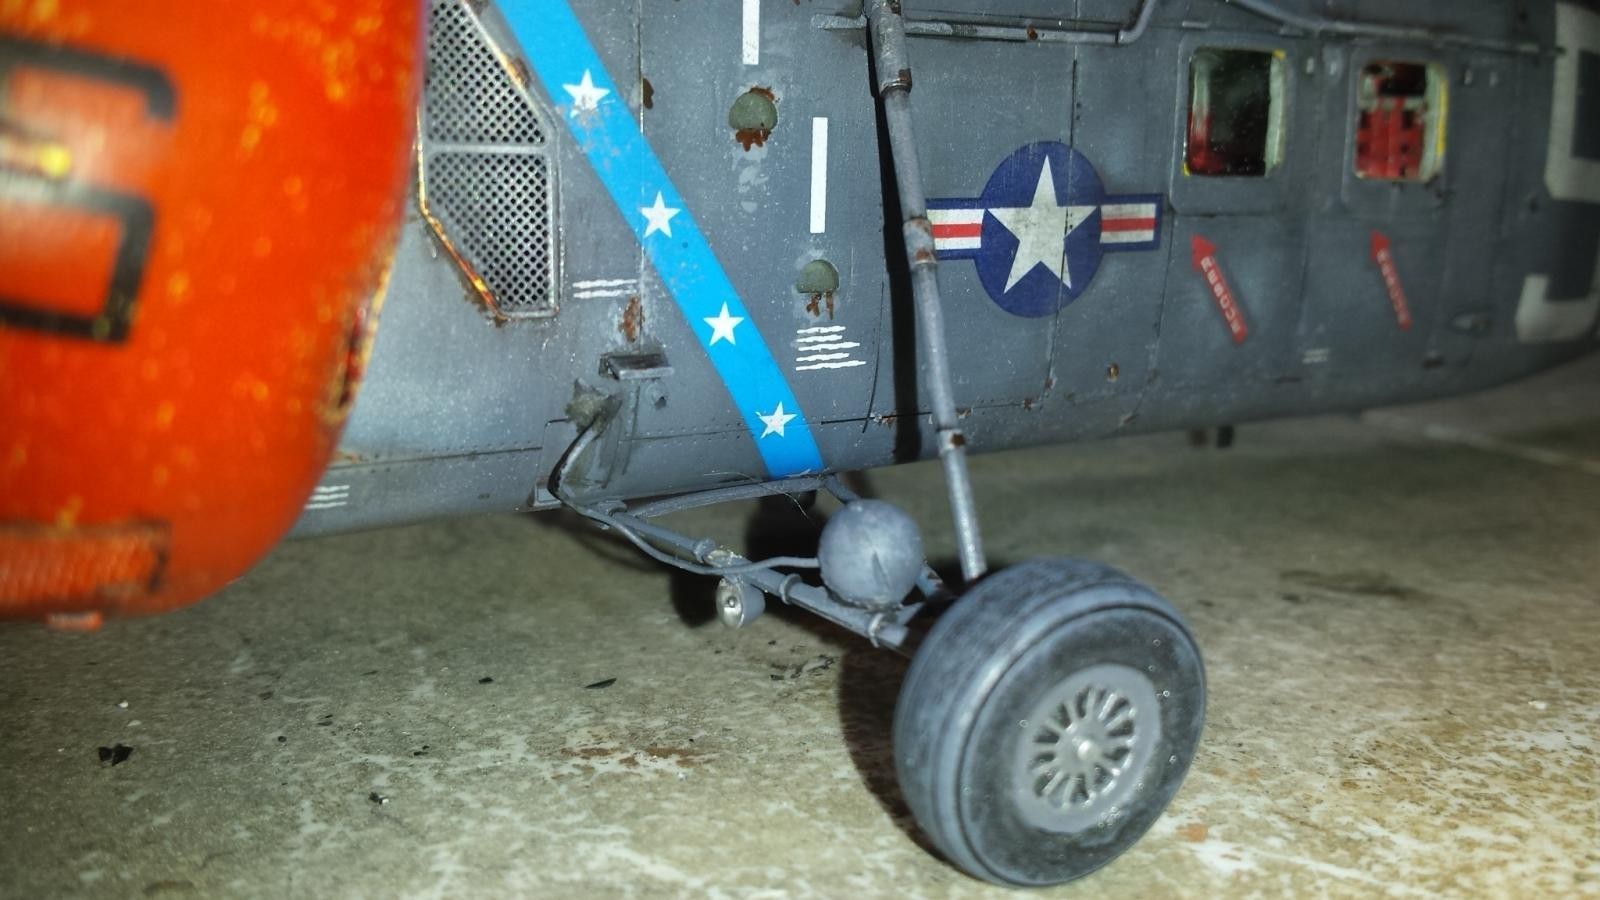
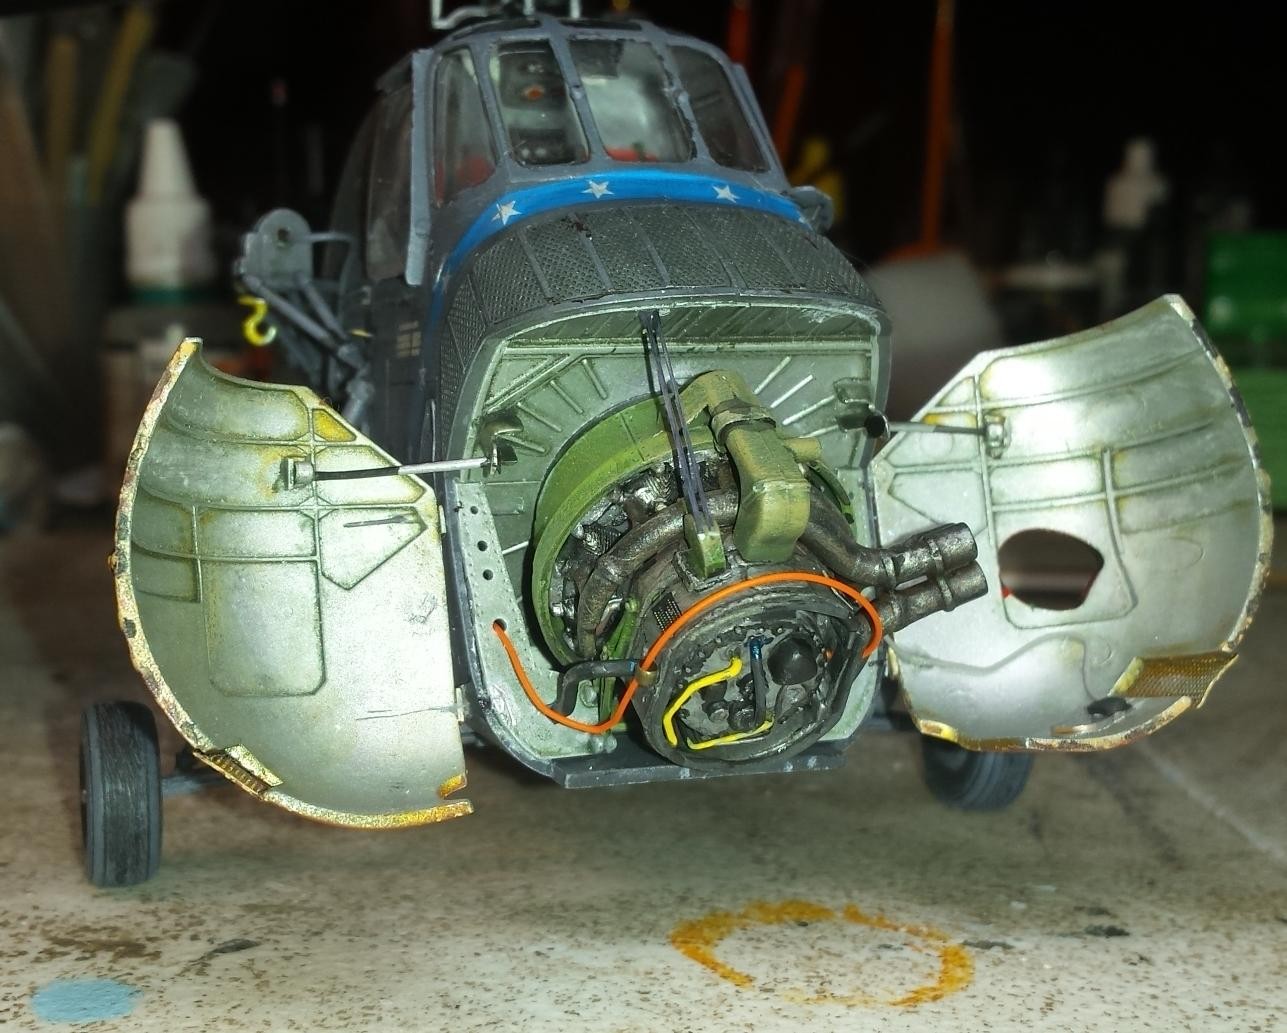
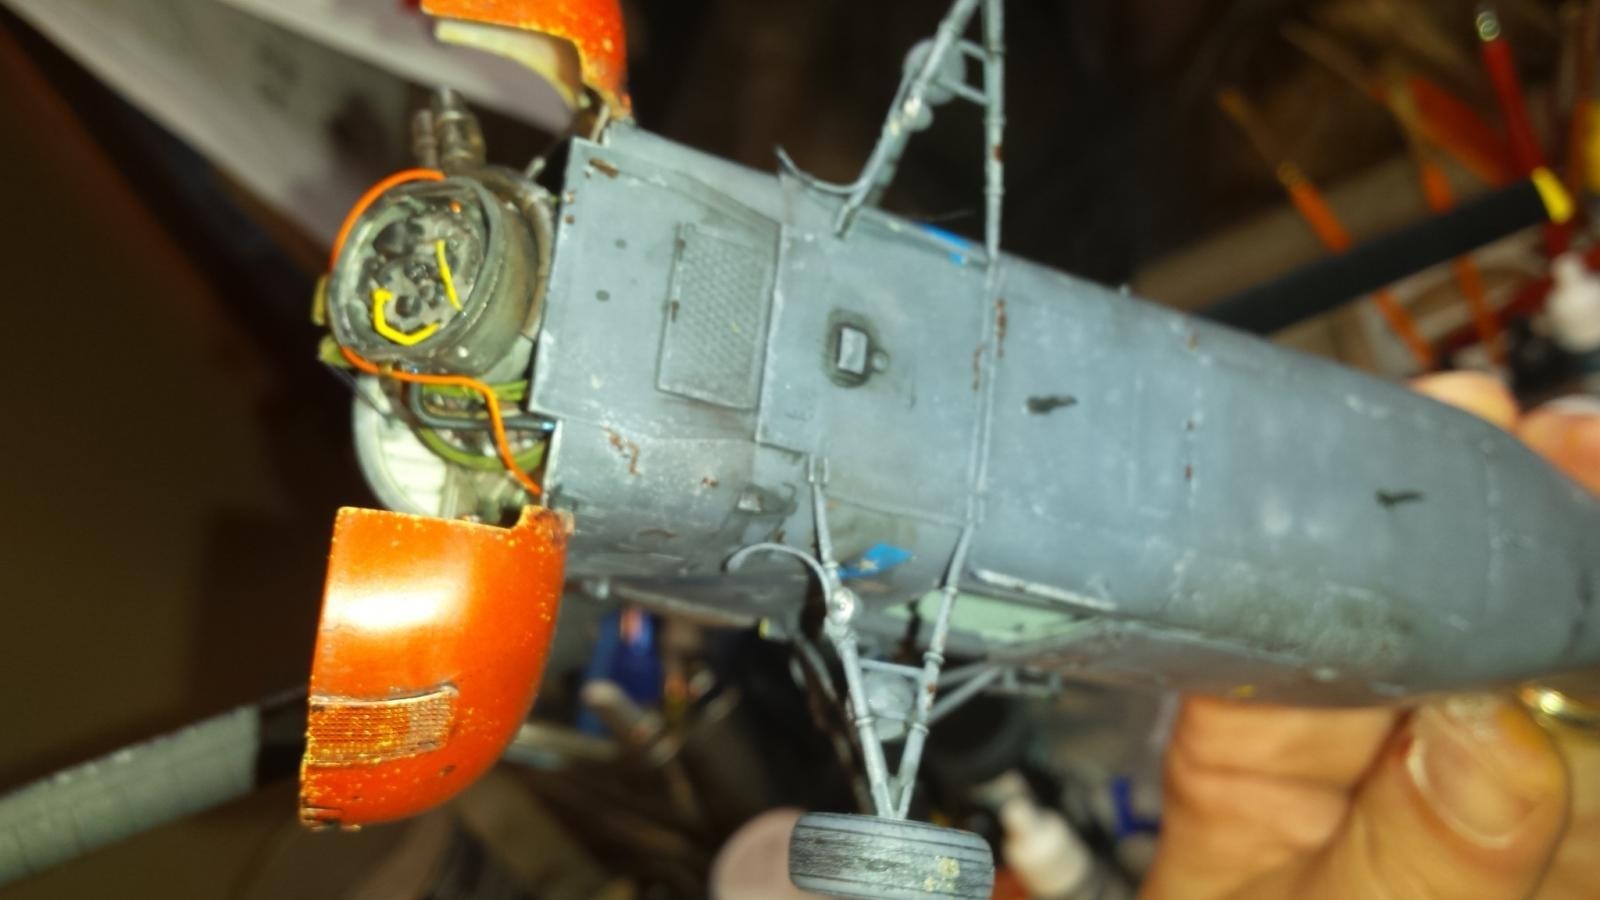
This model has been in my stash since it was 1st released some years ago. IMHO it is the best model in 1/48 of this famous Helo. It assembled with minimal issues but was tricky in places. The trick is lot's of dry fitting of the various sub-assemblies which make up the internal parts including upper cockpit tub. Even the cockpit/cabin insulation walls are provided as separate parts surrounding the internal floor, bulkheads and related structures. So essentially I needed to plan ahead by several steps for every pre-preliminary step completed. Then place that assembly with other completed assemblies into fuselage and test fit halves. Then build up some more and test fit, and again and again until you have all the internal sub-assemblies completed. Don't build and attach all the sub-assemblies together as one unit and fit into the fuselage halves as instructed by instruction manual. Even after all that it was not a perfect fit when closing fuselage halves but very close. So a little minor trimming, and sanding here and there with more test fitting. Finally a perfect closure of fuselage with no gaps. Like a chess game, strategy is the key. Because of this I dont recommend for beginners. One area were there is no work around is the fitting of the metal PE mesh over the intakes on tail assembly. Unless you are a magician and can shape-shift they just dont fit. But I'm not picky so I just did the best I could to bend on and blend into plastic. Looks OK to me. Finally I lost the entire landing gear strut assembly for both sides...dont ask! Needed to order the SAC metal replacement set which was hard to work with b/c metal is so soft and bends when the wind blows...aggg. Painting was fun! The final coat comprises of many layers of post shading over a dark grey base coat and prime coat were the post shading is clouded on in swirls within panel lines over this base coat. Then use final very thinned transparent coat of base color to blend in all the various shading tones within the dark-blue/Grey color tones. All acrylic was used except the weathering agents, which were oil and enamels from AK, AMMO, Tamiya. and Vallejo. Now for the brown spots which people assume is rust. No I dont believe this to be rust, but it appears to be a special primer used to patch worn areas which is not the typical zinc-chromate. At least this is my best guess ,but no, aluminium does not rust. Why did I do this? I copied the picture of a particular air frame with exact color scheme and exact color wear points. They were these dark grey/brown spots spread over the old air-frame. Also despite the base color and orange/red trims being the same it was an "ARMY" bird with white "ARMY" markings on both sides. Of coarse I stayed with the NAvy scheme but borrowed the wear and worn patterns and base colors. Maybe somebody out there can offer a better explanation for the brown wear. Overall it was a challenging but fun build due to complexity and parts-counts along with lots of PE, but really cannot complain on the overall fit. I Used very little filler and very little sanding. It's just sort of different then the usual assembly of an aircraft and/or helo due to multi-level and multi complex internal structures. Finally the base engine is not a bad representation of the real thing but if you expose the engine with open cowlings it is sort of naked as is. Needs a little plumbing and wiring or it looks fake. Choice is dont expose it or super-detail it yourself. I went for the latter but did not go overboard, kept it simple. Other problem with open cowlings are no attachment points, brackets, or piston bars, are supplied. So I did a rough job of making these parts but again, did not go nuts. I did not attach any of the front engine internal structure until after painting is complete to ease masking and reduce breakage of delicate assemblies. This is a great model, unique, with just right amount of challenge. It's impressive when completed and worth the effort. This model was made for consignment customer and was shipped off to a happy helo enthusiast.


Very nice! You excel at the extremely weathered subjects. Nice details.
Wow! JUst amazing! I especially like the worn camo. I know (and use sometimes) red-brown colored zinc based paints - they are marketed as "red" but they often deep red-brown actually.
Very nice Build Paul, love the paint job
It looks real! 'Nuff said.
Very nice result(s), my friend...excellent work indeed.
Looks great !
Another masterpiece !
That's impressive! Amazing weathering and detail!
Beautifully done, Paul! It looks very real. And worn, but still faithful.
I love the decal work and weathering you do on your kits. The decals don't look like decals and the weathering looks real. Excellent work.
Nice inspiration for me to pull out my Marine version of this kit.
A great job, friction and wear give it a very good appearance, I guess dark brown spots simulate dirt?
Since the fuselage of most helicopters and airplanes is built in aluminum and this should not show rust spots, unless you have a piece of iron or steel on top.
Anyway, I insist on a great job.
REGARDS
Thanx for the kind words. BTW see write up on the model regarding the "brown spots".
Very neat build, great attention to detail and an excellent finish make this something special. I'm sure your customer was very pleased.
Thanx Everyone for your great comments and kind words!
Paul, that looks great. As you mentioned it is a very good kit and a fun build. As others mentioned, your painting and weathering skills are awesome.