1/32 Trumpeter SBD-3: Battle of Midway
This article is part of a series:
- Work-In-Progress: 1/32 Trumpeter SBD
- WIP 2nd Update: 1/32 Trumpeter SBD (Color Challenge Resolved)
- Update WIP 3: 1/32 Trumpeter SBD-3 Midway Variant…need to resolve a decal issue.
- Update WIP 4: 1/32 Trumpeter SBD-3 Midway Variant
- WIP: 5th Update for 1/32 Trumpeter SBD-3 Midway Variant
- WIP: 6th and Final Update: Trumpeter 1/32 SBD-3 “Midway Variant”
- 1/32 Trumpeter SBD-3: Battle of Midway
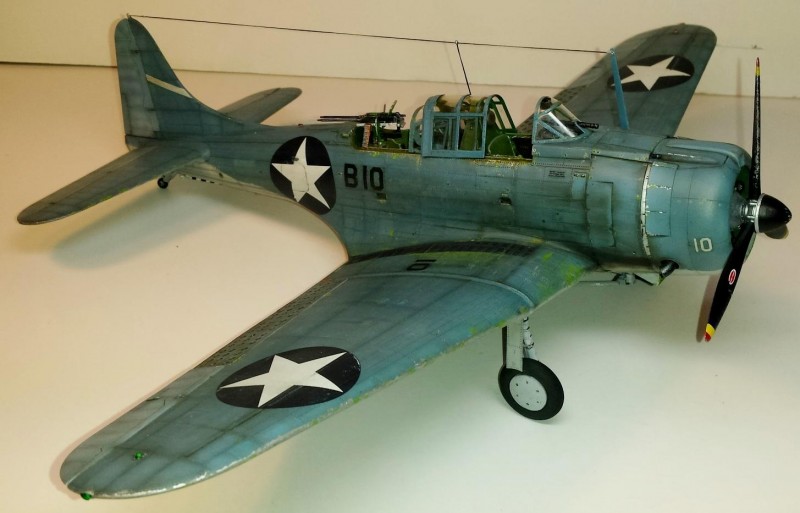
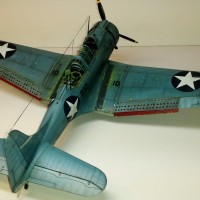
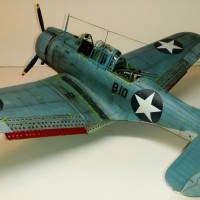
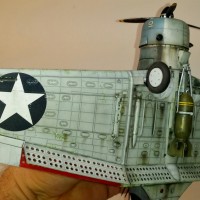
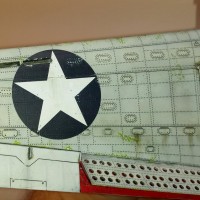
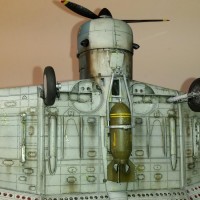
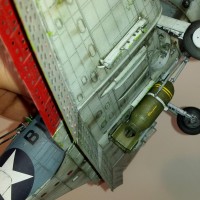
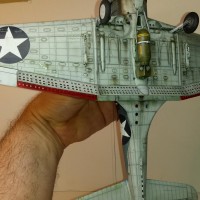
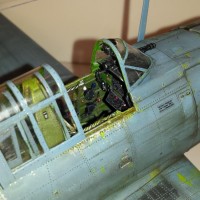
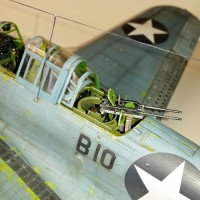
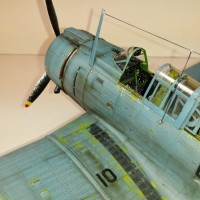
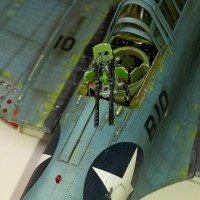
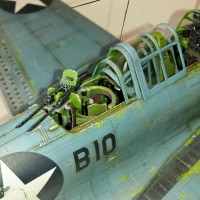
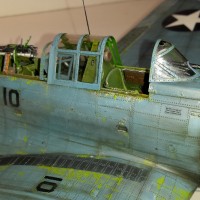
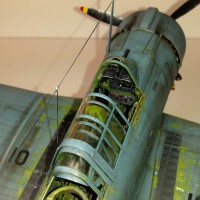
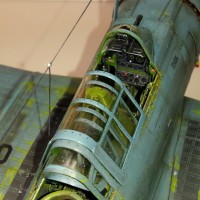
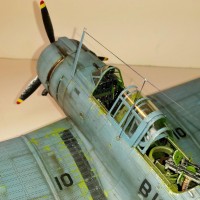
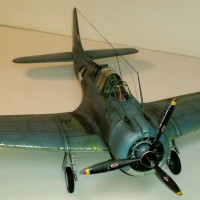
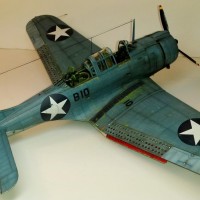
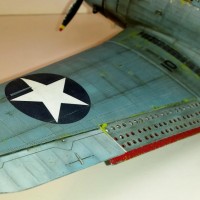
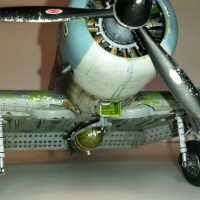
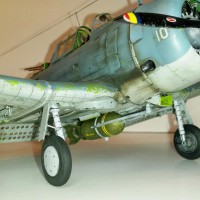
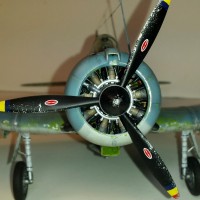
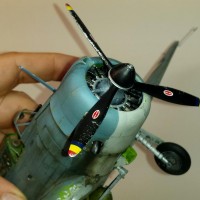
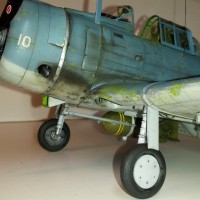
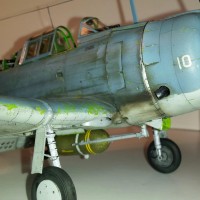
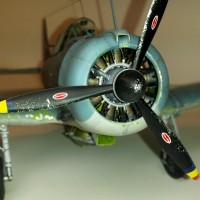
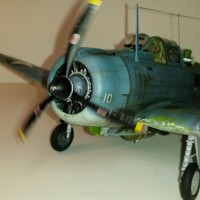
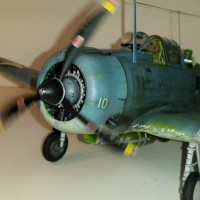
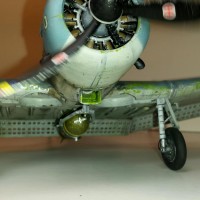
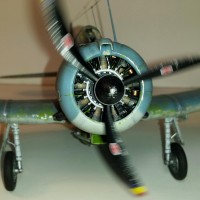
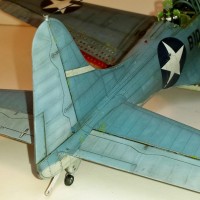
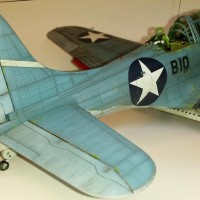
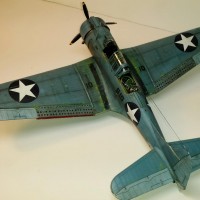
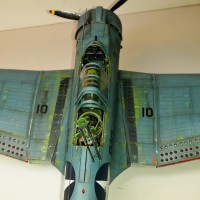
I would like to present my completed 1/32 Trumpeter SBD-3 Dauntless in the Battle of Midway configuration. The model took me approximately a month to complete working on it almost daily. The base kit is constructed very well with loads of details out of the box. The fit and kit engineering was above-average considering the high parts count, and high detail level. It was a bit challenging only due to the high-parts count and complexity of the cockpit/gunner compartments. The many interior components must be aligned perfectly in order to close the fuselage halves perfectly, eliminating any seams in this area. This is made easier due to Trumpeter's inclusion of many very pronounced locating tabs and slots in this area. The surface detail and moldings on the entire aircraft were superb! One major issue I had is the fuselage and cowling made of all clear plastic styrene. It is very brittle and cracked in a few places due to stress of assembly. The other major issue is poor decals with color and size errors. In addition many of the provided stencil decals fell apart prior to leaving the backing paper.
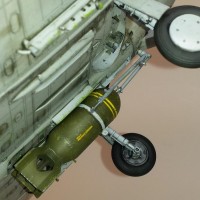
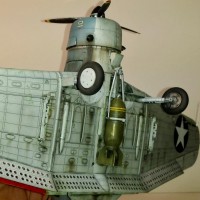
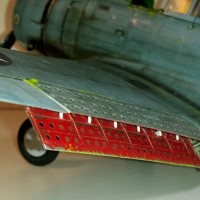
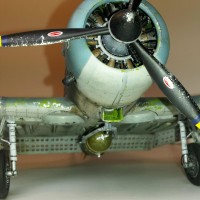
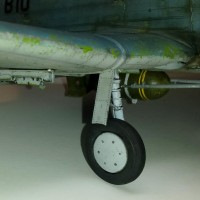
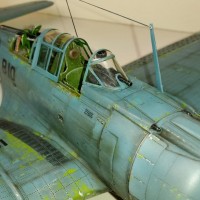
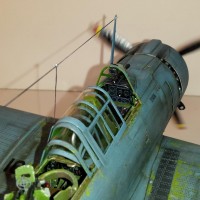
The kit was built all out of the box except for addition of: Eduard color seat belts, cockpit placards, instrument panel wiring, and after-market insignia decals by Yellow-Wings. The top dive flaps brackets needed to be modified in order to pose them closed. This is a large and heavy airplane. As a result the landing gear was under a lot of stress and started to break. I therefore removed them, drilled out the Oleo tubing, and inserted metal rods to reinforce them. The kit includes both parts for open, and closed canopies. Posing the canopies opened posed some challenges. Basically some of the taller canopies that need to house the small ones below them were not tall enough. I needed to modify these smaller canopies by removing material from the base of the canopy so they could slide under the taller canopy sections. The forward windscreen fit perfectly. I used very little filler to complete the model due to overall good fits for major components
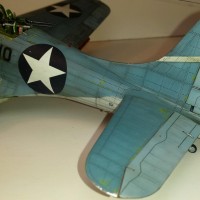
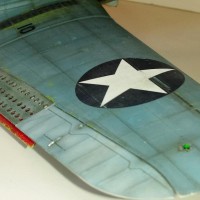
I finished the model using various brand acrylic paints to include: Vallejo, AK, Tamiya, and Ammo/Mig. The base color is a custom mix. I also used Future floor wax as a base for application of decals and weathering washes. The final coat was several layers of AK Matte Acrylic Varnish. This was applied over the Future. I am not sure why but the Matte Varnish kept on rubbing off when model was handled, even if care was taken to avoid this issue. It was given a few days to cure after the 1st application. I needed to re-spray this varnish at least 3 to 4 times in places due to this issue. I use this product all the time and have never encounted this issue. I have no explanation for it. Finally I did most of the weathering with enamel washes both AK Interactive and Tamiya Panel Liner. I also used oil paints and some pastel powders by Tamiya and AK. Acrylic Metal color paints along with PrimaColor silver pencil was used for a lot of the chipping. Chipping was applied with pencil, fine brush, and sponge. No chipping solutions were used.
I hope you enjoy the model pictures. I wish I had better photographic equipment to better capture the subtle elements of the finish and the details of this build. I feel the pictures being presented do not do this model justice. I previously posted several build articles for this plane. They can be accessed by going to my blog on this site. This was a commissioned build so I will need to say good-bye to this good ole bird shortly as it travels to it's new owner on the West Coast, USA.


Great job, Paul. Outstanding finish to the build...love the paint job.
Definitely one of the best Trumpy SBDs I have seen. Excellent work here and a great, realistic finish - a veteran of the first six months of war, ready for payback at Midway for Pearl Harbor.
Thanx a lot Tom, means a lot!
Paul,
At the end of the month the judges will be wearing hair pieces. After pulling out their hair after having to look at all of these museum quality builds. Your model works on many levels and the painting is sophisticated and really gives the impression of a bird that flew on aircraft carrier.
I've always thought that Trumpeter took a good long look at a Accurate Miniatures SBD and their Avenger kits. Reversed engineered them and scaled them up.
Two thumbs up on some strong work.
Thank you for you kind words. I do agree...I have heard more then once that these kits are AM kits enlarged to 1/32. Straight copies. Cannot confirm nor deny. This detail would of been hard to capture in 1/48 that is for sure. I actually have the AM 1/48 SBD-1 in my stash but I ended up using the decals for something else and so have not worked on the kit. May be done with SBDs for a while. Would really really welcome the opportunity to build the 1/32 TBF/D! I dont know how the judges do it each month..way to many to pick from. Very tough!
Good looking build Paul.
Fabulous. Simply fabulous all around.
Hard to believe an ugly, stubby little dame like this could save a nation (and doom another), but it's so.
Great job, Paul.
Very nice build Paul, followed the progress with great interest. I am sure that will be one happy owner when he gets this supreme piece! Kudos!
Fantastic accomplishment, Paul...we may just be seeing this one again! 🙂
Holy man...that is one helluva build. There’s way too much to comment on with this build. To say you are a master at this art would be fair, to say you are a craftsman I hope does justice to your craft. You earned your money on this one. I hope you feel satisfaction at its completion.
Keep building Pal, can’t wait to see what’s next.
Are those stencils below the front canopy supposed to be upside down?
It has all been said. It looks like it could fly. Too much about this stands out to single out a specific strength - but I think you'd have to go very far to see a better weathered plane than this.
Excellent!
Paul, I enjoyed following your progress on this and am very impressed with your final results. This looks really nice, it has a very realistic look. I like it a lot !
An all the way around stellar build! Love. It.
Nice work Paul.
And speaking as a pilot, may i say its refreshing to see an SBD built up that DOESN'T have the dive brakes deployed when parked on the ground.
-d-
Hi David: It frustrated me to see so many Dive Brakes extended but after purchasing the model I understood why. The Model is designed to only have the top brakes extended. You must modify the parts to retract the top. Maybe some model makers are hesitant to modify. My customer made this feature "A Must Not" have the dive brakes extended...LOL. Thanx for your nice comments. Paul