New Project: Vintage Tamiya 1/48 F-15A
This kit is old! Maybe I should say "Vintage". I remember this being on the shelves as a young model maker and not being able to afford this F-15 because it was a Tamiya...The Good Stuff! BUT, unfortunately these days it is not anything to special even if it is a Tamiya. Yes, being a Tamiya the fit is still decent, and better then many more modern kits, but it's engineering is somewhat obsolete. The most obvious deficit is the manner in which the fuselage is assembled. It consists of the two fuselage halves being sandwiched together horizontally leaving a huge horizontal seam extending the length of the fuselage body. Yes, it can be sanded easy enough but there goes your faintly molded recessed lines and I am not a big fan at scribing. The fit of the 2-halves is decent. Just need to take your time aligning, and gluing small sections at a time, then align again, and glue some more. Lots of clamping!
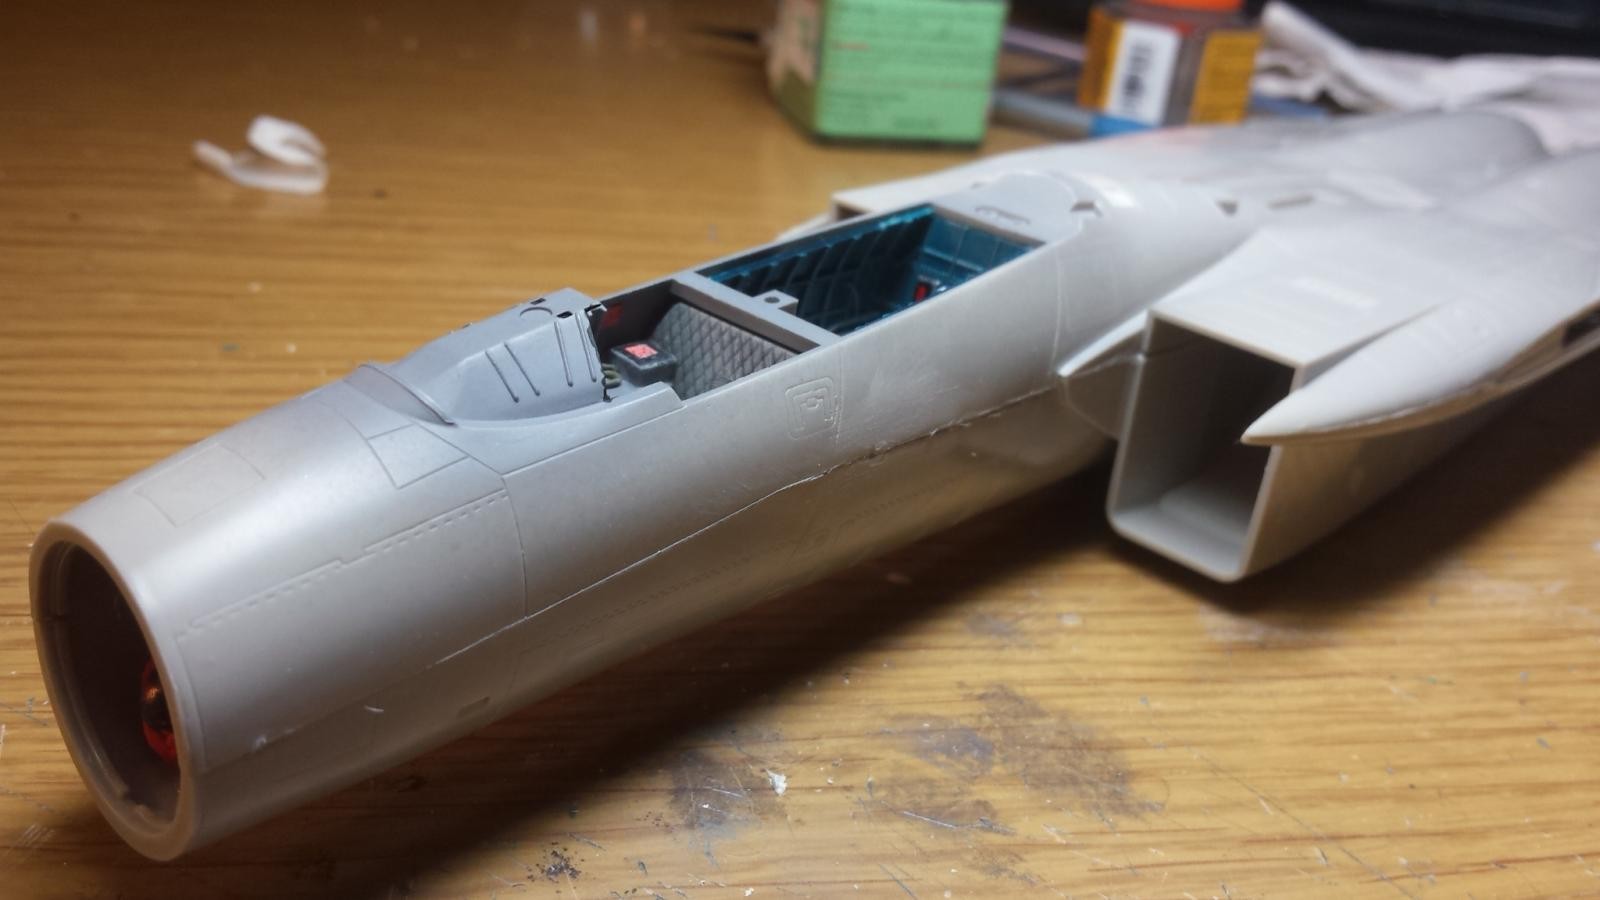
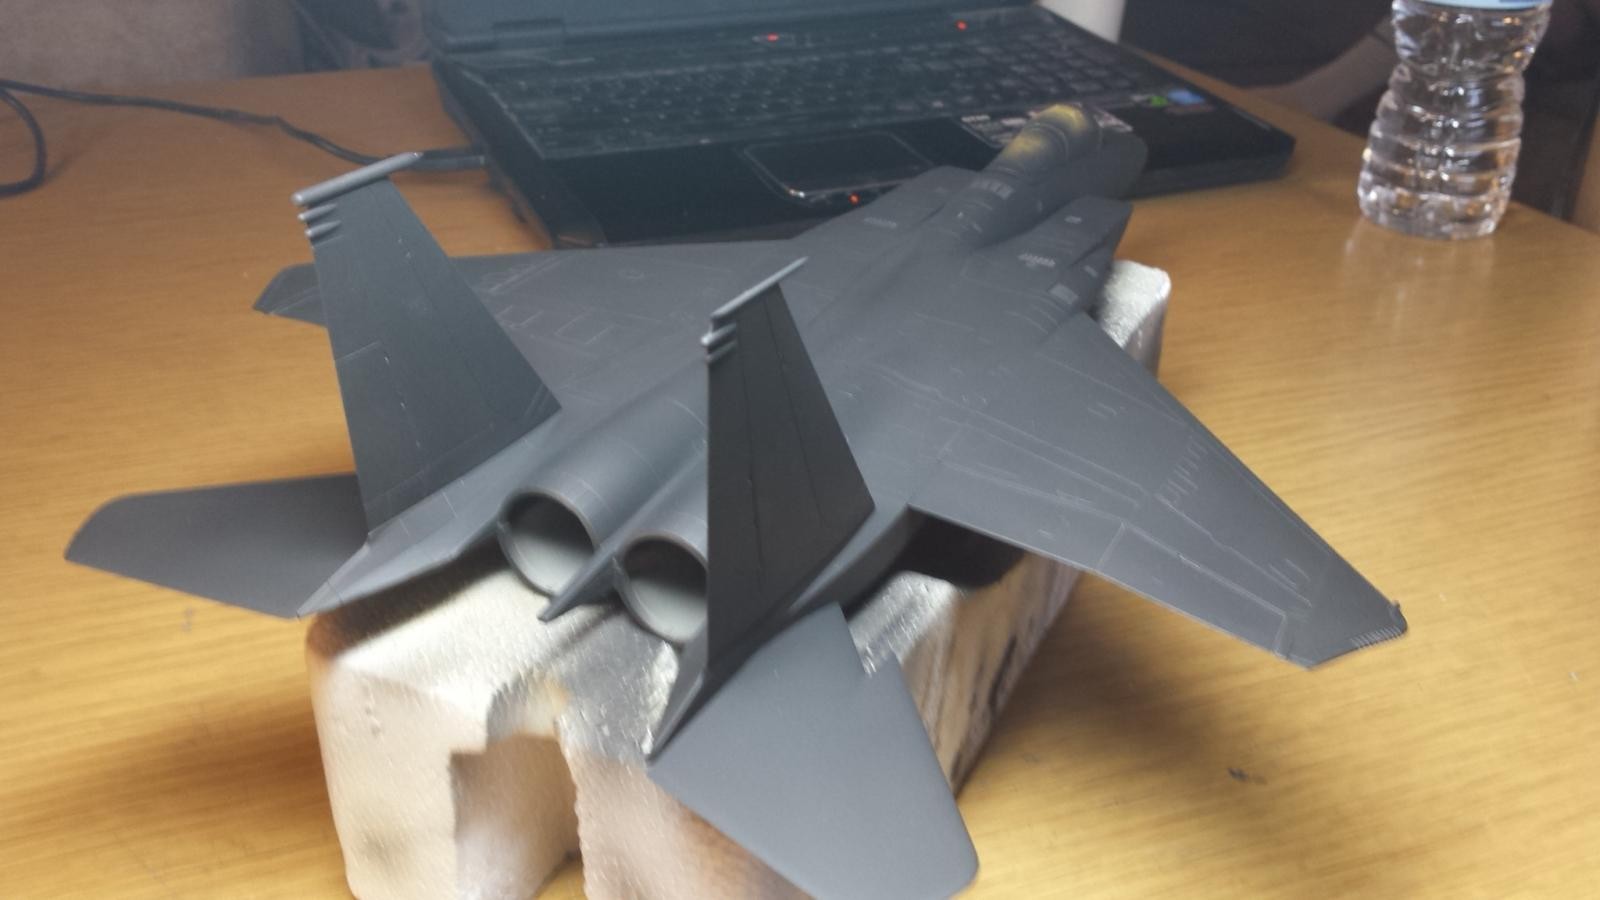
The detail is very low in most aspects especially the cockpit and IP, along with the exhaust nozzles. The exhaust nozzles have very minimum turkey feature exterior detail and zero detail on the interior of the exhaust. Just smooth plastic...YUCK! I have ordered some Aries resin replacements.
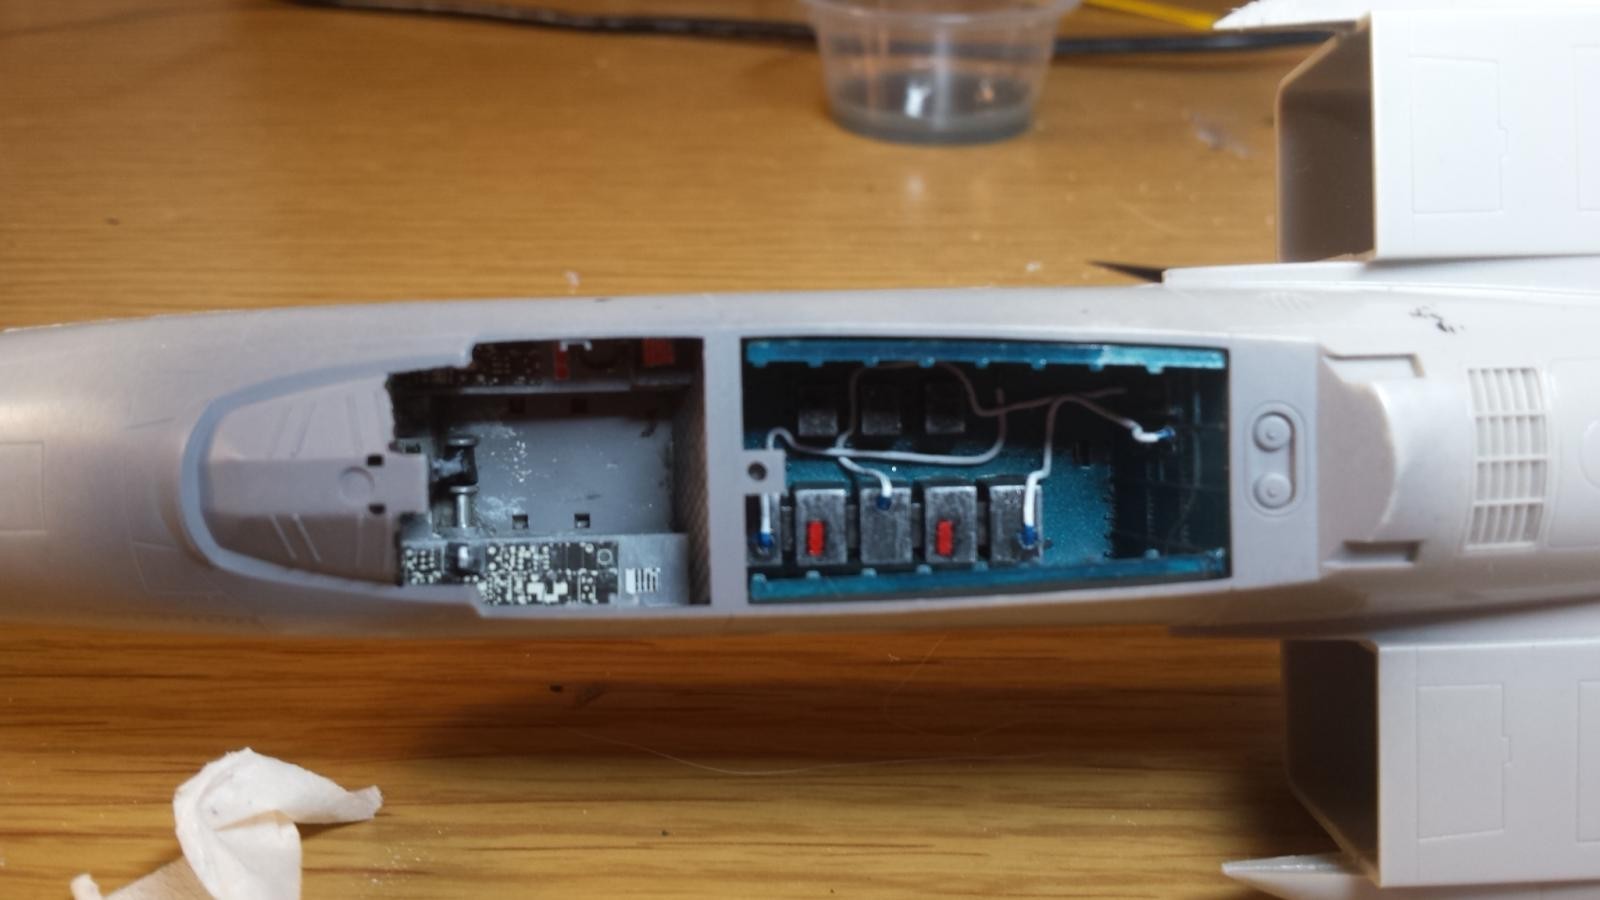
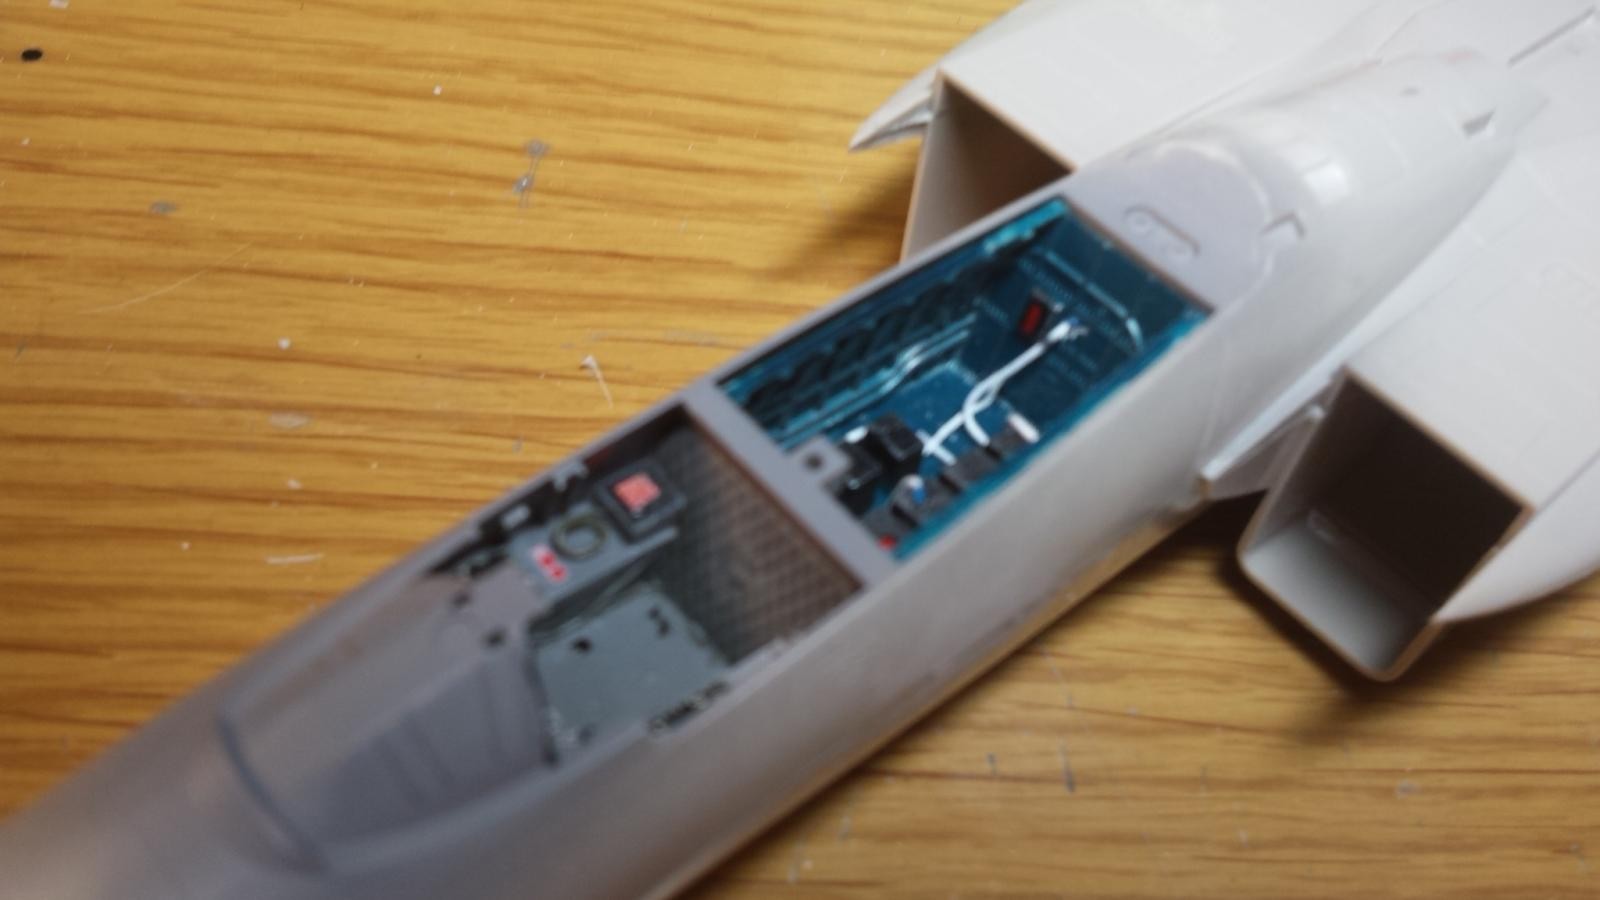
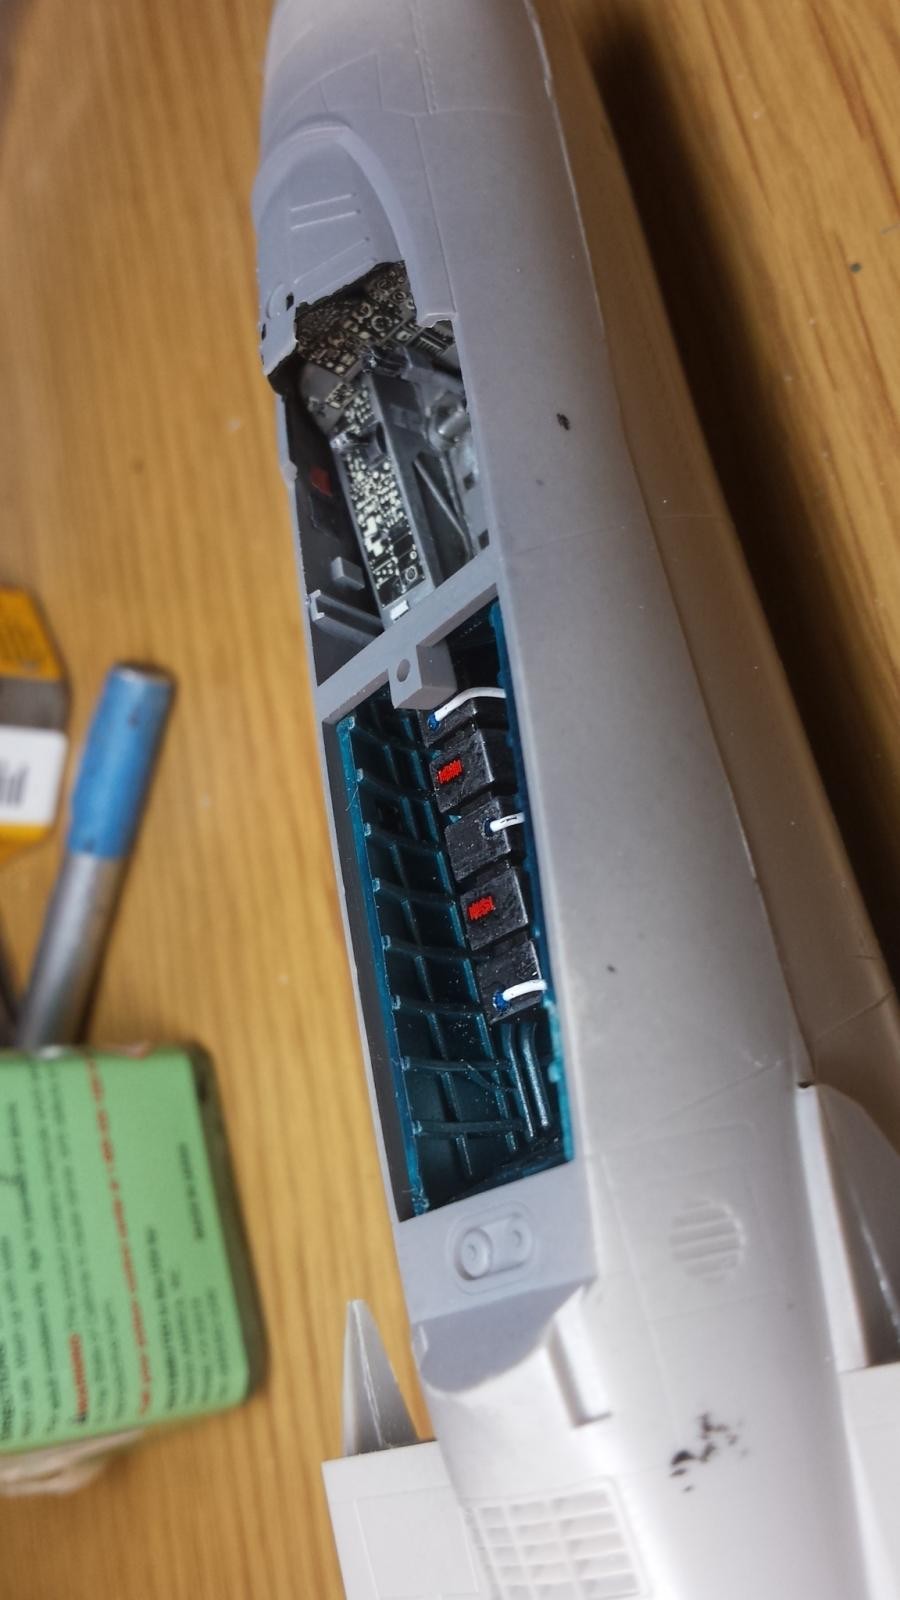
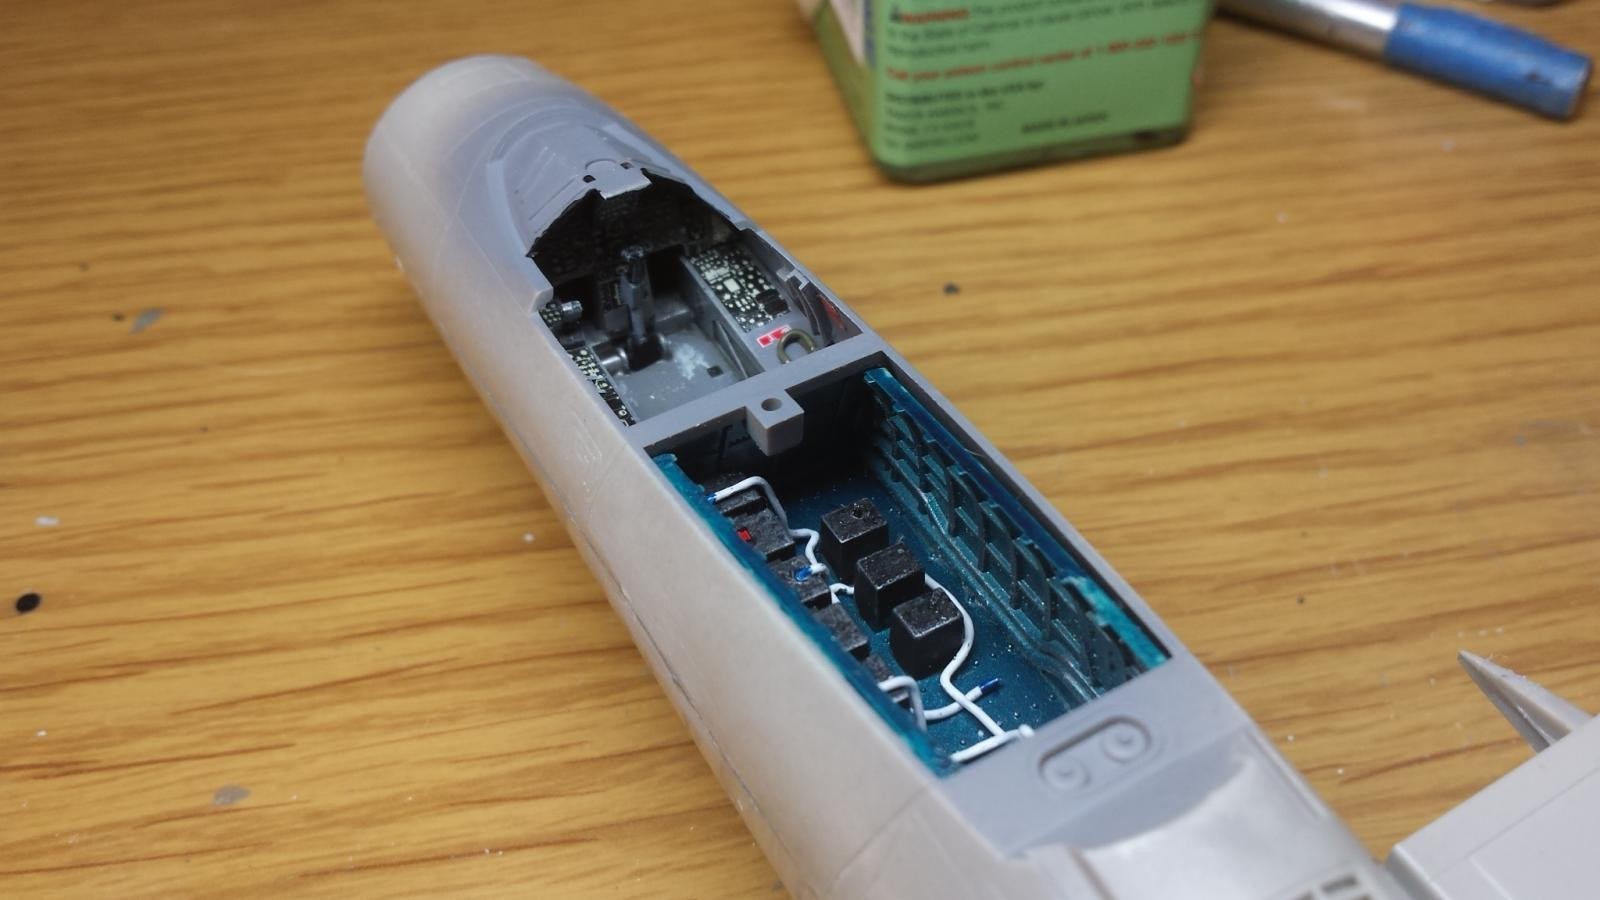
The cockpit relies on fairly mediocre decals for panels and dials. The avionics bay behind the cockpit could be better but is actually not so bad. The scratch builder can have some fun in these areas. I added some plumbing and wiring to the bay and cockpit tub. I also added some bits to the cockpit side walls which are otherwise barren. The included ejection seat lacks detail and is the very old version for the very early "A" models before switching to the more current MB ACES II seat. I replaced the seat with True Details ACES II resin seat.
The molding has some "OK" surface detail and thank God it is at least recessed, but its minimal. The Tail feathers have raised lines for detail. I do not know if this is accurate or not. One surprise for a model lacking so much detail is the inclusion of a removable nose cone with full radar dish assembly. Although there are no parts, or details, to model a hinged nose cone in the open position.
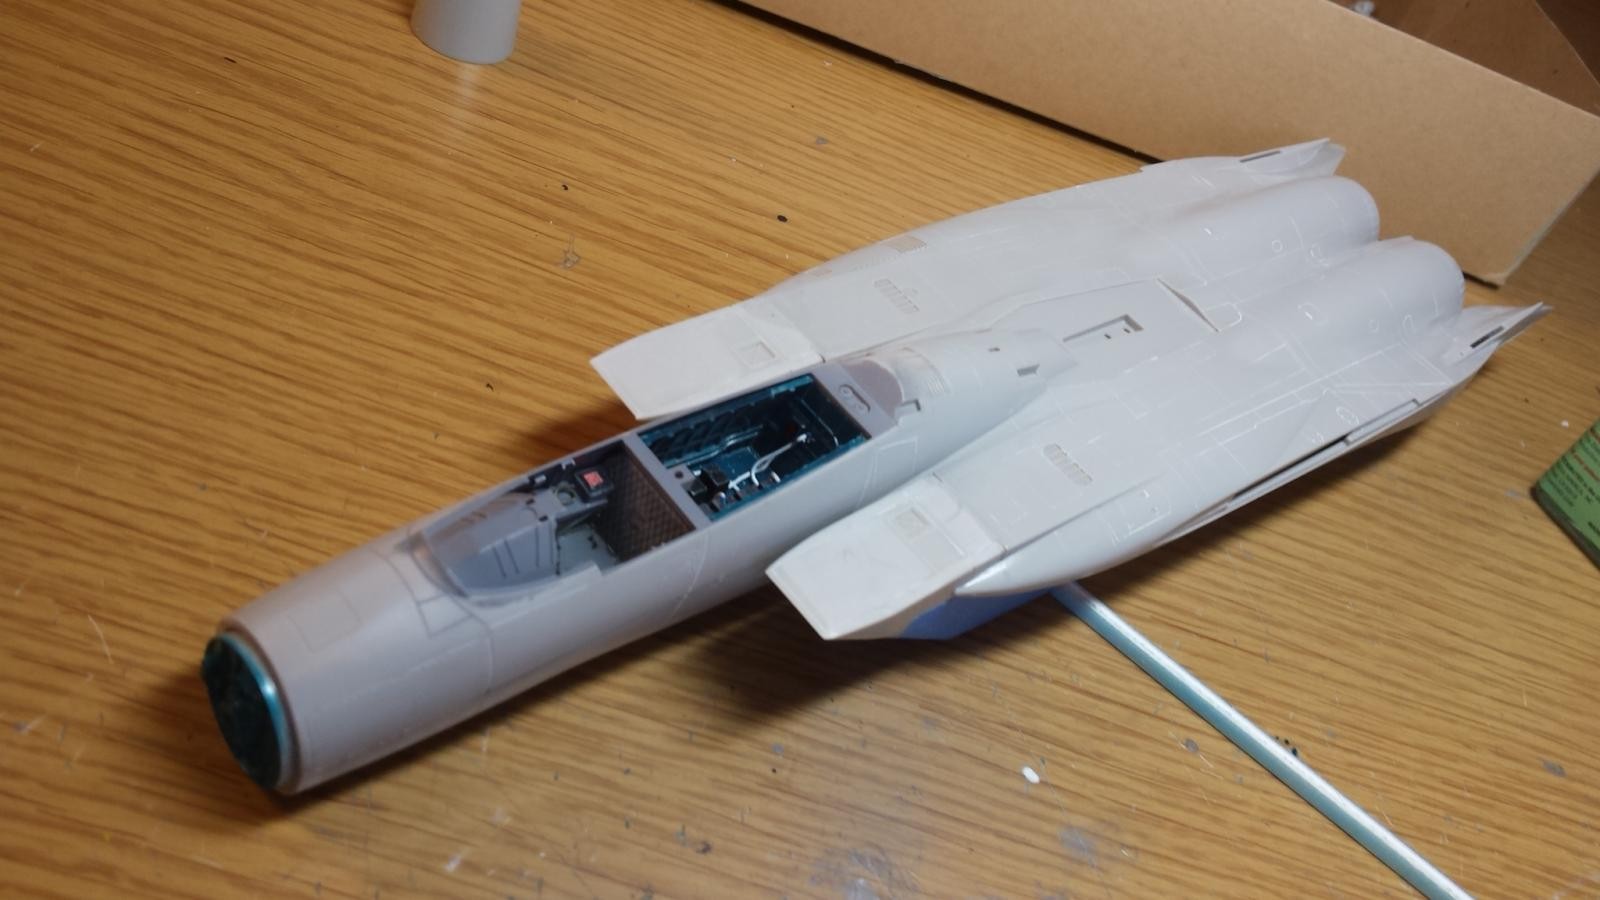
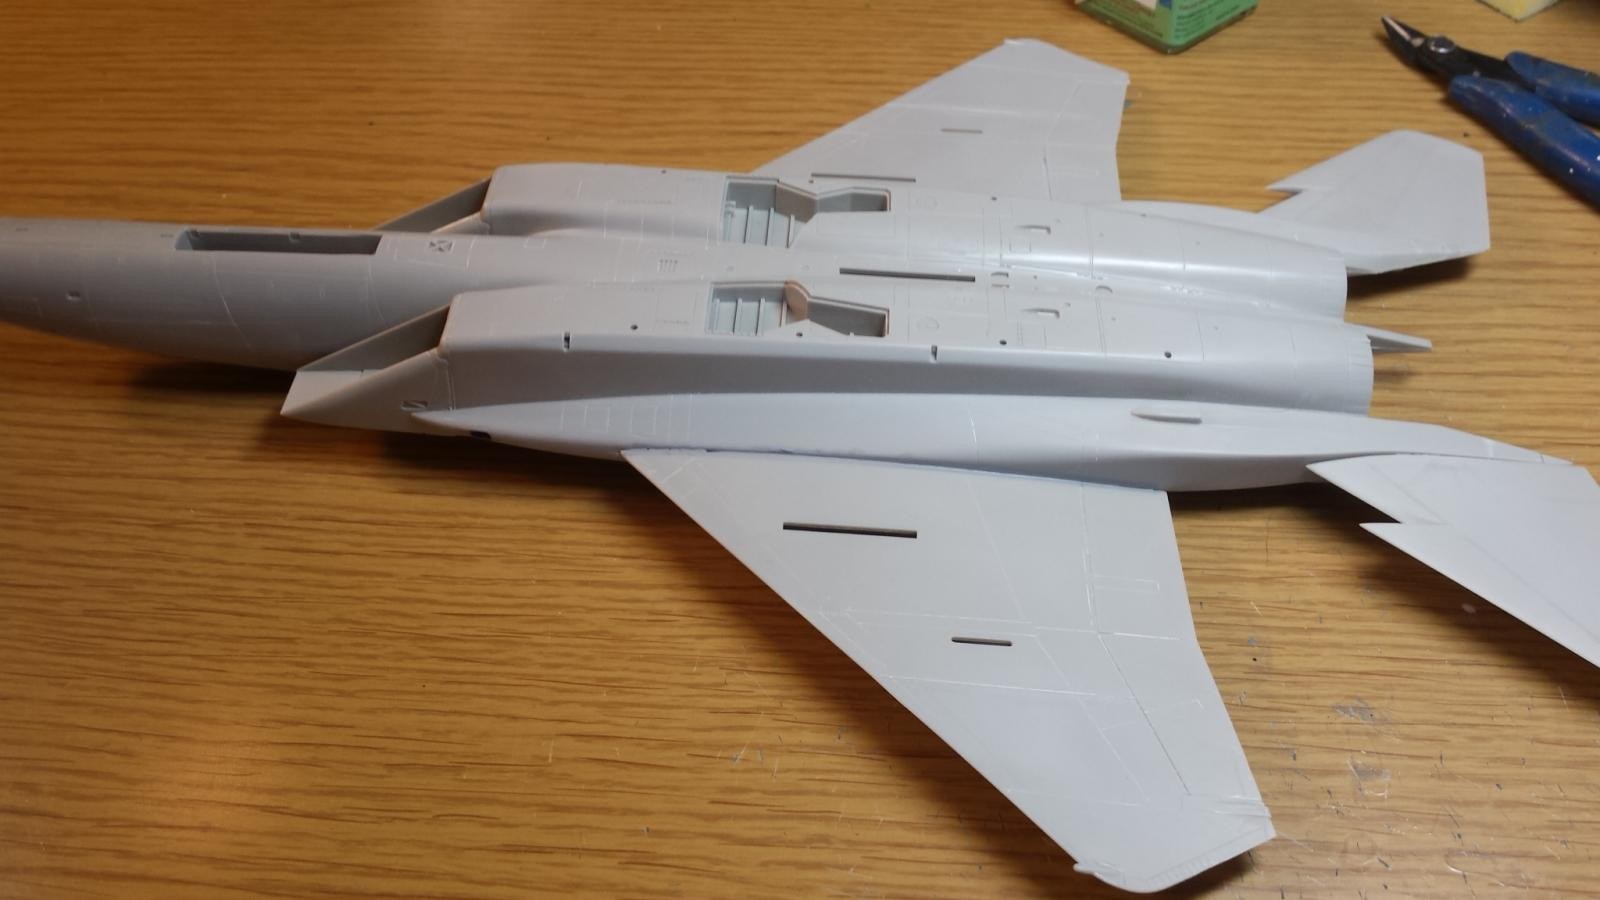
So far it has assembled with ease with no major fit issues noted. The wing to fuselage fit could be better but not awful. I needed some filler on the bottom surface to wing join. The intakes require multiple pieces to build up but if you are cautious the fit it good. The intake assemblies also fit decently into the fuselage intake openings but some minor sanding and filler is needed. There is no intake trunking but some internal intake detail with the front intake section of the dual engines easily seen. My intakes will be closed with after-market intake covers.
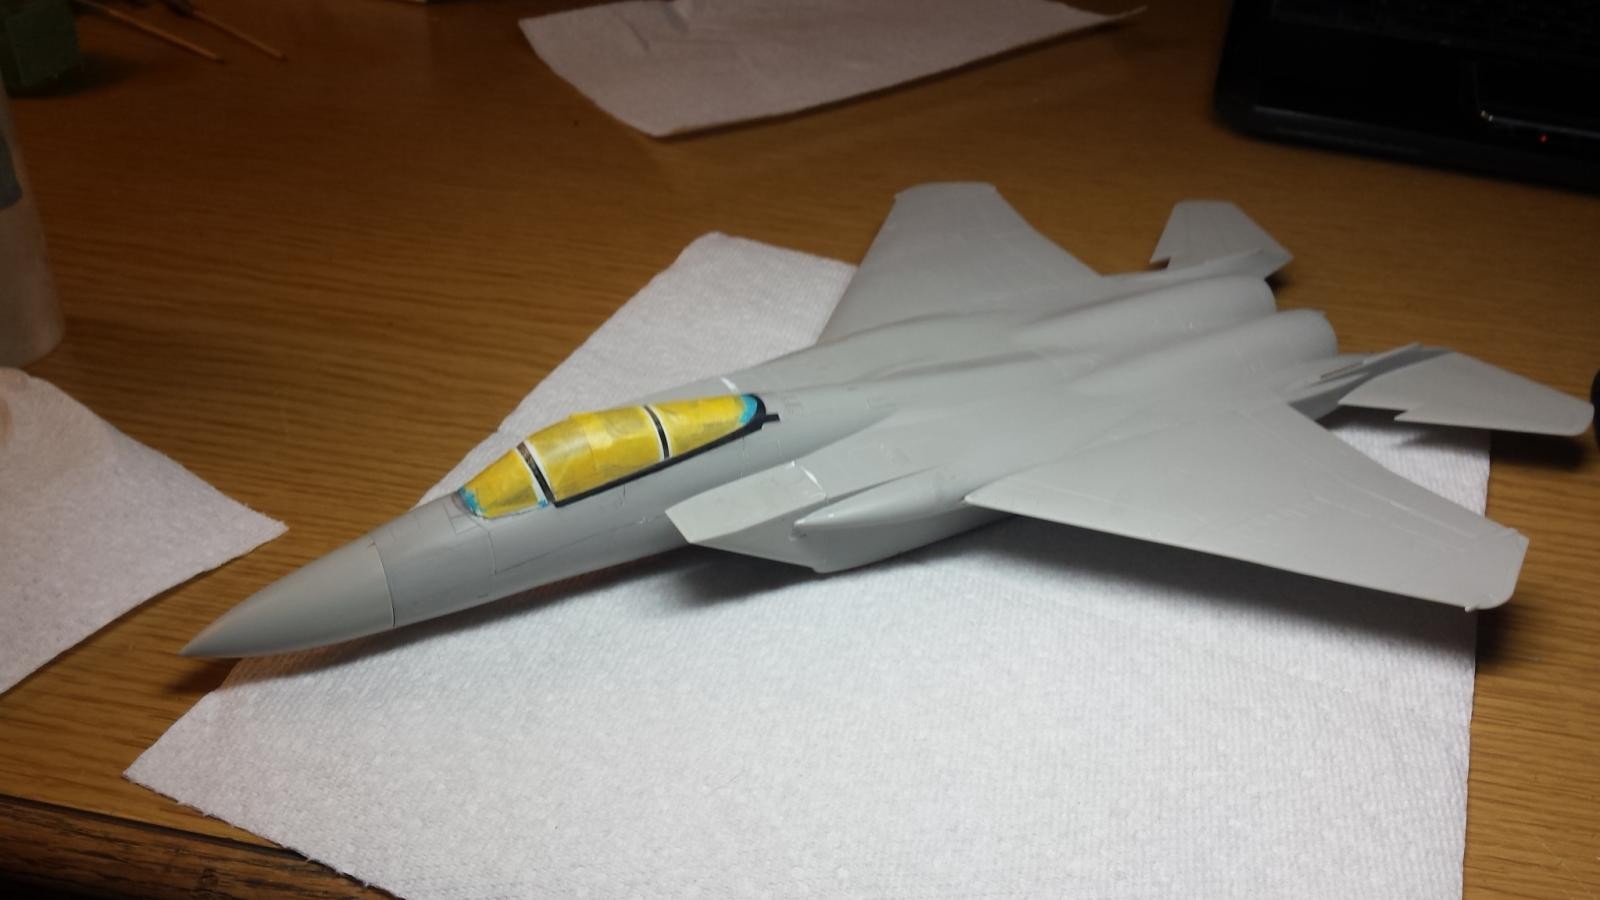
The windscreen and main canopy fit flawlessly and are clear. I am pleased that the kit includes multiple pieces to support the canopy in the open position. The kit does include a decent seated pilot but I will not be using for this build.
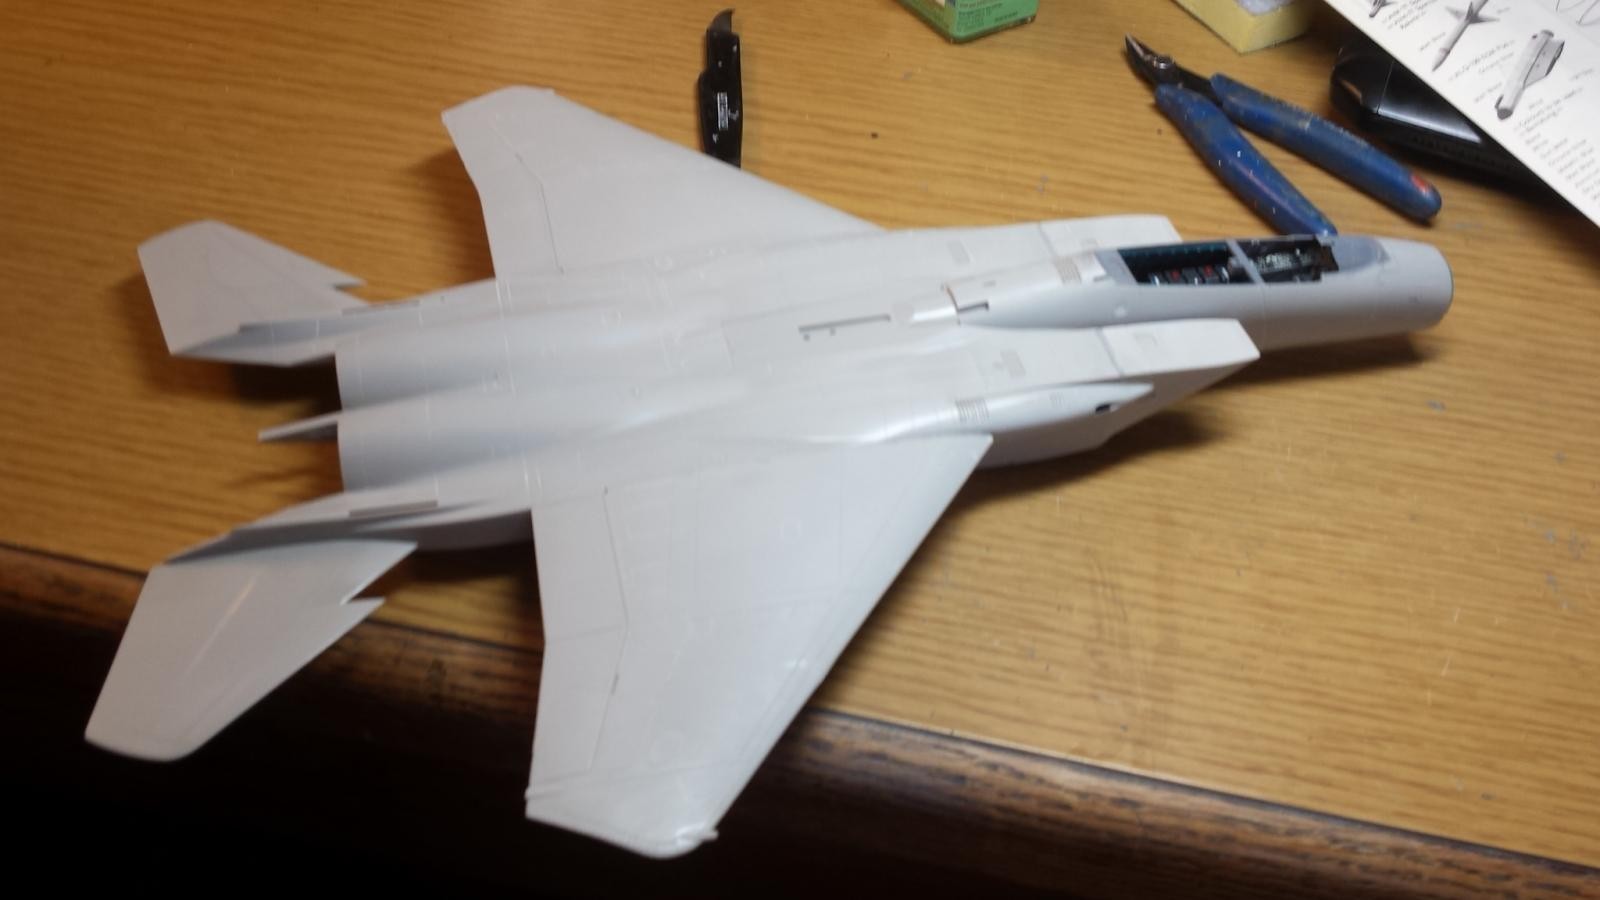
The tail feathers and vertical fins attach to the fuselage flawlessly. You do need to use some care to get the correct dihedral on the horizontal stabs and main wings. The R and L main wings are 2-pieces each. They fit together well but leave a nasty seam on the underside. It did sand smooth and I am not sure if the seam is on a panel line. I sanded it but did not fill it. If you do not use all the hard-points you will need to fill some fairly large slots. I filled the outer slots with plastic and putty.
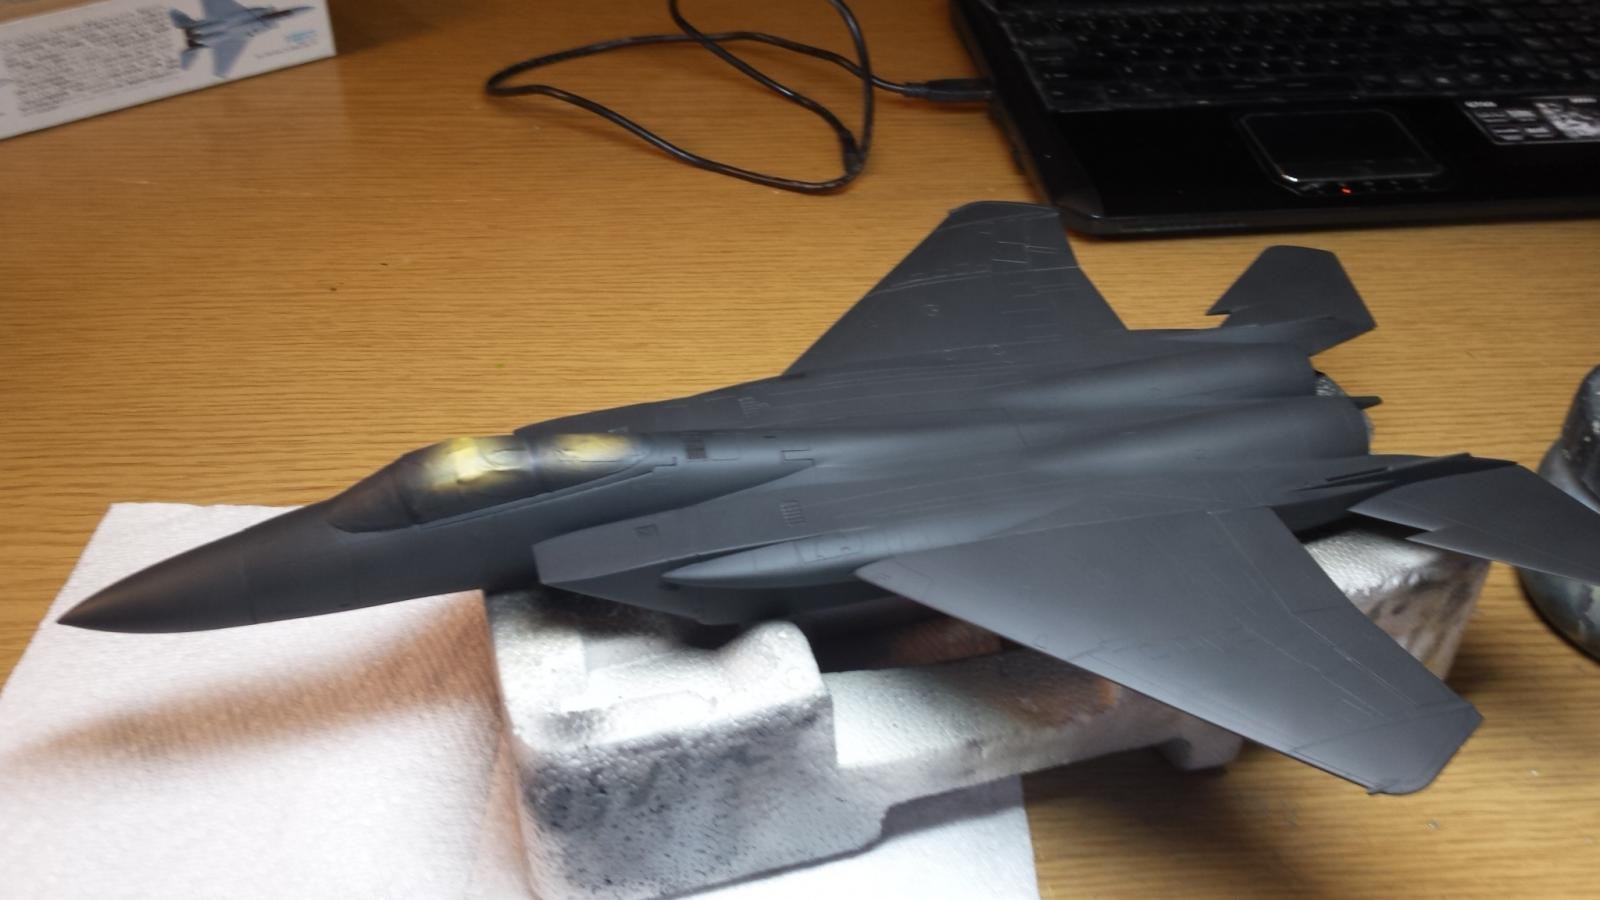
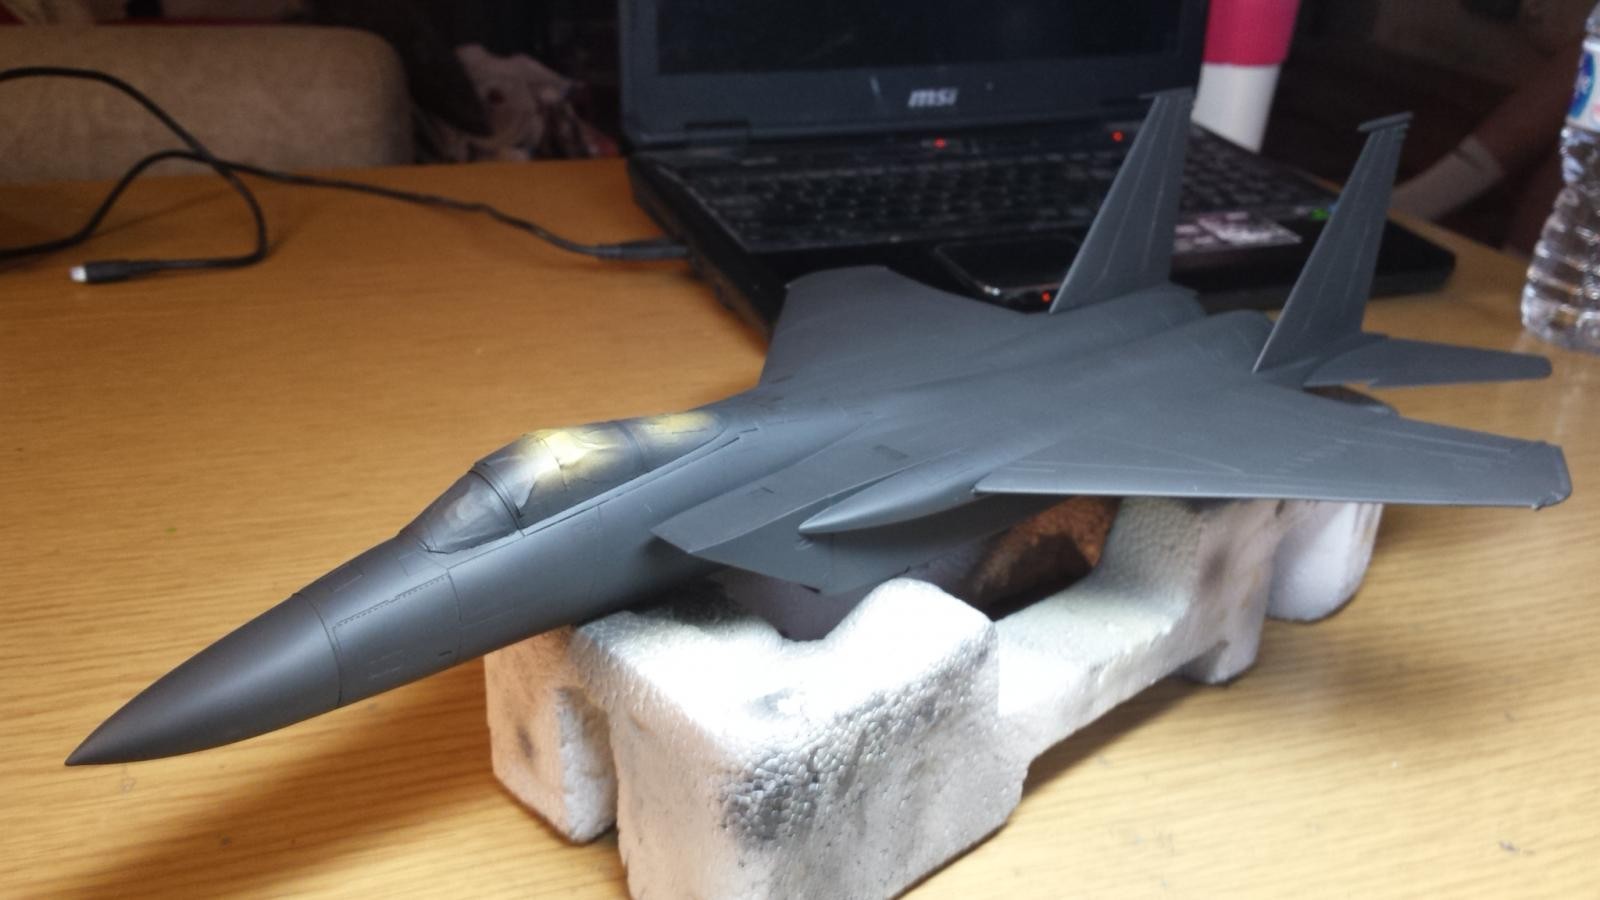
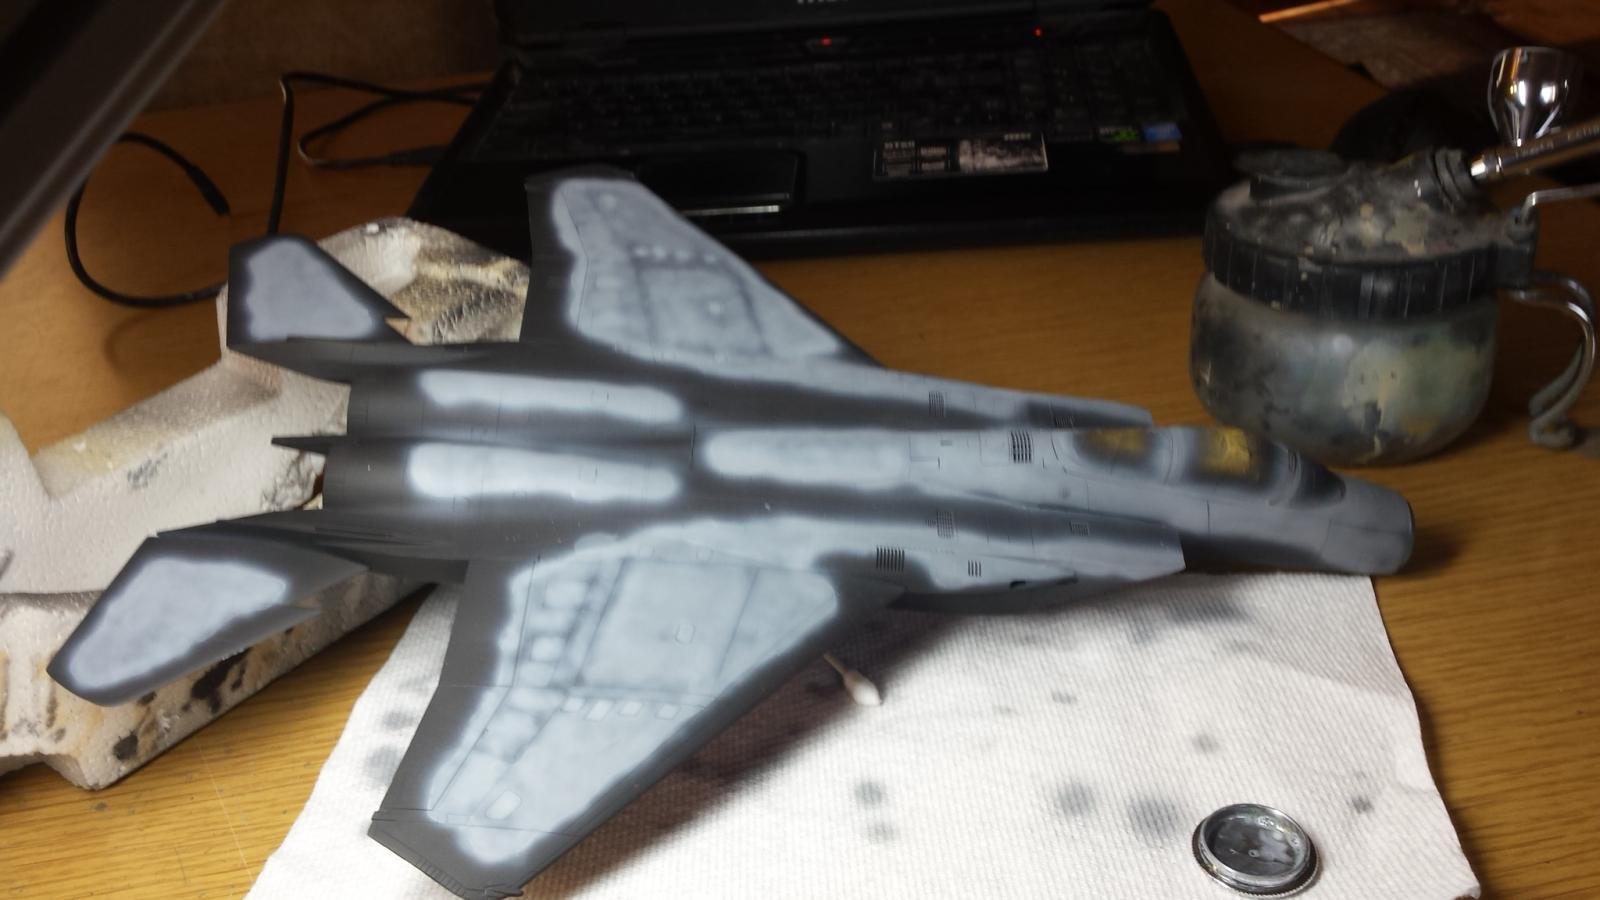
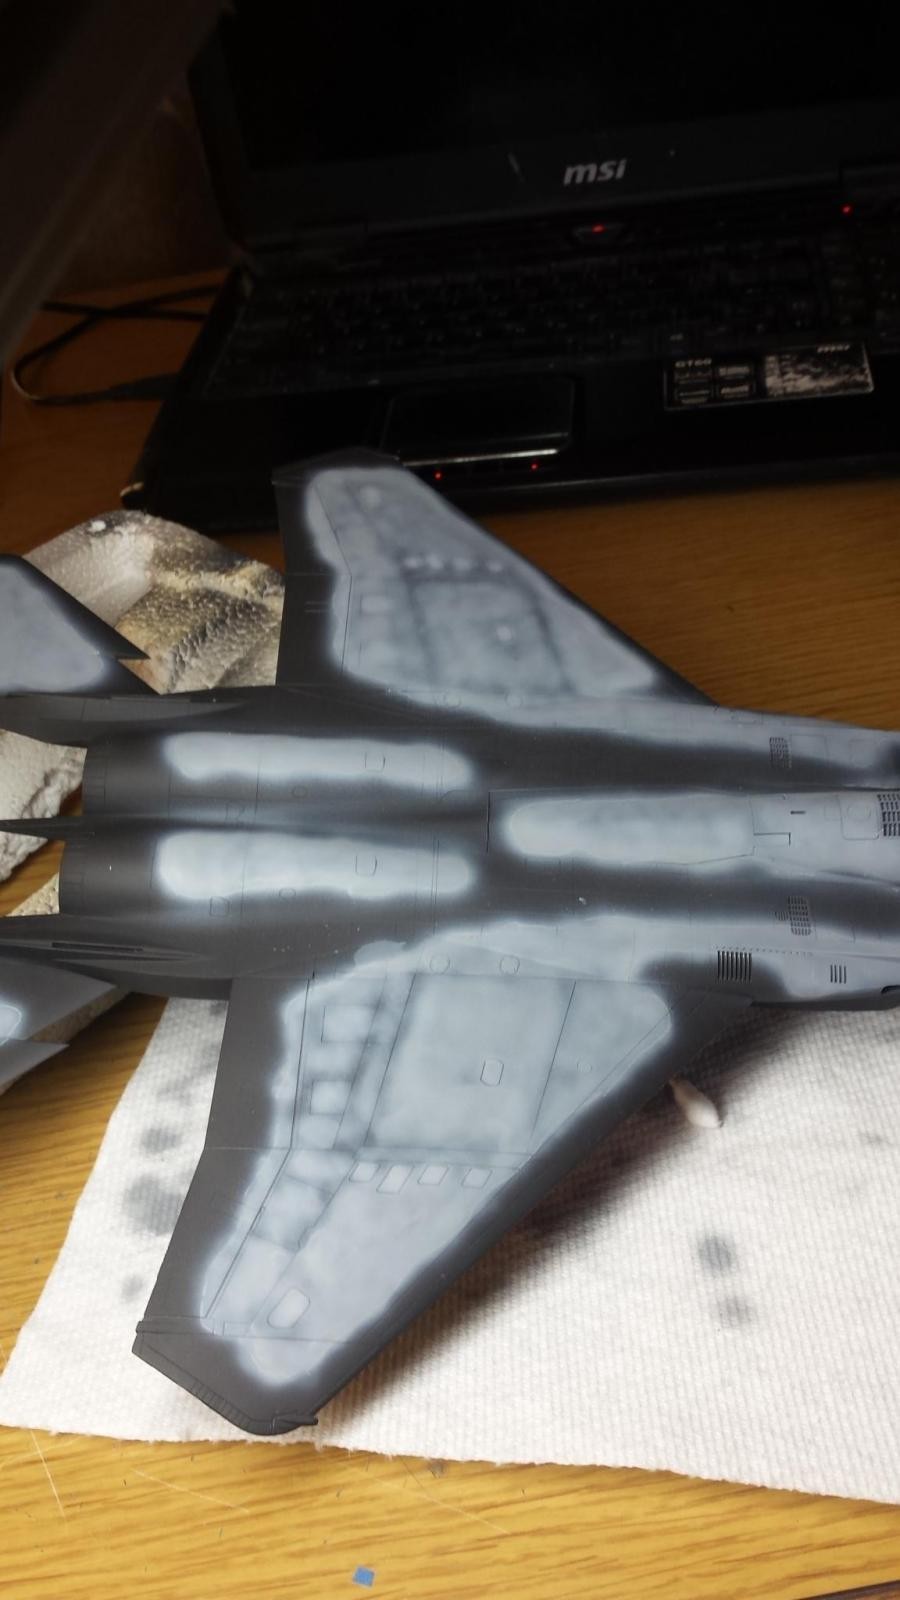
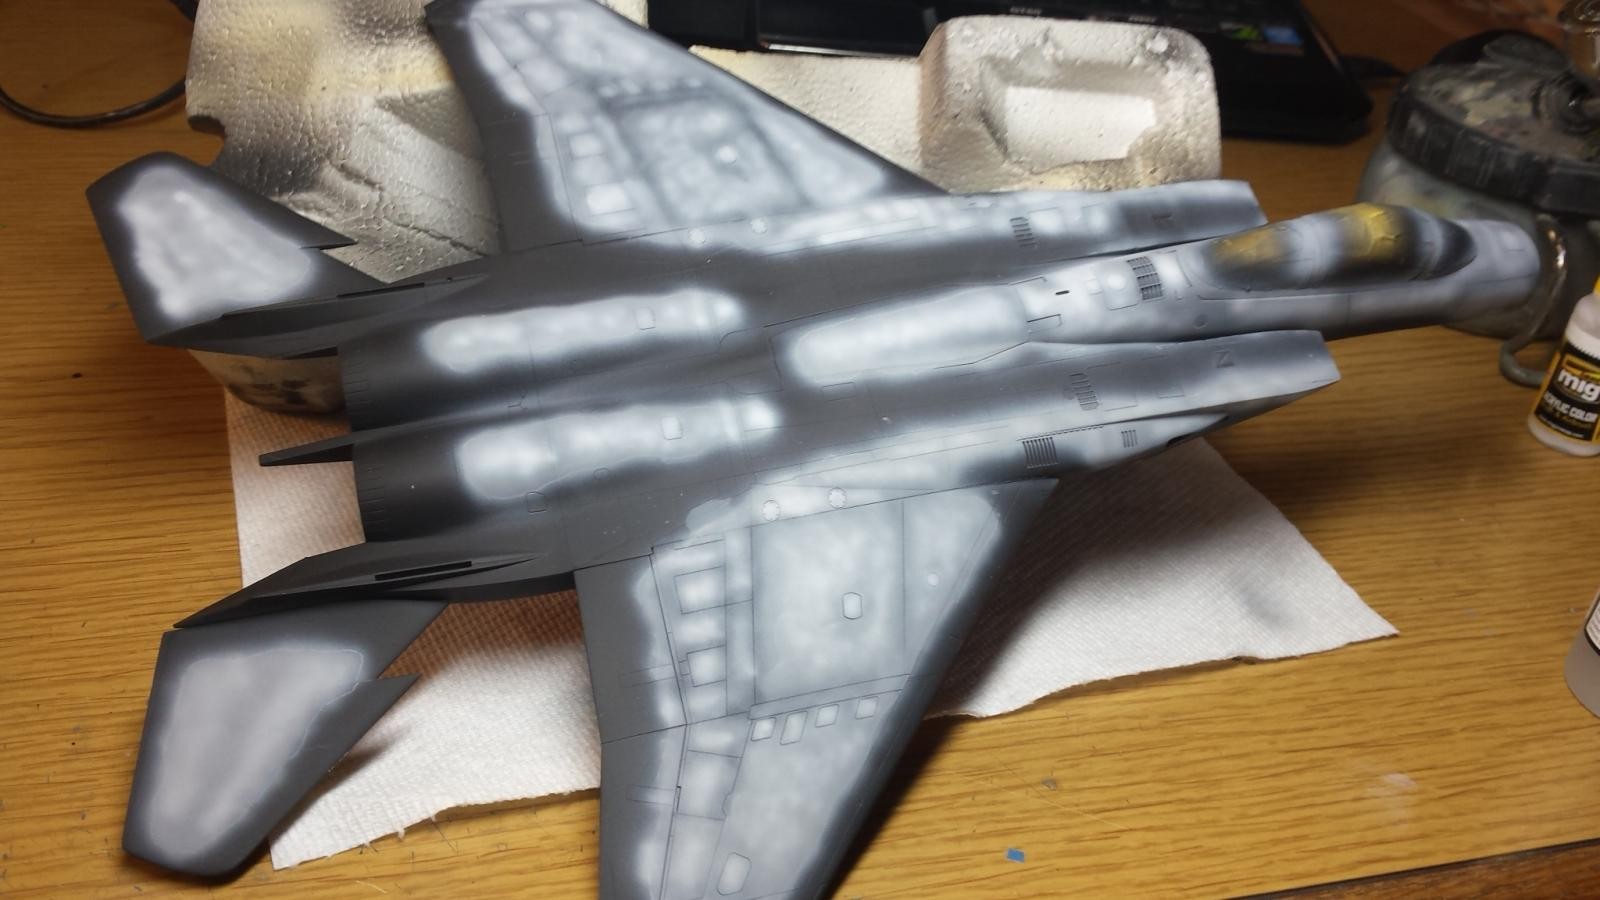
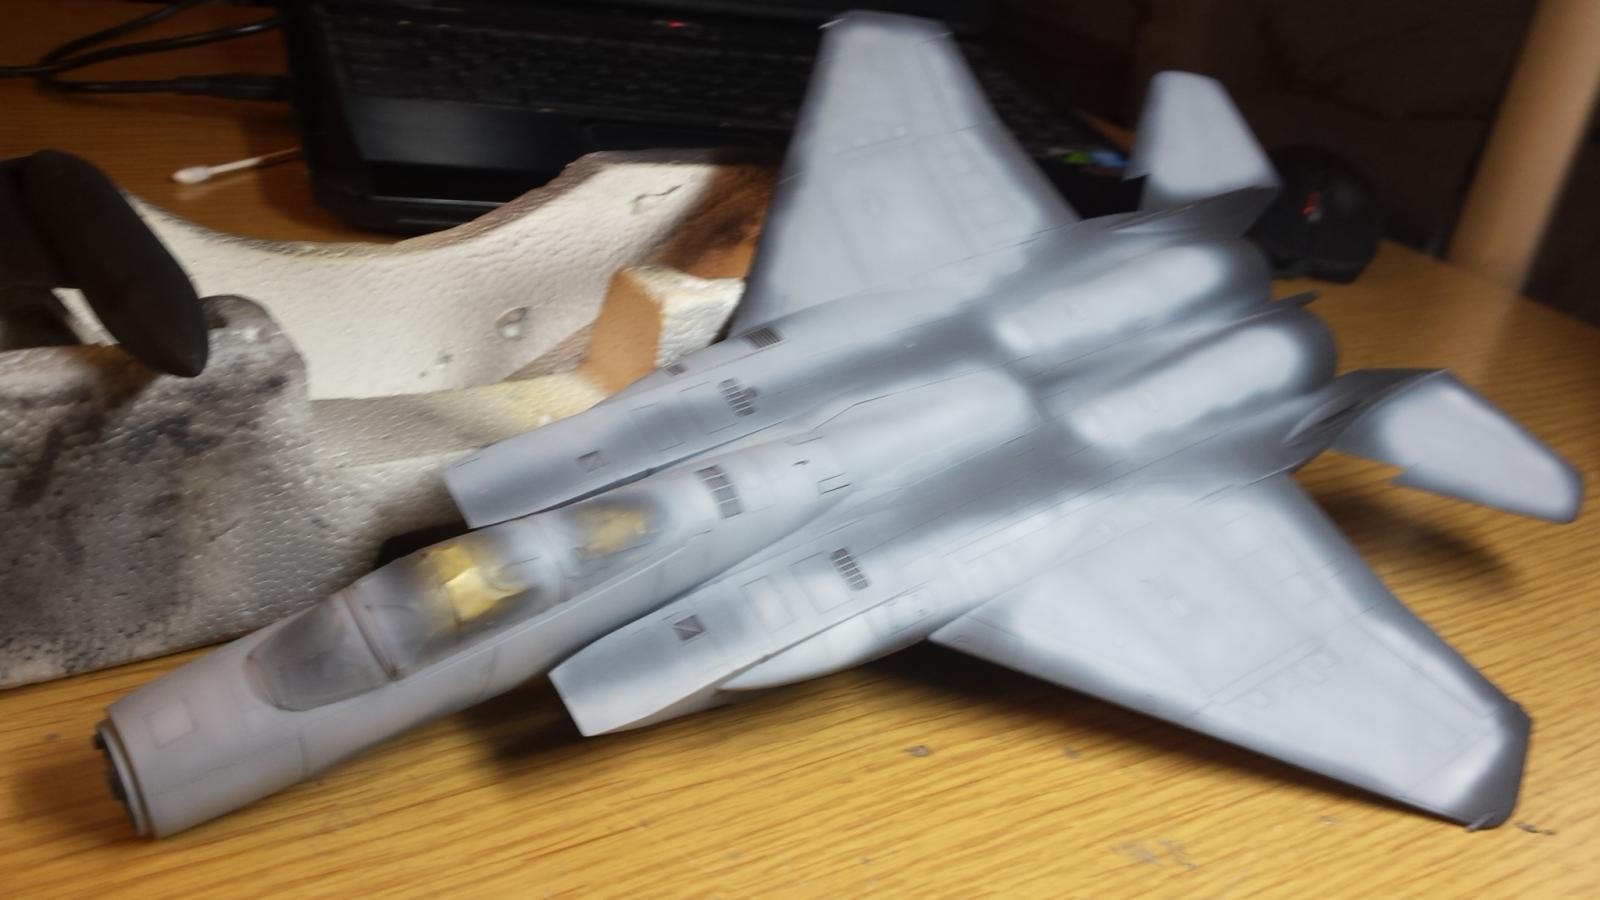
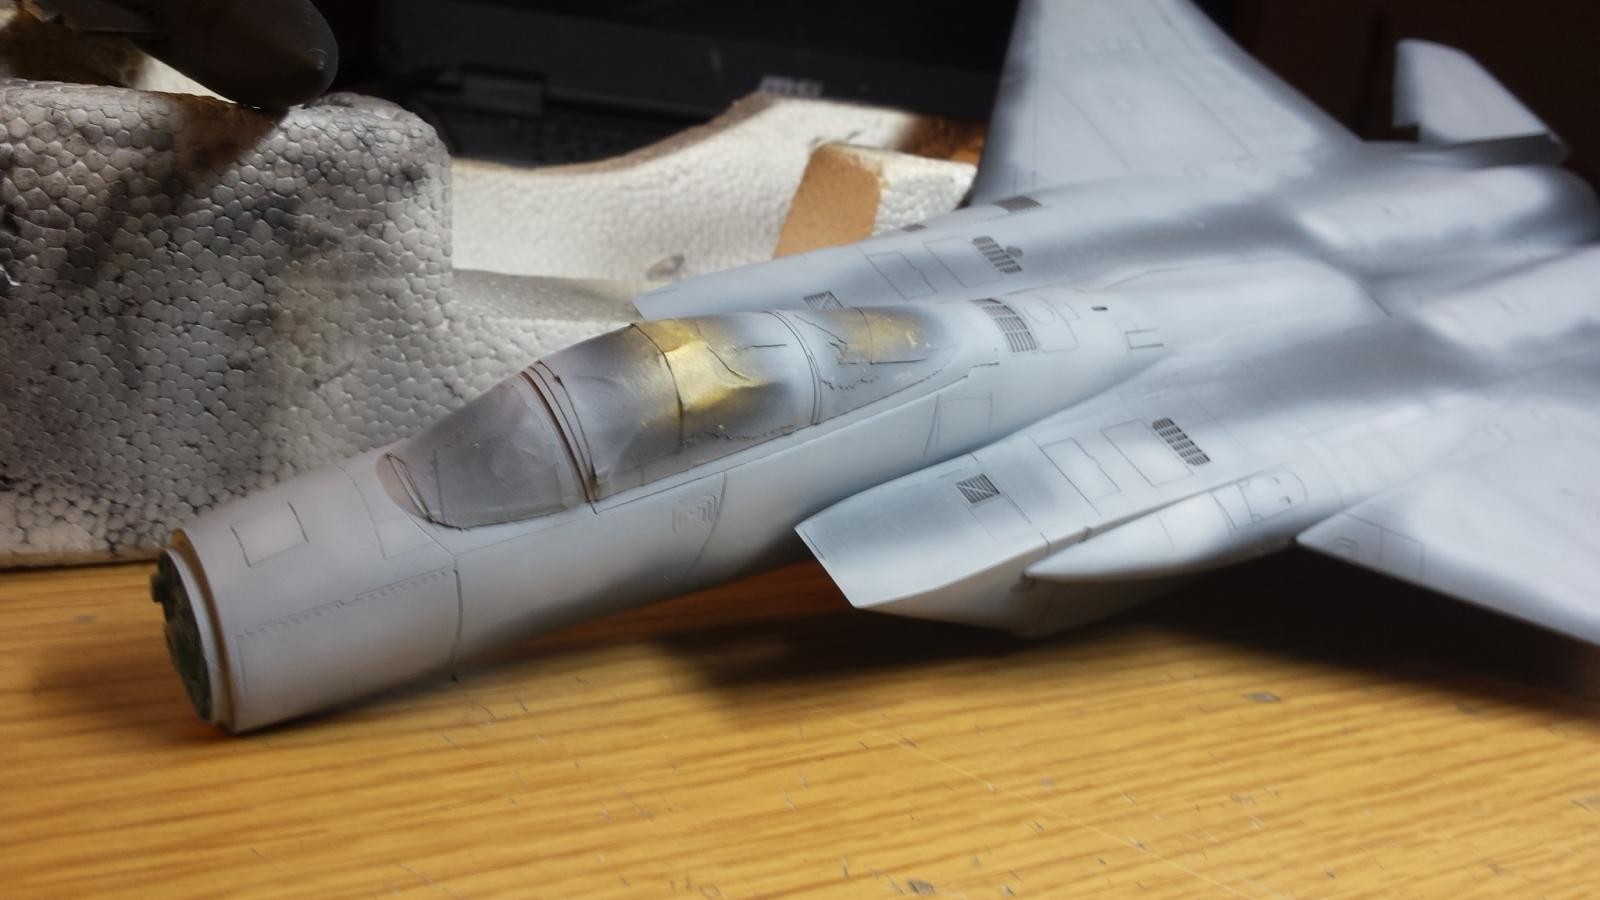
I am currently in the painting phase. I am going with the standard "compass-grey" theme of the early Eagles. It consists of Light and Dark Ghost-Grey. I "black based" the whole aircraft in Black Primer. I then used a mottled spray pattern technique to slowly build up the 1st base color of Dark-Ghost Grey using some after-market masks to draw the camo pattern with white water-color pencil.
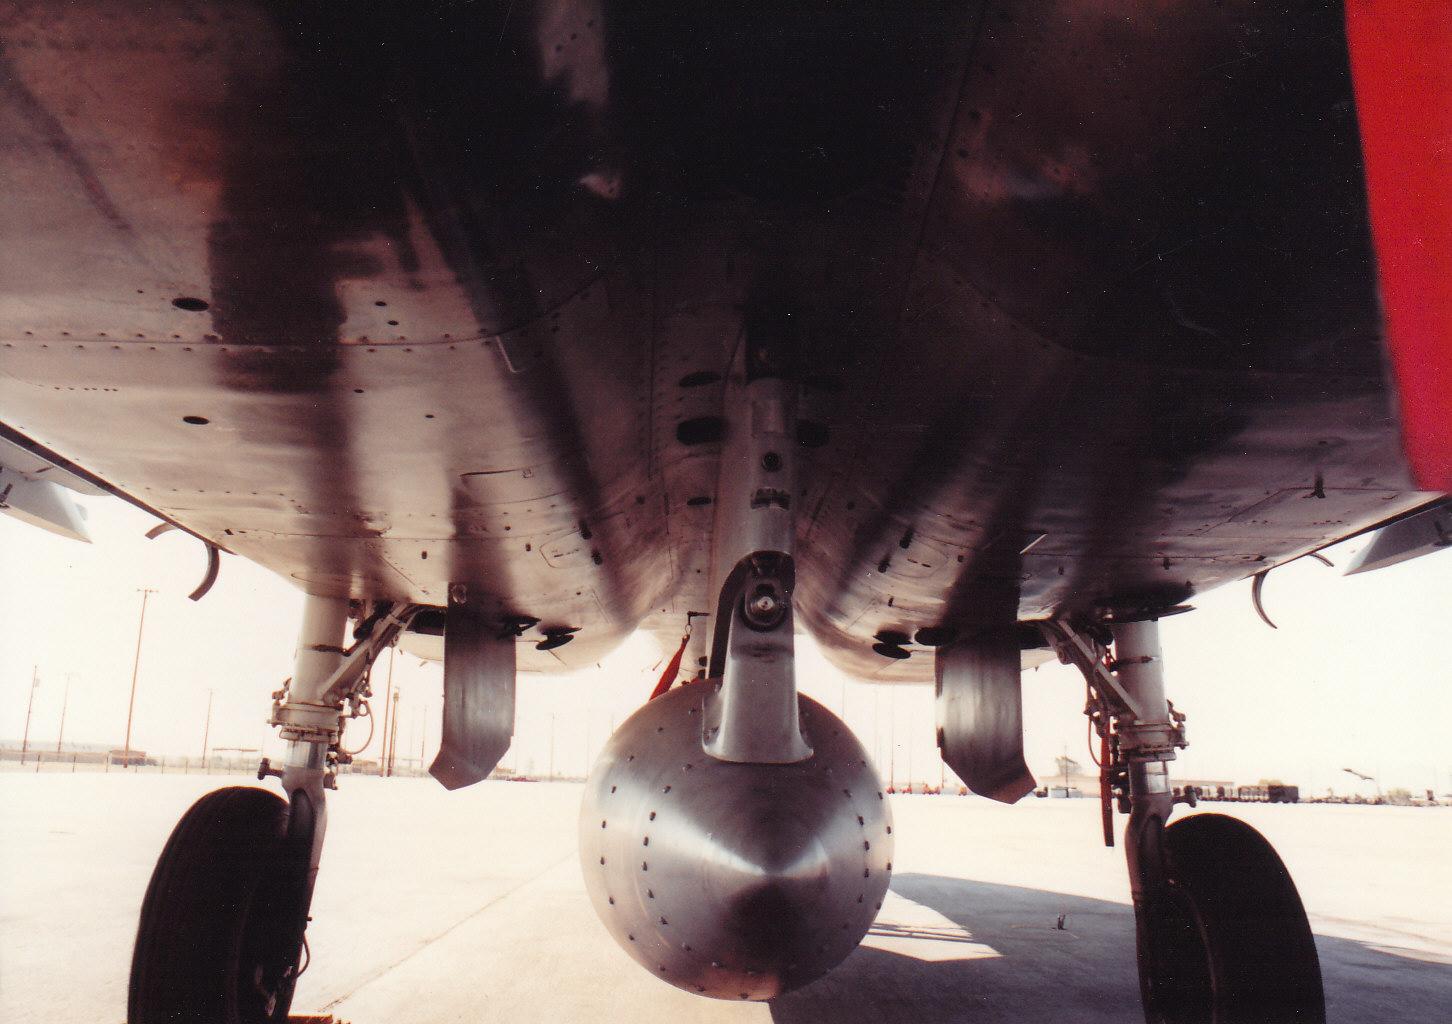
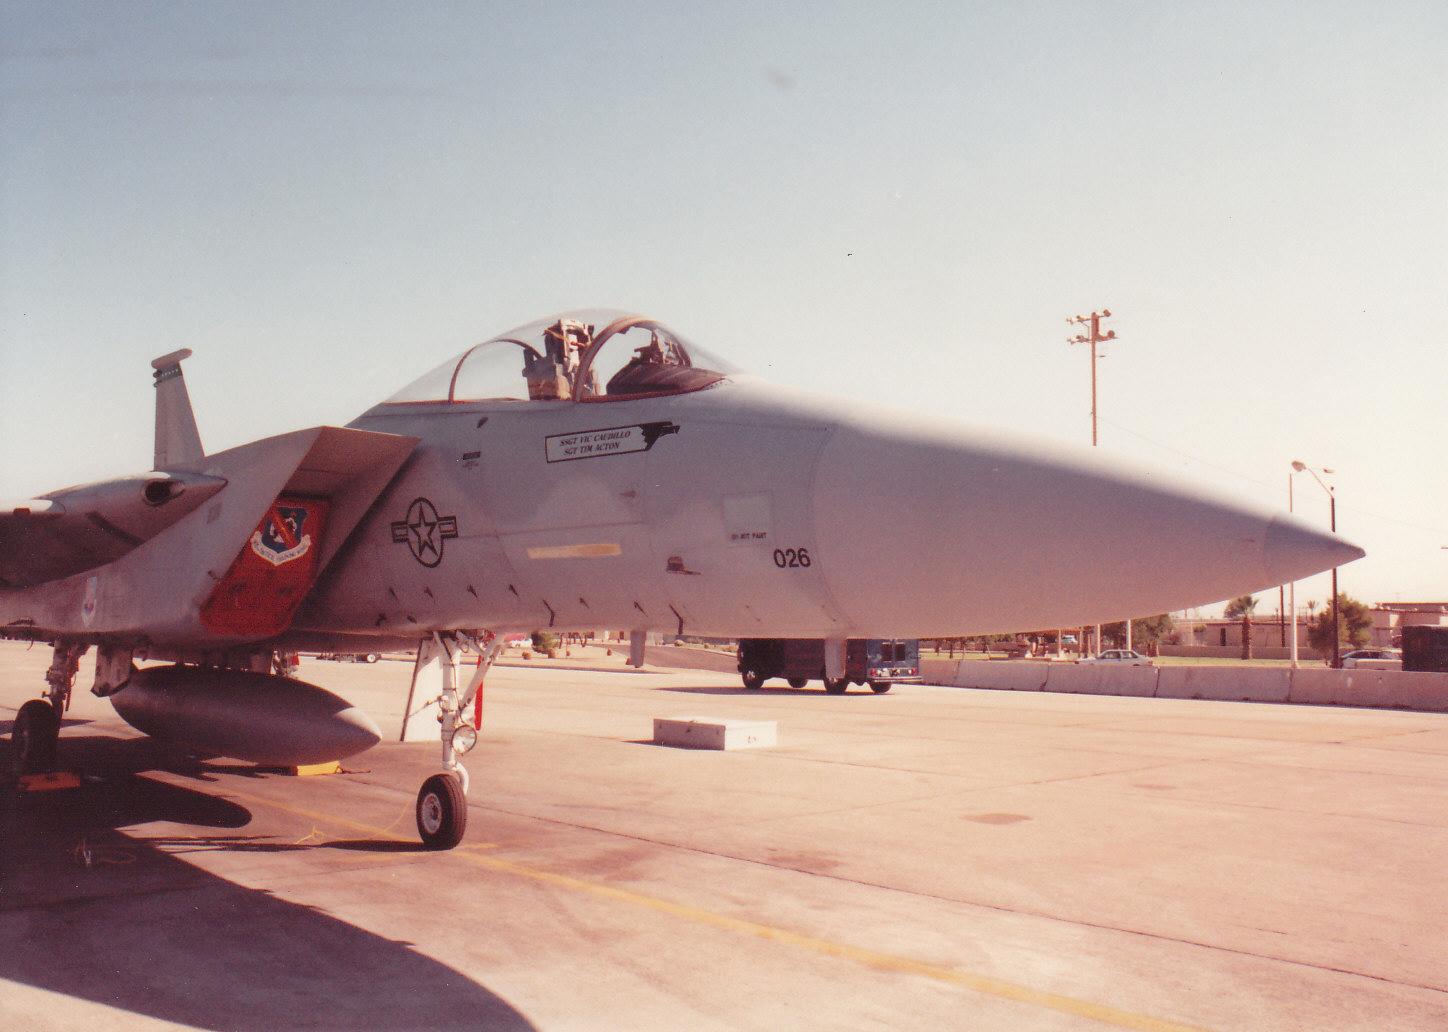
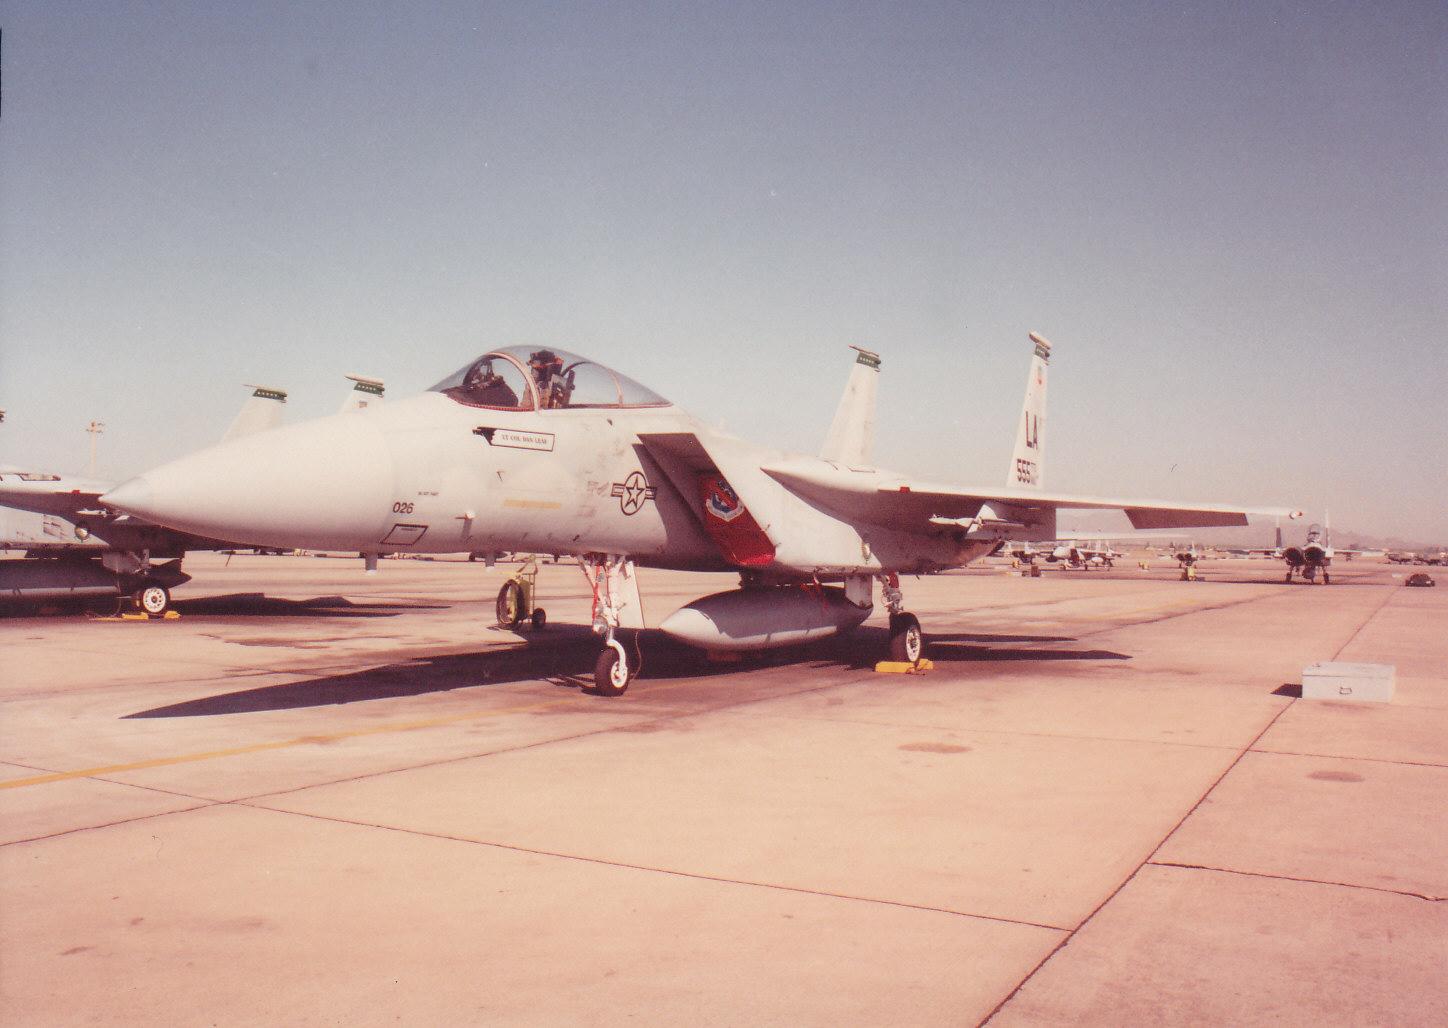
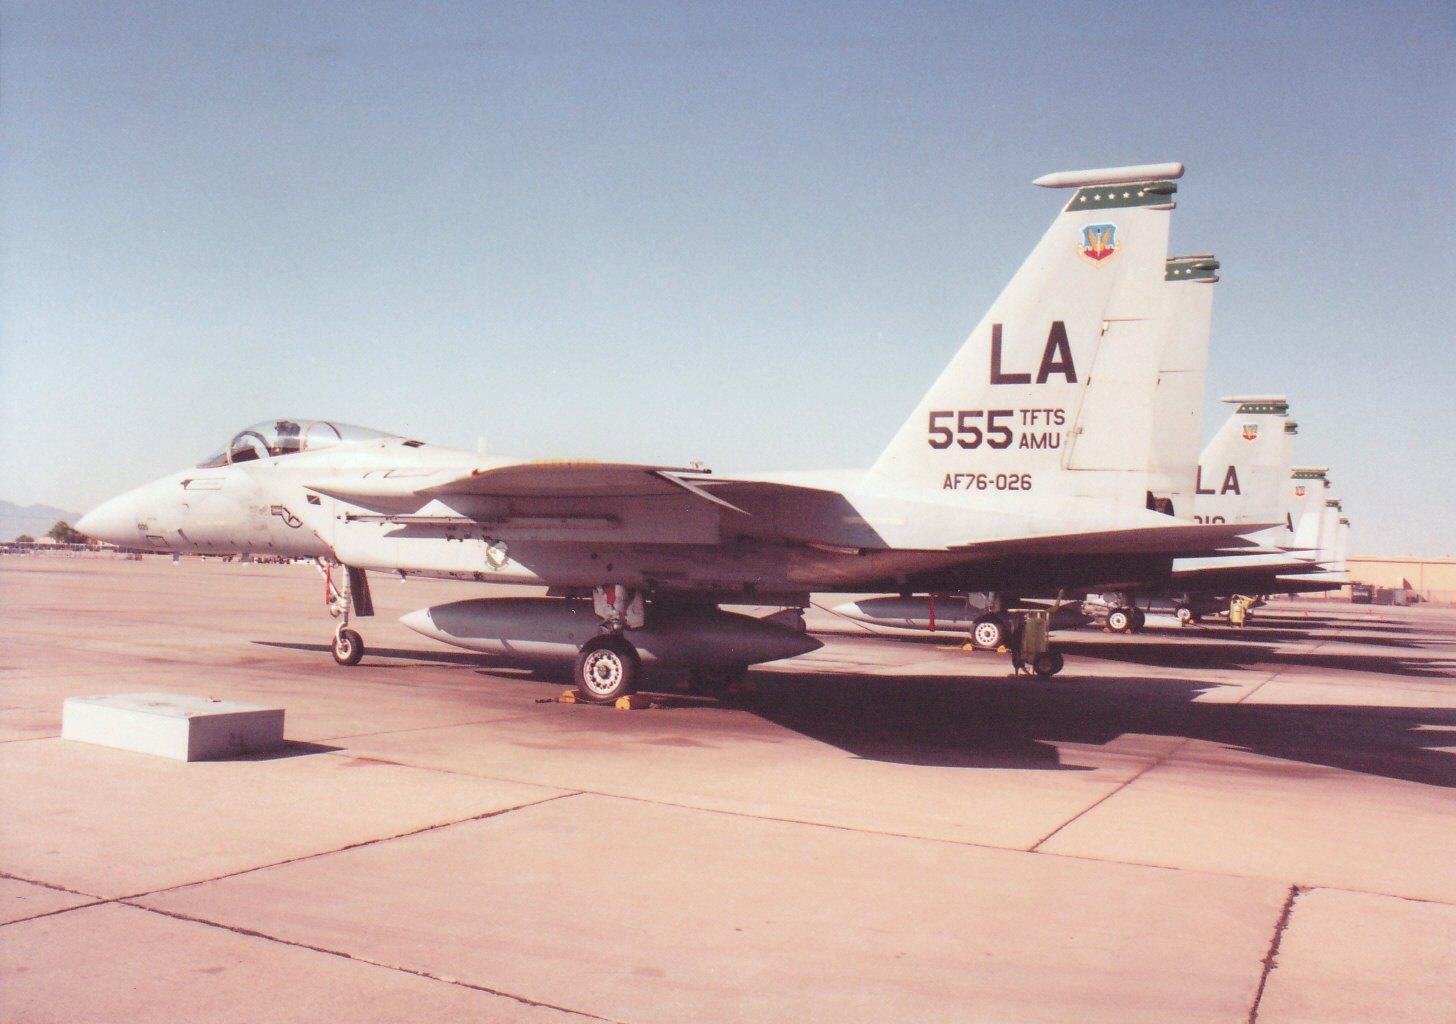
So if this is not the best of models, and is so vintage, why build it. The answer is easy. This is a commissioned build and my customer wanted this exact model built. Also, it is probably one of the best options for an early "A" model build, unless you want to build the old Monogram/Revell kits with raised panel lines and many fit issues. In the future it may be easier to use a more modern "C" model kit and convert it to an early "A" model. The customer worked on F-15A's as a weapons specialist during the 80's at Luke Airforce Base. He sent me pictures of the exact bird he worked on and wants the build to match those pictures exactly. It is a bird assigned to the 555th. It will be part of a "hot turn-around" flight line diorama. I have included the pictures of the exact bird being modeled supplied from the customers personal collection.
More pictures to come as I complete this complex project. I hope you enjoy the build article and pictures and please provide any suggestions, and/or feedback.


This is looking really good Paul. Looking forward to the final product.
Fantastic detail in the interior. Can't wait to see the finished product.
Coming along nicely!
Yep...what they said ! 🙂
Nice looking Eagle taking shape - excellent write up, too!
Thanx for the comments, appreciate it!
Paul, I picked up that kit a couple years ago and have the same comments about the fuselage seams you had. You fix the seam, you lose the detail. Bummer !. When I finally accepted I'd lose the fine panel detail along the sides of the fuselage I found a constant problem of cracking the same seam while handling it. I solved that problem finally by going to another model, and putting this one back in the box for a while (model time-out,) I will probably return to it someday. But for now I will cheer you on, and see how yours comes out.
I had the seam come apart on a small section but repaired quickly w/o further incident. I dont put to much pressure on the seam. I used Tamiya Thin glue. What have u tried? U should take the kit out again soon and give it a go. Really not bad once u get past some of those points. If I was to build this again I may try to go with a resin cockpit upgrade. I have not found one for this exact kit but maybe another version will fit with some modifications?
How can you make any kit look good? My son build this same kit. Found it at a garage sale. He actually had it looking pretty good until he set it down and ran to the basement to get something and forgot he set if on the floor—and promptly stepped on it and broke it in half. Kinda stalled his model building for about six months.
Word to the wise—keep it on the bench, not the floor;)
Tell your son "sorry"! Been there, Did That. Started when I was 10 so I have made every mistake a 100 times since then. The great news is that he is making models! That is so awesome and I am jealous of you. This is b/c I have a 15 year old with little to no interests in model making. I tried for years to get him into it. There was a time he at least played with the models I built for him but lost interest in building anything.
The best screw up I made is wanting the paint to dry on a race car so put it in my moms oven and turned up the heat. Dont need to share what the result was...LOL! Tell him that one.
I built this kit when I was a kid (no pun intended). I put it next to a Revell Eagle of the same scale and it looked so much better.
Paul, could you share some pictures of the box? I think I remember a box art of a Strike Eagle with every panel in its original metal colour.
The Strike Eagle Box top I think is from an old Revell Strike Eagle Model
I still think the Tamiya F-15 is the best single seat Eagle. It goes together very will, it doesn't have a separate nose section, the detail is very good despite it's age AND with just a minimal amout of work can be easily update to today's standards.