Monogram 1/48th FW-190: Almost out-of-the-box
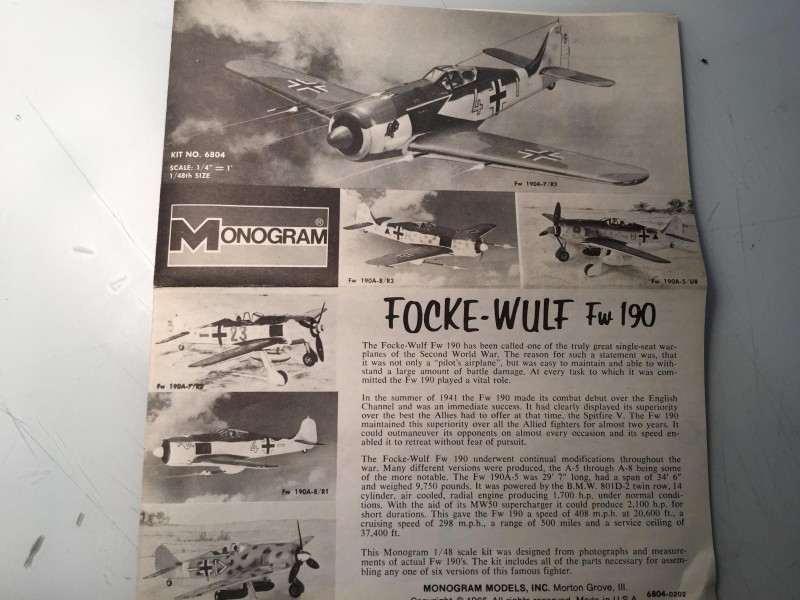
I wanted to do something relaxing, so I grabbed this old Monogram FW-190 from the stash in my garage. It also fits my keep-it-simple modeling philosophy. My plan is to build it mostly out-of-the-box and just concentrate on a decent build and finish. I'm not doing a lot of research on exact paint colors and so on, I plan to use what I have on hand that is close to the colors required. I saw that Revell/Monogram have recently released this kit again. The consensus among my modeling friends is that it is better to build the older kit since it was made before the molds became worn and produced parts with lots of flash. I don't know how true that is, but I can tell you that the parts in this old kit are all essentially "flashless". The inside of the fuselage reveals the age of the molds.
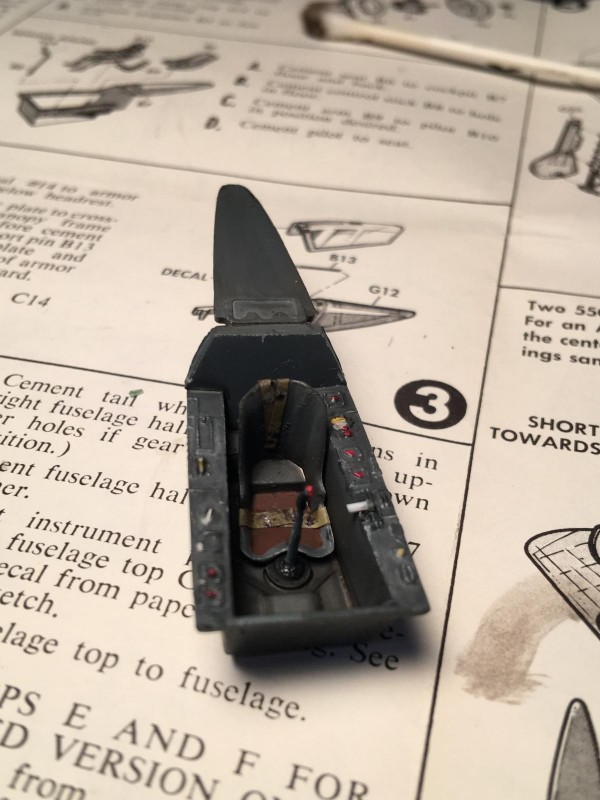
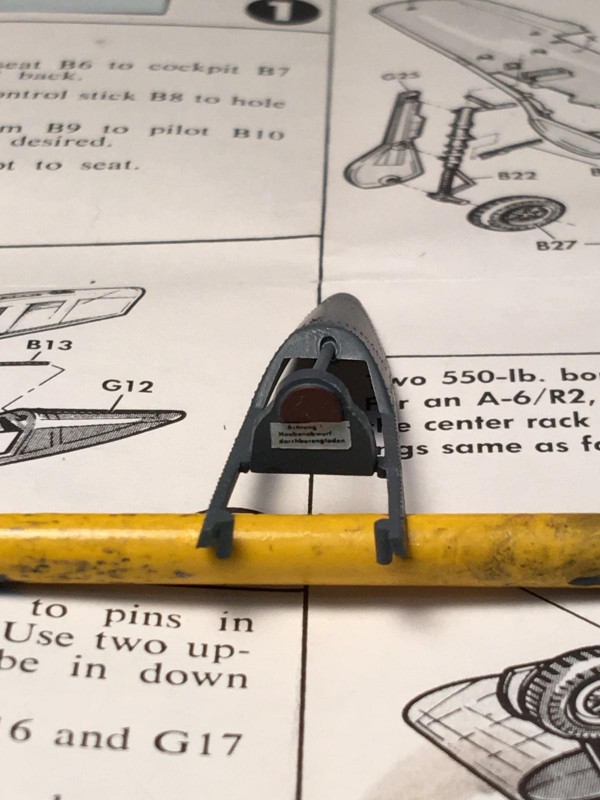
The instructions are in that clear style that seems to be typical of most Monogram & Revell kits. As usual, the build starts with the cockpit, which consists of only three parts. I added a small piece of plastic rod to represent the throttle handle, which is fairly prominent in cockpit pictures. Seatbelts are courtesy of some painted Tamiya tape and a black fine-line art pen.
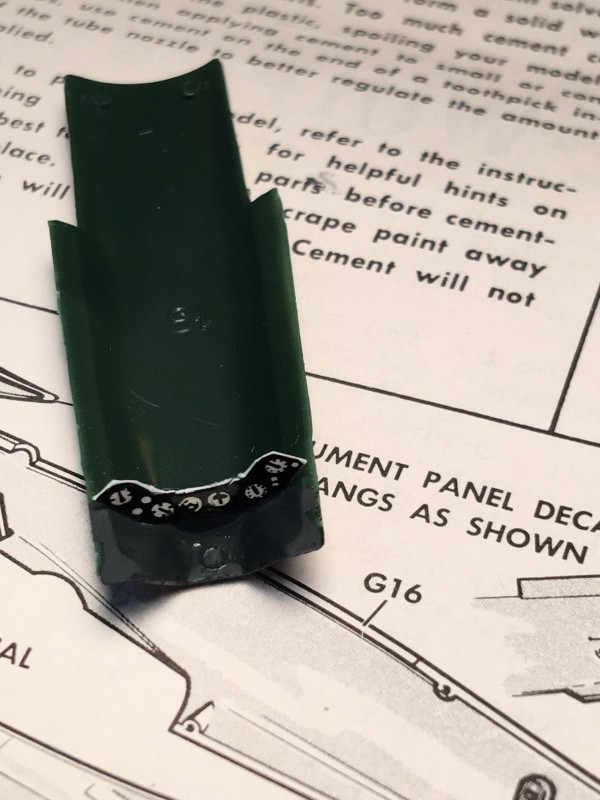
I used the instrument panel from the kit's decal sheet, and glued it in place.
Having a good look at the kit decals, which look a little suspect, I have decided to order a set of decals from Hannant's. Aside from the instrument panel, which is used paper backing and all, the only kit decal I plan to use is the small warning sign just below the headrest.
This kit will make several versions of the FW-190, so I plan to build only to the point where I will need to decide which version I will build. Once the decals show up and I decide on a version, then I can add those version-specific parts to the build.
I hope to post some more in-progress photos as I go. So, until then, cheers.
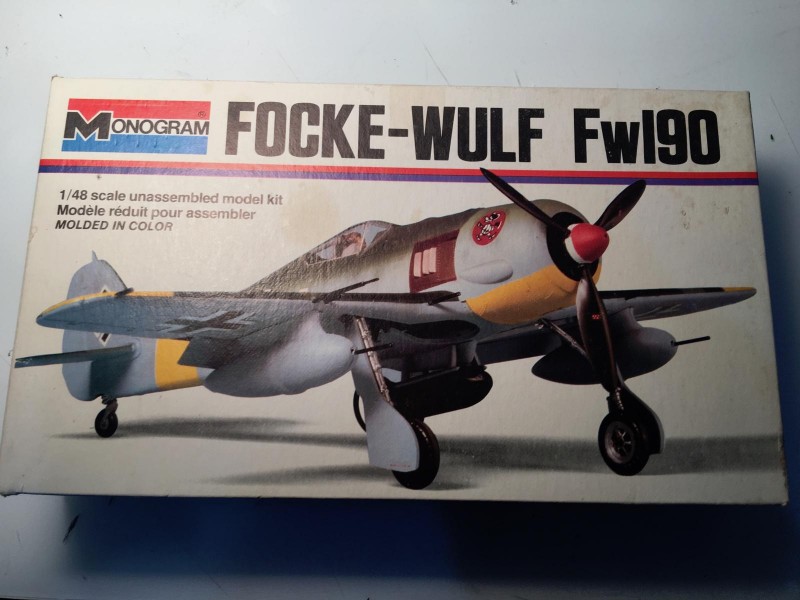
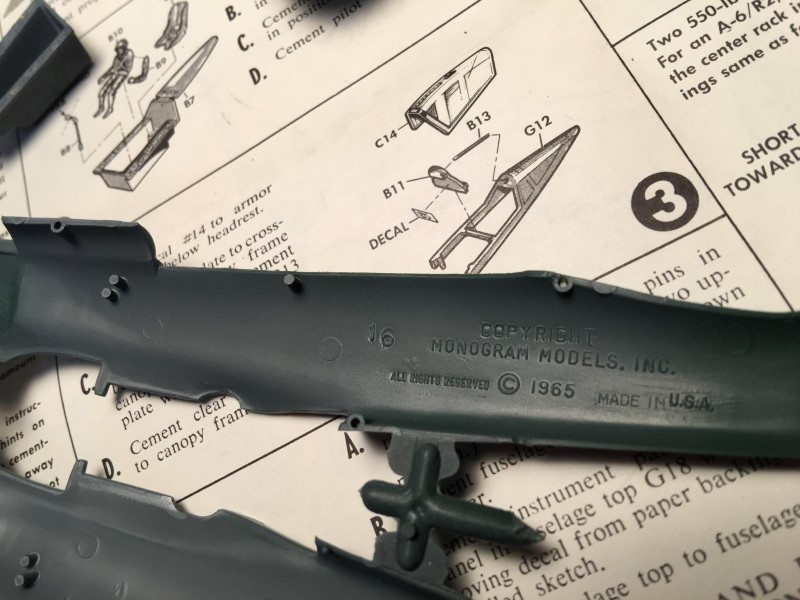
I think this is the only Monogram 1:48 kit I didn't purchase. I've always cursed Monogram for leaving their mark in conspicuous locations. The worst was in a wheel well amongst ribbing. It looks like the tub will cover this one. Looking forward to the build
You are right. But as I have gotten older, I sometimes find it is fun to leave the marks and just paint over them so I have a reminder of just how old these kits really are. At least the marks are on the underside of the model.
I love the philosophy of building something ‘almost’ out of the box. Reminds me of the old saying that ‘the road to hell is paved by good intentions’.
1965...a gallon of regular gas cost 31 cents. Julie Andrews won an Oscar for Mary Poppins. First Australian troops landed in Vietnam. Beatles played the first stadium concert at Shea. First Tom and Jerry cartoon premiered.
Looking great, George. Love those old kits.
‘Liked’
I remember building this one ! The same boxing as yours. Mine was Re boxed in the Mid 1970’s going from memory... I’d really like to see you post a few pictures of the finished plane.
What a trip down memory lane. Monogram and Revell kits... they led the way back then.
“Liked”
Can't beat those 'old' Monogram kits...like Louis said, they were tops back in the day.
Thanks everyone. I am in the midst of a couple of rounds of surgery, but it shouldn't interfere too much with modeling. I will continue to build until the decals arrive from England & I can decide which version to build. I plan to post some updates along the way. David, you are a connoisseur of the past, in 1965 I was in high school (I think it is called secondary school in the UK). Louis & Craig, you are right about the old Monogram & Revell kits. I find myself building more and more of the old kits, perhaps more for nostalgia than anything else. I think we all cut our teeth on them. :o)
Right now I have one of the Monogram B-25 kits and one of their B-24's on the work bench...both are 1/48 scale. It's like meeting an old friend again that you haven't seen in a long while.
Beautiful! Love the old Monogram kits!
Looks like a fun project George. It's amazing how a nice paint job and some decent decals can really make those old Monogram kits shine. I'm currently trying to complete their old T-6 Texan kit but life keeps getting in the way of completion. Have fun with his project George.
Quick update:
I started on the fuselage, which is designed so that you can build the fuselage and add the cockpit later. Although there was no flash to cleanup, I discovered that the fuselage was horribly warped.
I guess a few decades in a hot garage didn't do the castings any favors. Luckily, the plastic is thin & pulled together nicely with some masking tape and glue. As the fuselage solidified, I started on the wings. There are flashed-over holes in the wings that must be opened, depending on the version you plan to build. I wanted a clean aircraft, regardless of the version, so no holes to open for bombs or gun packs. I discovered that one of the wings had a marked bend in it, along with a twist. Once again, no flash, but some work will be needed to straighten everything out. I think this will be a task for later.
brings back great memories. I fondly rembember this kit, the P-38 and the Mosquito all had multiple options and just thought it was the coolest thing. Different that the other Monogram kits at the time (Spitfire, Helldiver come to mind) that had all fun operating landing gear, folding wings, etc. These had pretty darn good details, and oh those options.. Felt like serious modeling 🙂 big fan of these. of course later they came out with even more 'state of the art' type kits, but for me these are a high point in Monogram's product line
Nice! I've got one that's kitted with a Sherman tank ,Auroras old mold, maybe It's time to give it a go.
Do it Robert. Go for it ...
Quick update. After unsuccessfully attempting to straighten the wings, I decided to buy one of the newly released Revell FW-190 kits. Several of my modeling colleagues said that the new release was inferior to the old molds because the molds had become worn over the years and produced parts with a lot of flash. I found the newly released kit was well-molded with straight wings and fuselage, and no flash in sight. I decided to dump the warped parts on this build, so the fuselage and wings were quickly replaced with the new parts. I mated the wings and the fuselage, finding that a good deal of filler and sanding will be required. This was not unexpected. This kit is designed to build a number of different versions, and one of your tasks is to decide which version you will build. The wings include molded-on machine guns/cannons and pitot tubes in all of the various locations for the different versions. So once you decide which version to build you will need to cut off the unneeded parts. I decided to use some decals by Techmod for a FW-190F-8, which I should be able to piece together using the options in the kit. More info will follow as I make some more progress.
6 attached images. Click to enlarge.
1. Fuselage was more narrow than the upper cowling piece. Dividers held everything in line until the glue set.
1. Large step covered with some putty. I think partially my fault.
2. I'm sure this is what the wheel wells look like on the real airplane.
1. I'm thinking about this version.
1. Starting to come together
1. You need to decide which version to build and delete the stuff that doesn't belong.
1. Interior from original kit, added to new release wings & fuselage.
Finally finished this project today. Real life 1:1 keeps getting in the way. No real problems.
Decided to paint the tail stripes rather than use the decal, since it always leaves some unpainted areas at the end of tail that need to be covered with matching paint. If I had been a little less free with the the colors later priming and masking would have been easier.
1. Decided to mask the tail stripes. It turns out they were the exact width of the narrow Tamiya tape.
1. Decided to paint the tail stripes rather than use the decal. If I had been a little less free with the tail colors later masking would have been easier.
My local hobby shop only had the required camo colors in Vallejo Air. In the past I have never been able to get a good feather on the camouflage colors with Vallejo Air. With great trepidation, I began spraying on the various colors. When it was time to feather the camouflage colors, I again had problems. No amount of thinning, changing air pressure, moving closer or farther from the model seemed to help. I also tried some relaxing music, as well as hugging and stroking the airbrush to make it feel better. Someplace in this process I noticed there were air bubbles coming out of the side of the airbrush. I discovered that the rubber o-ring in the brush had failed. I didn't have a spare o-ring, but I did have one that would fit. I changed the rings, and everything seemed to work fine. Problem solved until I can get a replacement o-ring.
I had a little problem with the paint on the tail. In the past, I have had the Tamiya clear gloss "melt" some of the previous paint layers. This has only happened when I spray Tamiya clear gloss over a gloss Tamiya color. This time, it was the gloss green I used to paint the bottom stripe on the tail. Everything else was fine. I have tried misting the first few coats on and a few other variations, but it still "melted" the green. But it only affected the green on one side. The obvious answer is to use a different paint or a different gloss, but it happens so rarely that I tend to forget from one misstep to the next.
Added a little weathering in the form of pastel chalk.
Now, on to the F-4 Phantom challenge.
6 additional images. Click to enlarge.
This Fw-190 sure turned out looking nice. George @gblair ! The unique markings set it off nicely. I prefer these older kits to the more modern complex kits of today. I do like the more modern aftermarket decals that are available to use though.
Hi Jay (@ssgt): You found a build for long ago. I also enjoy older kits, especially some of the later Monogram and Revell. I am always looking for unusual markings, and they worked well on this kit. Thanks for stopping by.