Airfix 1:48 Spitfire Mk.Vb
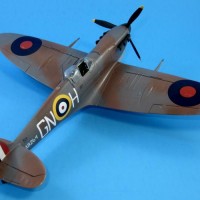
This aircraft was flown by Pilot Officer Robert W. "Buck" McNair D.S.O., D.F.C (2 Bars)(RCAF). No. 249 (Gold Coast) Sqn. at Ta' Qali, Malta, Mar. 1942. http://acesofww2.com/can/aces/mcnair/
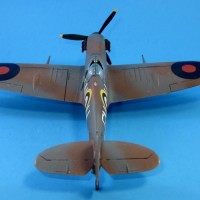
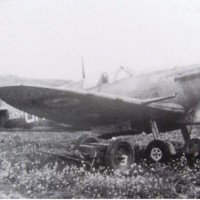
This is the newest Airfix boxing with all the issues that everyone else has posted about: fuel tank covering, landing gear, extreme tight fit of some parts, etc. For the fuel tank, I removed the locating tabs and sanded the bottom of the part. Within minutes I got it to a "close enough for me and it won't get any better fit". When the fuselage and innards were together I found that the instrument panel interfered with the fuel tank cover so I sanded down the top of the I.P. and reamed the bejaysus out of the inside of the fuel tank cover until I got a good fit. For the landing gear I drilled holes in the corresponding parts, inserted some stiff wire and CA'd it all together for a very strong bond. One of the things Airfix got wrong or at least I think they got wrong is the exhaust type for my option. They would have you use the exhaust with the heater tubes at the rear but looking at the photo of the actual aircraft, I can't see it. I found another Spitfire photo with the aircraft positioned identically and the tube is clearly seen. No other online builds mention this. All painting was done with Tamiya. The innards were painted XF-71 Cockpit Green and XF-69 Nato Black. The upper camo was done with XF-54 Dark Sea Grey, for the Dk. Earth I used a 50/50 mix of XF-64 Red Brown and XF-52 Flat Earth. The lower surface was done with XF-19 Sky Grey
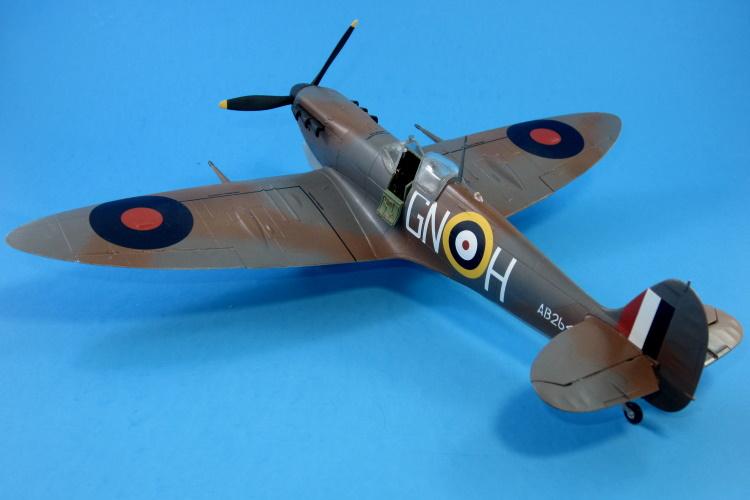
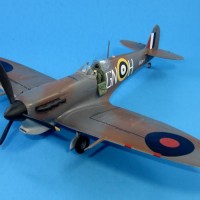
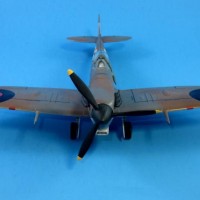
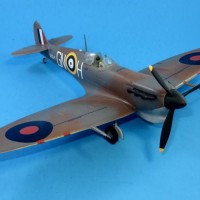
Nice presentation, George...good-lookin' build.
Thank you Craig
Good looking Spit George. I like it.
Thanks Tom
I’ve been put off by the landing gear in that kit. How did you handle the butt join struts? CA after painting?
I know what you mean, I still have their Mk.I to deal with as well. I drilled holes into each corresponding piece and then inserted a stiff piece of wire into the strut. As you say, I CA'd the strut in place. This gave me a surprisingly strong bond. These were pre-painted and were the last pieces I added
That turned out great!
Thank you John
Nice looking Spitfire, I’ve always been fond of those Malta defenders, got to try one sometime.
Thanks Pedro. I’ve also got the Italeri rebox of the Special Hobby Mk.Vc to be done as Beurling’s kite. According to Brett Green on Hyerscale, there are 12 minor alterations that can make the kit user friendly
Looks great, George. It's a great day to be a Spitfire fancier!
Thank you Jeff
Very well done George!
Much appreciated Dale
Nicely done George, the camouflage is well applied.
Thank you for sharing the pictures.
Thank you very much
Tail end Charlie...George, that is a prim and proper Airfix Spitfire. Very smart looking and photographed well. I like your comments about the landing gear too.
Two thumbs up on the modeling inspiration.
Many thanks Stephen
That's really nice George. Excellent work to bring the best out of the kit.
For those doing Airfix Spitfires, I just tried a trick John Healy suggested to me: put a tab of sheet plastic on the inside of the fuselage along the bottom of the area, cut off the locating pints on the fuel tank, and fit it to the tabs. Just worked like a charm on the most recent Spitfire XIV I am in the midst of.
Greatly appreciated Tom and thanks to John for the tip. I still have the Mk.I, Mk. XII and Seafire F.XVII in the stash
A real beauty, George!
Thank you Robert
Really nice looking Spitfire George. Some nice photos too.
Thanks Julian
that came out pretty good, nice work!
Thank you Ramon
Looks great!
Thanks Greg
Very nice build. Congrats mate
Thank you Paulo
McNair was C.O. of the RCAF base at Baden-Baden, where I was born when my dad was a met officer. Hope to do one of his Spitfires eventually.