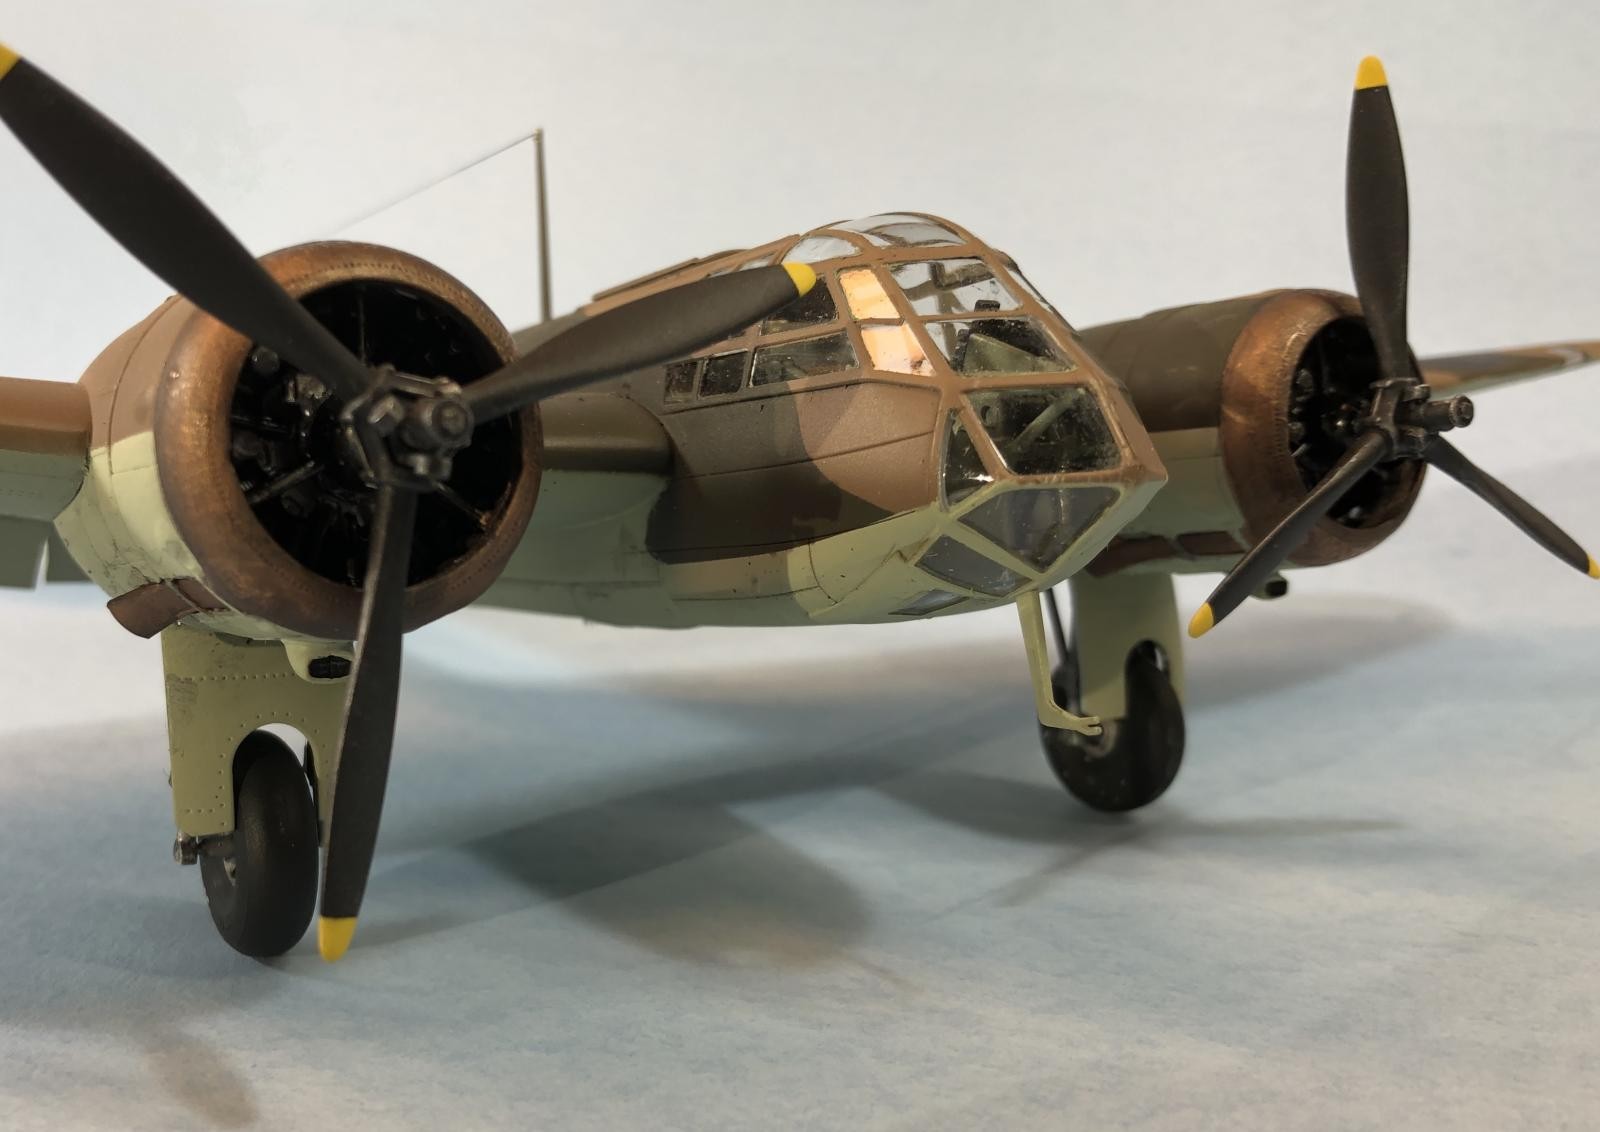
Airfix 1:48 Scale, Bristol Blenheim Mk.If
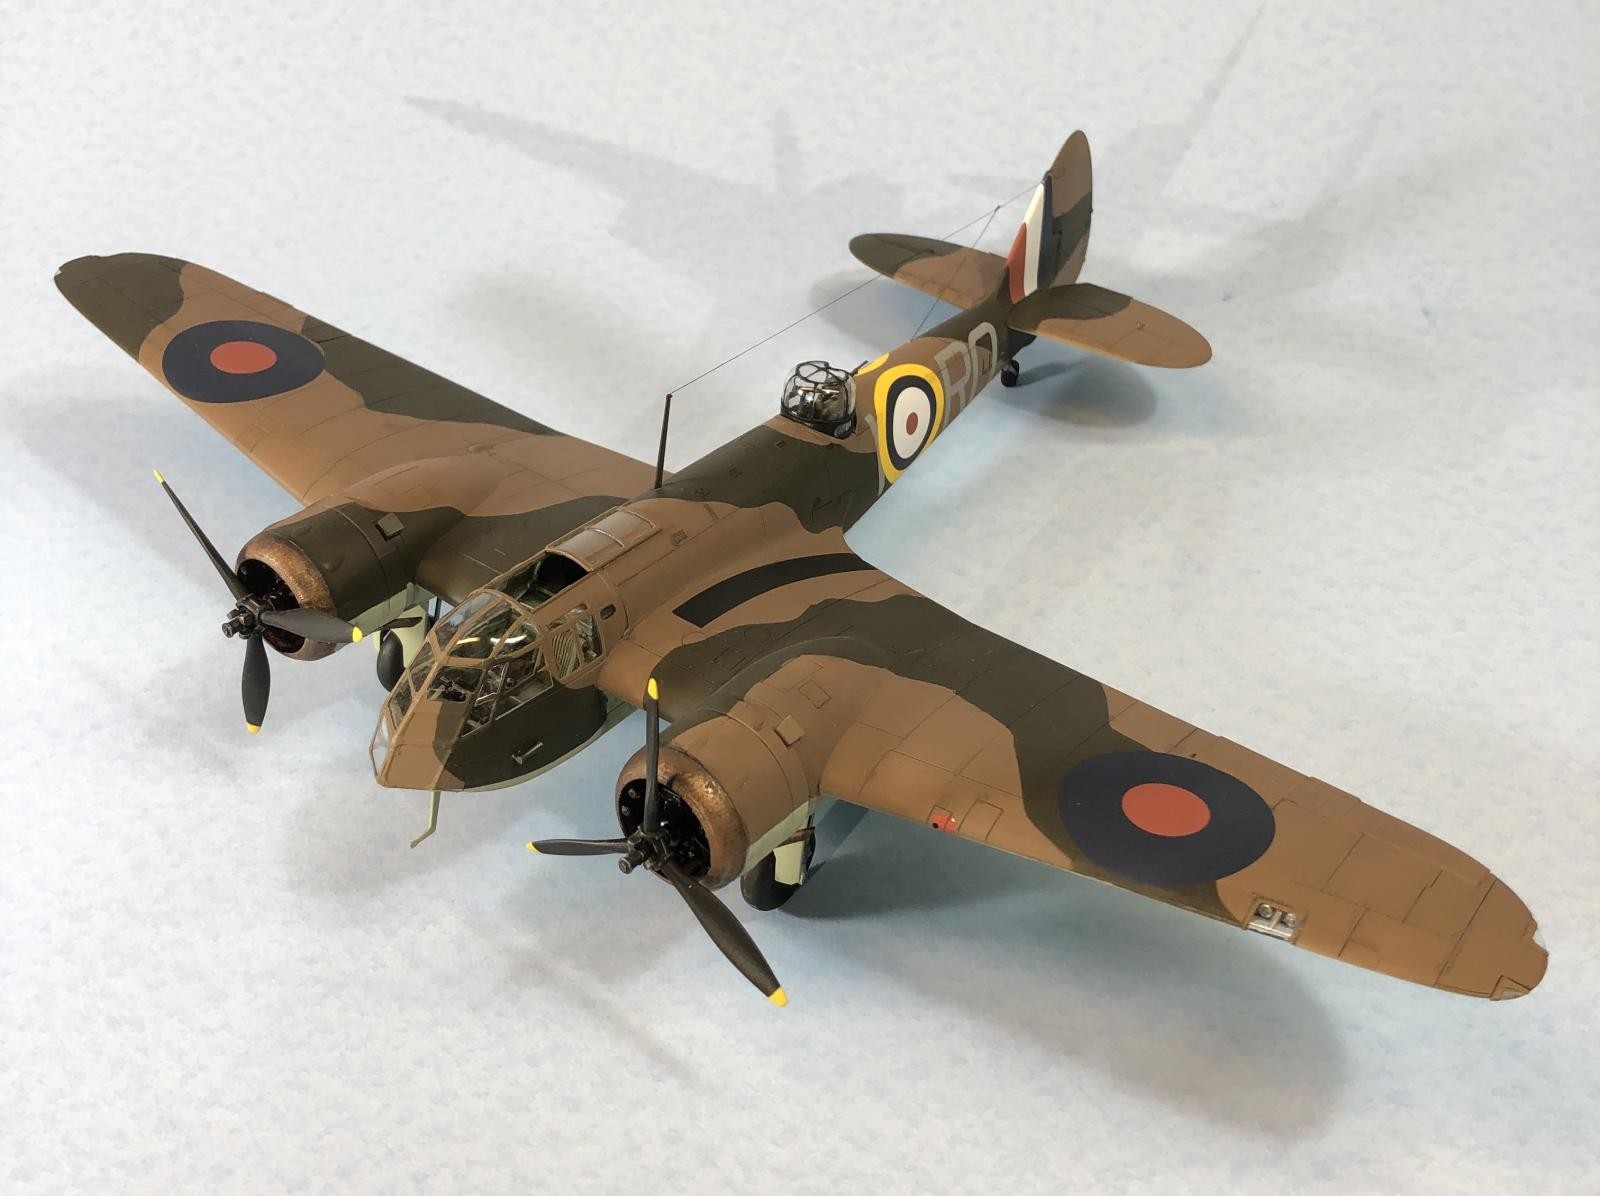
I just finished this one...loved the kit, and planning on a second in Desert Air Force livery.
On the whole, the kit was an interesting build. Went together well, without a lot of crying... very little putty... putty means sanding... sanding makes me cry...?
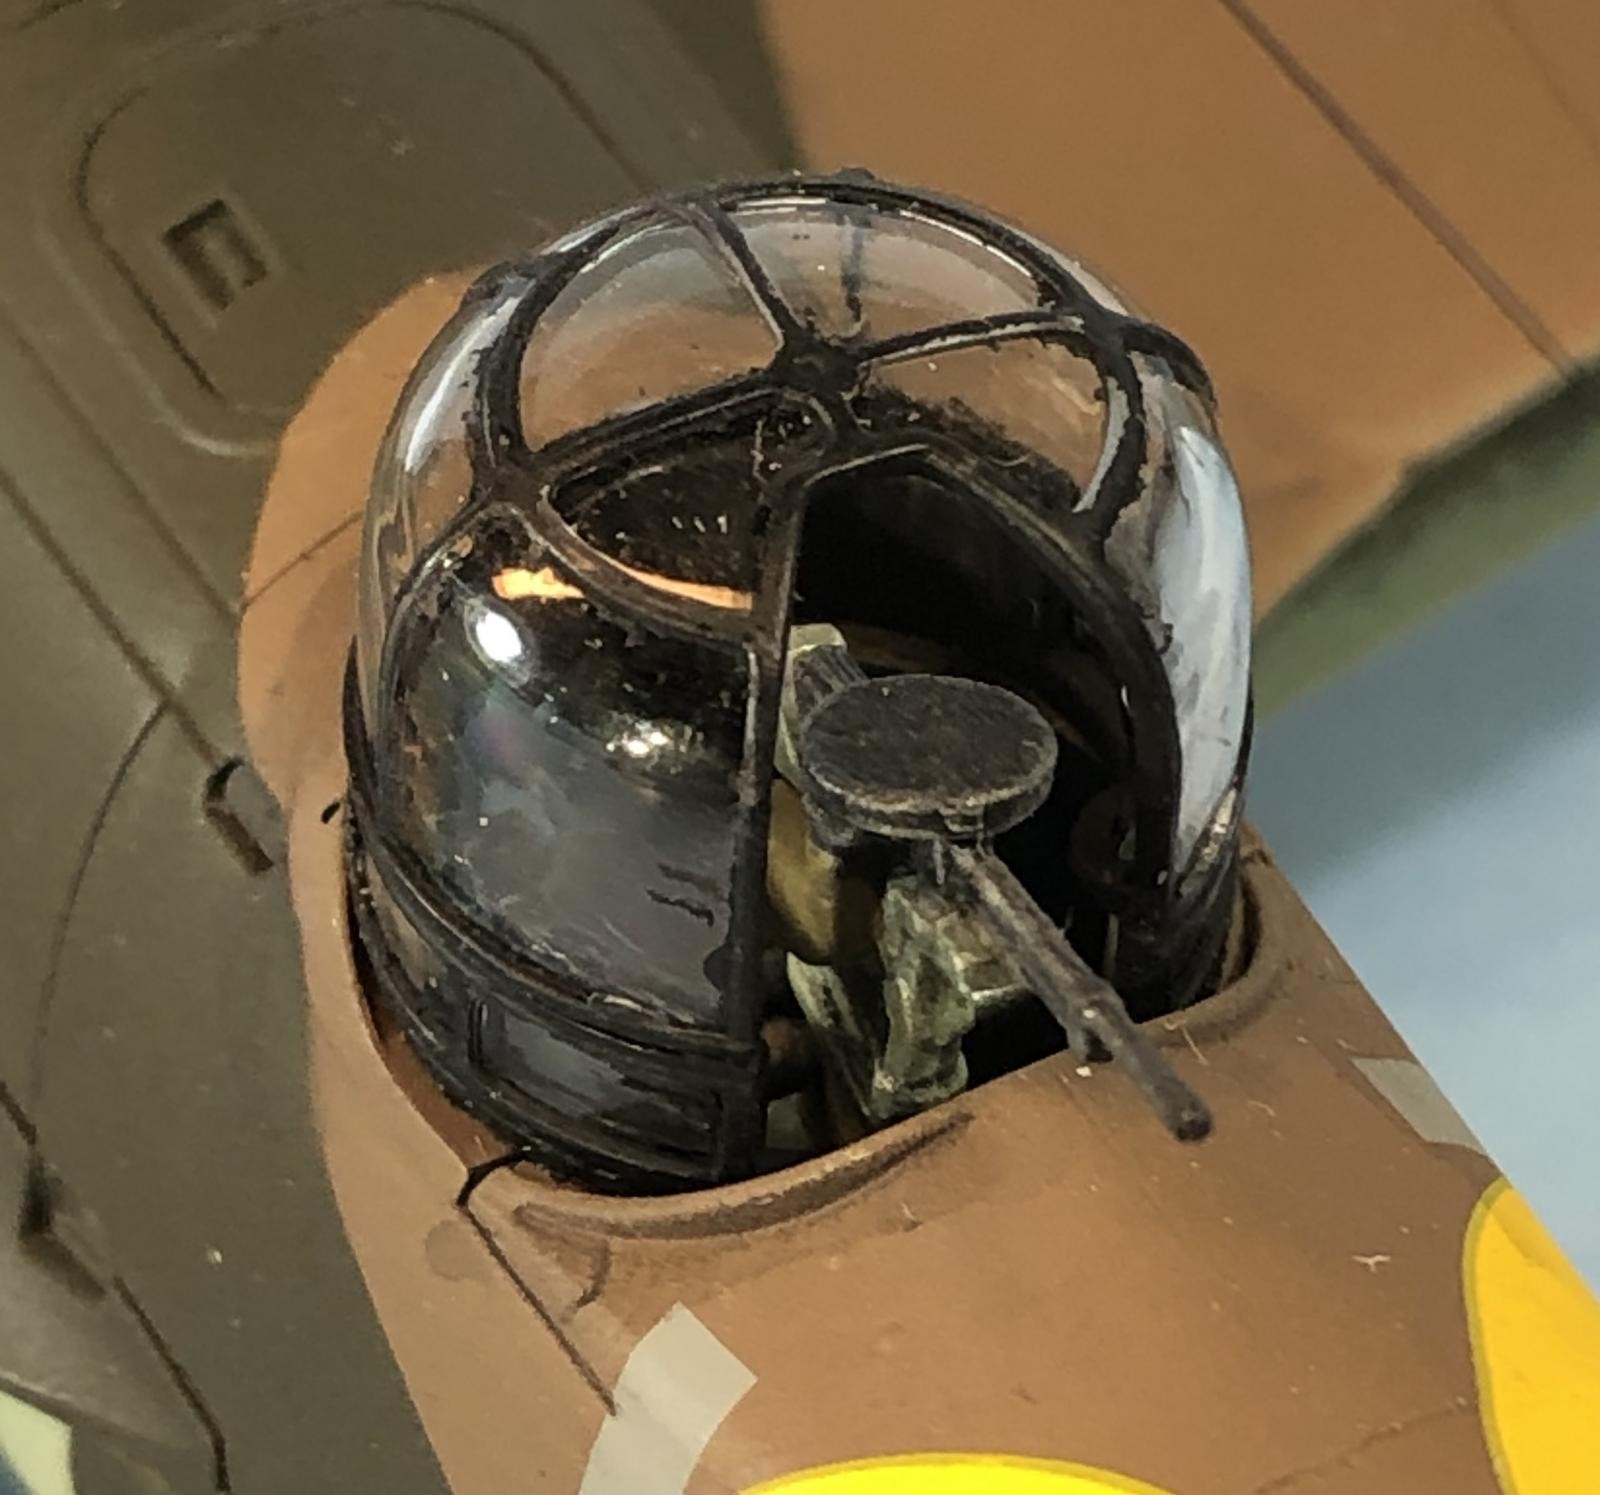
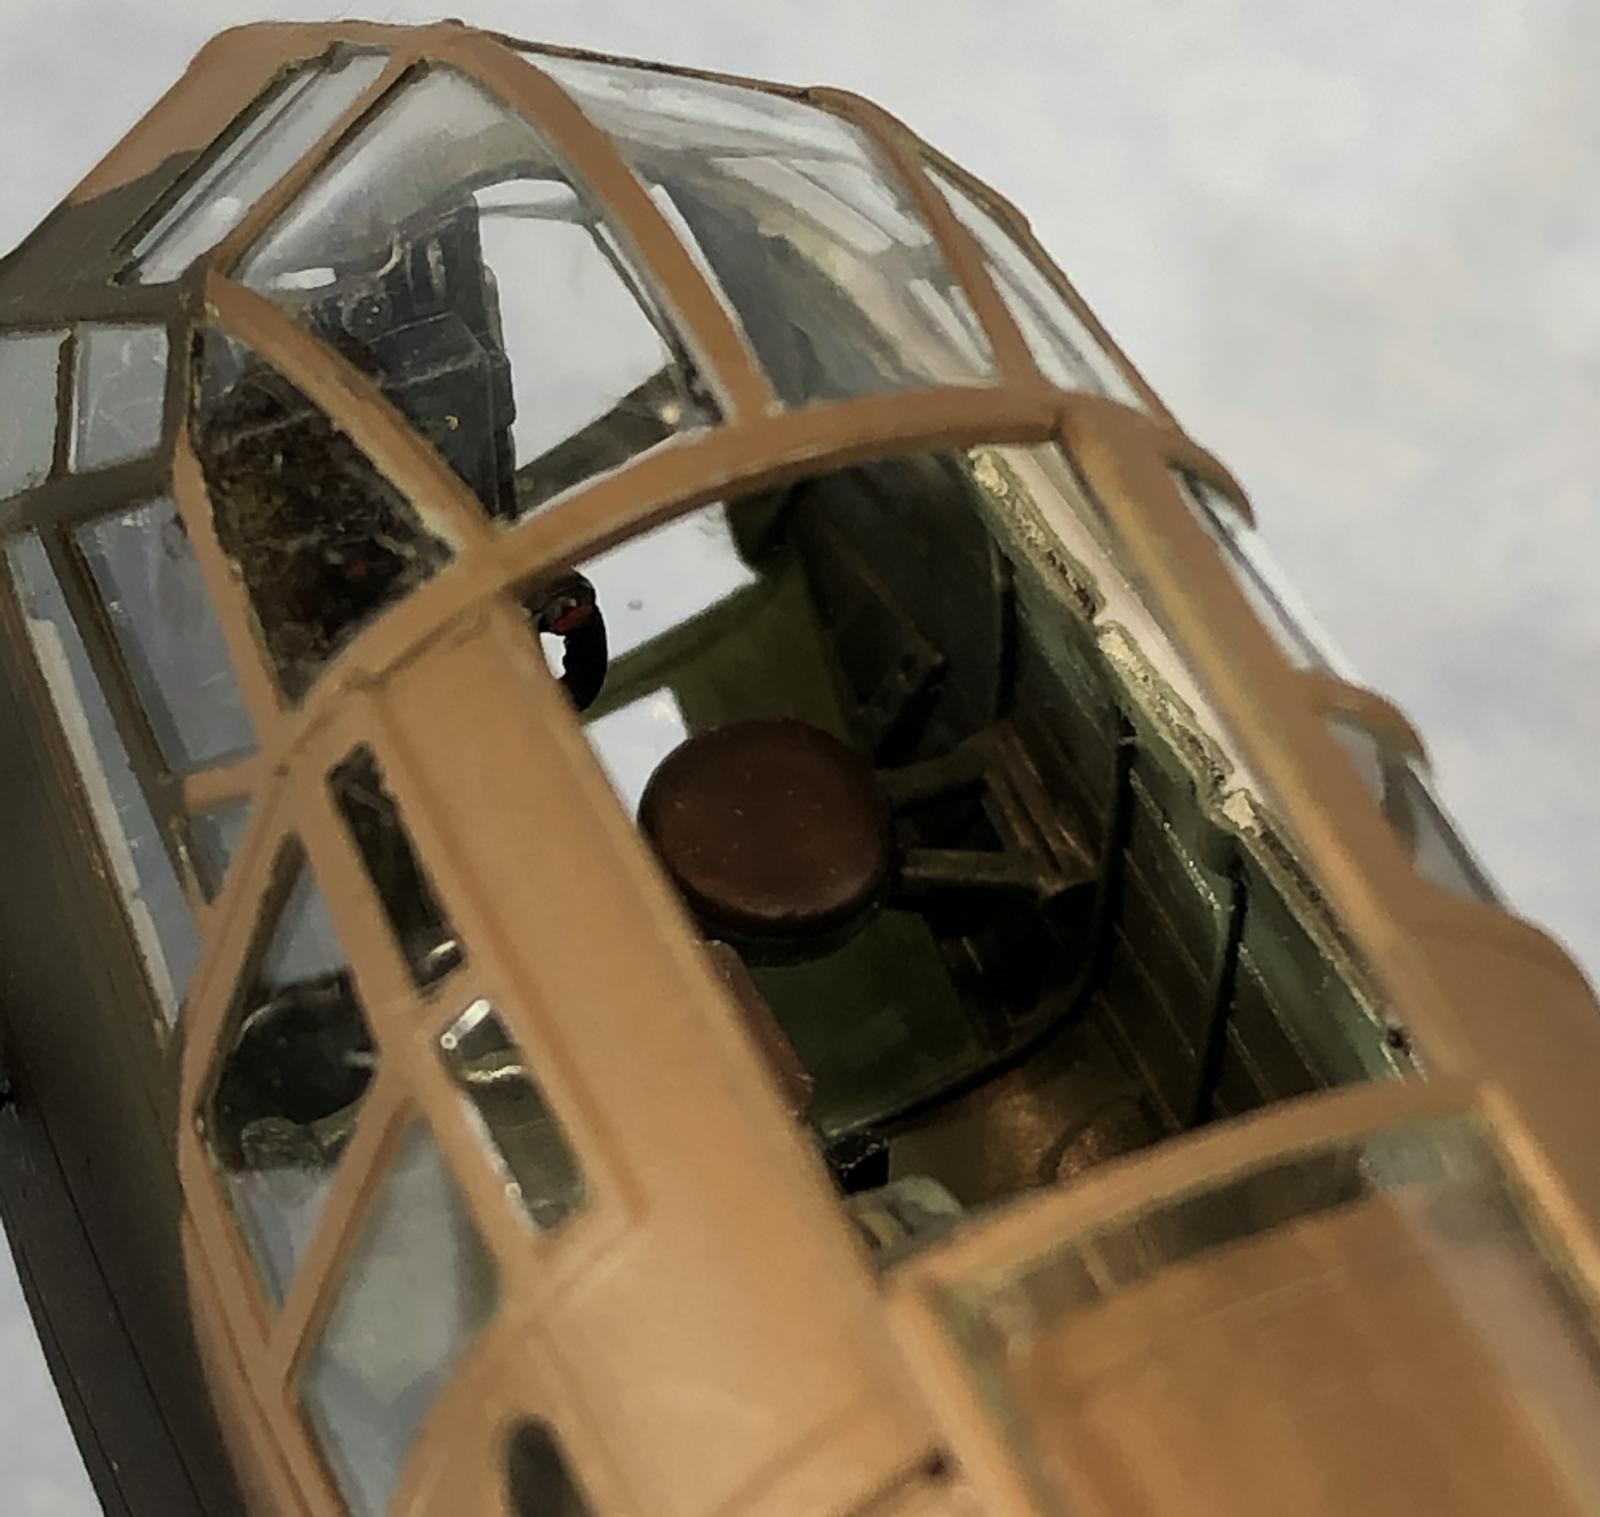
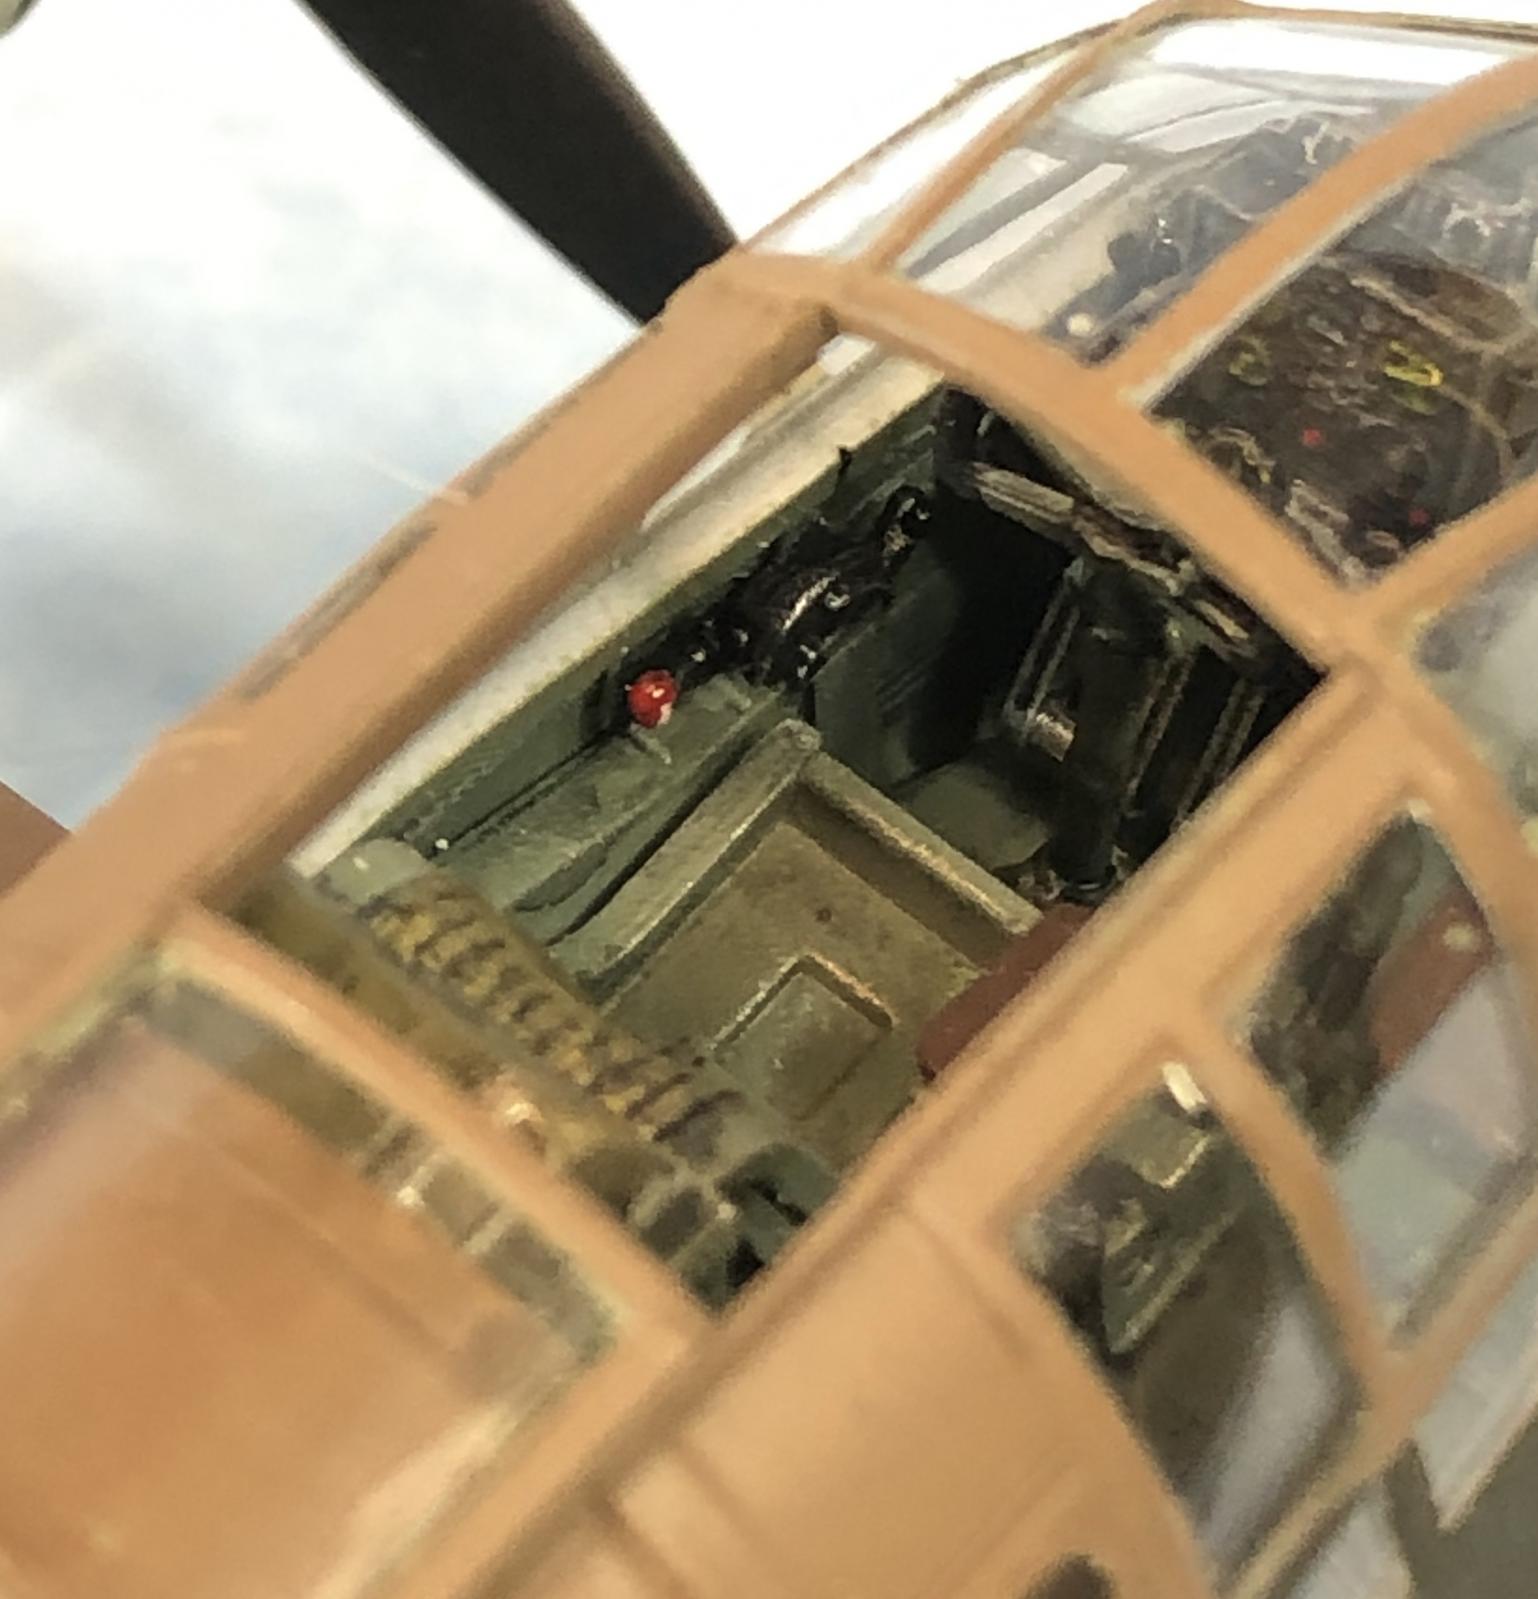
The detail in the cockpit and wheel bays was terrific. Fit is good, even the cockpit green house line up well. Looks like it'll be a pain in the rump, but it actually is not, and very well done.
Sorry I'm not more wordy in the description of my build of this kit, but then again that's me. Not really a wordy guy. Suffice to say, I loved the kit, it went together well, was a bit challenging at times, but not crazy. I absolutely recommend her, and will definitely build another.
Markings are for a machine assigned to No. 29 Squadron, and based at RAF Digby, UK, during June, 1940.
Paint is all custom mixed Tamiya acrylics, and decals are Xtracals.


Nice presentation, my friend...good to see ya back.
Thanks Craig. I've a couple getting close, so I'm around!
Great job. I want build one of these and add it to my Battle of Britain aircraft collection.
I followed you doing this over on FleeceBlock. Great result! You're right about this being a super nice kit and you made the most of it.
Now that Tamiya's come out with their RAF Dark Green, you mixture of that may be redundant, but that Dark Earth mixture is spot on. Any chance you could post the recipe?
Thanks Tom.
What I used for the Dark Earth, was this ratio:
5 parts XF-52 to one part XF-49.
Dark Green was this:
5 parts XF-62 to 1 part XF-61
Personally, I think the DG looks a little to OD, not green enough. I’ll have to look for the Tamiya DG at the LHS!
Nice job on this kit. Airfix is back with a vengeance and this kit proves it. Love those odd looking British airplanes.
Lovely job! Seems to be one of Airfix´s better kits
Thank you, Sir. The kit is really nice, Reinhard. And I believe it IS one of their better kits. The Hurricane is the better, in my opinion.
Every time I stumble at one of these Airfix Blenheim build articles makes me wonder just why I haven’t got one in the stash, they all look really good, so no doubt the kit is a splendid piece of plastic engineering. Frederick your model and the paint job are both amazing, thanks for posting
Sounds like you need to get your hands on one, Pedro! They are very well done.
Nicely done Frederick, really nice paint job on this kit. Glad to hear it's not impossible to build as well. Odd looking plane with all that green house in the nose but kind of pretty because of it.
Thanks Tom. Looks odd, yes, but what a view when airborne, no? Kit is a very nice build, has it's challenges, but still a fine model to build. The detail and engineering I think are really nice.
Not a wordy guy? A nerdy guy though. Blennie looks very good mate.
Thanks, Bill
"Nerdy guy" huh? well yeah, I'll wear that title with honor. I'm wagering that the "Nerdy Guy" title's ship has sailed for more than a few of us on here, no?
your work is always so fine
Looks great - nice clean build!
Great result!
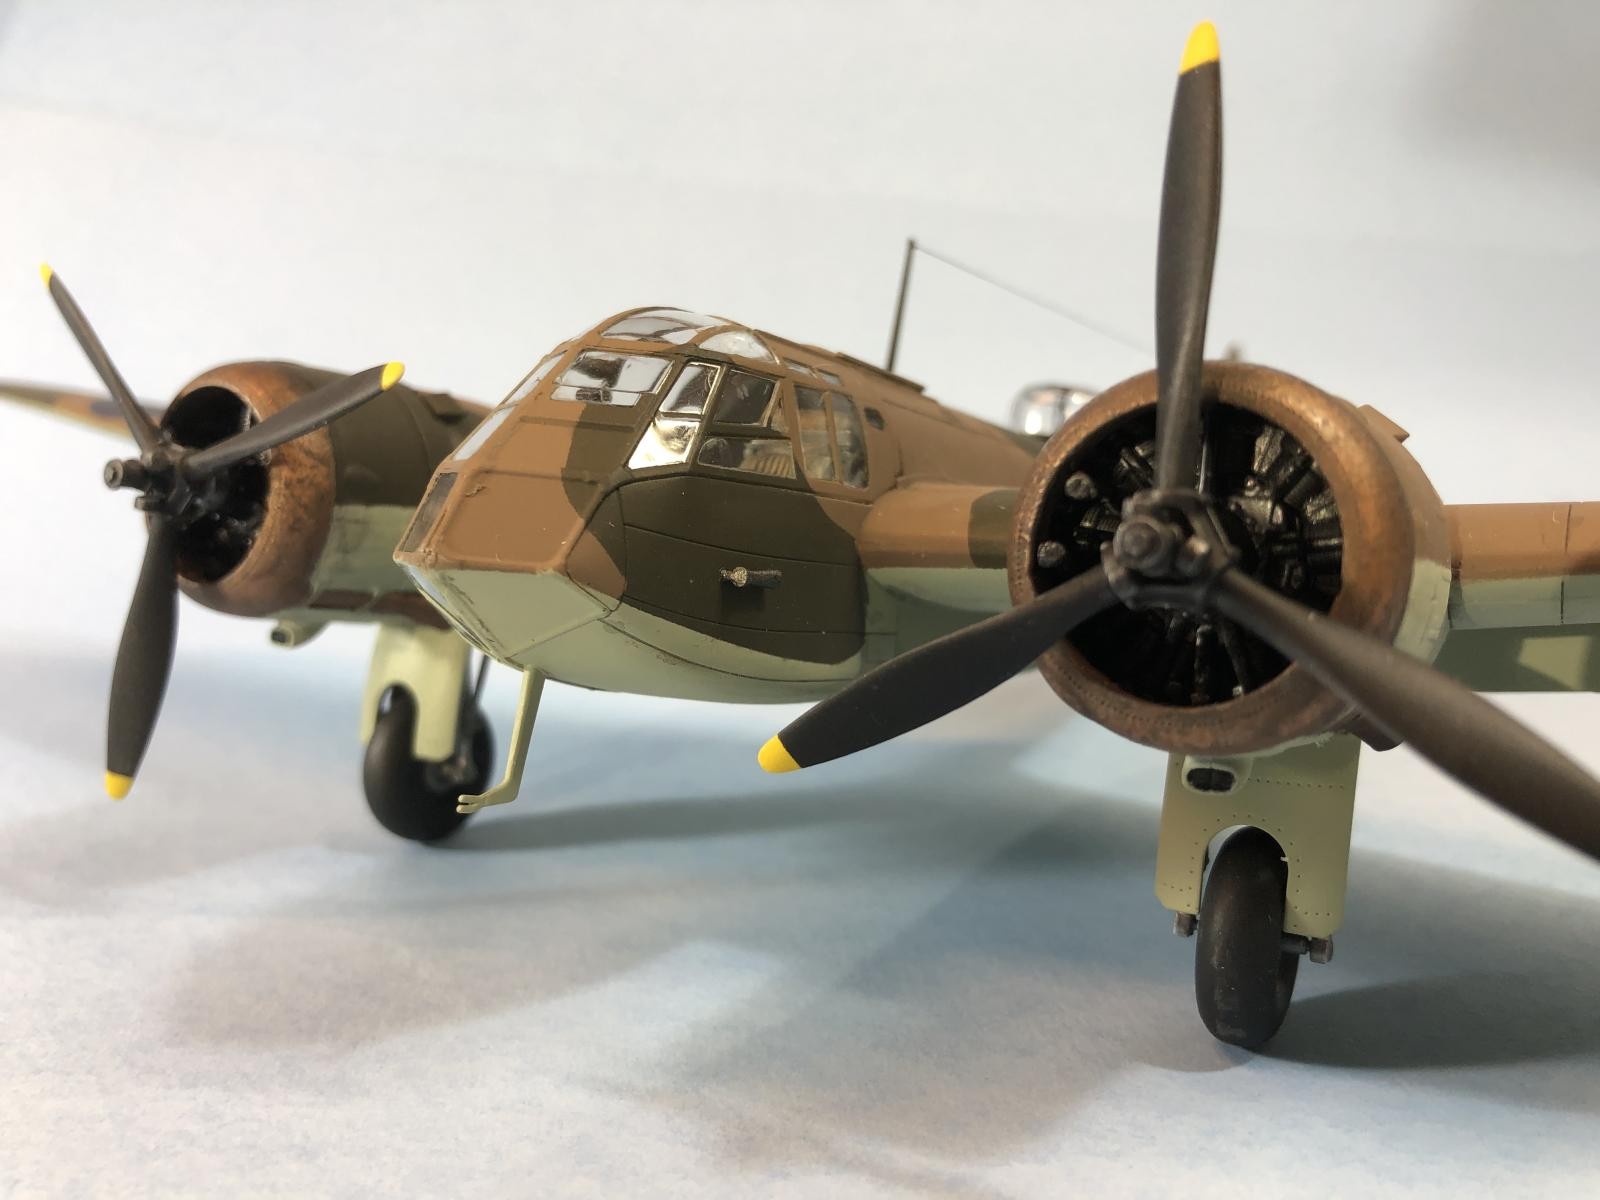
I also want to do this kit. My eyes are drawn immediately to the collector rings. How was that done?
It's a great kit, and I highly recommend that you do! 😉
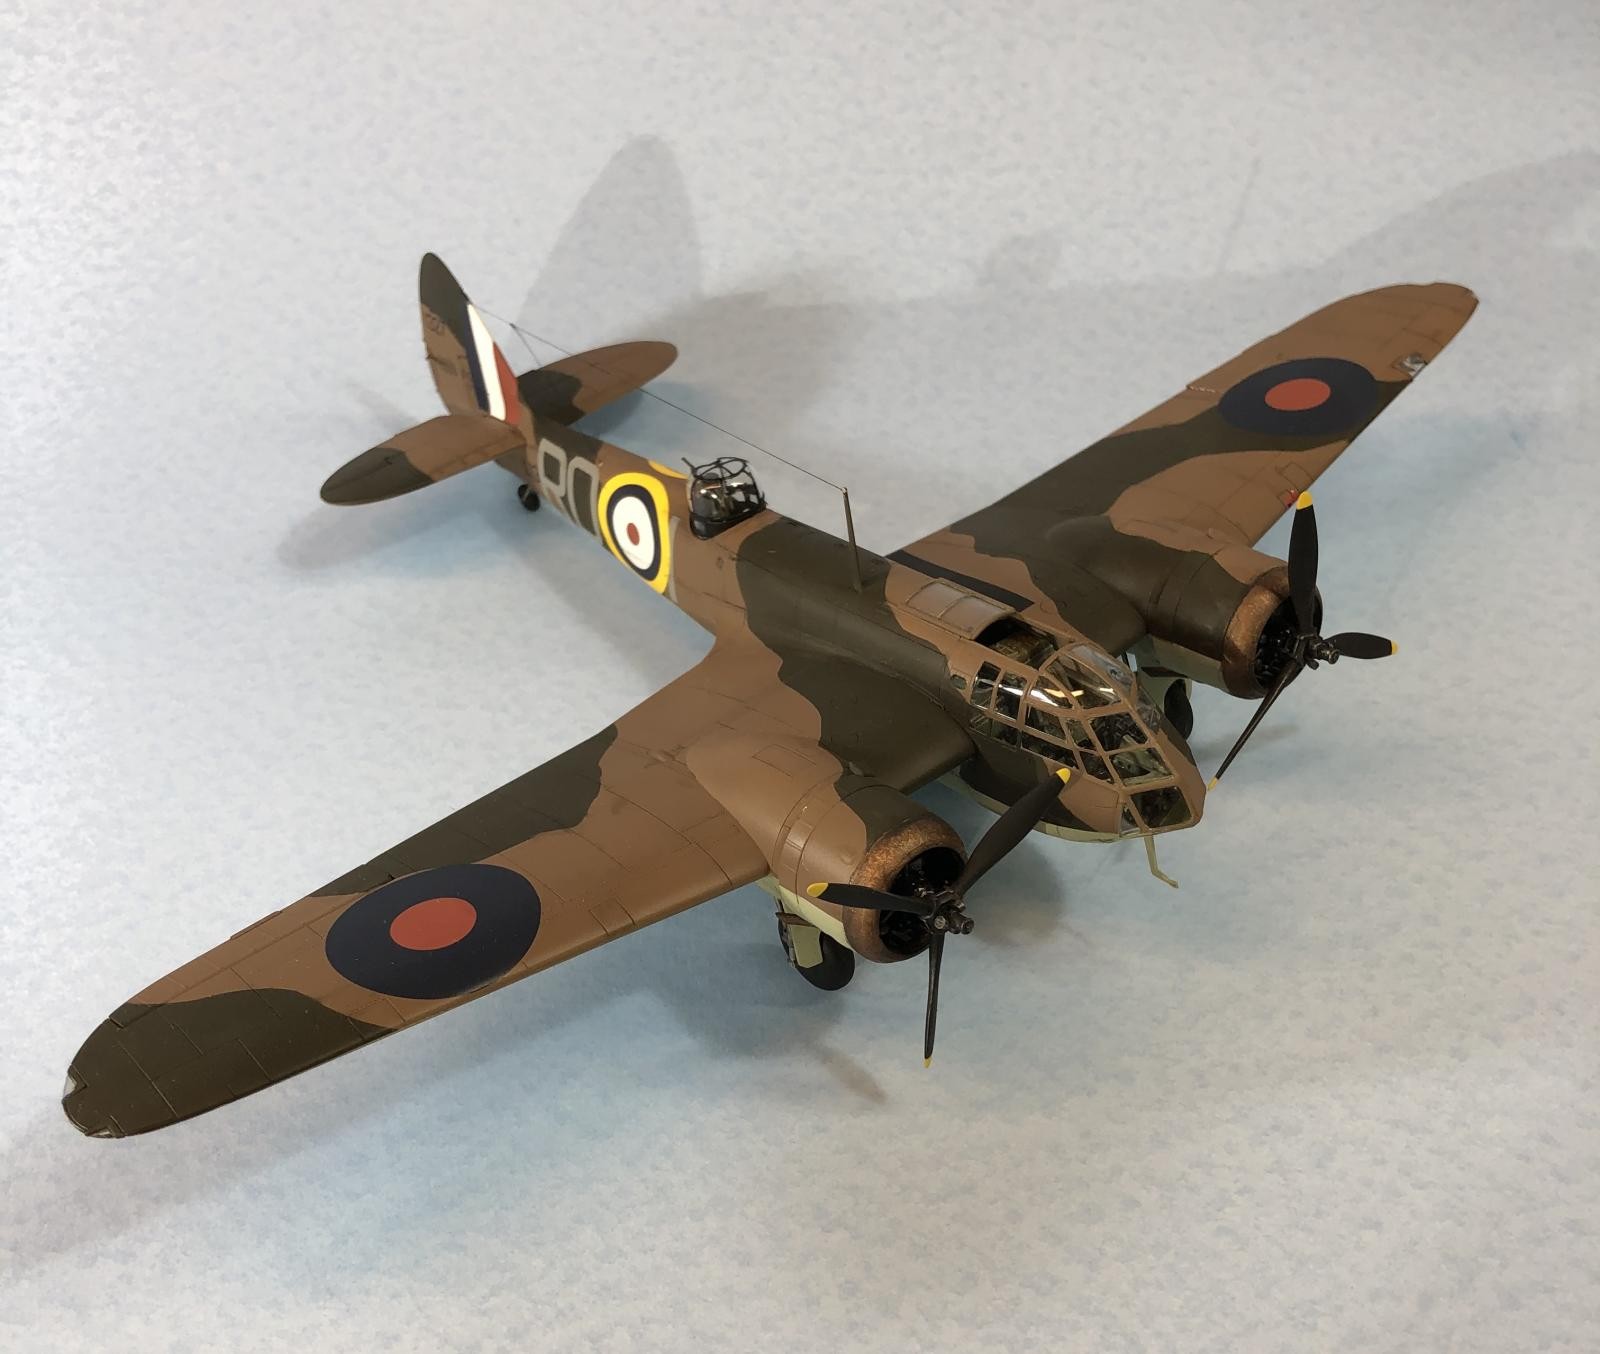
That being said, the collector rings were originally painted to look rusty. I found this out to be not the case. On the real aircraft, the collectors were made of a very heavy steel. The heat from the engines oxidized them, not rusted them, and they took on a bronzish hue. As I said, I had these things set up to be rusty, and now had to repaint them.
I then brush painted them Tamiya Dark Copper. While this was drying, I stippled them with a stiff brush that gave the paint a rough texture...sort of. After this was dry, I gave them both a heavy black wash, keeping the wash from the rest of the already painted surfaces. After the wash was dry, it really toned down the copper. I then lightly rubbed down the ring with a very fine sanding pad, 2000 grit. That took away a lot of the dullness, but not enough to bring the brightness of the copper back, which gives it that bronze look.
The wash was made from a mix of 20/80 ratio of Model Master Acrylic Flat Black and water, plus two drops of dish soap.
I hope this helps, and happy modeling!
Great looking model