Assaulted Douglas Dauntless
This article is part of a series:
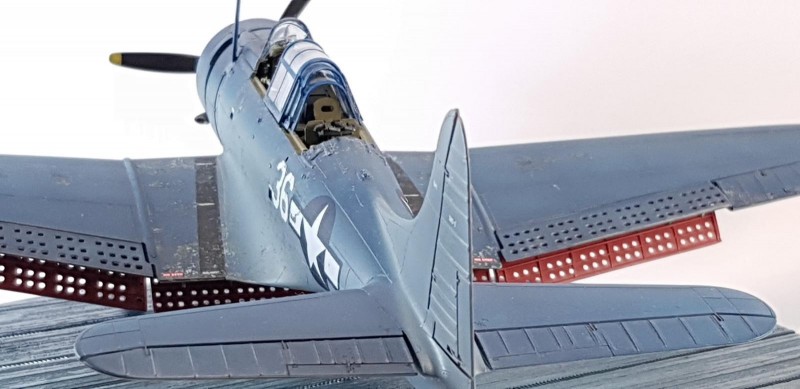
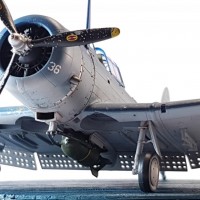
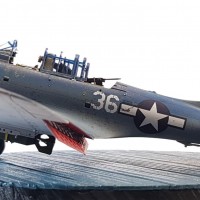
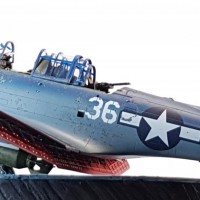
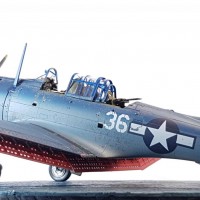
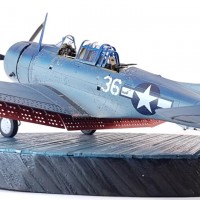
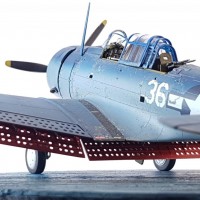
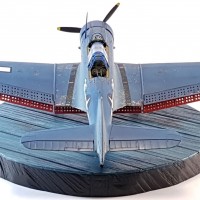
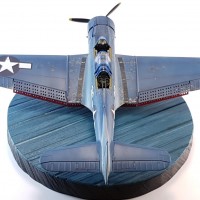
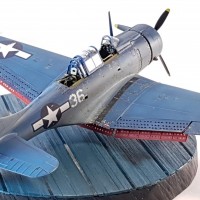
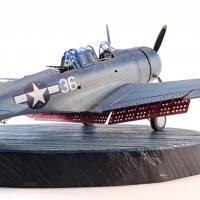
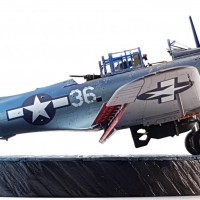
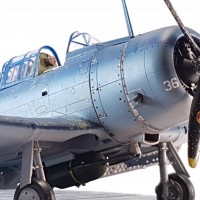
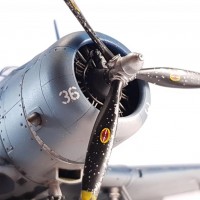
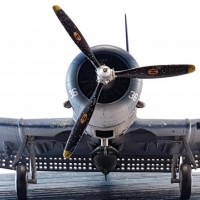
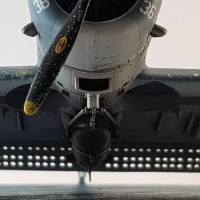
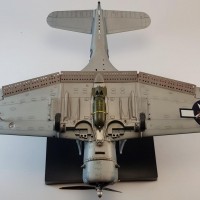
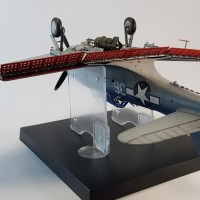
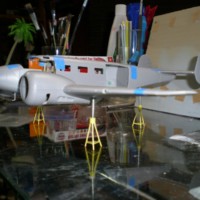
This finished build relates back to the Salty Modeller bit i posted a week ago where i was delving into the salt weathering technique. I won't go back over the process i used here but suffice to say it has been one of the most fun things i have done yet in modelling, really enjoyable to see the results as you move along in the layers of the process.
The Dauntless received an oil wash mix of Umber mixed with white and then a couple of thin coats of Vallejo satin and matt acrylic clear at about 50/50 to finish her off.
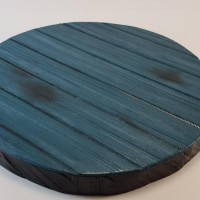
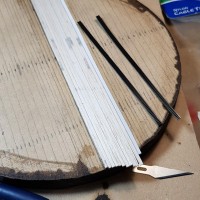
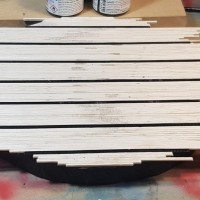
I added a quickly whipped up carrier deck section as a base out of some thin balsa cut into 2mm strips with zipties as the tie down sections all glued to a piece of hand sawn mdf lightly sanded and stained. It ain't great but for a couple of hours work out of things found in the shed i'm more than pleased.
The end result of the Dauntless pleases me as well as i am moving along attempting to learn techniques and striving to outdo myself with every kit instead of just doing the same old thing and building and painting a plane the same way i did the previous one ...and the one before that etc. She's rough as guts as far as realism goes but extremely interesting to look at as far as shelf life goes.
With the lessons learned out of this experiment i will be toning it all down for a crack at something more realistic with the next kit though, enjoy and happy modelling!
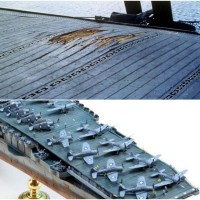
(credit to Won-hui Lee and his Enterprise model here https://imodeler.com/2018/01/1-350-cv-6-uss-enterprise-1942-late-version/ that i used as inspiration for my deck colour and whose deck pic i cropped above)

Jimmy @hetstaine, Really well done. The use of zip ties is just short of Genius and the finish is just awesome. You should be proud of this one!
Cheers James, i am proud of it I feel like i'm moving towards some sort of destroyed or apocalyptic type model as i explore the different methods of weathering and the fun you can have with them.
Very nice. I really like the zip tie idea. I've been searching for something to approximate tie downs without resorting to a pricey photoetch solution. You sir are a steely eyed missile man.
Ha ha, thanks for the compliment Mike, haven't heard that phrase for years The deck piece was a fun little piece of work to finish it off.
Great all-around work...the kit, the base and the pics. Two thumbs up, sir!
Cheers Craig, it was my most enjoyable build so far.
Keep it up Jimmy, both the plane and the base look great, I like the use of zip-ties to mimic the tie-down racks!
Thanks Michel, like my old man used to say, zip ties are magic
A great build, aircraft and deck! The use of those zip ties is inspiring!
Thanks Rob, appreciate the comment.
Looks awesome! Keep up the good work, and I like your idea of experimenting with each new build. Keeps it interesting...!
That's the plan, i'm loving all the different techniques you can apply to modelling!
Nice work on the weathering, you're definitely getting good at it, but there is one problem. Aboard ship, salt water corrosion is such a problem (it turns aluminum into powder, something you don't want with an airplane) that any "dings" are immediately covered with paint (it's why you see modern grey jets in the TPS scheme looking like spotted zebras). Thus, carrier-based aircraft can have lots of "new" paint daubed on them , but very few 'dings." This isn't something that's immediately apparent to those who haven't been to sea or talked with someone who has, so I'm providing it under the heading "useful future information." (Don't worry, lots of other modelers have also needlessly exposed their carrier-based aircraft to saltwater corrosion. )
)
New, repainted and patched panels is on my to do learning list as well as learning how to replicate stressed skin. File this build under 'terribly lazy and probably fired ground crew'
Summer quarter at the apprentice program at PSNS/IMF (Bremerton, WA), I taught painters alongside other trades. They stunned me about the weight of the thinnest layers of paint spread on hulls, like on STENNIS. I’ll see them again next week and will get some figures. One of my favorite A/C, thank you for sharing your very nice model.
No worries, glad you enjoyed the model
Congratulation, Jimmy. Excellent work in every way.
Be sure I will use your work as an inspiration to do a similar one, being on 1/72 scale.
Cheers Roberto, glad my work that is inspired by others can help
Jimmy,
This is a splendid build. In reference to Tom's comment above, I'd say it just got back to deck after a very harrowing mission and the support crew has not had a chance to give her the touch-up needed. Great work on this. Craftsmanship.
Thanks Matt. At one stage i was thinking it might be a decent technique to help replicate a near flak explosion. As a technique learning build i am more than happy with the end result
A very commendable overall job Jimmy. Very nice work.
The fun you had in this project can be seen, keep on modeling !
Cheers DE! Btw, i used to have a really nice limited edition Dale Earnhardt diecast car (1/24ish) mounted on wood with a pen holder on my work desk through the late '90's and early '00's. I've never known what ended up with that unfortunately. Legend of a guy!
Dave Mustain’s hair on James Hetfield? Priceless!
(Nice SBD too...)
Ha! Had him for about ten years now, he's my soul mate
that's a beauty jimmy...glad you didn't overkill the technique like so many do
Thanks mate!
Well done on both the aircraft and the deck
Thanks George, appreciate the comment.