A-7E Corsair II, Trumpeter 1:32
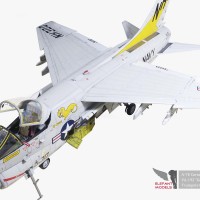
As many successful constructions, also Corsair is real beauty beast - robust, durable, reliable, serving in many countries can deliver deadly ordnance to whatever target.
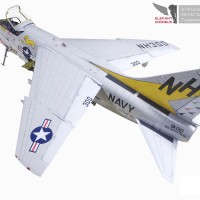
Its upperwing allowing to carry large variety of bombs, rockets, electronic equipment or serve as fuel tanker, and also shark tail, big mouth of engine intake makes Corsair recognizable in every position among all aircrafts.
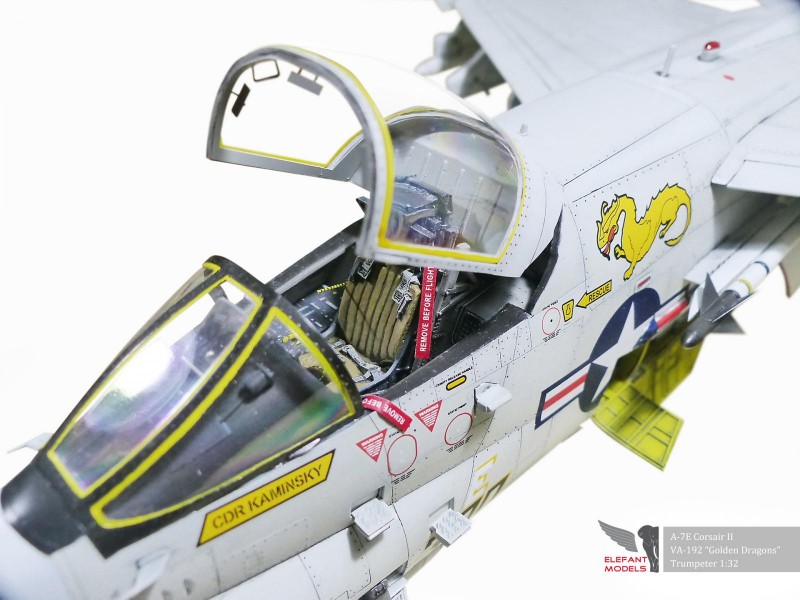
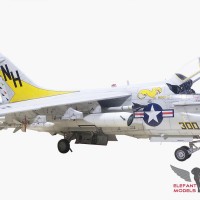
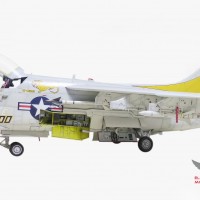
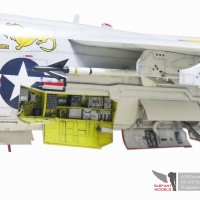
There is no special story about this build, it was nice, it was fun, although some parts are not perfect and manual really sucks, I felt happy finishing it.
I have not used almost any 3rd party products, I only replaced the seat with Quickboost resin and added "Remove Before Flight" stripes.
I also replaced my old Mr. Color US Navy with MRP ready-to-airbrush and I was nicely surprised and excited with the result.
Pretty impressive Corsair, genuinely speaking your built oozes quality. I’m a big fan of MRP paints, they spray like a charm.
Very nice Martin. I like the A-7 and you did a fine job representing it here. Congrats.
wonderful
I always liked the A-7, and your model really does it justice. The finish looks great, and not over-weathered either.
Very nice and clean job. I like it
Nice!
Hello Martin,
Excellent model with a crisp finish. As mentioned, robust, very robust.
Regards, Dirk /The Netherlands.
Excellent work!
Very nice indeed ?
What a fantastic build...well done!
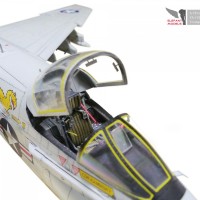
I am just building this very model myself in the same scheme. Can I ask please...how did you do the yellow sealant seams on the canopy - they really finish the model off nicely?
Hi David, thank you!
If I remember it well, it is decaled. They should be printed with the kit.
Hi Martin, no, I've checked and unfortunately they are not included on my decal sheet. However I would like to do them since they look so good on your model, so it will be out with the masking tape and some very careful painting then!
Then I would recommend tamyia tape 0,3 or 0,4 mm .
Thanks for the suggestion, Martin!
I've ordered some 0.4mm tape.
Can I ask you another question please...
If you see my build here:
https://www.britmodeller.com/forums/index.php?/topic/235072301-trumpeter-132-a-7e-corsair/&tab=comments#comment-3730883
You'll see that I'm currently faced with the issue of how to glue the main canopy glass to the canopy frame. In my case the clear plastic part is slightly wider than the canopy frame so it has to be carefully compressed slightly to fit the frame. I'm not sure (i) how I'm going to hold the two delicate parts together while the glue is drying and (ii) what glue to use to join the parts. Did you have a similar issue and if so how did you get round it, and also what glue did you use to join these two parts?
Thanks in anticipation.
Hi David,
I have some suggestions. It just depends on what you can do and what you want to do.
Sand off the canopy glass carefully where it is making a step. Then polish with Tamiya finish again.
Use warm water and carefully wider canopy frame. After calming down it should hold the shape..
Use very small drops cyanoacrylate glue to stick the glass at bottom, then fill the rest with white glue (used for papers). Wipe off the rest carefully.
If the glass is smoked by cyanoacrylate, you should be able to polish the glass again.
I hope something will help.