Testors 1/48 OV-10A Bronco Workbench update
This article is part of a series:
UPDATE 22/3/2020
Hello my friends,
I can see things are really tough for poor Italy, Spain and others gradually not looking too good as well. Here in Greece things start to escalate in a bad way, we will see how it goes. Hoping for the best, believing that somehow we will prevail, let's be exhastively thorough taking the necessary precautions...as best as we can.
Somehow modeling relaxes me and helps me overcome this difficulty more smoothly.
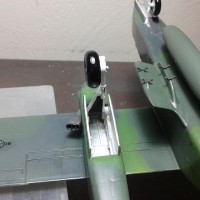
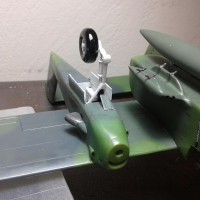
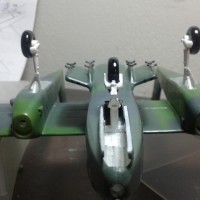
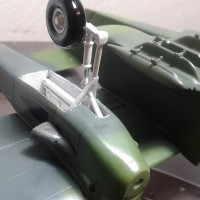
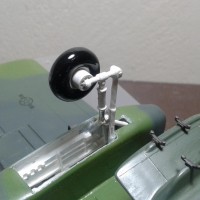
So here is my Bronco's landing gear after the main gear legs surgery (see the last three pics). I also drilled 6 holes on each inner attrocious main wheel hub circumferentially, to simulate the corresponding brake 6-piston calpipers. It looks less worse now...
I send you, my fellow modelers, and everyone, my best regards. Hold on!
Hi everyone,
Here is my workbench update for the 1/48 Testors Brronco. The kit is extremely basic in many areas and also has some significant shape faults. I somehow fell in love with it! I decided to leave most faults "as is" and tried to scratchbuilt whatever I can: seats, rest of cockpit, exhausts, wheel wells, a centerline drop tank etc.
The thing is that, due to my carelessness and superficiality I didn't focus at the atrocious main gear legs, their base is totally wrong! I painted it black, trying to simulate that there are two struts there and not an appalling triangle. Look at the awful result! I tried to live with this for 8 hours...I can't! I am starting a surgery...
Happy modeling!
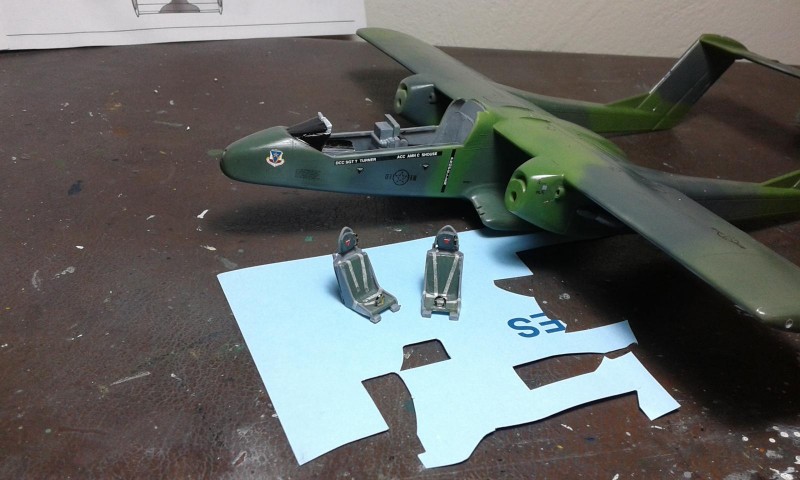
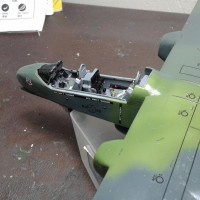
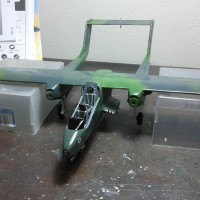
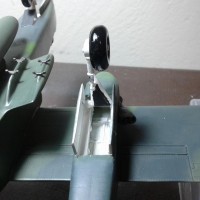


Great job. The origin of the kit is Hawk Model Company and being from 1966 is actually great. Until Kitty Hawk released their kit it (and the Testors boxing) was the only 1/48 kit available. It can be built into a nice looking kit as you are proving here! Good luck with the surgery. Try drilling and filing them in place, that may work.
https://www.scalemates.com/kits/hawk-561-100-north-american-rockwell-ov-10a-bronco--170615
Thank you very much Rob for the supportive comments. I was thinking exactly the same for the surgery…..Being glued in place means they are supported sufficiently for filing, cutting, etc.
All the best!
Yes, gentle and slow and you should be fine!
I too love the bronco - one of the most numerous kits in my stash (though in 1/72)! Looking good so far.
Thanks Greg! Lovely plane indeed!
Nice work on an ancient kit. If all else fails you could do it wheels up.
Thanks Robert! I'll keep it in mind too!
I bought this kit back in the 80's and it is still in the box along with an aftermarket resin wing and cockpit. Seeing your efforts so far has inspired me to dig it out of the stash. I might have more leisure time than planned as this pandemic plays out.
Mine is a 1998 reissue. I bought it in 2007 (together with the similar breed 1/48 Gabreski's Jug), at a ridiculously low price (cannot recall exactly). The sprues were neatly packaged altogether, the clear parts were crystal, the Scalemaster sheet a class of its own. It has shape issues, the cockpit is a joke, NO wheel wells, minimal detail...weli I strongly fell in love with it, couldn't help start building it after 13 years of resting in my shelf of doom. You resin stuff will launch it to stratospheric level. I don't know if you have something for the wheel wells (they are non-existent...) I used leftover internal bomb bay walls that looked convincingly imaginary illusioned (!...) boxed into place (from a kit can't remember which...I built it with closed bomb bay); also used stretched sprue to whatever blank wall there was. The main gear legs' solid triangle base looks appaling...I am in a surgery process...Also the wheels look totaly childish, i drilled them circumferentially to imitate some bolts and fitted two small cups at the center of the main wheels; they look acceptable now...and the list goes on...I just feel great to improve it; I have fun!
I am glad I inspired you, Haslam. Always happy to share my mediocre skills.
All the best, my friend!
Hi Spiros, I think the secret to taking it to another level is time and a huge stash of card, tube, multiple diameters of wire, filler, sandpaper, sanding sticks and even more time! Take care of yourself and your family in these challenging times my friend.
Thanks my friend, the best to you too.
Great looking kit, Spiros. I have a couple of these lurking in the garage, but I keep thinking about all of the work needed to make them presentable and I put it back on the shelf. My T-37 instructor in pilot training flew OV-10s in Vietnam, so I got to hear some war stories. Take care in these trying times!
Thank you for the nice comments, George. It's such a great looking plane, looking mean and ready to get the job done. The more I build and read about, the more hooked I get. The kit itself is totally basic, but I can live with some inaccuracies and improve whatever I can. Anyways, she's almost finished, take a look at these photos I just took for you. Isn't she a beauty? Take care you too, my friend.
All the best!
3 attached images. Click to enlarge.
Hi Spiros - Amazing work - I built this kit recently but at beginner level and its awesome to see what can be done - did yours come as a 2 seater or did you scratch build the entire cockpit because mine was a one seater with a big empty space behind it.
Amazing work - I love this plane and you've made it look awesome.
Thanks my friend @anthonyricco! Mine came as one-seater and I had to scratch built everything. I think there were cases that the Bronco was flown as one-seater, having almost everything form behind, the rear space used as cargo, but I am not very sure about it...
Wow Spiros - that is really amazing scratch building. Yes there were a lot of one seaters - they used the back to carry supplies and also troops (although I'm sure rather uncomfortably).