Cessna A-37B Dragonfly – Trumpeter 1/48
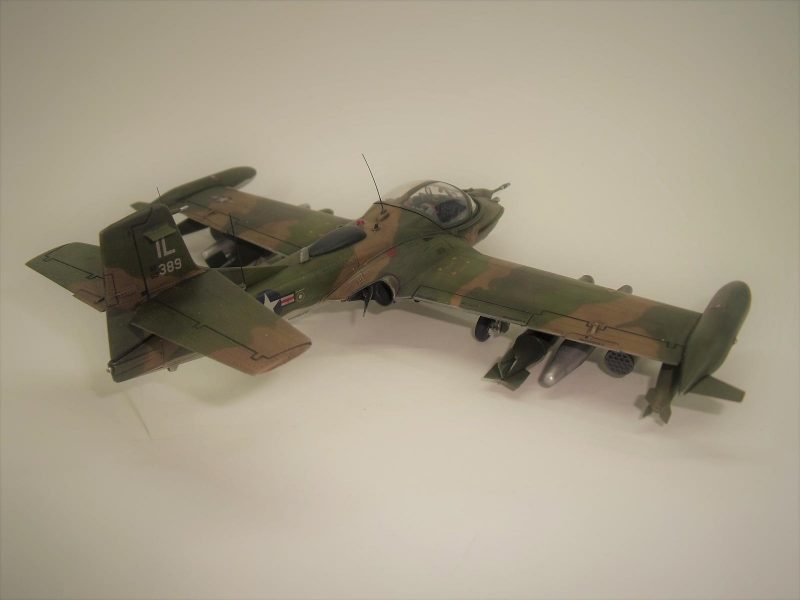
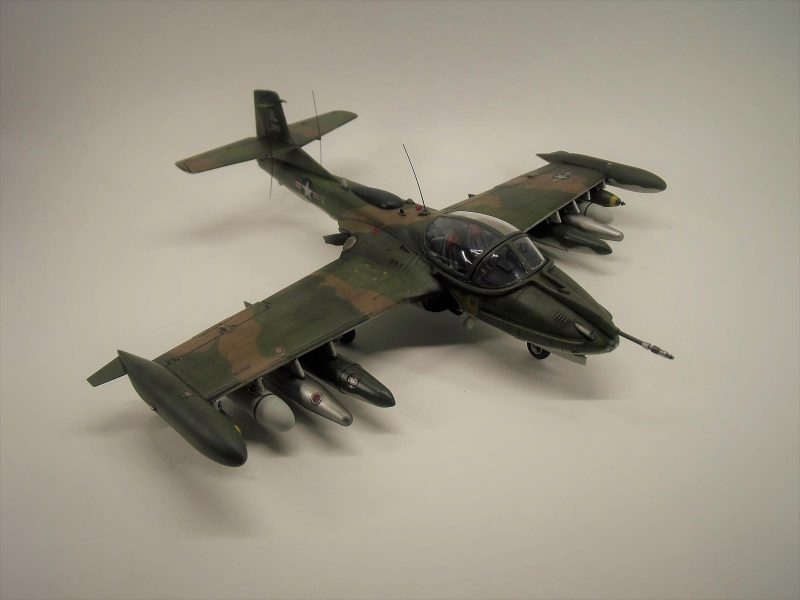
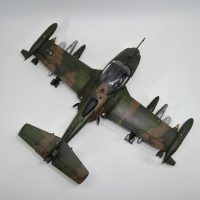
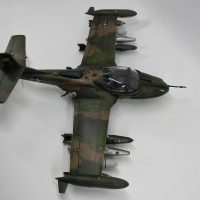
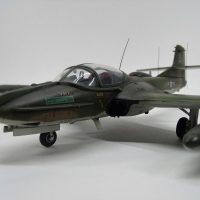
The second kit I've got to share today is Trumpeter's A-37B Dragonfly, or Super Tweet as it is often called. I love the look of this plane, not only because of it's form, but also because despite it's diminutive size, it was all business.
There is a lot of great info out there concerning the A-37's and their role during Vietnam. One such article that gives you a small sense of their impact can be found here, from Air & Space Magazine:
https://www.airspacemag.com/military-aviation/legends-of-vietnam-super-tweet-8974282/
More technical information can be found here:
http://www.airvectors.net/avtweet.html
One of my favorite things about the A-37B variant is this that it was capable of carrying nearly 40% of it's gross weight in external stores. Quite a feat for such a small airframe.
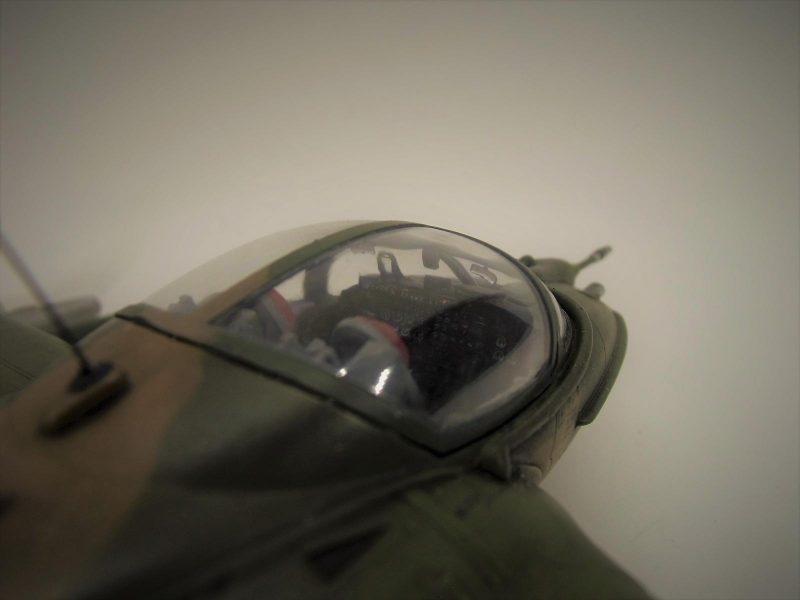
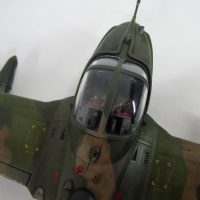
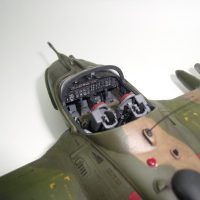
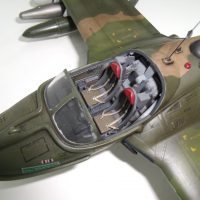
Anyway, onto the model... There are many kits of the A-37 out on the market, but Trumpeter's kit is the most modern, and most detailed of the lot. The kit comes with a variety of wing mount stores, and a nicely detailed cockpit. The kit also includes a PE fret containing some appropriate detail parts for that media. Decals were highly usable, and no issues were encountered in that regard.
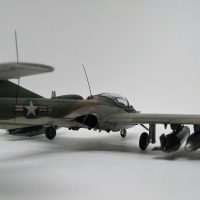
Fit an finish overall was very satisfactory, with the only caveat being the fitment of the front intake scopes inside the fuselage. This may have been user error, as I did not fully follow the instruction's sequence. the end results was that I had to grind away part of the scopes to get the cockpit tub to fit, when joining the wings and fuselage together. I ground the parts so far that I broke through to the interior of the intake scopes, and for this reason, I chose to pose the intake grates in the closed position, which was not atypical for an aircraft on the ground. These grates were there to prevent debris from entering the engines, since the plane sits so low to the ground.
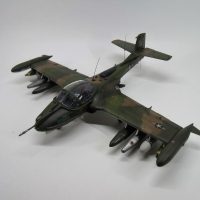
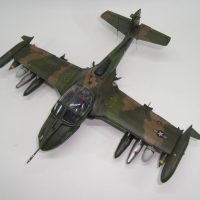
For the loadout, I decided to do something different with this model. On each piece of ordinance, I place micro-magnets where the item attaches to their hardpoints. On the hardpoints, I inserted a small gage wire, to which the magnets is attracted. This allowed me to (in essence) be very non-committal about which ordinance to show displayed, as of course, they can be easily replaced. The down-side is, the fit is not exacting, and a slight bump will knock some of them off. I don't think I'll go through this trouble again, but it may spark some ideas for someone out there! 🙂 As pictured, I've mounted auxiliary fuel, napalm, LAU-3s, and Mk.117s.
This was also my first SEAC plane, and I actual enjoyed painting this up. The only point of tribulation was determining the right colors, as Vallejo color names can often mislead. Long story short, the color that I used for Dark Green was likely bottled wrong (so I wont mention which one I used for fear it may not be what you'd want), and I had to mix up a medium green to get that all together. The brown and grey were straight forward, as I recall. Oil varnish over Matte finish for the extra grime, and Vallejo matte varnish to wrap it up.
Last but not least, Trumpeter made no mention of nose ballast, and foolish me ignored this fact. So.. sigh I had to make a clear prop strut. The unfortunate part is that there is room in the nose, as very little weight would likely be needed... Probably only 5g or so, but don't take my word for it.
That's that, as they say.. I hope you like!
PS: Pardon the dust... :X
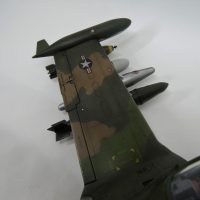
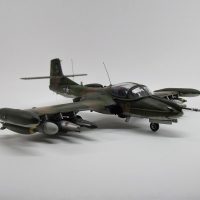
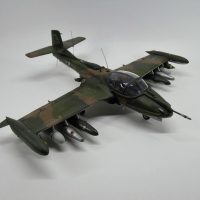
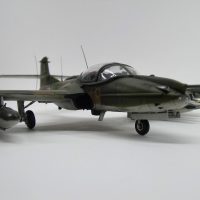
I mean, it is just perfect. Excelent work!
A great build, beautiful work on the instrument panel and cockpit.
Very nice result.
Since nobody likes to dust their models for fear of knocking something off, here is TC's Magic Trick To Make Your Model Look New: take two used trigger-squeeze spray bottles. Rinse them out THOROUGHLY, you don't want any of what was in there. Then fill both with water. In one, pour a small capfull of diswashing liquid. Do not shake it, you don't want suds. Leave the other one clear water. Now spray the model with the one that has the diswashing liquid, which will loosen the dust and wash it away. Then rinse the model thoroughly with the other bottle. Allow it to air dry. Voila! The model is restored to the way it looked five minutes after you finished it, and nothing got knocked off. You can do this with rigged biplanes. (You can even do it with rigged sailing ship models, ship models, armor, anything you don't want to knock stuff off of while cleaning).
🙂 ... Greetings ... 🙂 :
This is simply put ... a very nice model of the much loved Dragonfly, small, lethal and carried a big load for it's small size. The camouflage painting is well done as well as your photos.
What to say Andrew, another fine great looking build.
Well done.
That's a great result, Andrew! I'm glad to hear that the Trumpeter kit was good, though I've got the (good old?) Monogram one in my stash to build sometime.
Congratulations on your first SEA camo: looks very good indeed! As for the color choices, I always go for what looks "right". Sometimes, the "right" looks may differ from some paint manufacturers recommendations.
TC's @tcinla cleaning trick is superb! Wish I knew it 15 years ago...
Looks great! I've got about a dozen or so of these (1/72) to build in all their S. American livery. I'm eager to get to it, as it's just a cool looking "utility" aircraft.
Excellent A-37B, Andrew. Your SEAC scheme is really well-done with what looks like some careful stencil work. Impressive that it was your first attempt to do Vietnam War camouflage. You have brought out the fined detail of the Trumpeter kit very well in your build, particularly the cockpit. Magnets are a cool idea to give yourself options on the load out. I might try that myself some time. Your description of what you did with this and other elements of the model is most helpful.
@coling, thanks! For the masking I did the usual ordering of paints, starting with lightest to darkest, one color at a time, as much as is possible. Some areas needed to be revisited due to complexity of the surface, and all colors coming together in that location. To mask between color, I almost always use blue tacky putty rolled to 1-2 mm diameter. You can then lay it out to create the demarcation line before spraying the next color. Tamiya masking tape or similar can then be laid over everything behind it. The putty shouldn't be pretty flat to the surface. If you airbrush carefully, the small area that's only partially hidden under the putty will allow for a feathered demarcation edge.