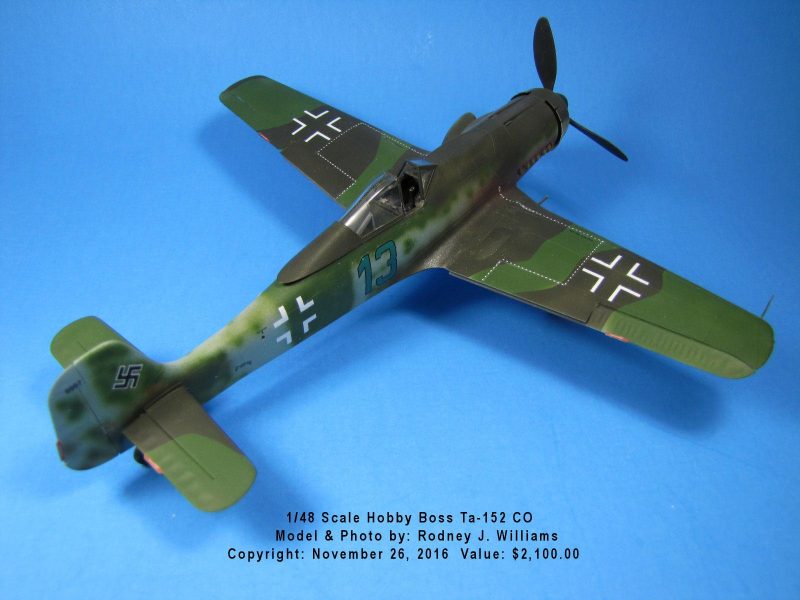
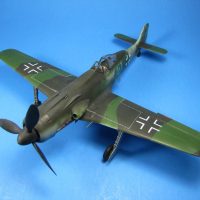
"Ta-152 C-O" WW-II German Fighter."
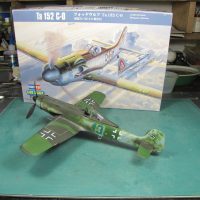
This is my 139th story that I'm posting here on "iModeler." I purchased the model sometime in the summer of 2016, and with the writing on one of the photos it say's I finished the model around late November, 2016. The price that is written on the photo was for my special model insurance.
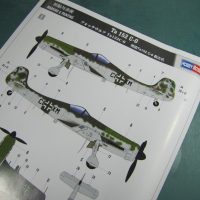
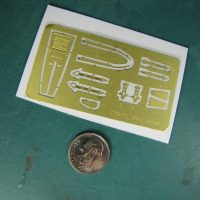
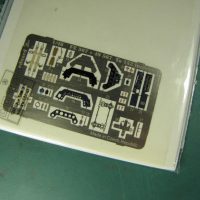
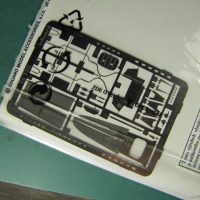
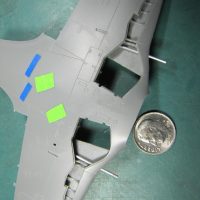
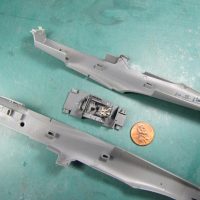
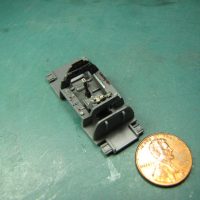
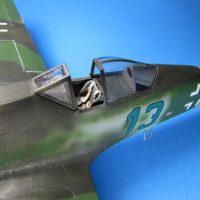
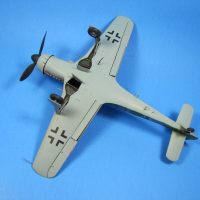
WOW! I did not expect all the excellent "PE" parts when I bought the kit on line, however I used all of them. The photo's show that there is next to no flashing on any of the parts, plus the fit was excellent. I give "Hobby Boss" a great big "Thank You" for making this wonderful kit.
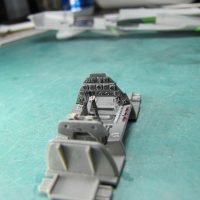
I used aluminum tubing for my cannon & machine gun barrels and I crafted the seat belt/harness straps by using some of my old nylon ribbons with Waldron buckles.
I punched out the photo dials with my Waldron punch set then put the dials in the instrument panel.
In reality I was appalled at how easy it was to build this 1/48 Ta-152 C-O model, as I had built over 300 kit's since 1977.
After fixing any surface flaws and sanding down the exterior of the kit to 3M's 600 wet/dry sandpaper, using lots of clean water, it was inspection time (!#!?!^^).
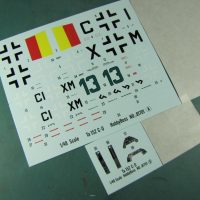
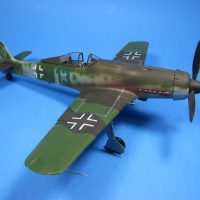
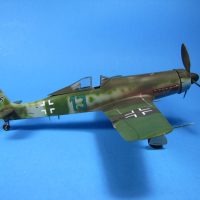
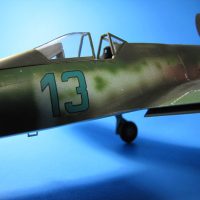
I gave myself the "GO-AHEAD" to paint the model with the Tamiya paints that I have used for over 20 years. My photo's show that I used 3 different color's, however after 4 years, I don't recall the names nor number's of my paint. I gloss coated the model with "Future" then applied all the kit decals. Once dried, another overcoat of Future, and then I applied a light coat of Microscale's dull coat.
There you have it, another model by me, which is my last venture in modeling.
I RETIRED FROM EVERYTHING!
Enjoy: Rodney J. Willians

A nice looking Ta 152! Well done.
THANKS GREG...
I Though I was building a "D-9 DORA." They sure look alike!
This was an excellent kit. I guess I can add the first wing decal photo as I cut the excess decal away from the white parts, then I laid down the 4 white parts that make up the wing decal. RJW
2 attached images. Click to enlarge.
Rodney...what does "value $2,100.00" mean?
Thanks
The value was for my special insurance I took out on my models in case we had a tornado, earthquake, etc where I lived in Colorado, besides having regular home insurance.
Read your home insurance policy, then you will find out what it "DON'T COVER."
Thanks, Rodney, for good information. The quality of my completed models won't justify insuring them for more than $1.29 each.
Very fine looking model, Rodney.
Nice detailing.
139 stories, that is really impressive, in how many years did you achieve this?
Hi John: I started posting the model's in late October, 2019. Some time later a guy emailed me to quit posting and let other's post, so I quite posting for a month or so then I got back at it!
The "web-site" owner never wrote to me about me posting, so I really don't know what to do.
From 1977 to 2016 I built over 300 models! Many of them were for clients.
I have 284 models here at home with over 300 awards. I tried to sell/donate some of the models, but have not succeeded! My wife and family don't want to keep them after I die, so I guess the trash collector can have them.
RJW!
I love your stories Rodney @f2g1d! Not only they are great as presentations, but also are great tutorials too!
I like the camouflage you created for this model, very eye catching
I kinda followed the kit instruction's for the layout. I liked the final outcome.
The old model saying was: If you like it, that's all it matter's.
This is a fantastic model, Rodney, with a very eye catching scheme.
Thanks for sharing!
I'm 3 days later with this reply because I got busy doing nothing?":L>?""::LL.
Really I was going through some of my "client" modeler folders and I though that my photos of converting a P-51D to a "B" version would be interesting to post, especially in 1/24th scale as there were no "B" models by Airfix back then.