Portuguese SB-17G; (Conversion from B-17G)
This article is part of a series:
1/72 Portuguese SB-17G
History
The B-17G was the final version of the Flying Fortress, incorporating all changes made to its predecessor, the B-17F. Many B-17Gs were converted for other missions such as cargo hauling, engine testing and reconnaissance. Initially designated SB-17G, a number of B-17Gs were also converted for search-and-rescue duties and weather missions, later to be redesignated B-17H.
B-17s were still used in the Pacific later in the war, however, mainly in the search and rescue role. A number of B-17Gs, redesignated B-17Hs and later SB-17Gs, were used in the Pacific during the final year of the war to carry and drop lifeboats to stranded bomber crews who had been shot down or crashed at sea. These aircraft were nicknamed Dumbos and remained in service for many years after the end of World War II.
Work on using B-17s to carry airborne lifeboats had begun in 1943, but they entered service in the European theatre only in February 1945. About 130 B-17s were converted to the air-sea rescue role, at first designated B-17H and later SB-17G. For this role, a large radome for an S-band AN/APS-20 search radar was fitted underneath the fuselage and additional internal fuel tanks were added for longer range.
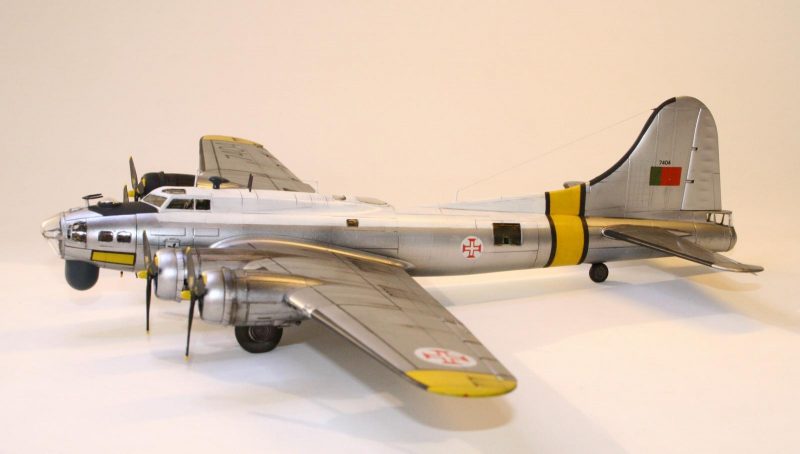
By early 1950's the USA sold four SB-17 to Portugal to be used in the Azores archipelago in the SaR role. They soon became relegate to weather missions as the UH-19 proved more efficient.
The challenge
One of the Portuguese pilots that flew those mission (both on the SB-17 as on the UH-19) was Commander Peixoto Rodrigues. His sons gave me the grateful honour of build their father aircraft, providing me a lot of photographs and even his flight logbook.
The challenge was immense, and failure was not an option, I had to build a nice model: Alea jacta est
Having decided on the scale (1/72), it remains to choose a suitable kit. My option went to the (then) new Airfix. The kit as a new tool and seemed well engineered. Sure, it was a simple G, not an SB, but I would do all the scratch and modifications needed.
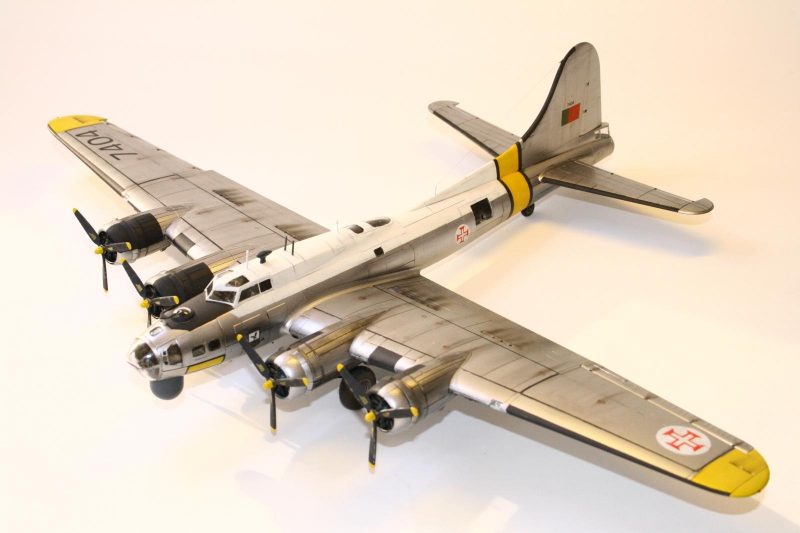
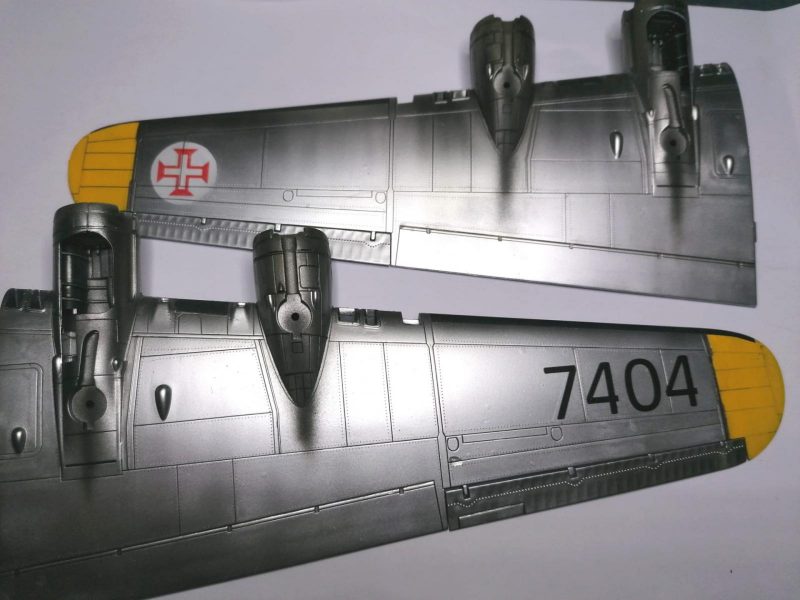
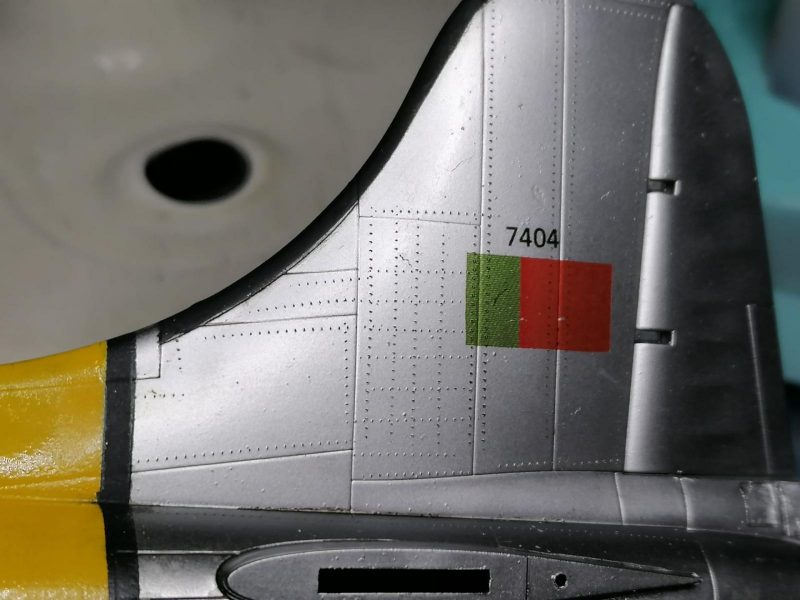
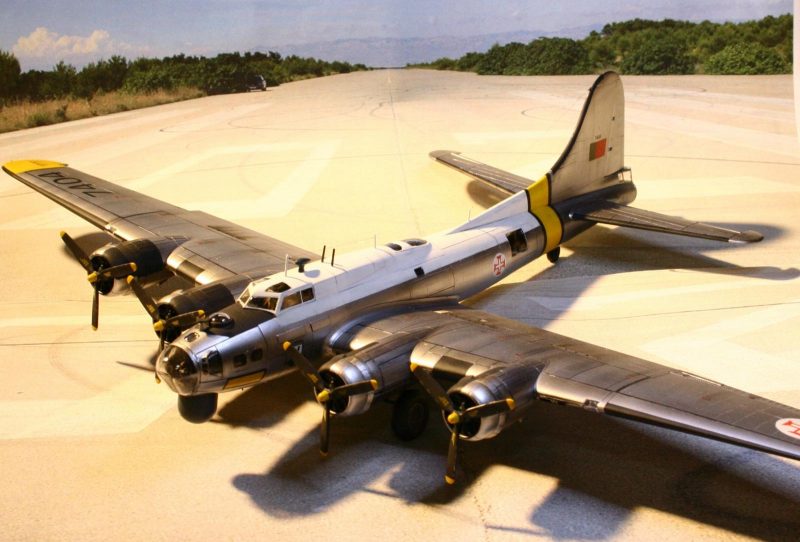
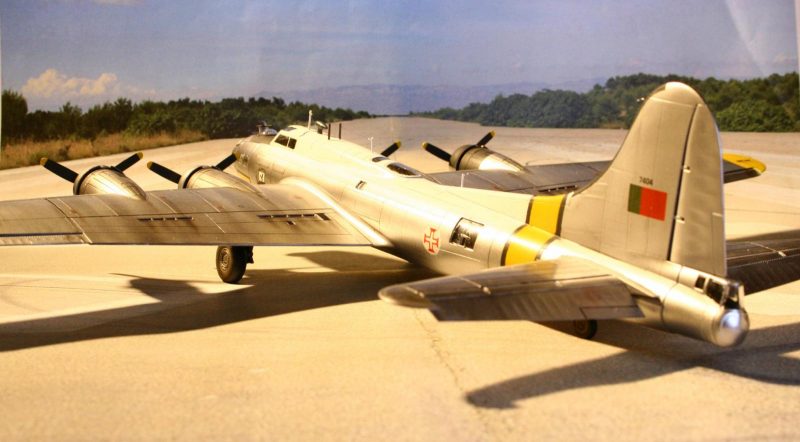
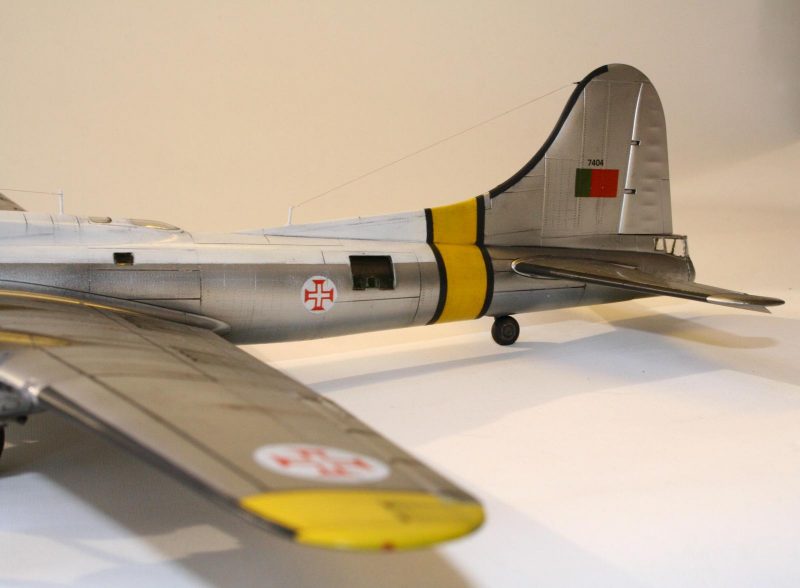
As we decided to build the plane that the Commander Peixoto Rodrigues flew on the 3rd of January, 1954 from Lajes, Azores to Sal, Cape Verde, plate number had to be 7404 (from his logbook).
Building and painting
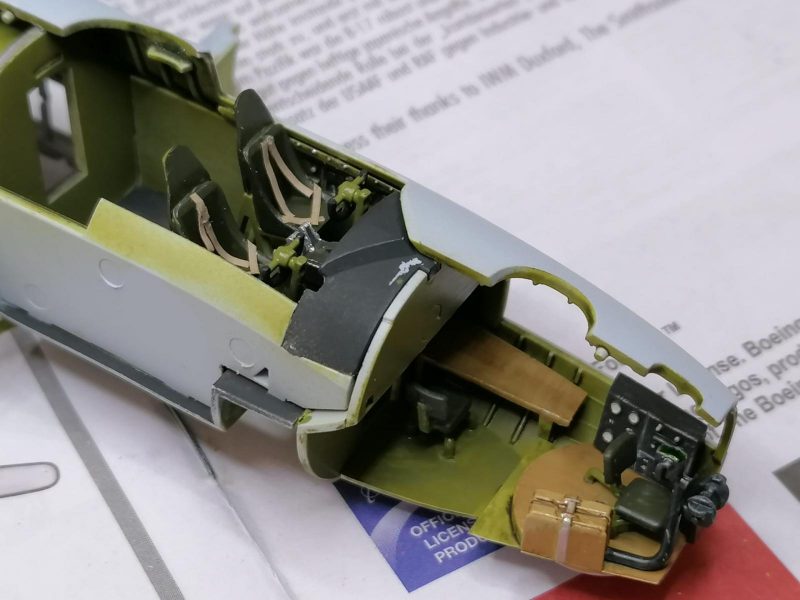
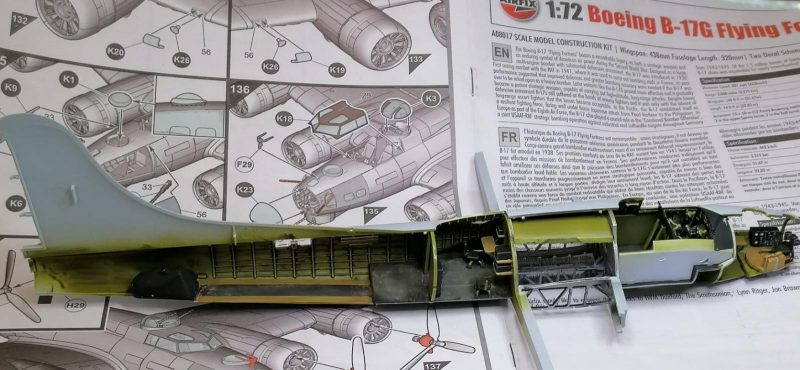
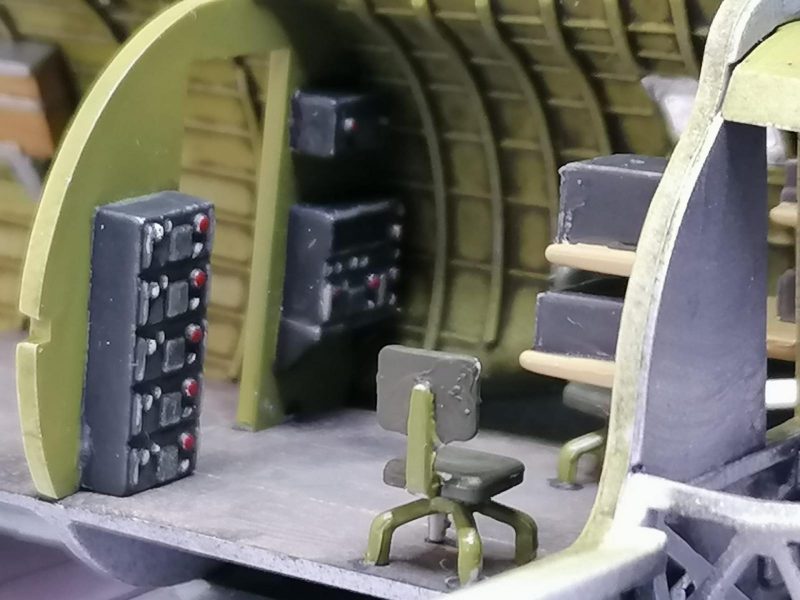
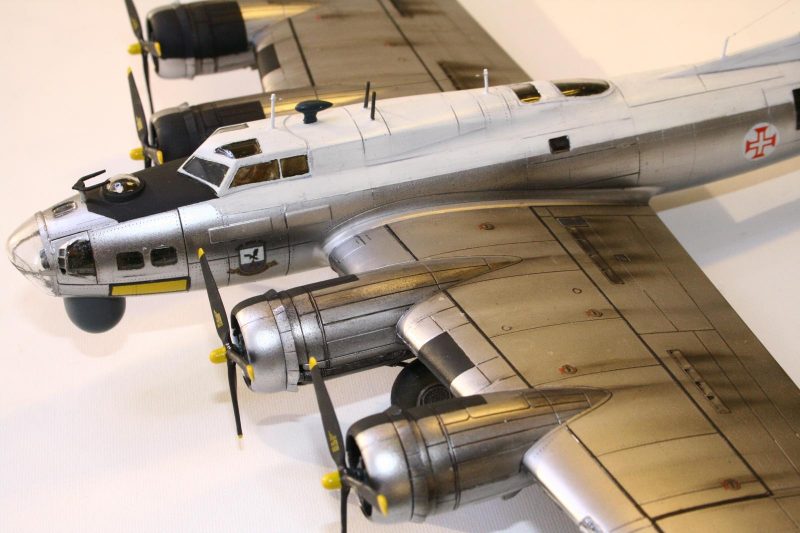
As always, I started on the cockpit and other interior compartments, scratching some detail although nothing will be seen when closed. On this stage I also removed all the gun towers and prepare her to be an SB.
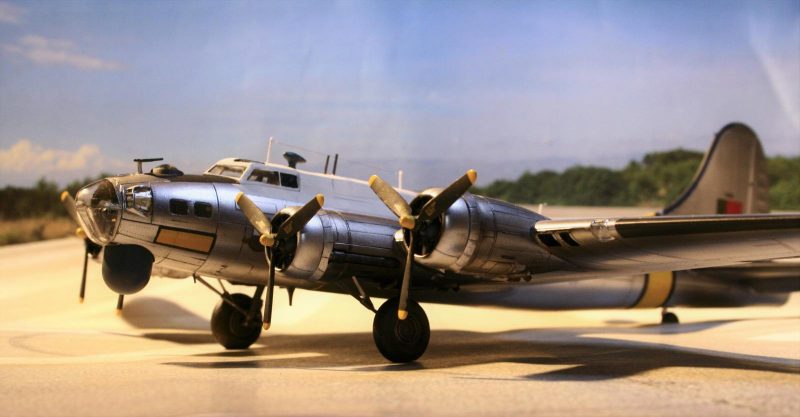
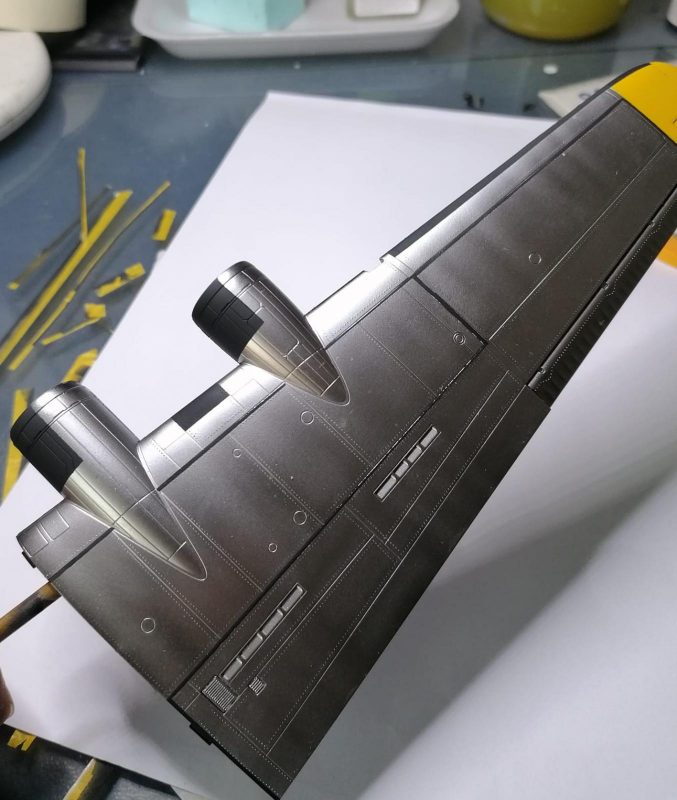
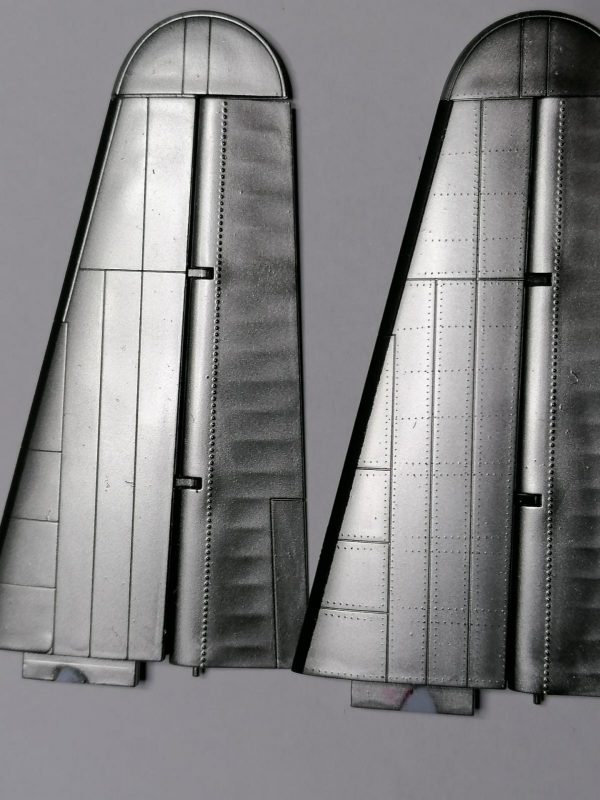
Having the fuselage closed, primed it in gloss black in order to prepare it to the aluminium coat.
At this point I have to say that the kit is really well engineered as it is possible to build and paint the fuselage and the wings separately, gluing them only at the end.
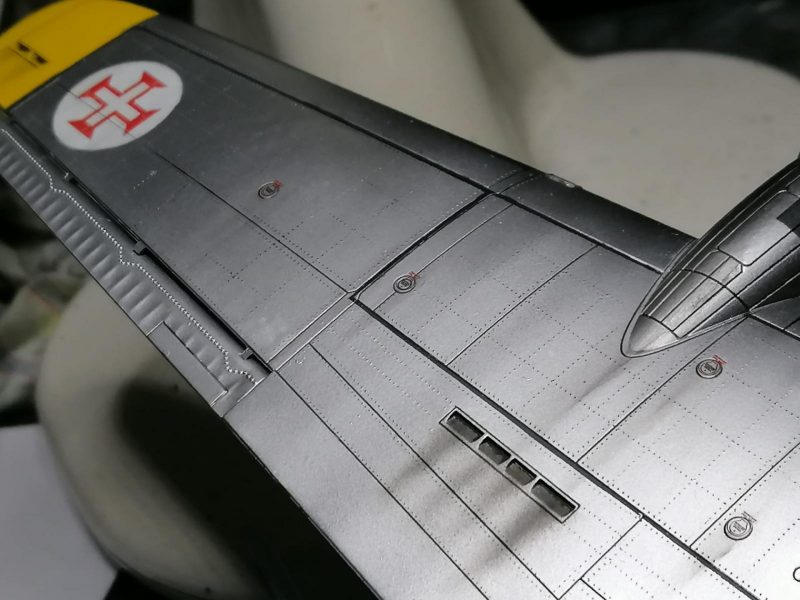
Having no decals for this national version, I decided to home-print my own and paint all that I could.
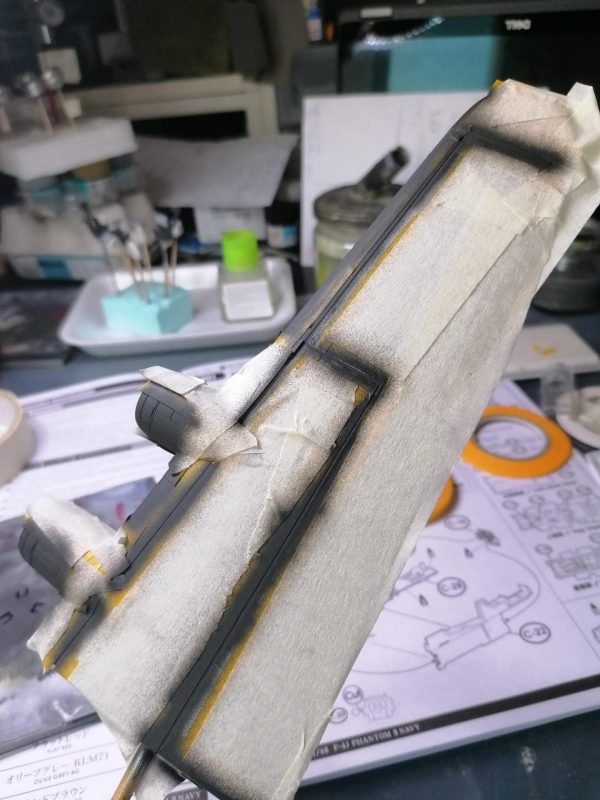
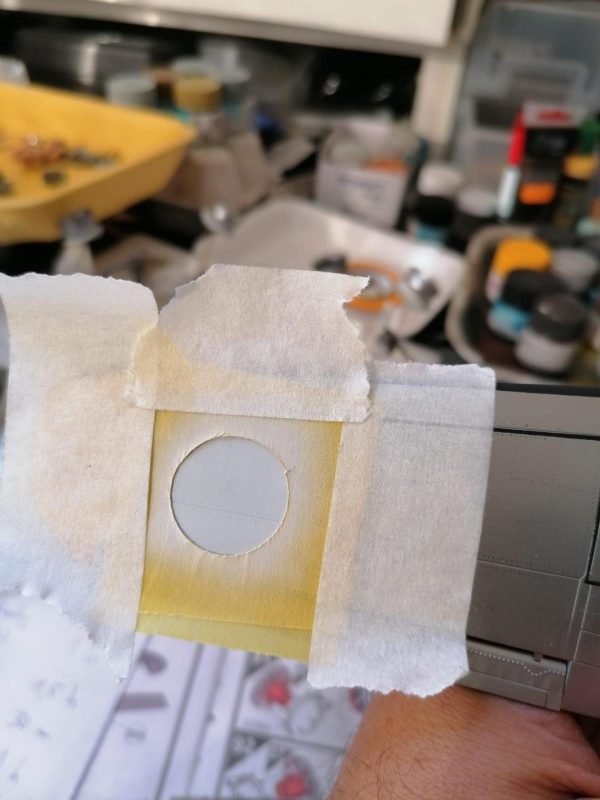
It was masking time ?but, at the end, it worth!
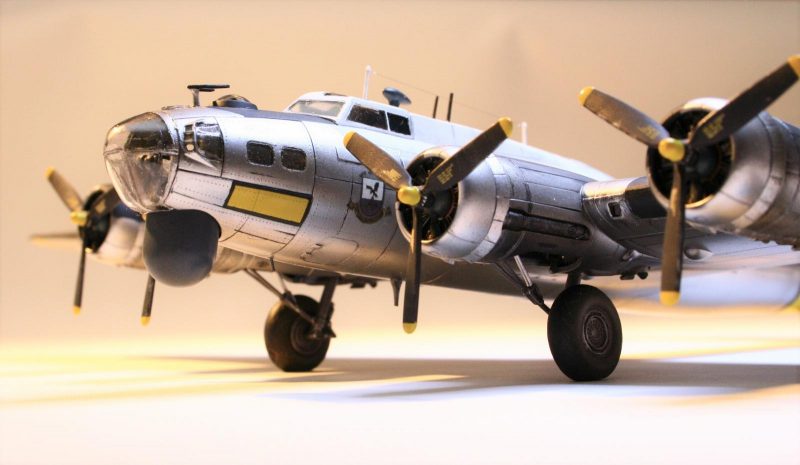
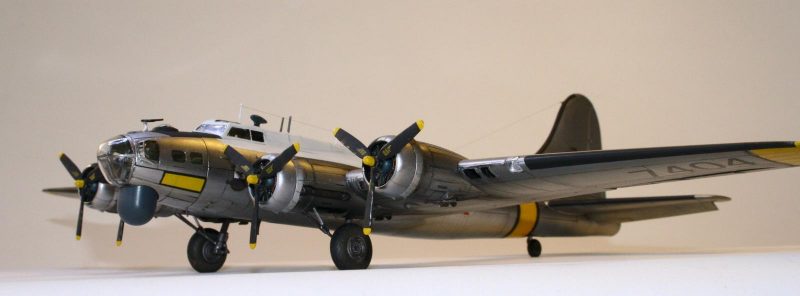
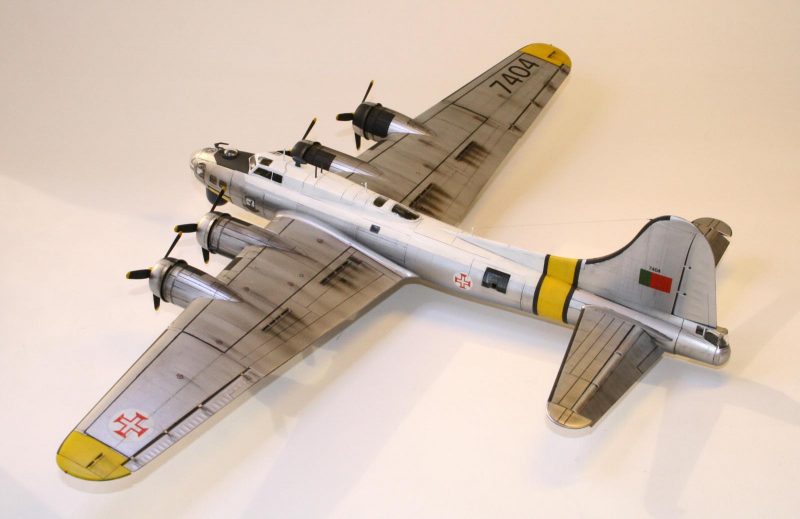
After all the aluminium paint I decided to make the rivets. Quite crazy at this time, but I was hoping to benefit from the black primer. It was a long shot, but yes, it turned out ok!
Having the paint done, it was time for fixing the landing gears (which have nice detail, by the way), gloss coating and applying the few decals that were not painted. After that I applied just a subtle weathering as this was not a war bird.
Using lots of photo references and technical drawings from the net, all the antennas and radar radome was reproduced.
The build ended with the wings fixed and light coat of semi-gloss over the white section of the fuselage and an extra matt over the anti-glare panel as well as small details like some dust pigments on the tyres.
At last it was time to stretch some cable to the antenas and fixing the propelers.
It was a nice kit to build, with a lot of research work, conversion and the build itself.
Some 80 well spent hours 🙂
Hope you like,
Manuel

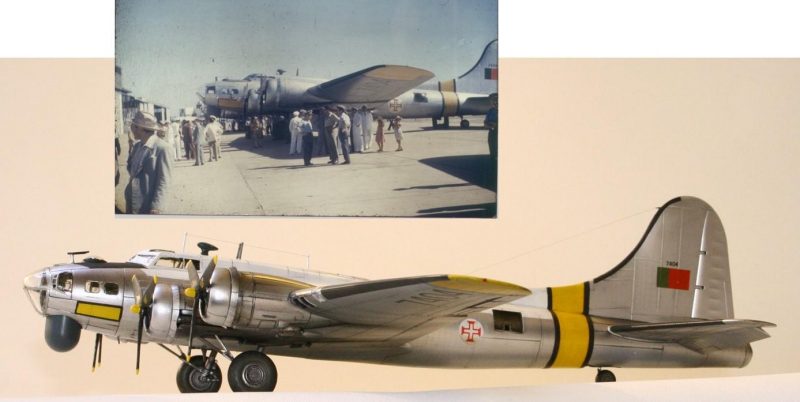
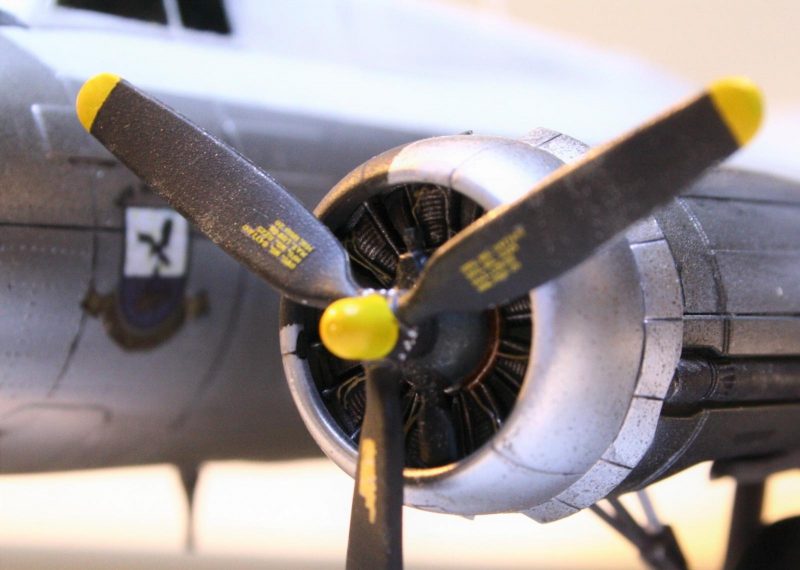
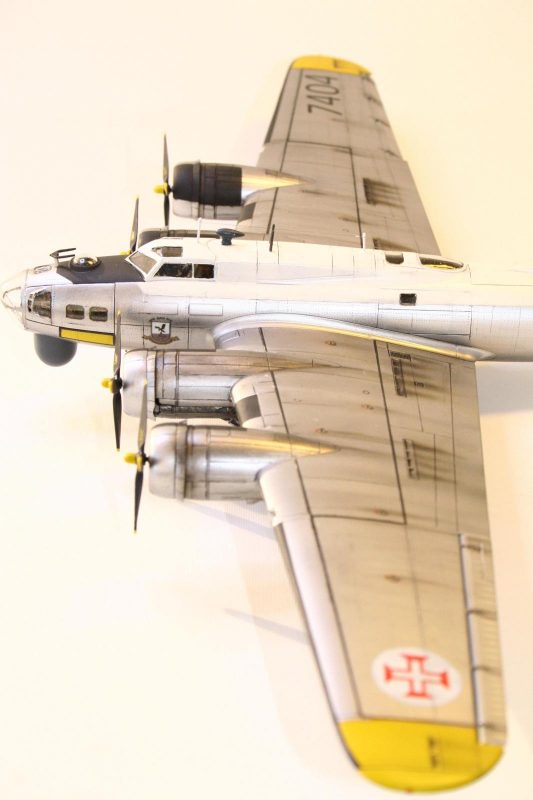
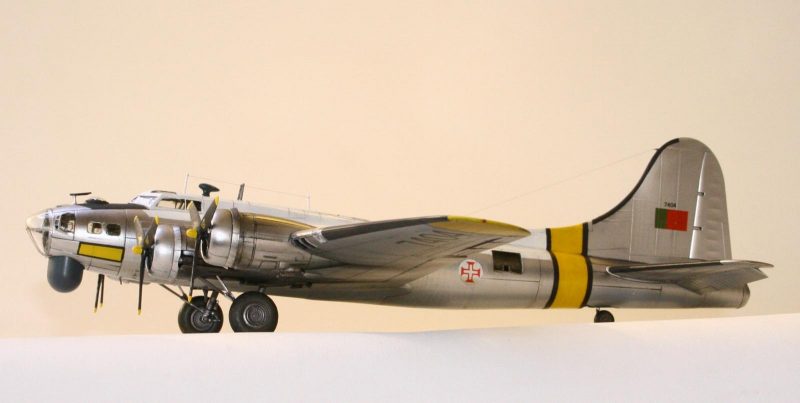
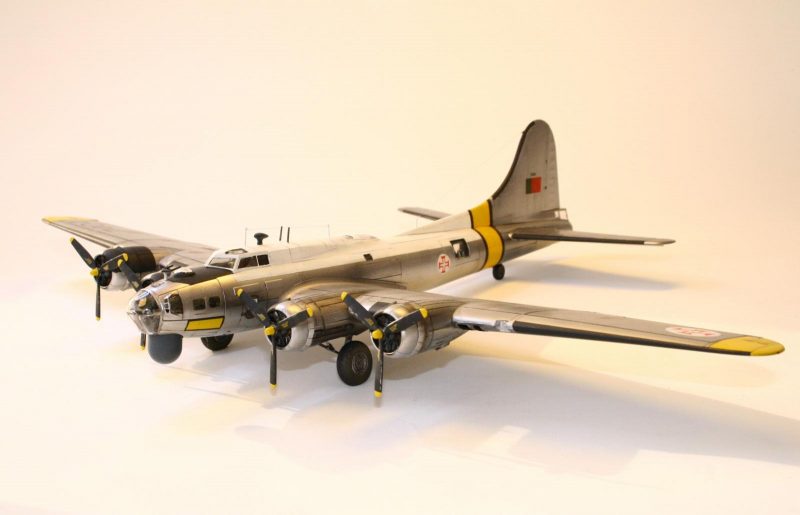
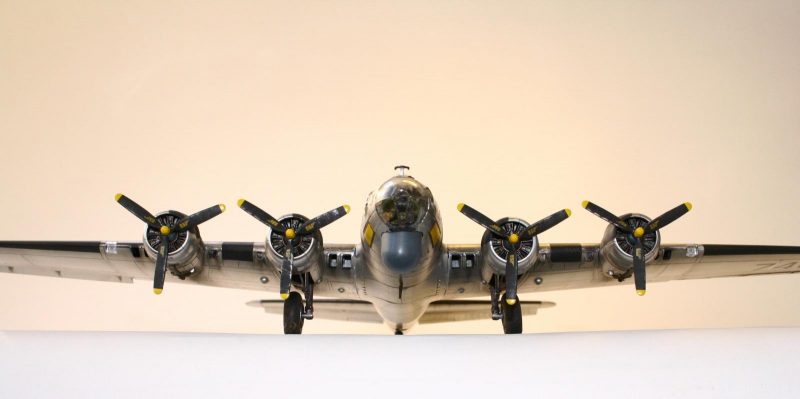
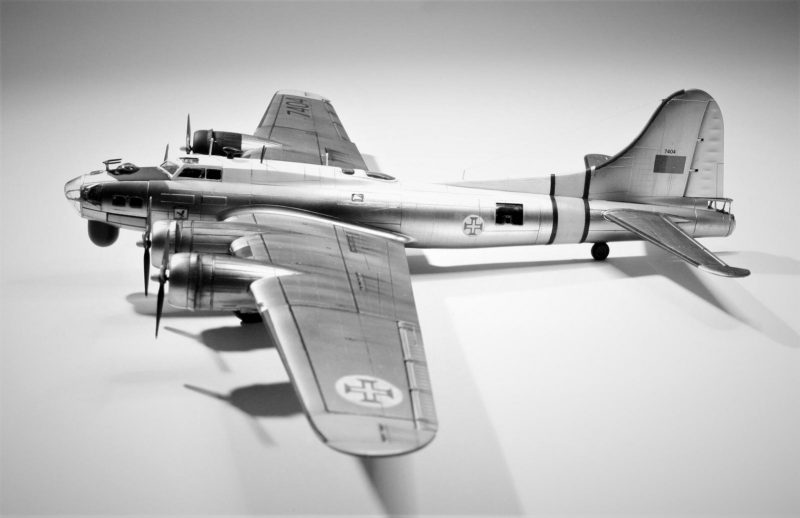

This is something really different and extremely well done Manuel!
thank you Dale! @dtravis
much appreciated!
Manuel, I think we both have seen a few models of SAR Fortresses of the Portuguese AF, mainly in 1/72 also. But to be honest yours is the best one I recall, and I don’t think I’m risking being unfair to previous models.
Great NMF and super weathering, Parabéns
thank you Pedro! @holzhamer
I did my home work and collect some photos 😀 After that it was a matter of modelling. You're too kind, thank you!
Agradeço o comentário tão gentil, um abraço.
Manuel
Nice job on an unusual variant. It’s good to know that this kit can be painted before attaching the wings.
Thanks!
Very well done Manuel. Interesting variant and with a cool backstory. Your paint and finish work is exceptional.
Thank you for your kind words.
You've definitely gone the extra mile (sounds better than extra kilometre) in building this model, Manuel, terrific result. I'm sure the pilot's family are very pleased.
Thank you Sir, @chinesegeorge
Some tlc applied 😉
Very nicely done indeed.
Thank you! 🙂
An amazing build!
Thanks @roofrat! Much appreciated
What a great looking aircraft! Well done!
Thank you❗
A beautiful build, Manuel.
The Portugese signs came out very nice.
I do like the NMF and the subtle weathering you applied, it looks very realistic.
Lots of compliments, and as you said, those 80 hours are well spent.
Thanks @JohnB!
I'm glad you liked! Thank you for your kind comments!
Echoing all above gents comments, let me also praise your fantastic build, Manuel!
The scheme is outstanding! You did an excellent representation of it.
Also, weathering is perfect! It's not the easiest thing to weather an NMF plane.
Congratulations!
@fiveten my friend, you're always too kind!
thank you.
Greetings from Portugal
Another Manuel Magrinho Masterpiece! Really nice result and a demonstration of real skill and talent with the scratchbuilding and modifications.
"Liked."
Thank you Tom! @tcinla
You're really kind, much appreciated!
Greetings from Portugal
Beautiful build. It's fantastic to see something besides the normal variants and decals that come in every box. Well done.
Thank you Sir.
Regarding different versions I couldn't agree more. In this case there is also an affective bond.
Greetings from ?
A real beauty! Love the scheme, and all the work you did to bring it alive. That was a bold move to add the rivets after painting, but really added that extra dimension! Nicely done.
Thanks Greg! Yes, I don't know if I'm bold or just crazy, bet on the 2nd 😉
Sometimes we have to go 'out of the box' and that black layer underneath the aluminium was calling for my rivet maker tool 😀
Beautifully done, Manuel! You would have made the old Gent proud, I'm sure!
Thank you Jeff! @mikegolf
You are always too kind, much appreciated!
Excellent work Manuel I'm sure your client was very pleased with your results. I certainly would be. Nicely done.
Thank you! yes the model was quite appreciated 😀