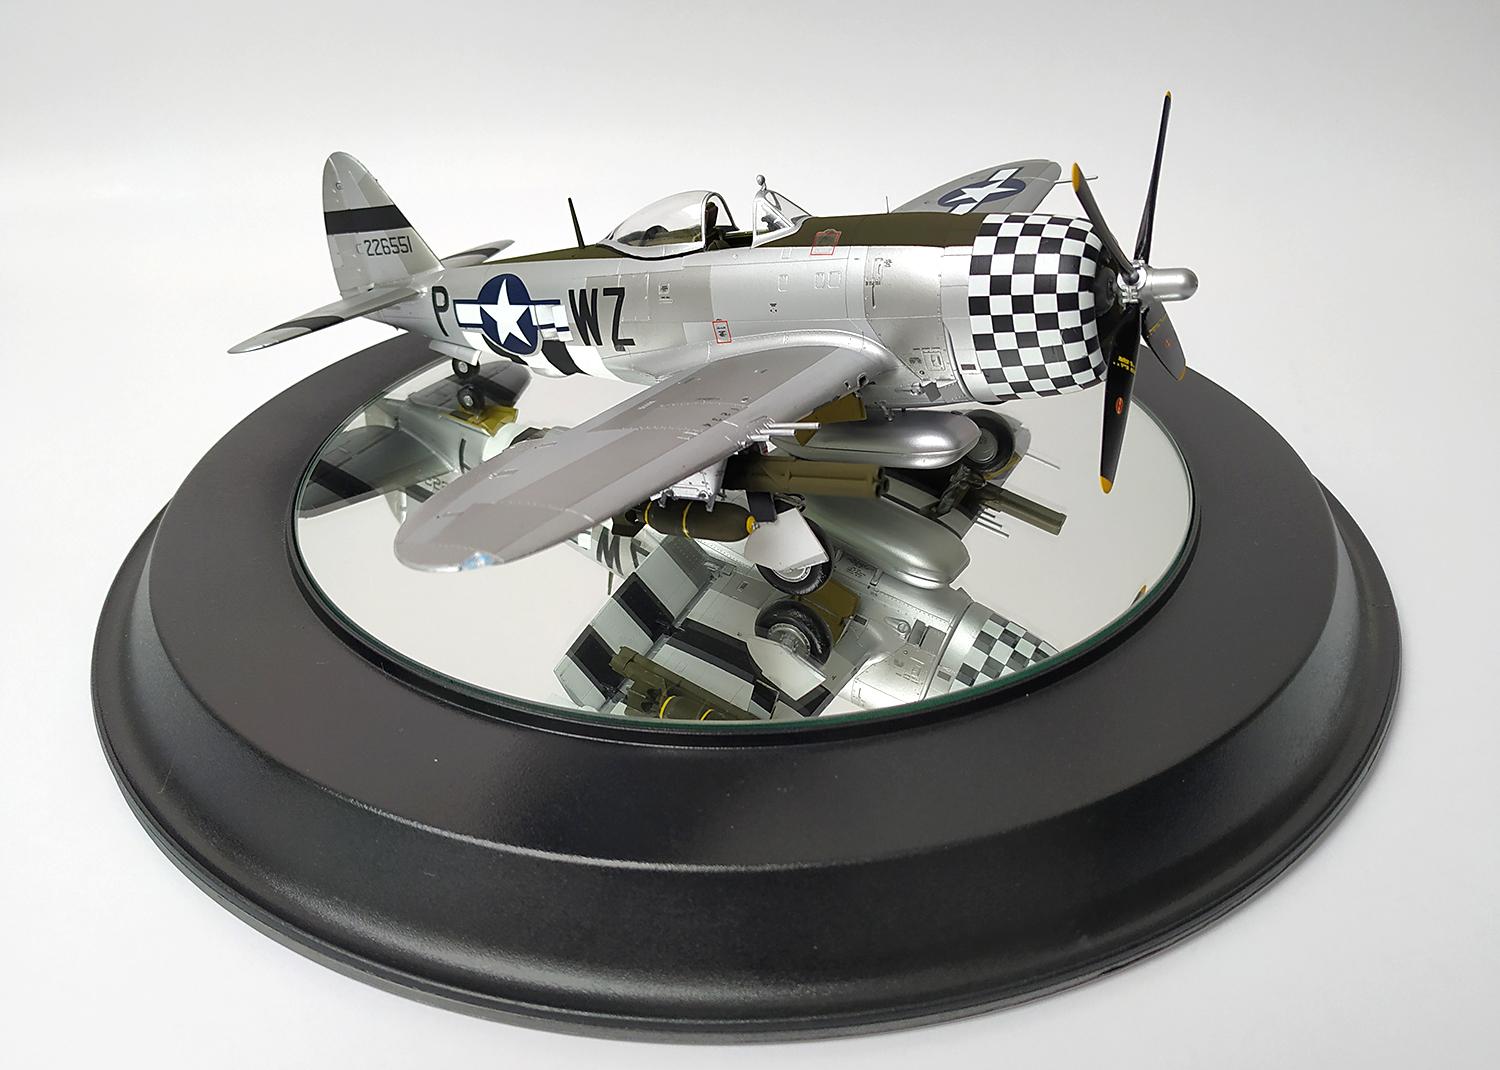
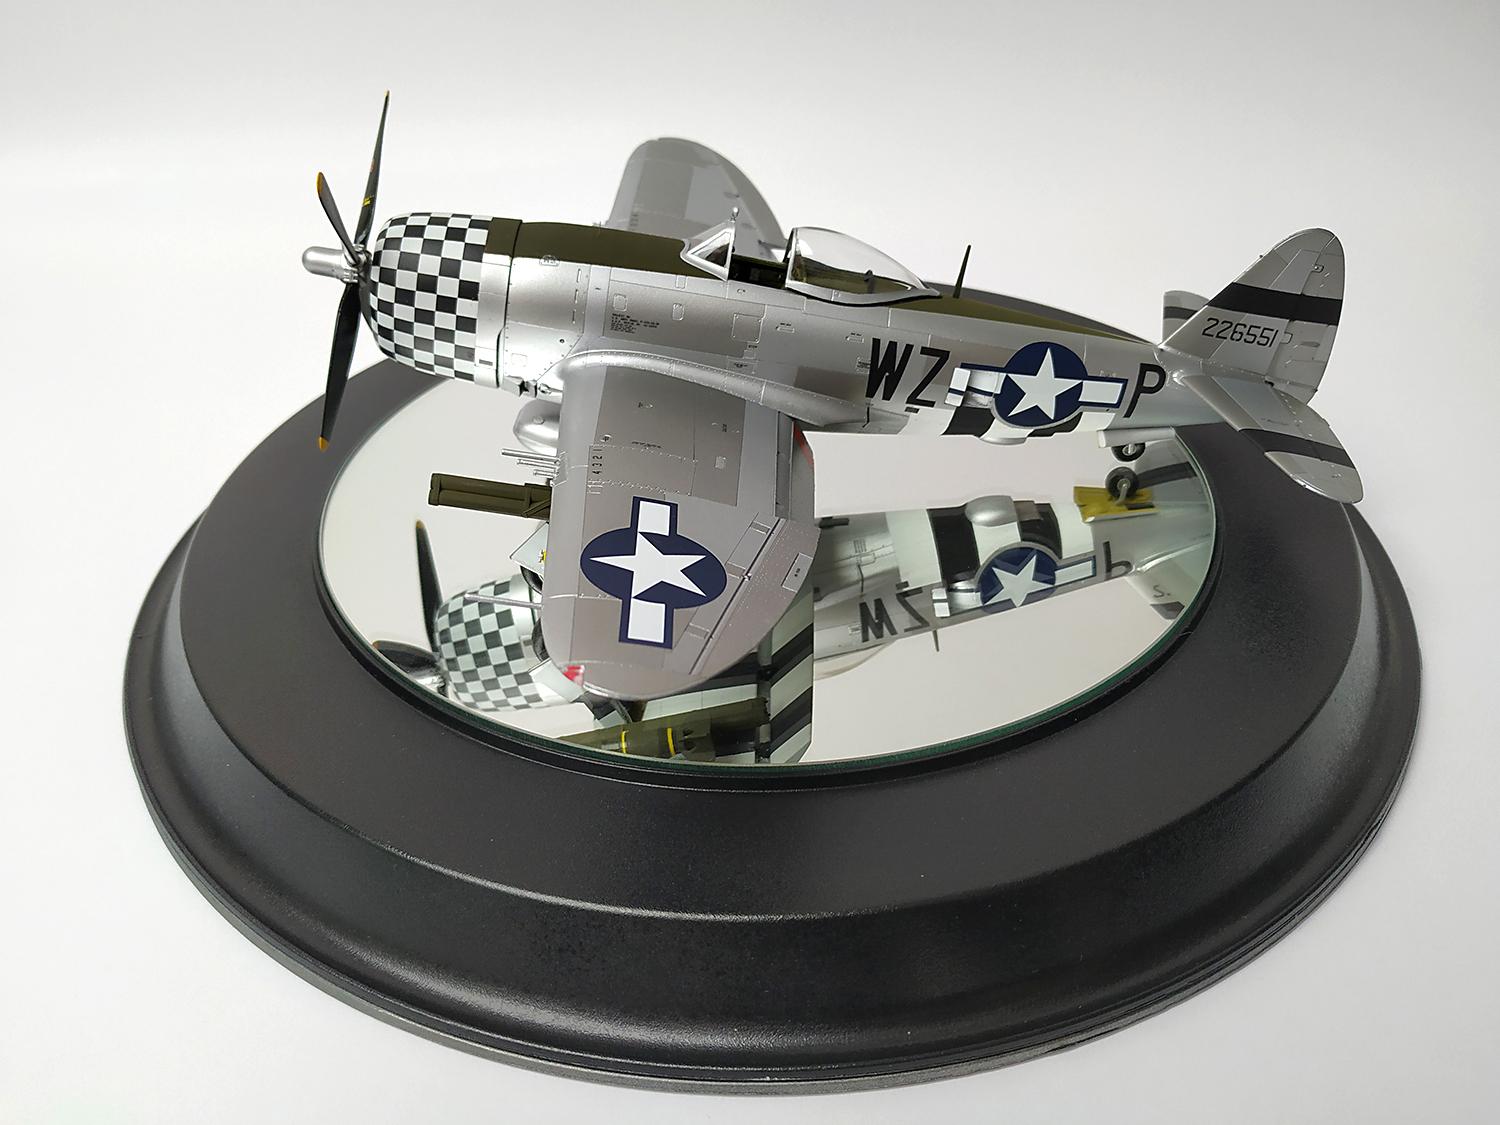
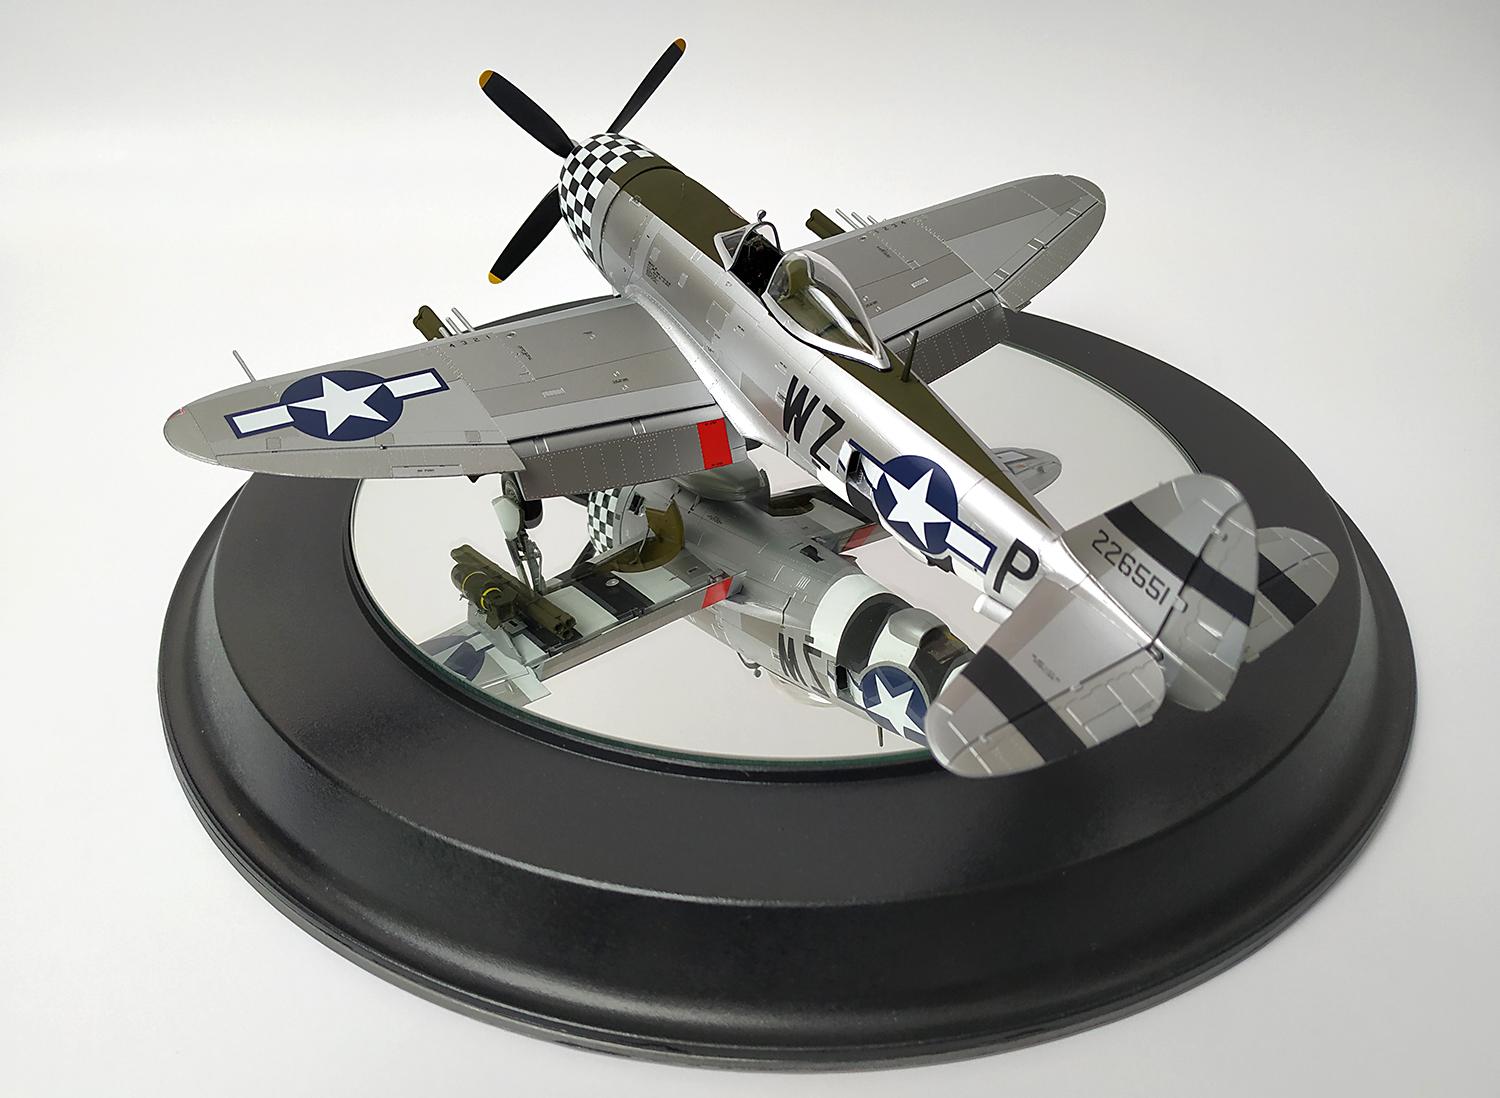
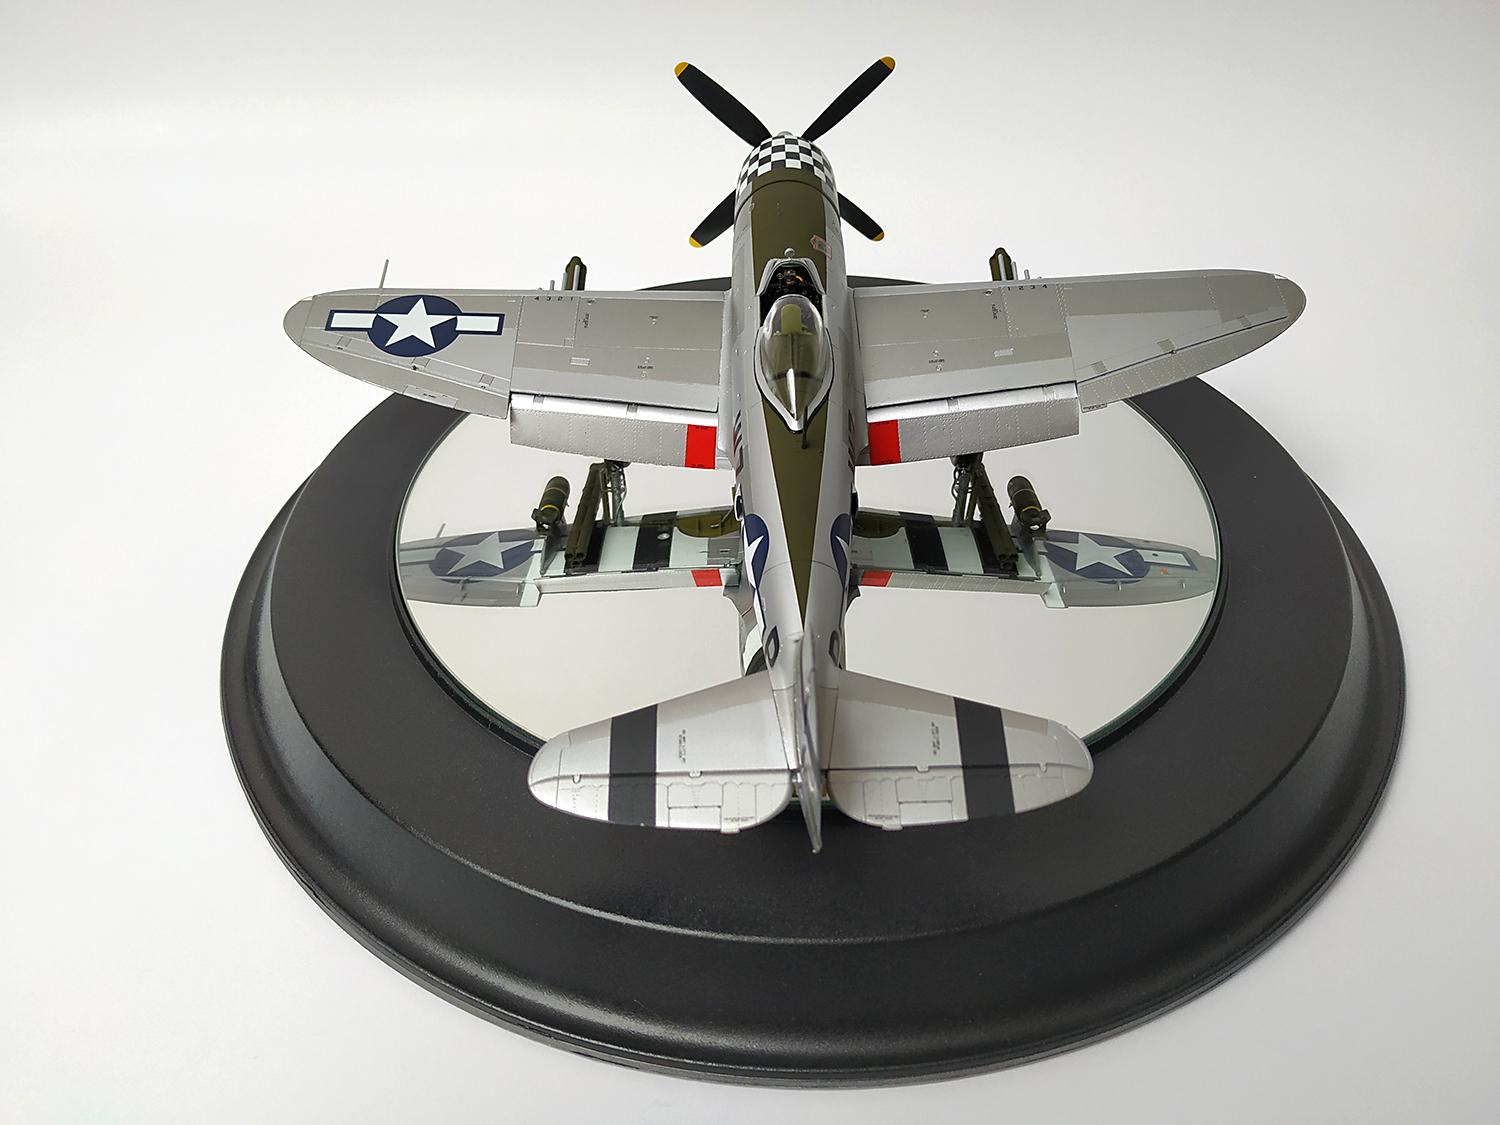
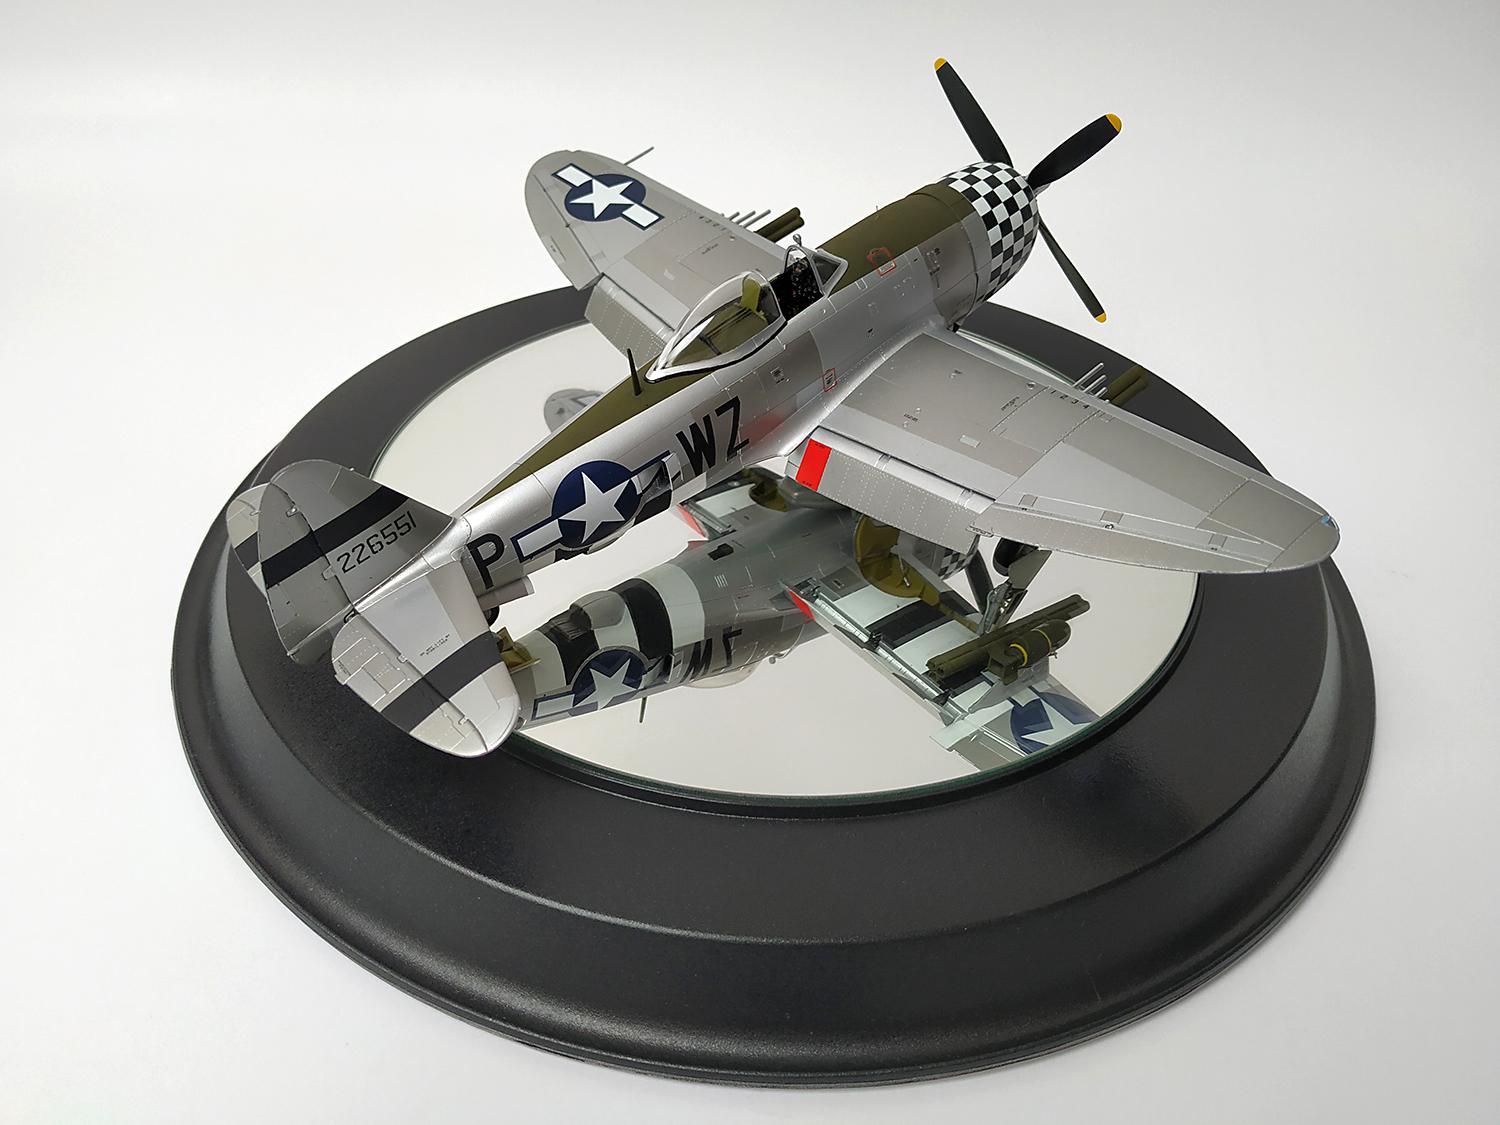
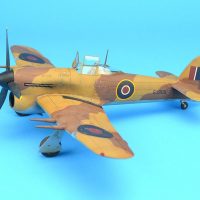
Tamiya P-47D Thunderbolt, 1/48
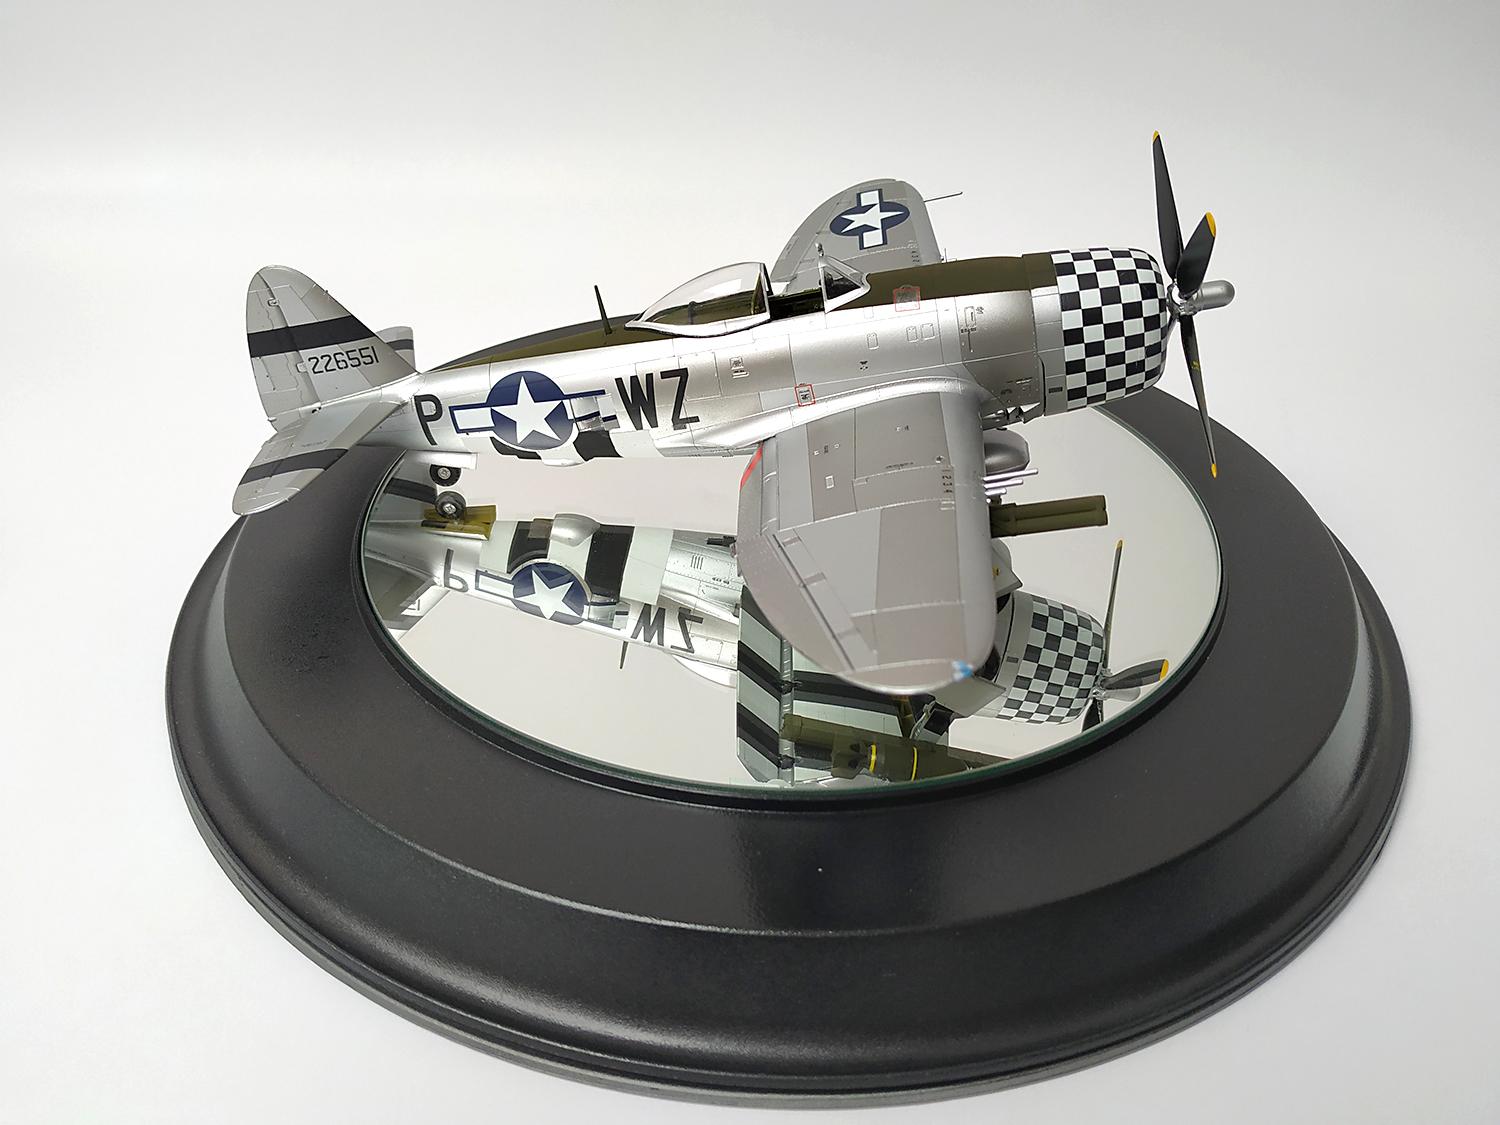
This model from Tamiya is great. Has a lot of parts and decals to build two versions. I bought an Eduard PE to give more detail to the cockpit, landing gear, fuel tank and motor. The paint took me some time. I had to put a black primer and then cover it with aluminum. Later masked some parts and cover them with a little darker aluminum. The invasion black and white stripes where painted too. Then was the time for the decals who took me a little time. The REAL challenge was the nose square decal, but at the end everything finish ok.
I added an electric engine to make the propeller spin and make it look more real. Check how it looks:
https://www.instagram.com/p/CWeHl5Lpnw-/
Hope you like it.
Greetings


Great work, Enrique! Very clean. What aluminum paints did you use on this?
Hi John, thanks for your comment.
Vallejo Gloss Black primer 77.660
Vallejo Aluminium 77.701 for general paint
Vallejo Aluminium 77.701 + Dark Aluminium 77.703 for darker parts ( 3 + 1 ) and ( 3 + 2 )
Higly recomended: a Tamiya Clear X-22 coat before masking to protect the paint.
Have a great one
Thanks!
She's a beauty Enrique! That checker-board cowl is spectacular! ?
Thanks Gary! I was really worry to apply this decals, because is only one shot to do it.
Have a nice day
Beauty. I love Vallejo Metalics.
Thanks my firend
They are great
Great result, Enrique @quiquelopez
Beautiful wotk on the aluminum.
Thanks John. I´m working in a P-38 Lightning and I
´m using same colors too. Let´s see how it finish
Have a great one
Fantastic Natural Metal Finish!
Thank´s for your comment Lis
Have a great day
Amazing job, Enrique!
Thank you Spiros
Have a nice day
Great Enrique @quiquelopez. This kit gave me a lot of pleasure to build except for the checker cowl which I completely ruined and changed to the other proposed pattern. Yours is just amazing. Thanks for sharing
Hi Yann, to be honest... the checker cowl decal was the most dificult work of all. I was really nervous to do it before I started because I didn´t want to ruined it and took me a lot of time to aplied and finish it. My advice is to use a lot of Decal Mark fit ( I used Tamiya´s ) to make the decal really softer and in that way can move it into the right possition. I spent more than 30 minutes to finish this decals. Took me a lot of patience and luck too.
Thank´s for your comment and lets keep building.
Have a great one
Well done, Enrique!
Thank you Gary
Have a nice day
Great work Enrique, this is a very sharp looking P-47.
Thank´s for your comment Bob
Have a good day
Just a marvelous build. What do you use for the motor? I’d like to do that with a P-51 I’m building. Again, a Great jug!
Hi Matt, thanks for your comment.
Answering your question... I used an electric motor (something really simple), a doble AA batery, a switch, electric cable, silicone glue, tape and a welding kit (to join the battery to the cables and to the batery). The first thing I do before I star building the model is to check if the batery fits in the inside nose plane, also see where the batery will go inside the plane (maybe behind or beneat the pilots seat). and finaly look where the switch is going to be (there´s not to much room inside this little planes). If there is not room for this three parts, I don´t break my head looking how to make it fit and I continue building the model with out a motor.
If they do fits I continue to hold the batery in the middle of the inside nose to make it be aligned to the center where the propeller will fit. To do this I use glue, silicone and plastic. Then weld the cables to the batery, the switch and the batery. Put the batery and the switch in their place and glue them. Be shure that everithing doesn´t moves and finally prove the motor gorks. It doesn´t has to move. Finally I put a plastic extension (normally I use an old empty pens plastic tube) in the motors front. The propeller will fit there to be able to spin.
Ufff! Hope my english is good enough to explain well all this process.
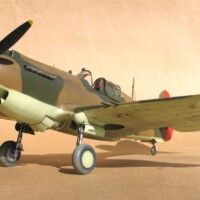
I add some samples from the Corsair and this Thunderbolt. Hope this will help to see how it works.
Just be patient my friend because takes a little time to do it. But at the end when you finish your plane it really looks GREAT! and make you feel like a little boy again.
Have a great building.
6 attached images. Click to enlarge.
Looks great - got the checkers down very nicely - I've always admired that pattern but have been intimidated from trying it out!
Hi Greg, you´re right man. I new I had only one chance to do it, so after saw where to begin and how to do it, I took a deep breath and started working on it. By the end, the three decals feet well. Made a Home Run! I was lucky to.
Thanks for your comment.
Have a great day