1/48 Airfix P-40 Tomahawk II

Here is my first completed build of 2022
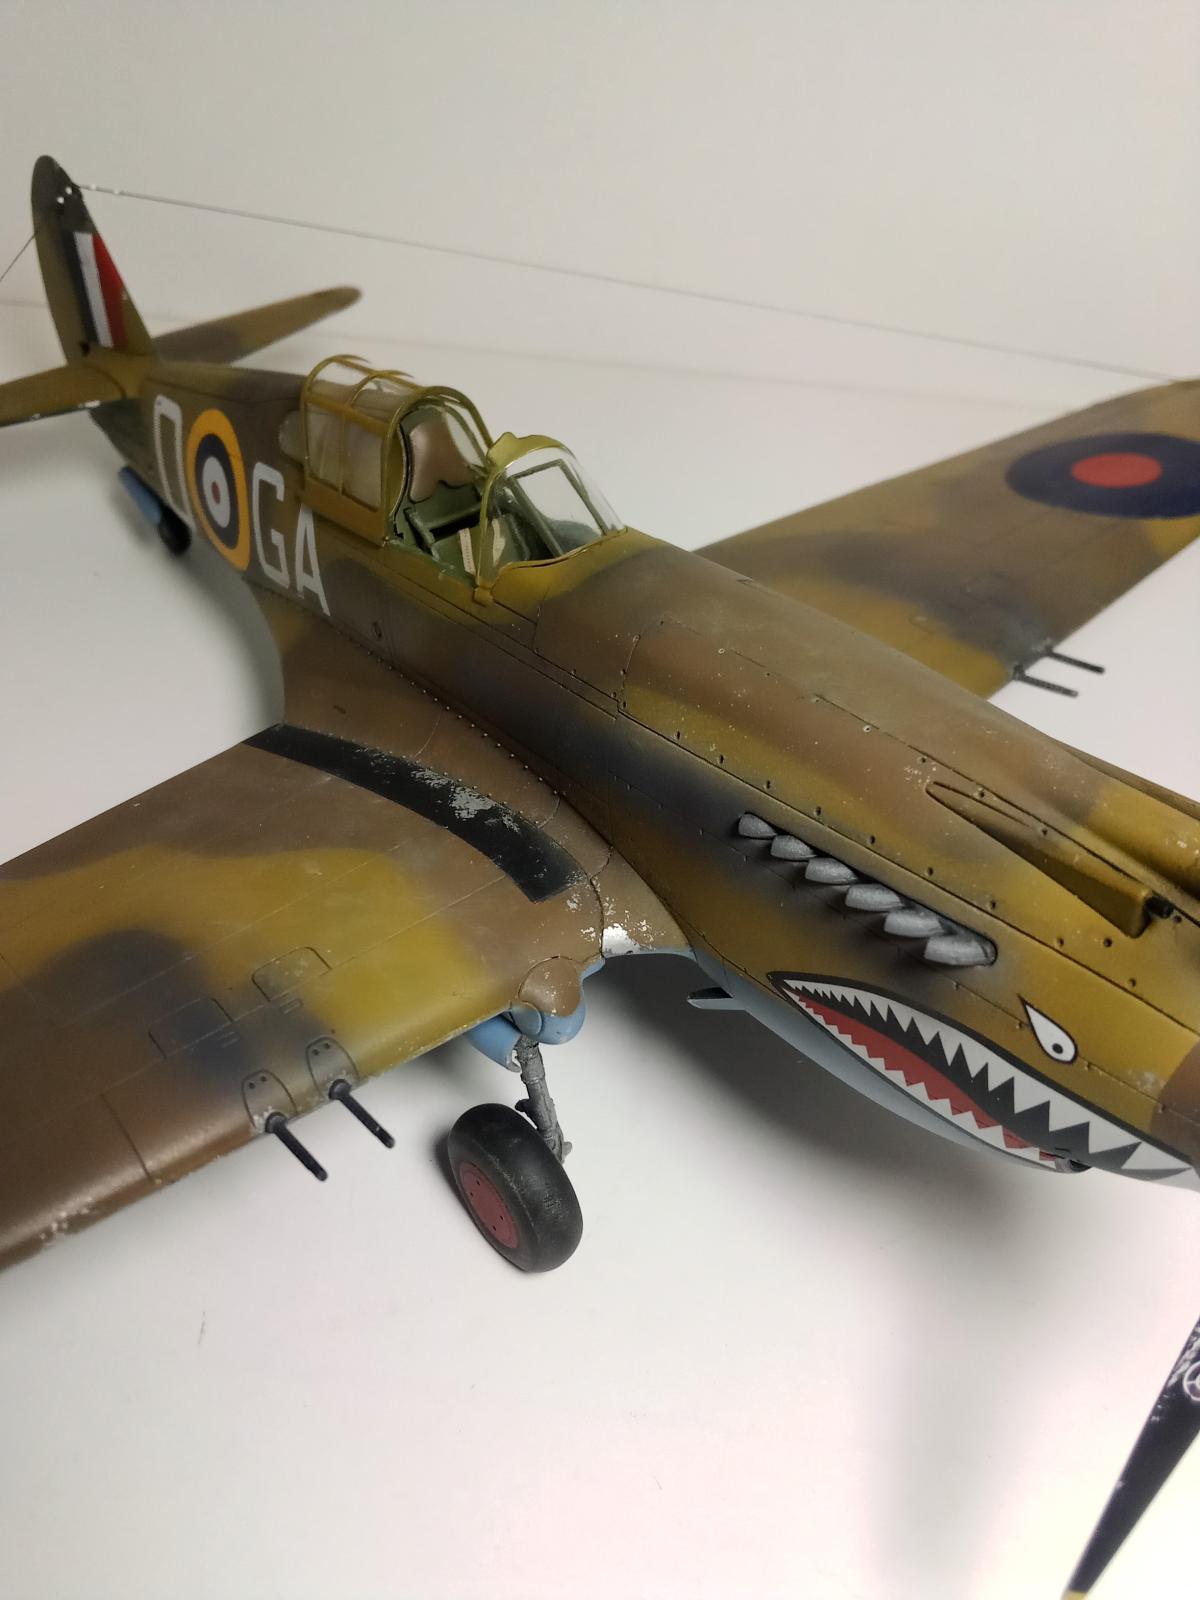
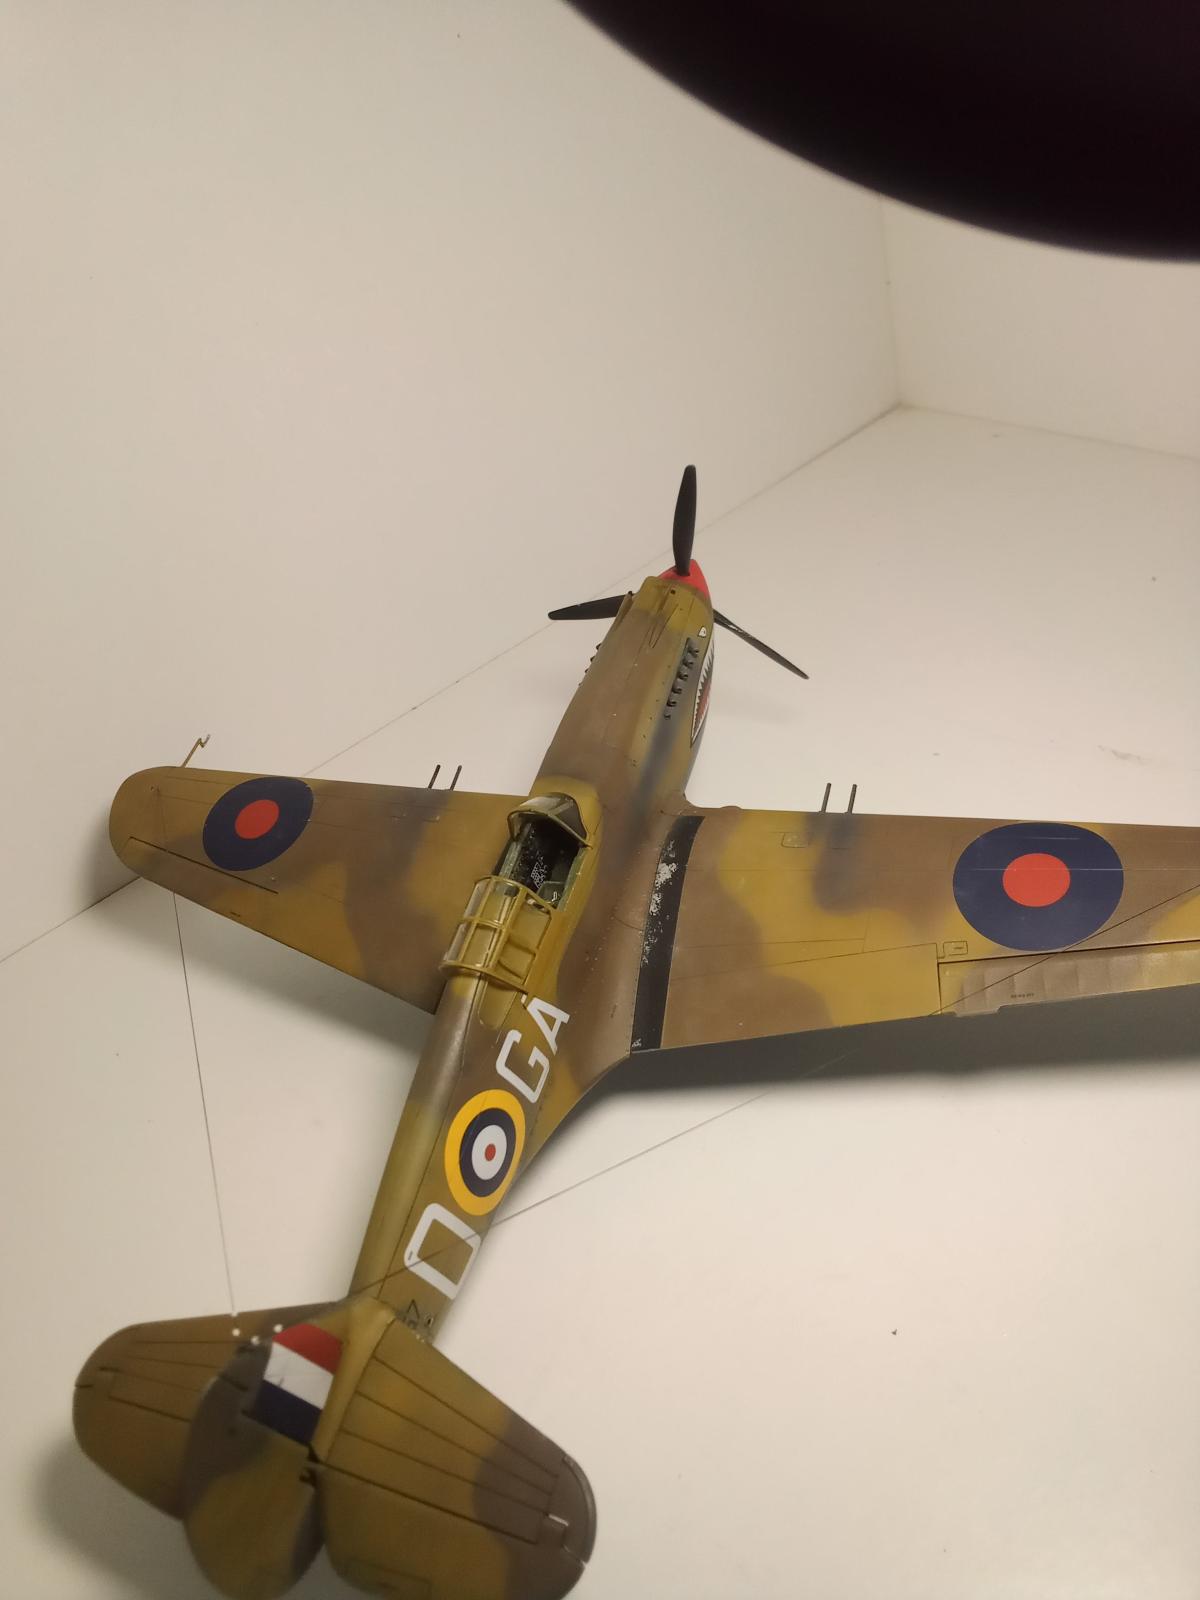
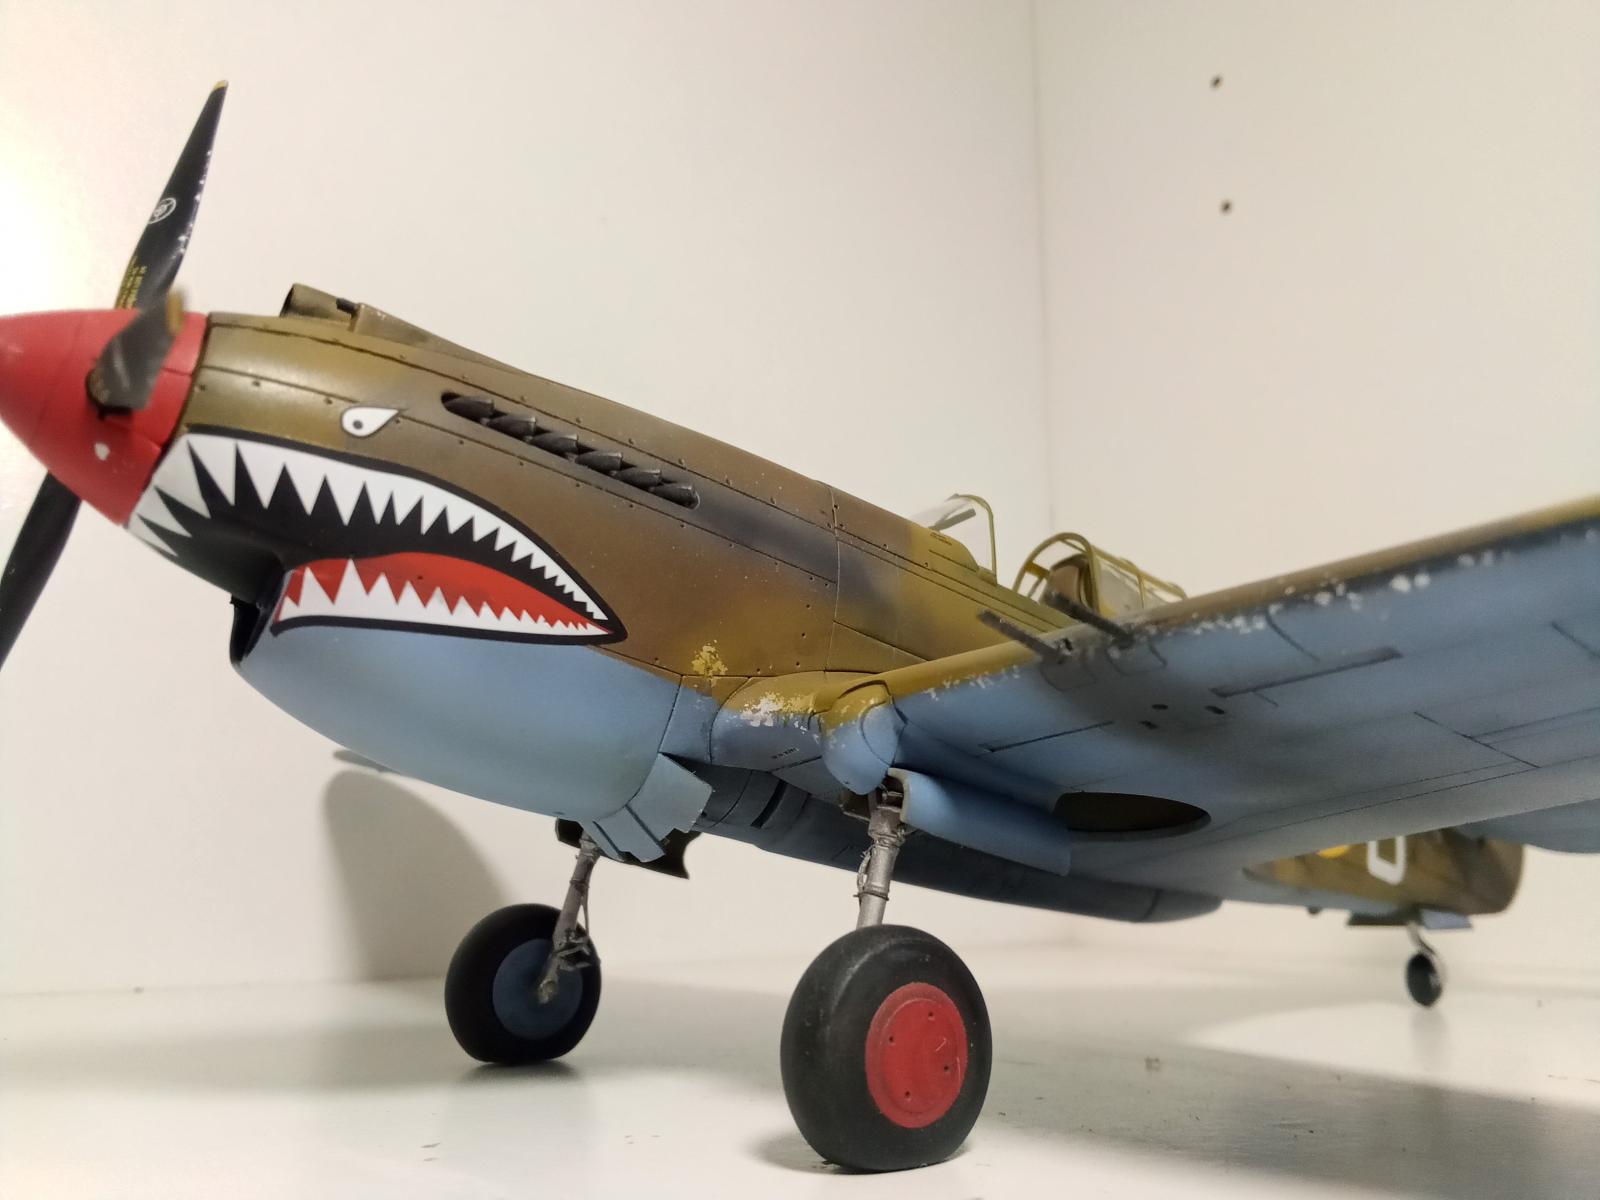
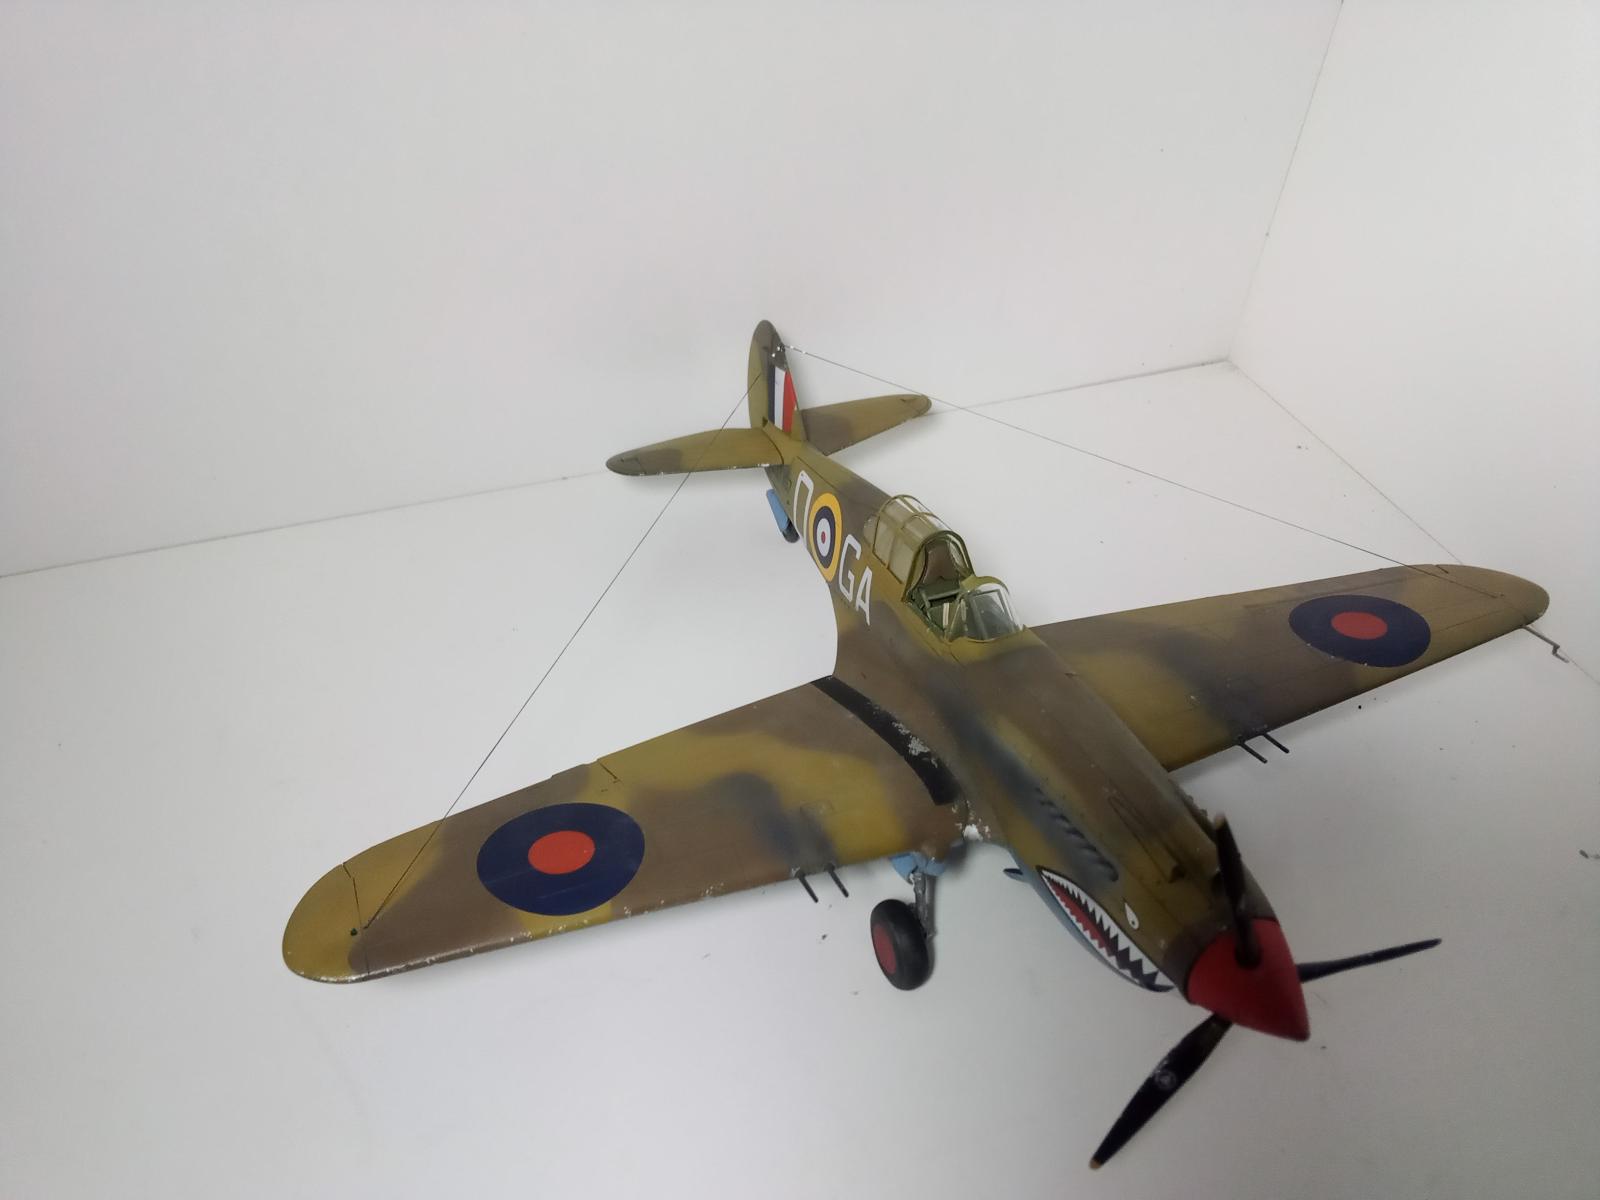
It is the new tool Airfix 1/48 Tomahawk II
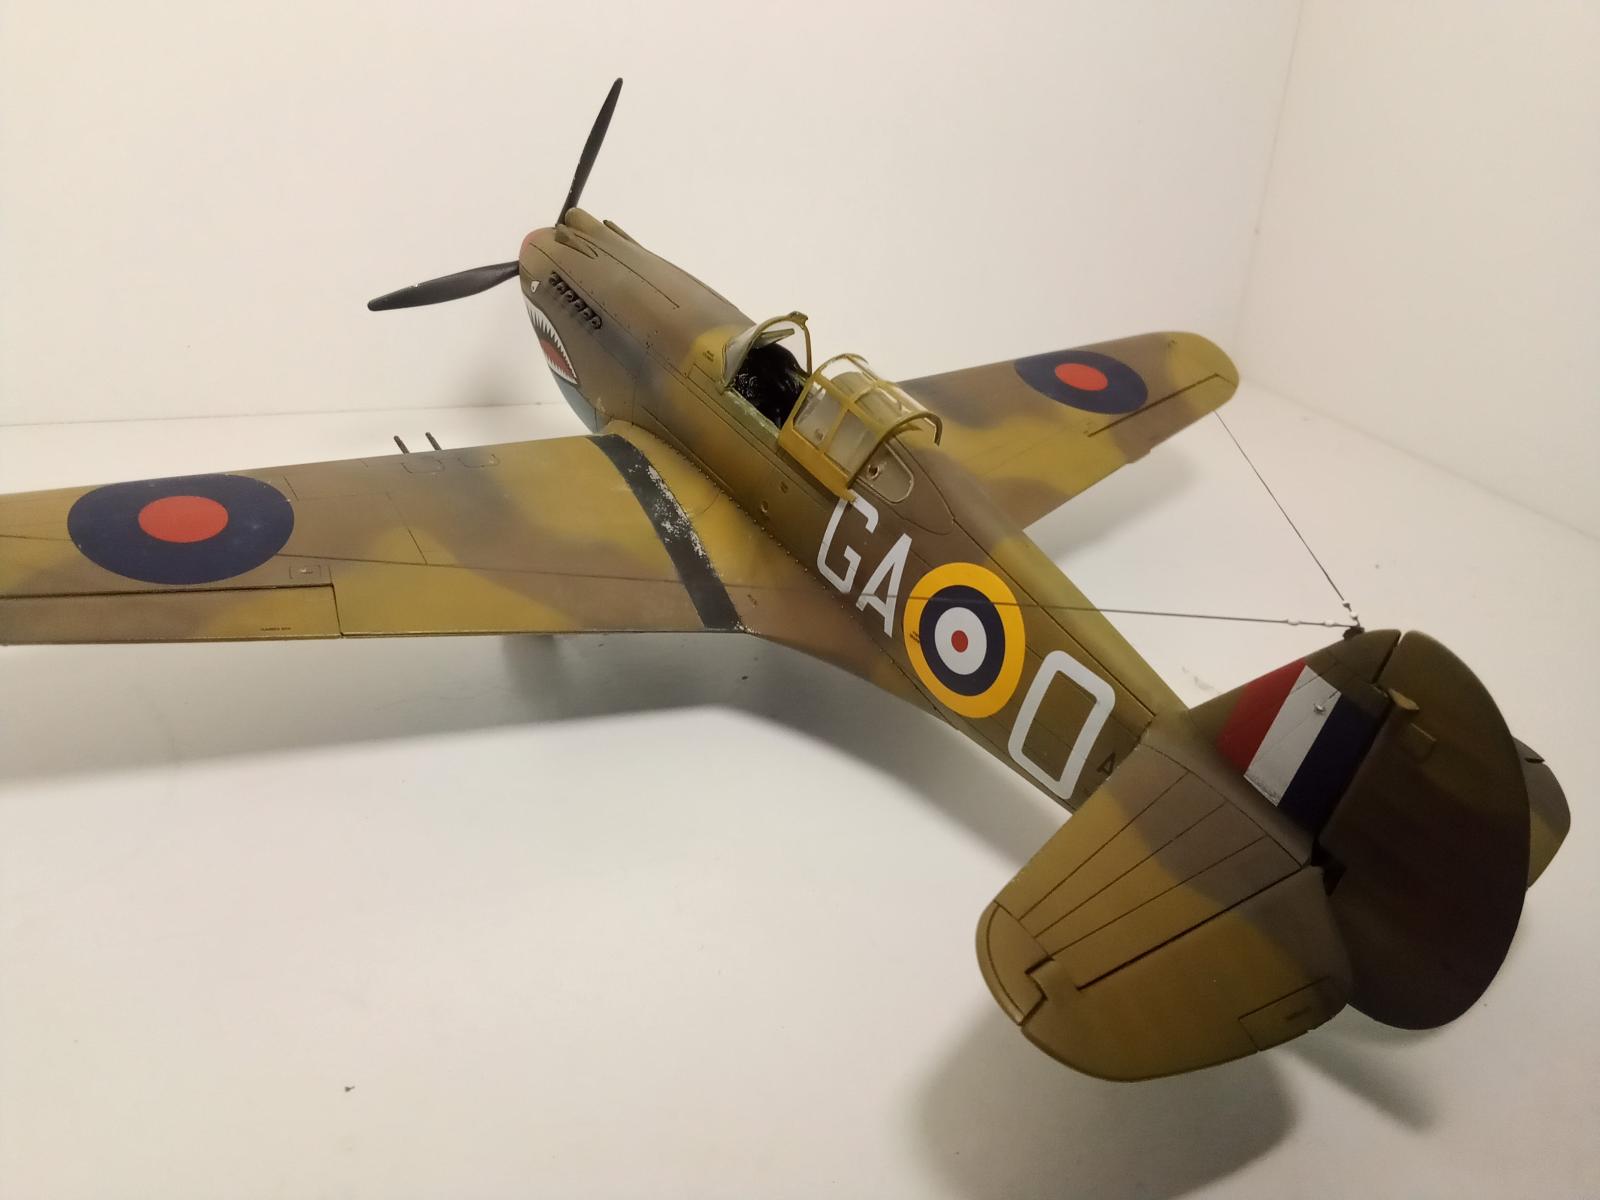
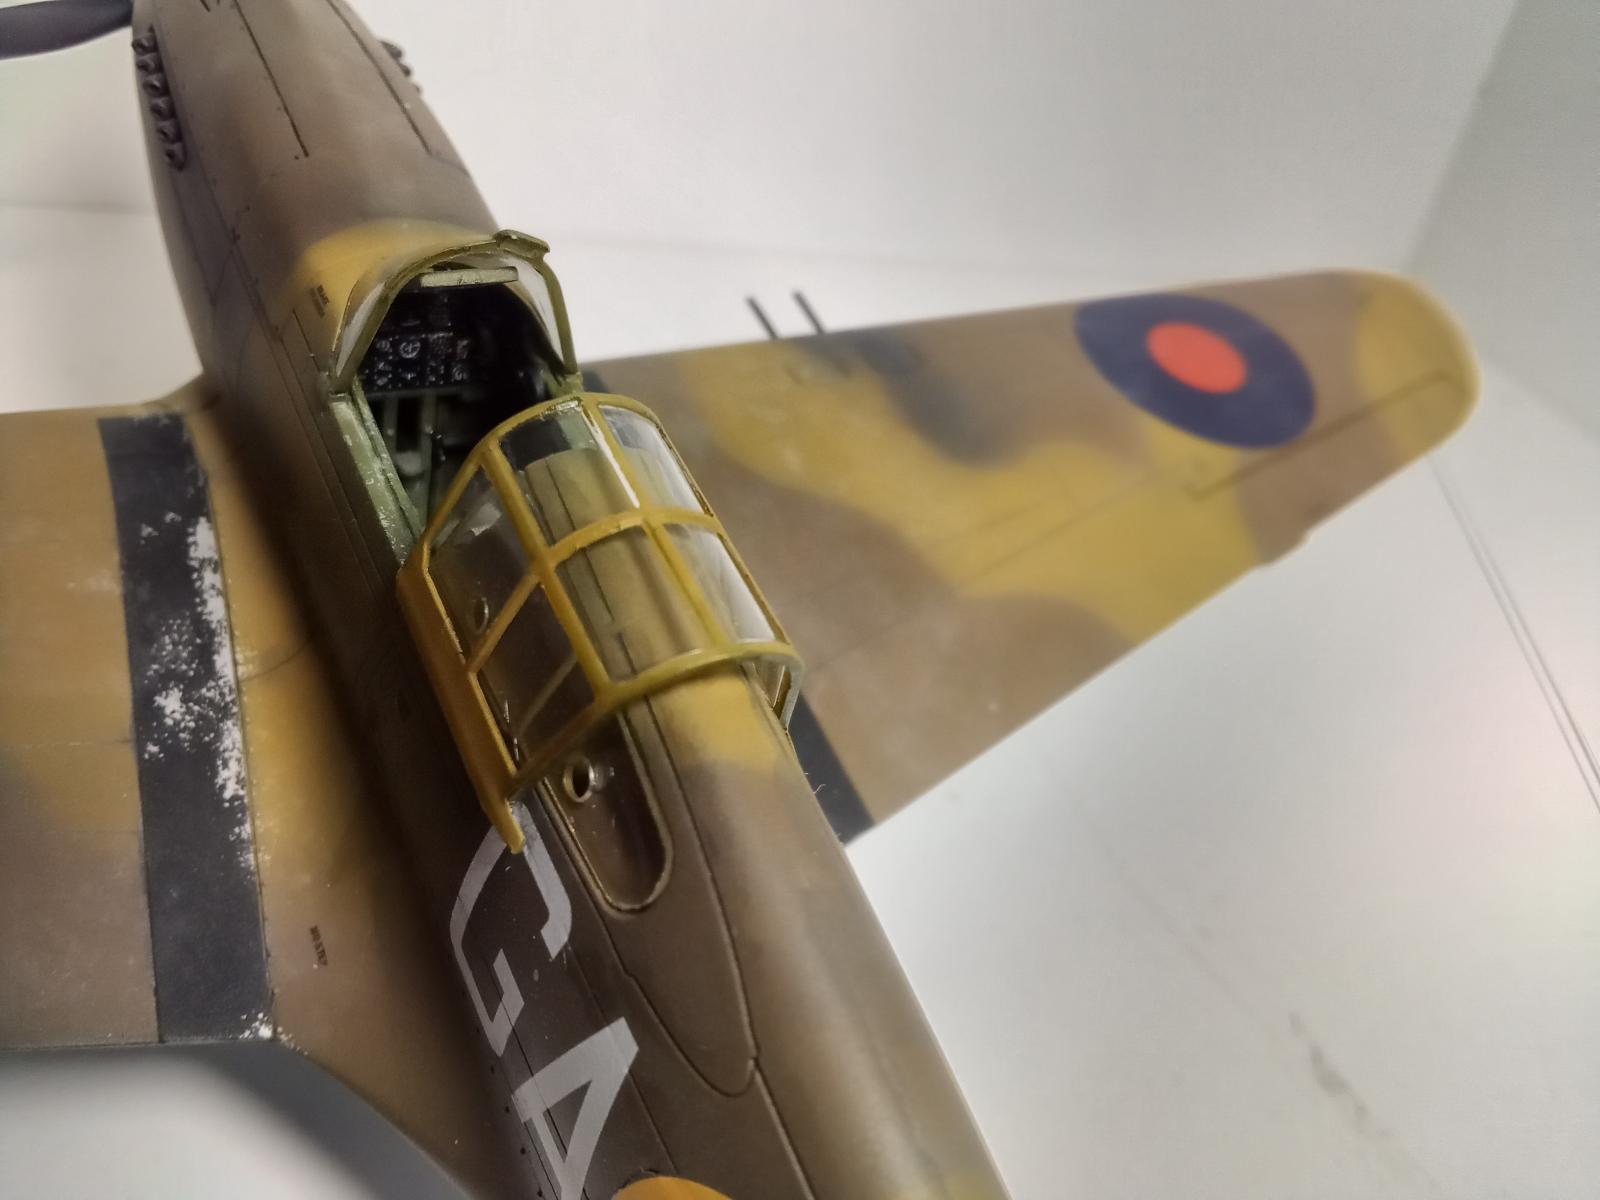
The build is basically OOB with the addition of Eduard seatbelts and canopy masks. I also used EZ line for brake lines and added some little retracting arms on the gear doors made from wire. The radio wire is made from EZ line as well.
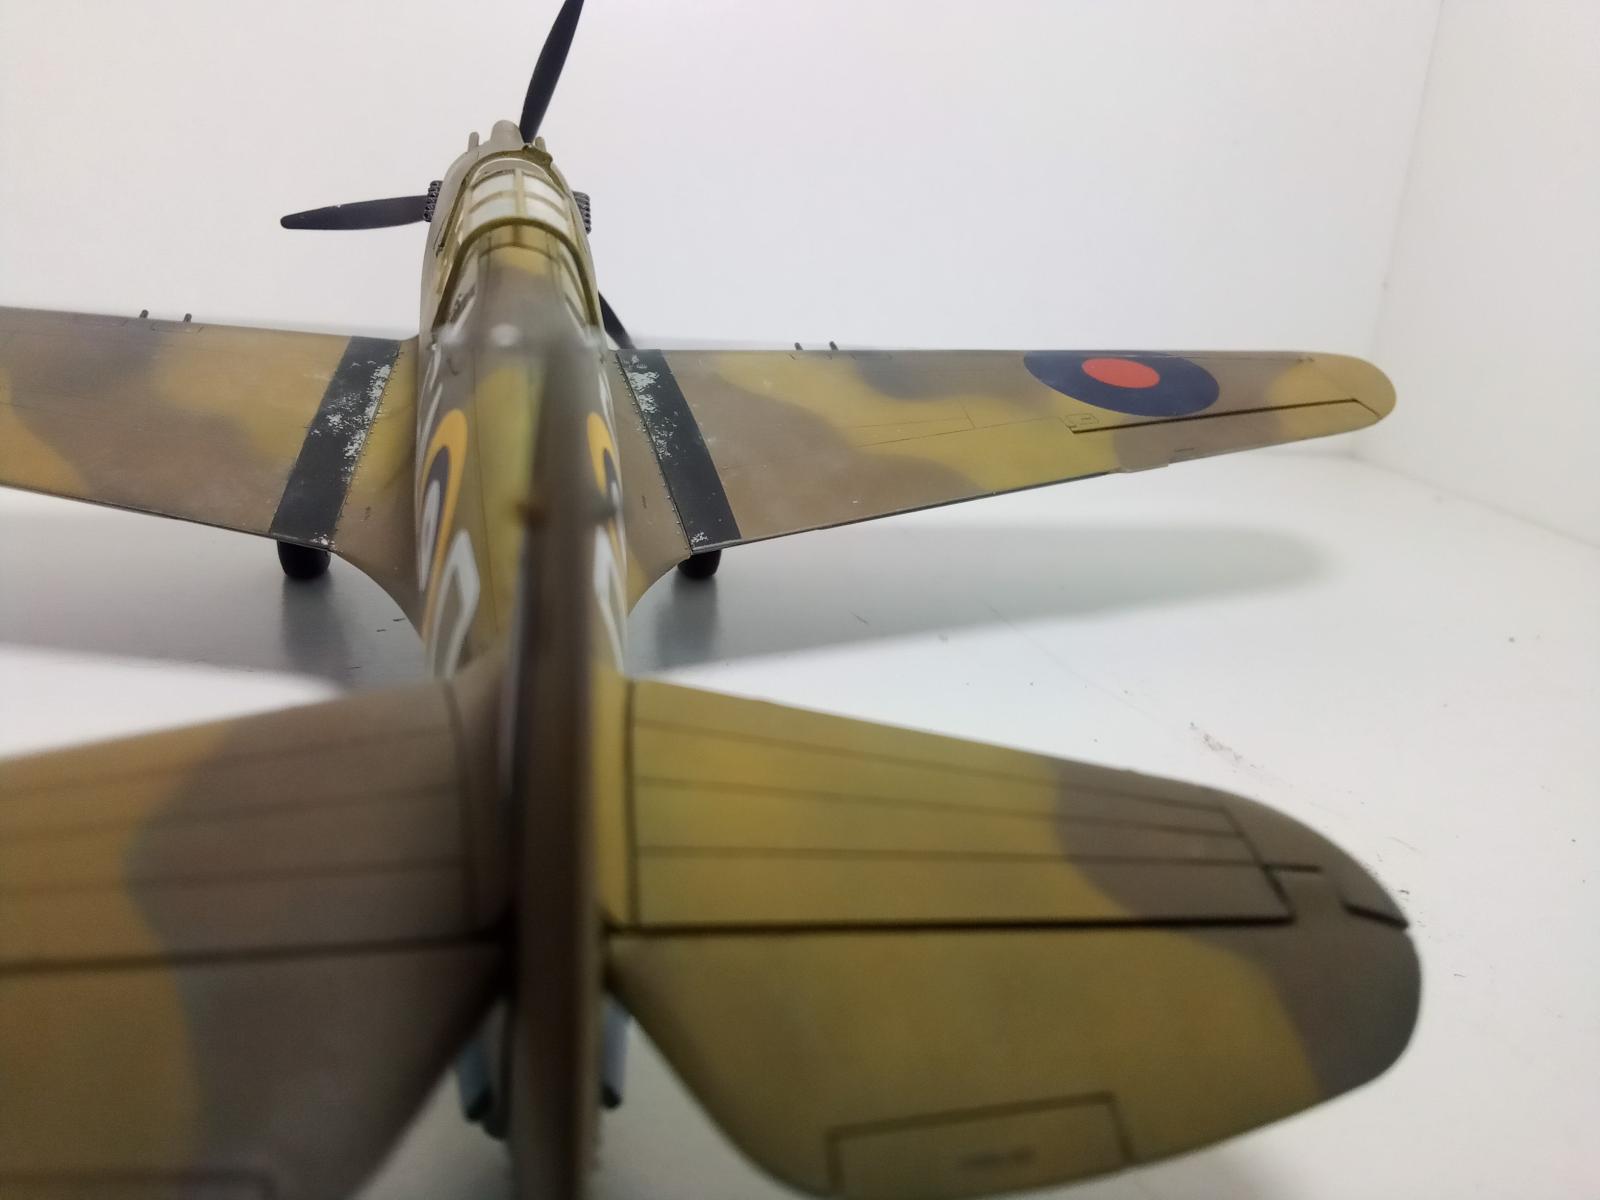
I wanted to model a aircraft that showed the effects of long hours in the sun without going overboard. "Weathered but restrained" was the effect I was aiming for.
Overall it is a great kit but I did find the fit of the spinner and whole prop assembly to be troublesome.
Enjoy and happy 2022!


An excellent result out of the good Airfix kit, David!
I love your weathering: indeed, weathered but restrained!
Well done!
Looks great, David. I’m a fan of that kit.
Nicely done!
You nailed that sunny look quite well
I heard this Airfix kit was a great kit, your build definitely shows that it is.
Really like that EZ line antenna work.
That really looks like a great kit, and a very nice build on your part. I really like that desert scheme an think you did well with your weathering of it.
Excellent build. The finish looks really nice - I'm working on a similar schemed P-40 now because I like those desert schemes so much.
I really like how this one turned out, David. It was fun watching it come together in the Desert Air War GB. In addition to the fine chipping effect you achieved, I think the two-toned exhaust stain looks spot on. Hard to airbrush well, especially at that scale, and it looks very realistic. Overall, nicely-weathered camo, particularly on the Azure Blue undersides. I plan to do Neville Duke's GA-F in 1/32, which is very similar in camo and markings. Your work will be an inspiration to get the details right.
Thank you! Its a nice kit and I'm pleased with the result. The positive and constructive observations in the group were very helpful along the way
Great results on this Tomahawk, David @dbutlr
Airfix engineers did very well on this kit, it fits quite well.
Did built this one two years ago but you definitely did a much better job.
Thanks for the kind words John- I looked at your excellent build during mine and it helped me to get a feel for how to attach the radio wires to wings/tail. Thank you!
Hi Dave,
Here are some suggestions and pardon me if they were already made as did not read all the other responses.
I tried using the Tamiya panel line wash but it removed the underlying gloss coat (Mr. Color clear gloss). I couldn't figure out how to protect the gloss coat from being damaged by the panel line wash.
I made an oil wash using oil paint and thinner but that also removed the Mr. Color clear gloss layer.
-I believe the Tamiya panel line washes are enamel and mostly likely any oil based product will remove the Mr. Color gloss. When working on a Bell X-1 I used the Mr. Color gloss then put an enamel wash over it which mad a mess and I had to repaint the model. My approach to painting is not very scientific, but the rule of thumb is to put acryilic washes over enamel or lacquer paints and the opposite if using acrylics.
The final matte coat is very bumpy. I used the Mr. Color spray bottle and sprayed the spray can directly onto the plane.
-Not sure what the issue is as I have used the spray cans successfully except if the can was cold. When that happened it did not turn out well and possibly could be the cause. Now I immerse the can part way in hot tap water for a few minutes especially now since it is cold here.
The gloss coat (Mr. Color clear gloss) I used never achieved the smooth clear finish I was expecting. I thinned the gloss 50/50 with thinner and applied four layers. It still had a matte finish to it after four layers and not very smooth or shiny.
-When I used their clear gloss I use the leveling thinner they produce. It works great and have used it for Tamiya and AK paints with no problems.
I used Mr. Hobby Mr. White putty. I could never achieve the results I wanted with this product. Every time I sanded, it seemed as if there were air bubbles or voids in the putty so I would have to apply another layer. I'd sand again and then there would still be more voids in the putty. I could never get a perfect seam in the areas where I used this putty.
I have never used that stuff bought a tube of 3M Acryl-Blue Glazing Putty and I never get any voids. Mine I got on Ebay as I think it is out of production. Most likely other fine texured glazing putties would work. Sometimes I mix talcum powder with super glue and use it on troublesome spots. If you do not let it sit overnight as it will be harder to sand. Also, depending on the size of the cap you can use straight super glue.
I could never get the yellow on the tips of the propellers to look good. I used Vallejo flat yellow thinned to 50%. Even after 5 layers of yellow paint, the black base layer was still visible.
-For this first I do a reverse process as opposed to I believe most guys. First Ipaint my prop and spinner the appropriate colors then mask off everthing except for the prop tips. Then I spray a thin base coat of flat white and once dry apply the yellow. I always screw up the tips doing the other way. To make the masking easier I use as little tape as possible and the fill in the spaces with Silly Putty. If you ever do a WWII RAF bird with the yellow ID bands on the leading edges here is my suggestion. Trace the outline of wing on a sheet of paper or masking tape to make a template. Once you have applied the exterior paint cut out the template. If you use tape just apply it, but if I use a paper template I tack it in place with Blue Tac or Silly Putty. Then I apply the whtie paint and then the yellow. I have found it very tough to get the ID bands right doing the opposite due to the compound curves and getting the widths even on the top and bottom.
Any suggestions for rescribing lines that were sanded away? I couldn't keep my lines straight.
-Try to get some Dymo tape the stuff they used on the old label makers. To stretch it I cut it in half as I find it works OK. One thing I use is the discarded subway cards there in NYC as they are very flexible and can be cut to make thinner pieces. If you want soe let me know and I can send you a few.
What is the recommended color to use from Mr. Color to paint the cockpit interior and wheel wells for American WWII aircraft? The color recommended on the instructions was too "pea green colored".
Any suggestions for paint chipping using the paint brush and silver paint technique? Mine doesn't look convincing.
-I have been using Mr. Color 27 Interior Green for my US birds. For chipping I use a silver pencil as I have more control and if I make a mistake I can wipe it off.
Good luck and I hope some of this helps you.
Nice looking TomaHawk Dave, and who doesn't like building P-40's ? Also it appears that Kevin has posted his remarks on the wrong P-40 post.
Very smart Tomahawk! What Paints did you use to paint undersurfaces?
Thank you @Lis- I used vallejo air paints for the whole build. The underside is painted with UK Azure blue over a coat of black primer