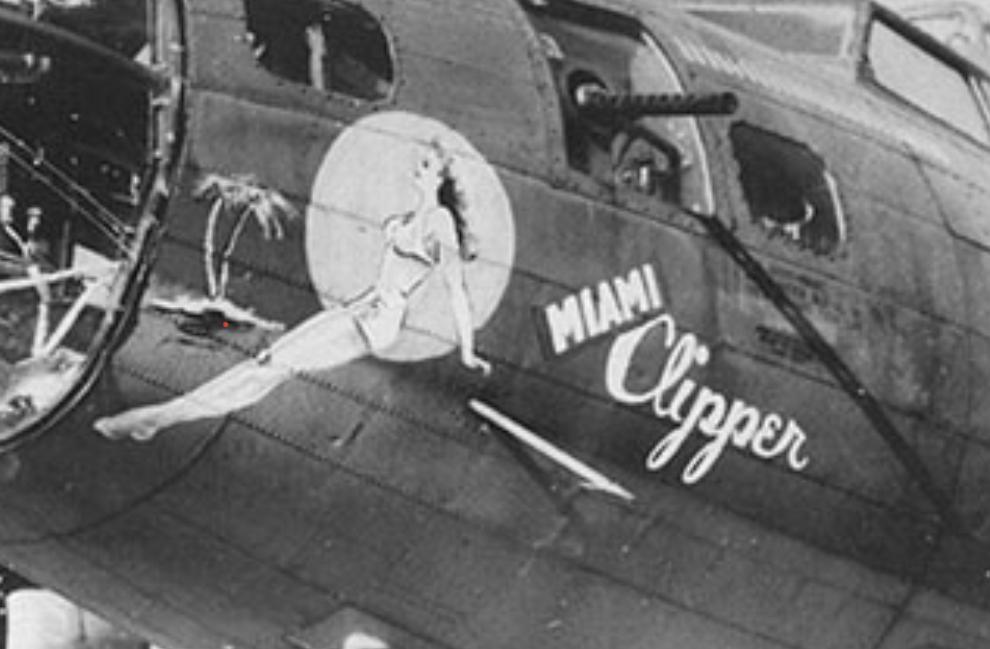
B-17F Miami Clipper
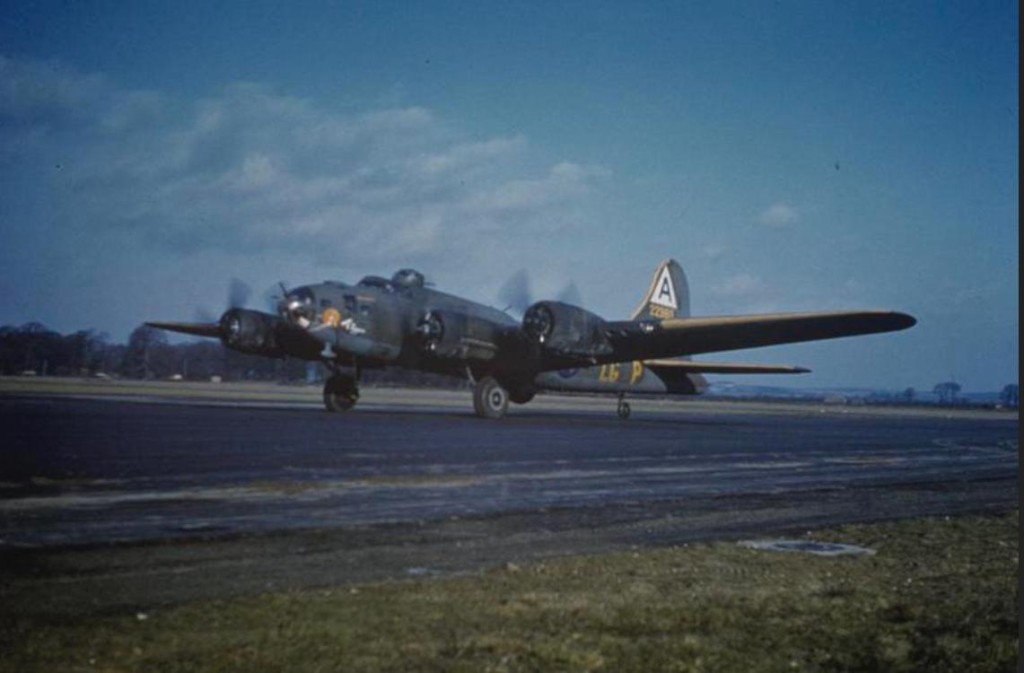
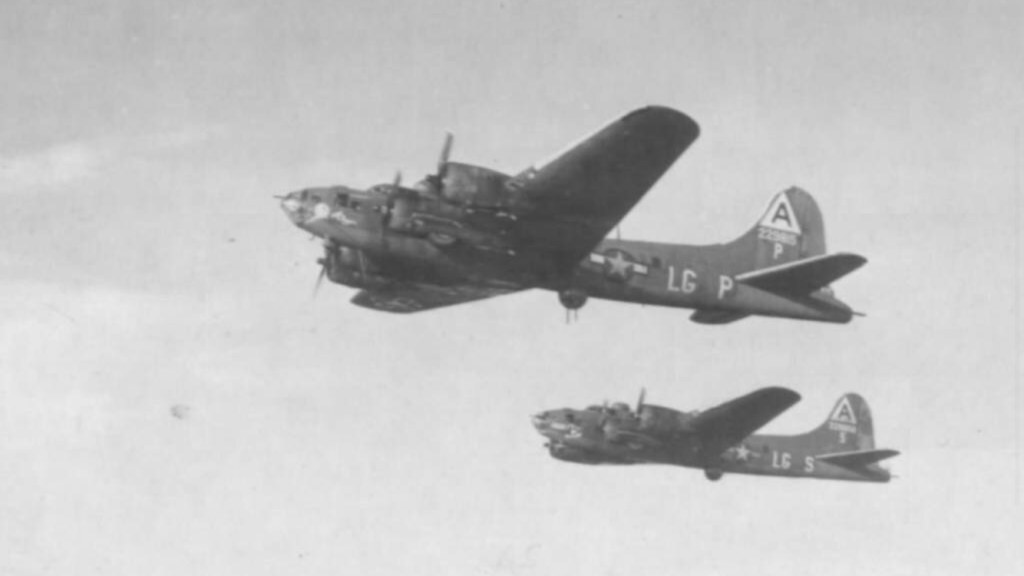
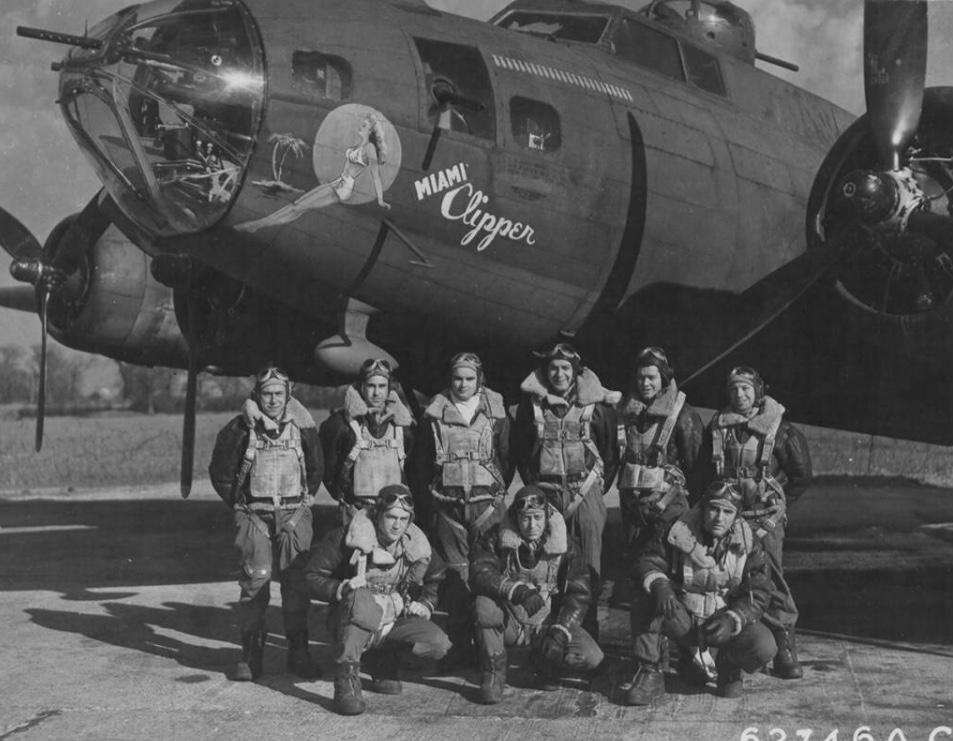
This B-17 completed 28 missions with no crew members killed, only two were wounded. The Miami Clipper completed its last mission in March of 1944 and then was returned to the USA. It was scrapped in January 1946.
It was assigned to the 91st bomb group at Bassingbourn,England
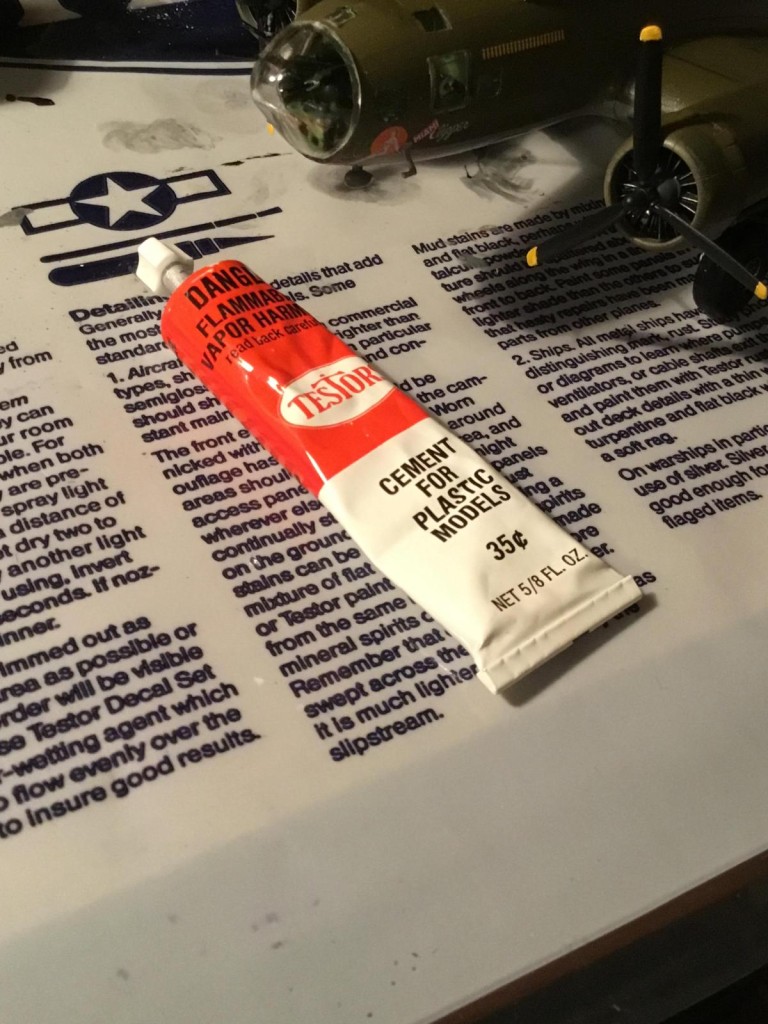
This model was a new tool release by Hasegawa in 1976. In 1977 Minicraft released it and was made in the USA, just like the real B-17s were. My kit is a Minicraft kit that had an orange & white tube of Testor's glue in the box when I got it.
Rather then using such a valuable artifact , I opted to use a more modern adhesive , Tamiya extra thin liquid cement.
The yellow leading edges have always appealed to be, so I found some decals for the Miami Clipper. I used Tamiya XF-4 yellow-green over a coat of XF-2 white. My theory on the yellow leading edges is that the airplane was primed with the yellow primer, then had the de-icing boots installed over the yellow primed skin. Later when the boots were removed it exposed the yellow primer. I used rattle cans and lots of tape and liquid mask to paint this . I also used color pencils. The decals were Kits - world decals. I had some red outlined star& bar decals the proper size so I used those… I'd always liked them. I'm sure the Miami Clipper wore them early in its life.
The ball turret, top turret, as well as the tail gunners glass hasn't had the framing painted. The lines are so faint on those clear parts that it's difficult to see. My vision is not what it once was. I think it looks better not painted rather then poorly painted. Maybe one day I'll go back and try to paint them, but probably not. This is one reason for my renewed interest in 1/32 fighters , so much easier to see things like the framing on the glass.
This B-17 was the last 1/72 kit I had , and I think it'll be the last of that scale for me.
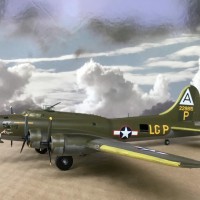
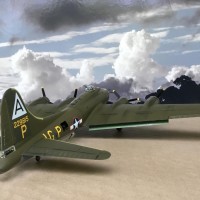
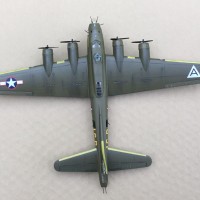
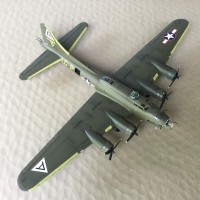
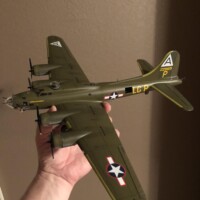
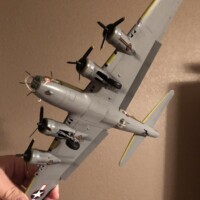
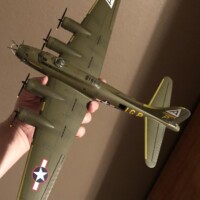
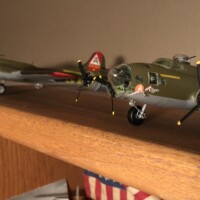


Great work on this one! I like the short-lived red outlined star & bar markings. The OD finish and staining on the wings looks very realistic. The realistic background shows off the model very well and add an element of visual interest to the model. Well done! PS. Looking forward to your next build.
A wonderful result, Jay! Thanks for the historical background!
Thank you @mornem & @fiveten !
Great build! I'm curios how this kit fits?
Hi @lis… this kit goes together easy. There are some narrow gaps at the wing roots, but nothing major. There isn’t much interior detail to complicated things.
In the future I will build Hasegawa B-17 🙂
You will find it much simpler then the Airfix B-17 you’ve been working on
I think in "F" version its quite good kit. Revell don't have pair of windows in the nose. I have one more question: Miami Clipper didn't have astro-navigation turret in the nose?
Hi @lis,
Yes, the Miami Clipper did have that navigation dome on the nose.
Hasegawa made this kit without it.
Apparently the first 300 B-17Fs did not have that navigation dome. Scratch building isn’t something I do, so I didn’t worry about that detail not being correct.
The Miami Clipper story has become very fascinating! I found quite an interesting version of the 95 BG plane:
https://95thbg.mmsw.eu/aircraft/180
Kits-World set of decals suggest oldest type of nose glazing. Mabye it was rebuild?
https://www.kitsworld.co.uk/index.php?GOTO=679&PICFILE=679&STKNR=679&STRH=&ORDN=&RNZ=764392&THISVIEWMODE=2&SUPPLIER=&FINDRETR=&WIDENET=&CATEGORY=5&SUB=1&VWW=1&VANCE=99
Well done, Jay. Your results make it look like 1/48.
That tube of glue brings back some memories or what brain cells are remaining that recall those early days.
Thanks for the compliment , Gary @gwskat, I appreciate it.
That tube brought back a lot of memories of my early days of modeling. I’m glad glue technology has advanced .
Those leading edges are actually poor color reproduction of this print most likely. The deicer boots weren't put on over paint, because their operation would have loosened the paint (a problem that would have spread).
But never mind, the model's very nice. I remember building one of these when Hasegawa first released it in 1976. It's still probably the best 1/72 B-17F kit out there.
It's likely Yankee Clipper - along with a lot of other airplanes from the war - was the source of all that aluminum siding for GI Bill homes the "tin men" sold to Suburbia back in the 50s. That was a lot of aluminum in those 100,000 airplanes.
Thank you, Tom @tcinla !
A beautiful result on this Fortress, Jay @ssgt
Despite the small dimensions, you did a perfect job, painting wise as well.
Well done.
Thank you, John @johnb !
It’s one build I’m glad is over with
That is one clean B-17 there!
Awe some build!
Very nice build Jay!
Thank you , Greg @gkittinger. 1/72 is a difficult scale to work with... I don’t know how you do it so expertly.
panel lines are rised?
Yes, @lis , they are raised, but most are very light
3 attached images. Click to enlarge.
I found B-17 F Hasegawa Kit for 20$. It's good price I think.
That’s not a bad price, @lis . The few that I’ve seen locally are closer to $40.
$40 for Hasegawa is quite expensive I think because modern Airfix kit cost 35-40$.
I agree with you, @lis.
$20 is the most I could spend on one and not be overcome with grief .
Well done, Jay (@ssgt). The B-17 can be a complex model to get right, and you have nailed it. I just finished a Minicraft B-17 and did a lot of research into the leading edge de-icers. I was surprised that they were often taken off the planes in the field due to battle damage and the fact that they were very maintenance intensive. When you start looking at B-17 photos from WW2, you start to notice a lot of them without the de-icers. Anyway, great paint scheme on a great model.
Thanks George @gblair... , I’m happy with the way it turned out. I don’t think it’s too much of a stretch of imagination to think those areas were primed with yellow and flew one or more missions before there was time to repaint them OD.
That is most likely the case!
Nicely done Jay, 1/72 rules !
Thank you, Alan @kalamazoo I appreciate the compliment.
1/72 isn’t my cup of tea.
first rate,,,my father and partial crew on the way to the ETO in a new G model,
1 attached image. Click to enlarge.
Thank you, Joseph @gonville !
That’s a great crew photo ! Thanks for sharing it.
What decals Did You use? From box?
Hi, @lis... the decals are “ Kits-World” decals. The red out lined “Star & bar” decals are some old ones I had on hand.
Nice build Jay, I really like the paint finish on your model...looks great!
Thank you, Bob @v1pro,
For a rattle can paint job, I think it turned out pretty good. There was a lot of masking involved and three different OD paints as well as the gray.
That's awesome work Jay. I think the rattle can method is underrated. Most of my silver finished builds were done with Tester's chrome silver rattle can.
Thanks for the tip, Bob @v1pro. I will try that chrome silver out... I have a few 1950’s USAF jets to build.