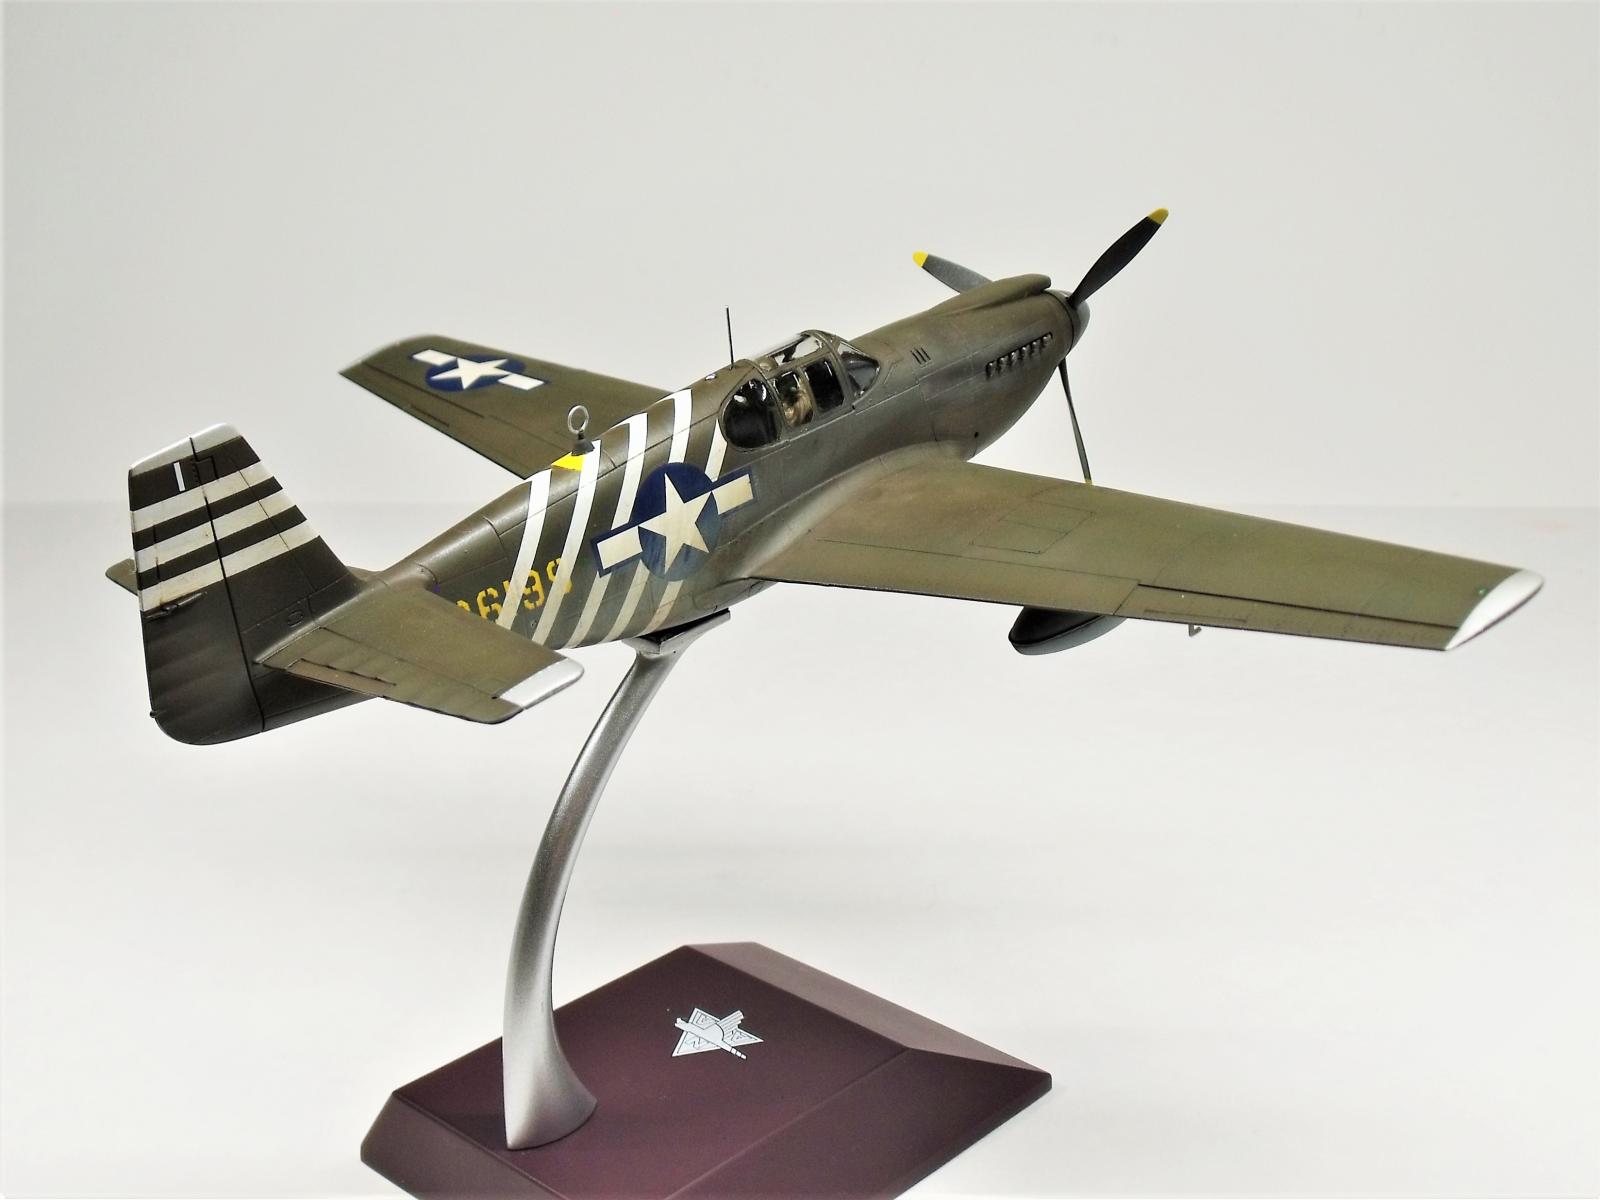
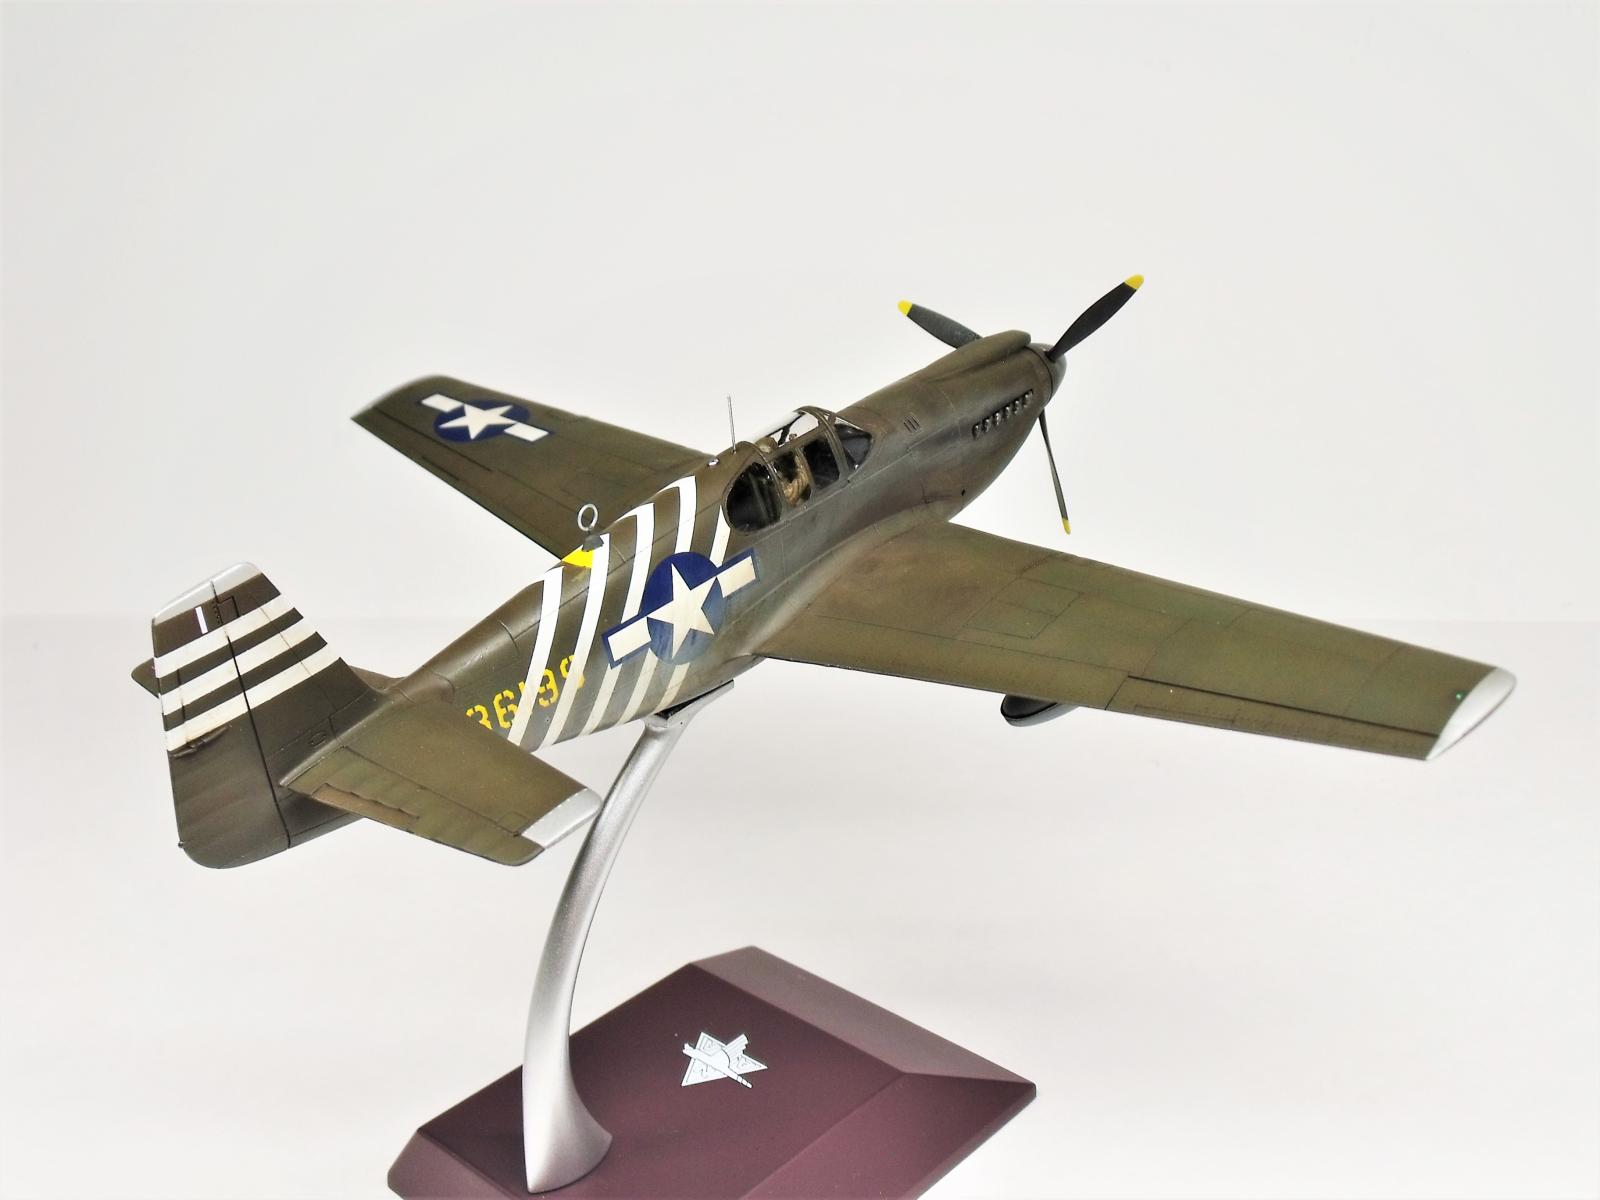
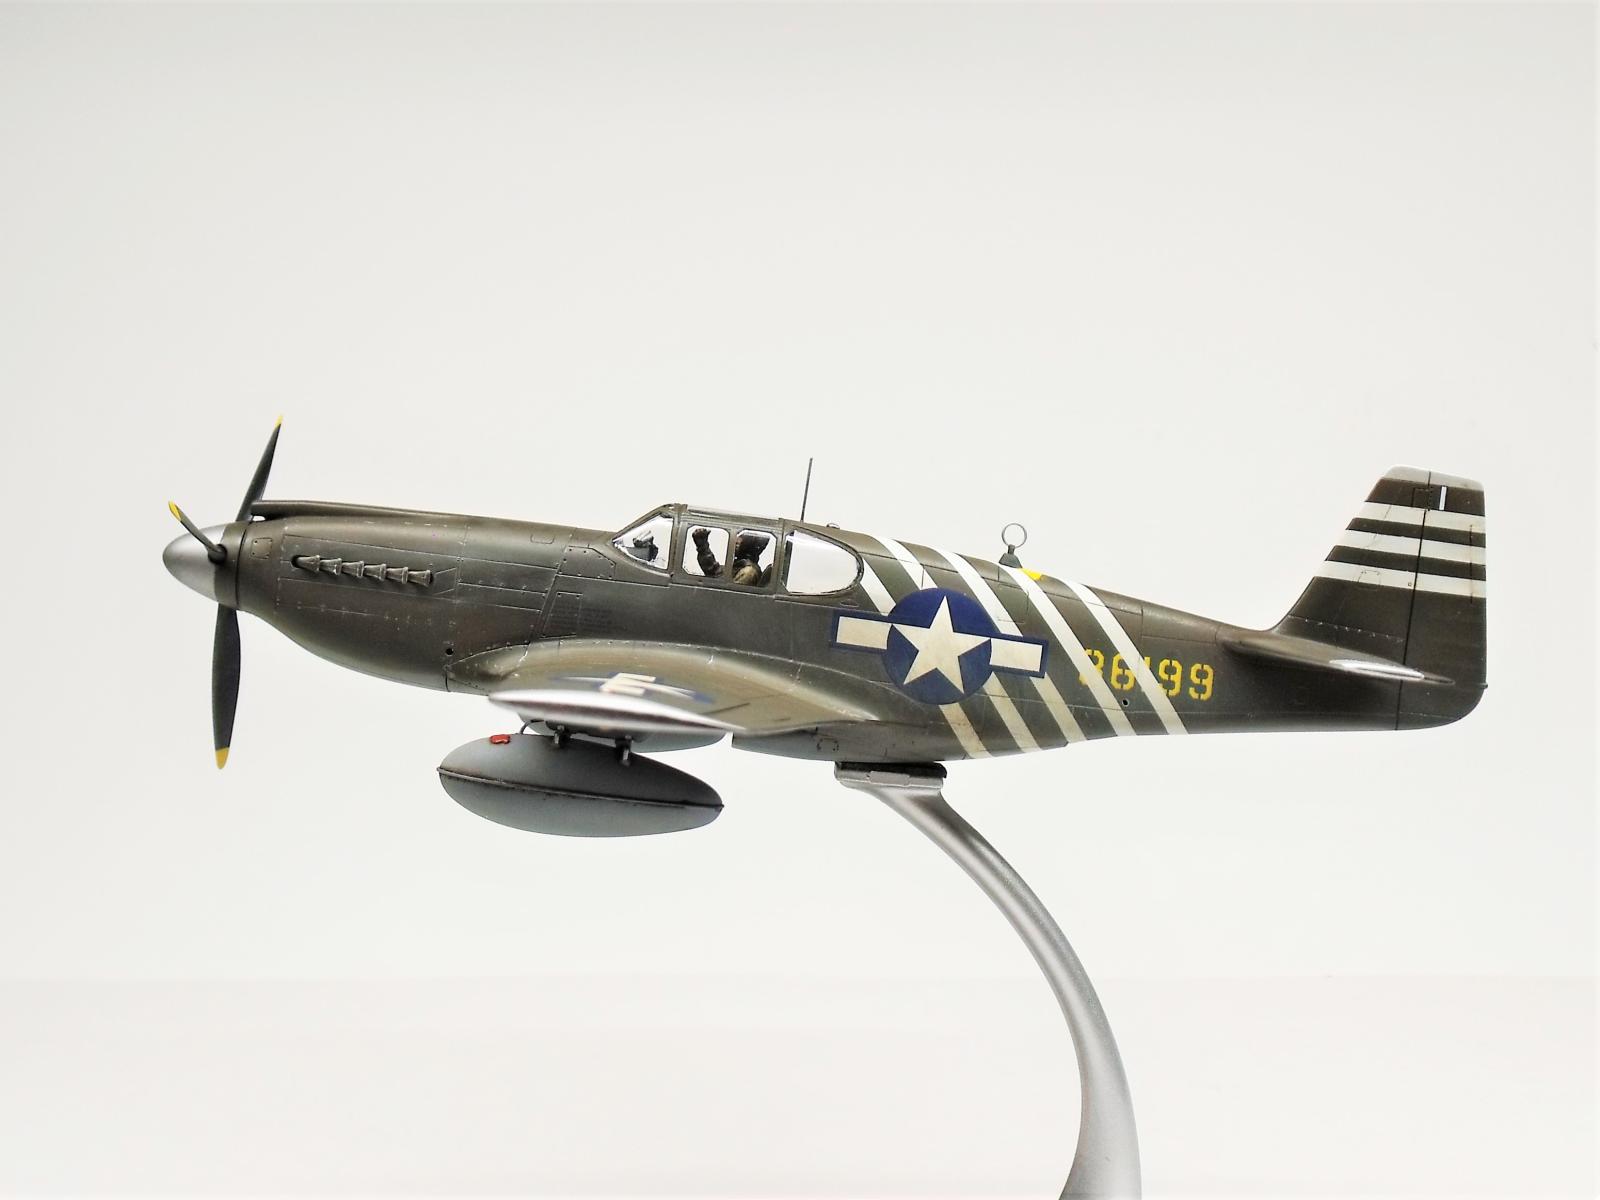
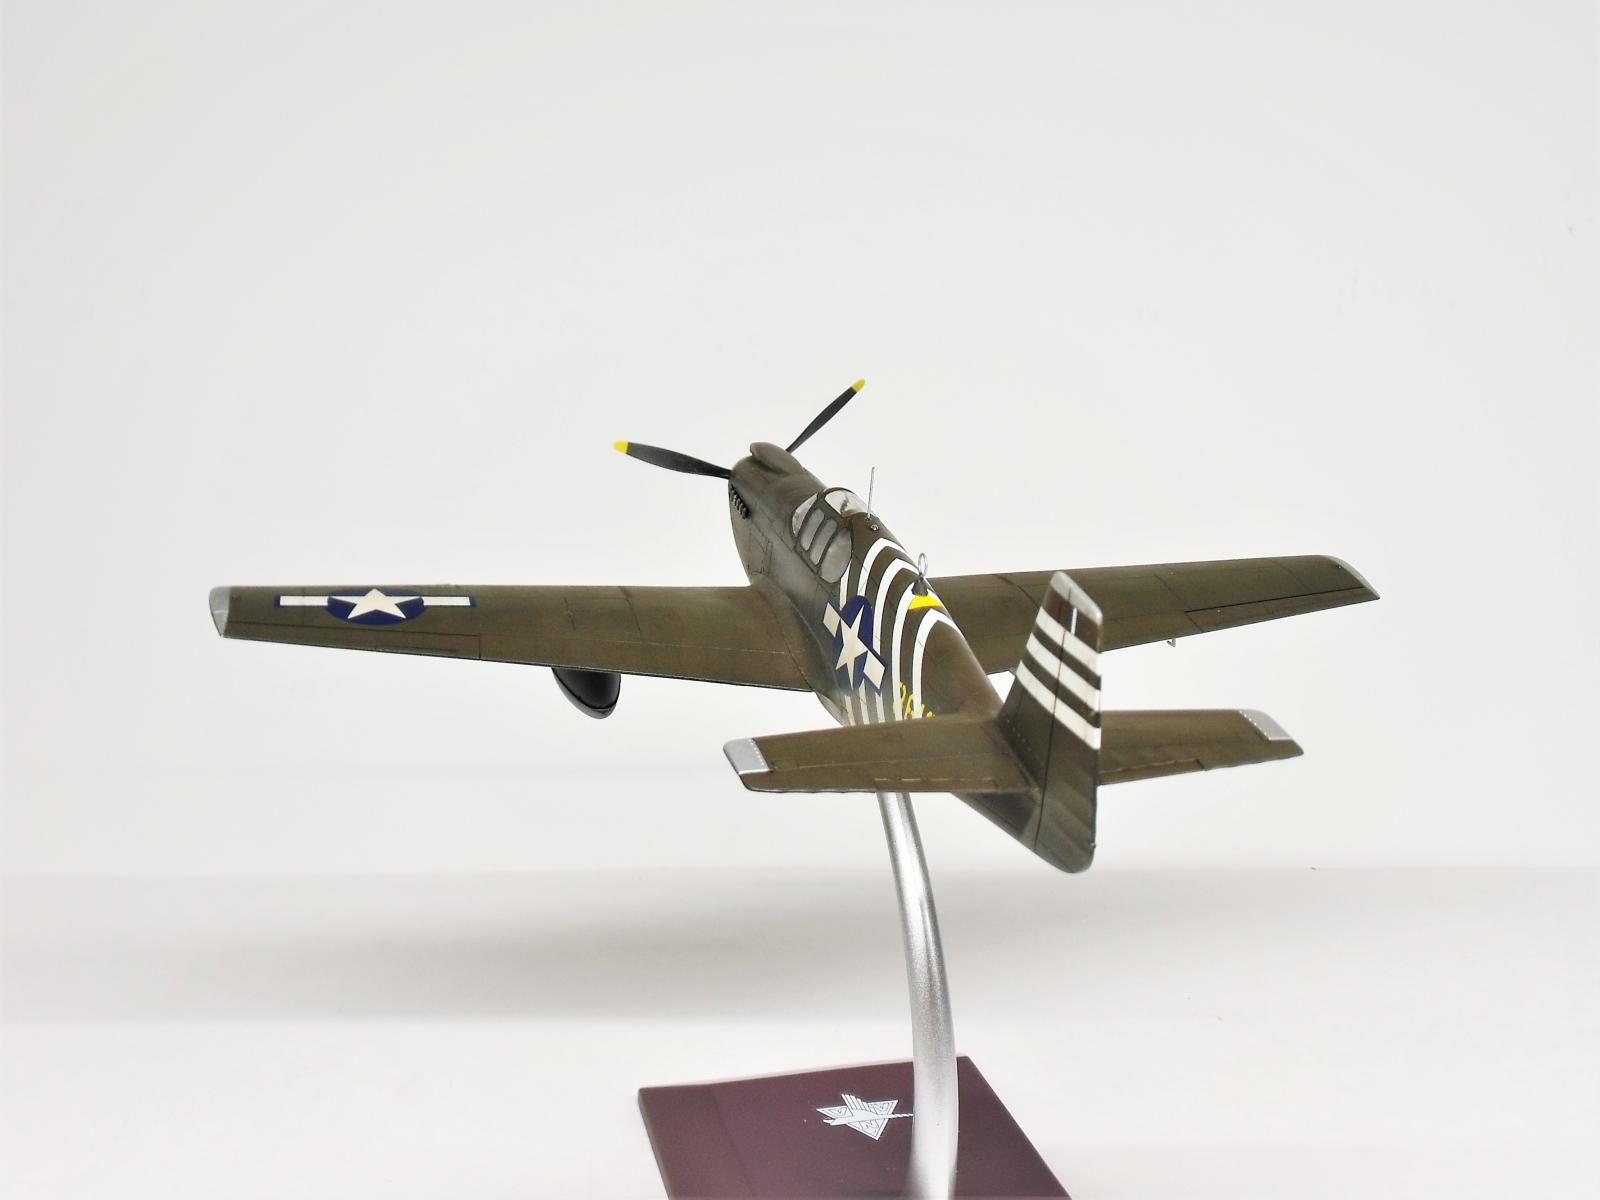
North American P-51A Mustang – Accurate Miniatures 1/48
This article is part of a series:
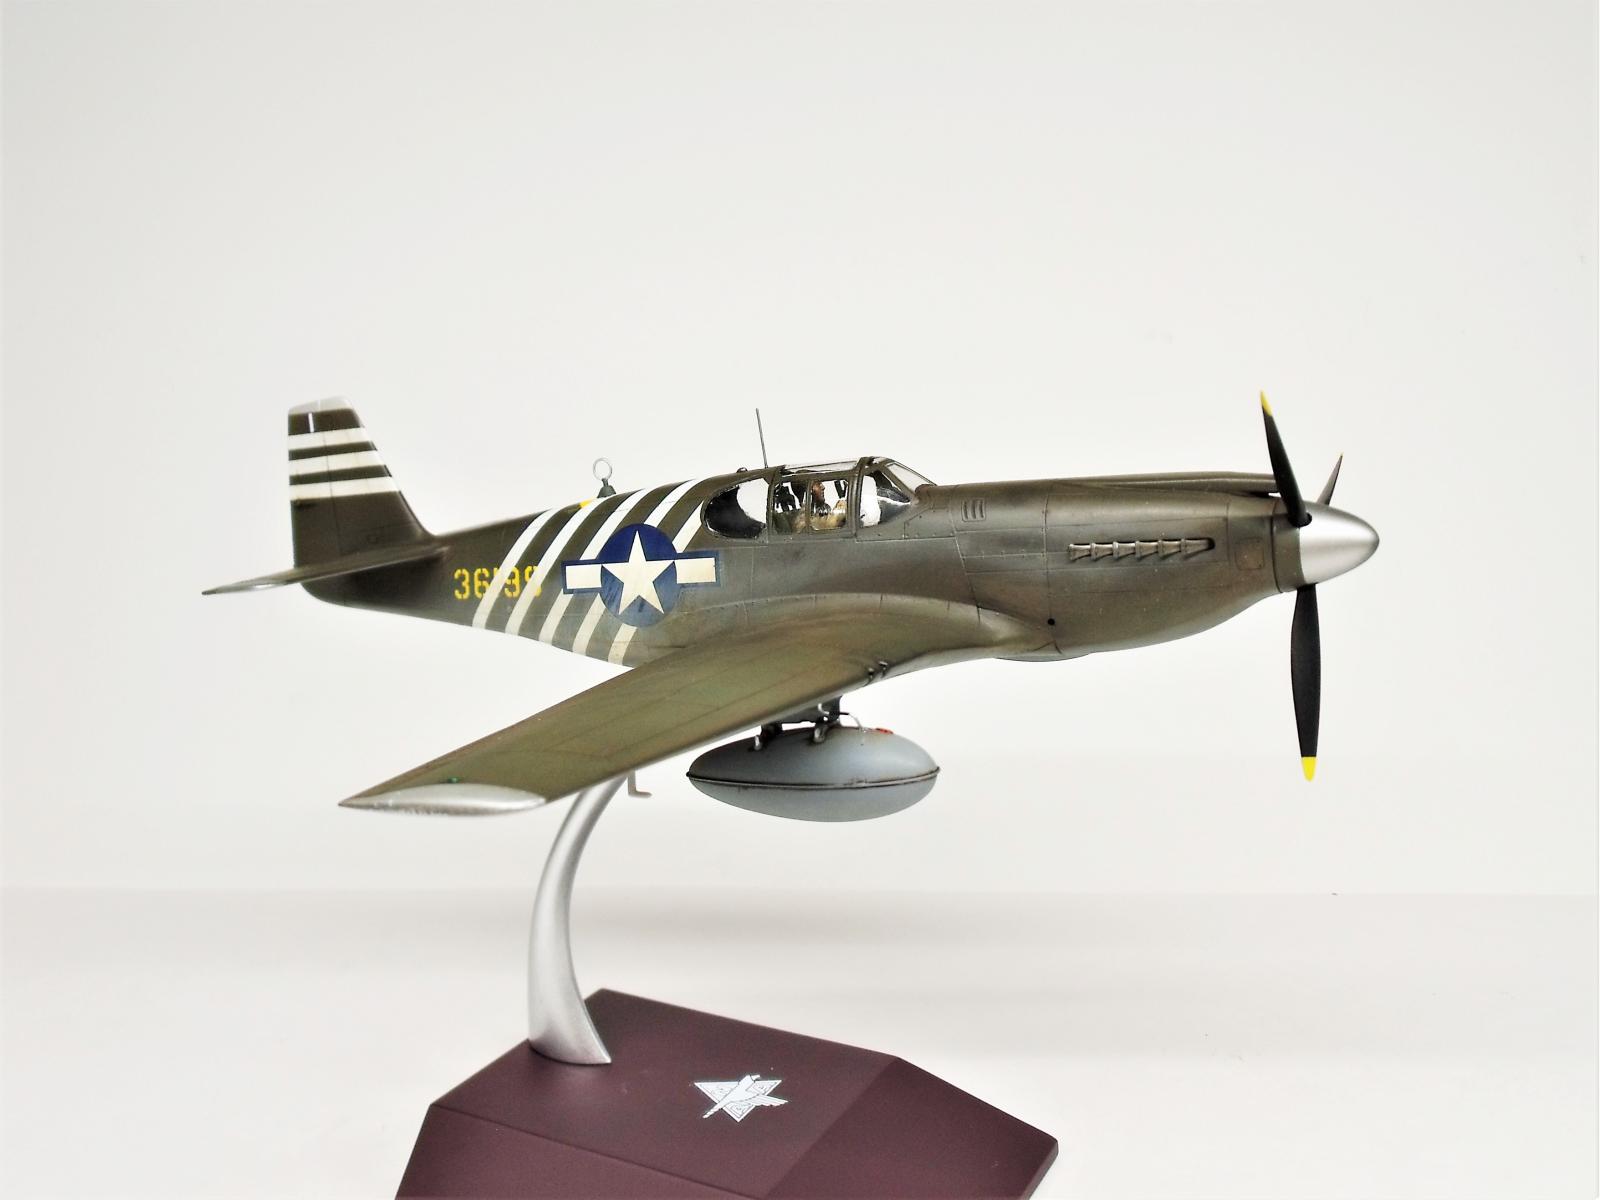
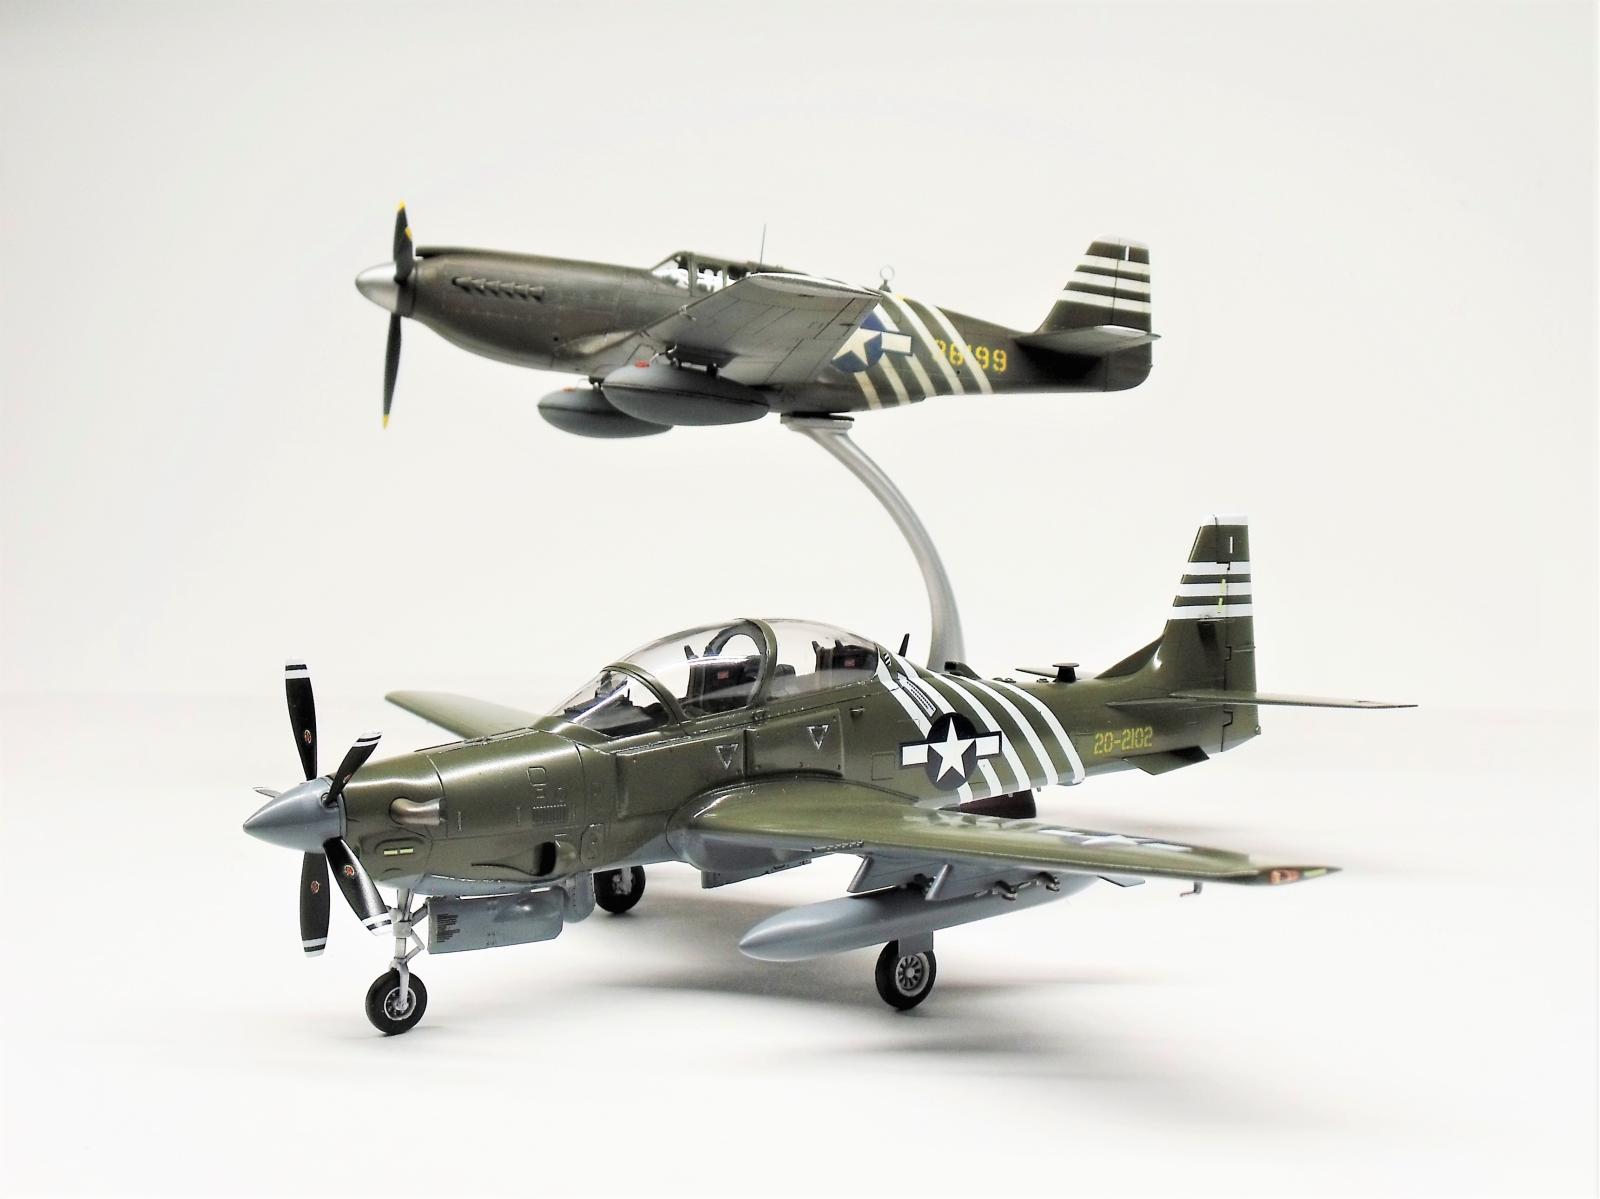
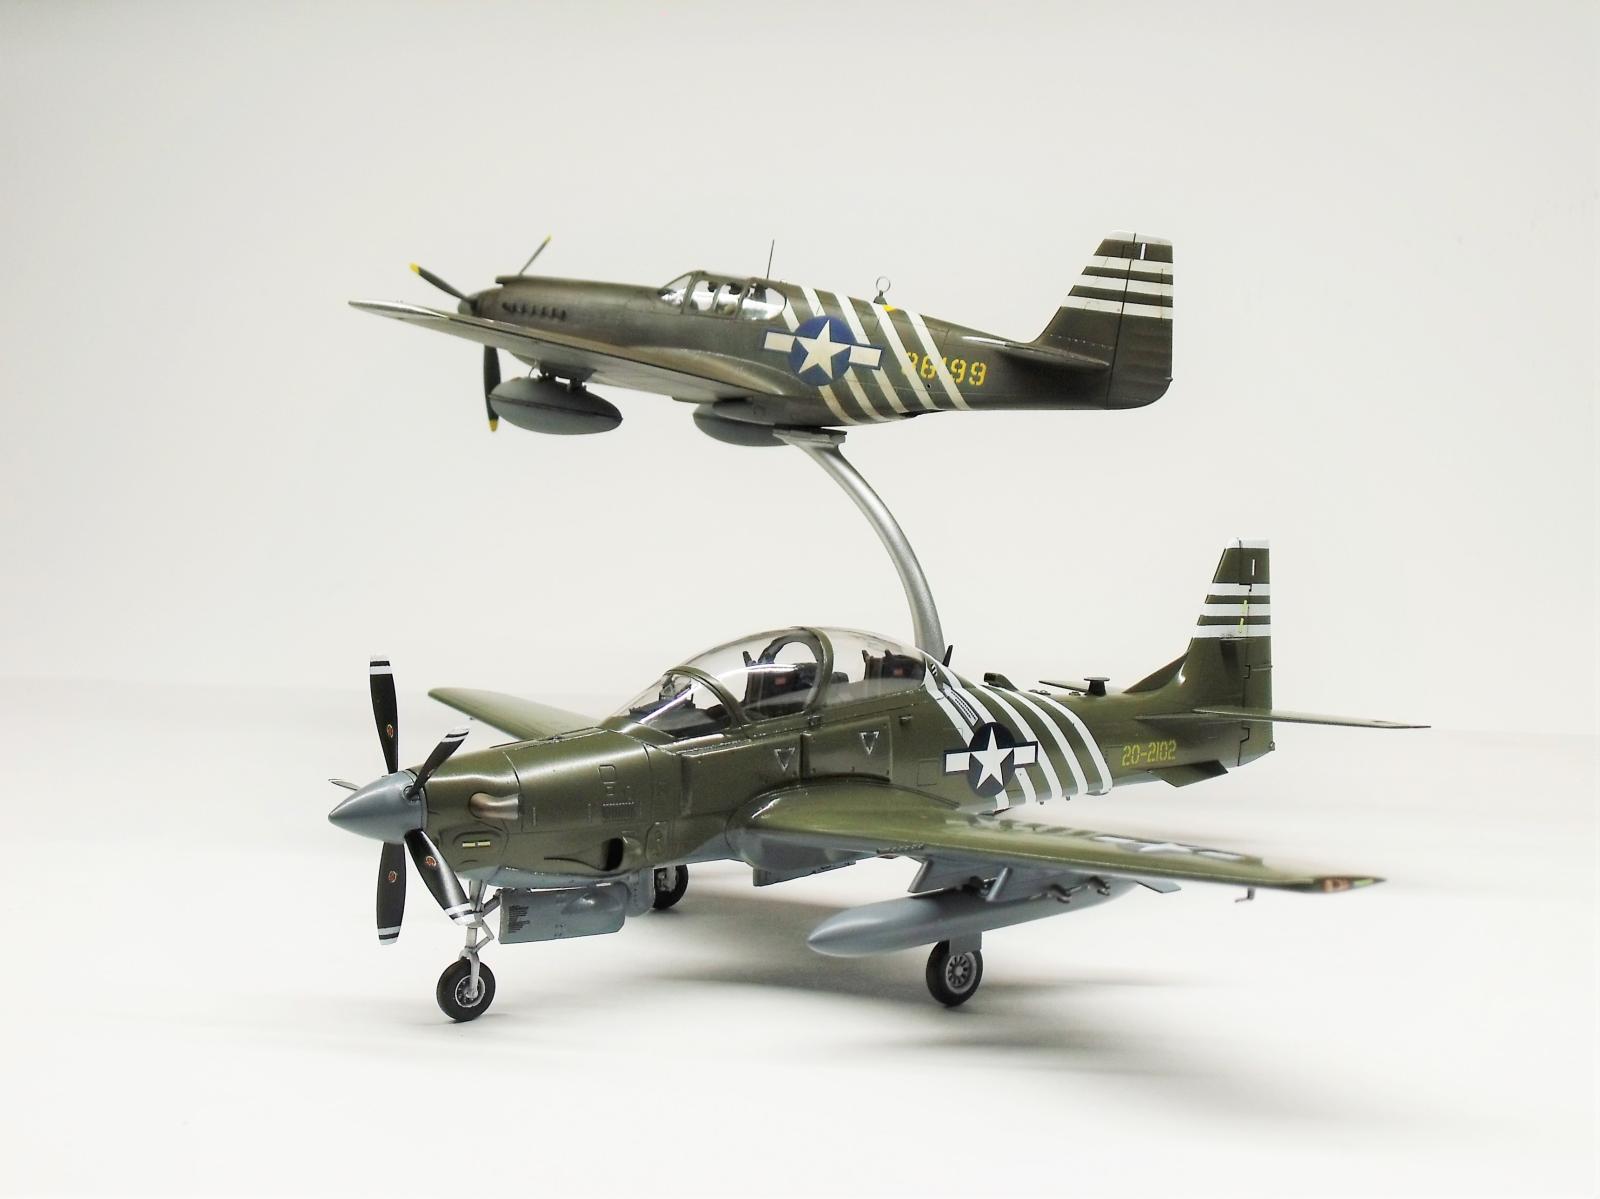
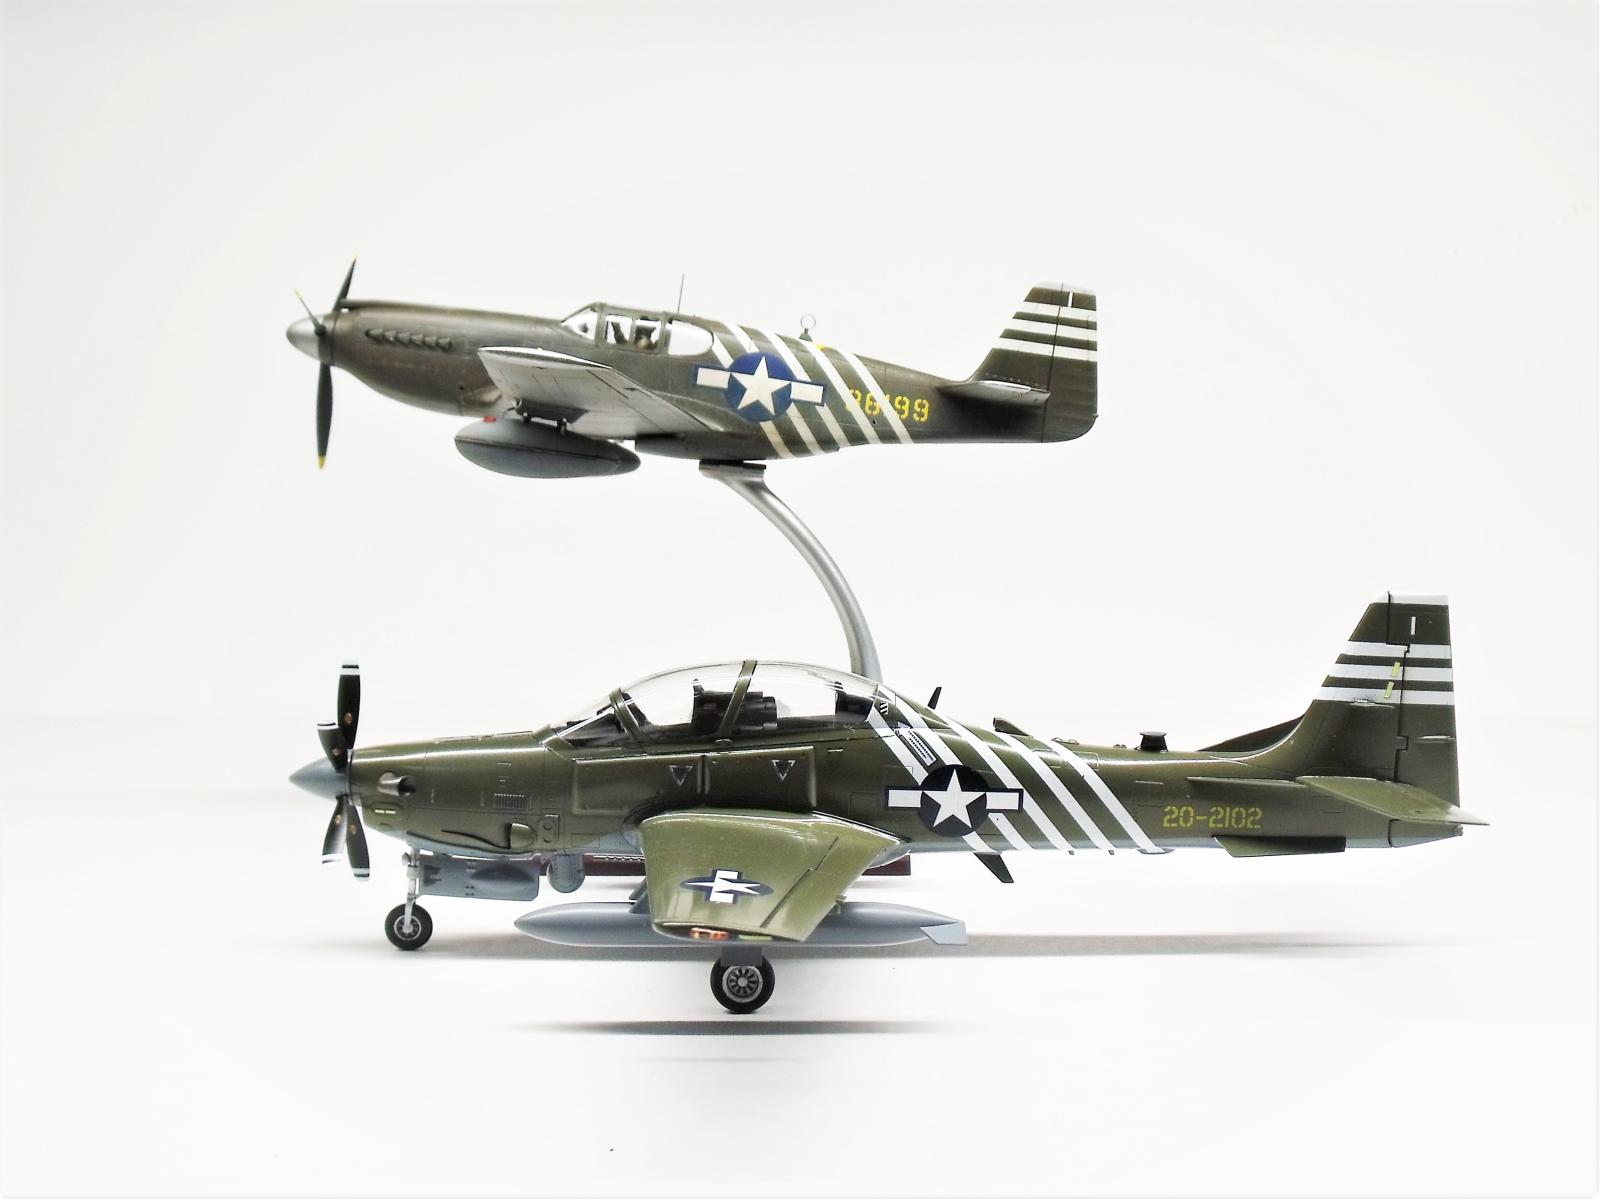
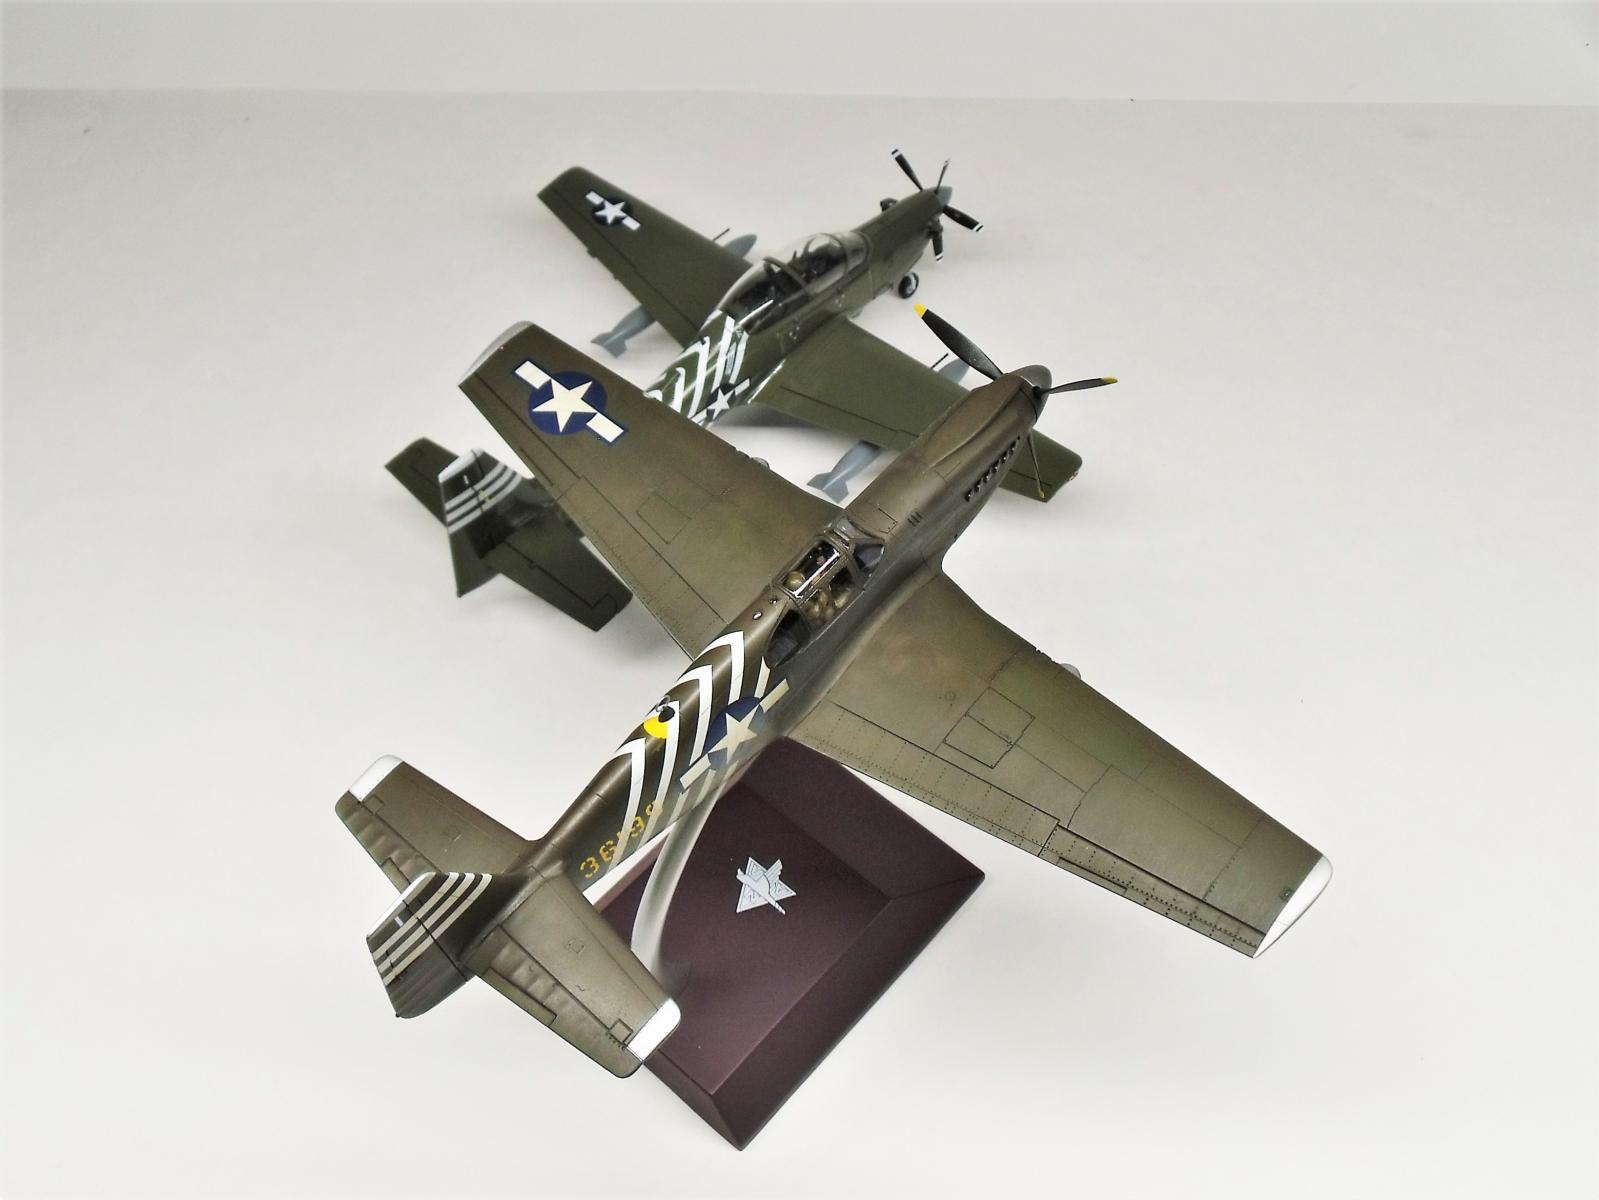
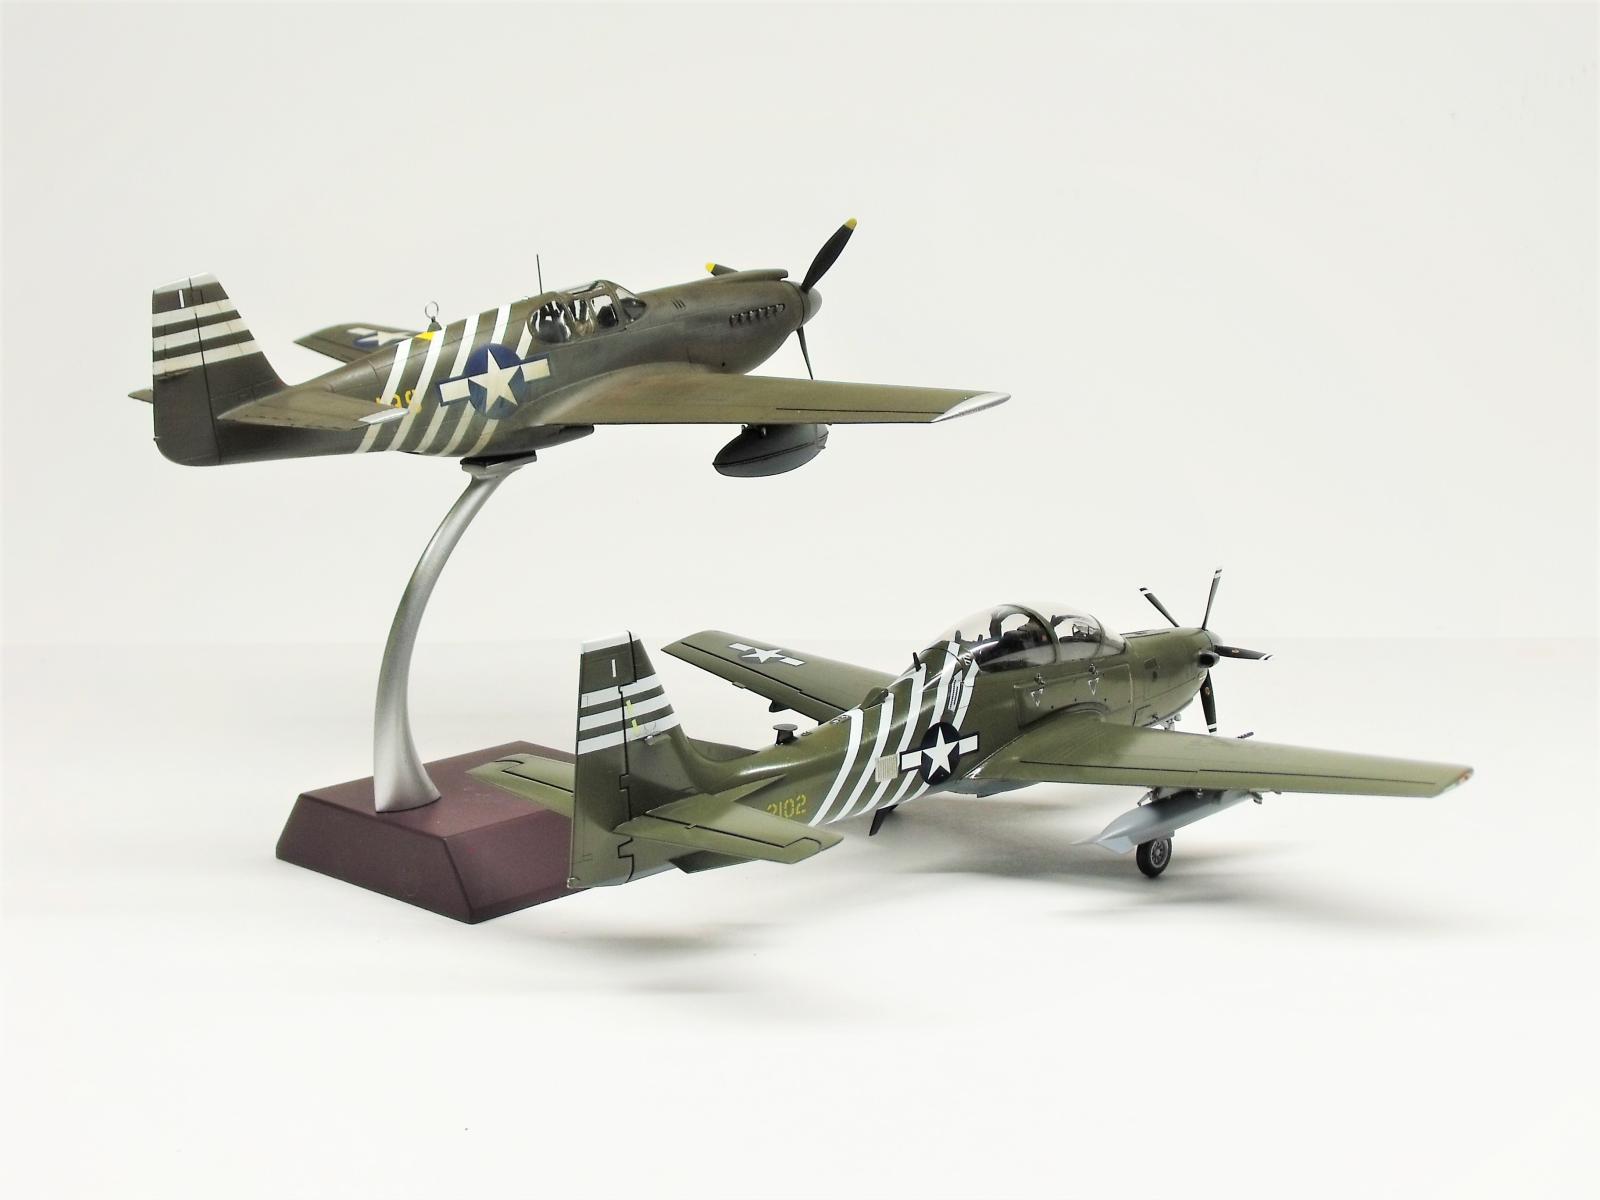
Moving along to the next of my recently completed builds, I've finished a model that many are familiar with, the Accurate Miniatures P-51A kit. Much has been written about these AM early Mustang kits, and while they are not in fact as accurate as the name implies, they are the best in town in this scale. I've built up a few in recent years, which certainly helped this build to go smoothly, but also building the aircraft in-flight made the build even more of a breeze.
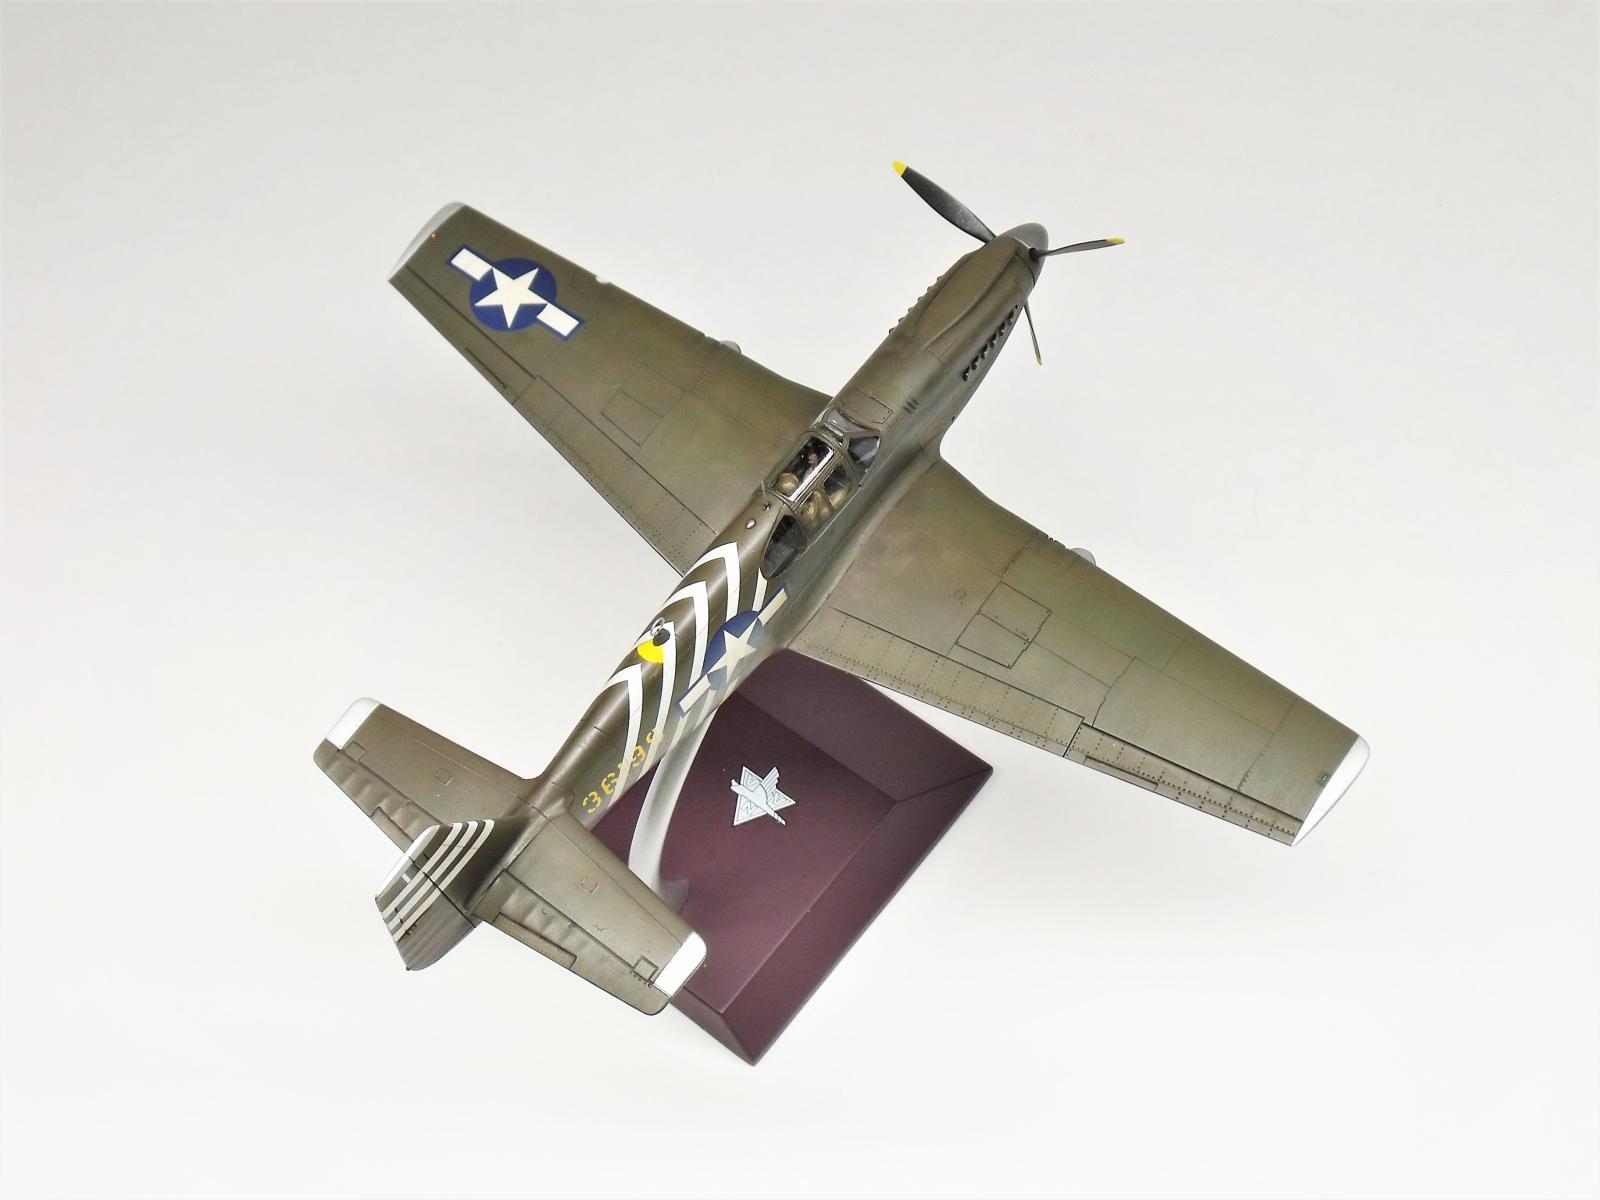
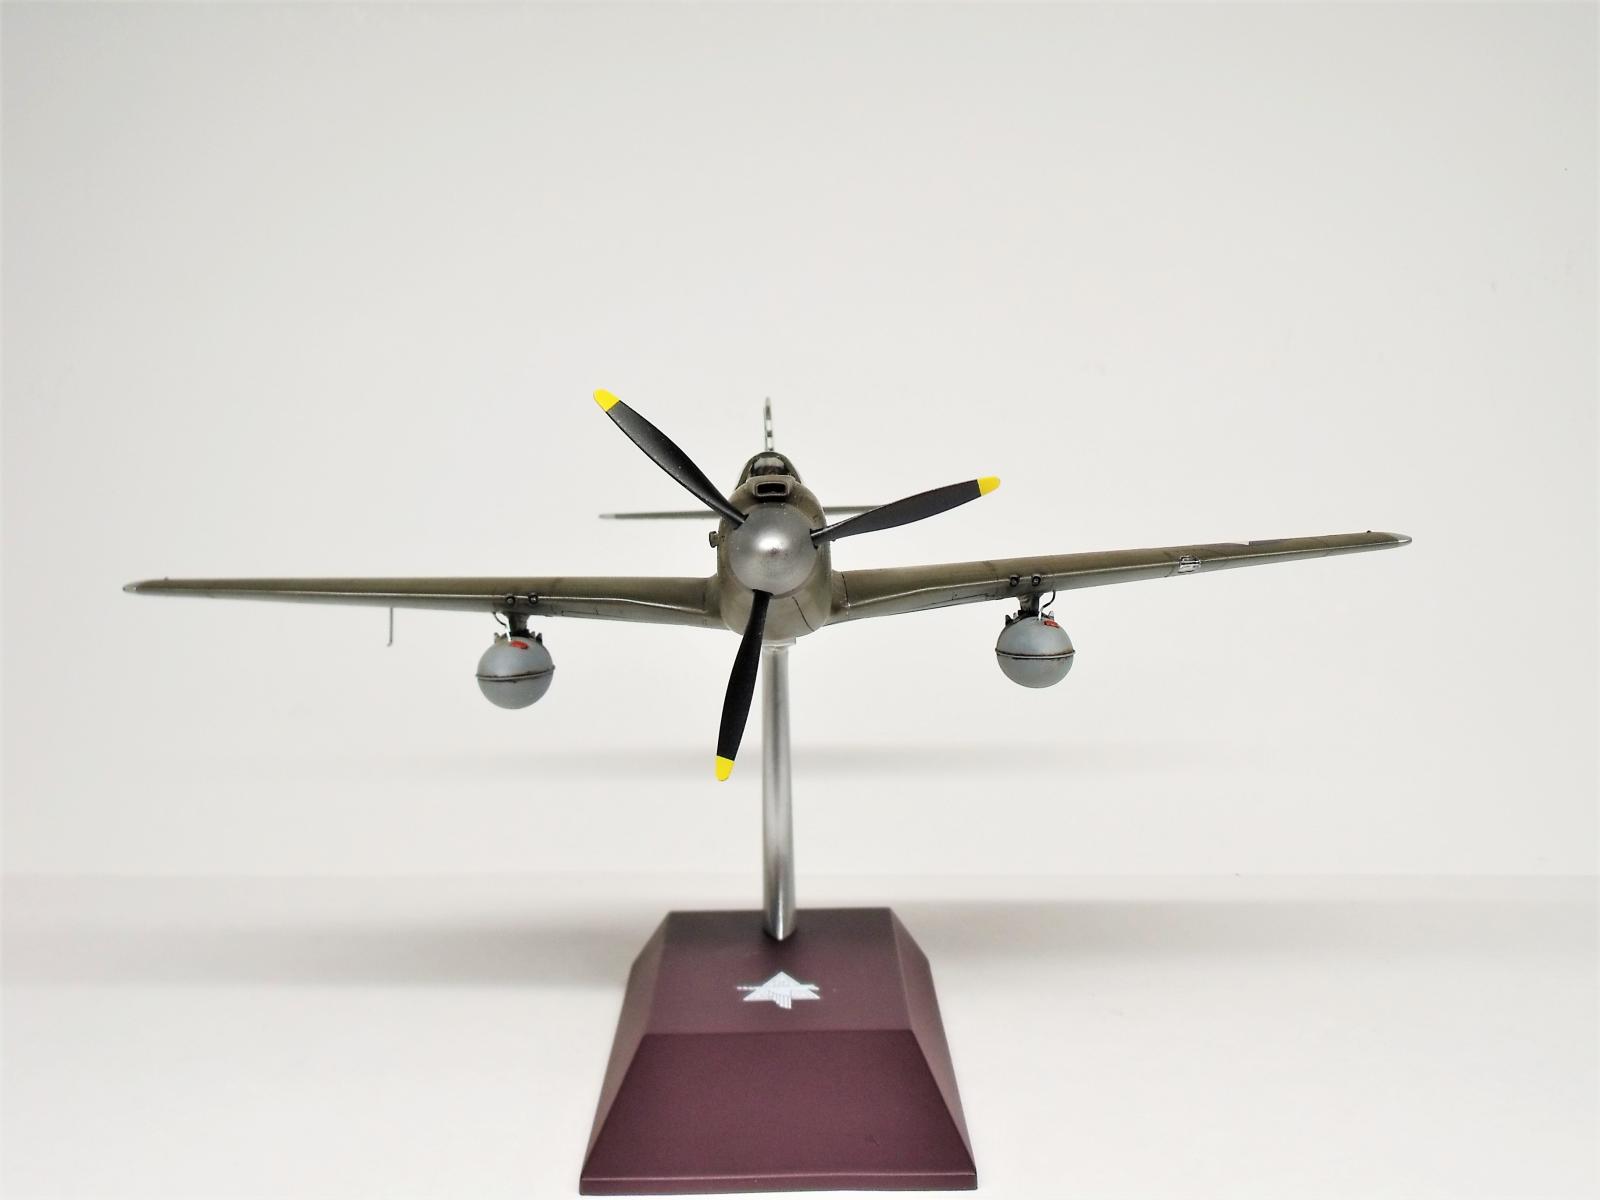
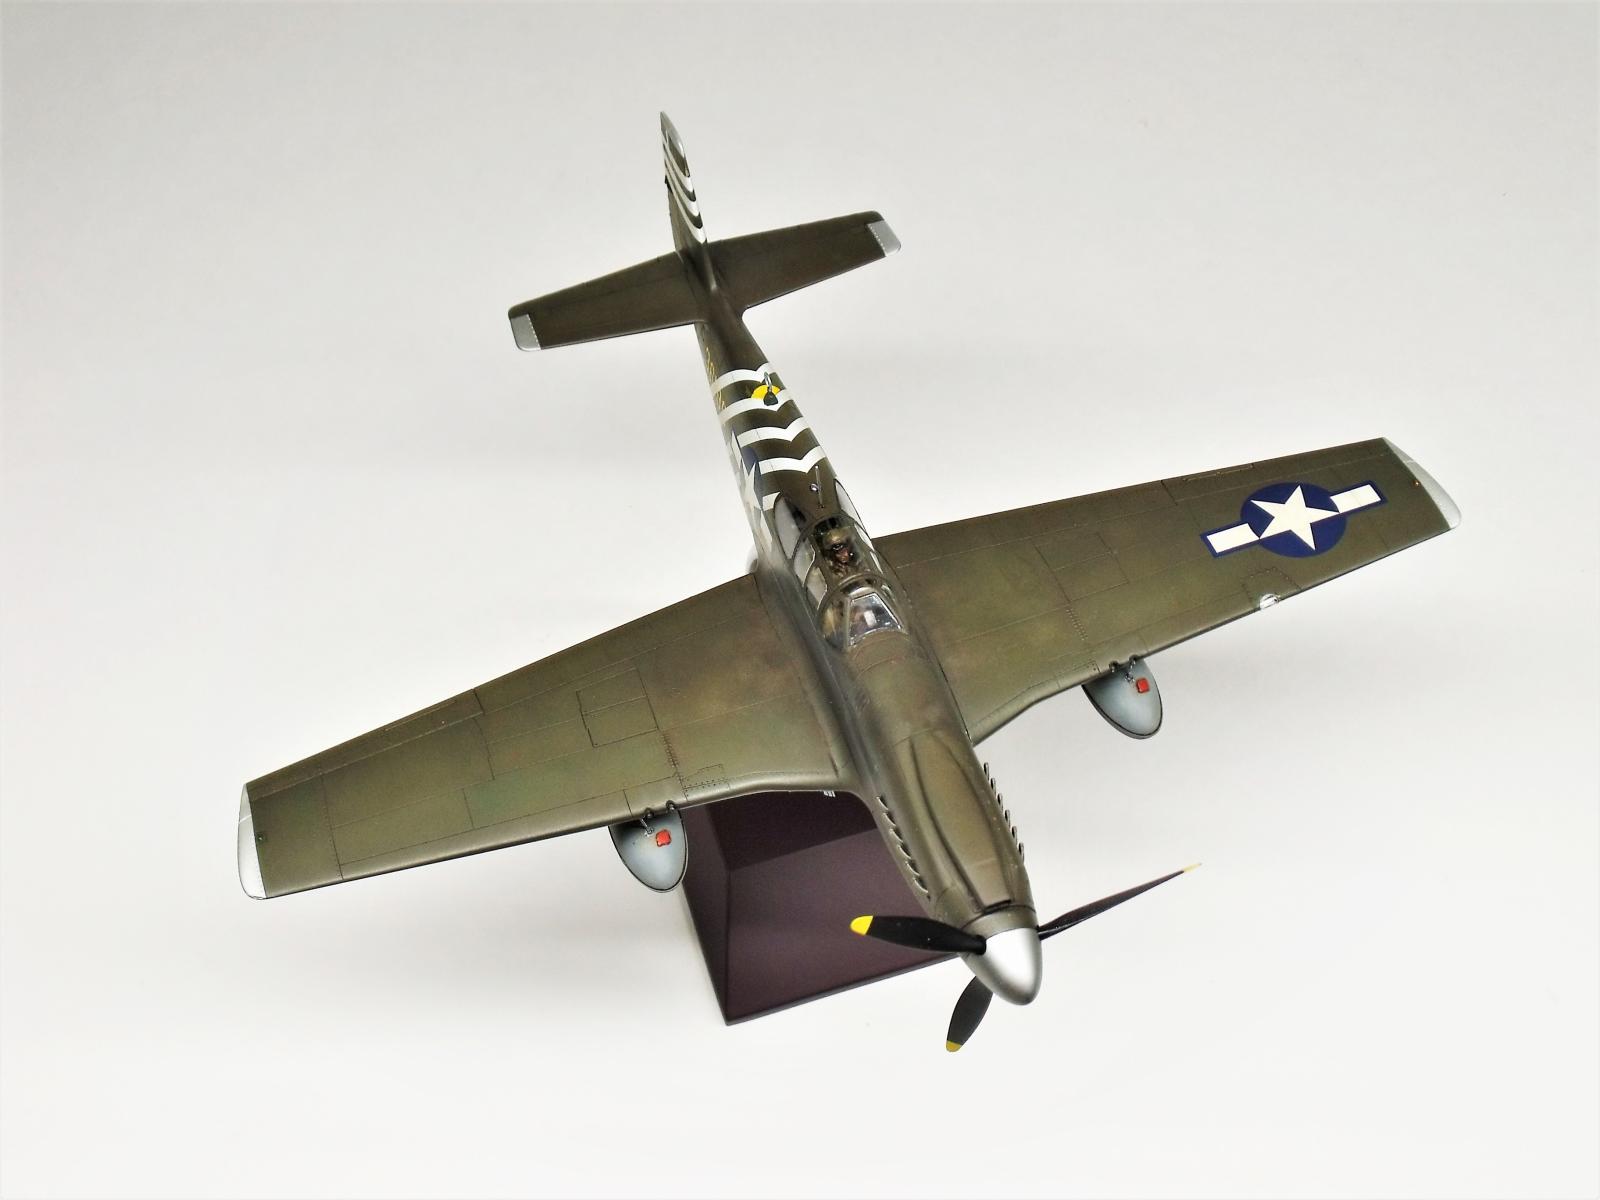
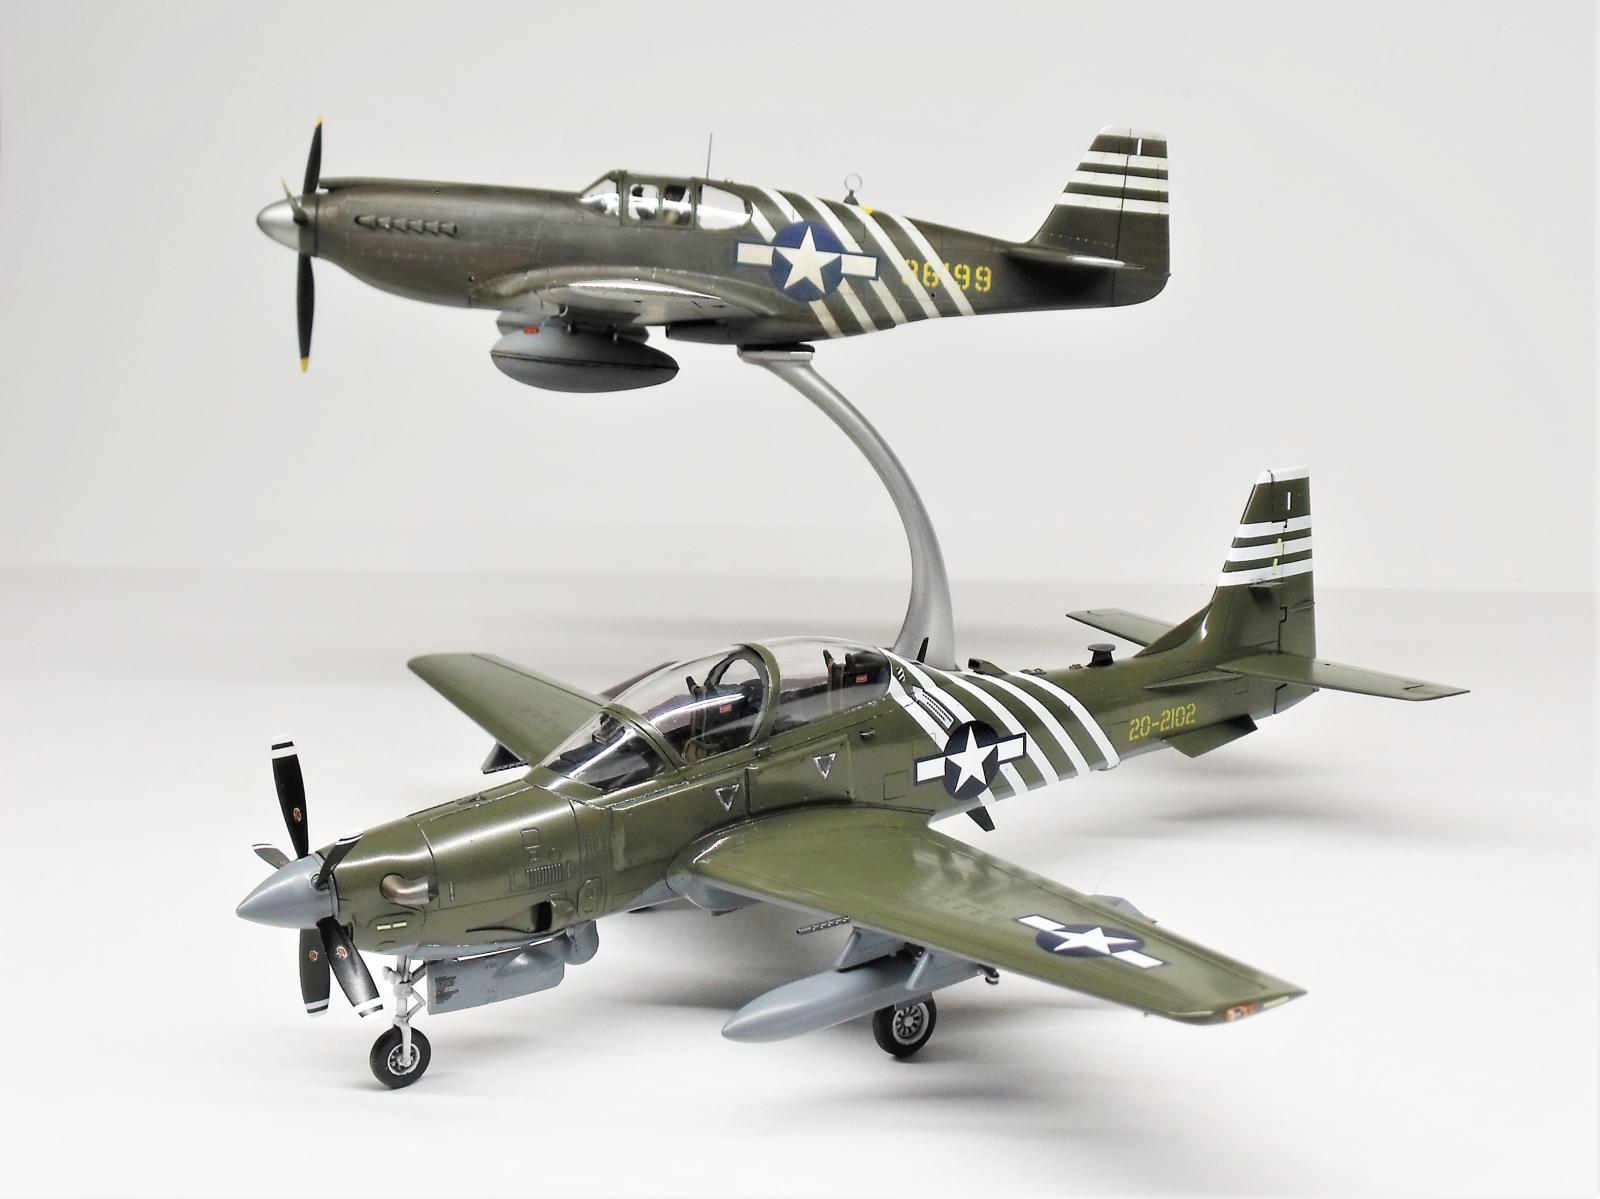
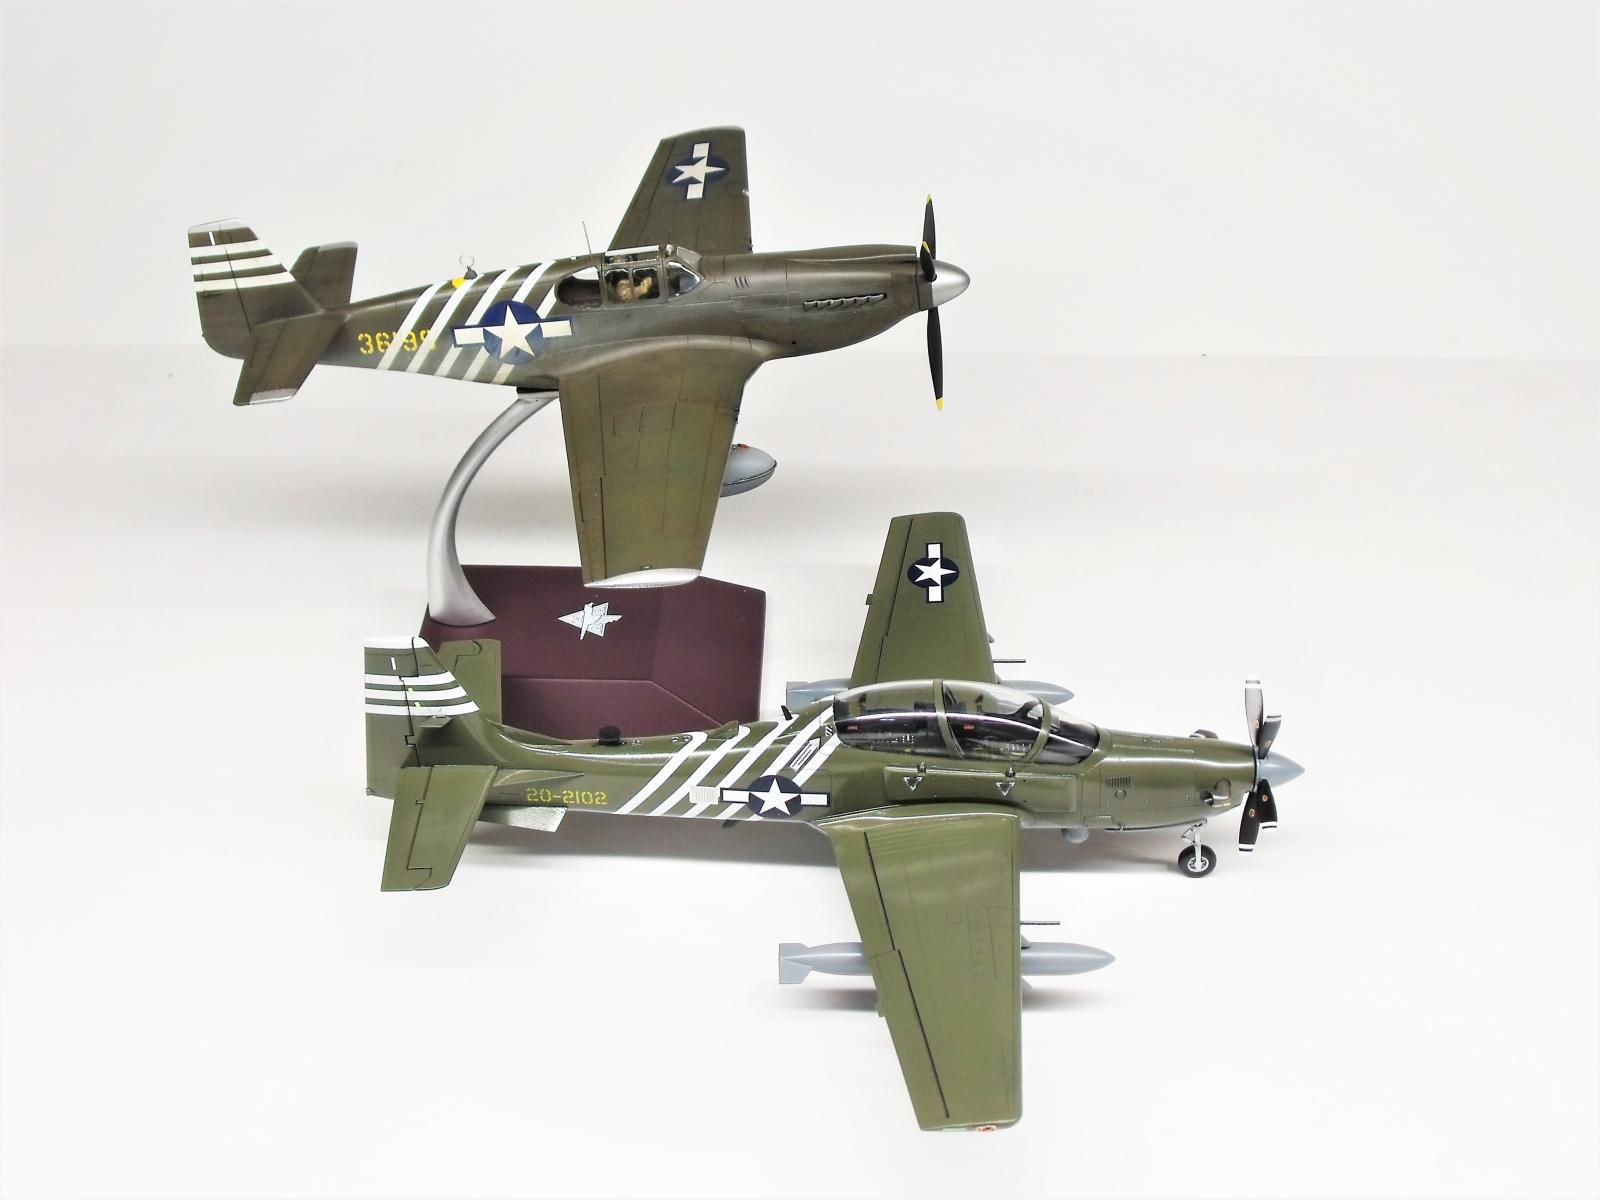
In regard to the display, I decided early on that the aircraft would be displayed wheels up for three reasons. The first was that I have two early Mustangs with wheels down, and besides, the AM wheel wells are nothing to behold. Secondly, this display setup allows me to better utilize display space. Lastly, I started this aircraft after starting another which complements this one, and the two builds can be more handily displayed this way.
Because there is much written about the AM P-51, I'll forgo most comments and simply note that the key points to be careful on with this kit are as follows:
-
Attach the nose pieces to the fuselage halves before gluing them together. If you do inadvertently glue the nose halves together, just be sure that you gently pry the wing roots on the fuselage open from beneath as the glue dries.
-
Doing the above will also help to ensure that the wing roots sit flush with the upper wing, but you also need to take caution not to glue the wing tops to the lower wing separate of the fuselage. This will help to make sure that the transition between the upper wing surface and wing root is smooth for the whole chord of the wing with as little putty as possible.
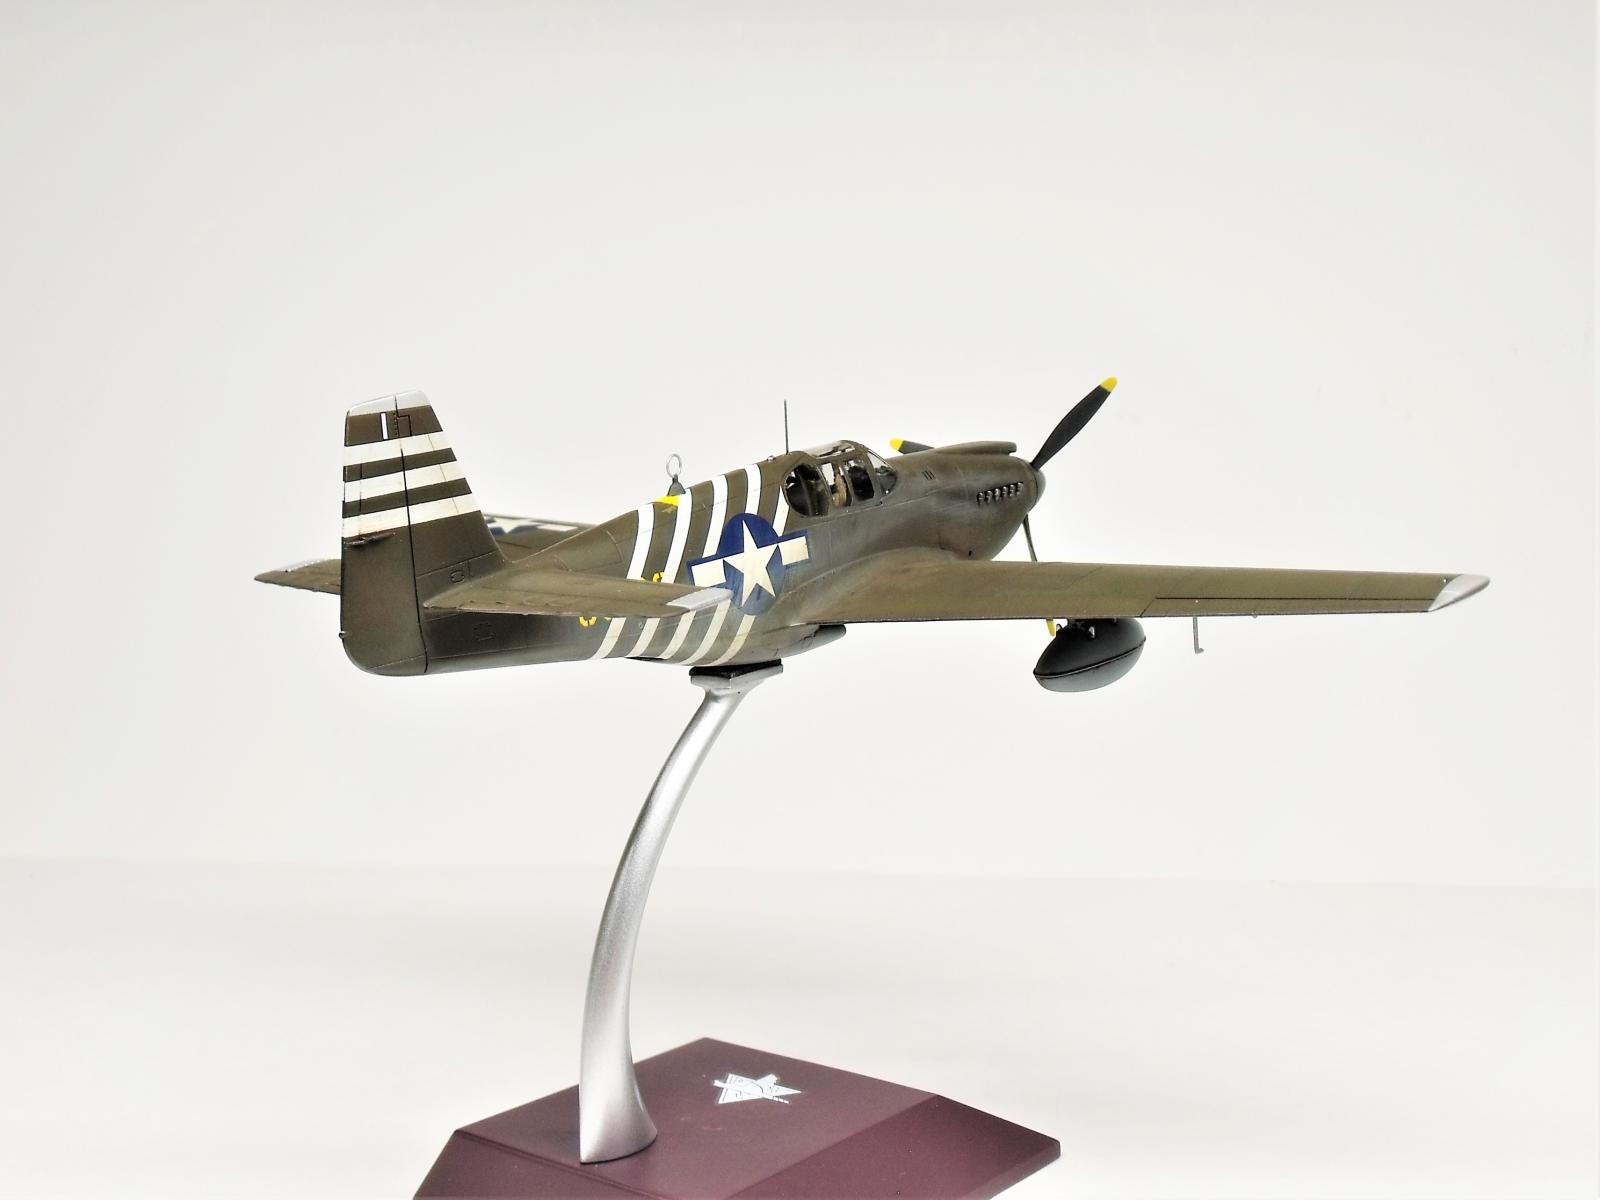
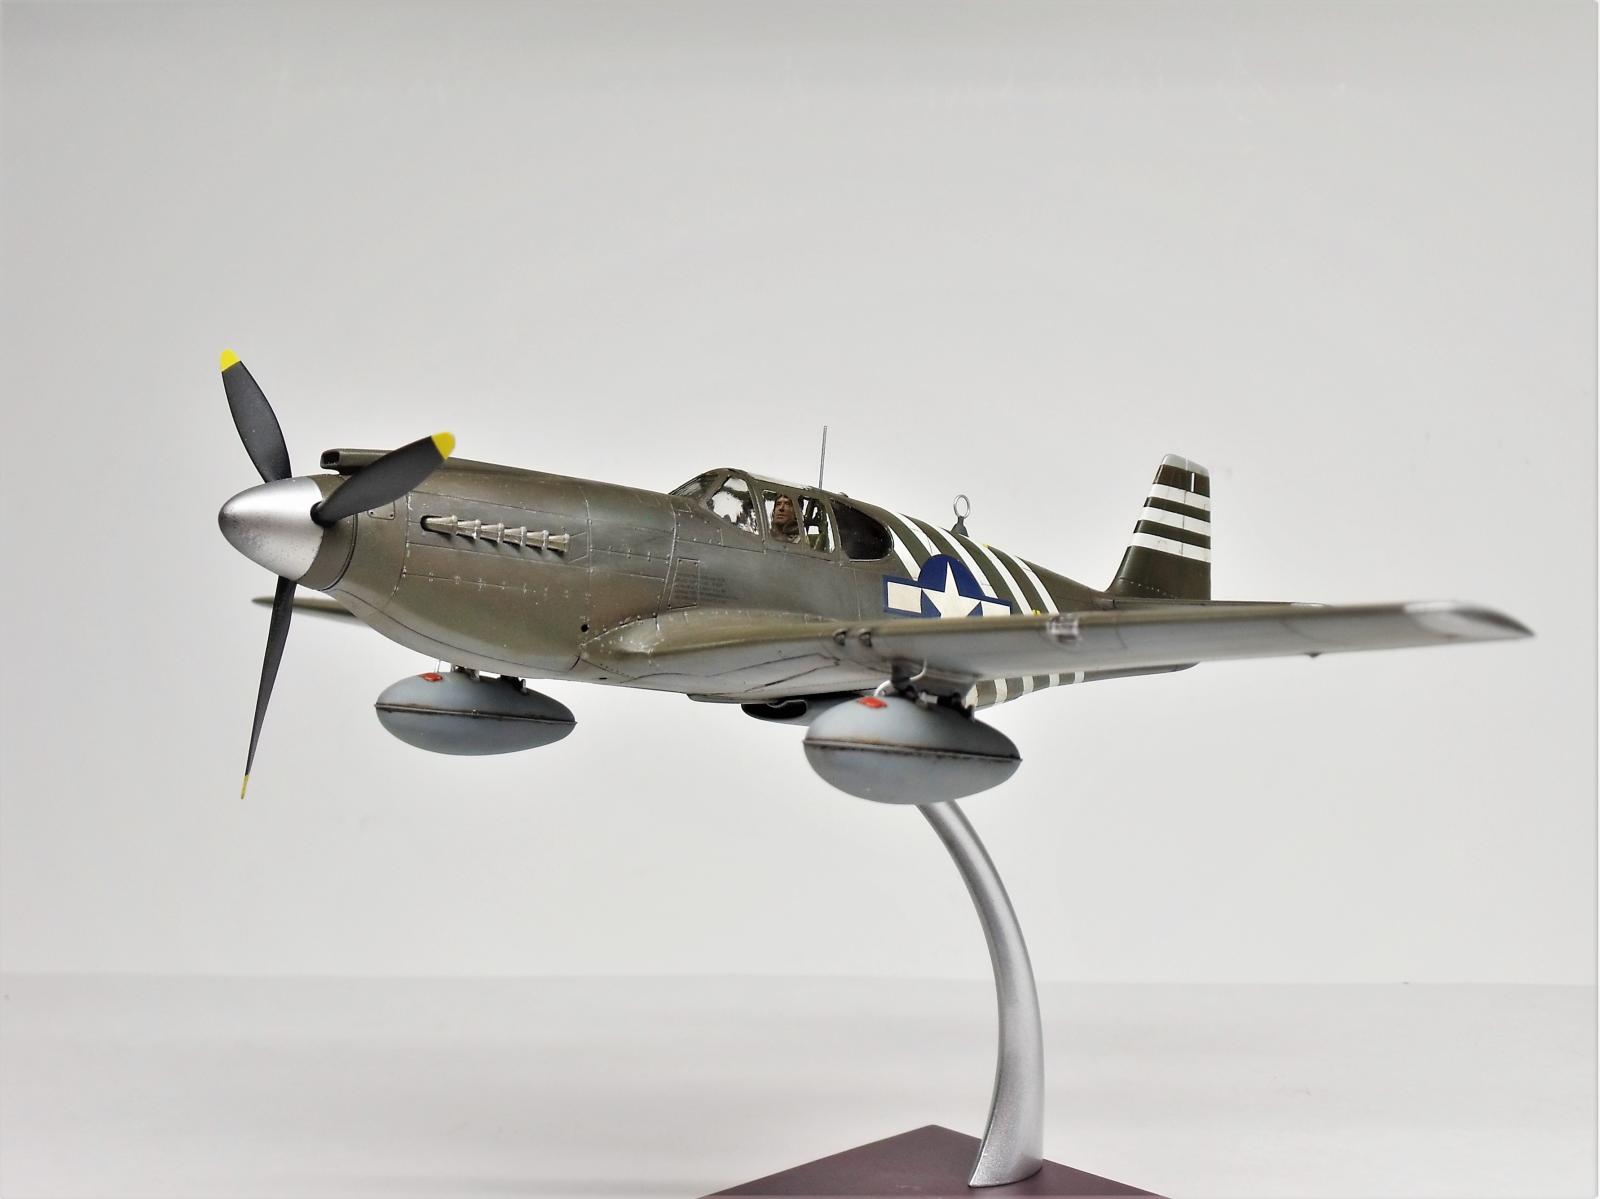
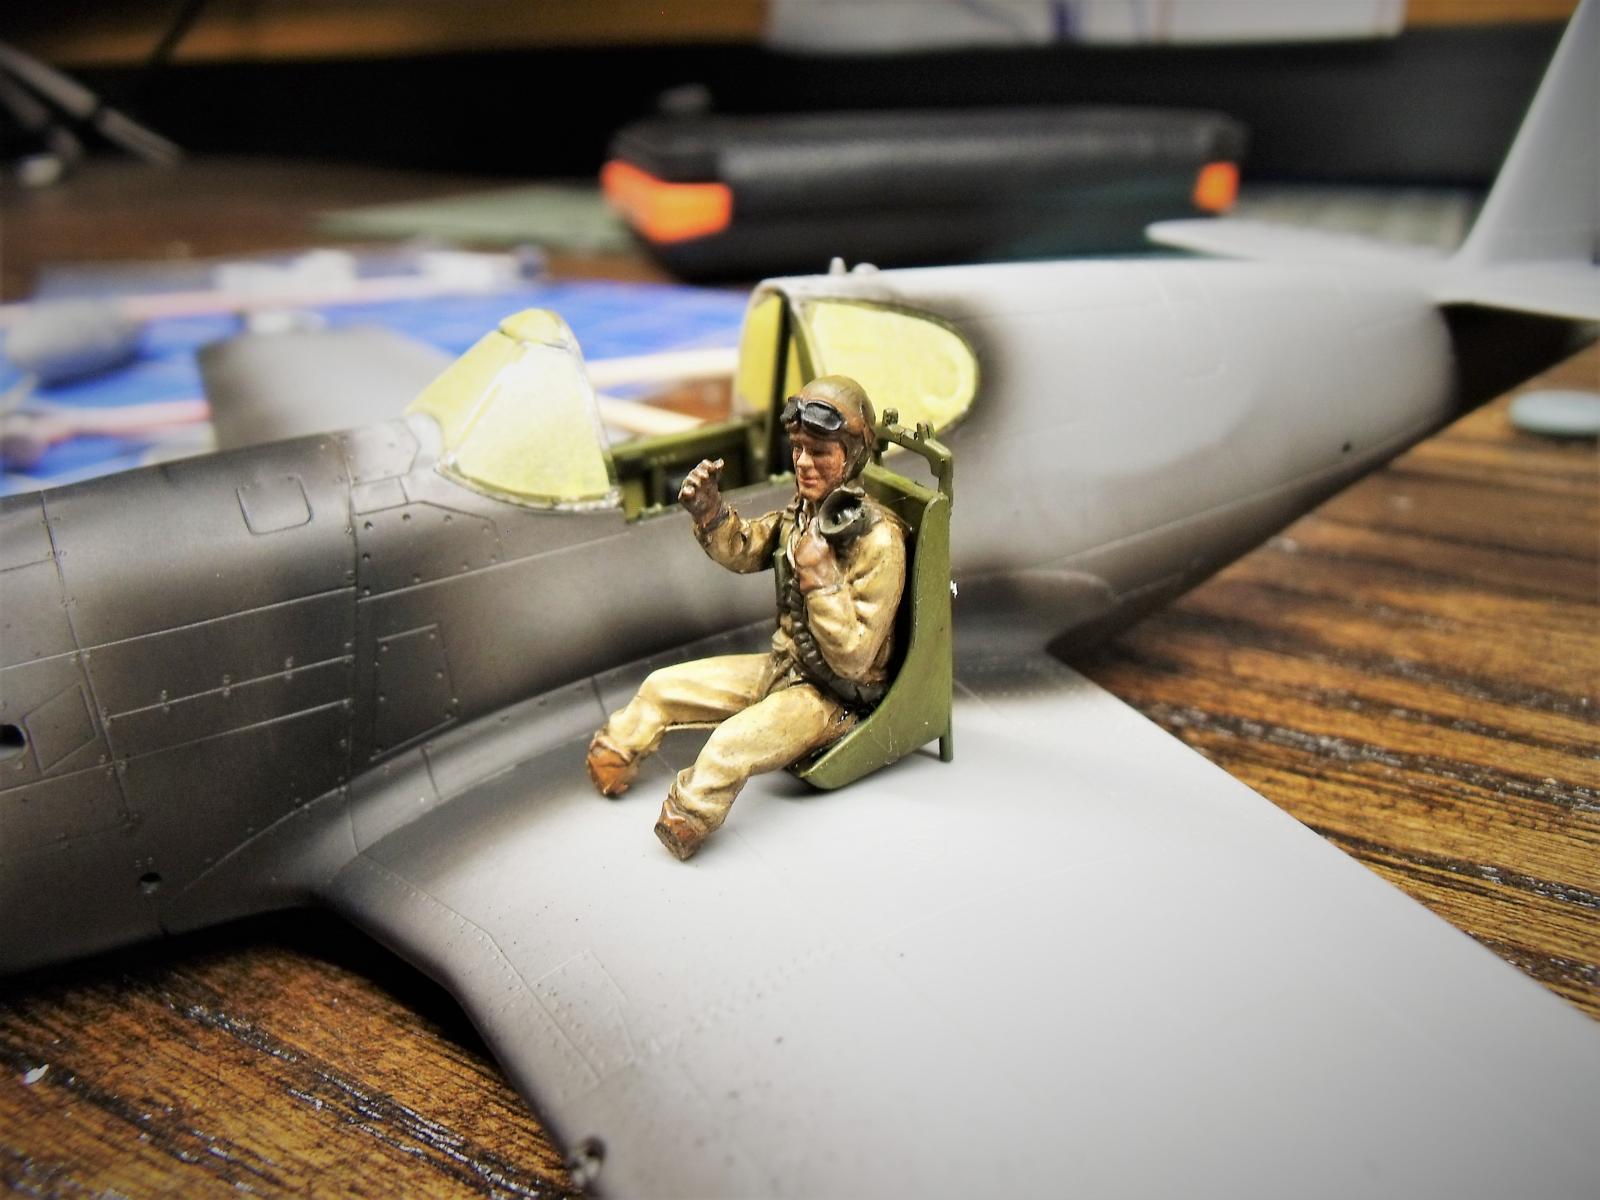
Otherwise, there wasn't too much drama with the build. Closing the rear gear doors required cutting off the molded on doors and forming a blank. The pilot figure was from a spares box (pardon his hands off the flight controls), and thus fitting him in the cockpit required some slight amputation. The stand is a Gemini Jets stand for 1:200 die-cast, which my local hobby shop carries a variety of. The propeller was replaced with a 3 bladed prop from Eduard's Spitfire kit, since I didn't feel like sanding down the thick AM part as I did in my last two Allison Mustang builds.
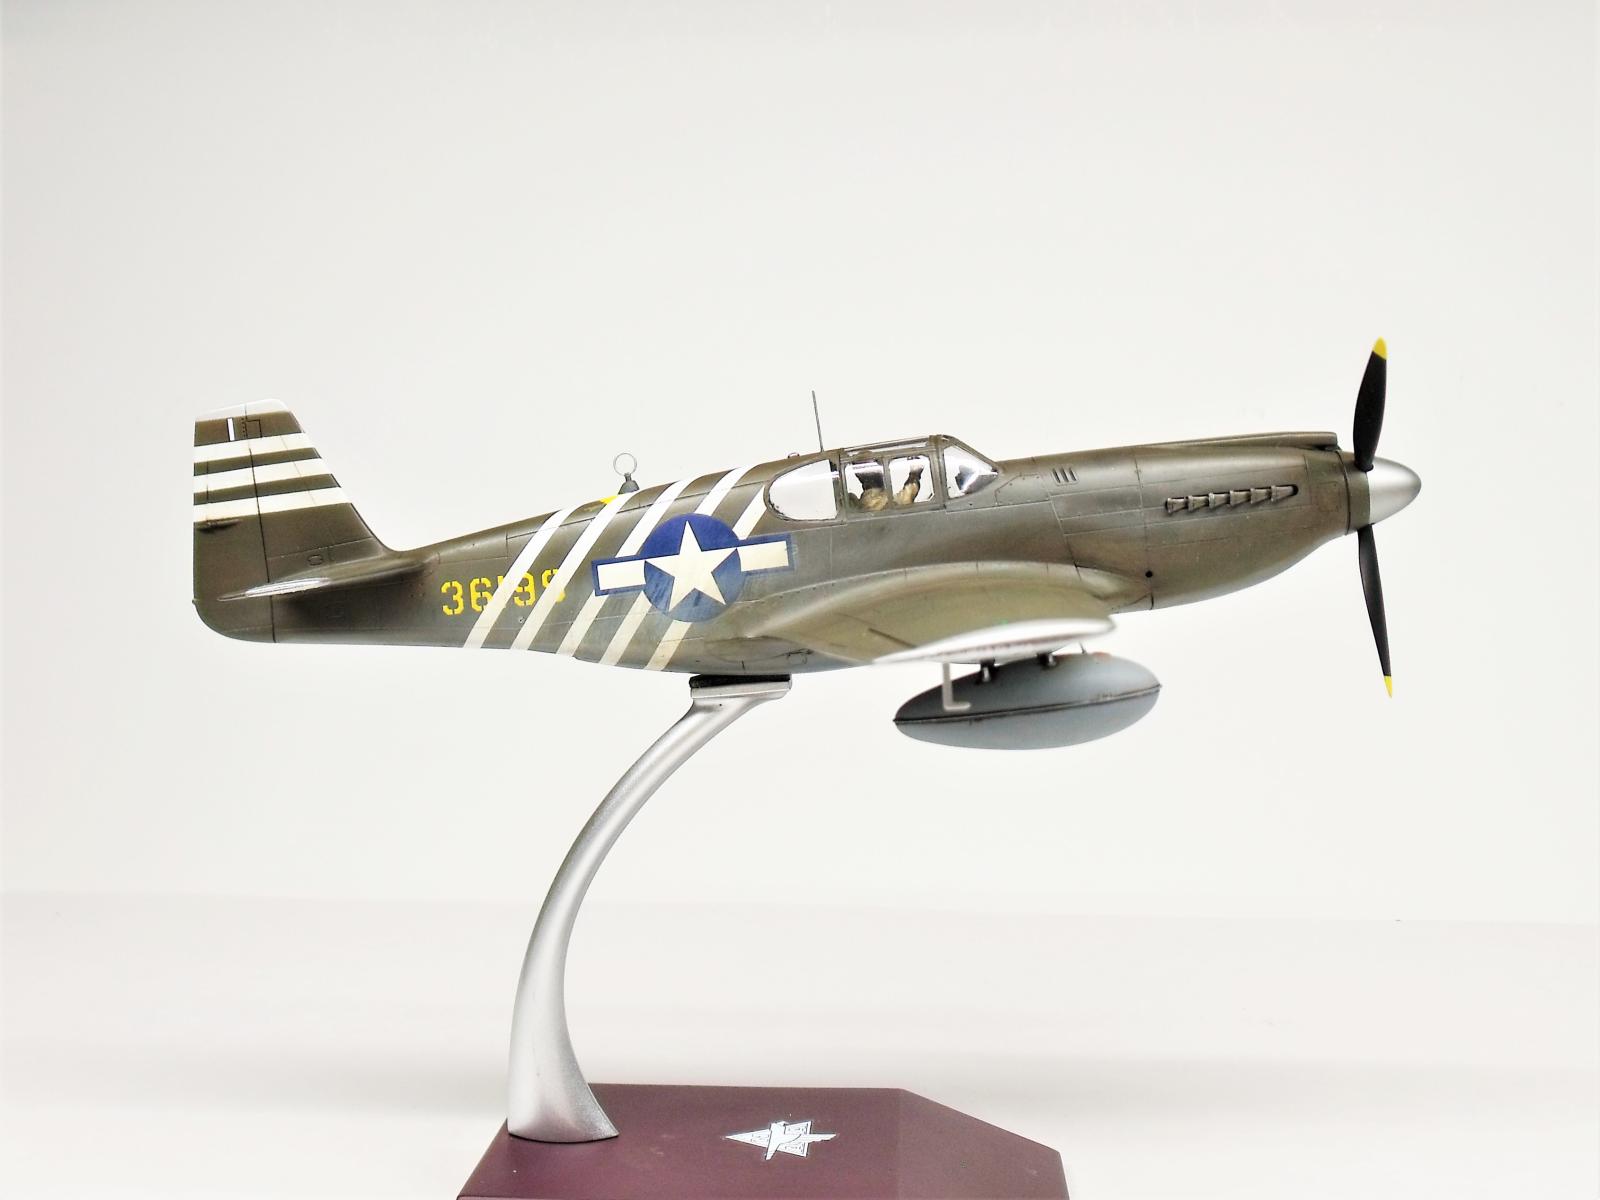
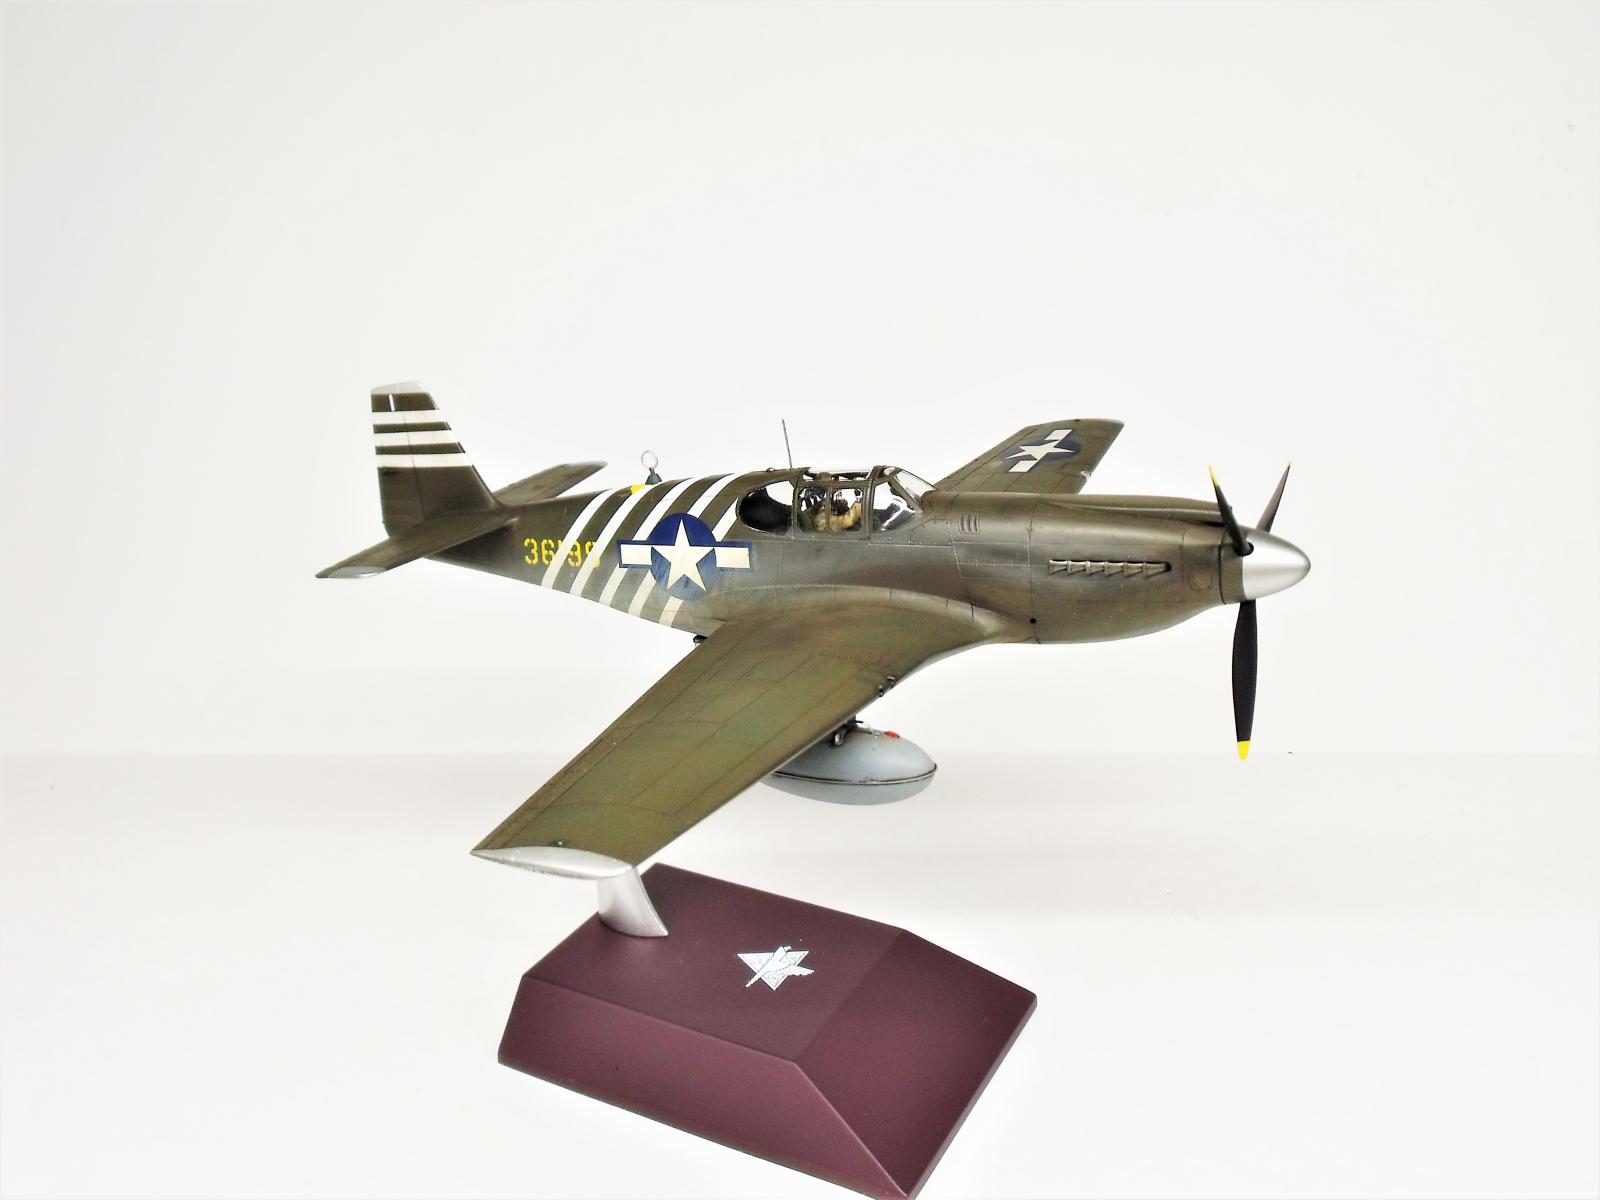
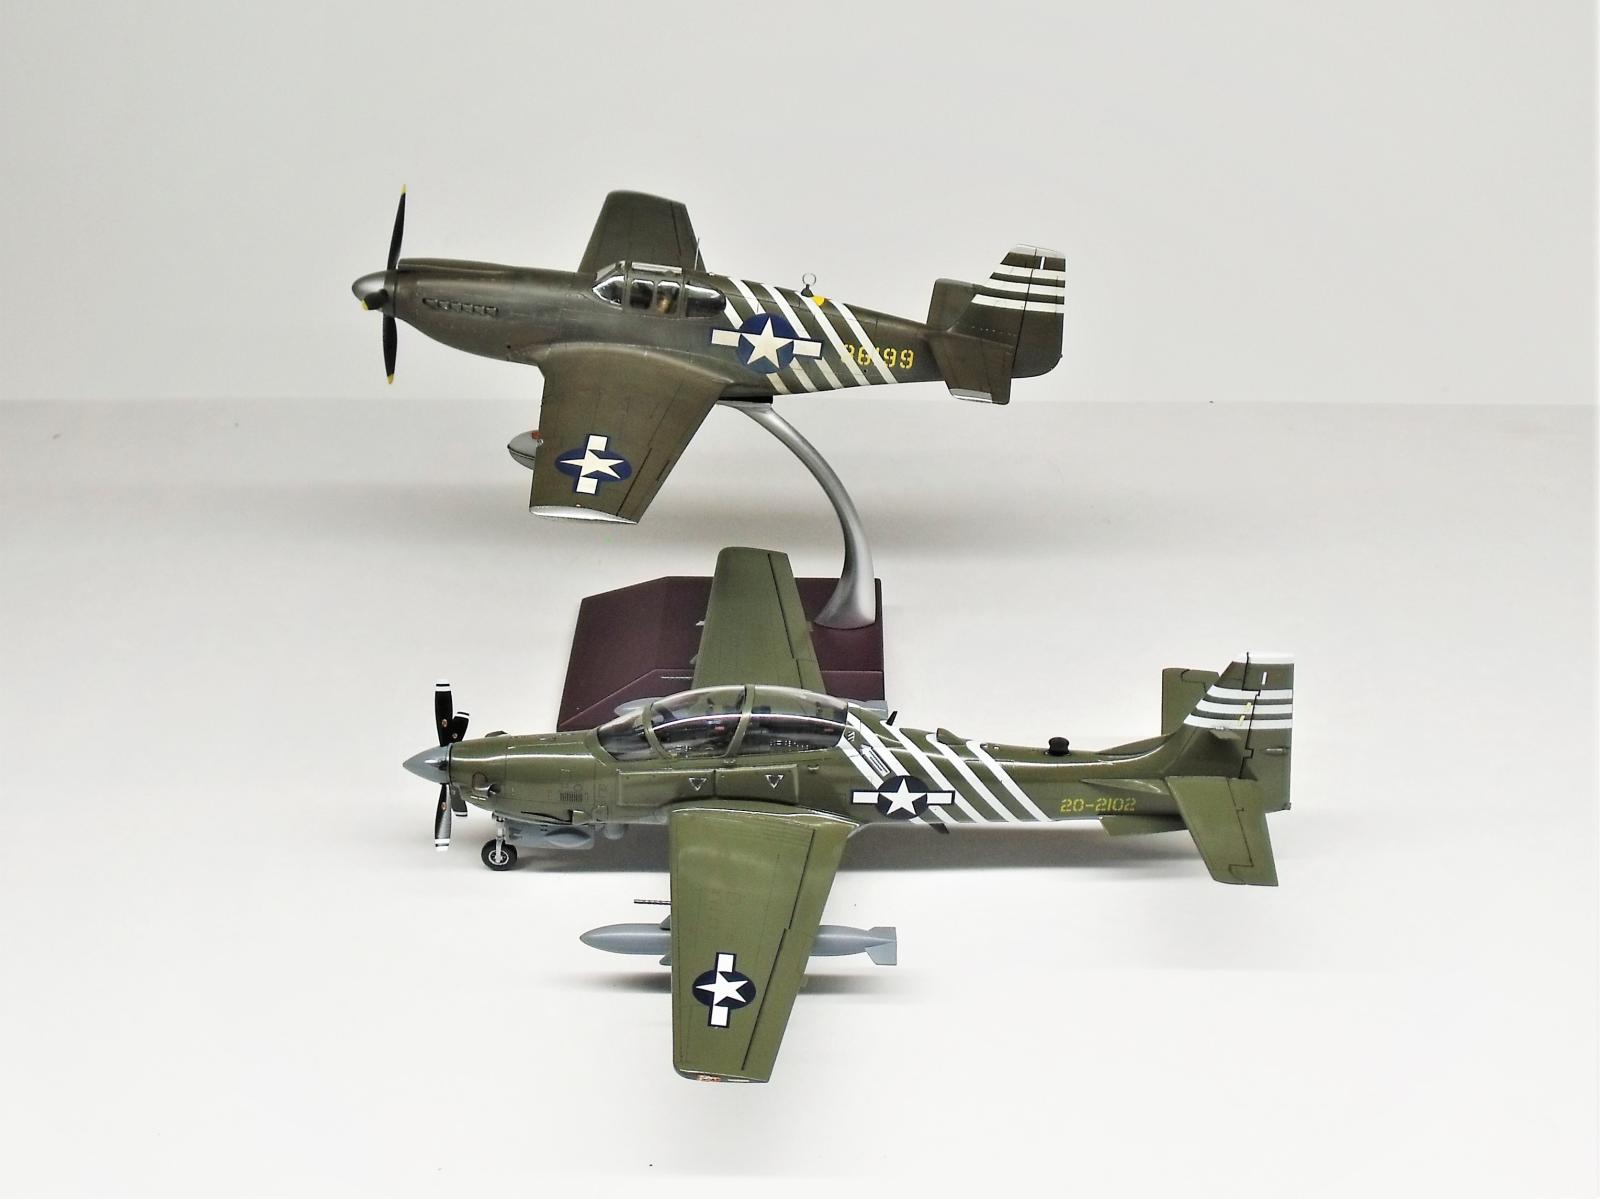
The paintwork started with a black-base of Mr1500 primer, over which I sprayed panels in a variety of mottling, either yellow, light grey, or light green. Then, I used Vallejo Nuetral Gray on the underside, masked the edge with a rolled-up piece of blue tack, masked the rest, and then sprayed the upper with MMP OD with their poly additive. Then I used some violet-brown, faded OD, medium green and red-brown (all thinned of-course) to provide variety to the upper surface. Once satisfied, I coated the model with X-22 for decals...
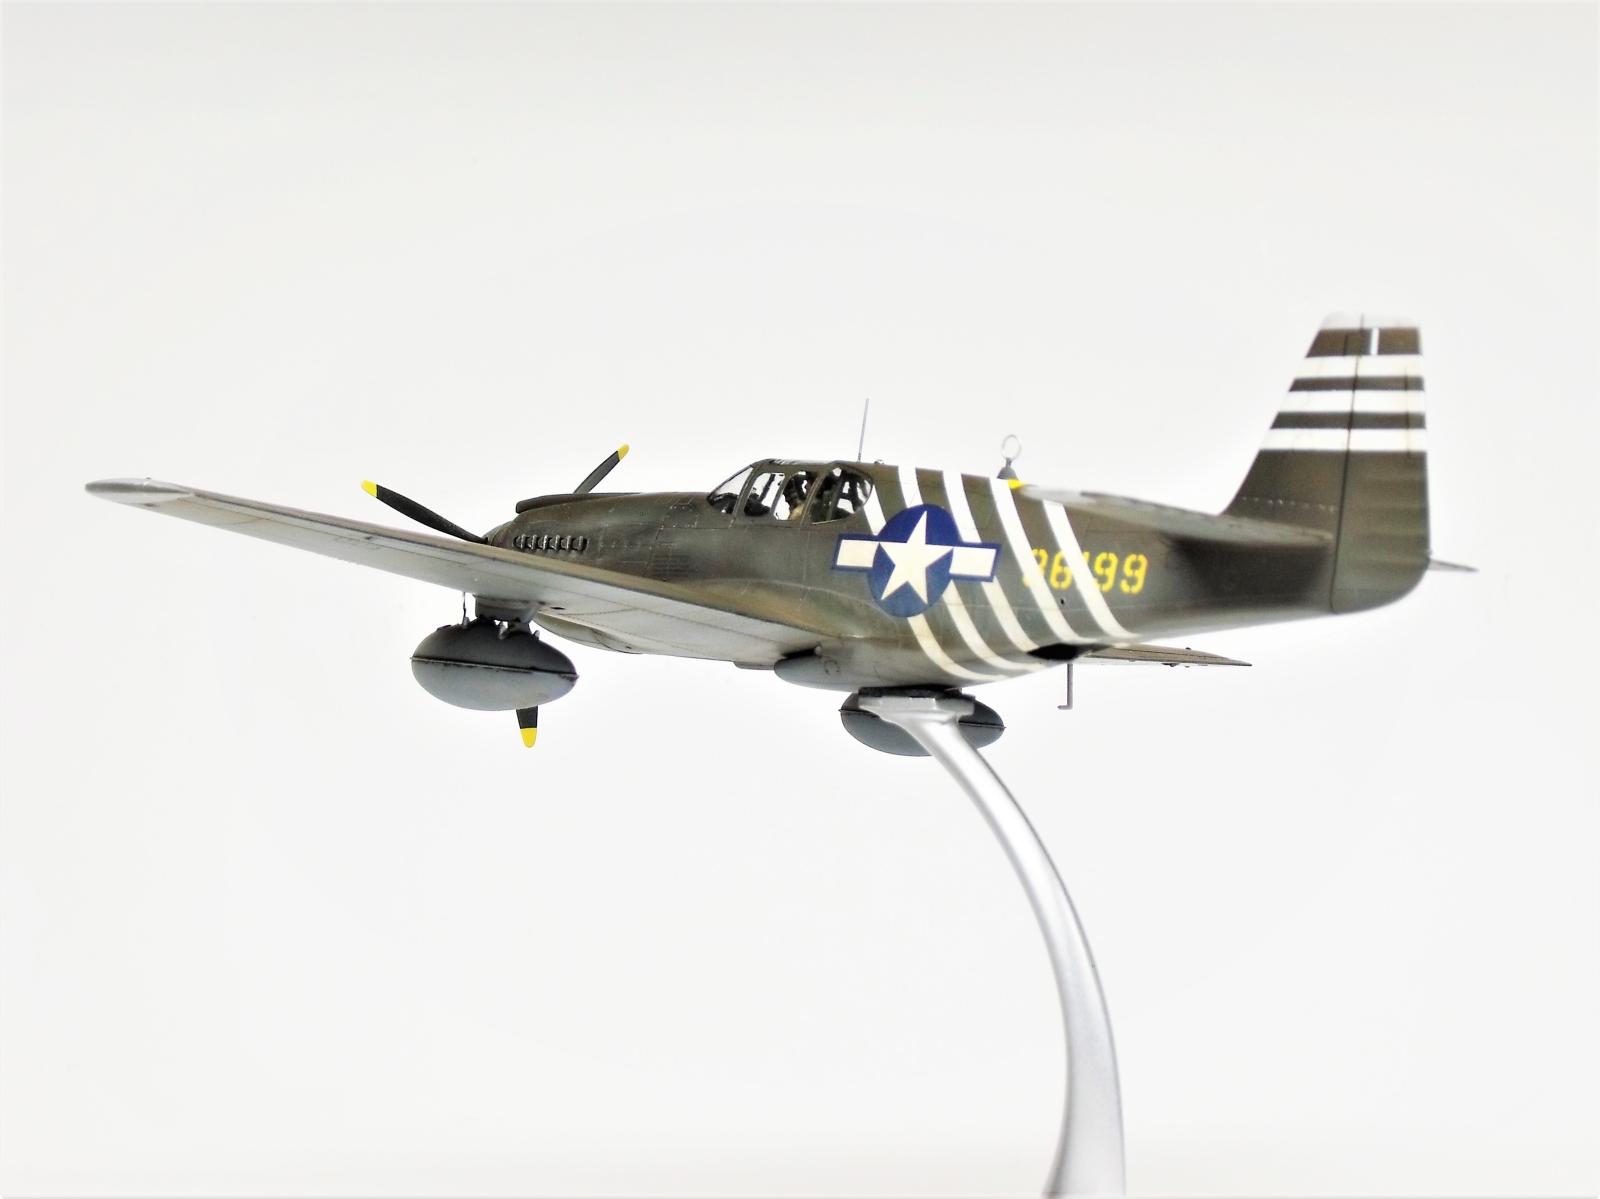
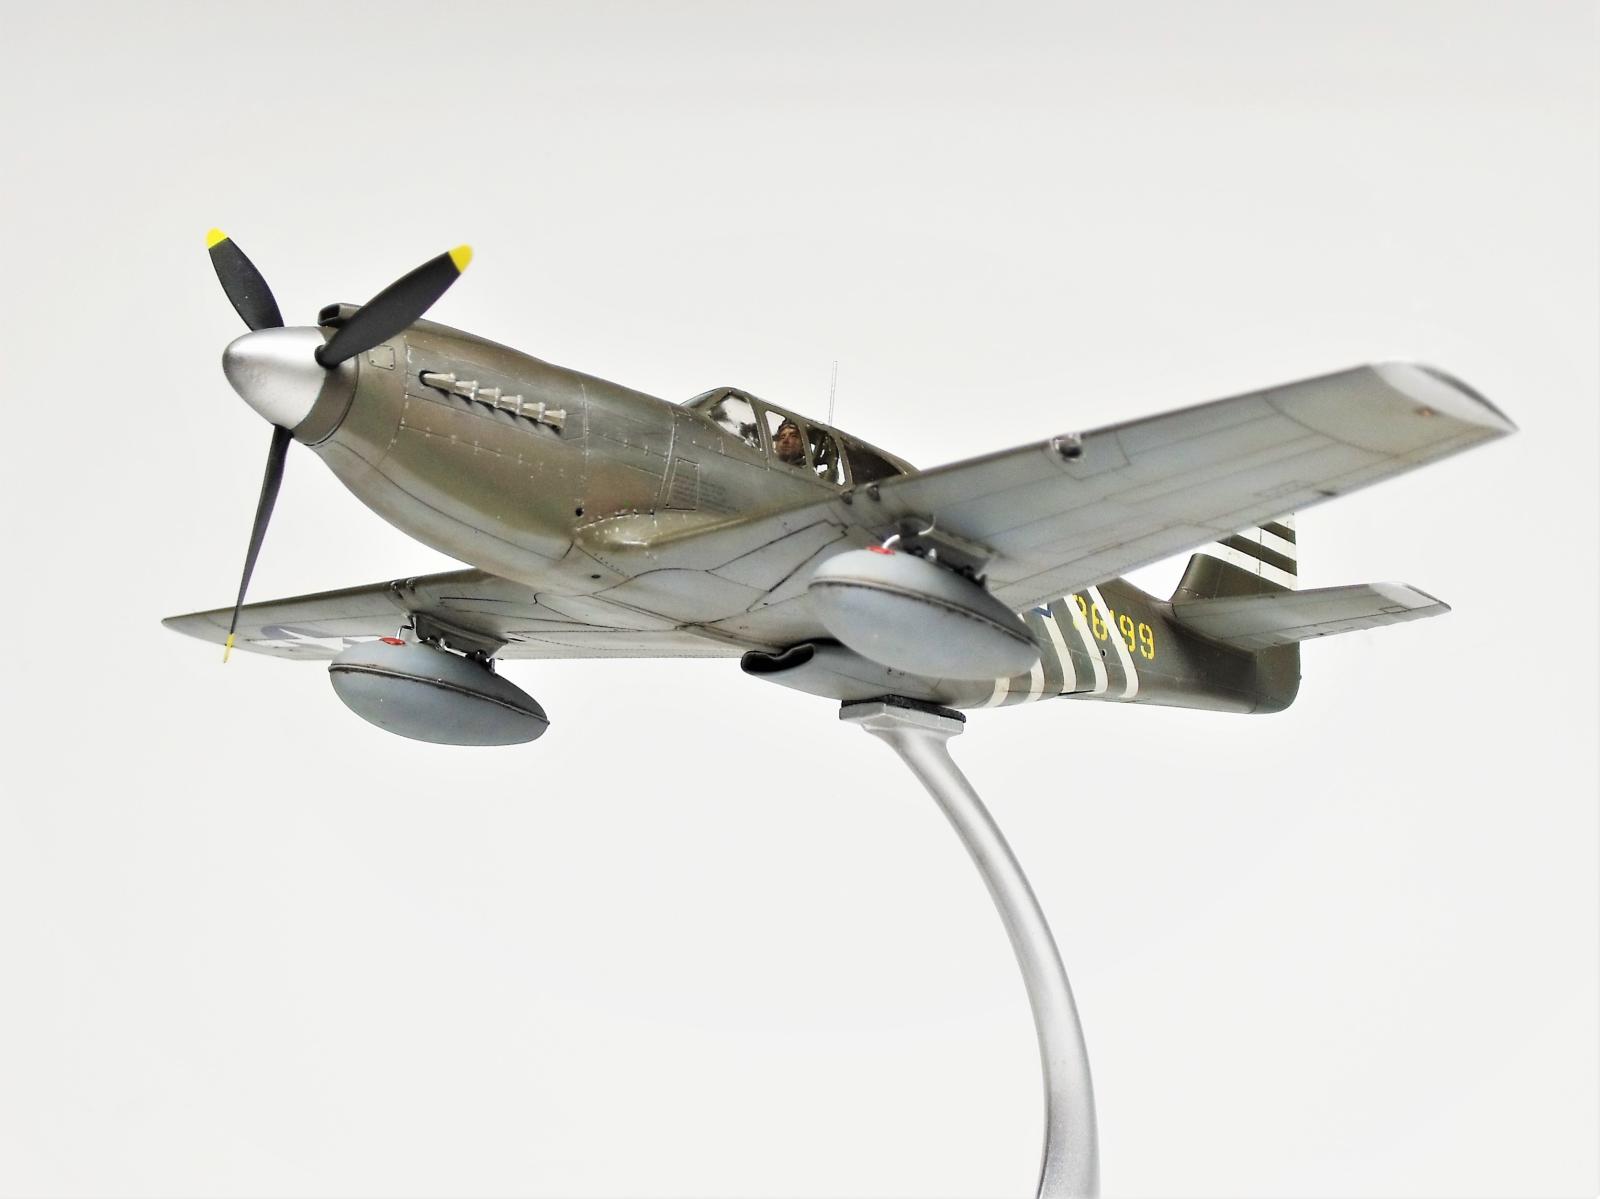
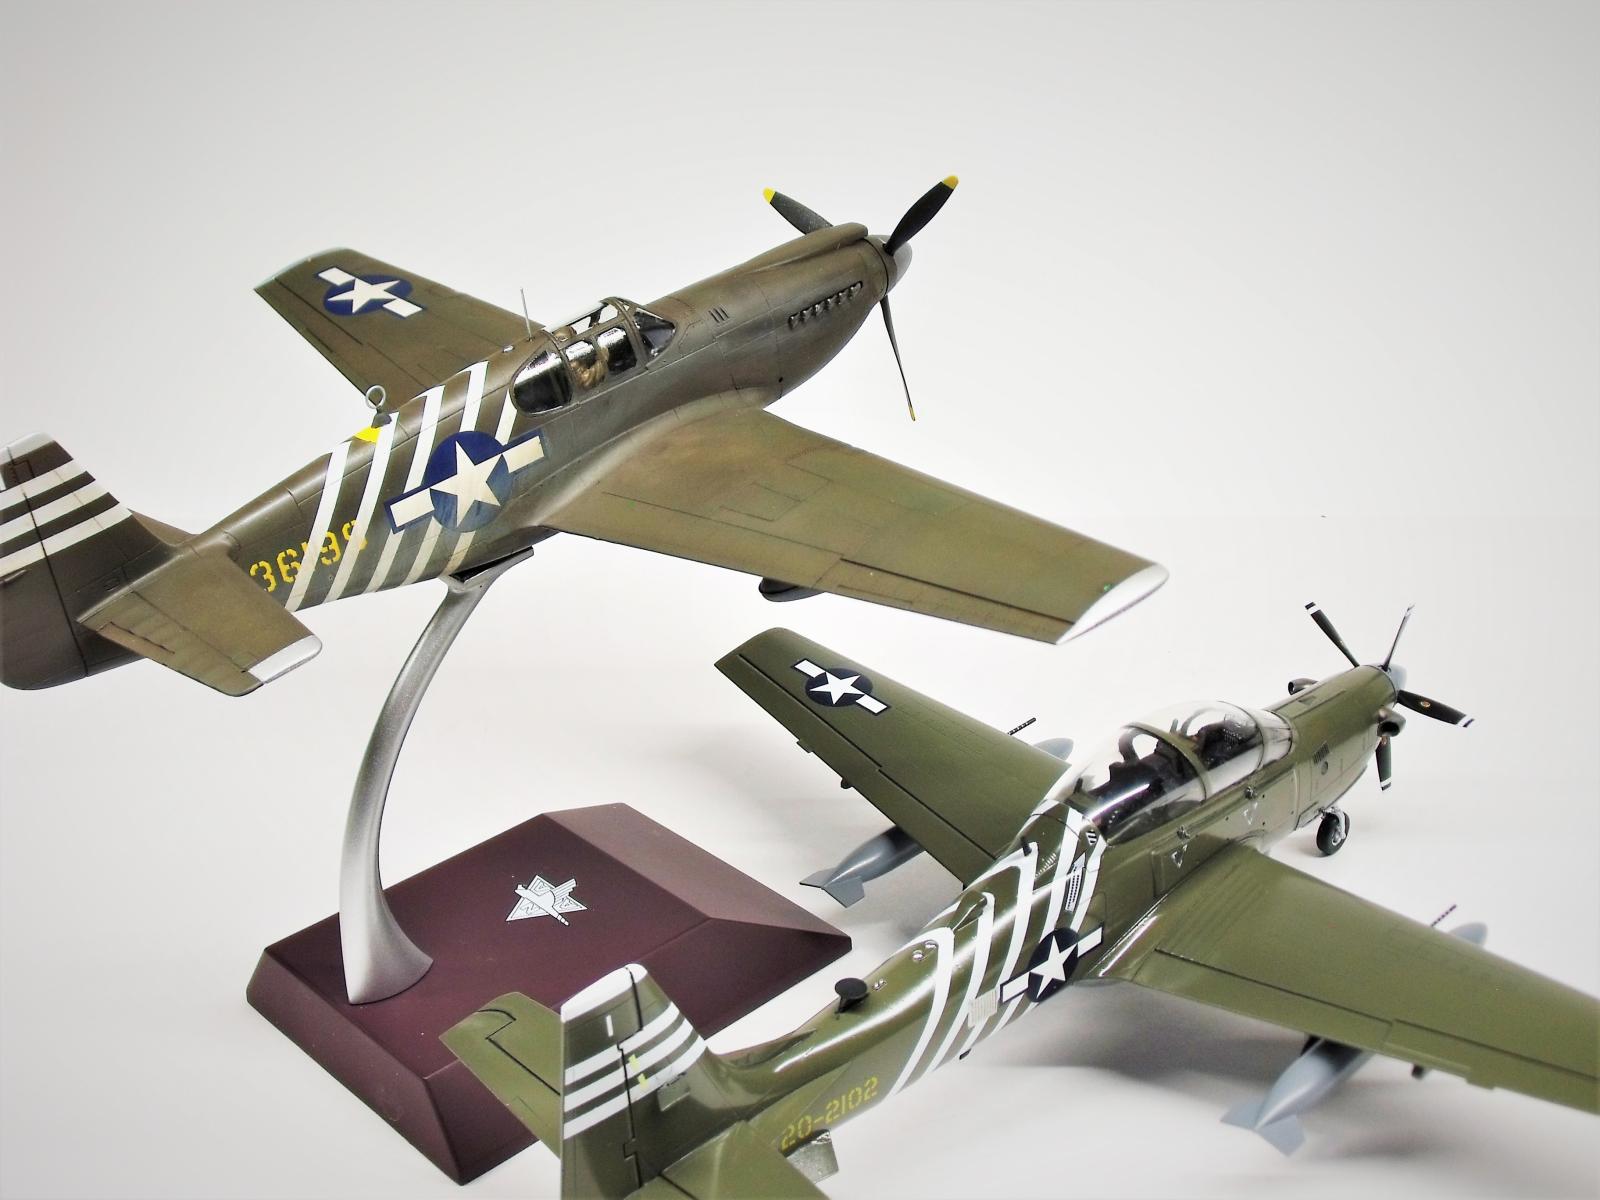
The decals came from an older SuperScale sheet (they worked great, thankfully), which included a small variety of 1st Air Commando's P-51's. The 1st Air Commando's carried out a number of daring missions in the CBI theatre, and their aircraft generally carried the highly recognizable white fuselage strips seen on this build. Much has been written about this group, and rather than make a feeble attempt at summarizing the history of the 5318th Provisional Unit, I'd simply refer you to Mr Cleaver's article featuring "Mrs Virginia" for a historical appetizer. The aircraft I selected was said to be Phil Cochran's aircraft, chosen for a reason that will become more clear with my next article.
Once all the decals were placed, the airframe was sprayed about with X-22, oil washed, and then sealed with Tamiya Flat Clear. The exhaust was done with thinned "wood" paint, and then brushed with a wet-ish course brush to make for some inconsistencies. I could have over done this some more, but it was a classic case of misjudging how much I had done at the time.. but then again, pictures of this particular plane shows it didn't have as much of the lean-burn exhaust soot as some others in the squadron. Anyhow, after this I used some pastels for some wing top dirt, streaking, and other various highlights.
I hope you like this build, as I enjoyed working on it.


Very neat precise work, Andrew, an interesting write-up, great photographs, and the stand shows off the model very well.
Thanks George, I'm glad you approve. 🙂
All around wonderful build. Just a pleasure to look at. Nicely done.
Thanks Matt.
Very nice Andrew. You did the exhaust stain messiness just right.
Tom, thanks for the affirmation.
Superb result, Andrew!
Thank you!
Nice looking AM Mustang.
I enjoyed building those AM Allison Ponies as they are fun kits to build.
Right you are, Dan! I still have a few more to build. They have because a bit of comfort food for me.
Absolutely a nice looking Mustang, Andrew @pb_legend
Perfect all over.
John, thanks for the compliments.
Excellent results Andrew, and your build remarks are spot on, having built several of the A/M kits myself. I too had good results with the SuperScale sheet, those fuselage stripes had be worried but they worked very well. Looks like you plumbed the tanks, what did you use for the plumbing? Don't see many kits on a stand but she really looks nice poised this way. Two thumbs up.
Good morning Tom @tom-bebout, right you are about the decals. They worried me a bit upon inspection, but the carrier film was nice and thin, and conformed great. For the tanks, I simply used some thin steel wire that looked about the right size, painted black in the center. Admittedly, I only replicated the larger of the two lines, and didnt take care to route them quite accurately. It is more of a 5' detail to help dress up the aircraft (something looks better than nothing), but wouldn't fool any judges. Hope this helps!
Excellent Andrew, excellent indeed! That stand and your presentation of this model is one of the finest I've seen in a long time. There's always some question about "Should I spin the props or not?". Your rendition looks super and the non rotating props look perfectly in place on this bird. Great job and thanks for sharing. I do love inflight displays.
Thank you Carl @clipper, you are too kind. In regard to the prop, you are right, I certainly would have liked to make it spin, but figured it would be on static display anyhow, so I would just display it as such. I'm glad that you like it!
Excellent work. Big fan of A. B. and C. Mustangs.
Yes, the "razorback" Mustangs are delightful. Thanks!
Beautiful, Andrew. Looks terrific on the stand. Very graceful.
Glad you didn’t “spin the props”. It’s impossible to get that look right and I’m not impressed with the aftermarket motion props currently available.
Thanks Eric @eb801, and believe me when I say that the only prop spinning I'd implement would have used a motor for practical effect... Using the Eduard prop sort of complicated that, though. I'm glad that you like it!
Fantastic painting!
Thanks!
Very elegant, noble look to it.
Agreed. The Mustang is an elegant aircraft, and I'm glad you see this as a fit representation.
Beautiful work on your Mustang. And great job on upgrading that propeller, it does make the difference.
A great looking early Mustang. Your paintwork is fantastic. Well done!
G'day Andrew (@pb_legend) ,
This is a lovely build.
I've built two of these - a P-51A and a Mustang Ia - and on one I thinned the prop by sanding and on the other I used some spare blades from an Eduard P-39. They were the first Accurate Miniatures kits that I built and was very impressed with them, and have bought other AM kits since.
I prefer the look of the early Alison mustangs over the P-51B and D.
This scheme is one I would like to do in the future and you have done a great job on yours.
Liked very much.
@michaelt, thanks for checking in. Accurate Miniatures has a storied history, but at the time most of their kits were introduced, they were very good. Some of their kits had faults, but the likes of their Mustangs, Dautless', TBD/TBMs, B-25s, and F3F to name a few are still being made and reboxed by a variety of manufacturers, because they are still relevant.
Thank you for you kind comments!
G'day Andrew (@pb_legend),
AM kits weren't common in Australia back when they were in business, but the re-boxes are.
I have built a Dauntless [Academy re-box] (https://imodeler.com/2020/02/douglas-sbd-2/) and have since bought another [another Academy re-box], plus have two B-25s [AM and Italeri re-box], three Yak-1s [AM], an A-36 [AM] and will am looking forward to building a TBD [Italeri re-box] for a club competition.
G'day Andrew (@pb_legend),
That last kit should read TBF, which I have now started:
https://imodeler.com/groups/the-80th-anniversary-of-the-attack-on-pearl-harbor/forum/topic/grumman-tbf-1c-avenger-rnzaf/