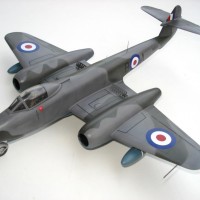
Special Hobby's 1/48 scale He115B-2/C

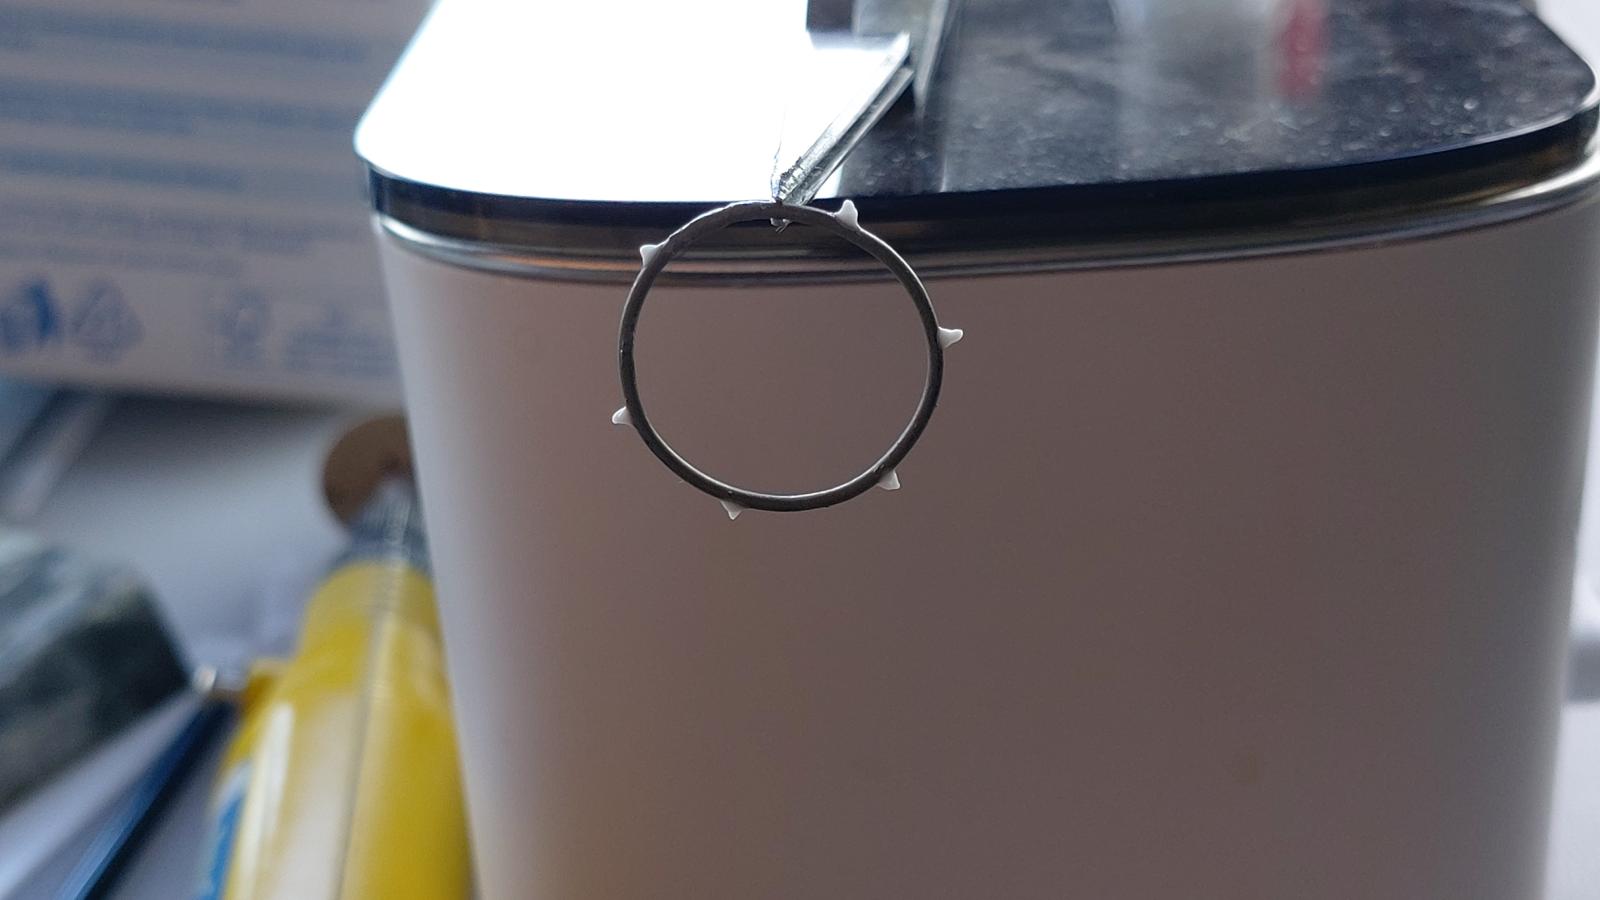
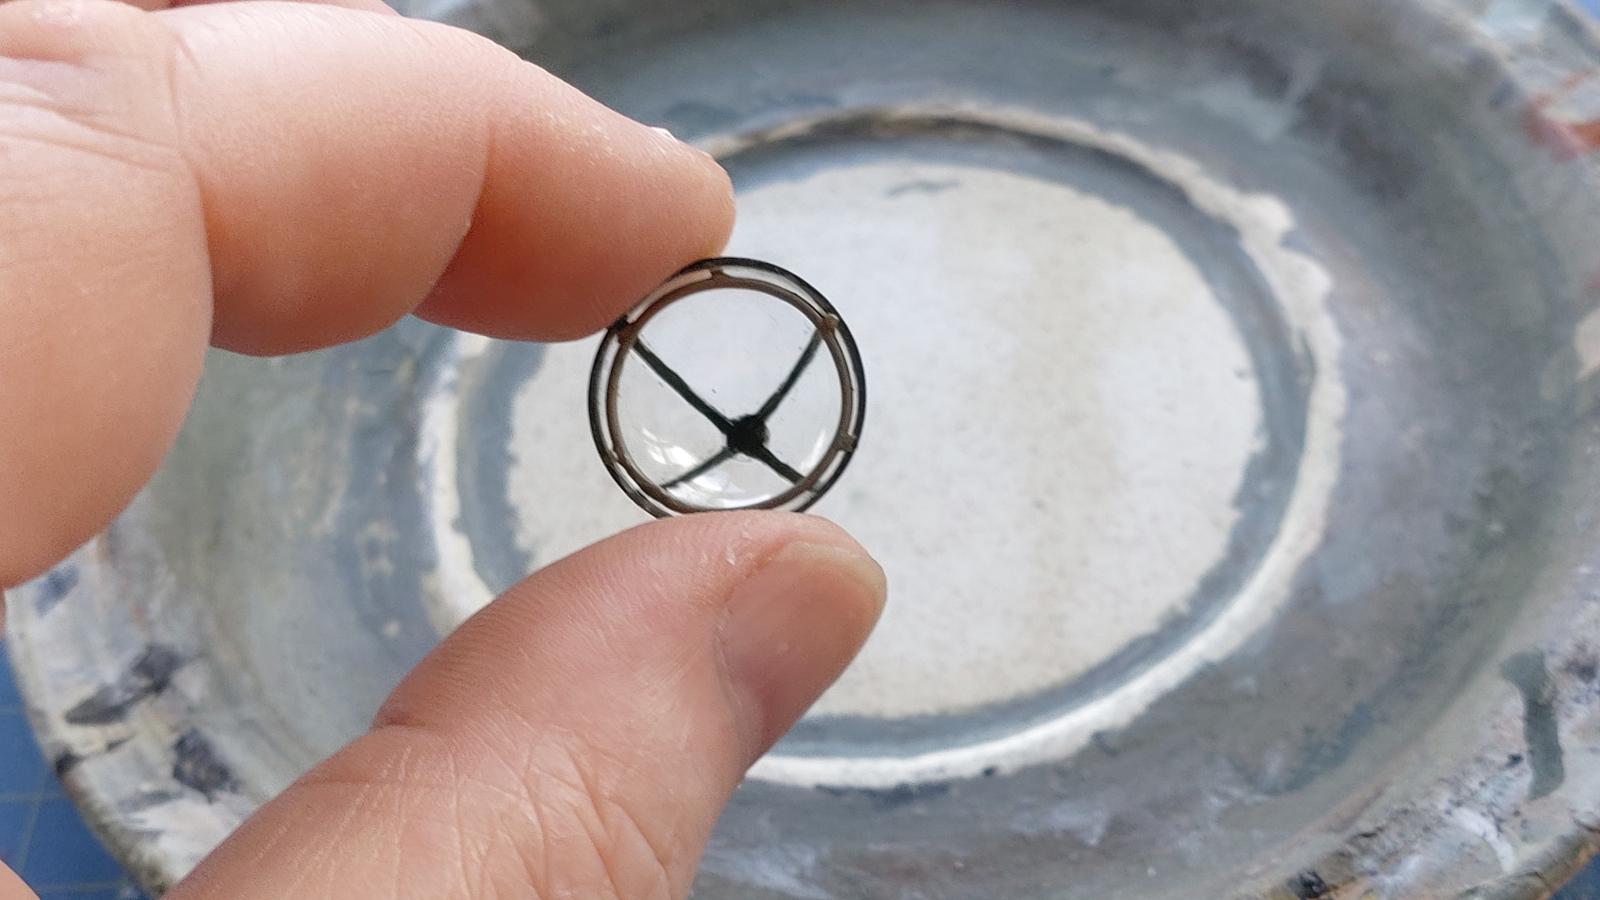
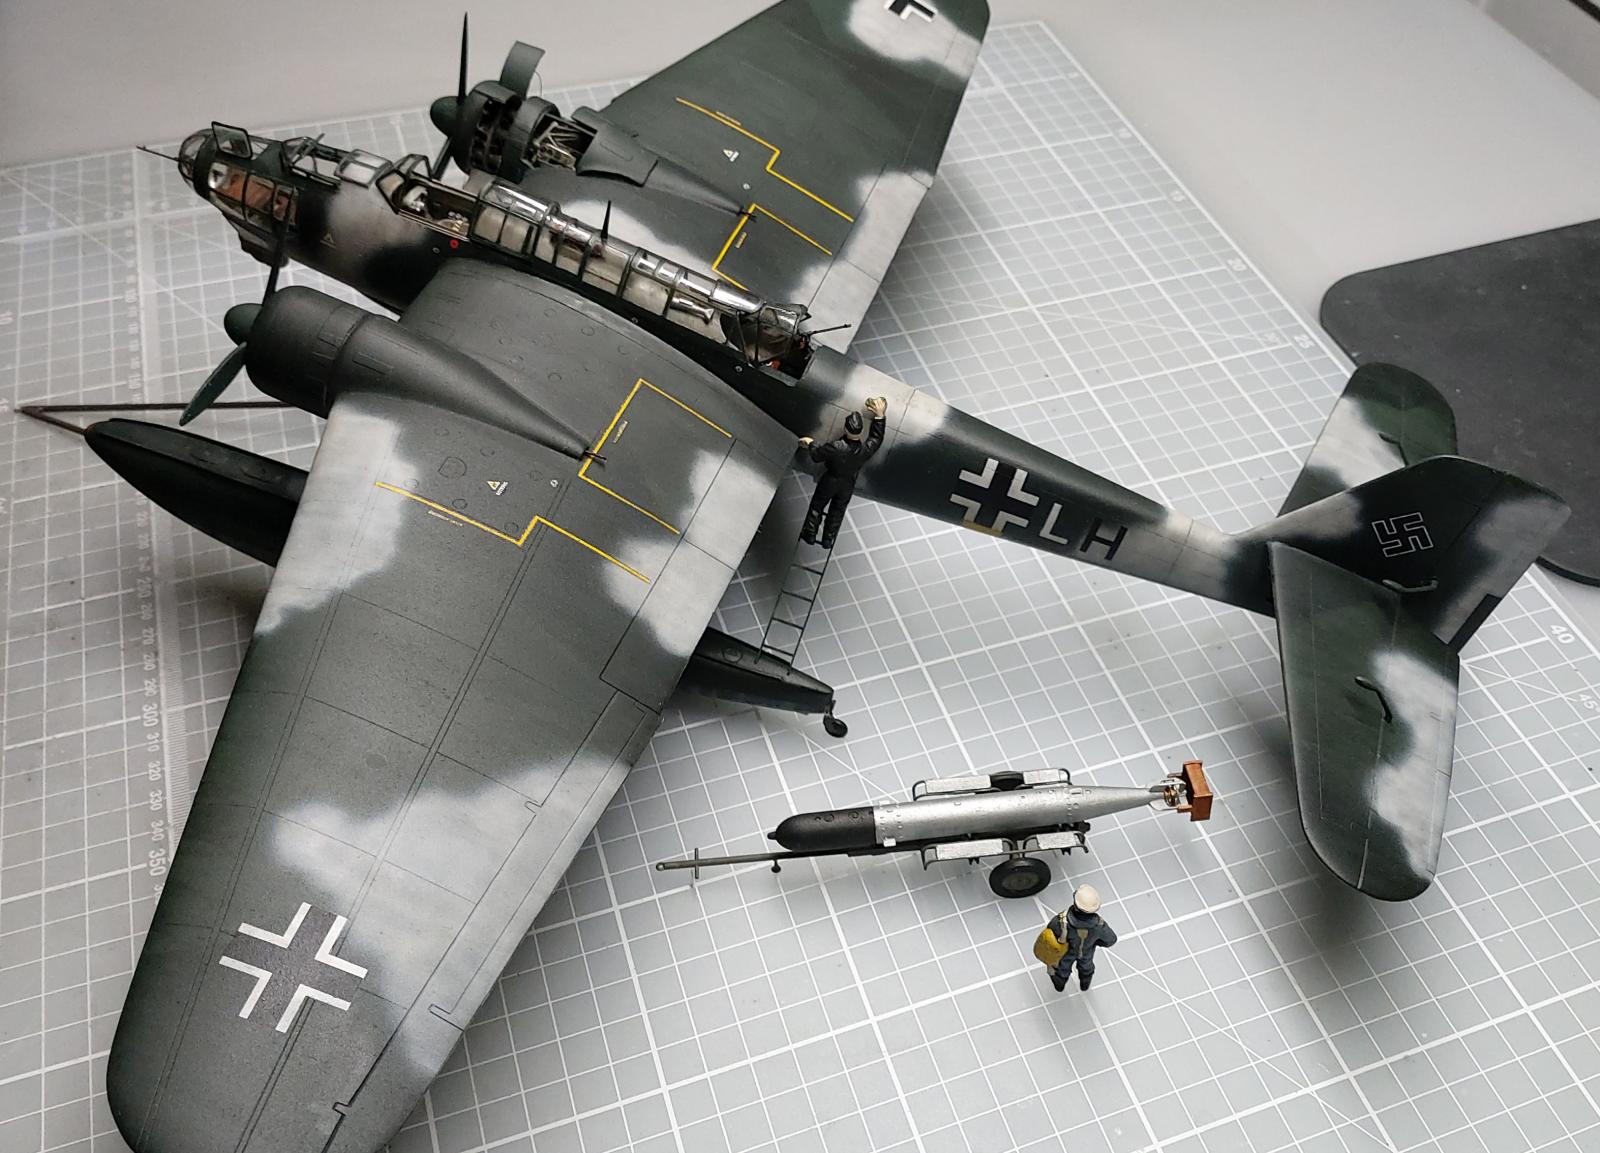
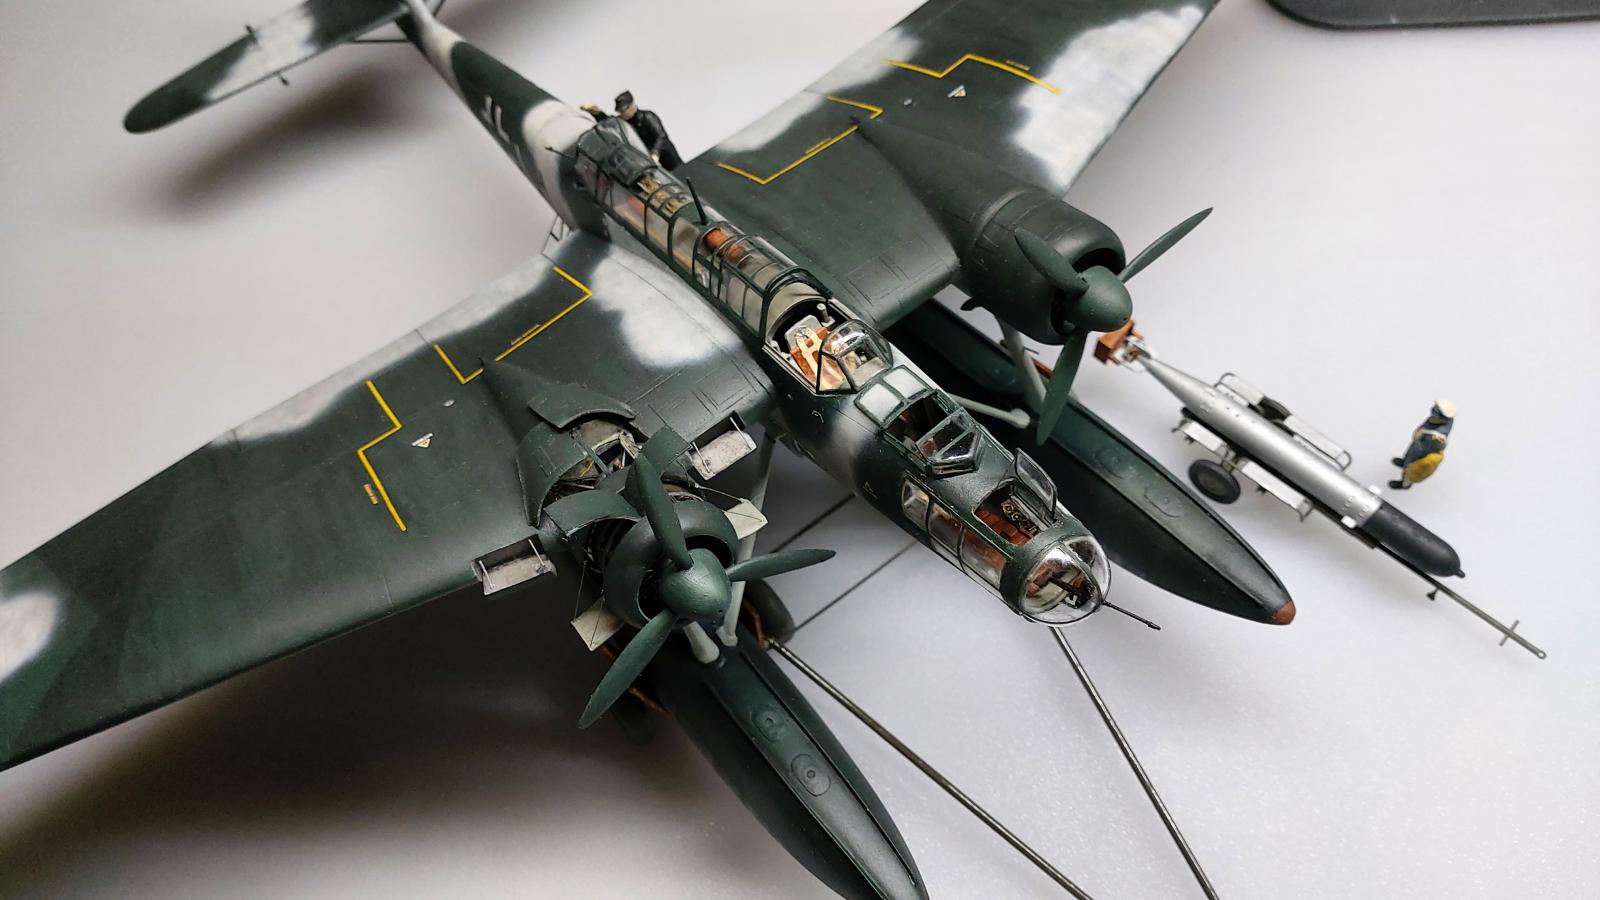
Hi, guys... this is my latest completed kit and another return to a kit I tried a few years back, and arguably, a better outcome this time. As anyone who has attempted this model will know, it's a difficult kit in places but certainly lends itself to some detailing if you're so inclined. In addition to the kit itself, I also scratch-built a beaching trolley for it, and used ICM's 1/48 scale LT F5B torpedo and trailer kit, with the ground crewman and pilot rescued from the spares box after goodness knows how many years, and spruced up a bit.
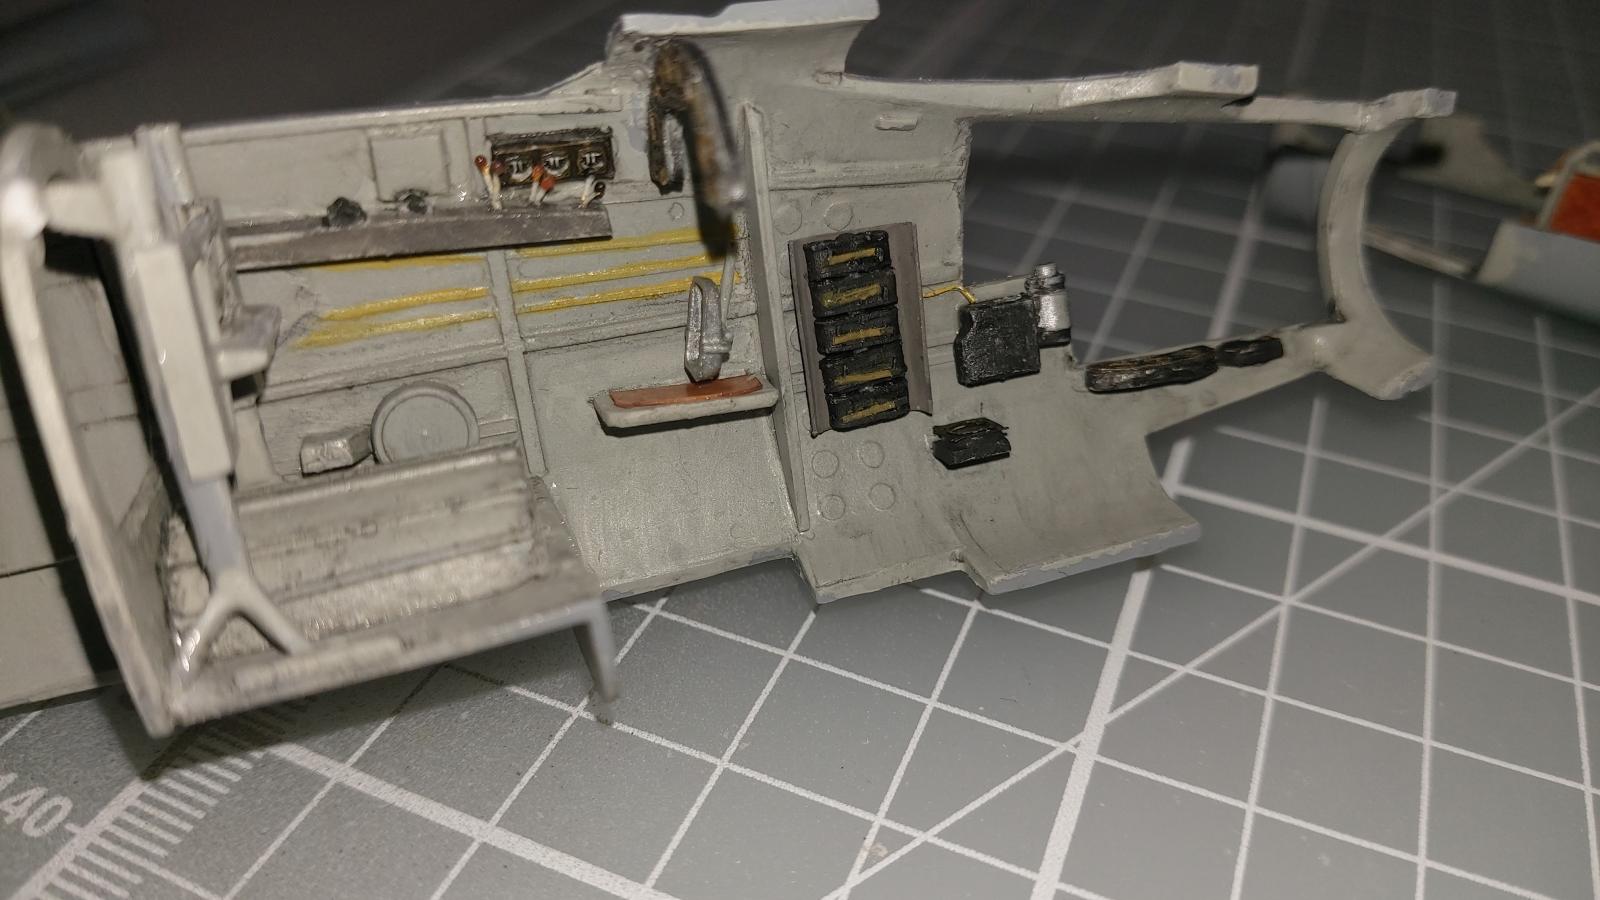
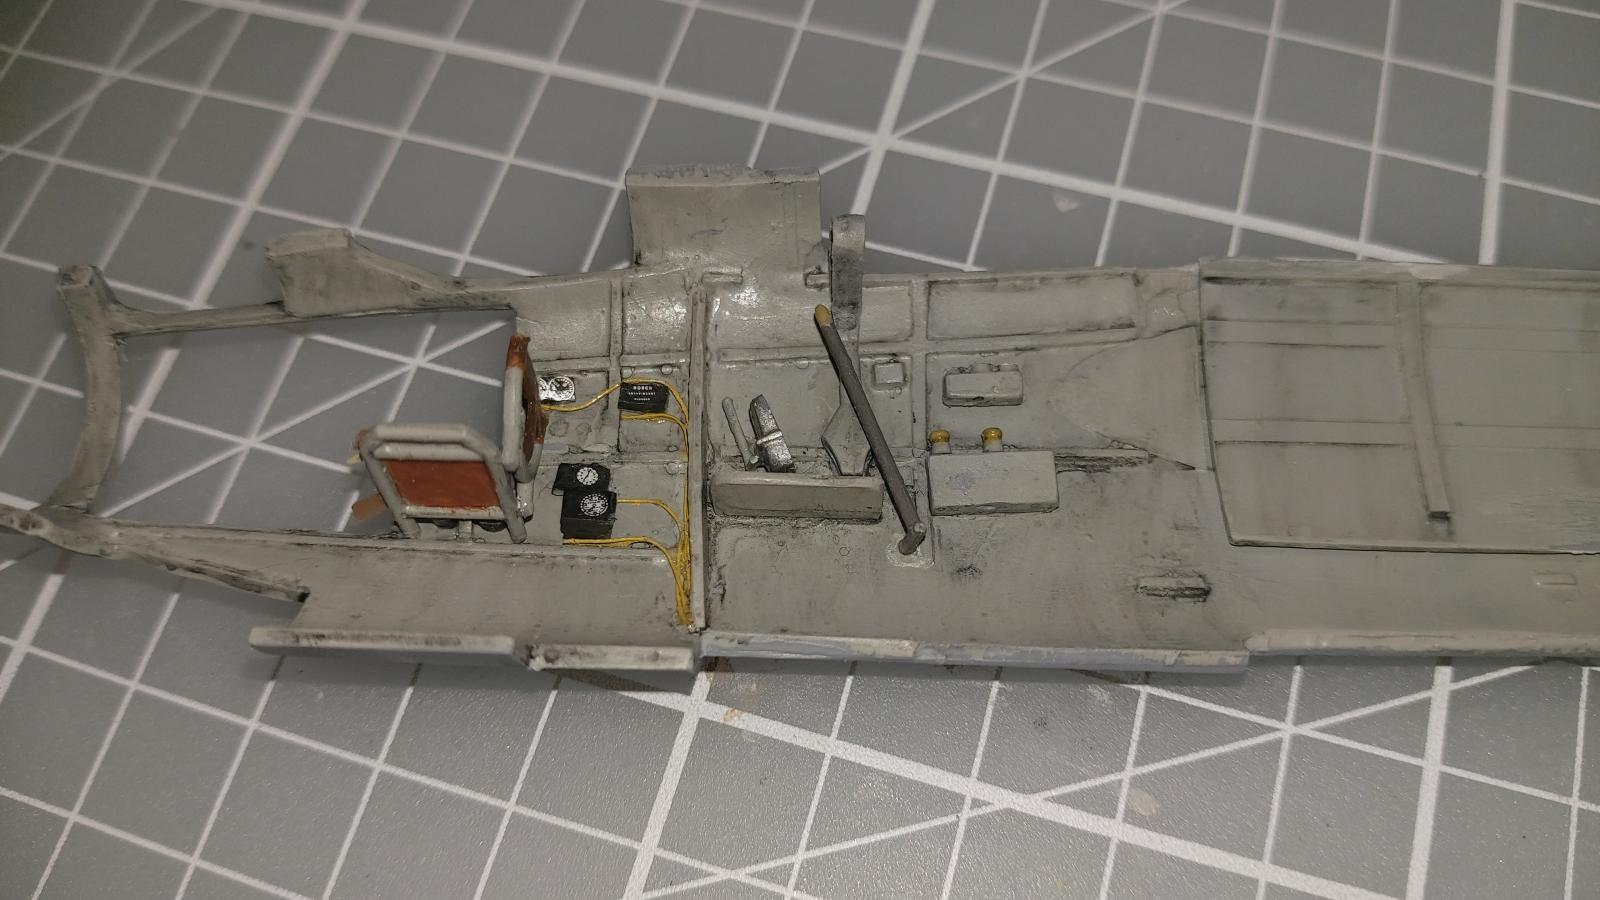
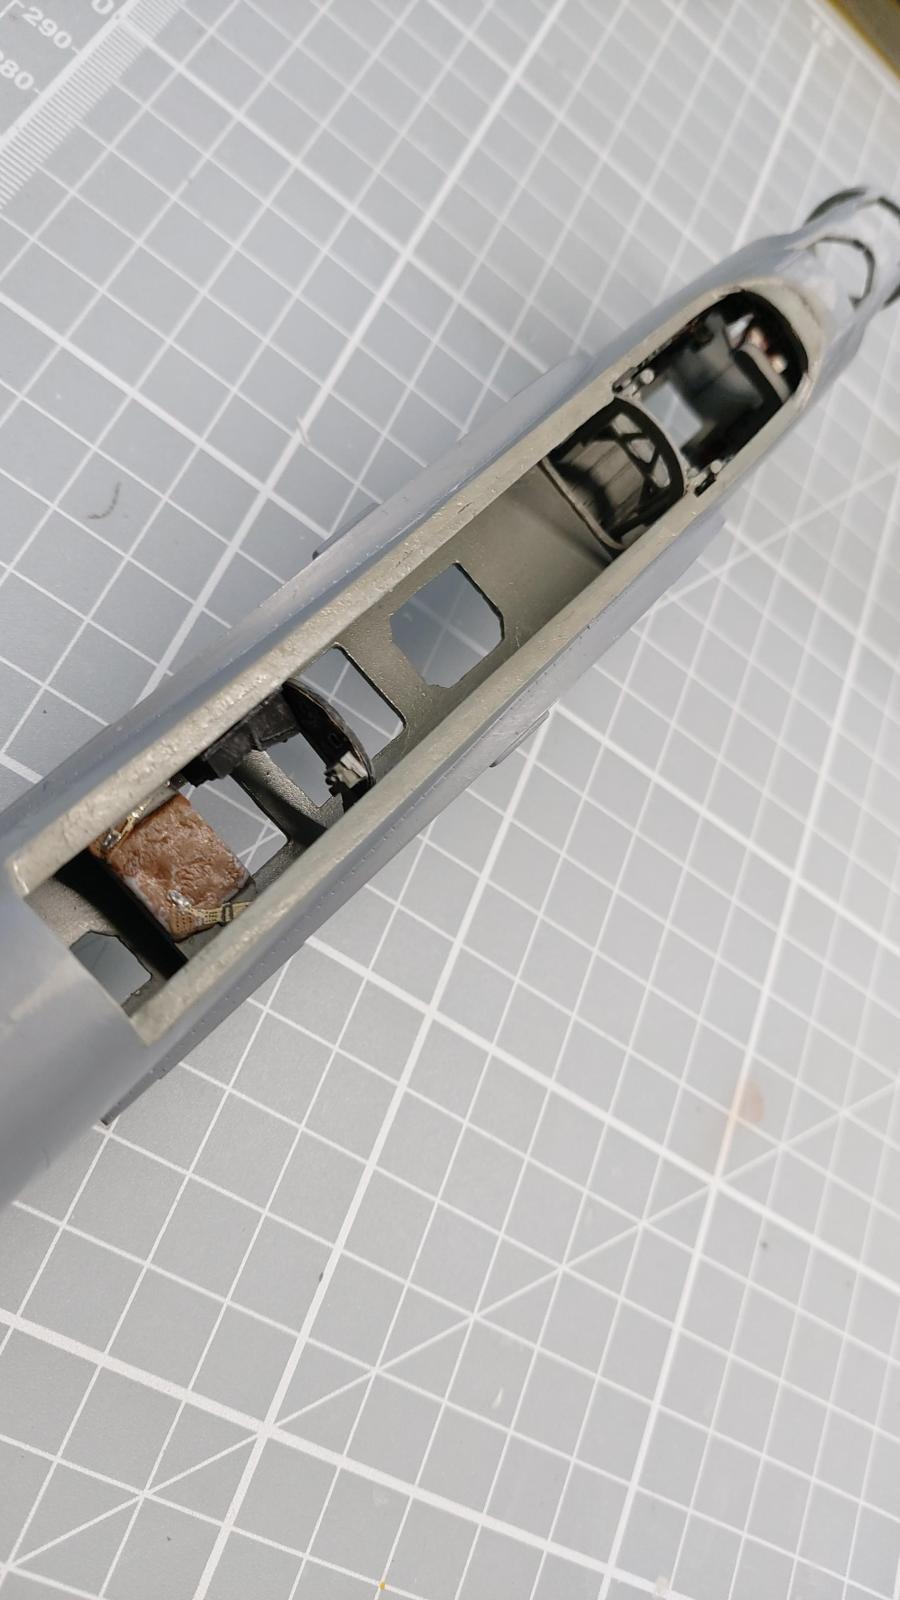
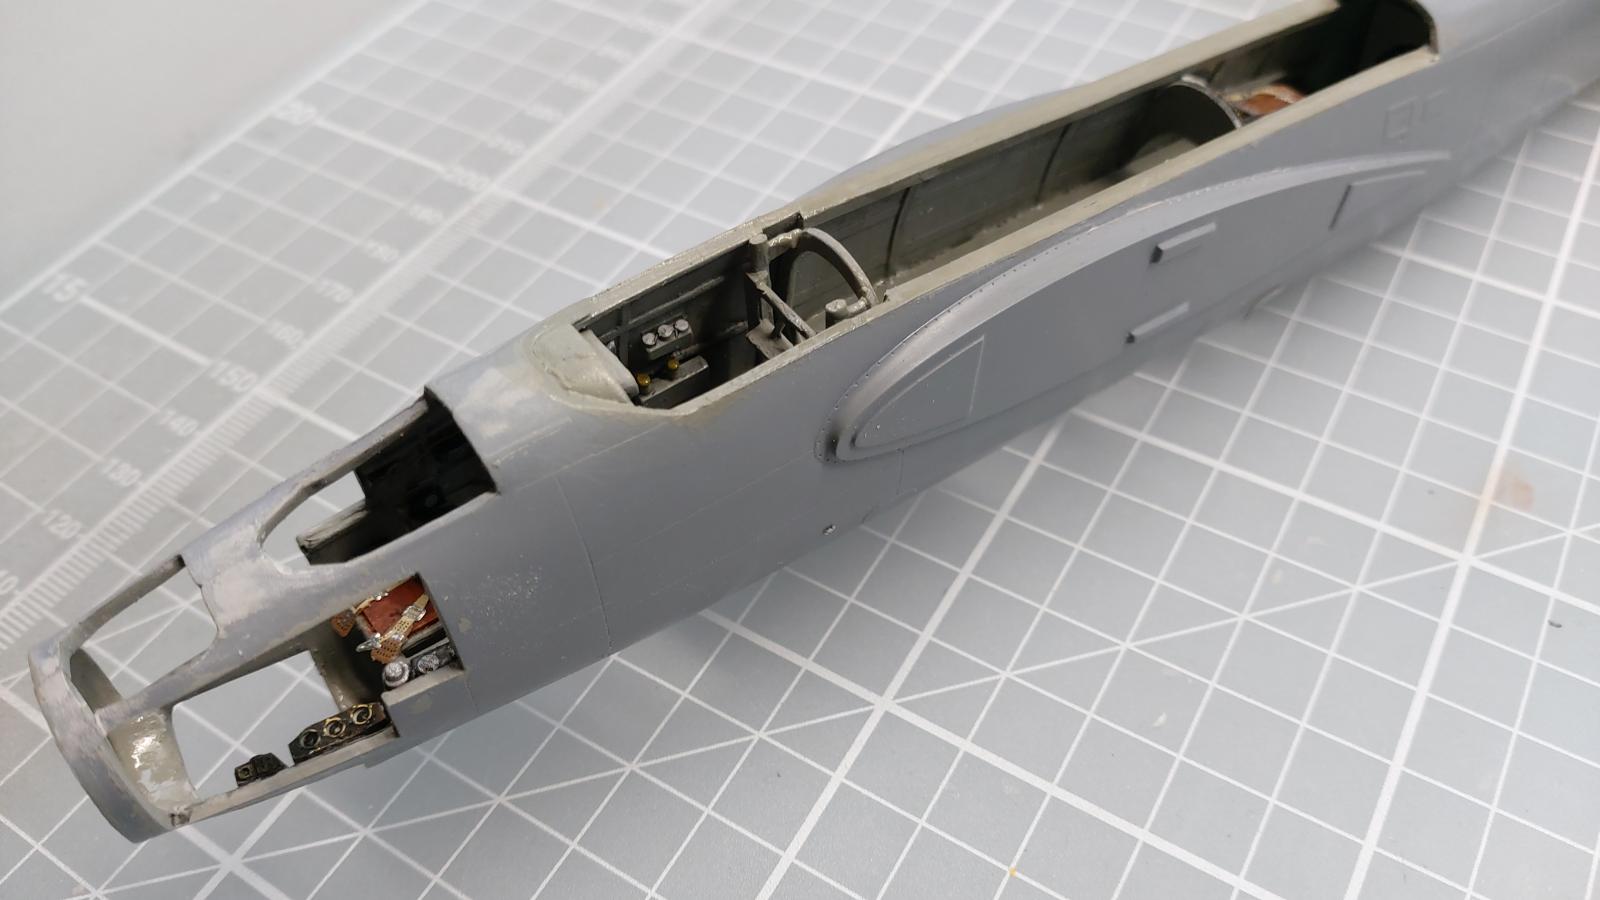
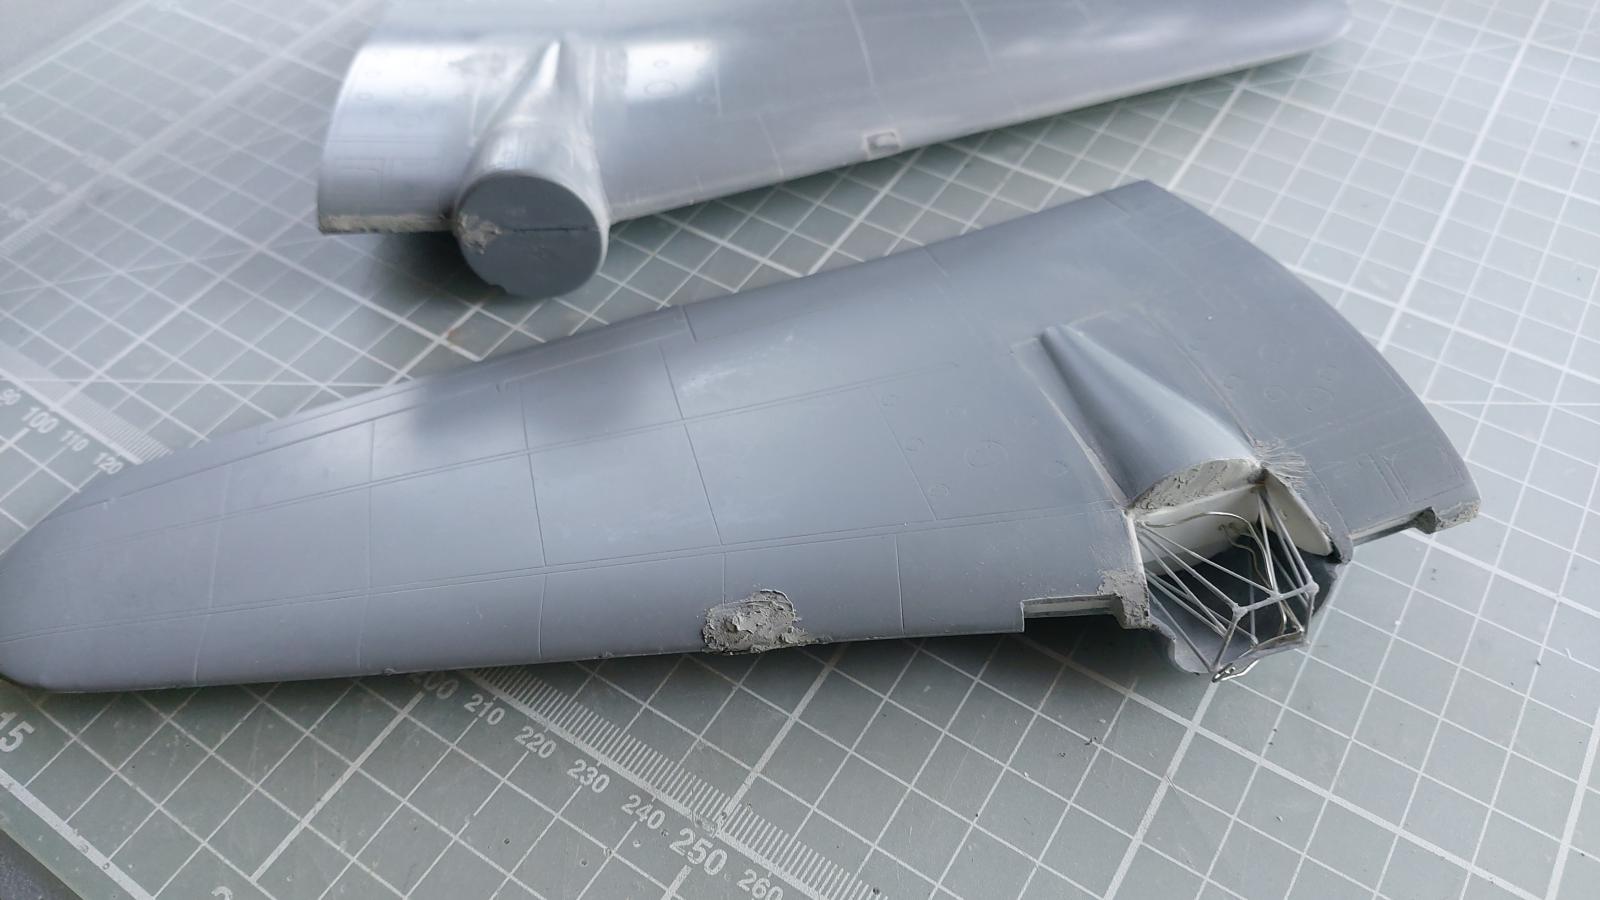
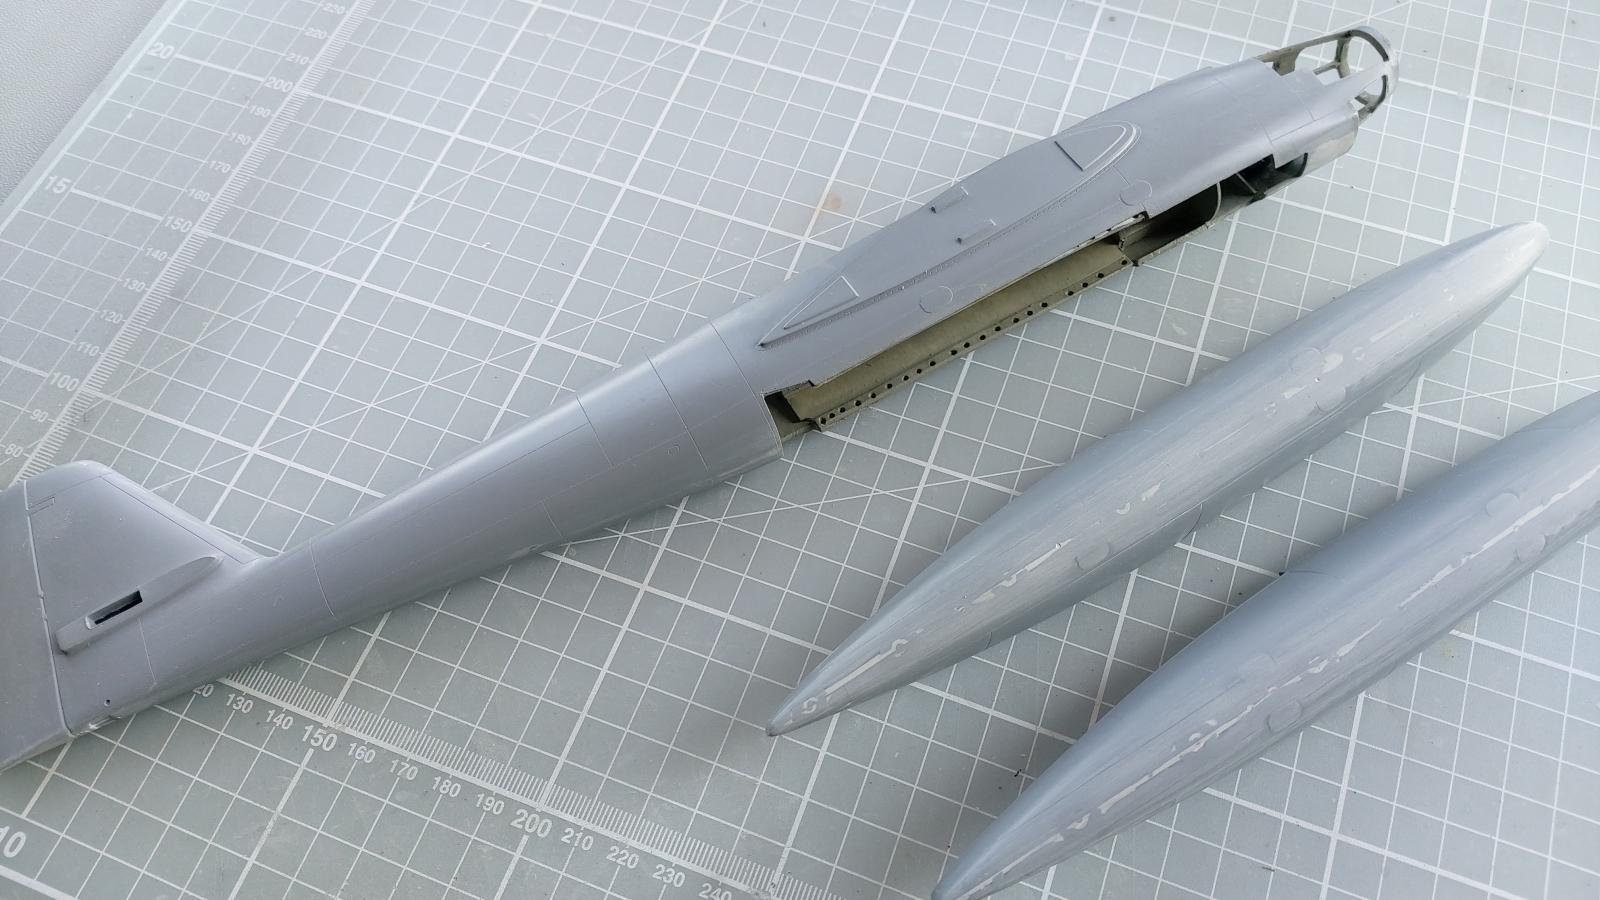
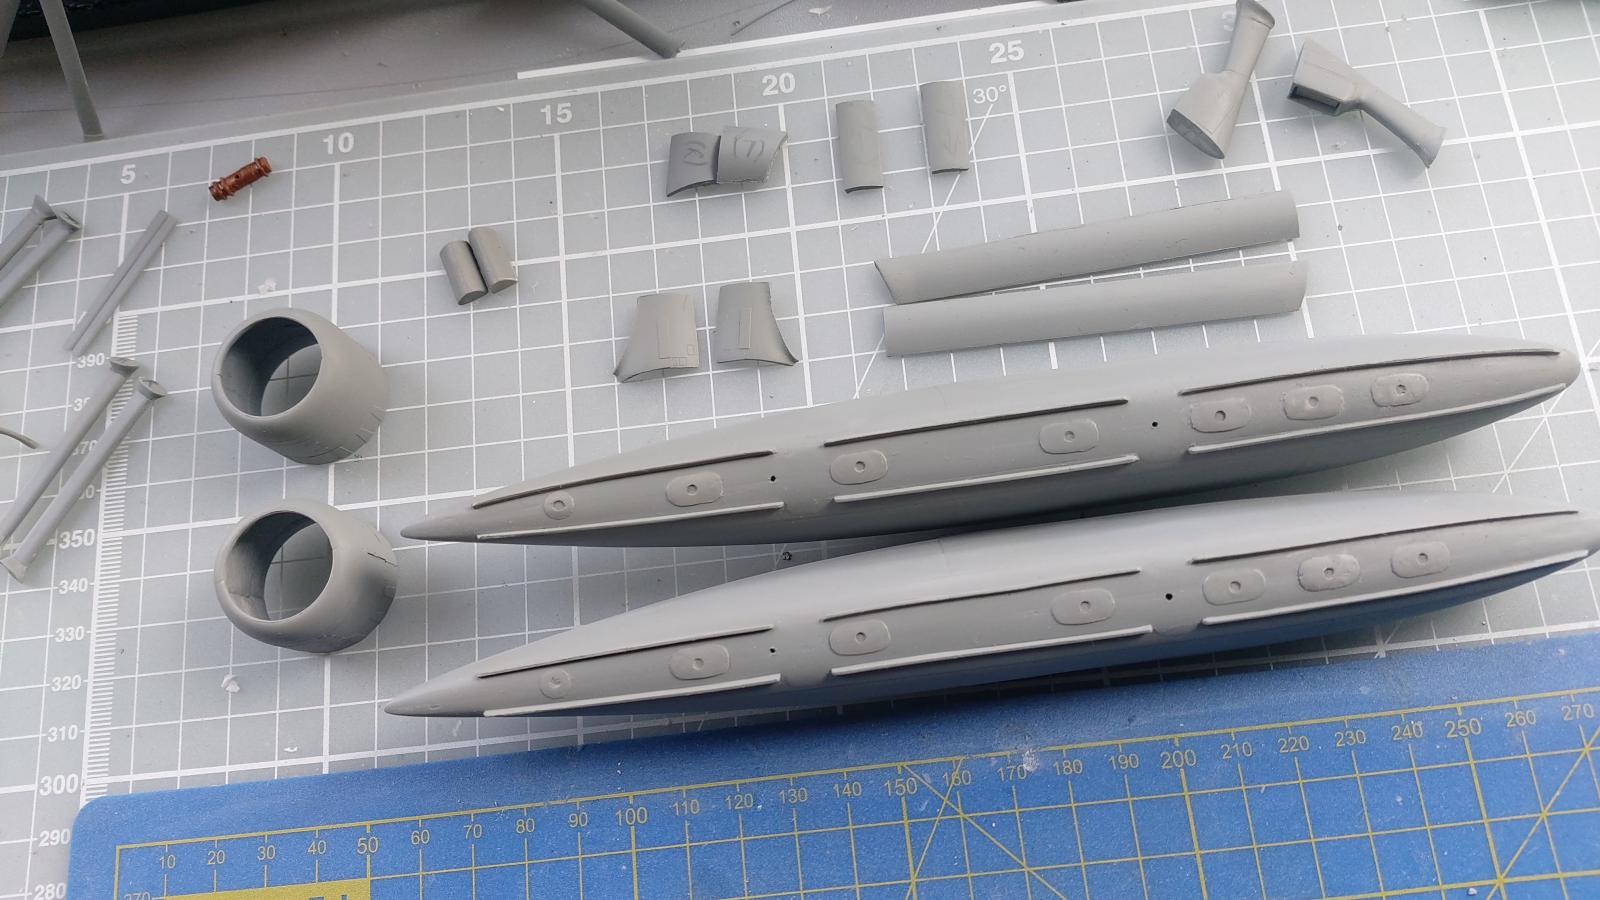
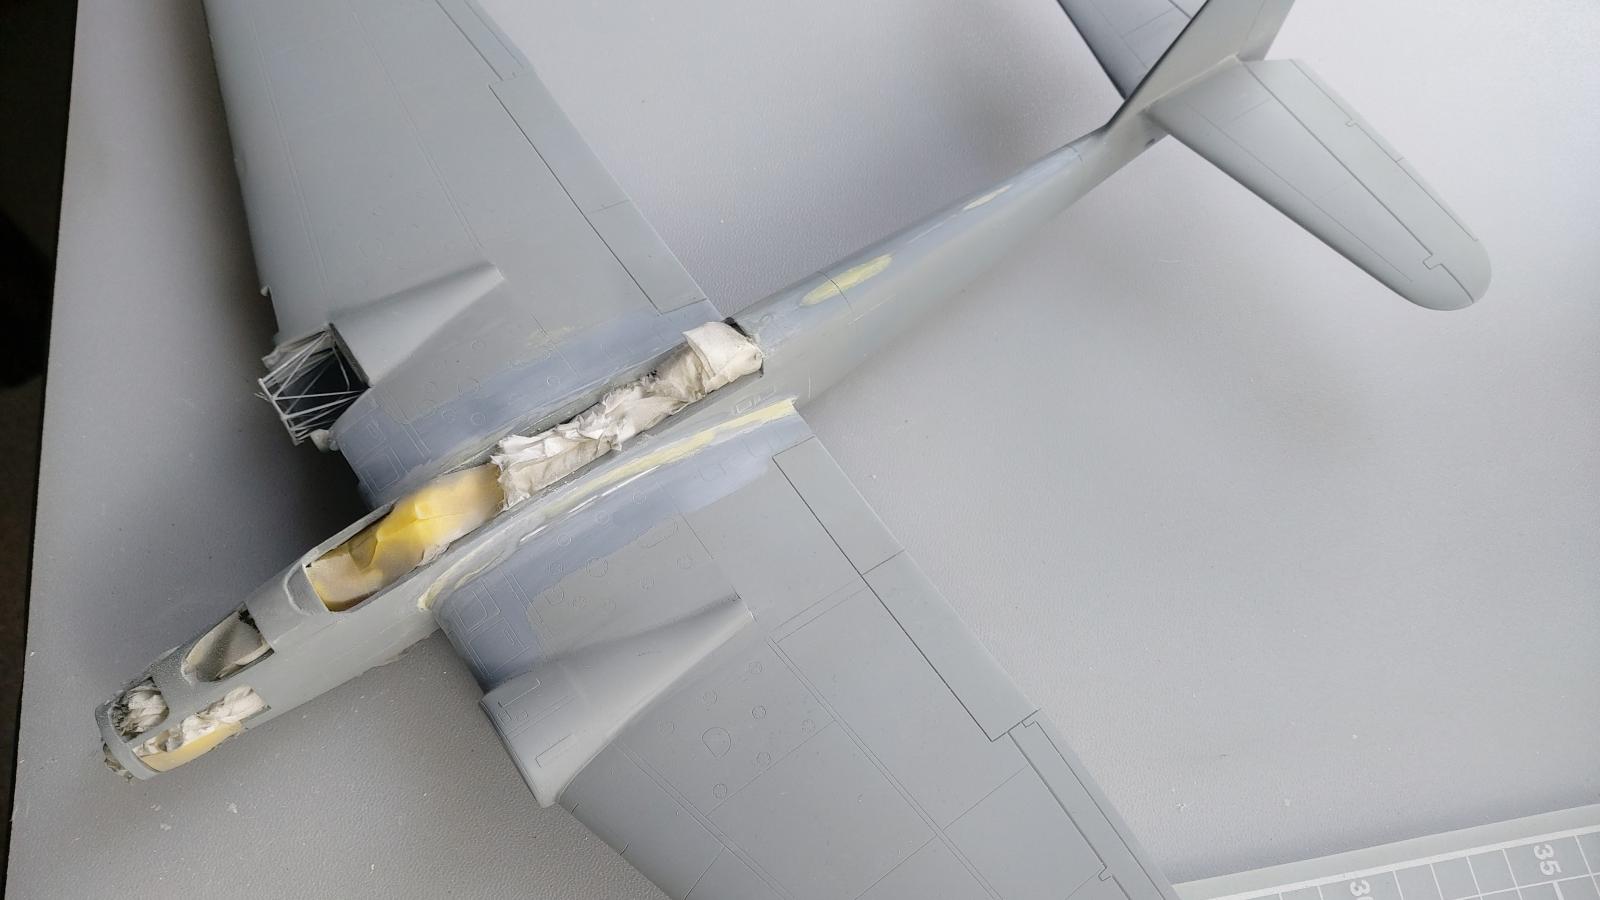
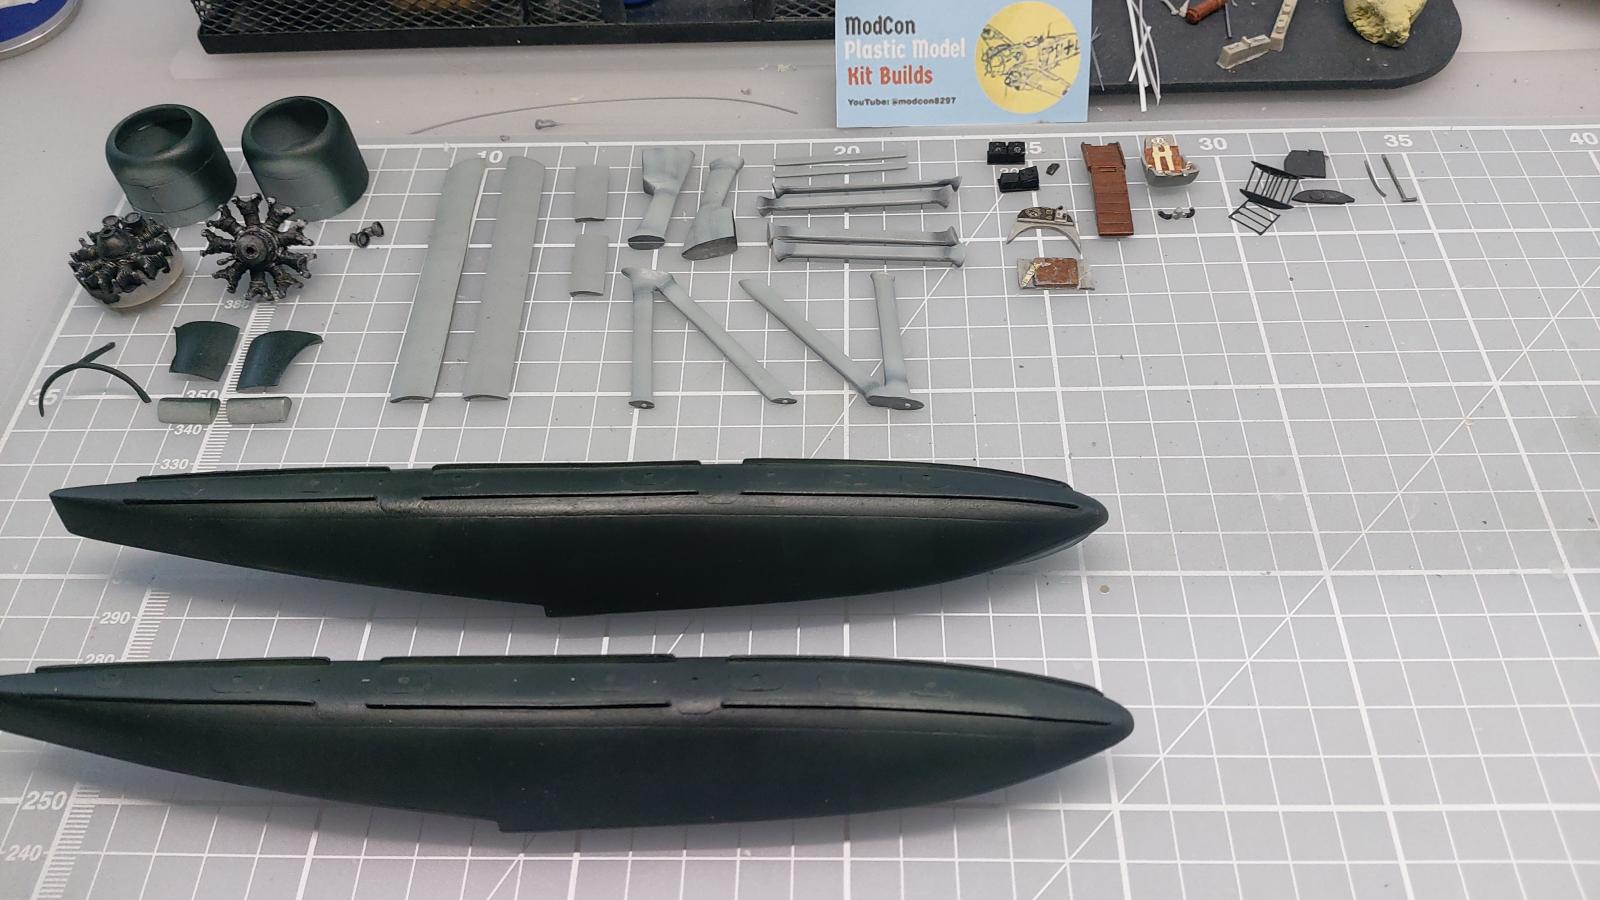
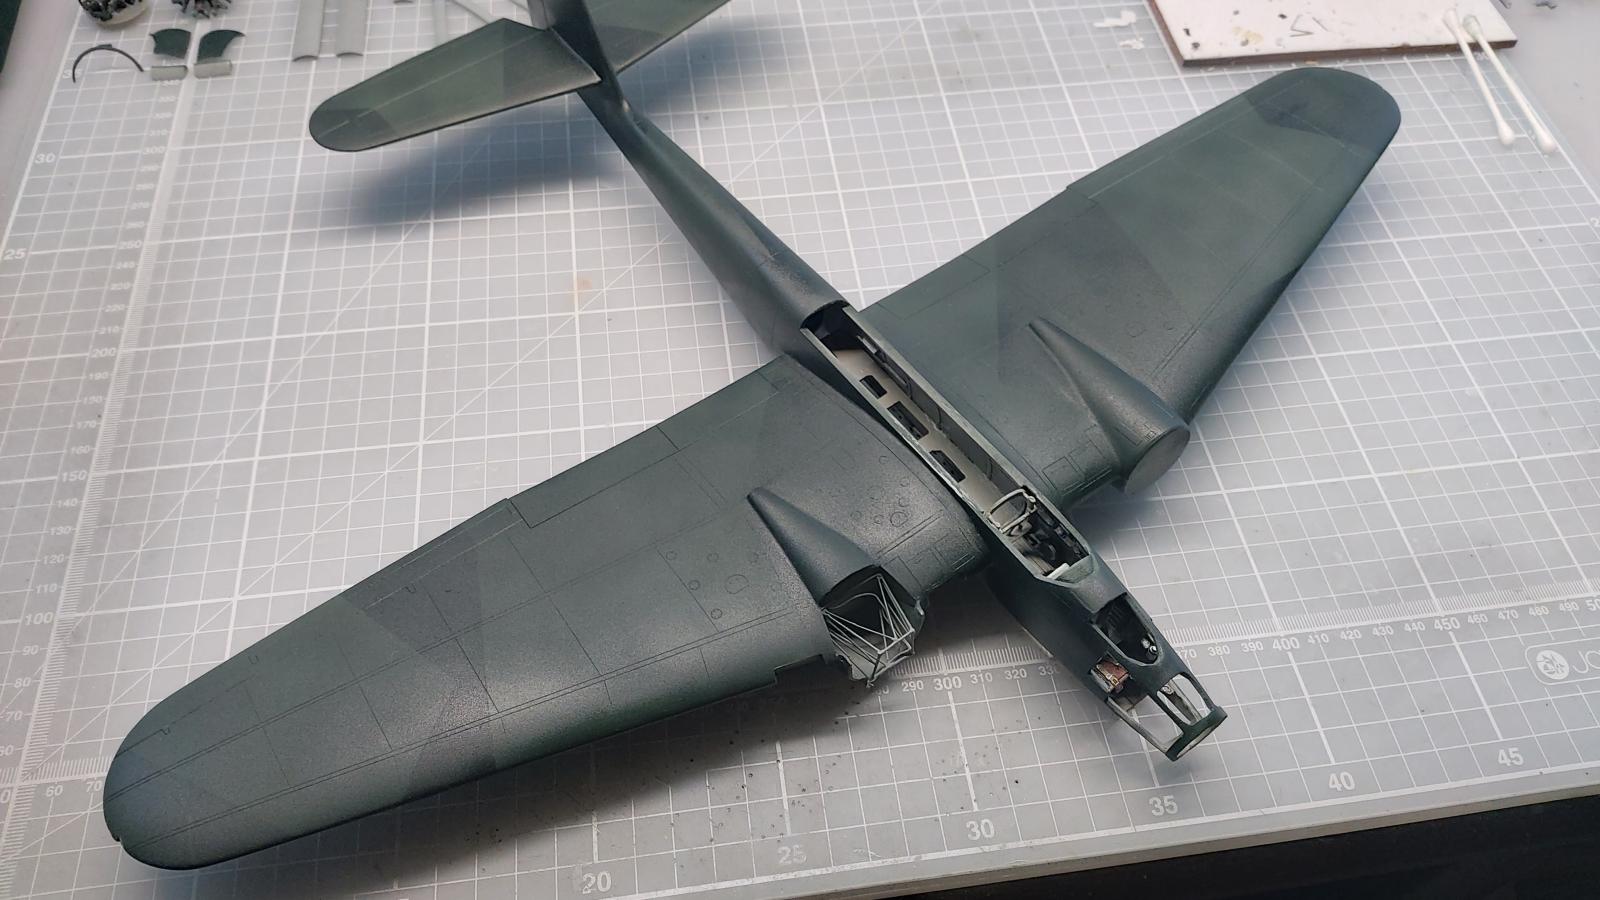
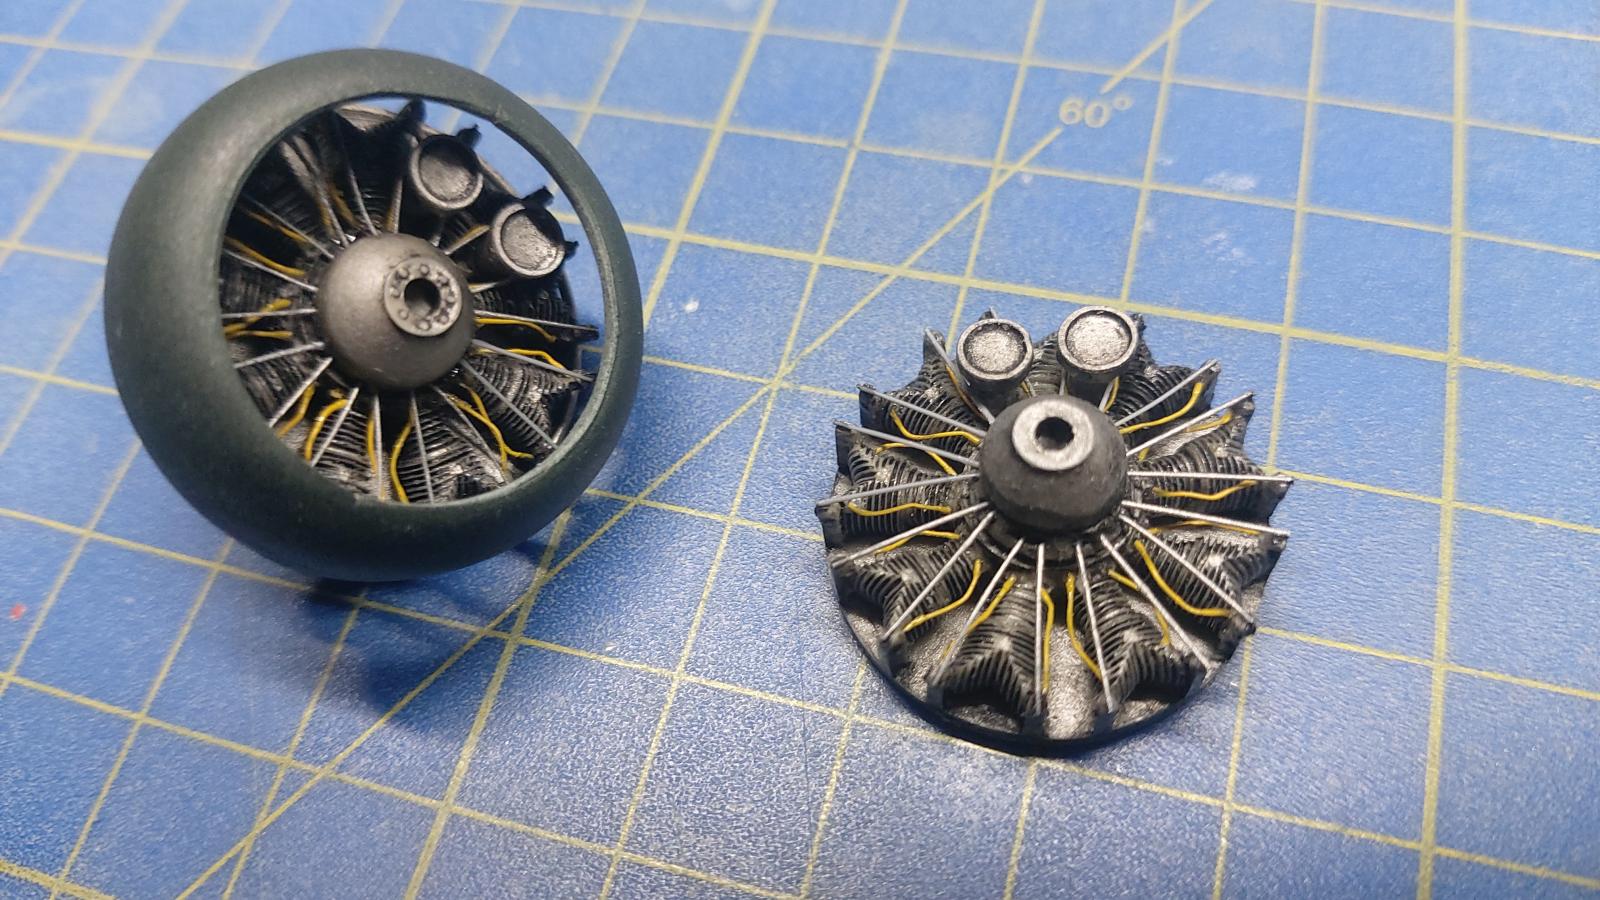
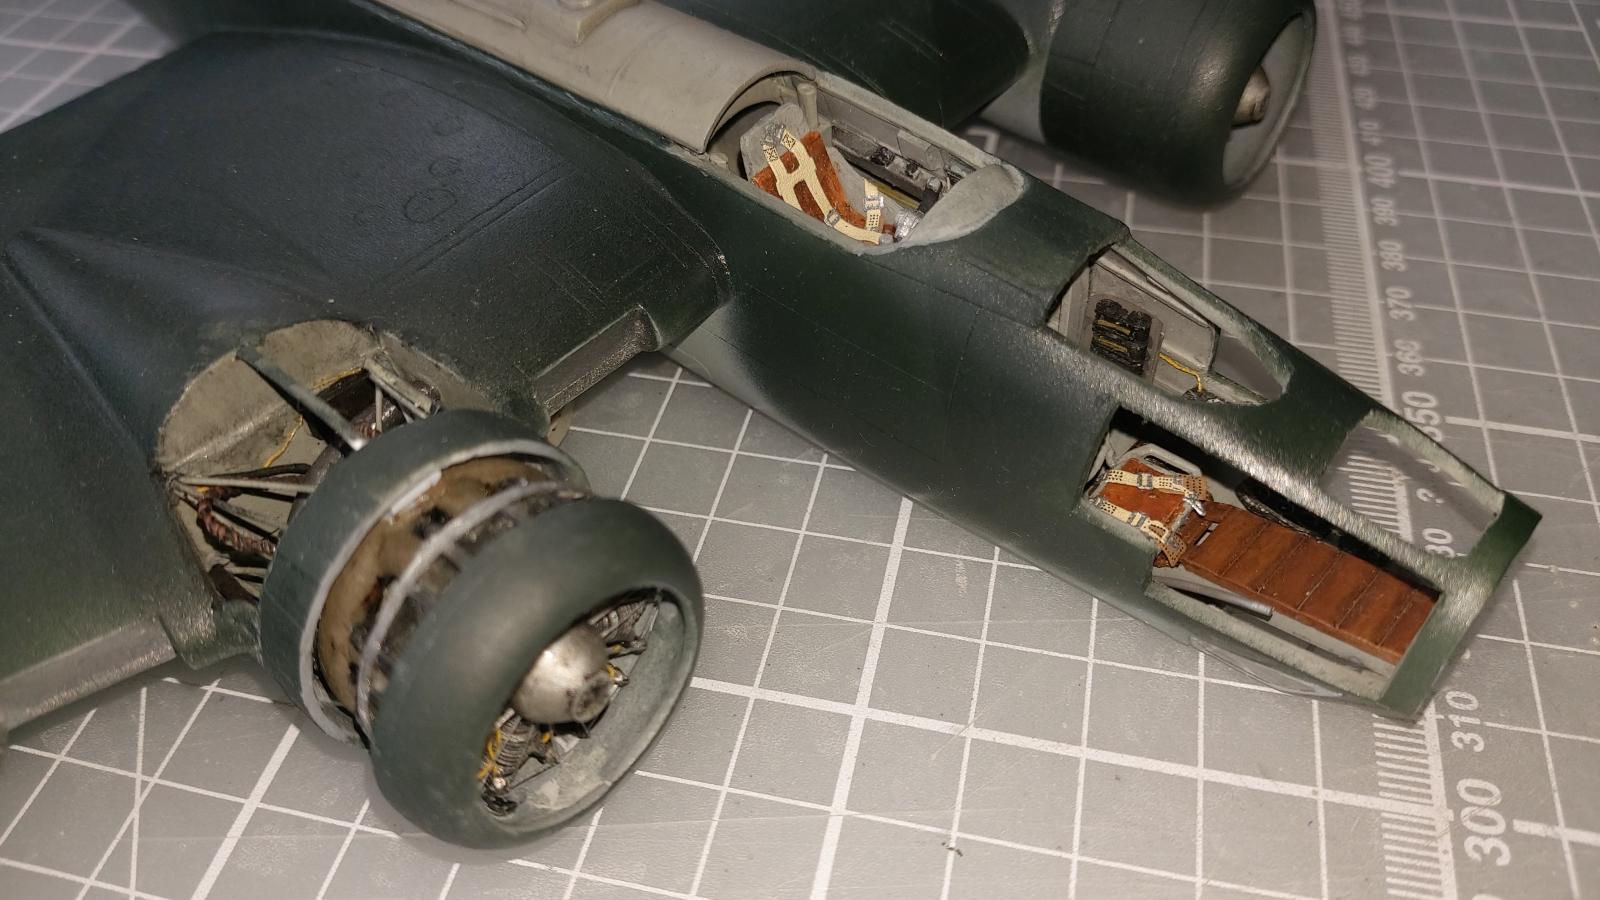
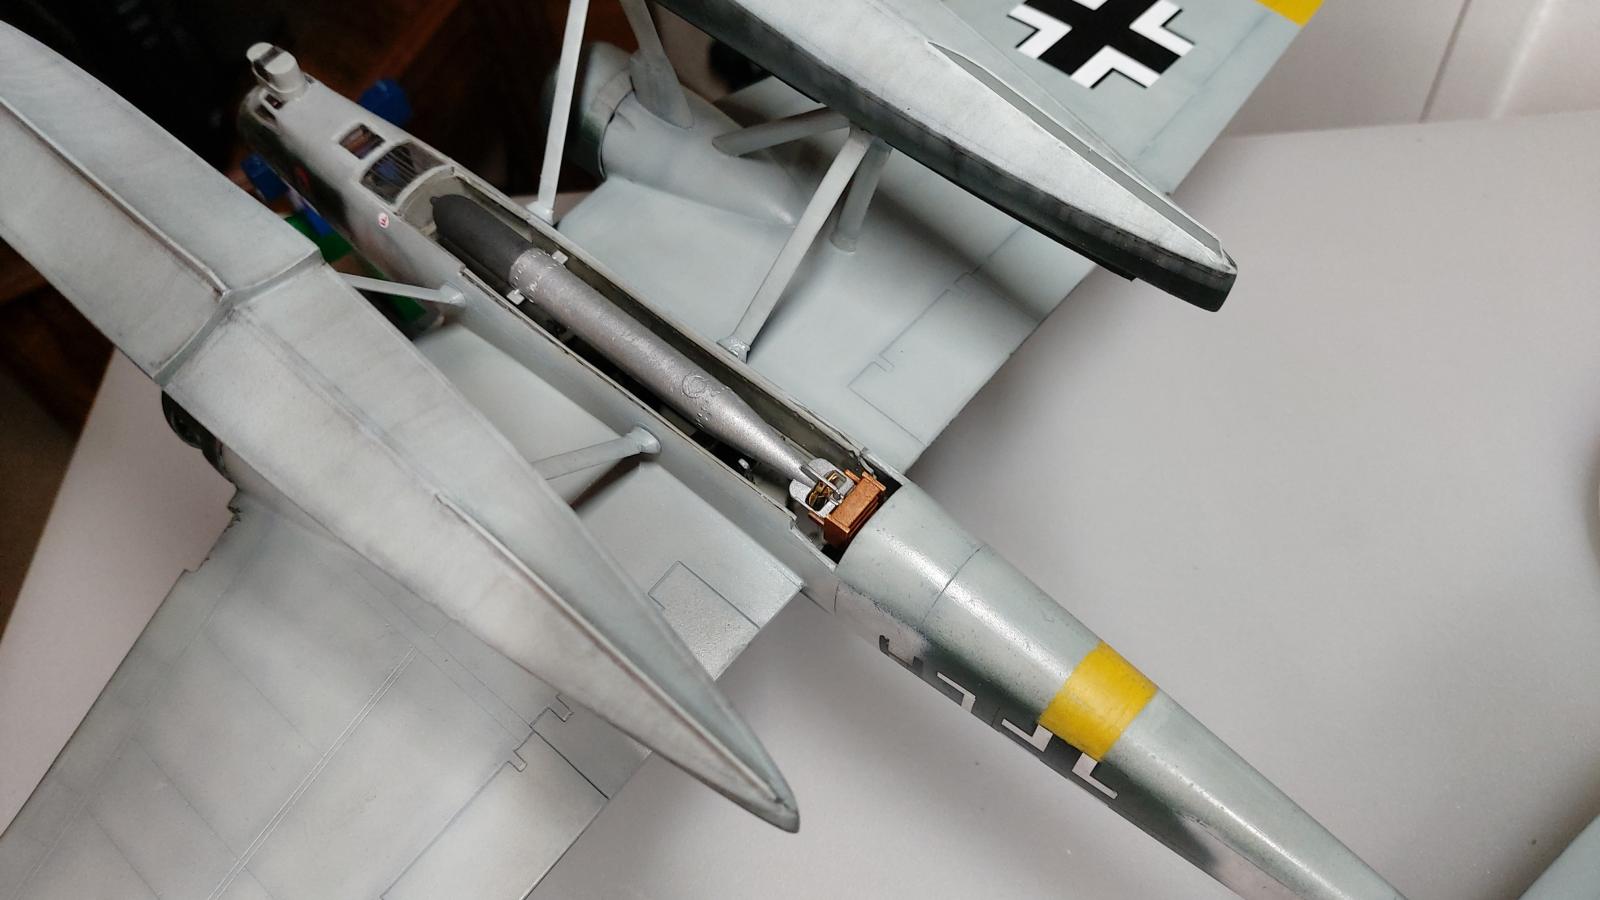
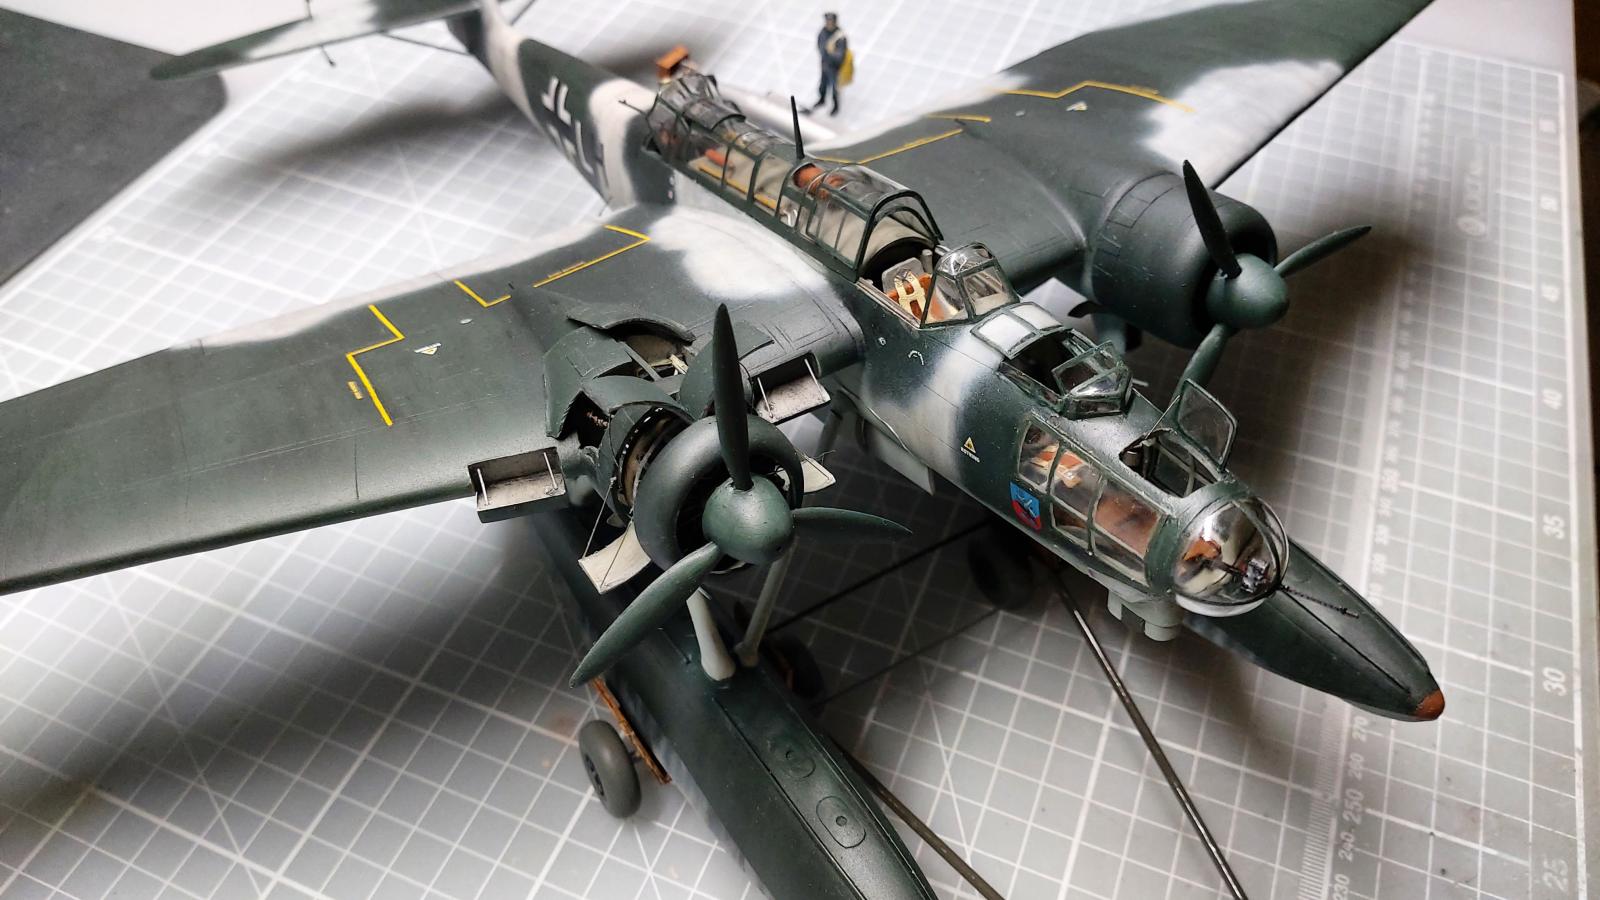
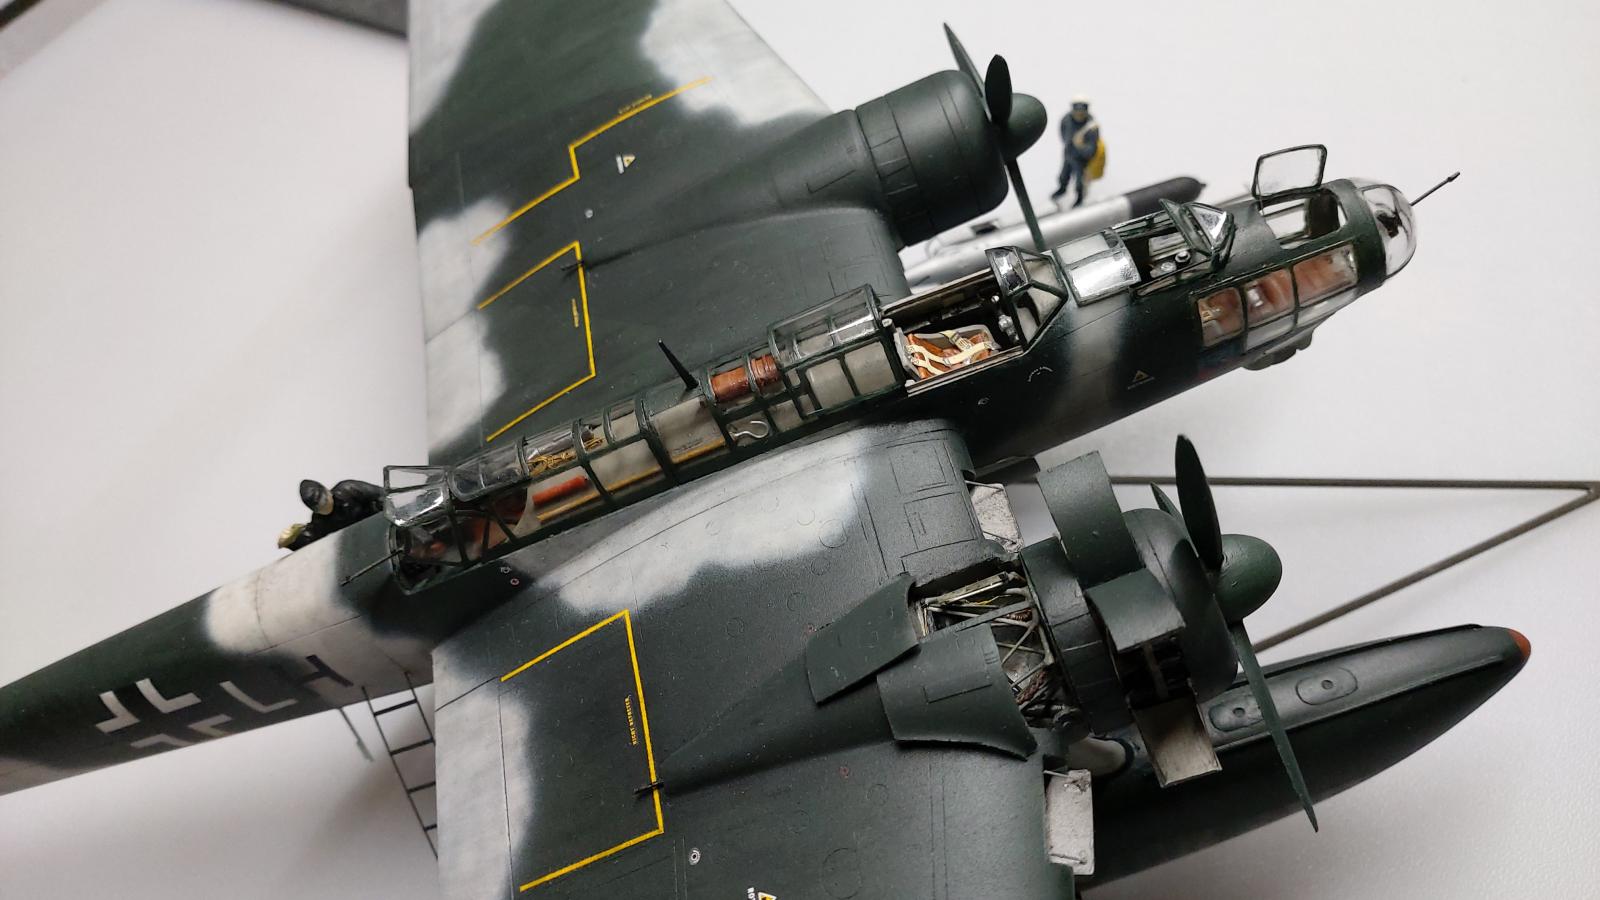
In the photos, you'll see some of the interior detail, including the opened bomb bay and the right-side engine nacelle and cowling. The open transparent hatches in the forward nose area are replacements from an old vacuformed canopy, with the thinness of these pieces being beneficial in conveying a better appearance. Although the kit transparencies are good and clear, they are a little thicker than I would have liked. Although I bought a separate BMW132 resin engine set, I found it to be noticeably larger than the kit engines and would have had a lot of issues getting fitted into the cowlings. I decided to go with the engines supplied in the kit, which are resin and look good when finished. The mid fuselage 'floor' had some minor detail on it, but as I wanted to open the bomb doors, I decided to turn that piece upside down so that the limited detail could be seen, with this piece effectively becoming the bomb bay ceiling. I added in weapons attachments and opened up the floor to give a better appearance, however I now know that the openings on my kit in this area are too short. Each one should extend further than they do and collectively, should cover the entire length of the bomb bay. In my defence, I found there to be a lack of detail in this area despite having decent sources to refer to, but all images of the bomb bay were taken at an awkward angle and don't, in my opinion, convey the full layout needed to reproduce the details more thoroughly, the same being true of the detail in the opened engine nacelle.
Additionally, the float struts were a bit awkward to fit and I found that the forward struts attaching to the underside of each nacelle were too short and needed 'stretching' using plastic card. The diagonal float-to-fuselage struts were also a nuisance to fit, so I separated the tops and bottoms of those parts and attached them where they should go, and then carefully fitted replacement lengths of strut from the spares box, in this case, the underwing strut from an Italeri 1/72 scale Me323 transport. Due to the lack of location pins and holes, the fuselage halves were troublesome, especially the upper rear fuselage which took a considerable amount of time to bring to heel. Wing to fuselage fit was questionable at best, but again,careful work with filler eventually resolved the issues there. The only other accessory pieces for the aircraft were seatbelts and front/rear machine-guns. Colour scheme paints were humbrol enamels, markings from the kit, save the aircraft I/D letter which I changed to 'L', and exceptions for some very small fuselage and wing stencils to augment the kit items, and replacement swastikas from the spares box as well. In all, three months of work.
So, this is my take on He115B-2/C, WNr 2744, coded K6+LH, which was assigned to engage convoy JW53 which sailed from Loch Ewe in north west Scotland to the Kola peninsular region of Russia on 15 February, 1943, arriving around 27 February. The Heinkel, however, was lost on 16 February, 1943, and it seems unclear as to whether or not this was through engagement with the enemy or some technical malfunction on the aircraft. The crew are still all listed as missing in action. Assigned to 1./Kü.Fl.Gr.406, this unit was usually based at Tromsø, although sometimes the unit did operate from Sørreisa, which lies immediately across the sound from the island of Senja, where the aircraft was last reported.
Thanks for taking time to look in. The full build can be seen on my YouTube channel, and the last instalment of eight can be accessed here https://www.youtube.com/watch?v=OmDA4yMOciM.
Regards, Paul

Yeah pretty slick sailor. Tough kit made beautiful, great details and paint. Special Hobby's do add a "Special" dimension don't they?
That’s a lot of work with a great result.
Impressive work, Paul!
Love it
A fantastic result, Paul after serious quality job! A great video too!
Absolutely a great result, Paul @paulh
Lots of great detailing, especially the interior and engines.
Having done one of these pigs of a kit, I know how hard it is just to get an OOB result. Your work is even better than it looks, knowing what you had to do to get there. Very nice!
Guys, thank you all for your comments. It would've been nice to include this in the "Imperial Geman..." GB, but things got a little bogged down at times during the build, so I just got on with getting it finished but it is worth the effort if you stick with it. Glad you like the outcome... ;-).
All your hard work paid off nicely. Great effort.
I'm a big fan of the He 115, and this one is a beaut! The elbow grease paid off nicely.
John/Greg... thank you both for your comments. Much appreciated... ;-).
Amazing amount of detailing and hard work. Paint is great.
Thanks, Mark... ;-).