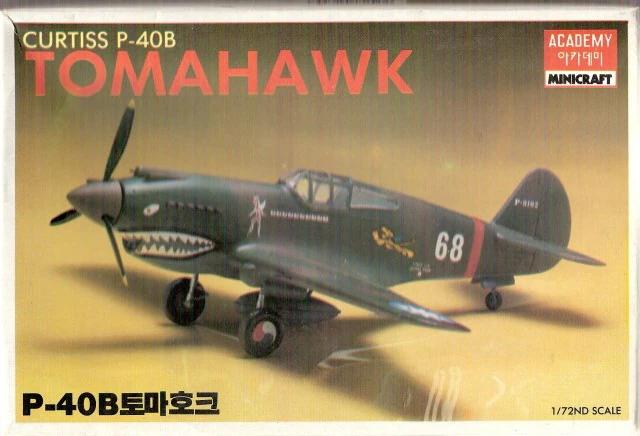
Academy P-40B Tomahawk 1/72 scale
With this being my second airplane build, I thought I would try a new technique or two. What I didn't realize at the time was that hand brushing a number was going to be one of those new techniques. We'll get to that in a moment.
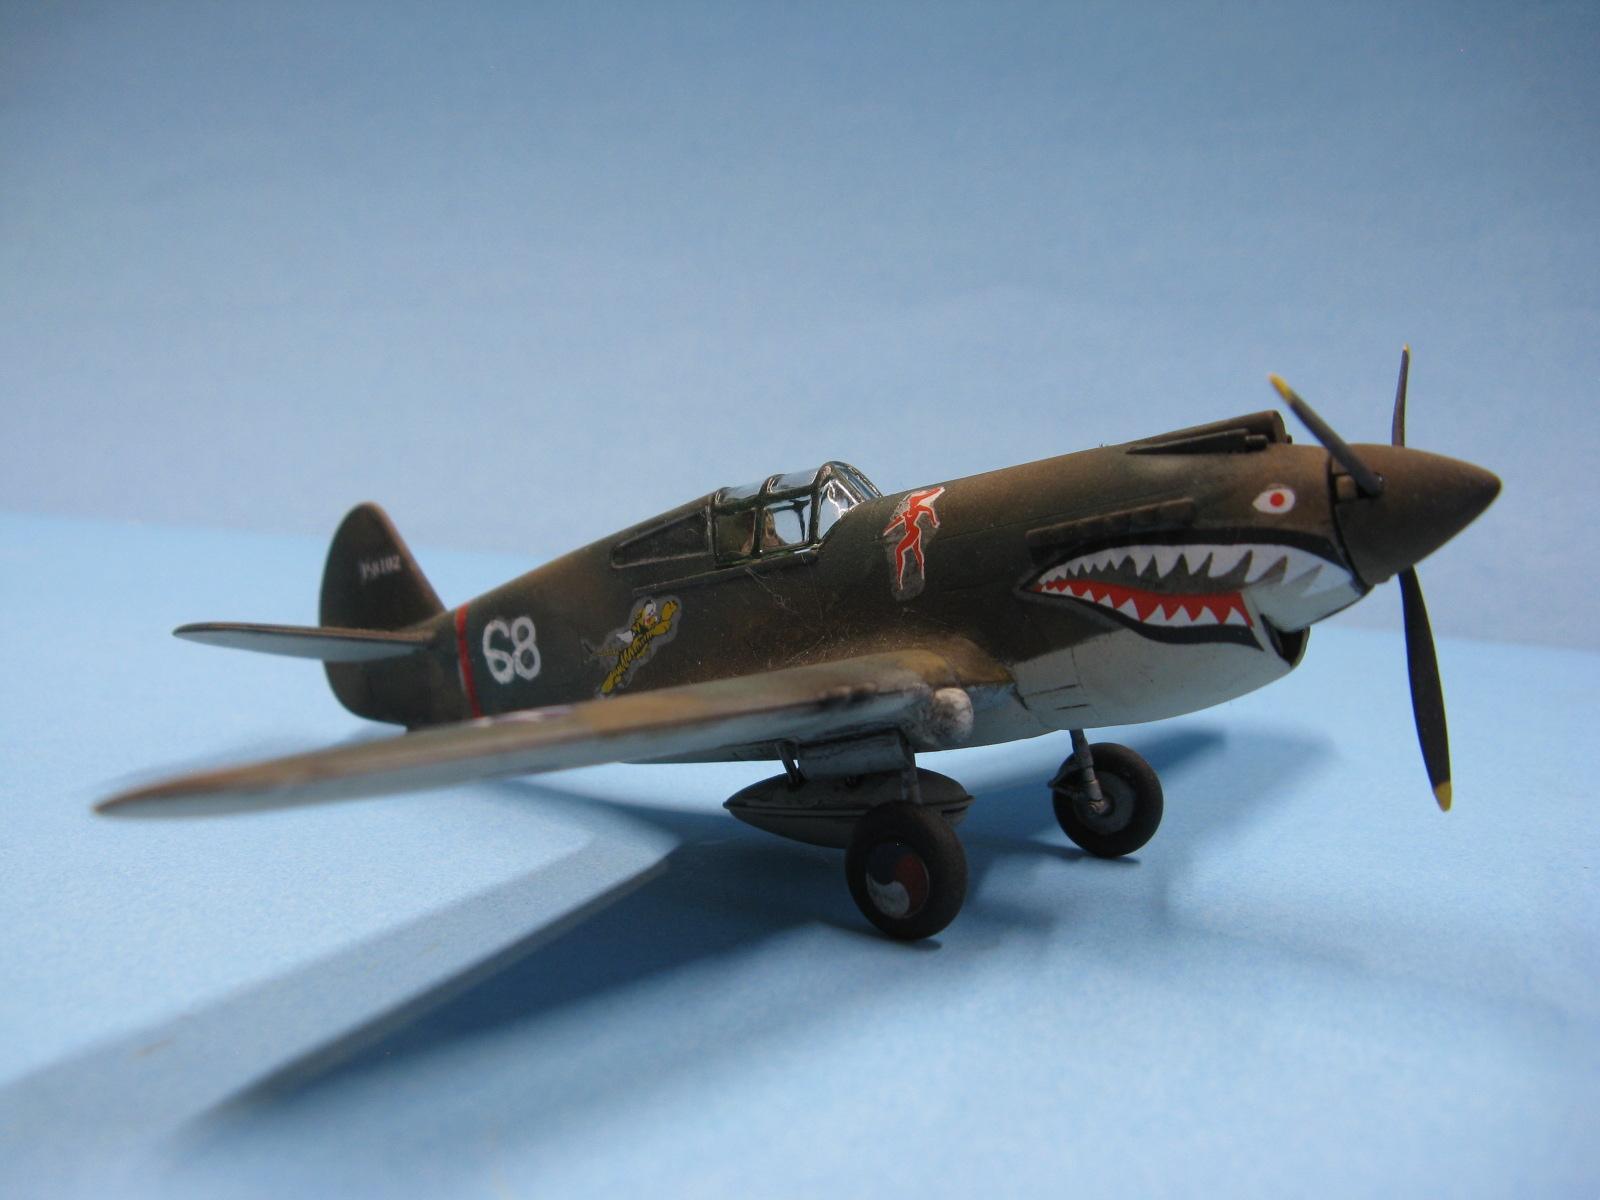
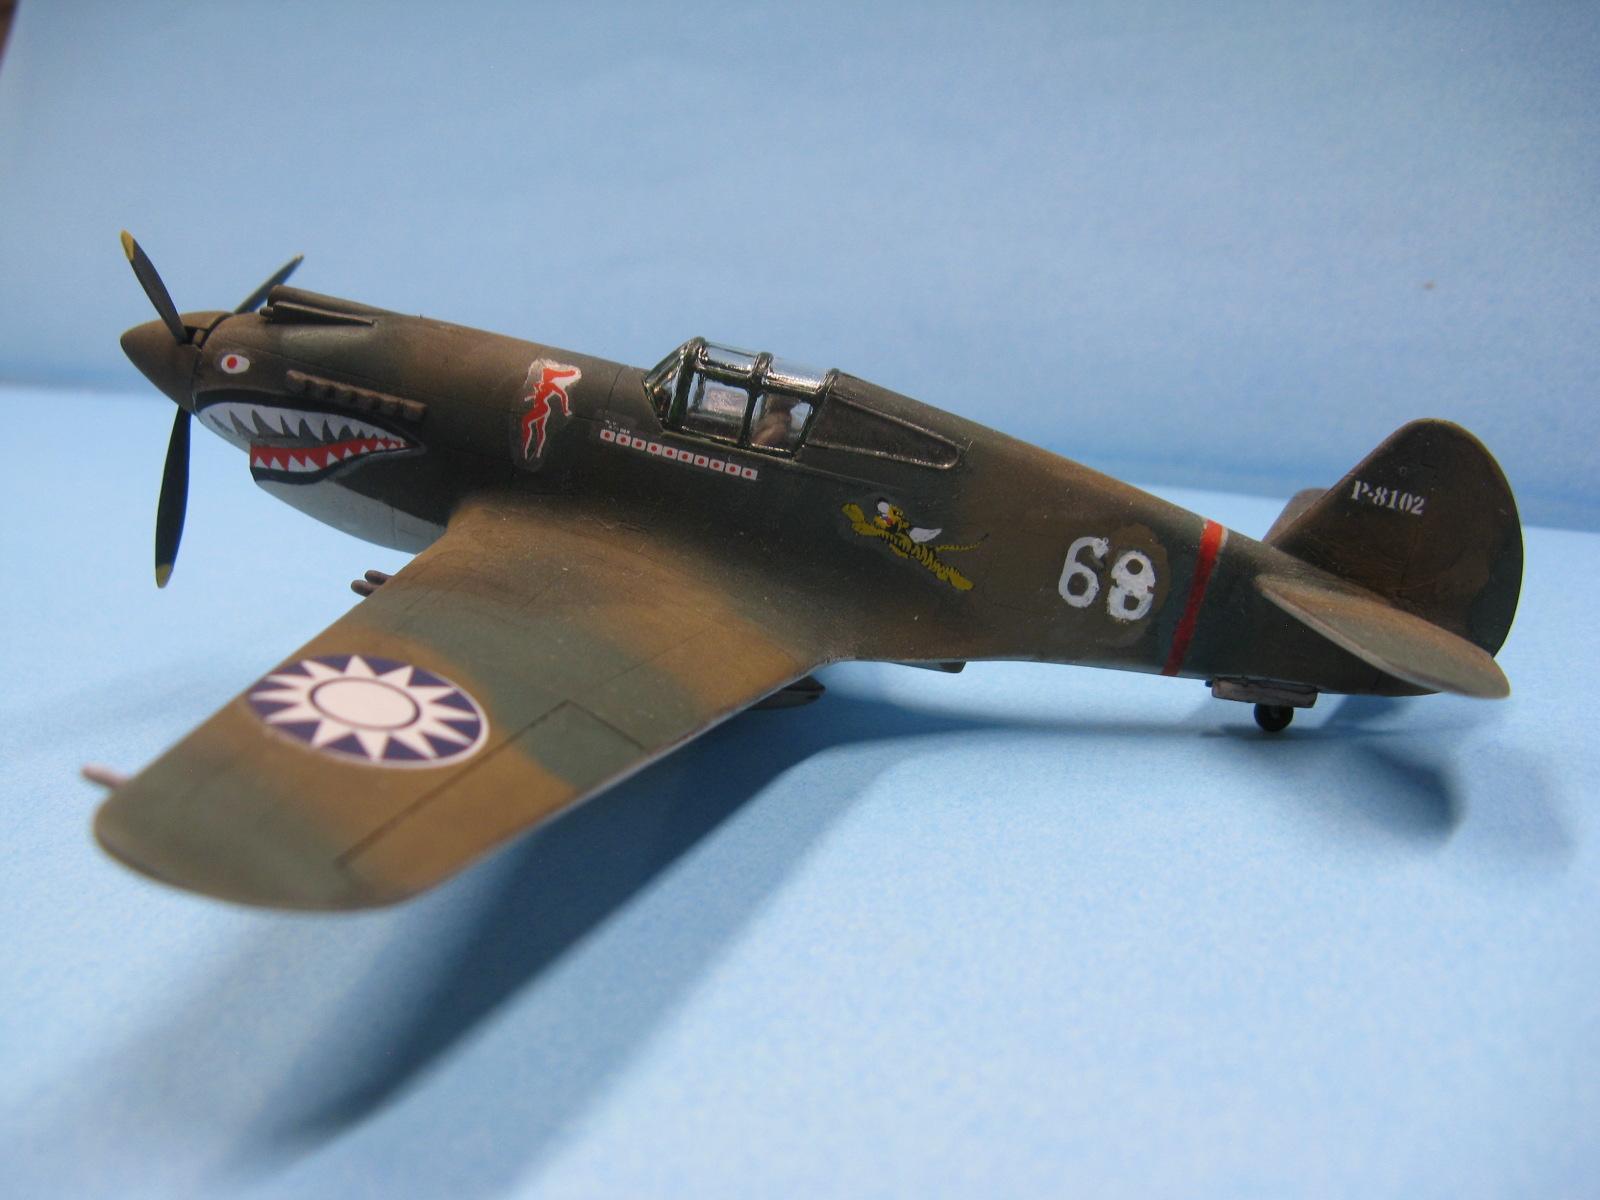
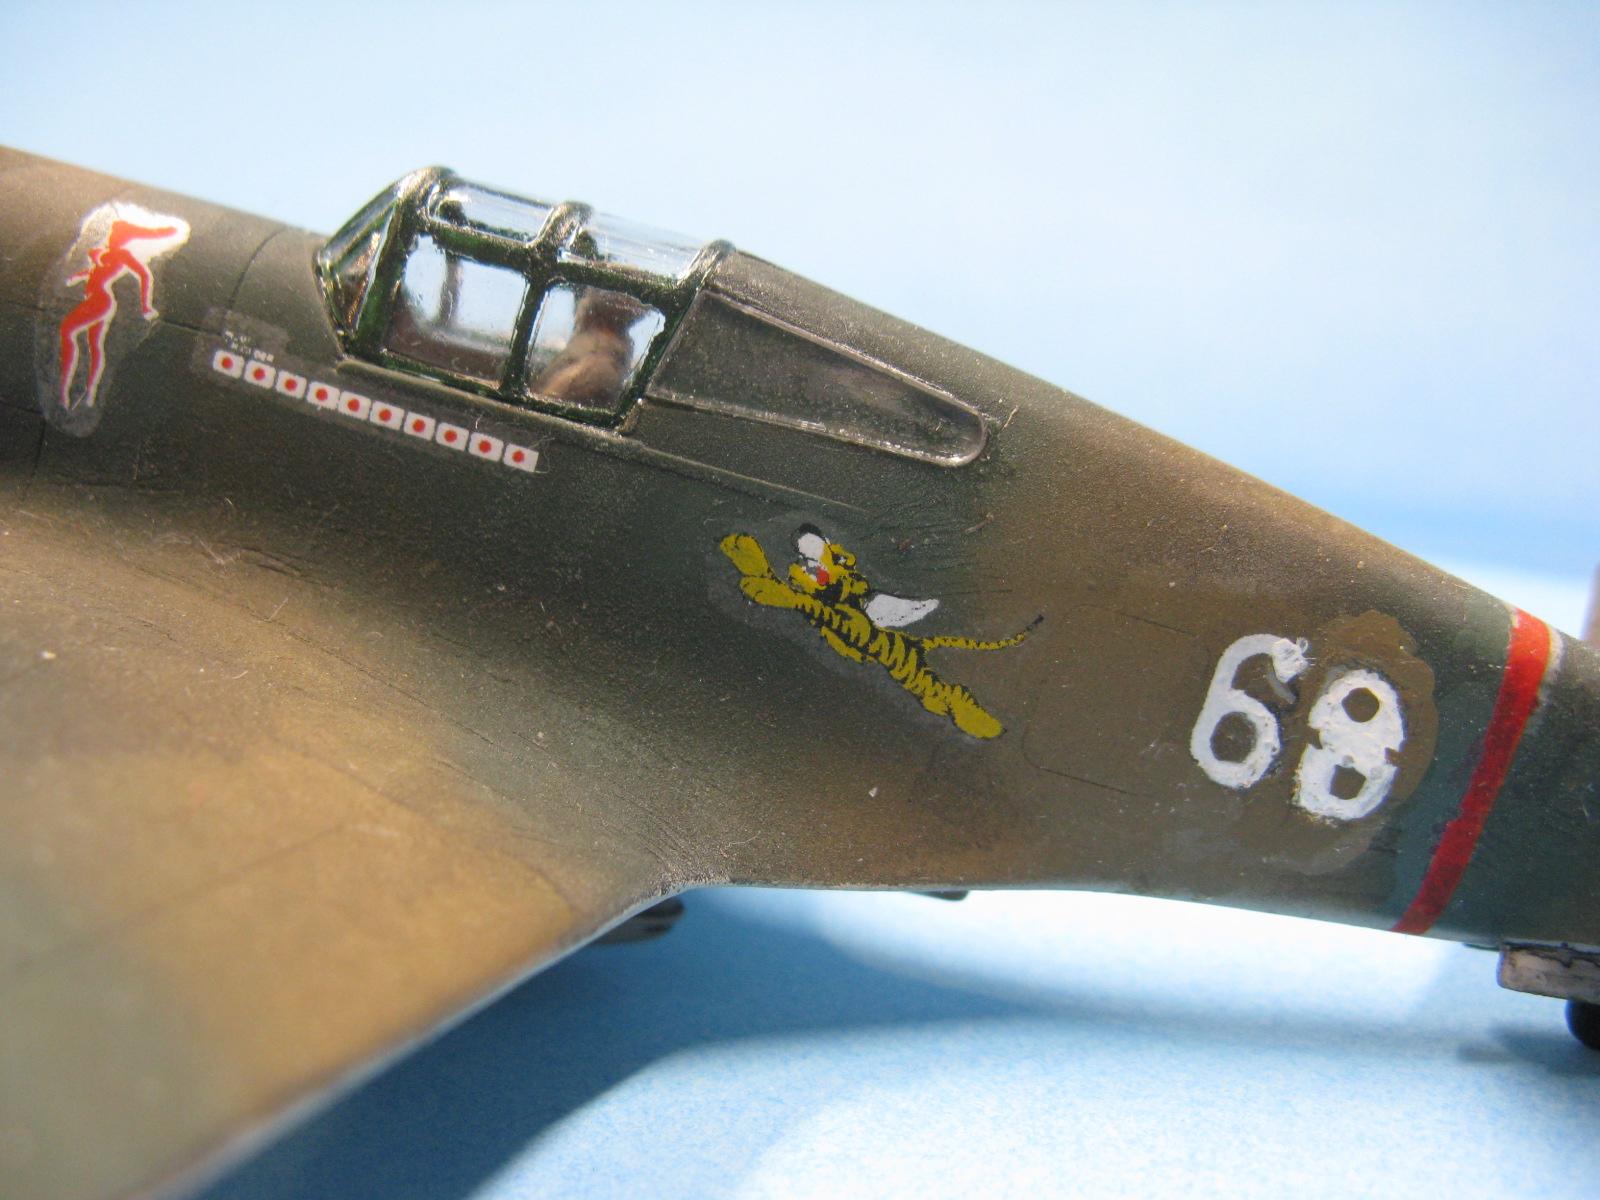
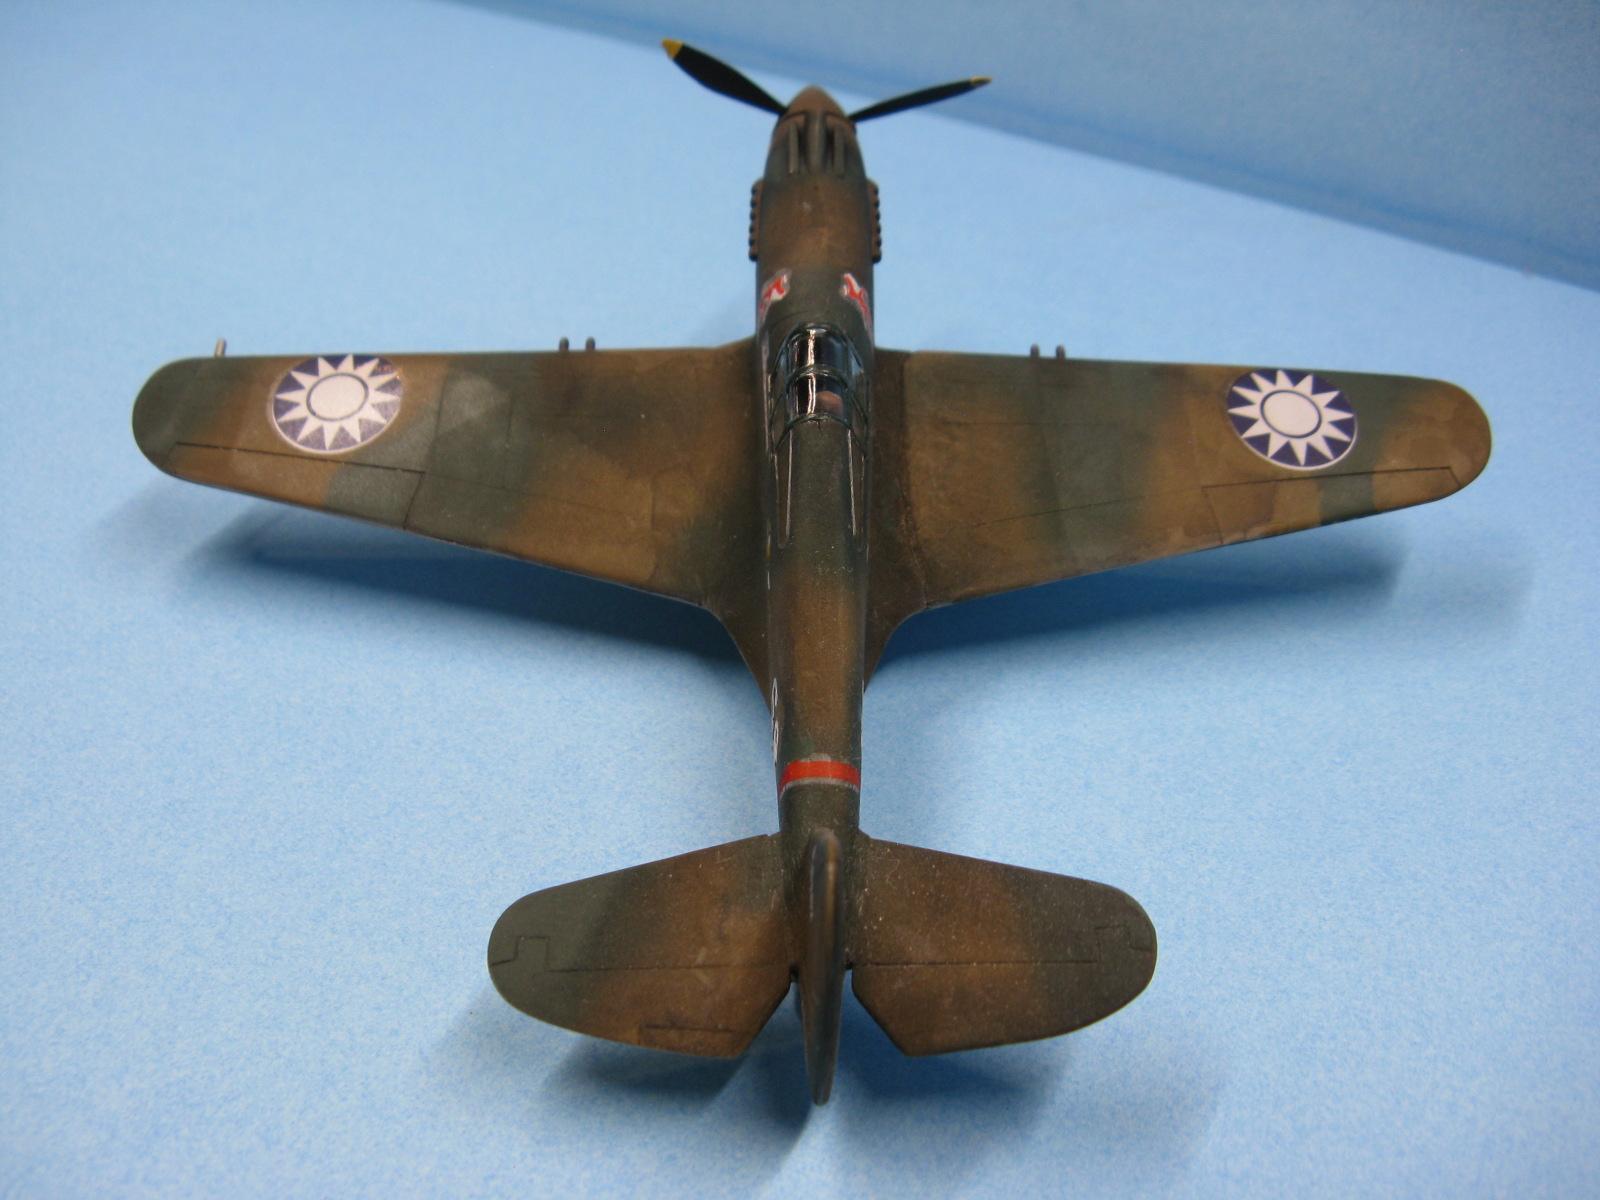
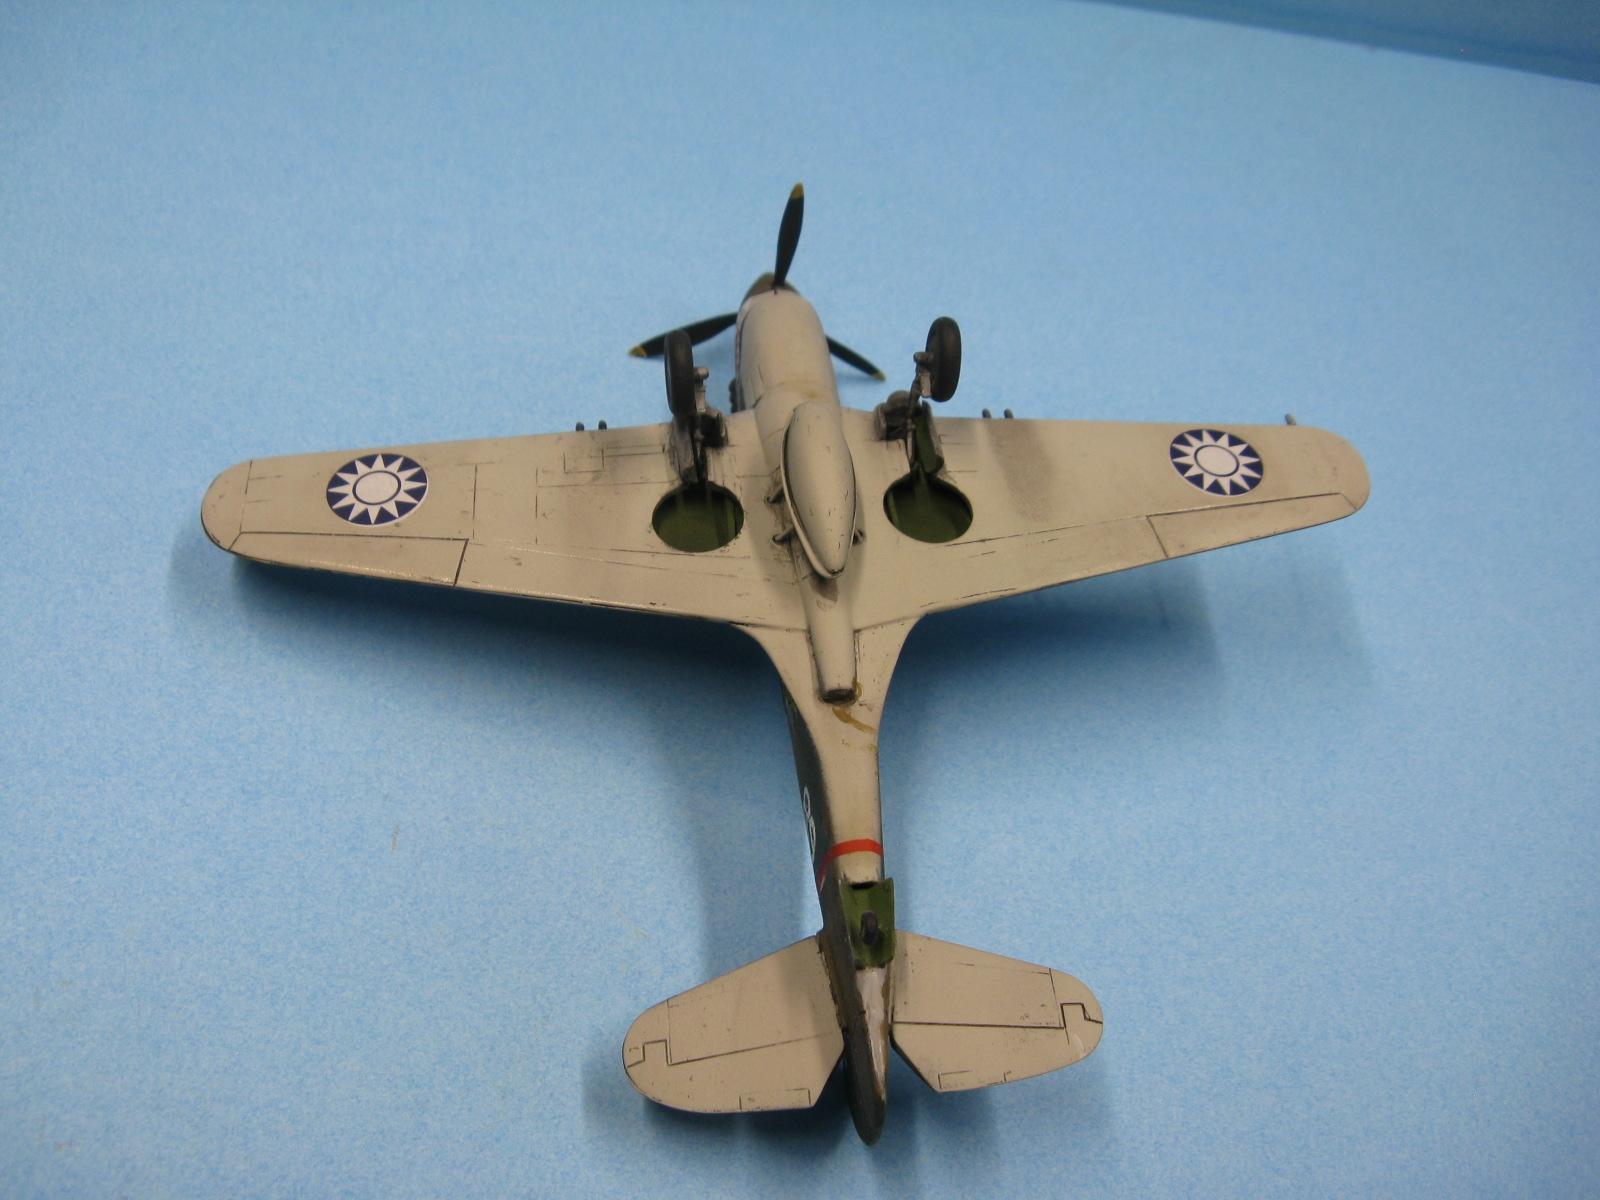
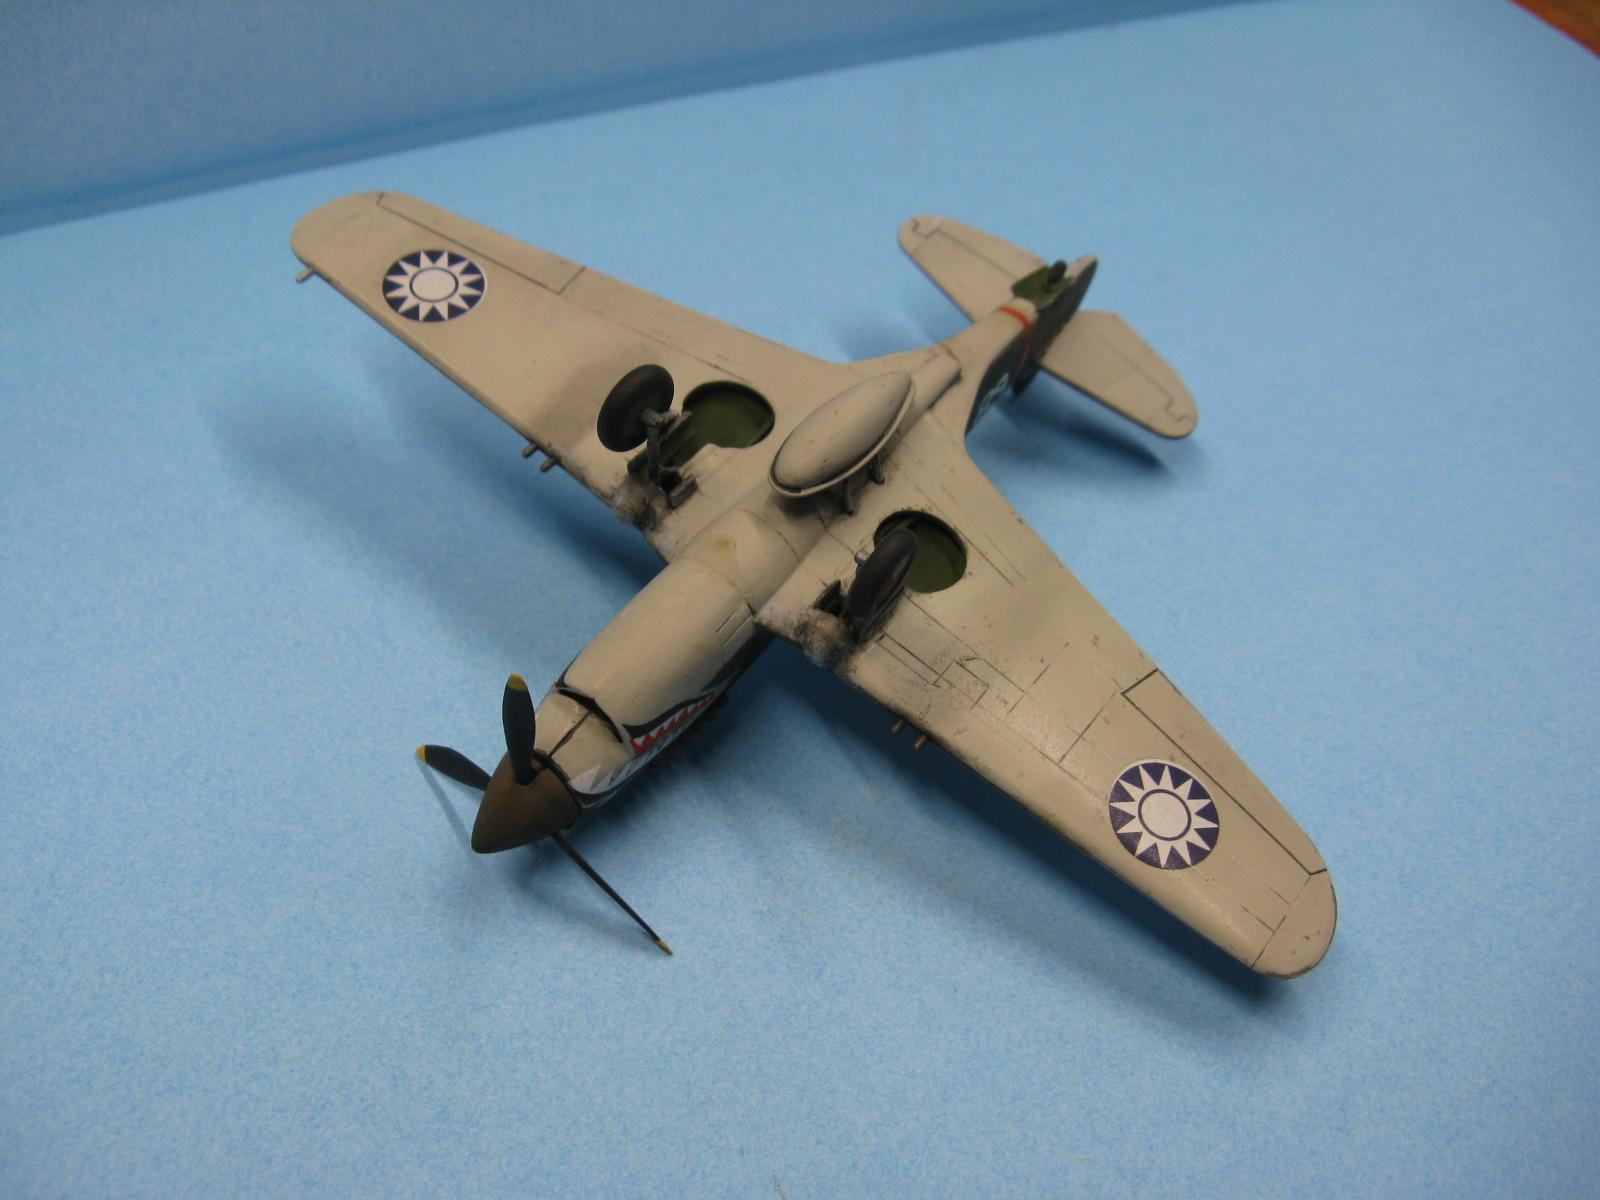
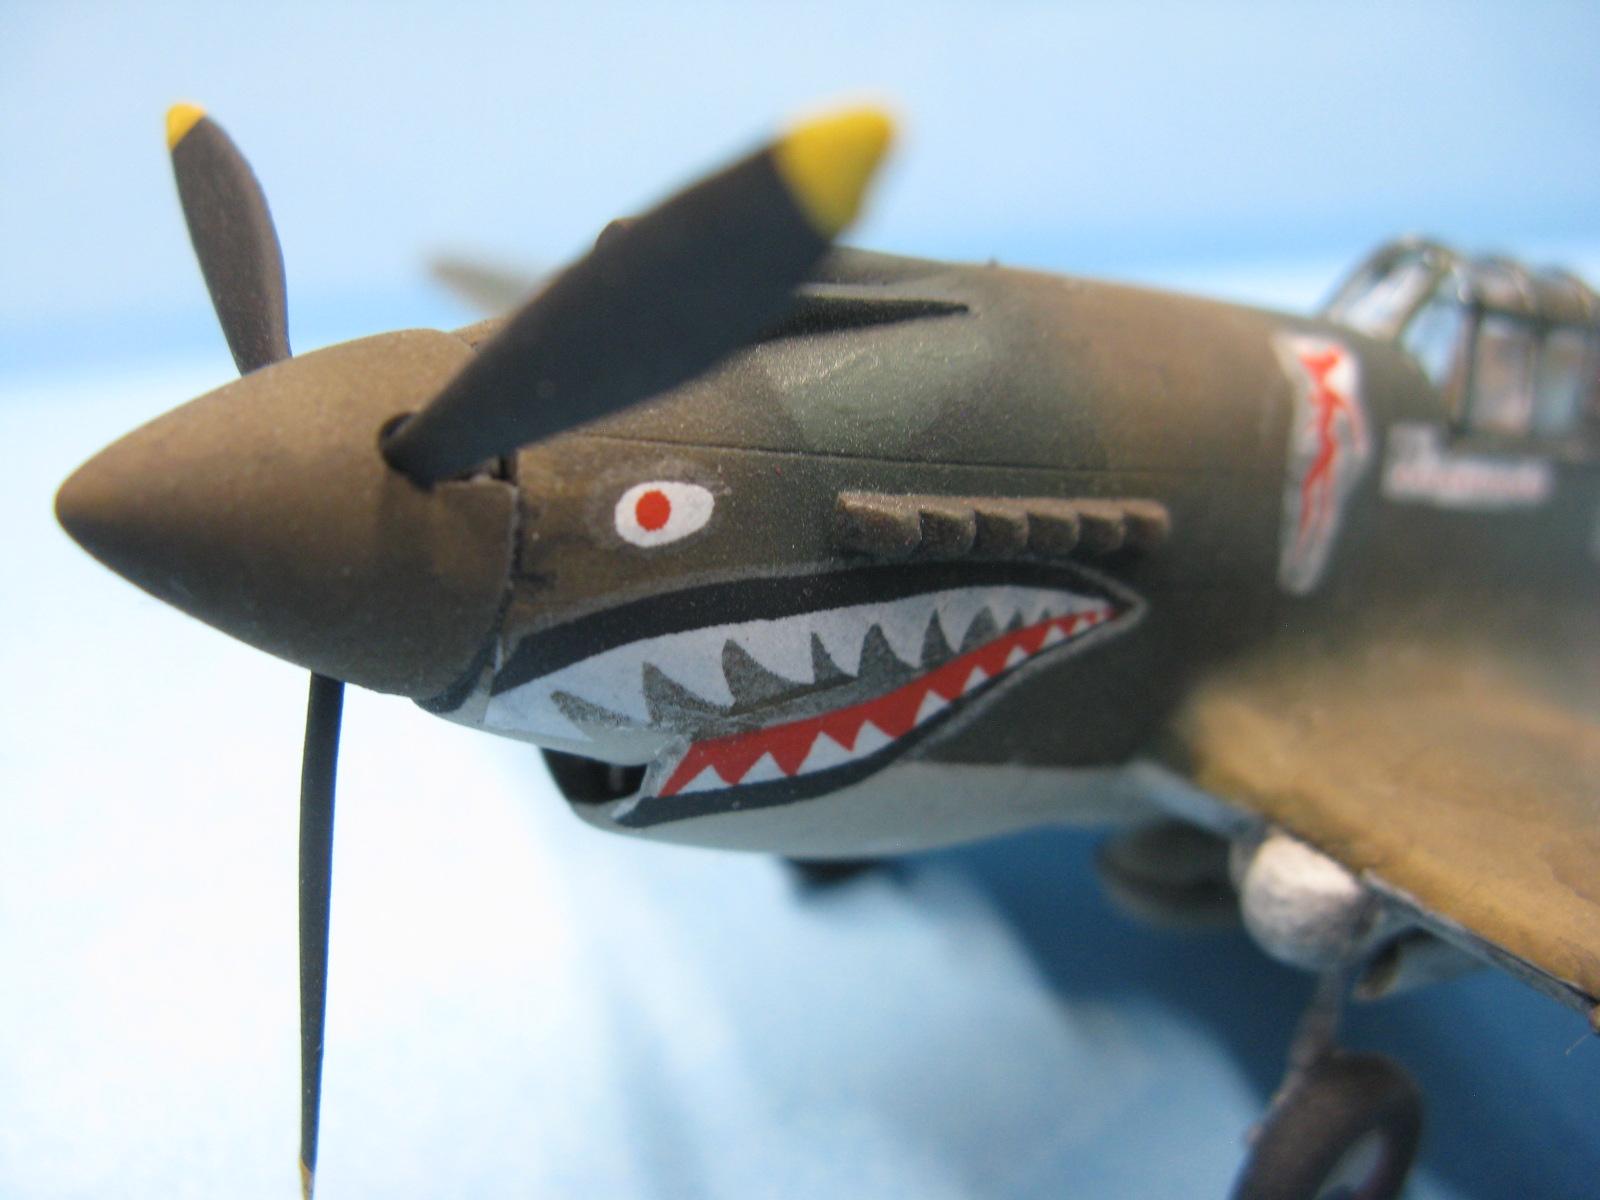
After most of the plane was assembled, I painted the underside a gull gray. Once it was completely dry and then masked, I painted the topside Humbrol enamel Dark Earth, then I free handed the camouflage effect by airbrush using the second color which was Humbrol Dark Green. When the paint was dry, I applied a thin coat of Future to areas of the model where I knew decals would go. The decals that came with the kit were totally unusable due to the many cracks that were present. So, I ordered a replacement set from e-Bay. Everything is looking good, so far.
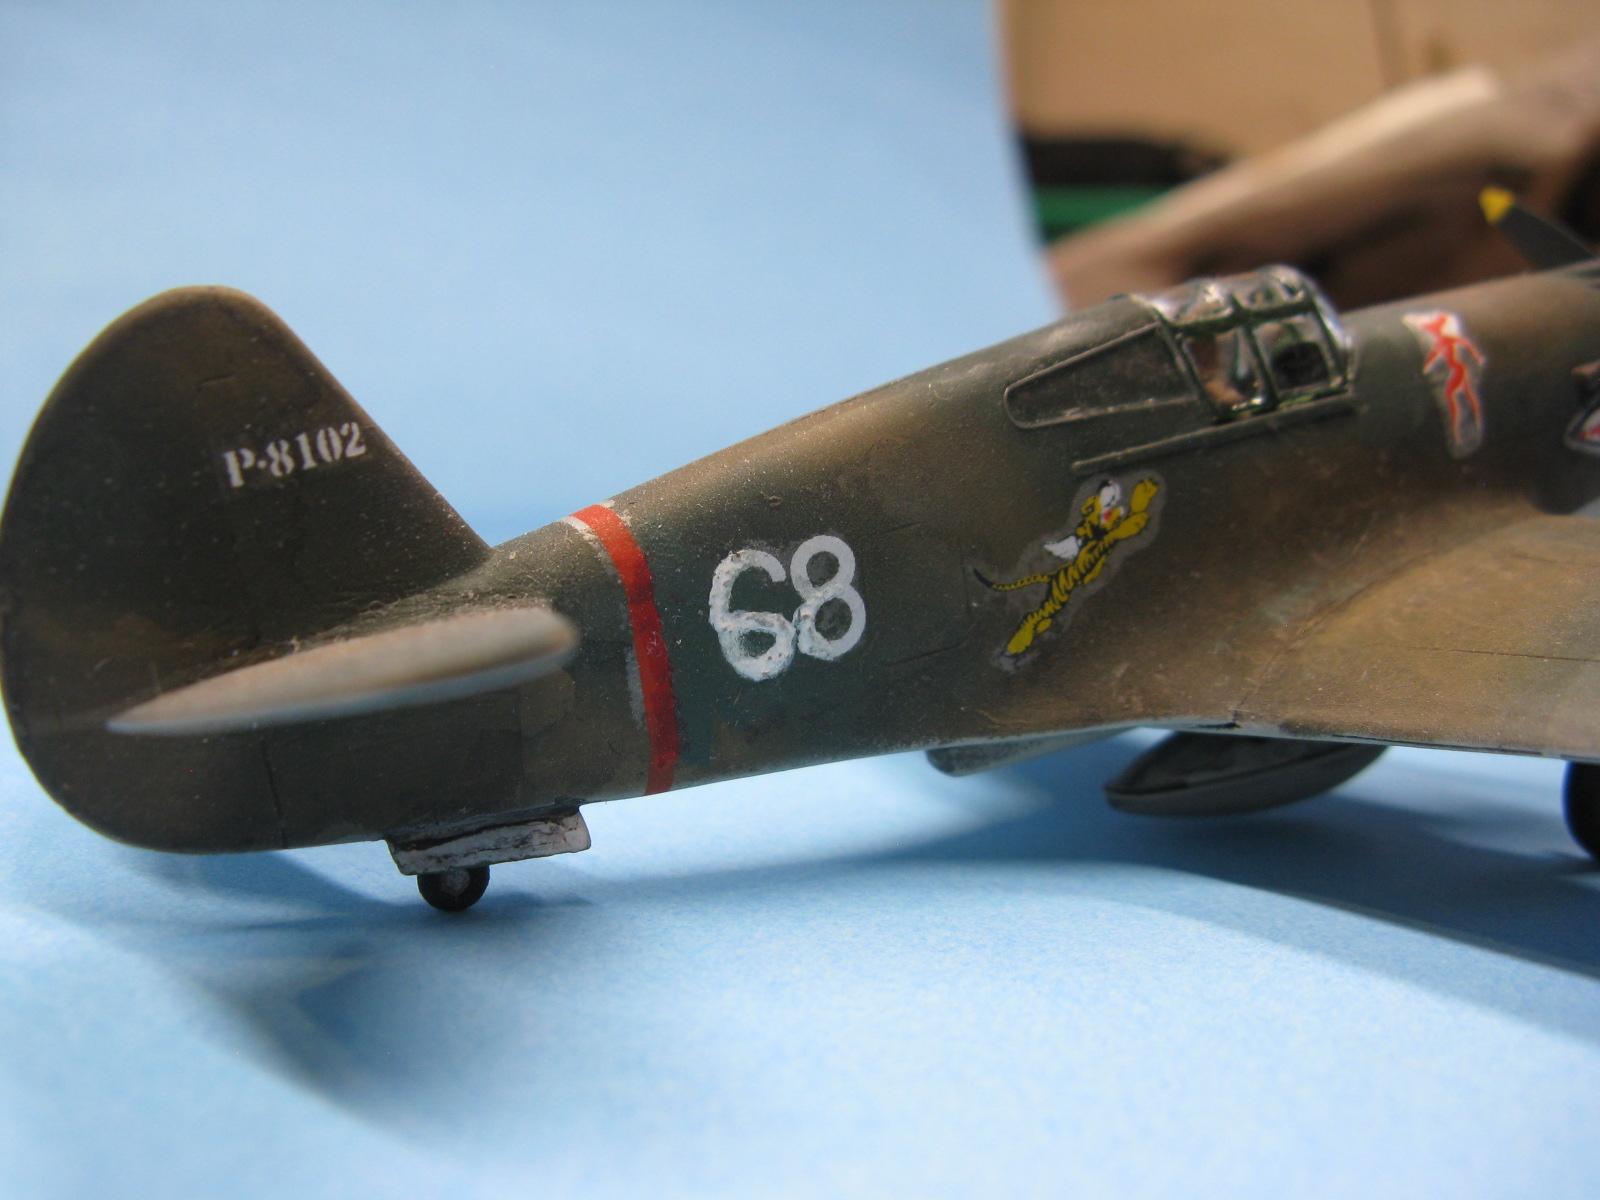
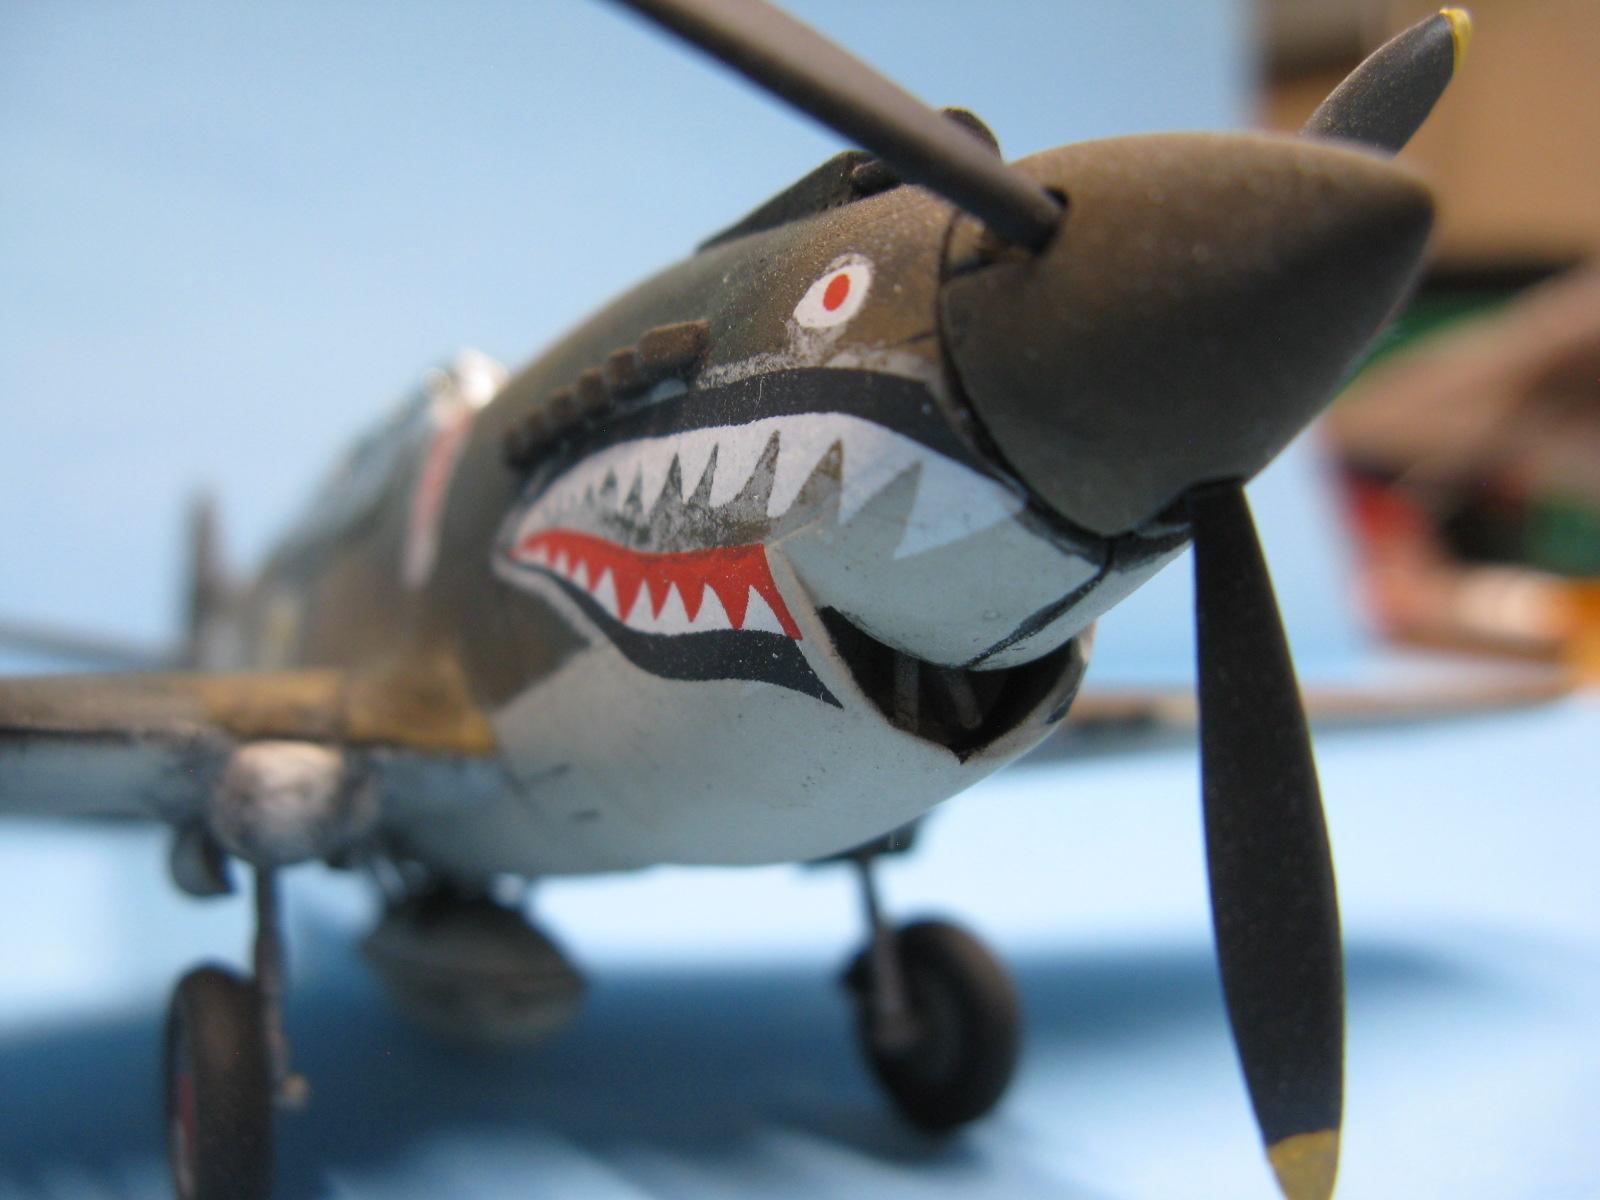
Once the new set of decals were applied and given a brush coat of Future to seal them, I noticed that the red stripe forward of the tail needed to be touched up with a bit of red paint. So I placed a small piece of Tamiya tape on either side of the fuselage butted up against the red stripe, which overlapped onto the number 68. After the red stripe was fixed, I removed the tape and what do you know, some of the decal of the number 68 came off with the tape on both sides. Yikes! What do I do now? Well, being the frugal modeler that I am, I decided not to buy another set of decals and instead chose to fix those white numbers with some craft acrylic (Apple Barrel) gloss white paint. Let me tell you, it's not easy hand brushing the number eight, especially on a curved surface! After getting the numbers looking somewhat presentable, I decided to call this one done.
Finishing touches were some dusts applied from a charcoal stick and Testors Dullcote to seal it all in. So, in hindsight, did I learn anything from this debacle? Yep, I sure did.
- You need to apply Future liberally with a brush before you add your decals to avoid "silvering" which happened in this case.
- Don't place tape over a decal, even if it's Tamiya tape.
- And most important, don't be too hard on yourself when you make a mistake. We're all human, it happens.
(without the Sh). "Let's keep it fun, people". Till next time...
-

- 1. Hand painted # 6
- 2. Decals that silvered
-
- 1. Hand painted # 8
- 2. Decals that silvered

I always love to see another P-40!
I know what you mean about hand lettering. I use to do some pinstriping and lettering. I've done nose art on a number of leather flight jackets and if you think a curved surface is difficult I can tell you a wrinkly leather surface is no picnic. I did some hand lettering on a P-40F I'm almost finished with, I'll post pictures when I'm all done. Keep up the nice work.
Thanks Clint, for the awesome comment.
I'm impressed with your application of the shark's teeth decals. I always struggle with those!
Thanks, Emberson. Yeah, shark's teeth look intimidating on almost any aircraft.
Beautiful result, John! Amazing that it is only your second airplane model! Yes, we all had and will have our adventures during building a model. Its part of the fun, we live and learn.
Well done!
You know, Spiros, I was almost too embarrassed to show this model to the public thinking to myself that it wasn't "good enough", with all the mistakes made on the numbers and the decals. It's so nice to receive support and encouragement from the model builders here at iModeler, like yourself. Thanks again!
Nice result, John. I’m still a Future fan too.
Yes John, it does indeed work wonders. Excellent for those canopies, too! Thanks for the comment.
Excellent P40, John @jdtruby
This sharkteeth build turned out wonderful.
Thank you, John for the nice comment. I appreciate it.
It looks great from where I’m sitting, happy modelling.
Thank you, George for taking the time to leave a nice comment.
Keep them coming - they only get better and better!
Thanks, Greg! I can see improvements in my aircraft building skills already. Right now, I am putting the finishing touches on a BF-109 in, of course, 1/72 scale. It will be posted sometime in November. Stay tuned.
Every model, no matter how many one has built, offers a new learning experience. That’s what keeps us going don’t you think?
Looking forward to your 109, John.
Absolutely! Learning from the mistakes we make is one of life's best teachers. The BF-109 you speak of is almost done, just have to flat coat it and add the canopy. Thank you for the insightful comment.
You've got it goin' on now John @jdtruby! 👍 That's a good-looking P-40 and another obstacle overcome. 👏
I've had models that I built early on in this journey that I hesitated to show for one reason or another. I thought they "weren't good enough", but then I realized that they are just steps along the way and demonstrated how much I had improved in my meager efforts. As Eric @eb801 said above, we learn from each one and then are anxious to apply that knowledge to the next one! A few years from now, you'll see your earliest work in a whole new light. 😉 😃
Thanks Gary, for the wonderful comment. Pretty soon, I think those "baby steps" I'm taking now are going to turn into "leaps and bounds".
This is a good result for just your second build. I can't remember my second build, 65 + years ago, but I'm sure it didn't look as good as yours.
Thank you, Dale for the nice comment.
Looks fantastic John @jdtruby 🙂
Thank you, Scott for the positive comment.