Special Hobby's 1/32 scale Fokker D.II
Hi, guys... this is my most recent build and although I thought it was a bit daunting when I bought it a couple of years back, it turned into quite a nice build.
This was the second generation of Fokker fighters produced for the Imperial German air force, although not such a success as the Eindecker and ultimately, it was used more for air defence of industrial targets rather than dogfighting over the trenches.
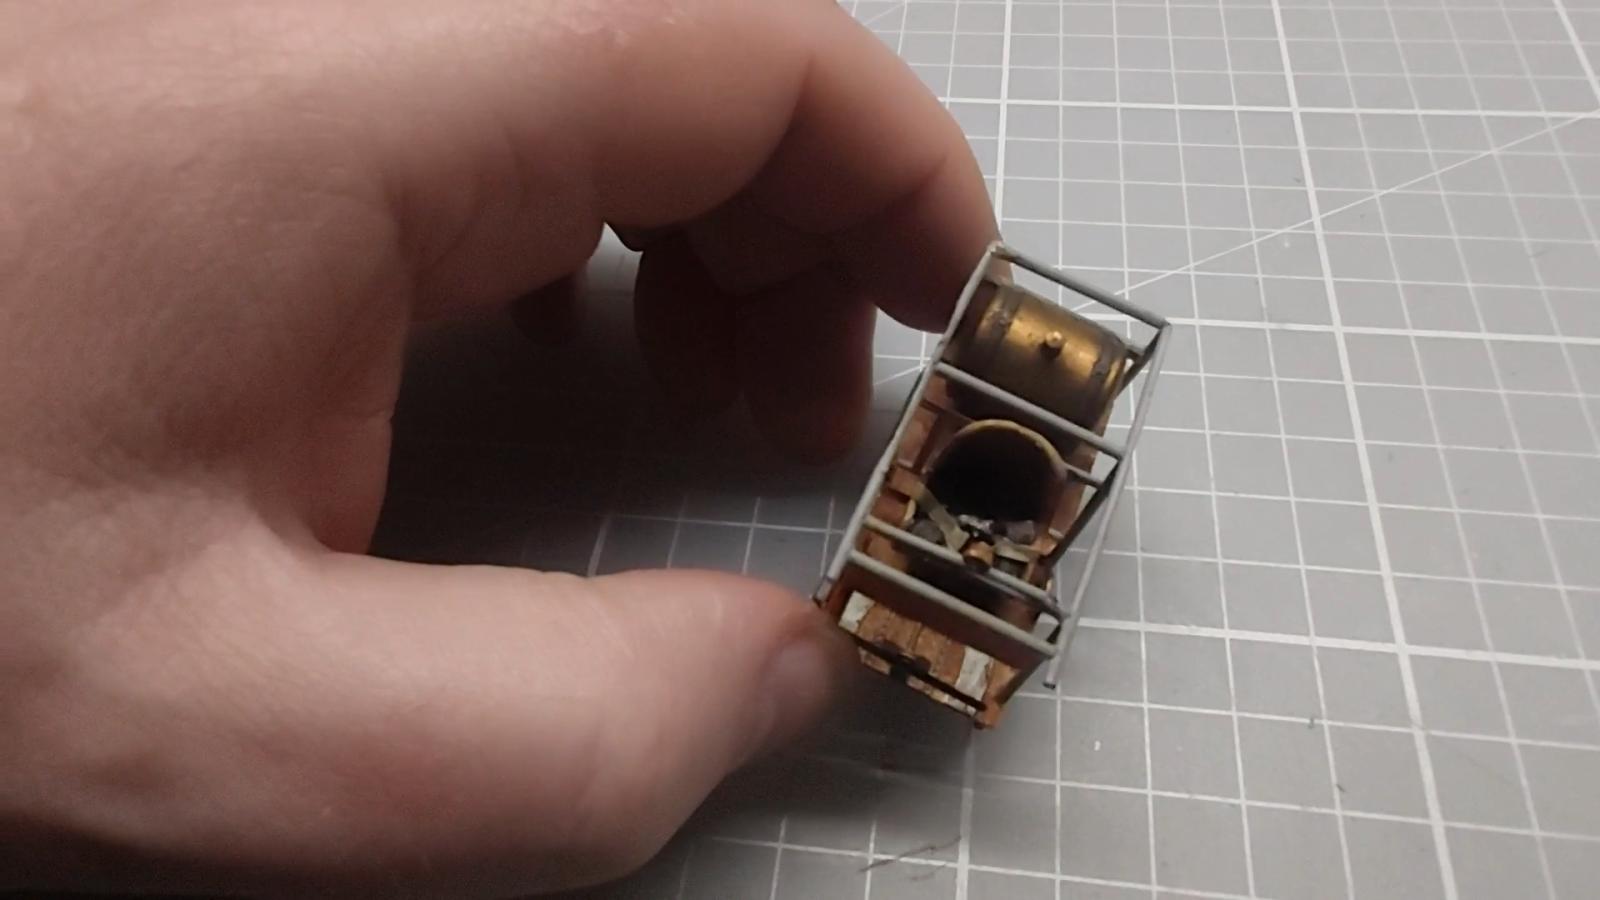
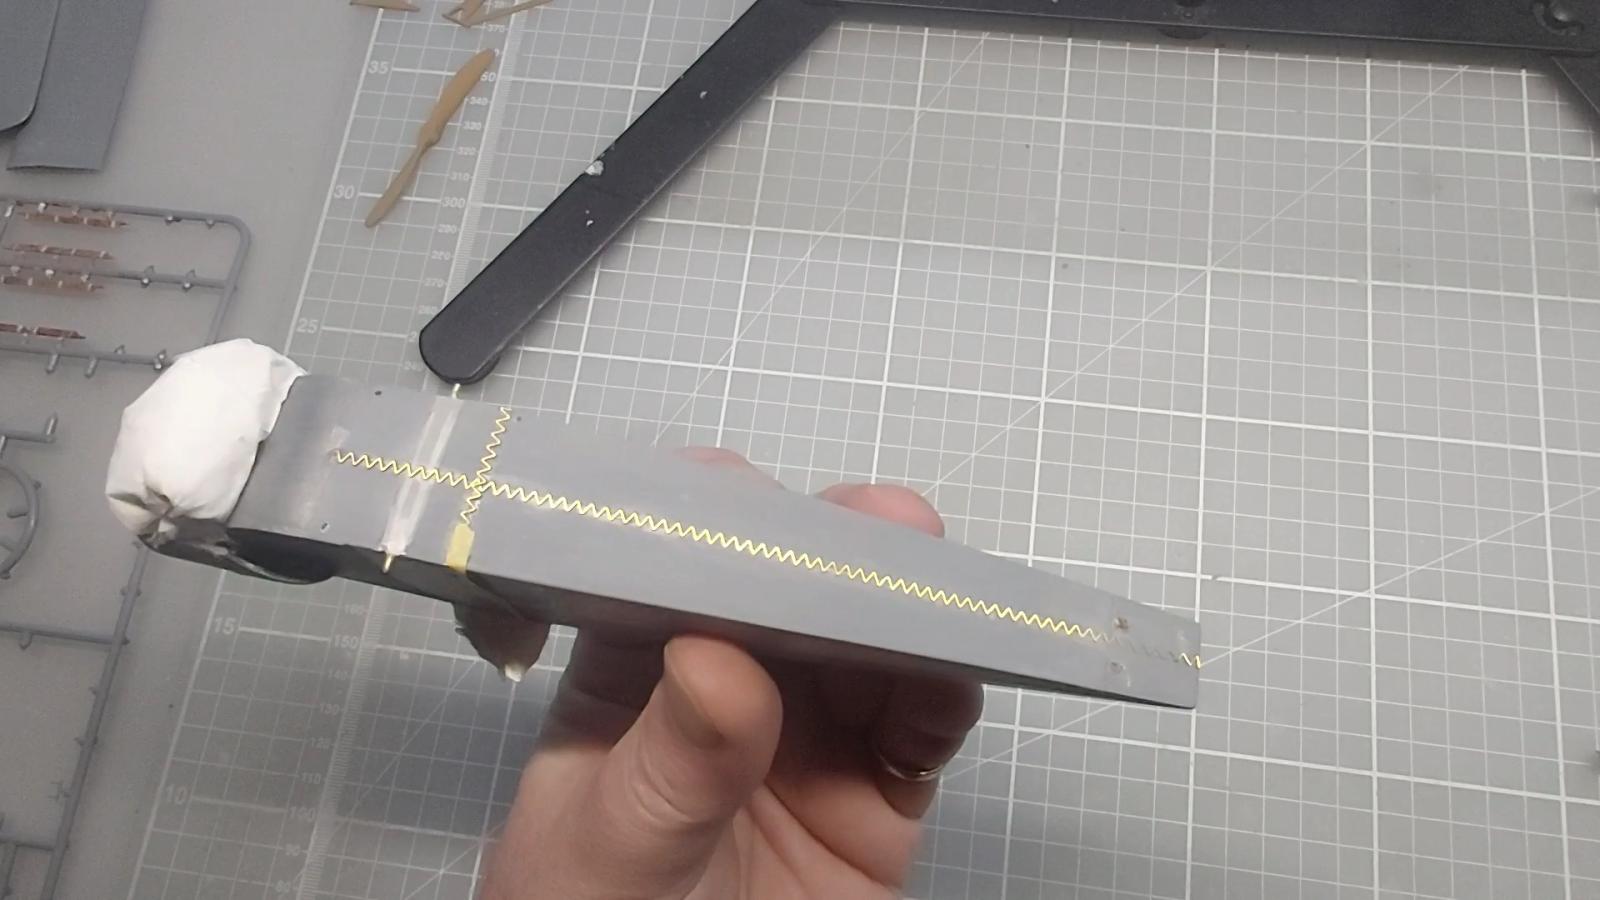
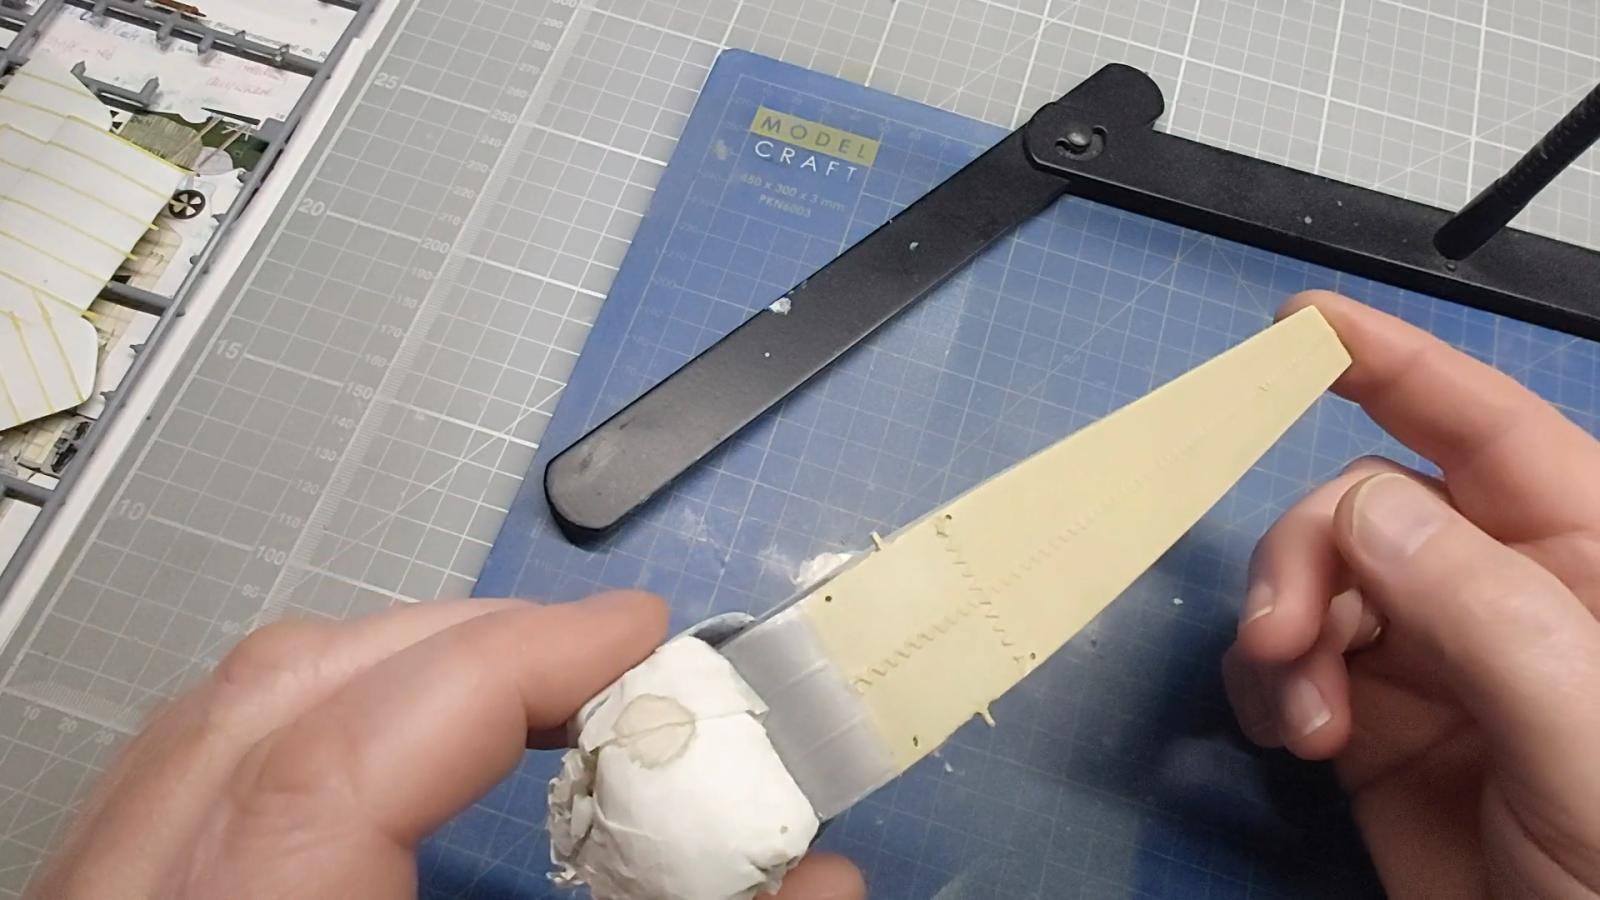
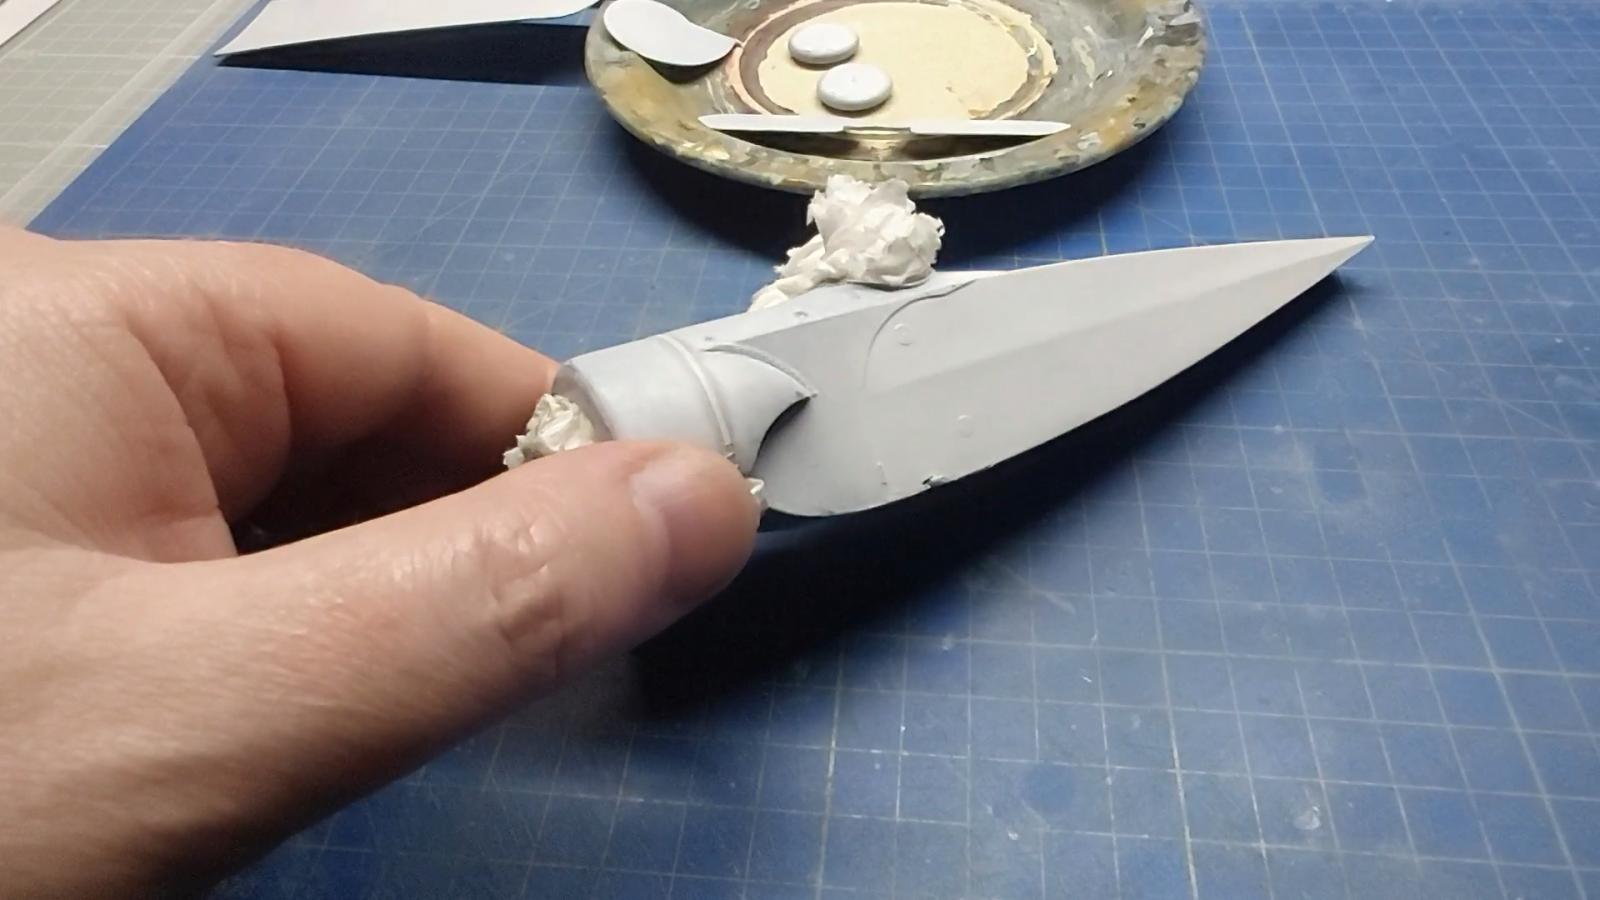
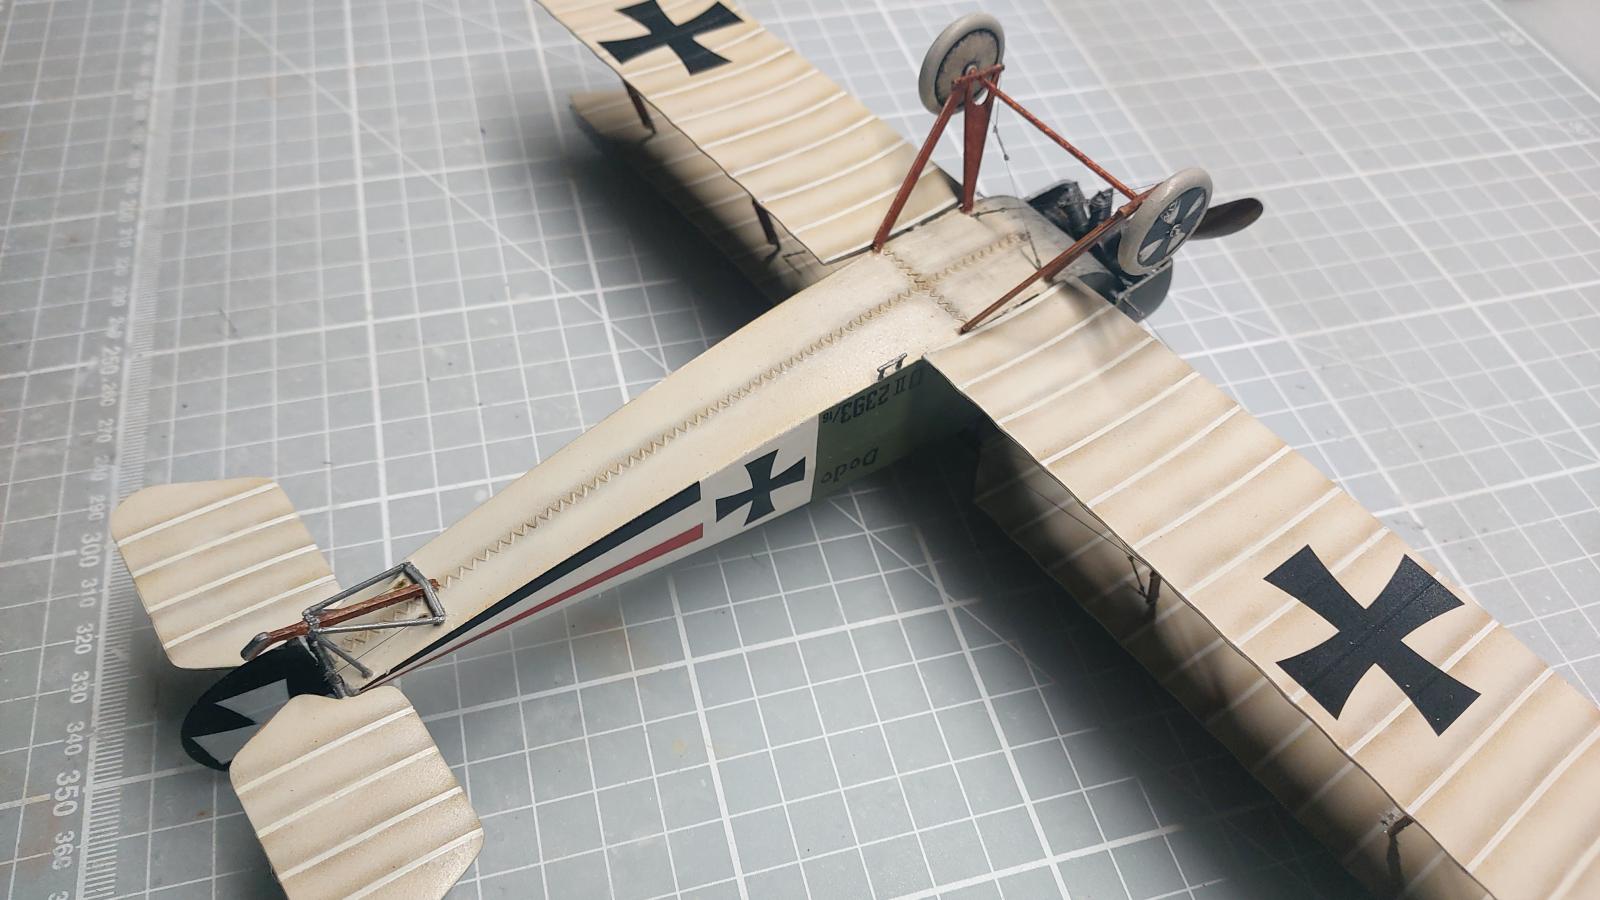
The internal detail is pretty limited at the best of times for this aircraft, with the pilot's seat and fuel tank being the most prominent features within the cockpit; the rear edges of the framing require to be thinned out to achieve a good fit of the fuselage. On the undersides, I removed the plastic tab connecting the lower wings and inserted a brass rod to provide more strength and padded out the rest of the space with plastic card and filler. The model comes with some PE parts, including a thin strip of 'stitching' for the fuselage underside.
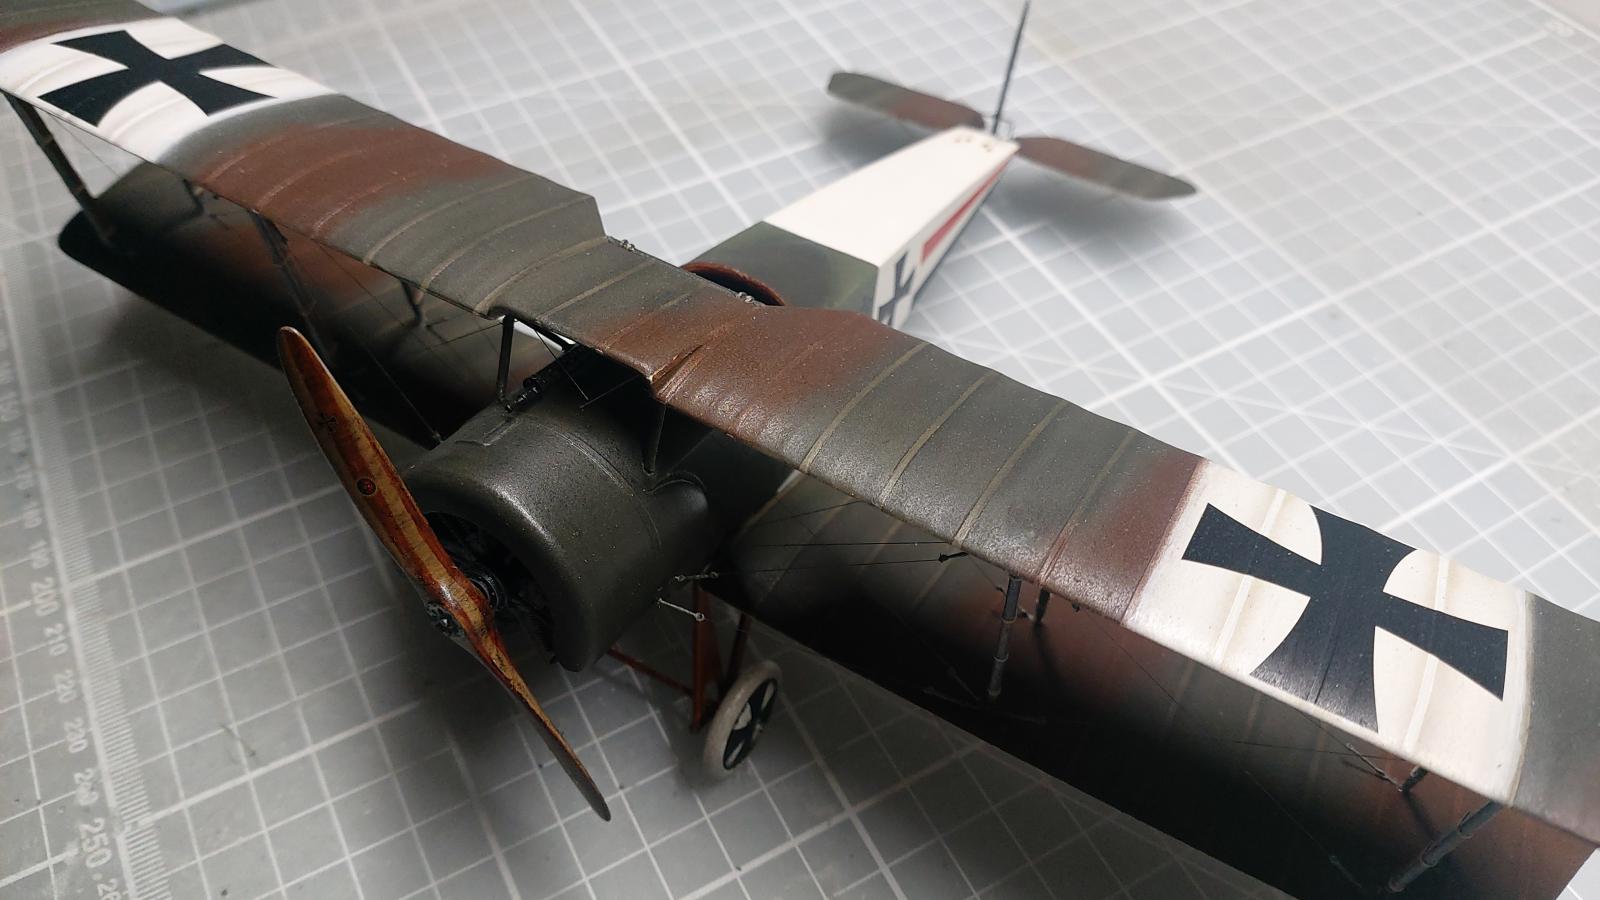
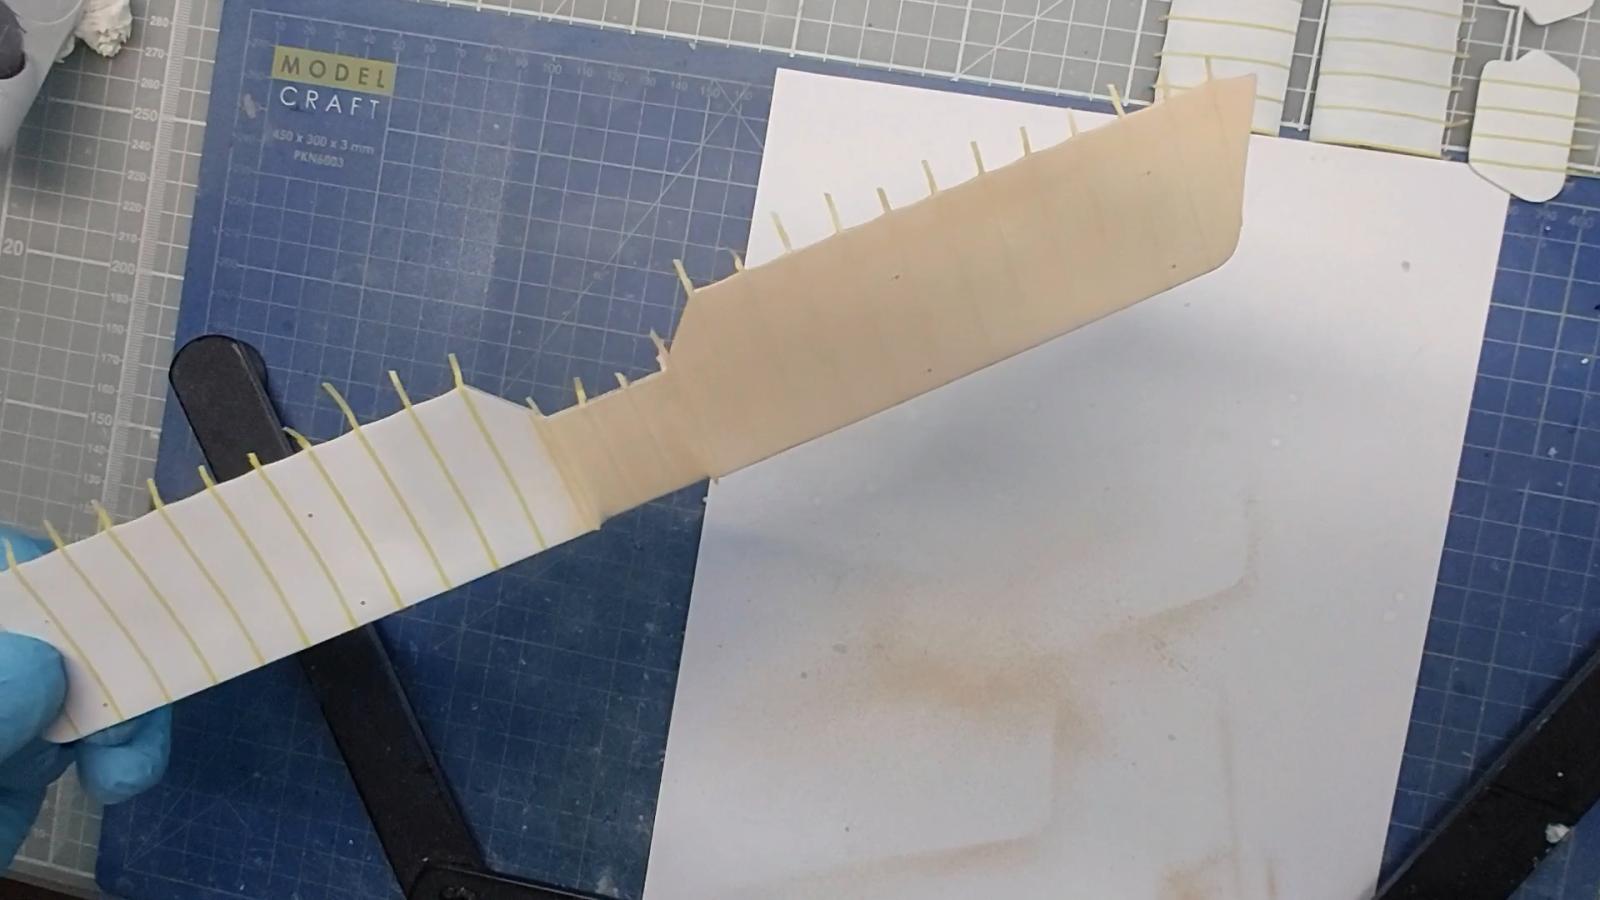
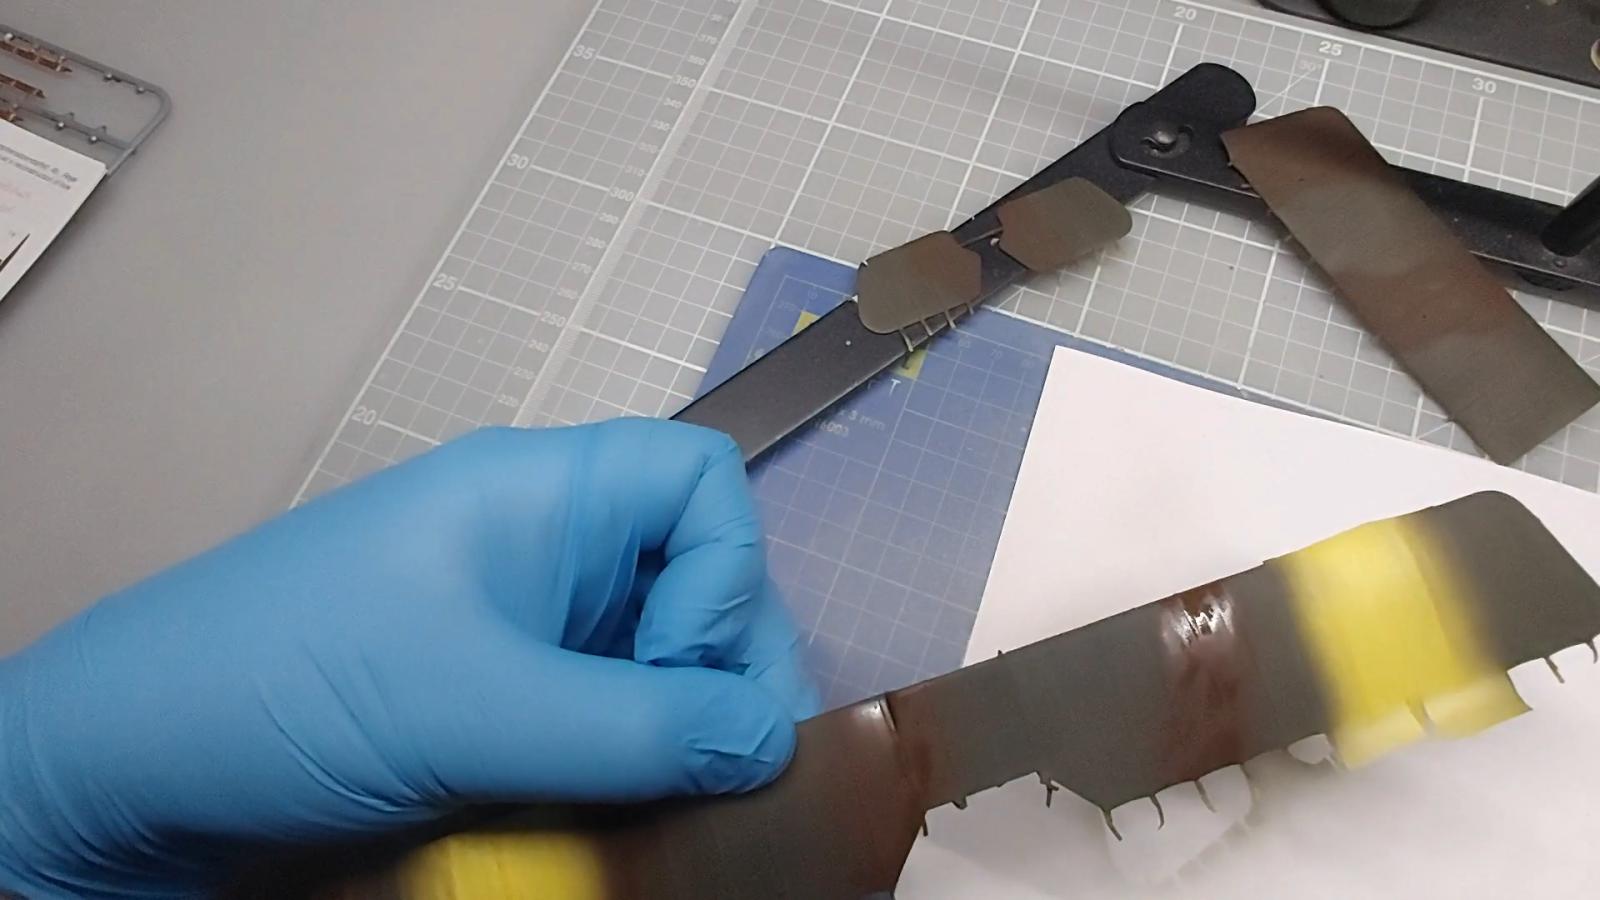
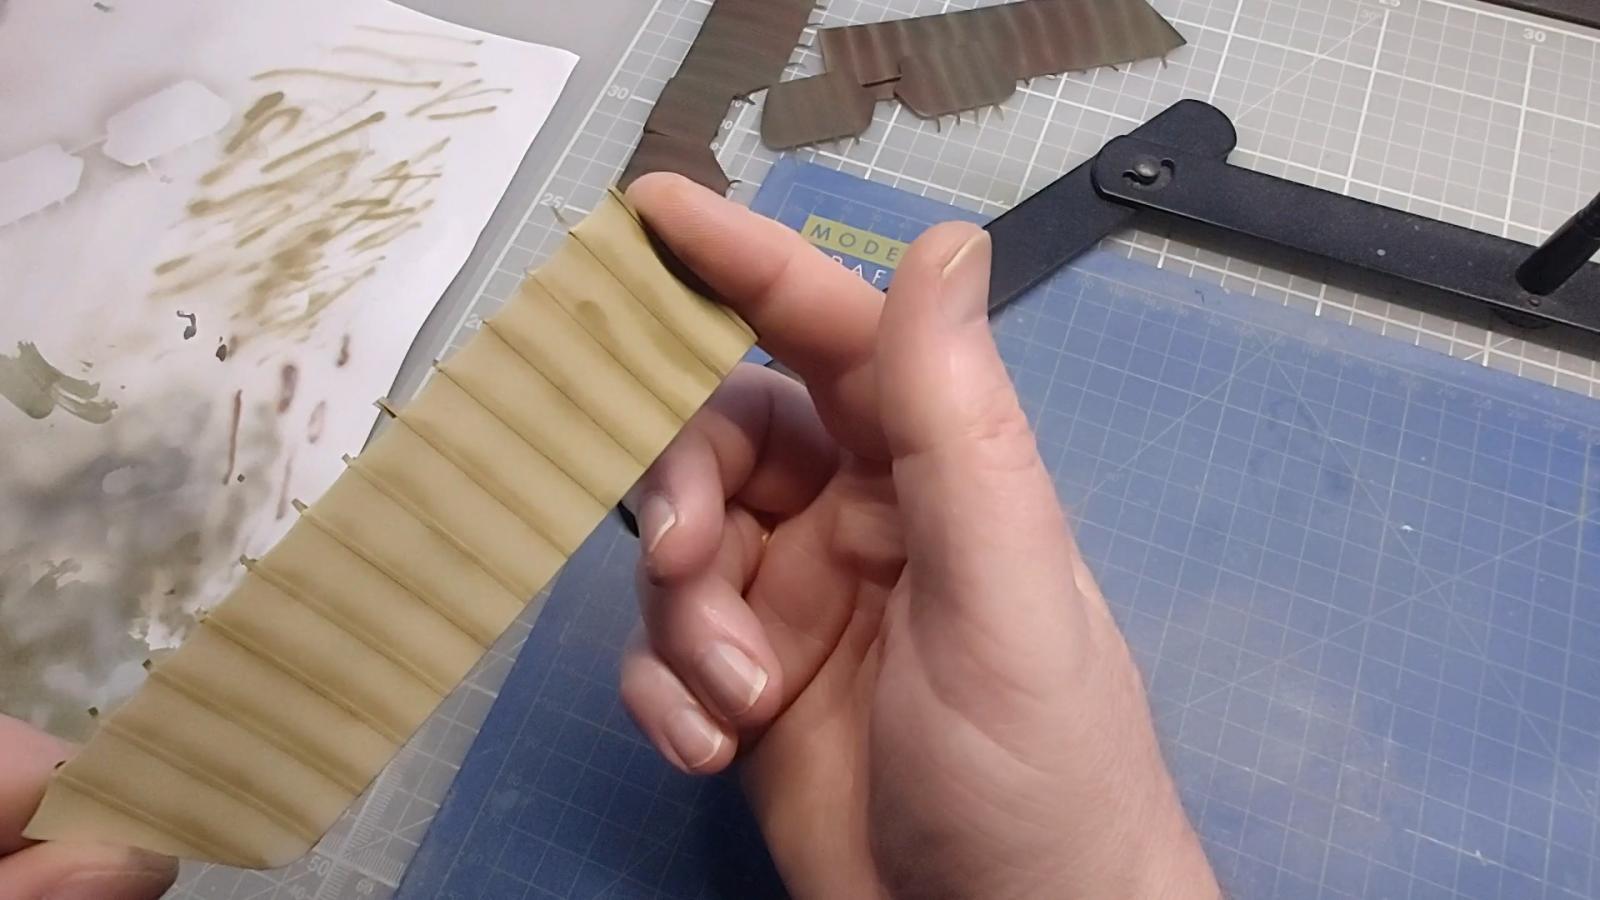
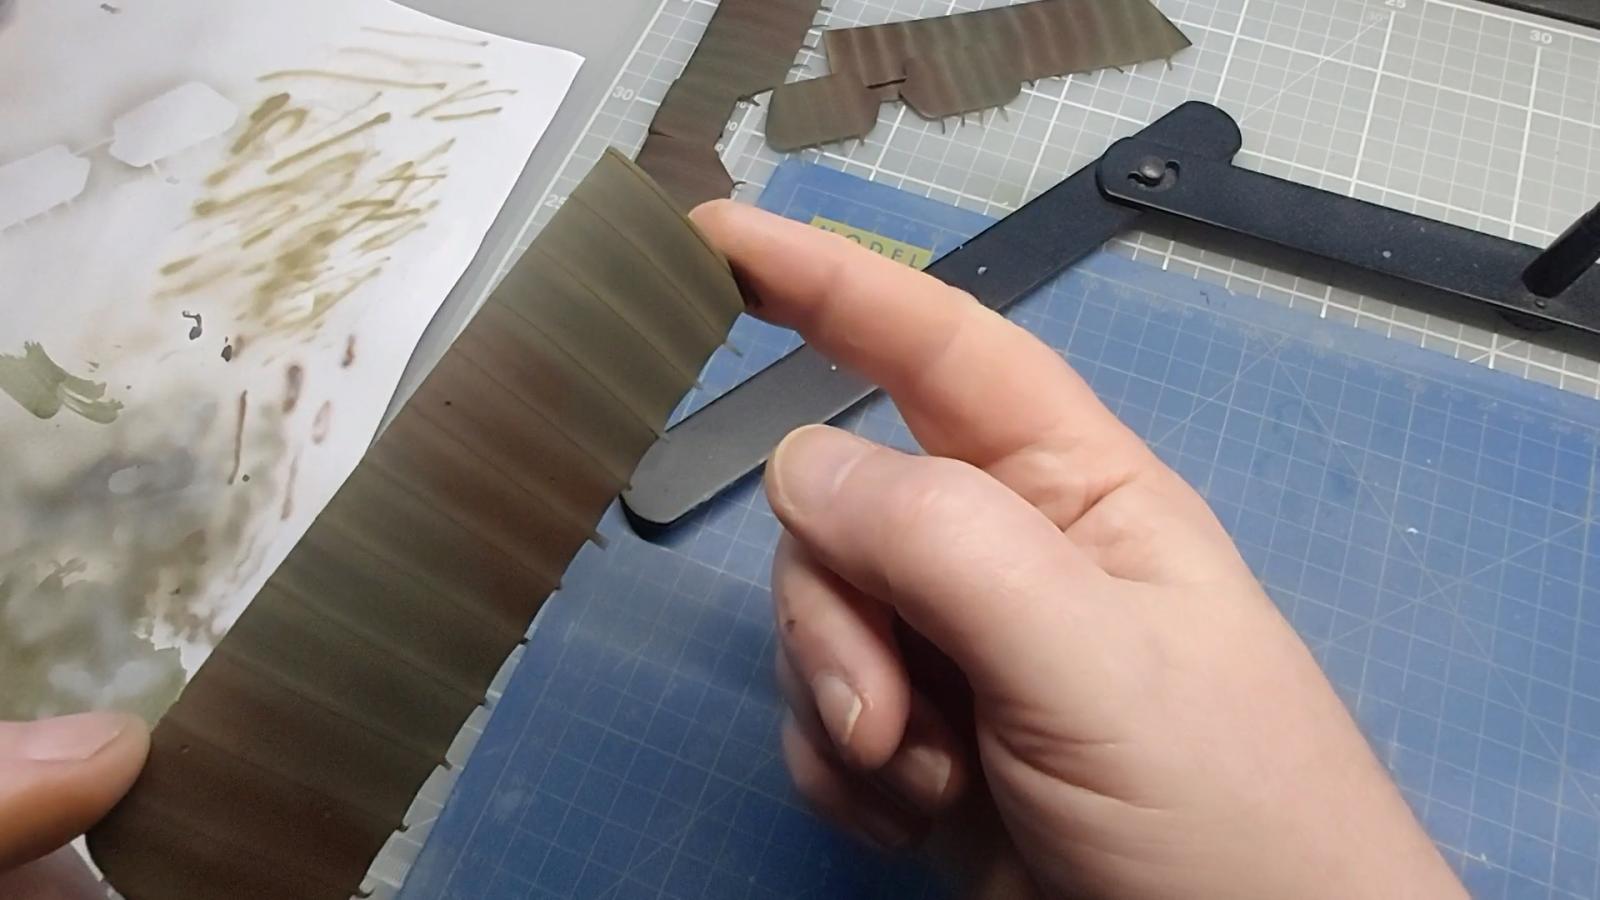
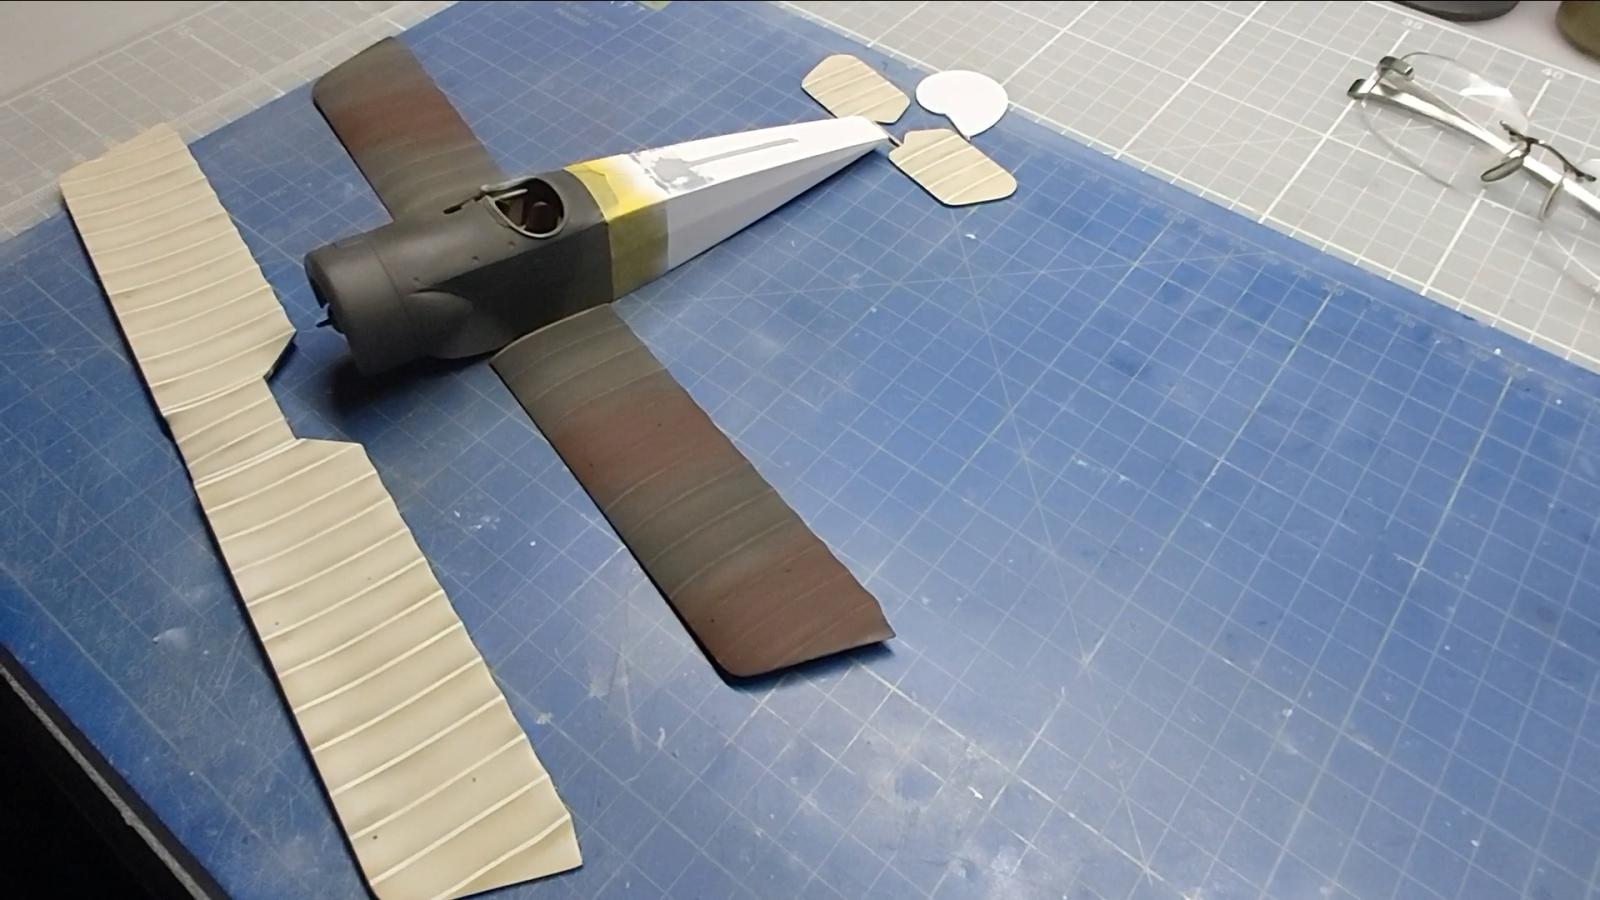
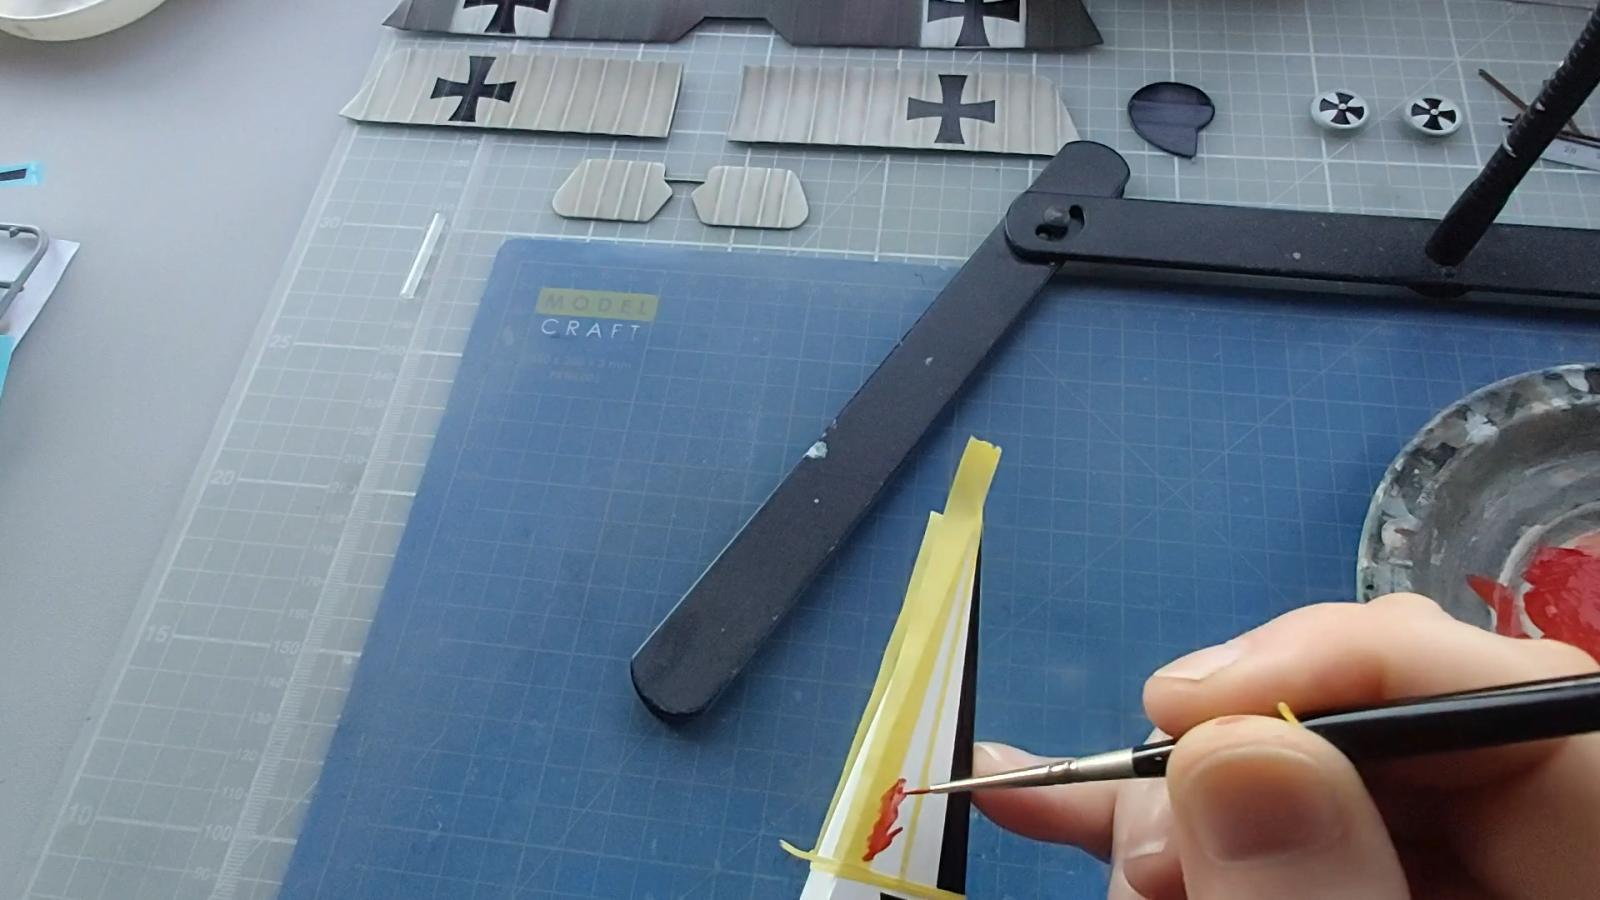
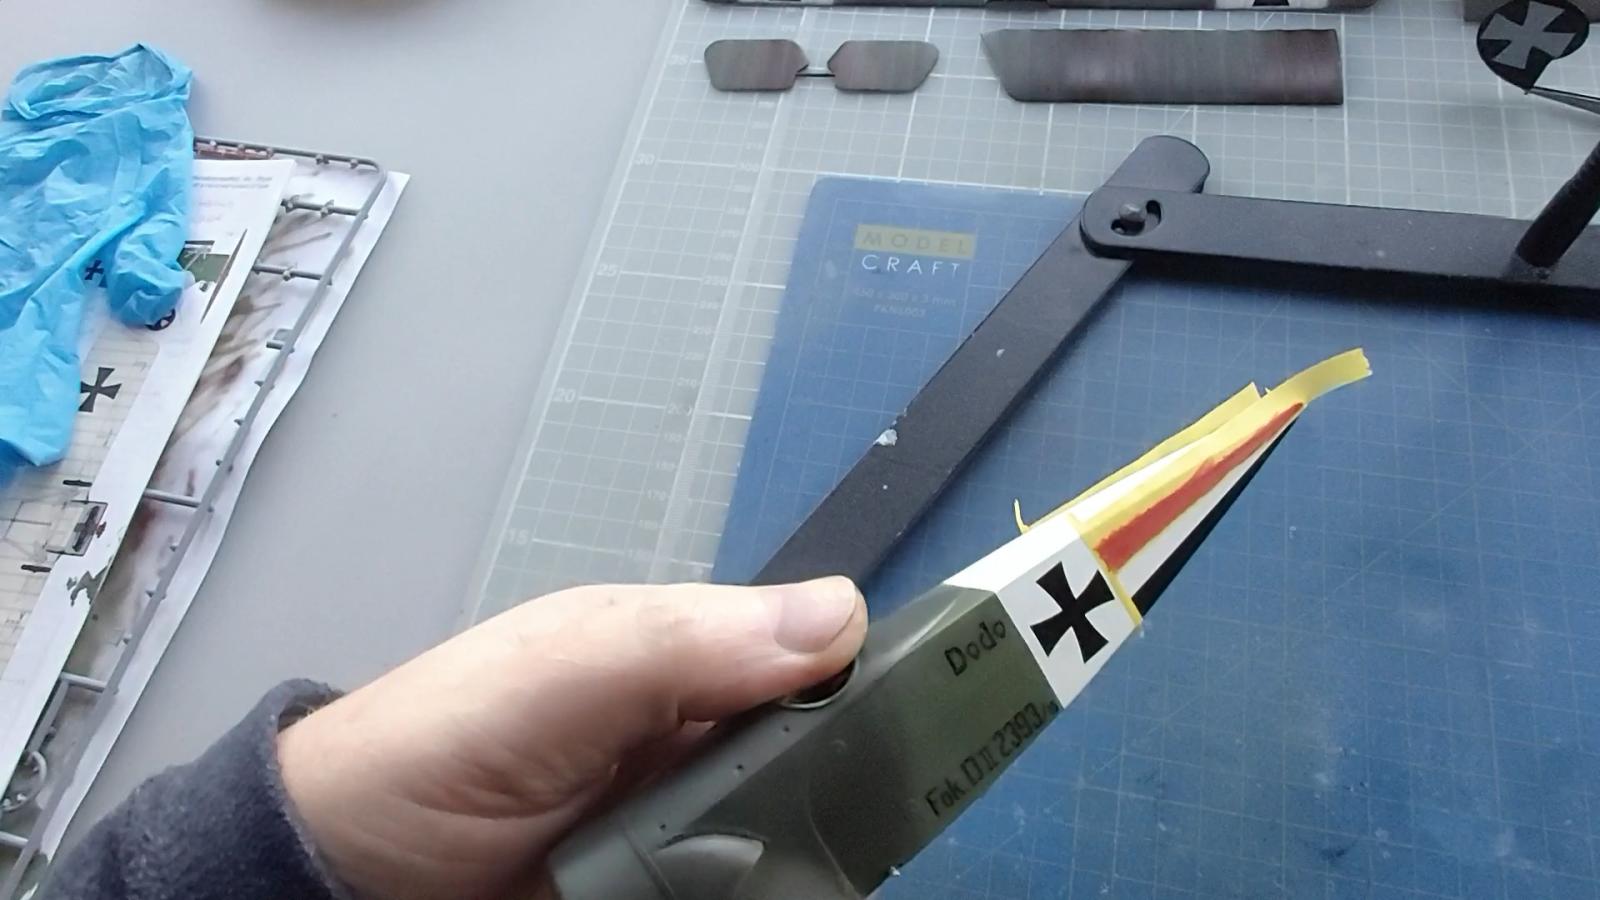
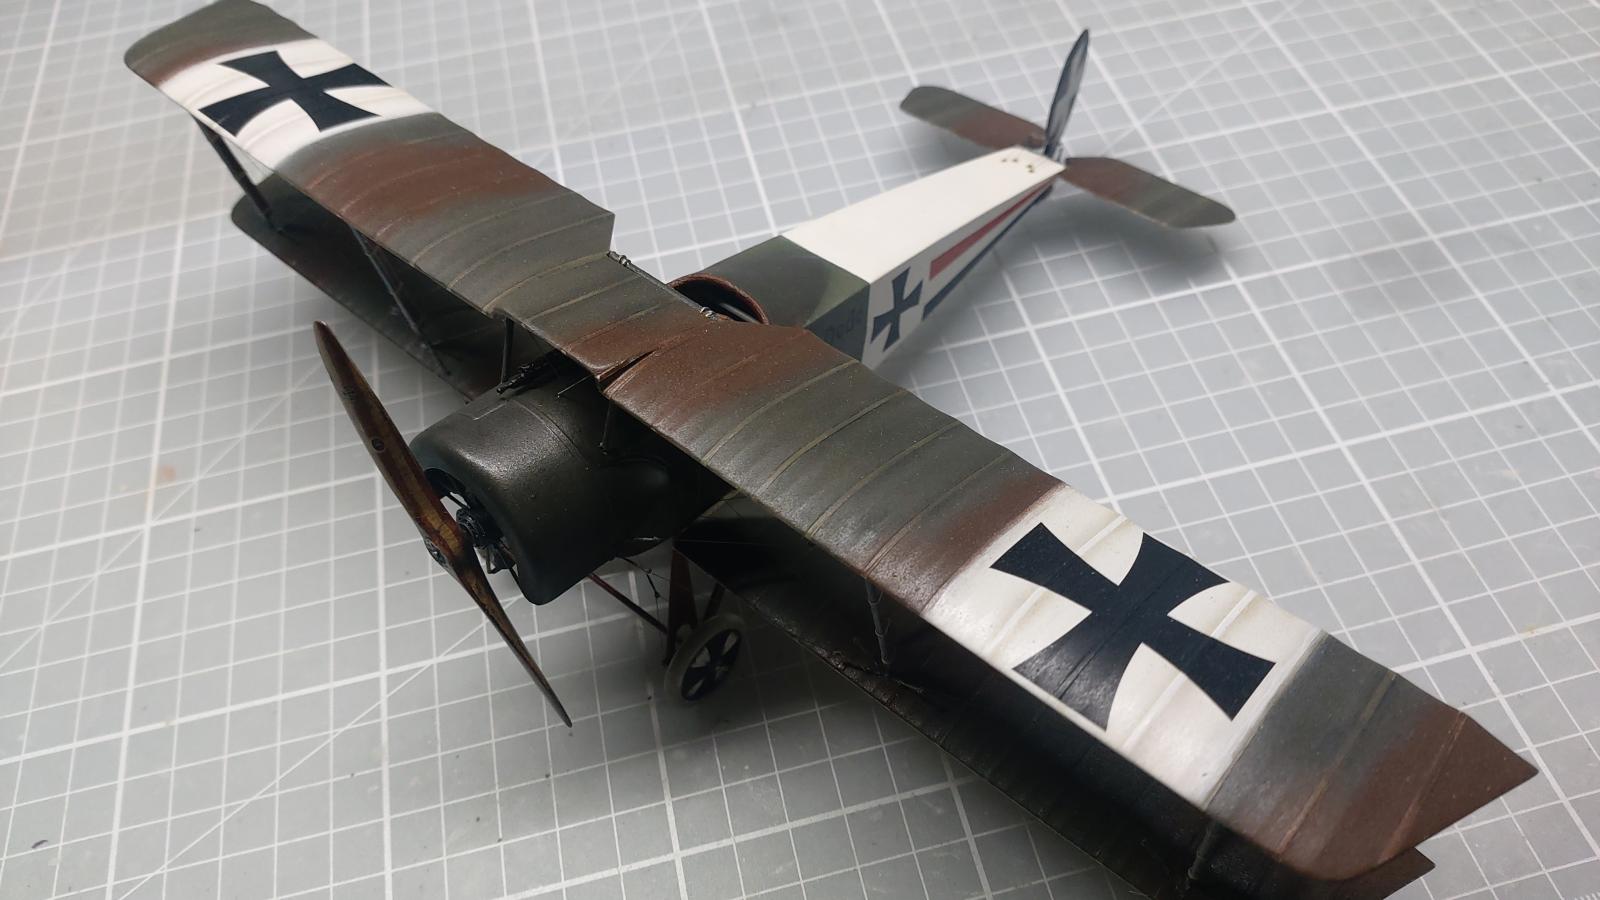
I then started to prepare the wings for their colours in my now familiar routine, painting the wings and tailplane white, applying tape over the ribs, then on the undersides, spray-painting a linen shade, highlighting the ribs with medium brown and finishing with a slightly lighter linen shade again to complete the process. All of the colours can be adjusted to suit what you think would be the best presentation. I liked the way this turned out, and repeated the process on the uppersurfaces. I saw a pretty clear photograph of this aircraft online along with a colour profile, which suggested the stripes on the fuselage may have been red, white and black so I chose to show the stripes in that manner. The black stripe is a transfer from the kit, and I used adhesive tape to blank off the area of the upper stripe, and proceeded to hand-paint the red band. This resulted in some slight bleeding of the colour under the tape, but very little and easy enough to tidy up.
The rigging was straightforward but the PE turnbuckles to rig the model are very definitely one dimensional, rather than 3D, so I substituted them for GasPatch turnbuckles instead. A little homemade blackwash was applied to the undersides behind the engine and also to the fuselage immediately behind the engine on both sides as these areas were susceptible to staining of various degrees. I retained the white rudder cross from the kit details, but if I remember correctly, there was a bit of an issue with the wing crosses so I swapped them for Wingnut Wings spares. The serial number and the aircraft name were also from the markings provided and presented no issues at all.
The model represents an aircraft from KEst4b which moved to their base at Freiburg im Breisgau on 15 April 1917, and the photograph was taken possibly on that date, or not long after the unit's arrival there.
I hope you like the finished model, and the YouTube video of the build can be seen here - https://www.youtube.com/watch?v=o6pVnoRsjfU


Excellent job and superb result, Paul!
Thanks, Spiros... an unusual subject that builds up well. Thanks for looking in... ;-).
You've really done jutice to this kit Paul. Great work throughout and a superb result.
Thanks, Tom, for your comments... ;-).
Excellent effort put into this, with a fantastic result - well done!
Greg, thank you. Your comments are much appreciated... ;-).
Very nice result, Paul @paulh
Thanks for sharing the build video, very interesting and definitely helpful.
Hi, John... thanks for your comments. Glad you liked the video... ;-).
Very nice model. I've done this build before, so I know what it entails. Is beautiful.
Thanks, Milan... I took a look in on your builds - all very good indeed ;-).
Great looking Fokker D11, well done .
Thanks, Ian... much appreciated.
Good looking Fokker D.II , and a good video as well.
Mark, thanks for looking in. Glad you like the build, and the video ;-).
Good work on this kit, but I can’t get on You Tube here in China.
Thanks very much, George. A pity YouTube isn't available where you are, but I appreciate your comments ;-).