Tamiya Miniatures German Machine Gun Crew on Maneuver in 1:35, with Diorama
Some history:
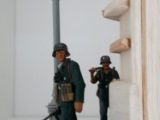
This kit dates back from the mid-nineties of the last century. I actually purchased it on e-bay as I like to adopt kits from someone else's stash and then give them a second life. The kit contains five figures comprising a standard German machine gun team at either the MG 34 or MG 42, at will. The uniforms are mid-war versions M43 with shorter boots and steel helmets. The details of the kit are very crisp, there is no flash and the weapons, MG 34, MG 42, MP40 automatic and 98k 7.92 rifles are molded very good, so I decided upon an out of the box build.
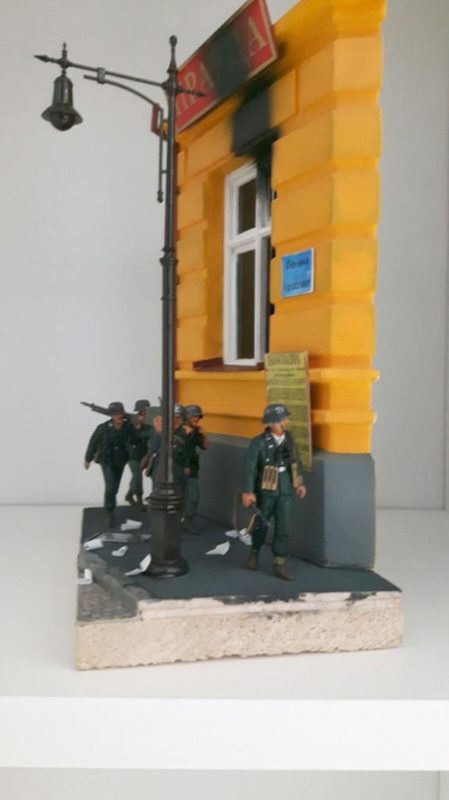
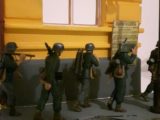
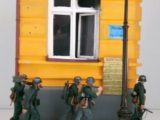
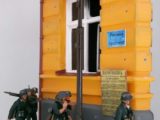
Given the uniforms date from the mid-war, say 1943, period, I planned a little diorama around the figures depicting them in the second battle of Kiev, Ukraine in early November of that year. I studied some town houses in the Ukrainian capital to arrive at the setting and commenced the work.
The build:
Assembling the figures was a beginners thing; Most of the time, the skill is in painting the figures. I assembled the weapons and MG support separately only to add them on the figures after painting was finished. I gave them a base light-grey dull coat from the rattle can as primer first. I pained the figurines using acrylics, which I always mix myself. I just fetch some basic acrylics tubes and then use references in books or online to find the best color match. This gives me best control I find. The weapons and other accessories were painted using standard enamels directly on the plastics.
The diorama (99% finished):
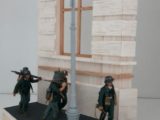
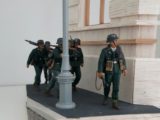
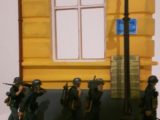
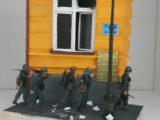
The main task was to model a cut-out from a street scenery in Kiev. i found some pictures of this city allowing me to estimate sizes of official buildings. As always, the better diorama tells a story. Here the MG troops move towards a forward point to meet and greet the Red Army when they arrive on the next city block. They pass by a big yellow building of the former Party Newspaper "Pravda", which is looted and set alight.
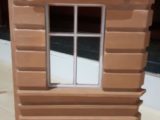
The building was constructed from balsa wood, then primed using diluted wood MDF filler twice, sanded it flat and added a transparent wood primer. Next, after sanding again, I added 5 layers of water base white wall paint on top to finish spraying in with enamels. Doing so, the typical wood texture disappears. I prefer working balsa as it is easy to work with and light above all. Still up for light weathering, more later.
I chose the colors Ukrainian yellow with blue street name plate
Here are some pictures for you to enjoy, comments welcome! I already spent 30 hours on this one including researching the build but mainly on the diorama. More to follow!
Happy modelling!
Michel.


Michel, now I know how to do "Pravda" on a sign. Thanks. Russian ian't in my skillset.
I love what you've done here. Just walking down the street, wonder what's around the next corner? Something really bad, and the peaceful (though menacing) quiet goes away.
Nice use of the grouping, "moving to contact" is what they used to call it in the Army. "Surprise", what what I said.
Nice work so far...can't wait to see how you "dirty up" the scene.
It's GREAT !
Looking good!
I am of the same view of Craig on this one Michel, very good concept and very good work on the building wall.
Nicely done, Michael.
Sorry I misspelled your name, Michel!
No worries Jeffry, in the US, It would be Michael
Glad you liked it
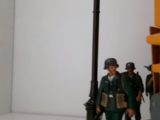
Nicely thought out, Michel. I like the way you've constructed the wall and the lamp post is a nice feature.