WIP 2nd Update: 1/32 Trumpeter SBD (Color Challenge Resolved)
This article is part of a series:
- Work-In-Progress: 1/32 Trumpeter SBD
- WIP 2nd Update: 1/32 Trumpeter SBD (Color Challenge Resolved)
- Update WIP 3: 1/32 Trumpeter SBD-3 Midway Variant…need to resolve a decal issue.
- Update WIP 4: 1/32 Trumpeter SBD-3 Midway Variant
- WIP: 5th Update for 1/32 Trumpeter SBD-3 Midway Variant
- WIP: 6th and Final Update: Trumpeter 1/32 SBD-3 “Midway Variant”
- 1/32 Trumpeter SBD-3: Battle of Midway
OK, here is the update to the last 1/32 SBD WIP Post. Thank You everyone for all your support, suggestions, and feedback provided following my last post on this build. I took everyone's ideas to heart and tried some of them. I ran into a few roadblocks, made some more paint orders, canceled some paint orders, then ran into a stand still. Bottom line is I just hate waiting to finish a project once I get this close.
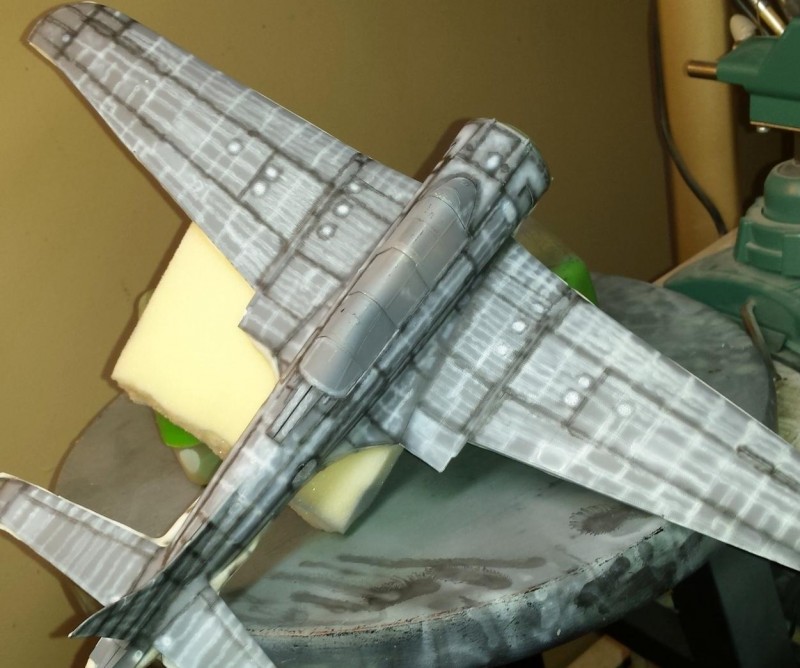
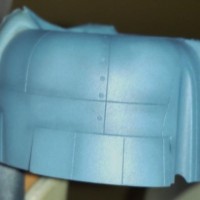
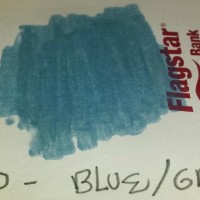
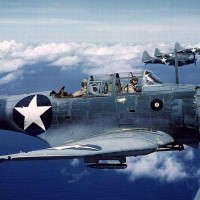
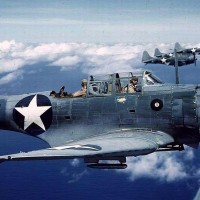
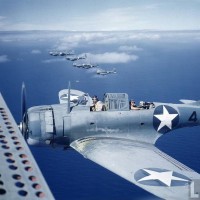
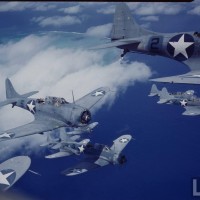
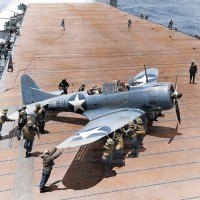
So I thought, how hard could it be to mix my own color to match some photo's I really liked of the real SBD flying over the pacific. Well, I tried it before and it was a lot harder then originally predicted. But, after running into more struggles, and road blocks in purchasing a pre-mixed batch I had to try again. I figured as long as I got close it would be "OK", I guess? Well, then I thought I had done some much intricate pre-shading, and I was going to weather the heck out of it with more filters, washes, varnishes, and such that original base shade, whatever I choose, will be changed even more. So I went ahead and made some test batches for the better part of the morning. I wanted a more blue-hue then grey to come close to the Life Pictures of the SBD. To obtain this I combined the following colors using only Vallejo paints, Model Air, some AK thinner, and some flow improver: Intermediate Blue, USAF Light Grey, White, and Dark Pru Blue. Voila I arrived at a color I could live with. See the color palette I attached in the photos.
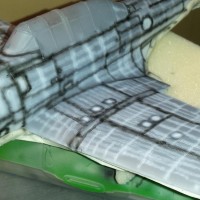
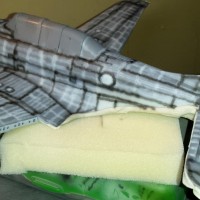
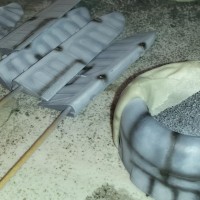
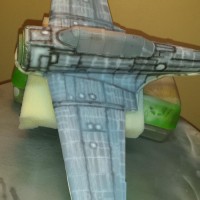
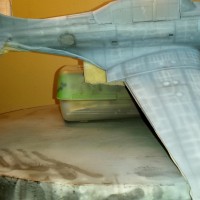
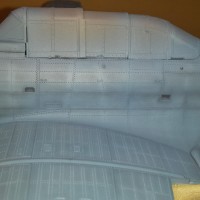
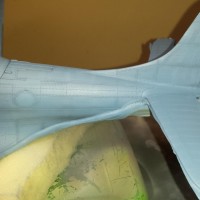
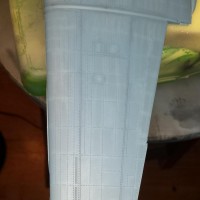
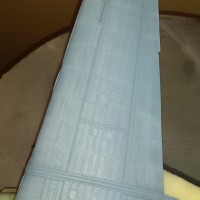
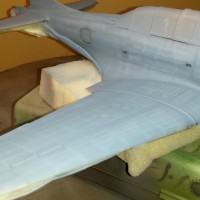
So I went to work blending in all that intricate pre-shaded patch work. I think I made my pre-shading the most intricate I have attempted to date, but I felt this was needed due to the extreme patchy-ness of the SBD photos from that time in the war. I applied my Blue-Grey Mix in a very diluted fashion, maybe 30% paint to 70% thinner. You can see some of the pictures only have 1 to 2 coats of this thin mix covering the pre-shading. The blue/grey is barely visible. If you attempt this process a thin mix is necessary because it allows a lot of control over the paint and allows you to be subtle regarding changers made to each pass of the airbrush. You can also focus the jet of paint over certain pre-shaded patterns to make sure you blend exactly the way you want. So keep your spray pattern fairly narrow to control the blending.
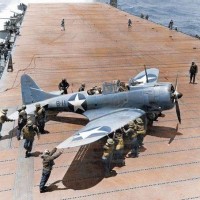
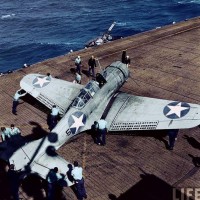
In the end I am not sure how accurate my color choice will be. This is because there are so may good examples of other SBD models, and many available color photos of real SBDs from the Midway era. I love the Life magazine photos I attached at the end of the picture files. But, I am not sure how accurate the color of that film is. Is it touched up? Is it computerized? The saturation of blue from the sky, ocean, etc., may also play tricks on the eyes, making it appear to be more blue then in reality. So I tried to find a middle ground between those pictures and some common available paint pallets of "Blue-Grey" which supposedly match the appropriate FS SPec codes, and the NAVY M- values used. I feel I accomplished this and I am very satisfied with the end result. Of coarse the color pictured is prior to any weathering with washes, filters, etc. I know it will also change a bit when I apply multiple varnish layers of gloss, then flat.
This is all for now. Need to wait a day or two for the paint to completely cure before applying a layer of gloss for the decal and wash process. Being all water-based acrylics I am not sure if this waiting period is required, but, dont want to chance it. Patience is very much a virtue when engaging in this hobby. This build is definitely challenging that quality in me.

Paul, for my money this is nailed down. A great example of an organic process of imagination, creativity, perseverance, and patience. Well done, sir.
In all photos the colour looks different, and it’s just not the patches of recent applied paint. I guess the usual angle, sun light exposure, film used and the operational exposure of the paint to the harsh Pacific climate conditions causes that. In summary a real modelling challenge! And it seems you nailed it Paul, it looks great, the effect of the preshade stands thru the paint and it’s very convincing. Good work sir
Looking good! I used those same photos as resources for my build. And like you mentioned - by the time you weather and beat it up a little, it'll take on a new aspect as well.
Nice job...I like it (and I like the added pics, too).
Thanks for posting the Life photos, great shots and great work on your paint
Excellent progress, Paul! What you are trying to accomplish is not easy. The rather weather-beaten finish of these aircraft makes for an interesting subject visually but a potential minefield of problems if the weathering techniques go overboard.