Airfix 1/48 Curtis H81-A3 (P-40B Tomahawk)
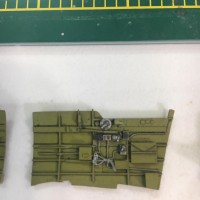
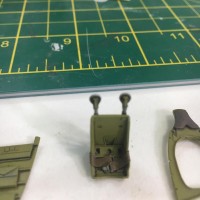
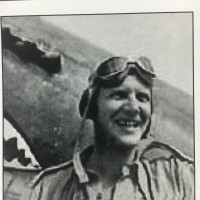
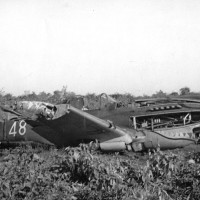
This is a nice kit but my problems started when I decided to put the Aires cockpit in it. It was not that great of an improvement to the kit parts and it was too wide. I sealed the fuselage and inserted it as a unit up through the wing opening. It's too wide and spread the fuselage so when I put the wings on I had anhedral. I pulled it out and began grinding with a Dremel tool. I grinded both the cockpit parts and the fuselage interior. I got the dihedral to flat straight across and stopped grinding because I was afraid of grinding through the fuselage. So, In order to induce more dihedral I bent the wings using a hair dryer. It's still a little flat but pretty close. Now, the problem is that there was no bend close to the wing roots and now the landing gear is canted in giving it a knock kneed look. I bent the landing gear as much as I could but it's still not quite right. The lesson is not to add aftermarket stuff to replace good kit parts that you really can't see anyway. The Chinese roundels from Airfix are wrong too. Too small in diameter and too few points on the Star. Of course I found this out after I put them on. So, this is Tex Hill's plane 48 at Toungoo, Burma, in December, 1941. Hill totaled it in a bad night landing.
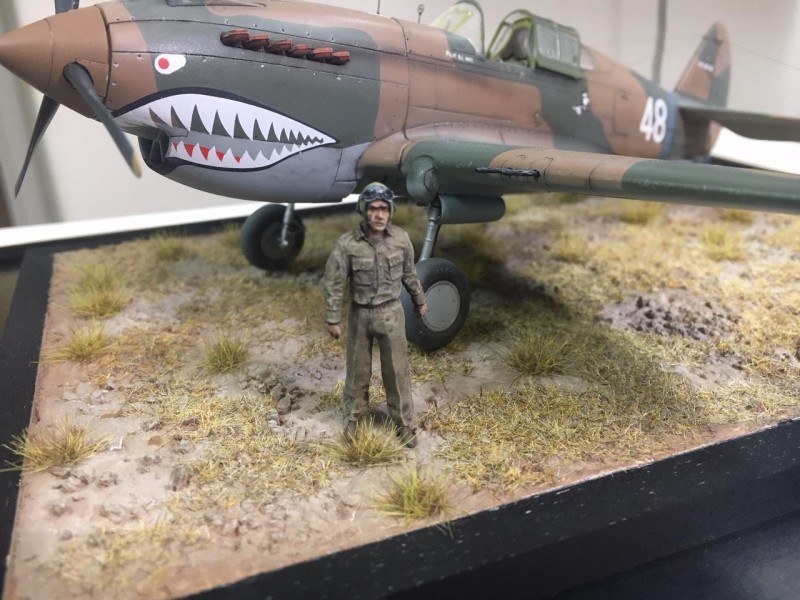
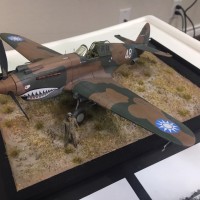
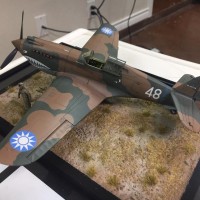
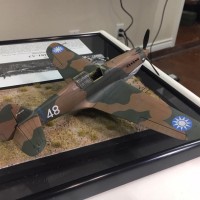
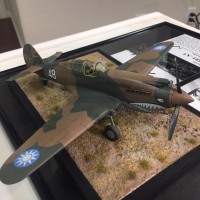
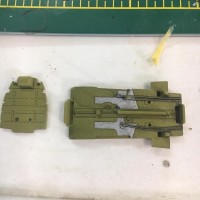
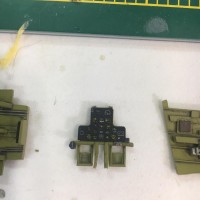
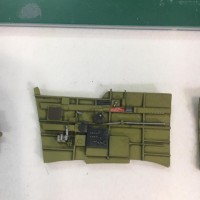
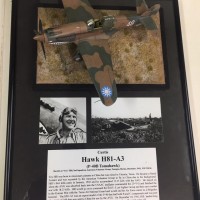

This reads like a Greek tragedy in that one wrong decision leads inevitably to the hero’s doom. The strange thing is that it looks rather good to me. Lovely painting. Great presentation.
However, If I’d built it I wouldn’t be able to look at it without seeing the bent wings and cursing my fate.
These days I’m less likely to press on when things start to get awful. There’s always another one in the stash. On the other other hand, I haven’t finished a build for months and months and months...
I agree with your comments and know all-to-well how you feel! The slightest thing goes awry and I loose interest. I haven't finished a model in years, let alone months, but, still enjoy the hobby. Always hoping the next one I start will get finished. There should be a self-help group for pedantic modellers
You are right, John
John, P.S, I didn't mention that I admire the work that have done despite your reservations about the final result. You saw the project through and the historical information behind your project adds interest. Well done.
Thank you, sir.
Hey, John, I got just the place for you...
Thanks, Don.
John, your P-40 is the best AVG example I’ve seen lately, even more so being made from the new Airfix moulds. Very nice indeed, and the cockpit, despite all the unnecessary pains it gave you, looks awesome. Aires has the reputation of making excellent resin that almost never fits as intended, needing some prep work to make that fit, seems yours has lived to that reputation. Nowadays I almost never use a cockpit replacement, because many new kits already have very nice interior parts that often only need some scratch or PE to shine.
Thanks, Pedro. Seems I never learn.
Well...despite all the pitfalls described, it still looks decent to me. I like it.
Thank you, Craig.
Agree with the others. What did you use to paint the camo?
Thank you, George. The colors are mixed from Tamiya. I used the AML masks to get the hard edge. I kept the weathering down because the plane was barely three months out of the crate before it got totaled.
I used those masks on my B.P. Defiant. A bit picky around curves but in the end a far better result than I could accomplish doing the masking myself
great looking diorama John
Thanks, Bob
Very nice work. My experience using Aires sets is mixed. I used one on a 1/48 Tamiya D-520 and it was a major problem with much thinning of the fuselage parts to get it to fit. Once in it looks great. I also remember many years ago using one in a Monogram110G kit that turned out to be a total disaster. The fuselage halves simply could not be closed around the cockpit. Then I used a set on the Trimaster Me 163 and had no problem with it. It looks to me to be a gamble whether these sets will fit or not.
Thanks, Dale. Aires sure is a c**p shoot. I have a set for the D.520 but when I built mine I put a seated pilot in it. If I do another I will remember you experience.
Hmm, it appears that they have idited my reference to a dice game involving random chance. However, I do not mean to carp: verb
ˈkärp
carped; carping; carps
intransitive verb
: to find fault or complain querulously
Yeah, it seems when you do the right thing and correct a problem it creates a problem. The resin conundrum is a hit or miss deal. When your thinning plastic to the point of see the light behind the plastic you start to think of diminishing returns for your efforts. On the whole John, I like what you did with the kit. You've captured that signature look and feel of the Flying Tigers while making the kit very respectable in appearance. Two thumbs up.
Thank you, Stephen. I want to do another. I have a good photo of John Petach and plane 47 and hopefully correct what I learned on this one.
This what I like about the hobby like baseball, you get another swing at bat and from your experience in making the first kit you can improve and better the next. Hopefully hitting a home run. Keep up the good work John.
Hopefully the thing you learned is that OOB (with seat belts) will do you just fine. You've certainly demonstrated the skill to knock the next one out of the ballpark.
Given the slings and arrows you have suffered on this project, I’d say you pretty well knocked it out the park with th end result.
A lovely build that’s all the better knowing just what went into it.
‘Liked’
Well, i am glad I took arms against this sea of troubles. Thank you, David.
With the modern Airfix kits, you can save the money you spend on bad resin "correction" sets to buy more good Airfix kits. The truth is that seldom does a fancy resin cockpit look better in the final result once it's in, since you mostly can't see any of it. The only thing the Airfix kit needs is a set of Eduard seat belts.
Get another and do the kit out of the box - you'll love it.
Thank you, Tom
Nicely done John, even with all the problems you incurred. Love the fact that you walked her over the finish line, as most would have trashed her. Looking forward to seeing plane 47, as one never can have too many P-40's on the display shelf.
Thanks, Tom
Nice work. It all turned out great in the end. I built one of those OOB with just belts added and really liked it.
Thanks, John.
Ended up looking great in the end - a testament to your perseverance.
Thank you, Greg.
Nice build, John. I have the kit next to my bench as this is written (it's just waiting it's turn).
I do agree with Tom Cleaver, that the only thing 'most' new Airfix kits need these days is a set of belts. Not sure who's aircraft I'm going to do, but not the oft' seen #47, maybe Greg Boyingtons' #21...
Best from NZ
Ian.
Thanks, Ian. I plan on doing another...plane 47 but when is was assigned to 2nd squadron and John Petach. I did put an Ultracast square backed seat in. That was a drop in fit.