1/48 Scale F7F-Tigercat
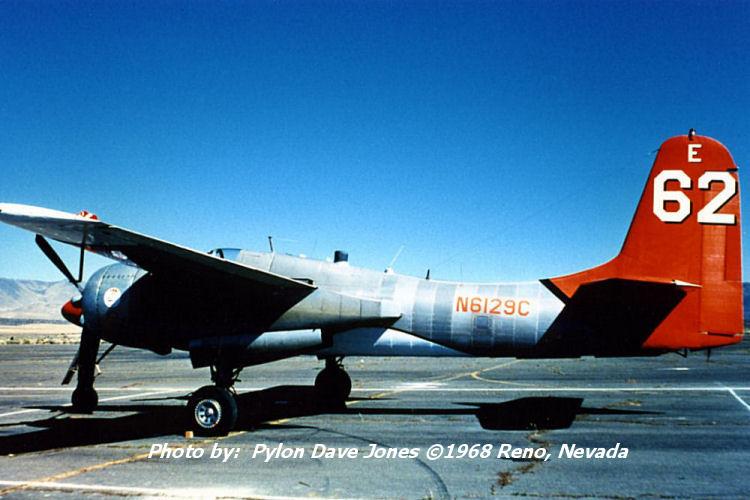
Sometime in the early 1990's I met up with "Pylon Dave Jone's" who lived in Oklahoma/U.S.A. Dave sent me over 500 color 3-1/2" x 5" prints. I scanned in all of the photos, including several black and white prints then made a "master" CD disk and sent a copy to Dave. We sold several CD's to interested people who were members of our air-race club back in Cleveland, Ohio/U.S.A.
I took a liking to a racing F7F Tigercat so this inspired me to see if there was a plastic "F7F-Tigercat" model out there on the market to buy as I had made a F4F WILDCAT and a couple of F-6F's HELLCAT'S. Lo and behold there was one, so I got a kit of it. I never wrote down who made the kit, but who cares, it was an easy kit to build right out of the box.
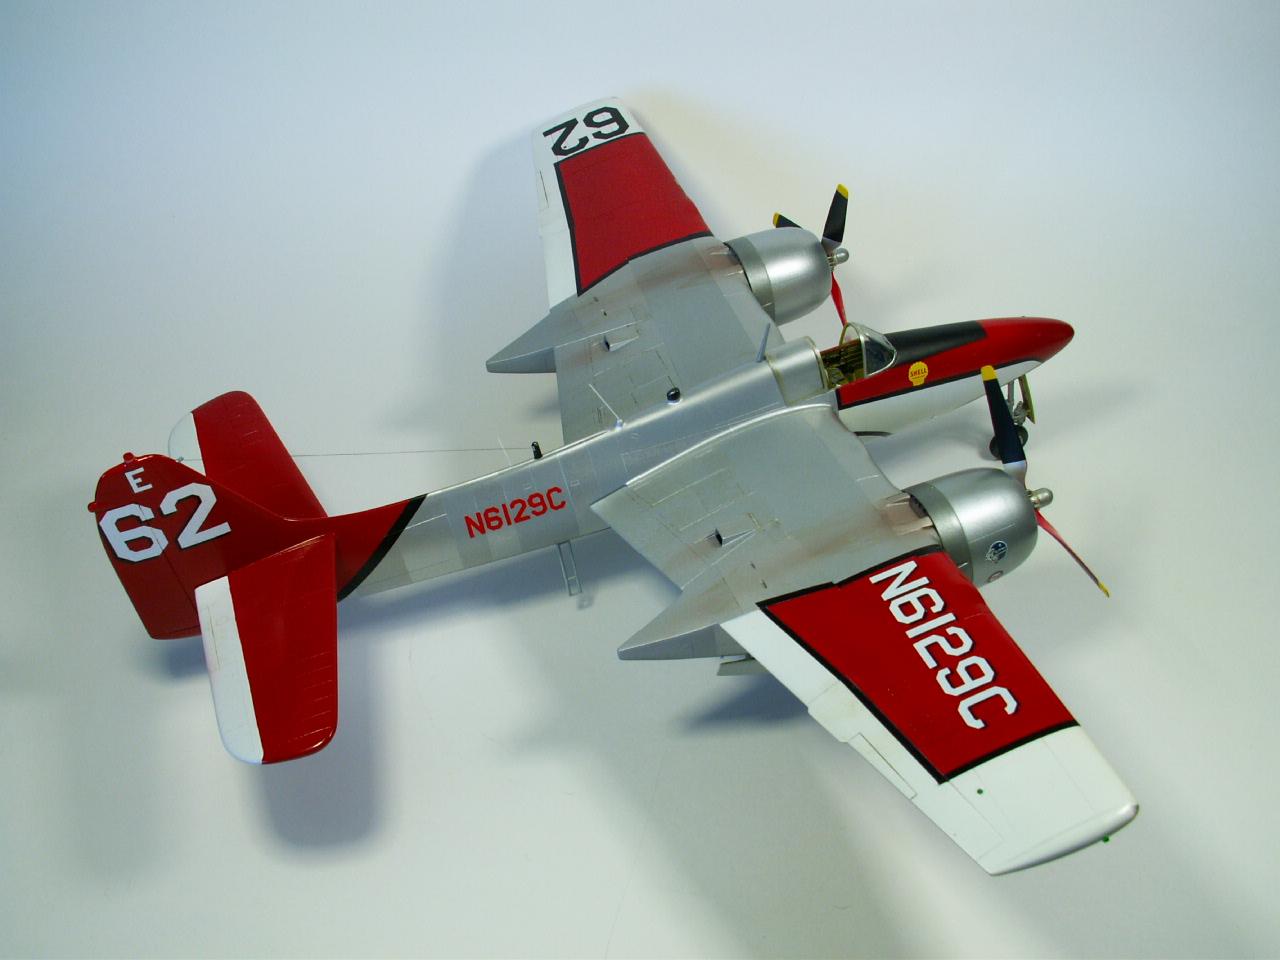
I only had one photo of an F7F in my WW-II scrapbook and it was painted the standard Navy Blue color which was not very impressive compared to Dave's F7F Reno, Nevada racer #62.
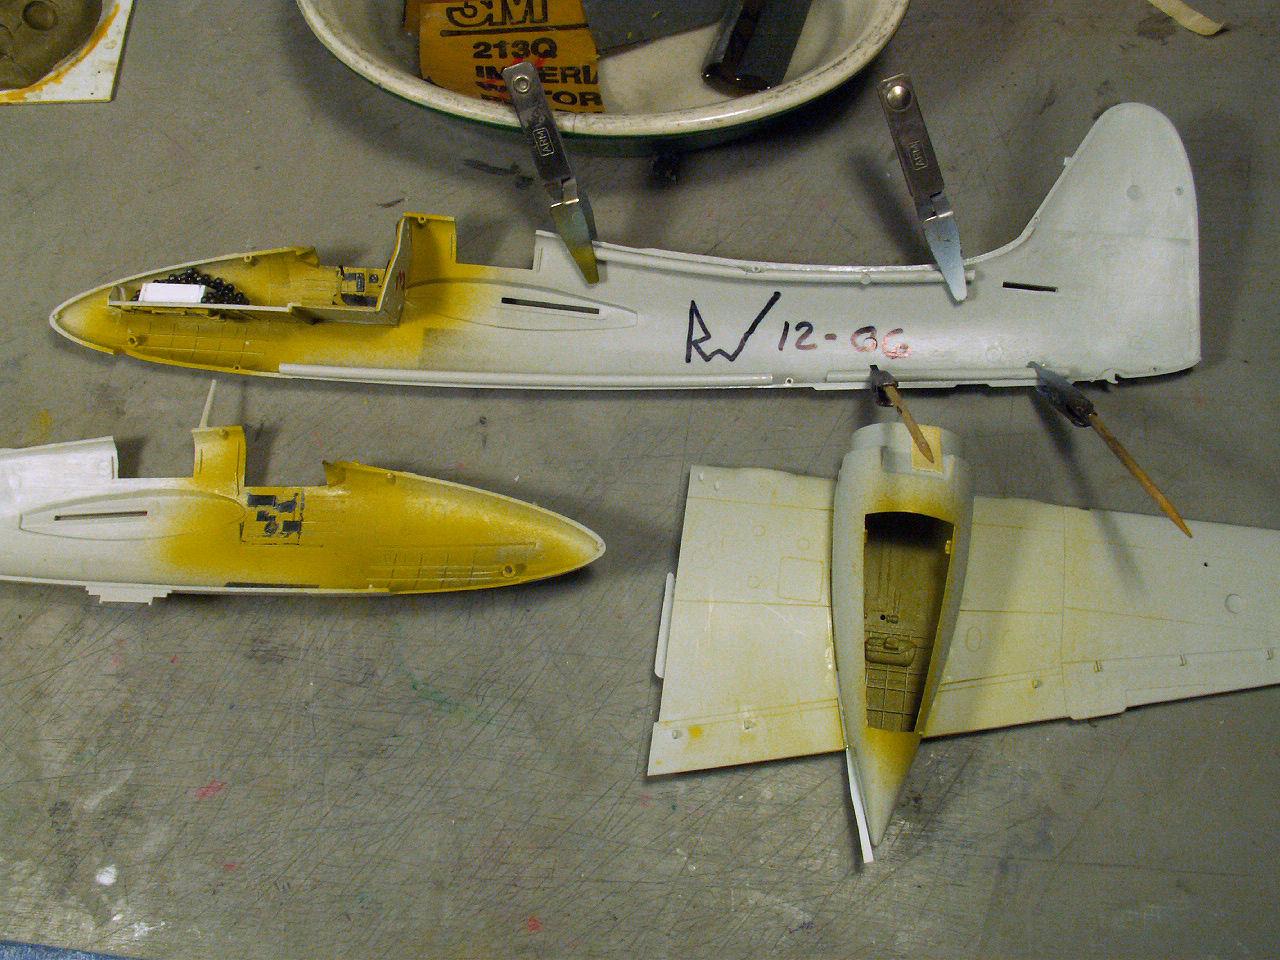
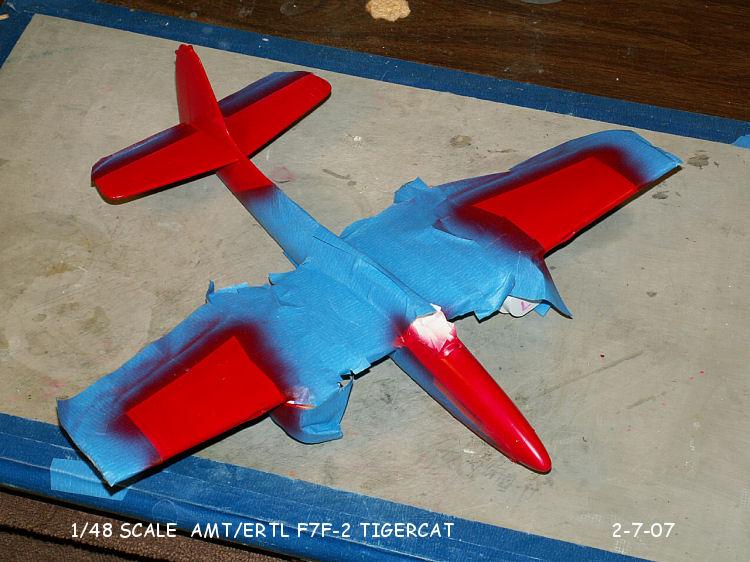
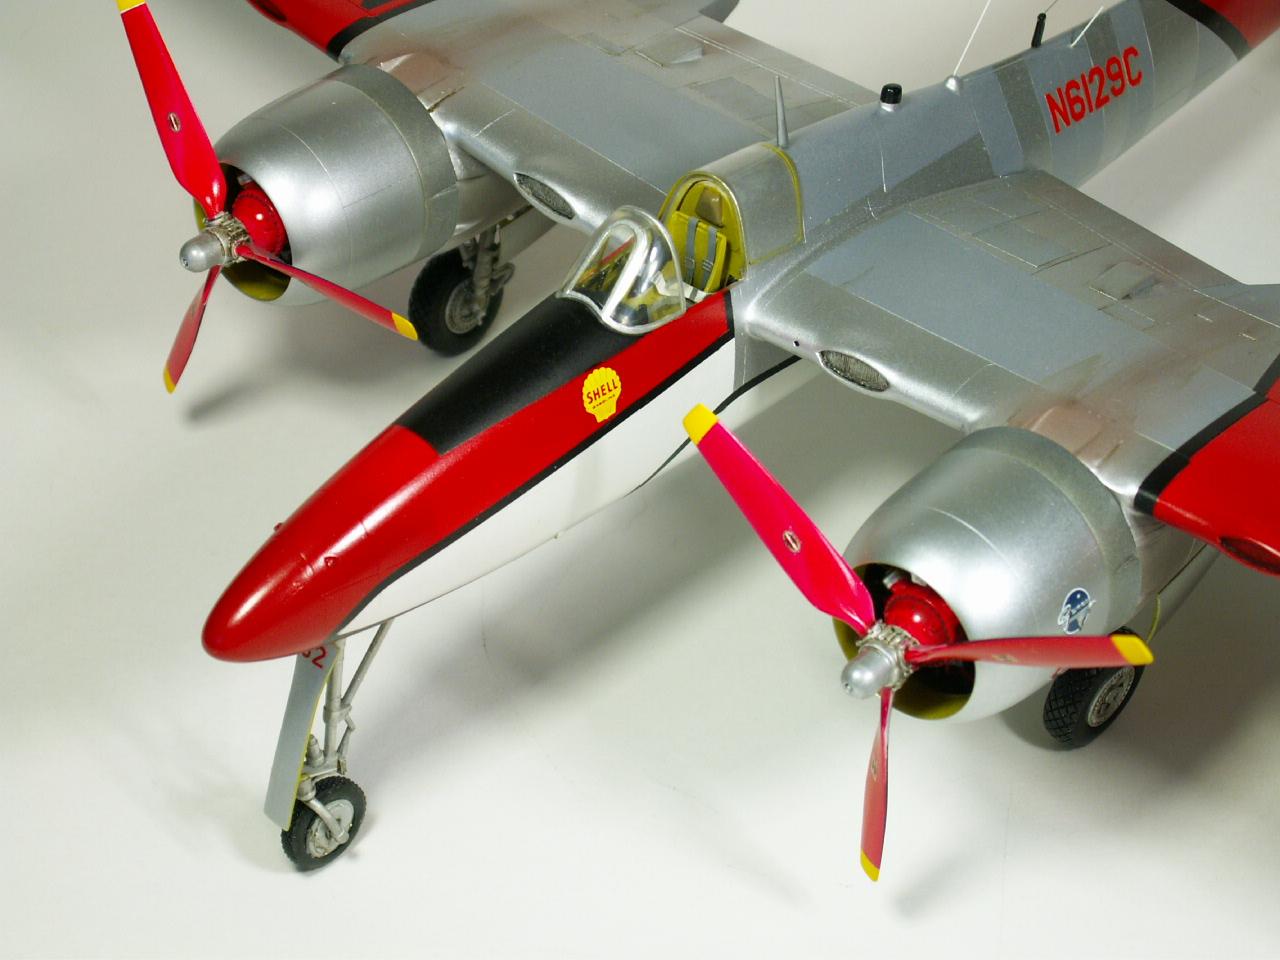
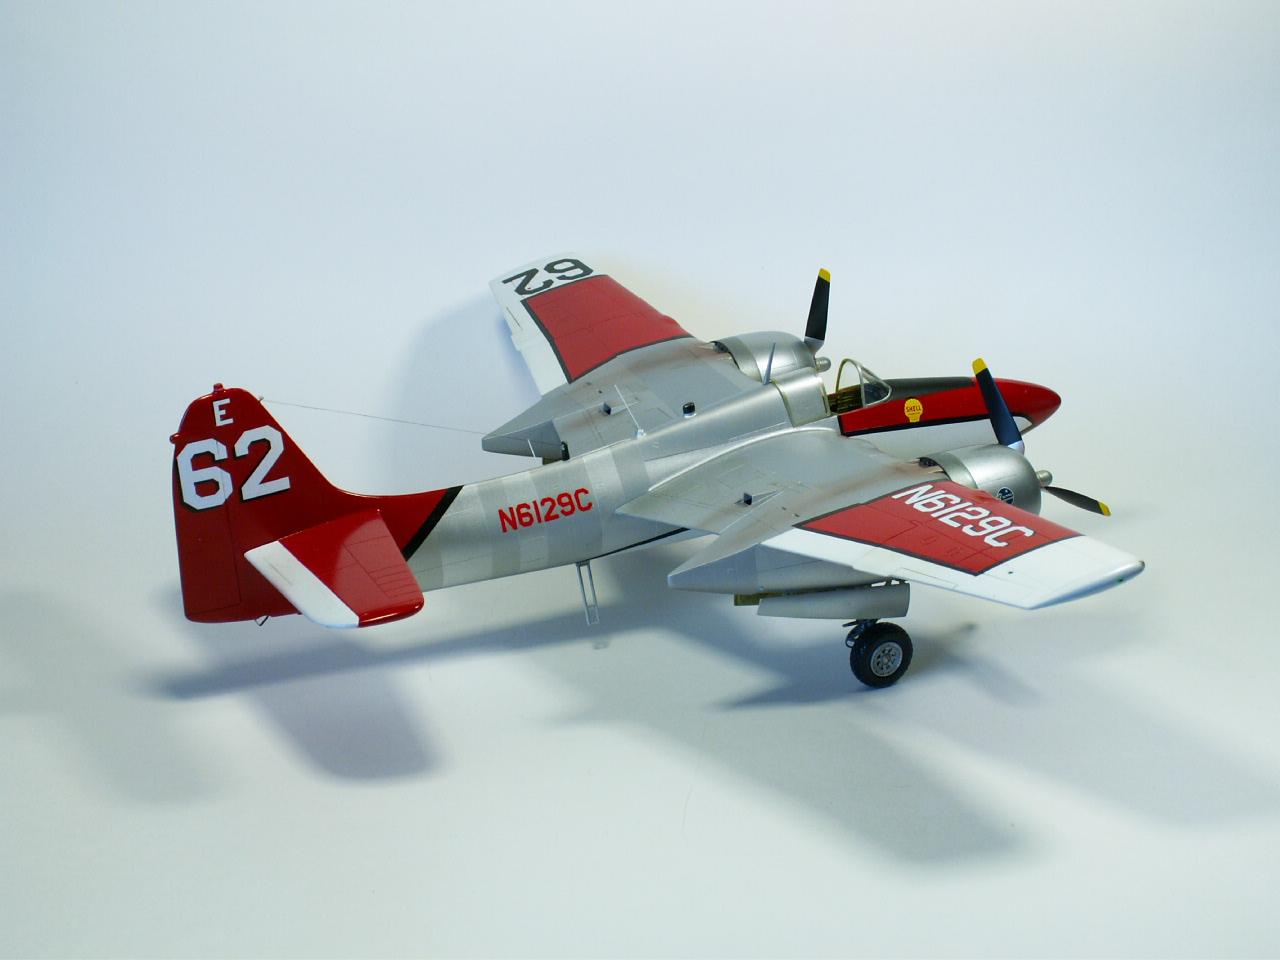
You guessed it...I choose to make my model to look like the "CAT" that was at Reno in 1986. The o.o.b. build was easy as the parts fit together real good. The model was dry fit together after I added about 1/2 ounce of "b-b's" inside the 2 front nose sections and this weight let the model sit on its' nose like the real airplane did.
I have used "thin and "gap" filling super glue since the mid 1980's and it worked out excellent for this model. I sanded the seams and rescribed several panel line and added a few rivets here and there.
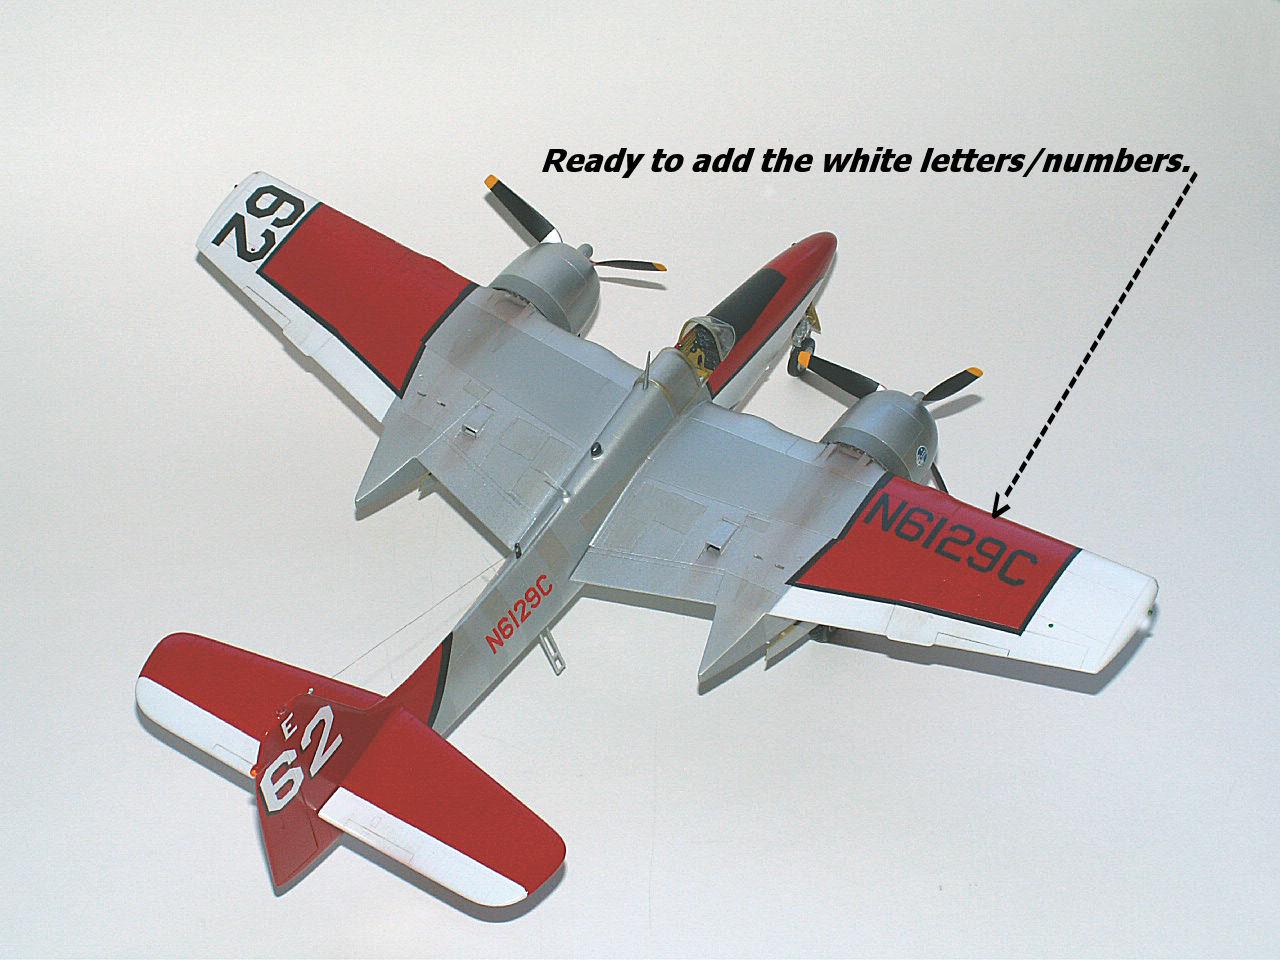
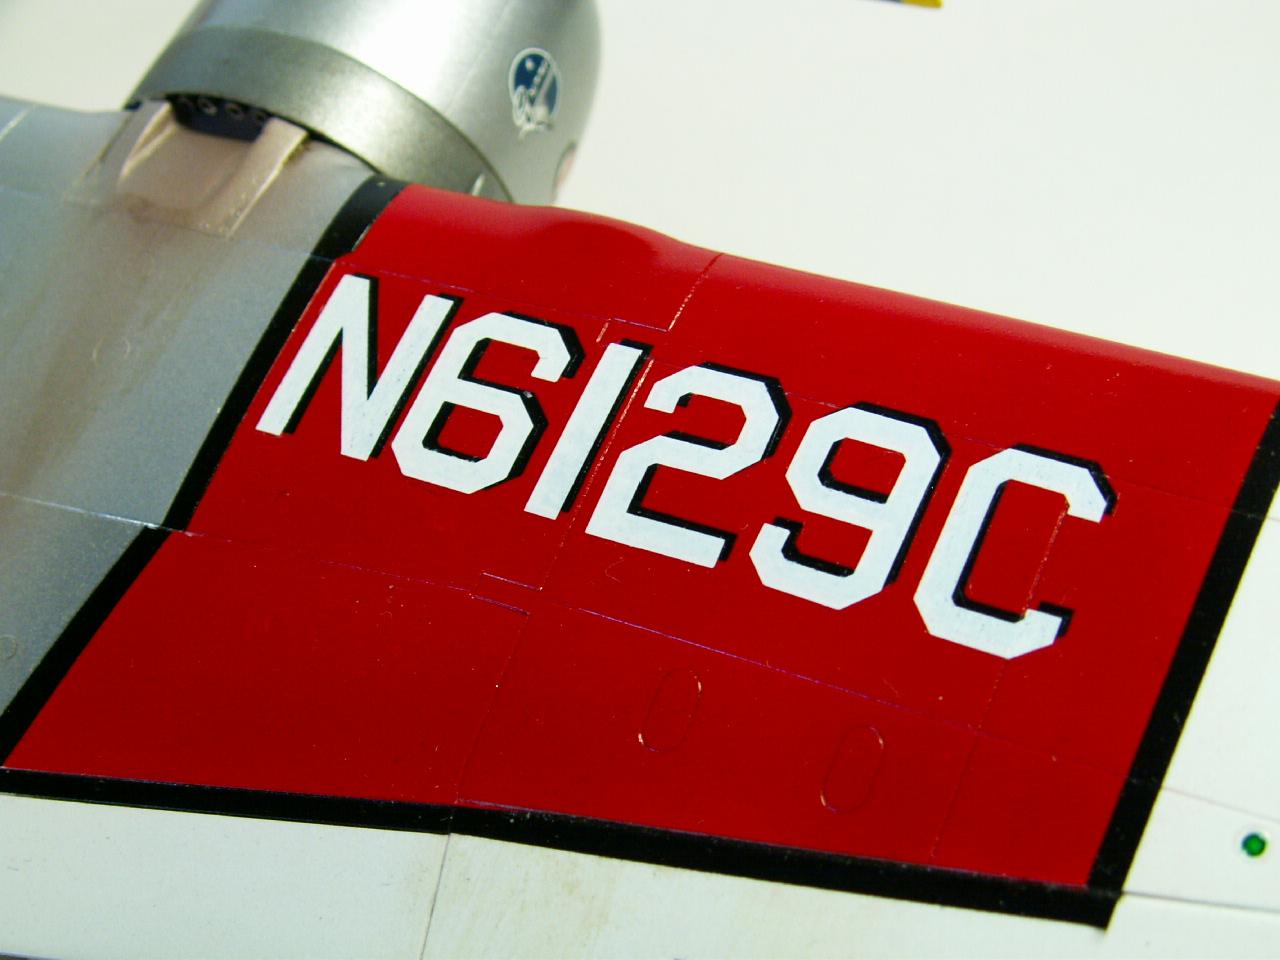
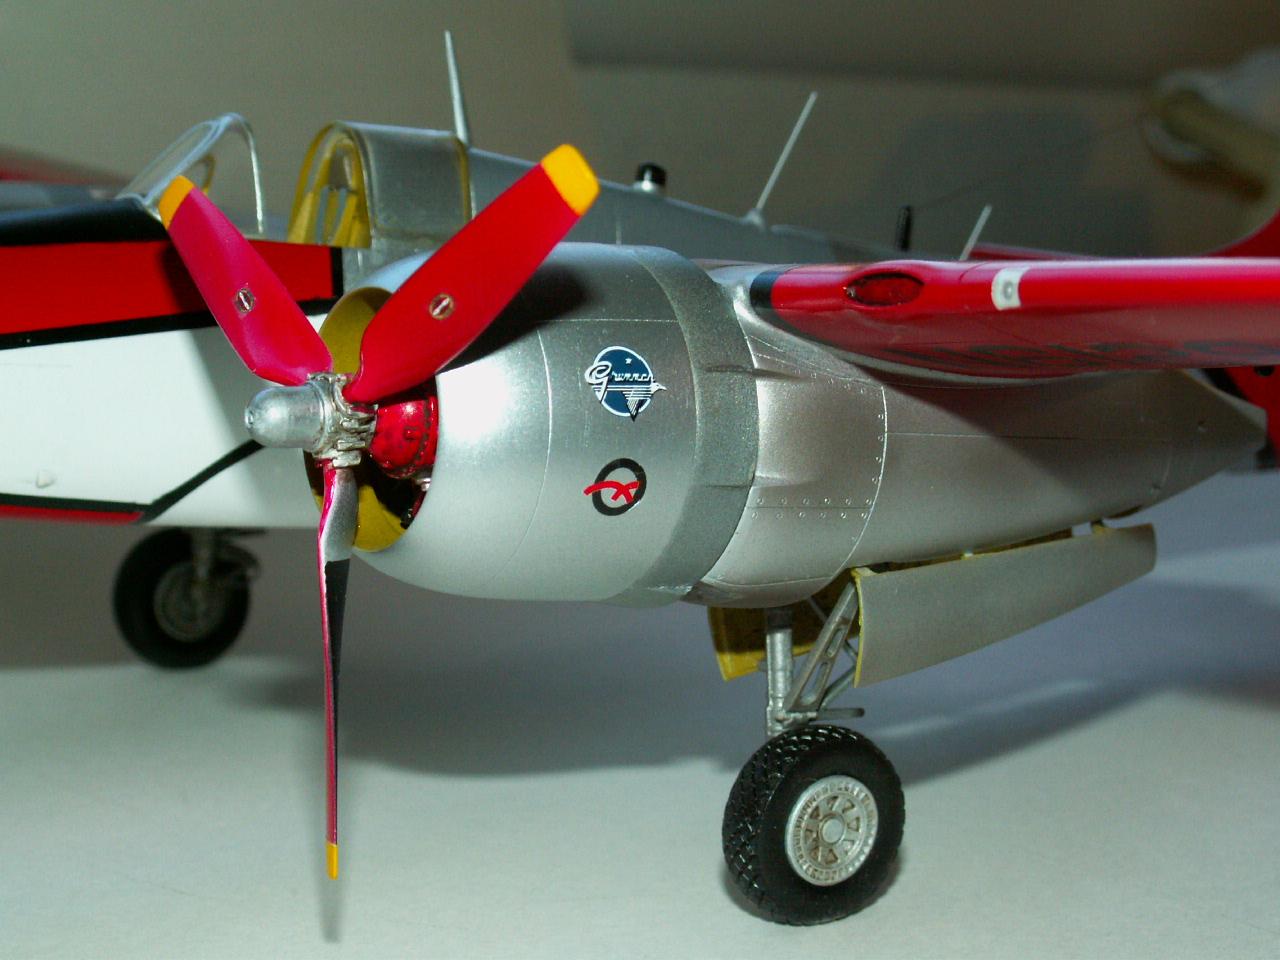
Again, my standard paint by Tamiya was used along with Future floor Wax with one of my Badger-200 airbrushes. To change the aluminum color to a darker color I added some medium grey color. The black and white numbers came from one of my many decal sheets by "SuperScale."
For many year's, I have used my work bench for my photo studio by applying some flexible art paper to it, then I position my 2 swizzle lights that have the new "7500K" daylight florescent bulbs in them. I just place my model in different positions on my paper and carefully take several "in-focus" with lot's of "depth-of-field" photo's of the model.
There you have it...enjoy!
Rodney


That will stand out on the display shelf. I love those colors on the natural metal. Nice job, Rodney!
Excellent build, the NMF is flawless and the racing red gets the limelight
I love it
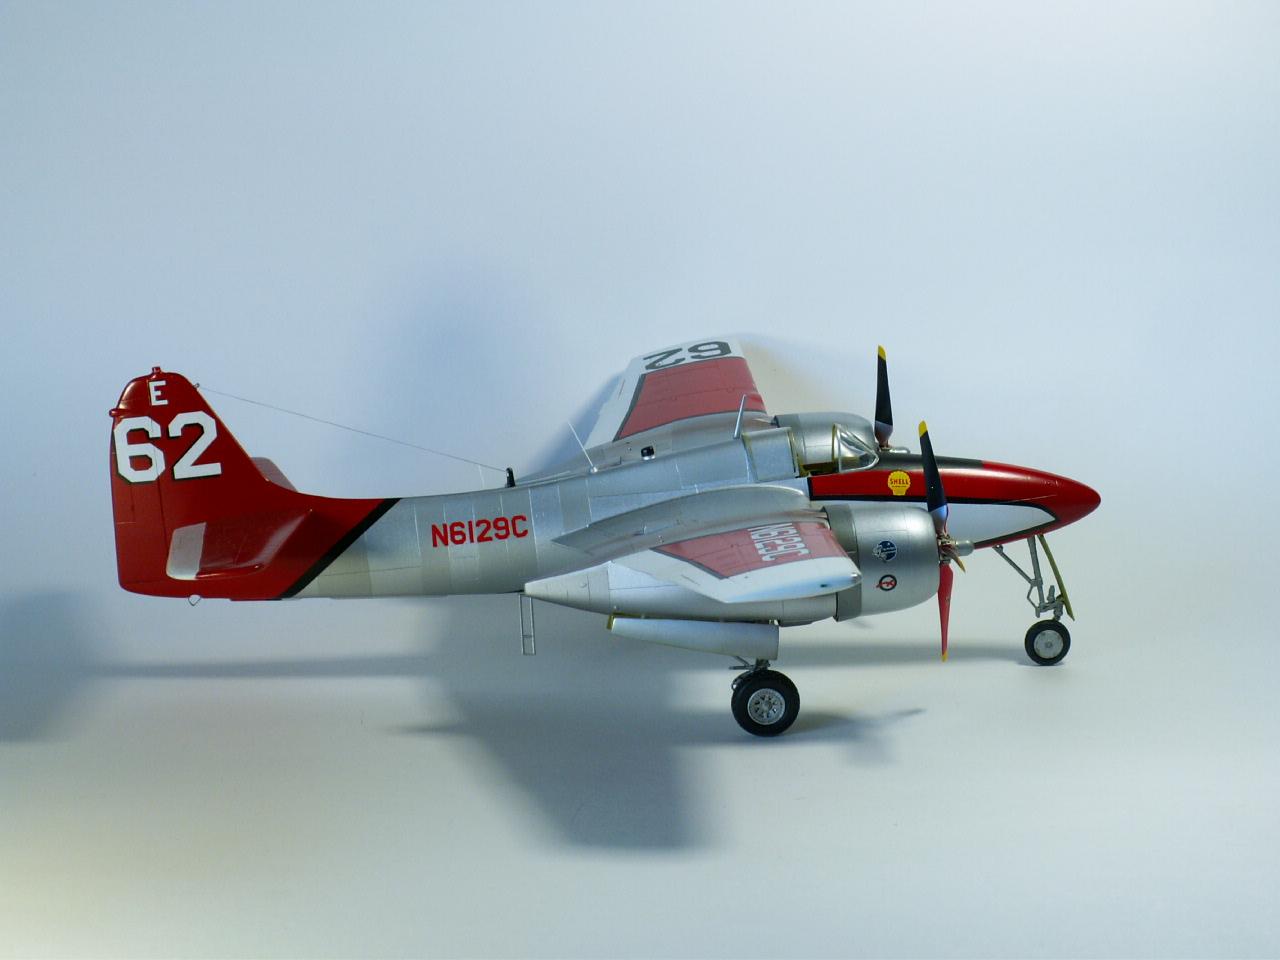
Thanks guy's...I have 30 bare metal models and most all of them were painted with Tamiya's Titanium Silver, (T-S) and as mentioned in this story I added some different colors to the T-S paints. In 2007 I tried the new Alclad Aluminum paint but it really was not as good as the Tamiya. The cost of their 1-ounce bottle was ten American dollars + local tax & shipping. Tamiya's 3/4 ounce bottles were only 2 bucks, plus tax and shipping, so I stayed with the Tamiya. I use Badger's battery operated paint mixer to mix these two different colors together. I got the mixer free from Badger long ago...Rodney...
Great to see a colourful Tigercat especially one finished to this high standard.
I forgot to mention that my antenna wire was made by using ladies black hair and I always used super glue to attach it to the antenna posts.
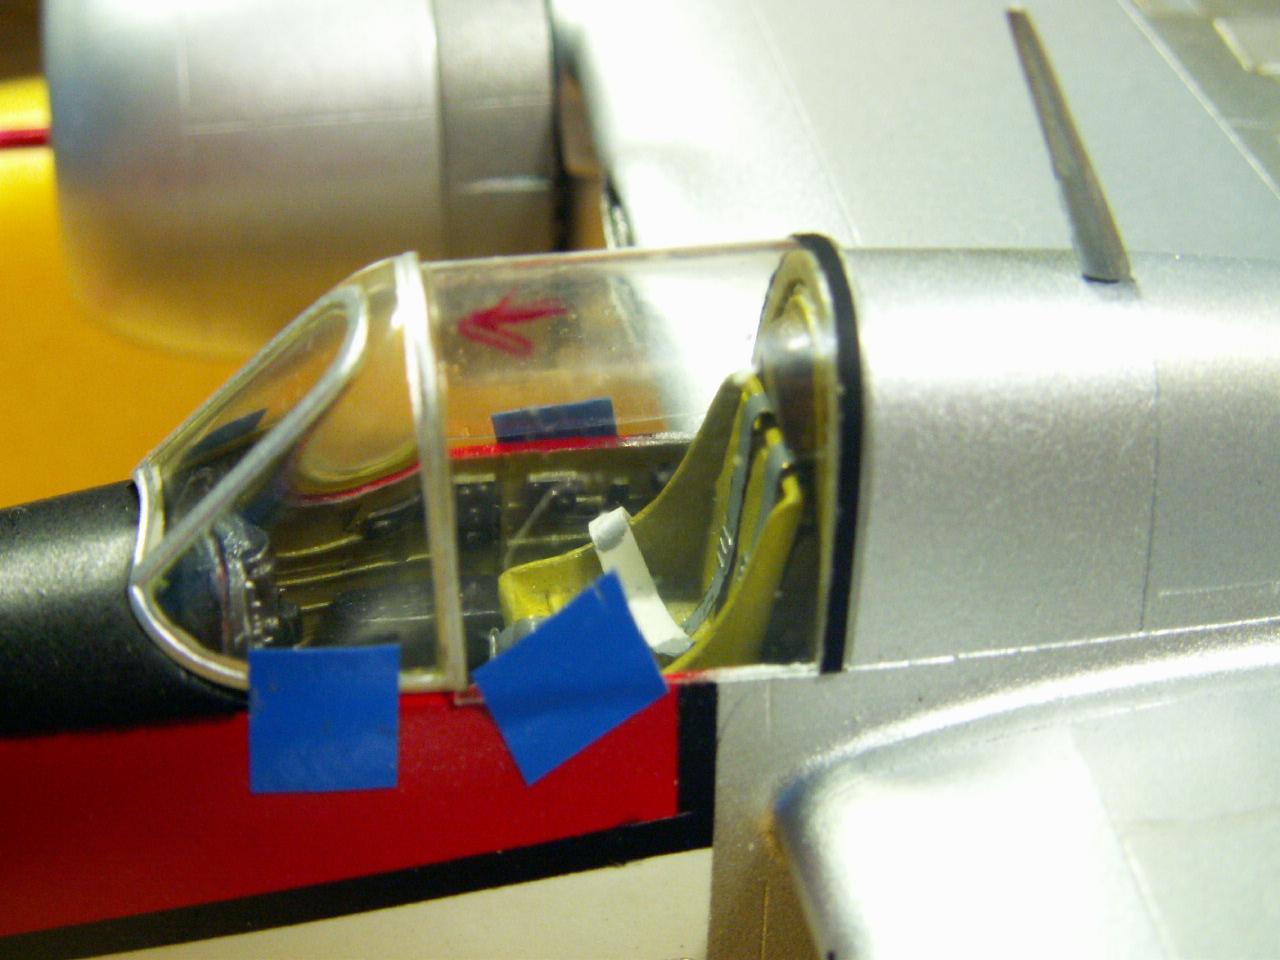
In one photo you can see a white post on the left top side of the fuselage, which is nothing more than a 0.10" diameter white rod that come's in a package by "K & S" over at the hobby shop.
Yeah! I have to agree the different shades of aluminum sure stand out on this model.
Thanks again guy's for the nice comments. Rodney...
Another fabulous build Rodney ! I like it... a whole lot.
I'm going to scan a few tools and post them with another story, 'cause a modeler wanted to know what kind of sophisticated tools I had to produce all the copper/brass and Aluminum parts for my AH-64 Chopper that I posted recently.
Other's mention my fine quality paint jobs? This come from 2 things:
First off is my Badger-200 airbrush. The paint mixes with the air inside the airbrush and other airbrushes mix the paint and air outside the airbrushes.
Secondly is: I was told in the late 1970's to make my paint "WATER-THIN" when I got my 1st Badger-200 airbrush.
I started out with Testor's tiny bottles of paint, next came Dupont's Automotive Lacquer paints, then came my final paint which is Tamiya "water/base" Acrylic's. I used different thinners with these paints, but my mix ratio was always "4 parts thinner, (or more) to one part paint." I stuck with Tamiya and only used "DENATURED ALCOHOL" for my thinner.
For several years I used "SnJ Spray Metal Aluminum/Gold/Copper & Bronze" paints, which was "water-thin" so there was no thinner needed.
In 2007 I tried Alclad's paint, but it was no better than Tamiya's Titanium Silver" and at ten dollars for a 1-oz bottle was ridicules, compared to two bucks for a 3/4 ounce of any Tamiya paint's.
In conclusion, "EXPERIMENT" is the only game in town.
Coming real soon is my 1932 Ford Street Rod.
Off and running...Rodney...
very lovely Tigercat!
GREG:...More thank you's on this "CAT"
Go see my latest car that I posted yesterday...(Post #48). I think it's ok too!
What next? as I have another 240+ models here at home and some photo's of all my 22 sold models...
Rodney