Review: Quinta Studios 1/48 P-38F Interior Detail Set For The Tamiya Kit
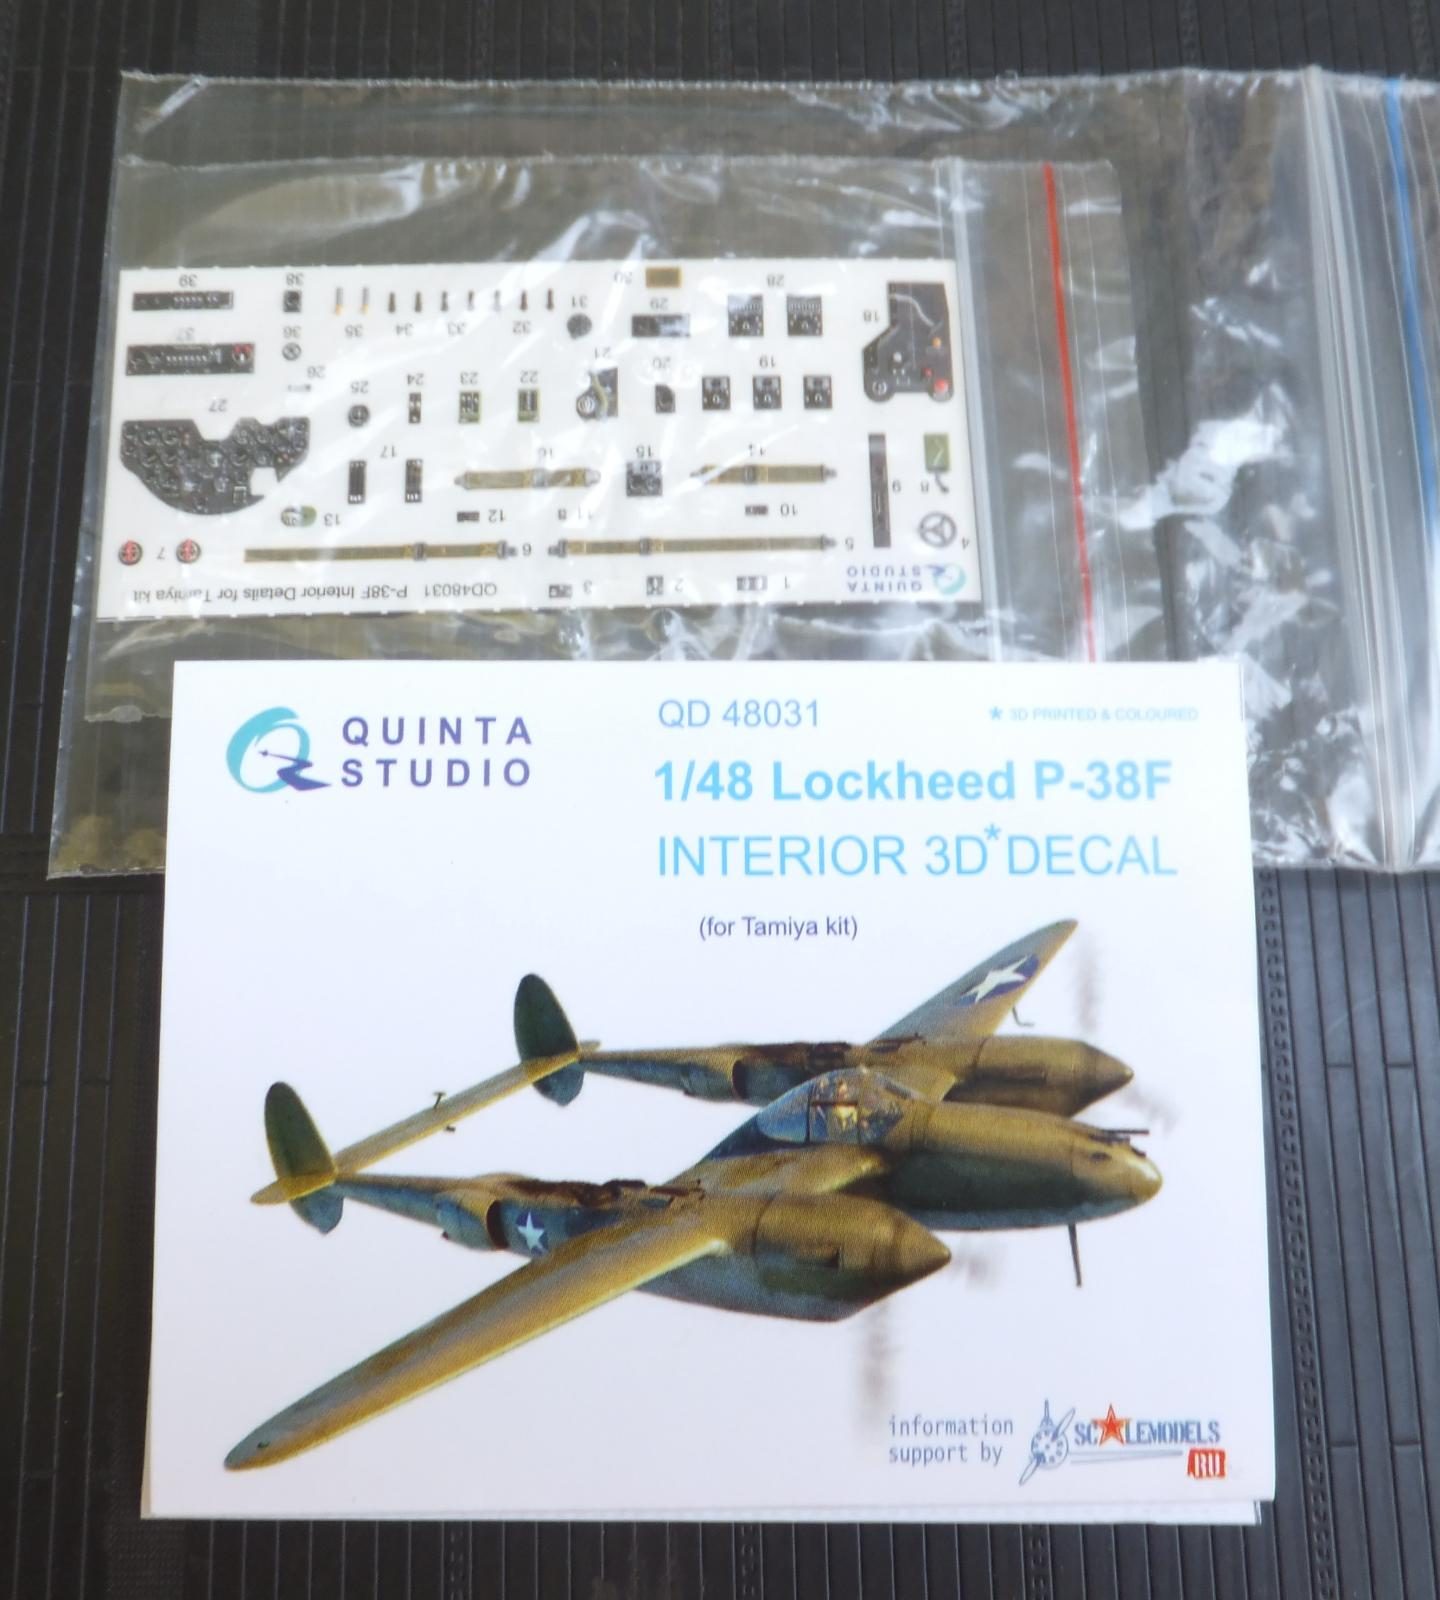
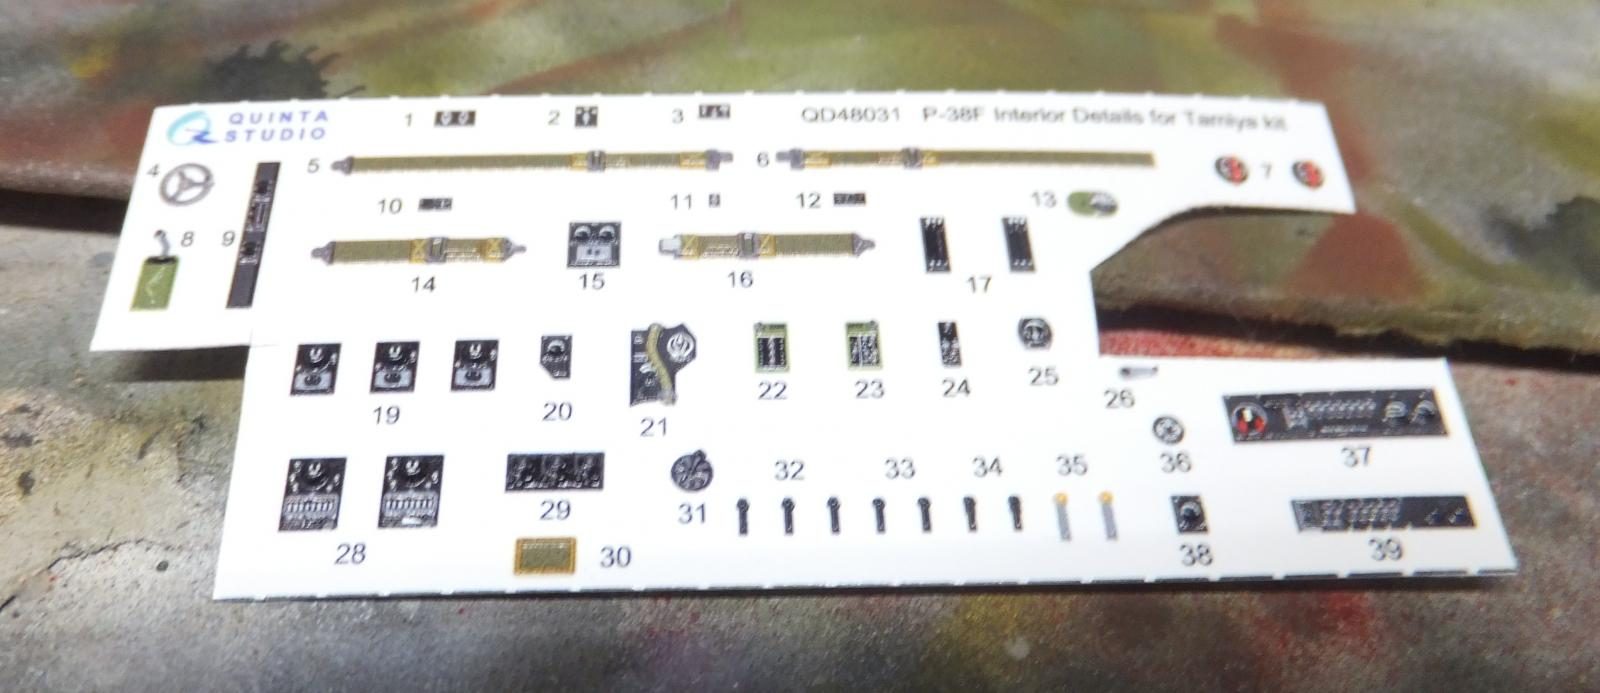
As I was finally getting around to get started on the fairly new Tamiya P-38F/G Lightning. It's amazing it has been out for over a year. I have been building Tamiya kits in order that starting with Ki-84 Hayate Frank way back in 1992. So to this point I am at kit #61059 which is the F-117A Stealth Fighter. The next kit in line for me is #61061 F4U-1D Corsair. But I have been so impressed with the new Tam Lightning and just got the "H" recently in the white box. I decided to heck with waiting, and broke my own rule in not keeping in order and started to rounding up some goodies for the kit. Though it doesn't need anything other than seatbelts. But got a set of Xtradecals from Hannant's, an Eduard's zoom set and wheels. Then while on Ebay and on Facebook I see this new type of interior sets for some Zvesda and ICM kits among others from a company named Quinta Studios that look quite interesting. This was a couple of months ago. I had signed up for their newsletter and not long after I get a note they are producing a set for the Tamiya P-38F/G and F-14A Tomcat. What the heck fair price I order a set from the Ukrainian company. So a couple of weeks later it shows up in the mail with all kinds of interesting stamps. Zip lock bag with beautifully printed decal like material, instruction sheet and images on where each piece is applied.
-
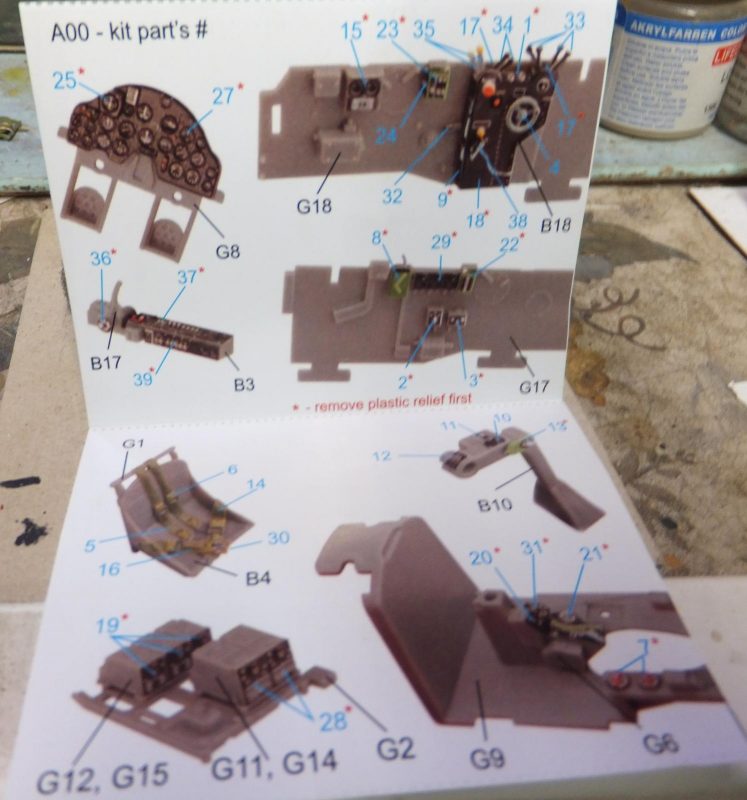
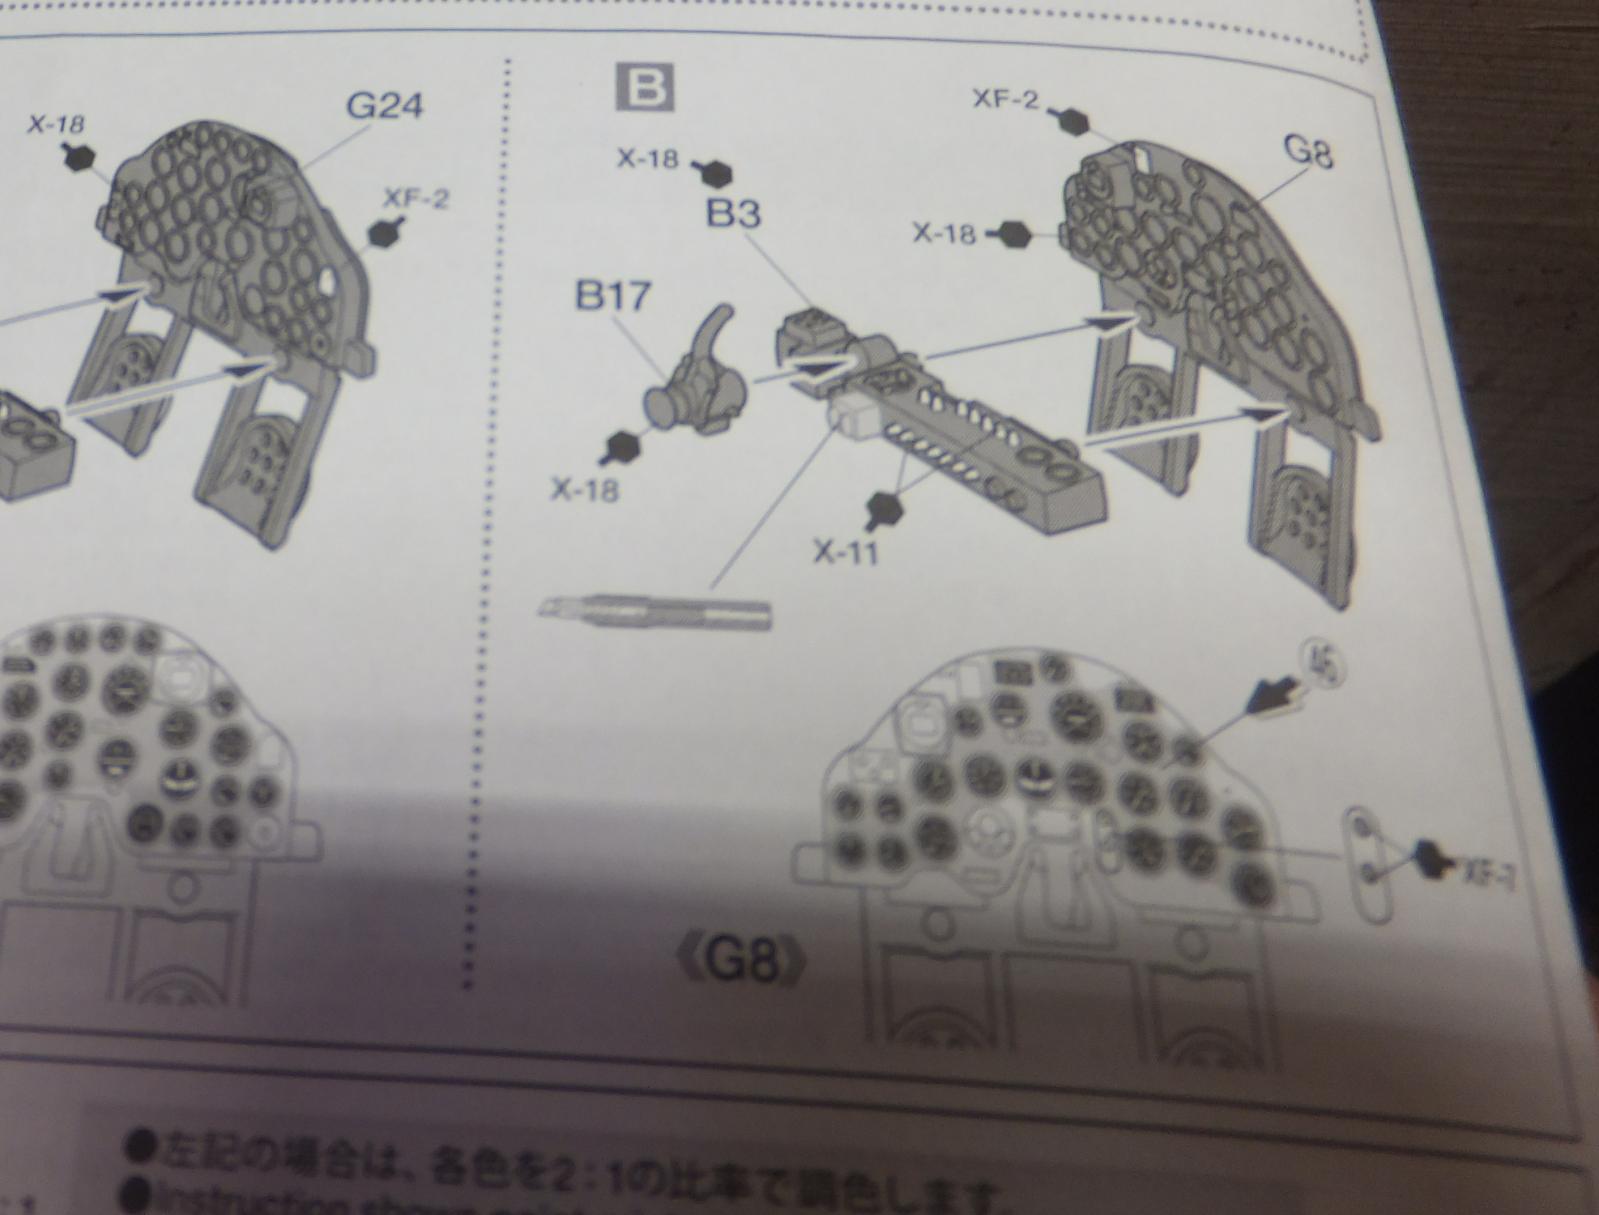
- 1. Color instruction sheet shows where each piece goes in the cockpit

So quickly reading the instructions. They are applied as if they are decals. Accept for some differences as the steps are not the same. First like as if you are going to use Photo Etch the details need to be removed to apply each piece on the panel.
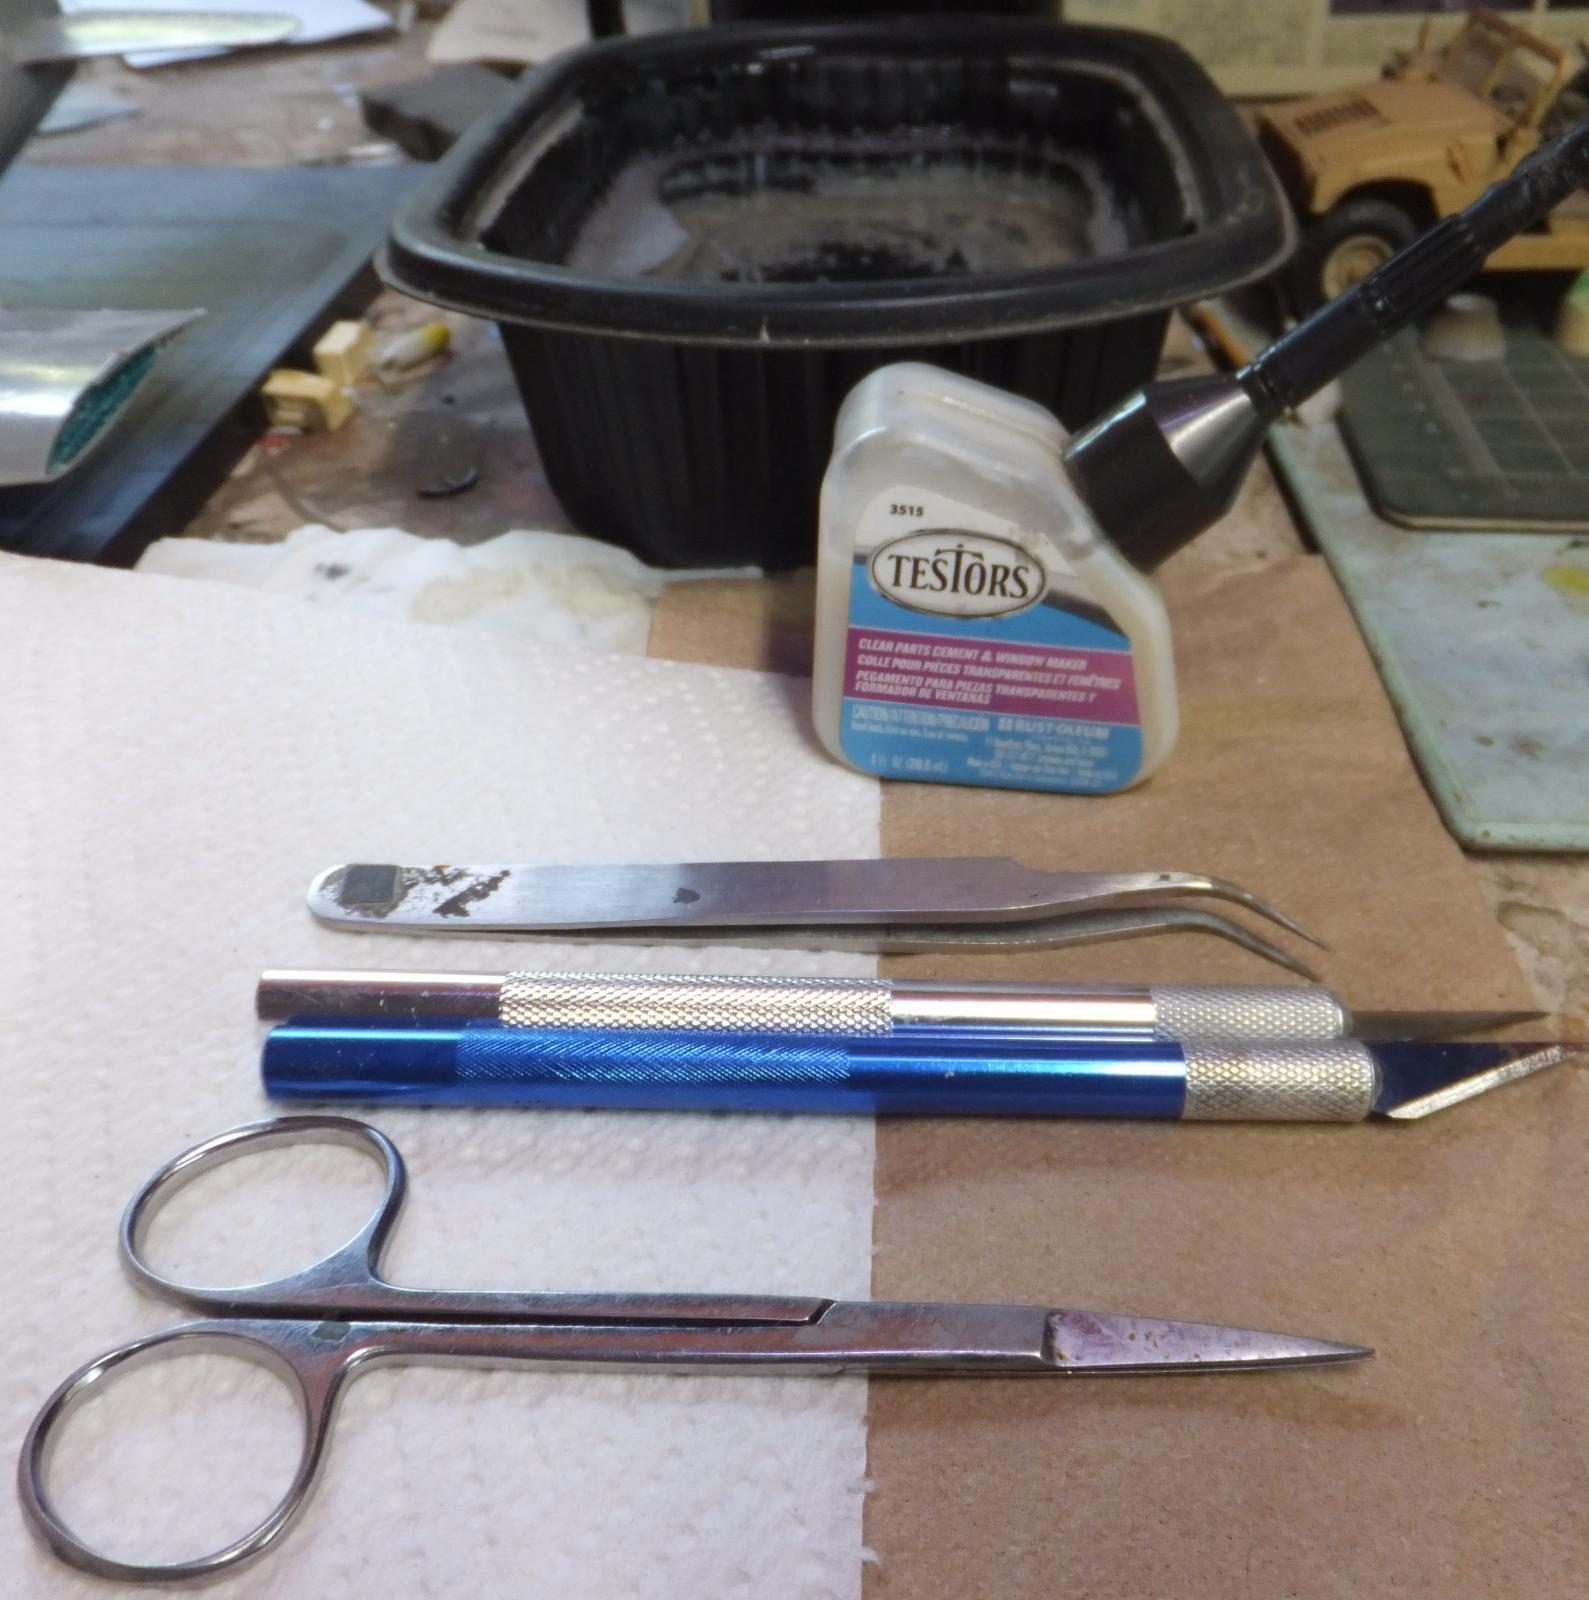
So let's first have what we need to apply the detail panels. Tub of water at room temperature. Scissors, tweezers, Xacto knife and white glue (Future or CA can also be used). Notice no Aero Set, Aero Sol or any other decal product is not needed.
-

- 1. Water at room temp
- 2. Scissors to cut out each piece
- 3. Tweezers to attach the decal
- 4. Xacto knife to adjust placement
- 5. White Glue or similar to help seal the decal in place
Not shown is the written directions in how to apply each decal panel to the part your placing it on. Also the recommended adhesives to secure each piece. What is doesn't say is how long to leave a panel in the water until it releases from the backing paper. it is rather quickly. As I found out for the very first time.
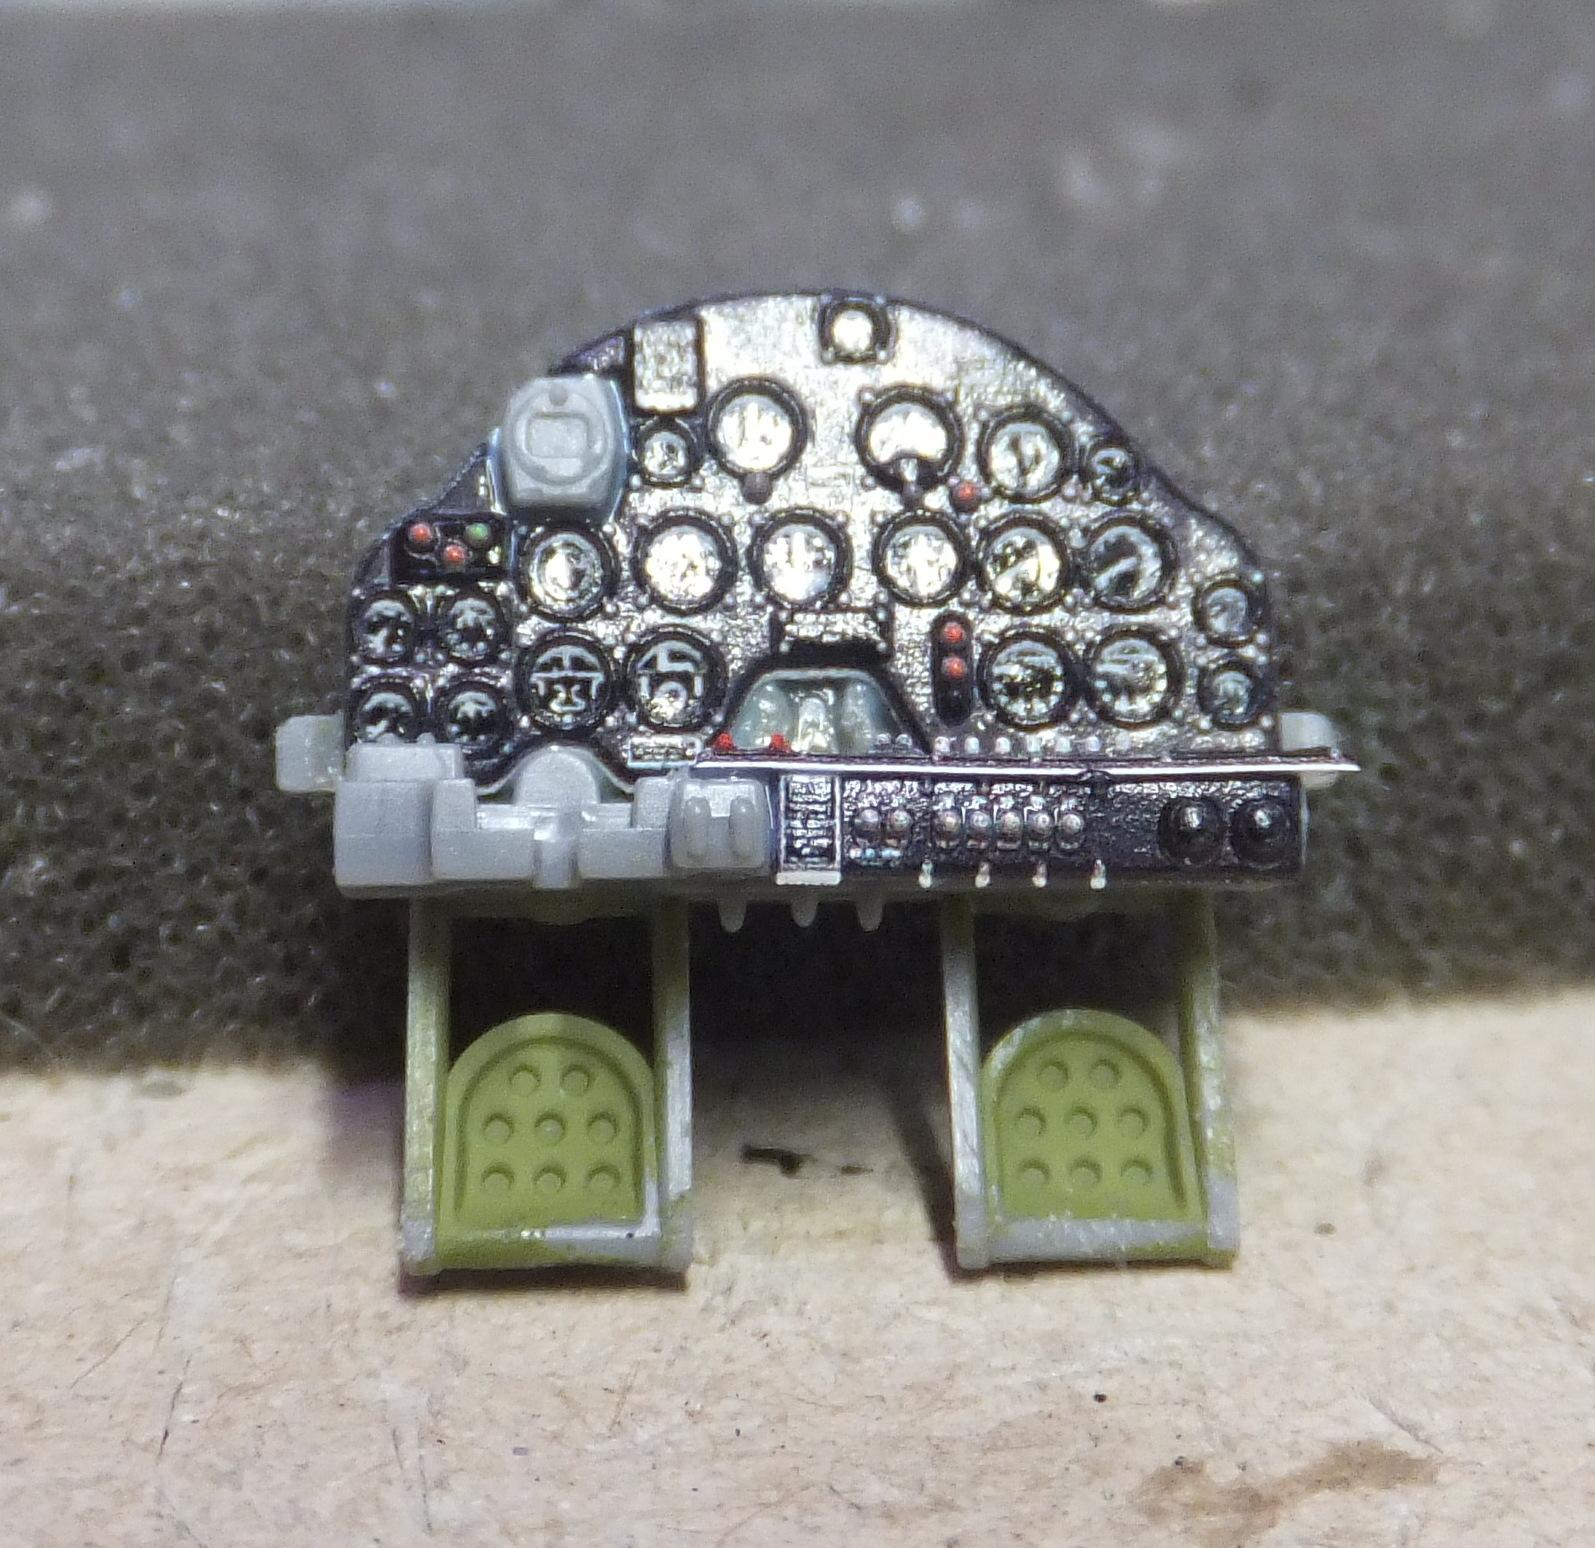
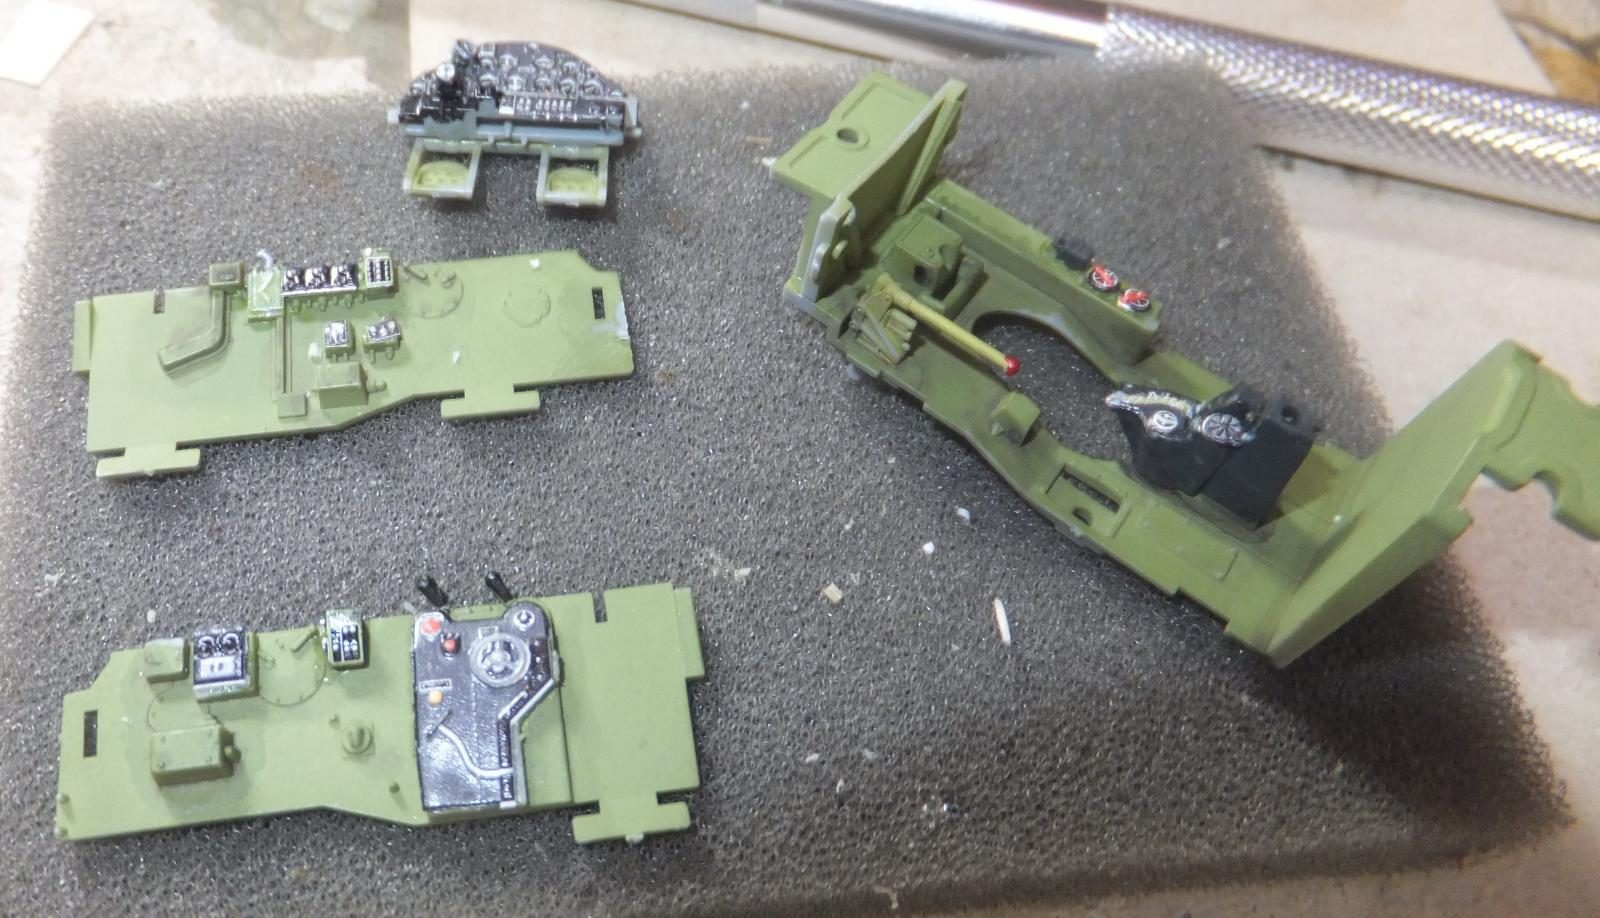
So now lets see how this works. Lets start with the most visual item with in the cockpit. The instrument panel. As we all know of the P-38, is it's distinctive instrument panel, with the lower switch control panel at the base.
The Tamiya panel is a well detailed excellent instrument panel as it is from the box. A steady hand or applying the decals are excellent and really doesn't need any AM, but i have lost that steady hand ability and have resorted to zoom sets. And I am not a big fan of IP decals, though they are much improved over the years. Like prepping for attaching a PE part I sand off the details to leave the panel as smooth as possible to accept the new decal Instrument Panel,
-
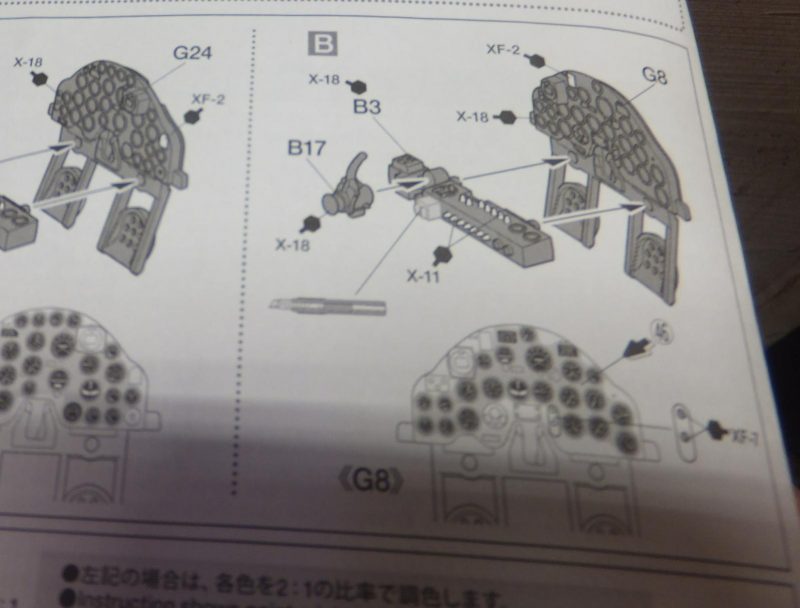
- 1. Make sure you select the Instrument panel for the "F" version, it is different from the "G"
-
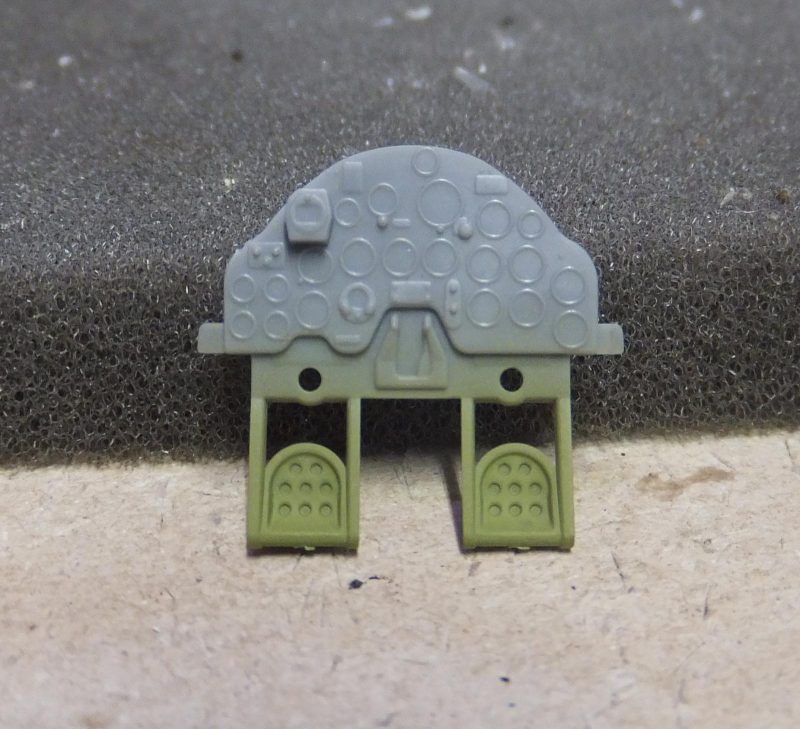
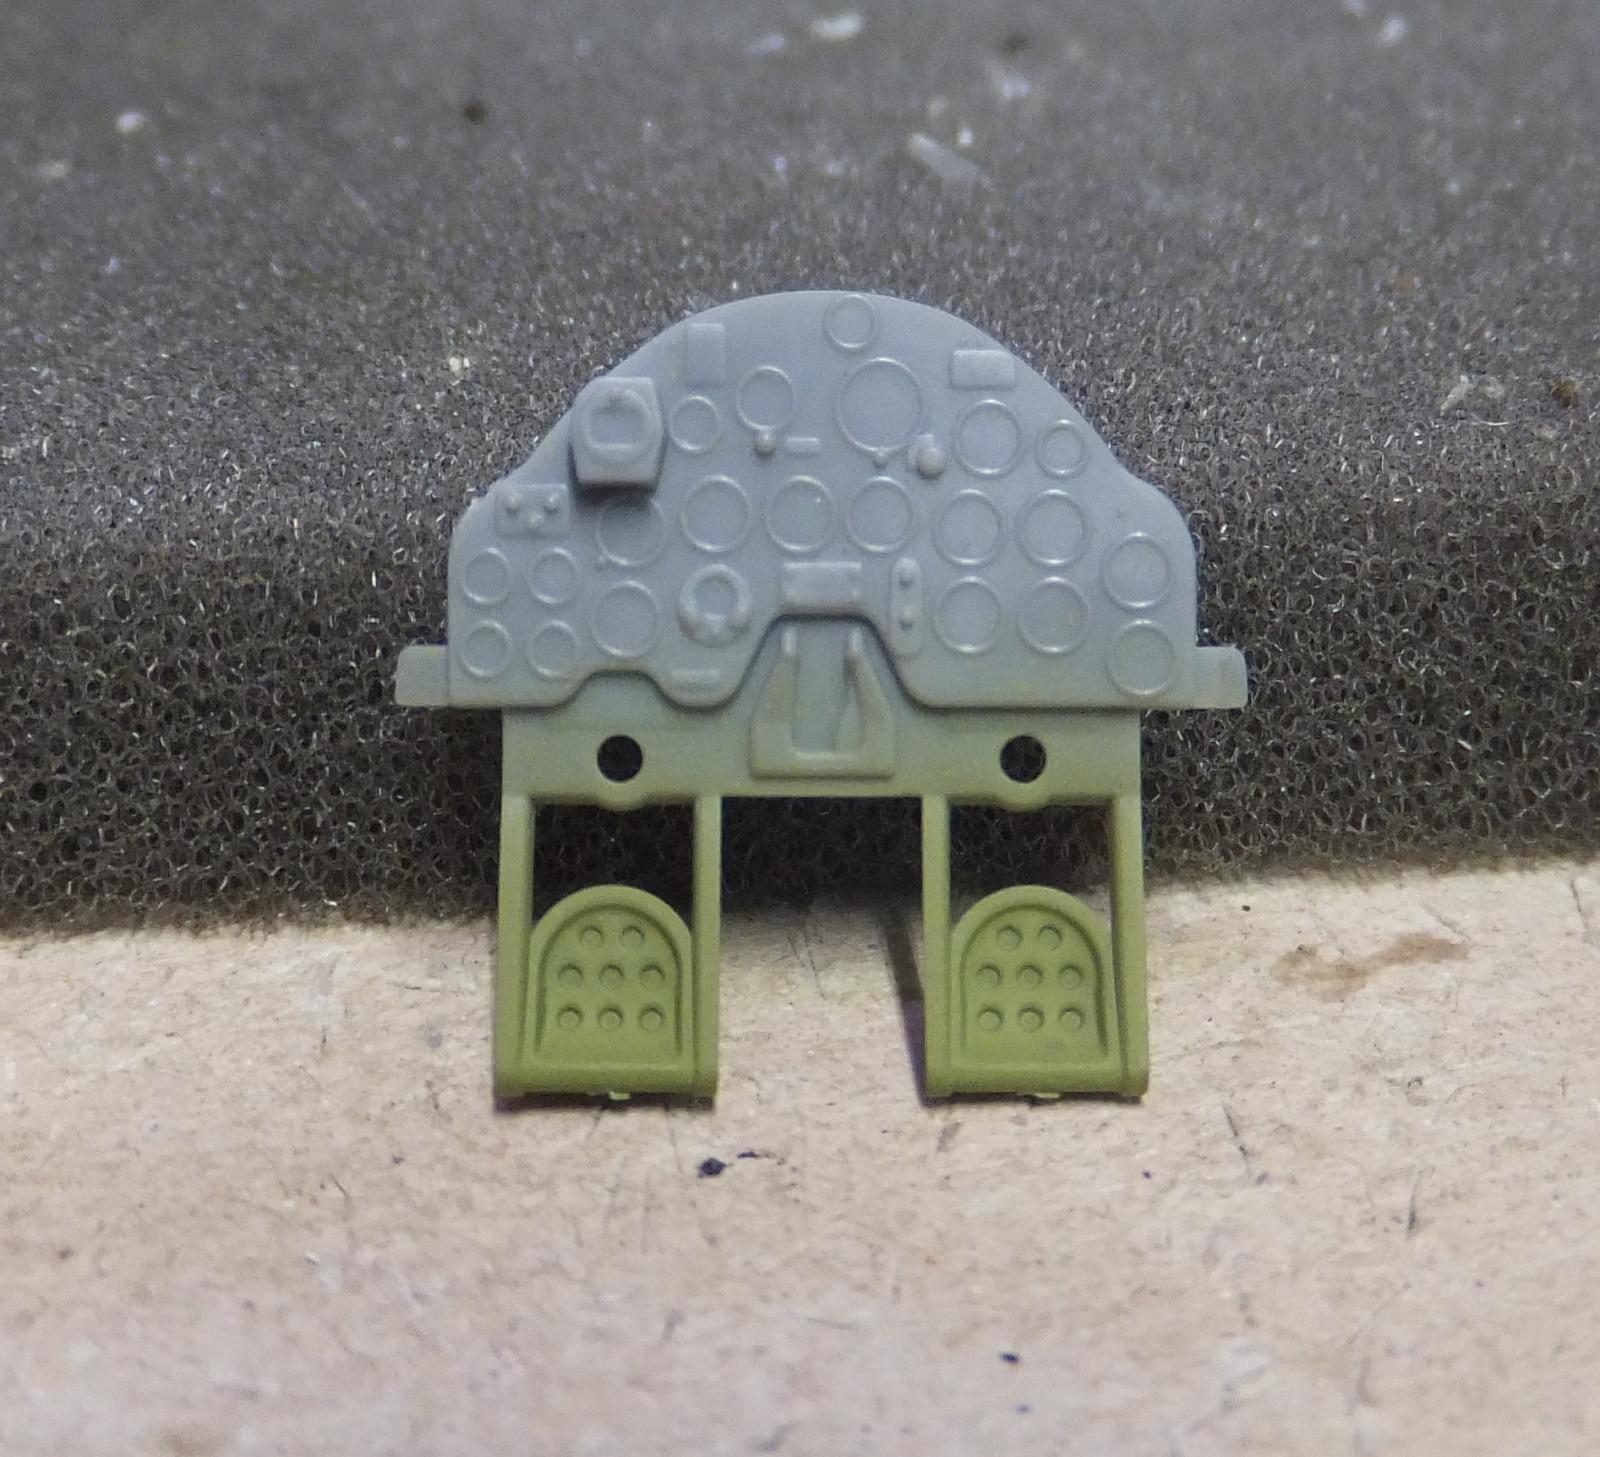
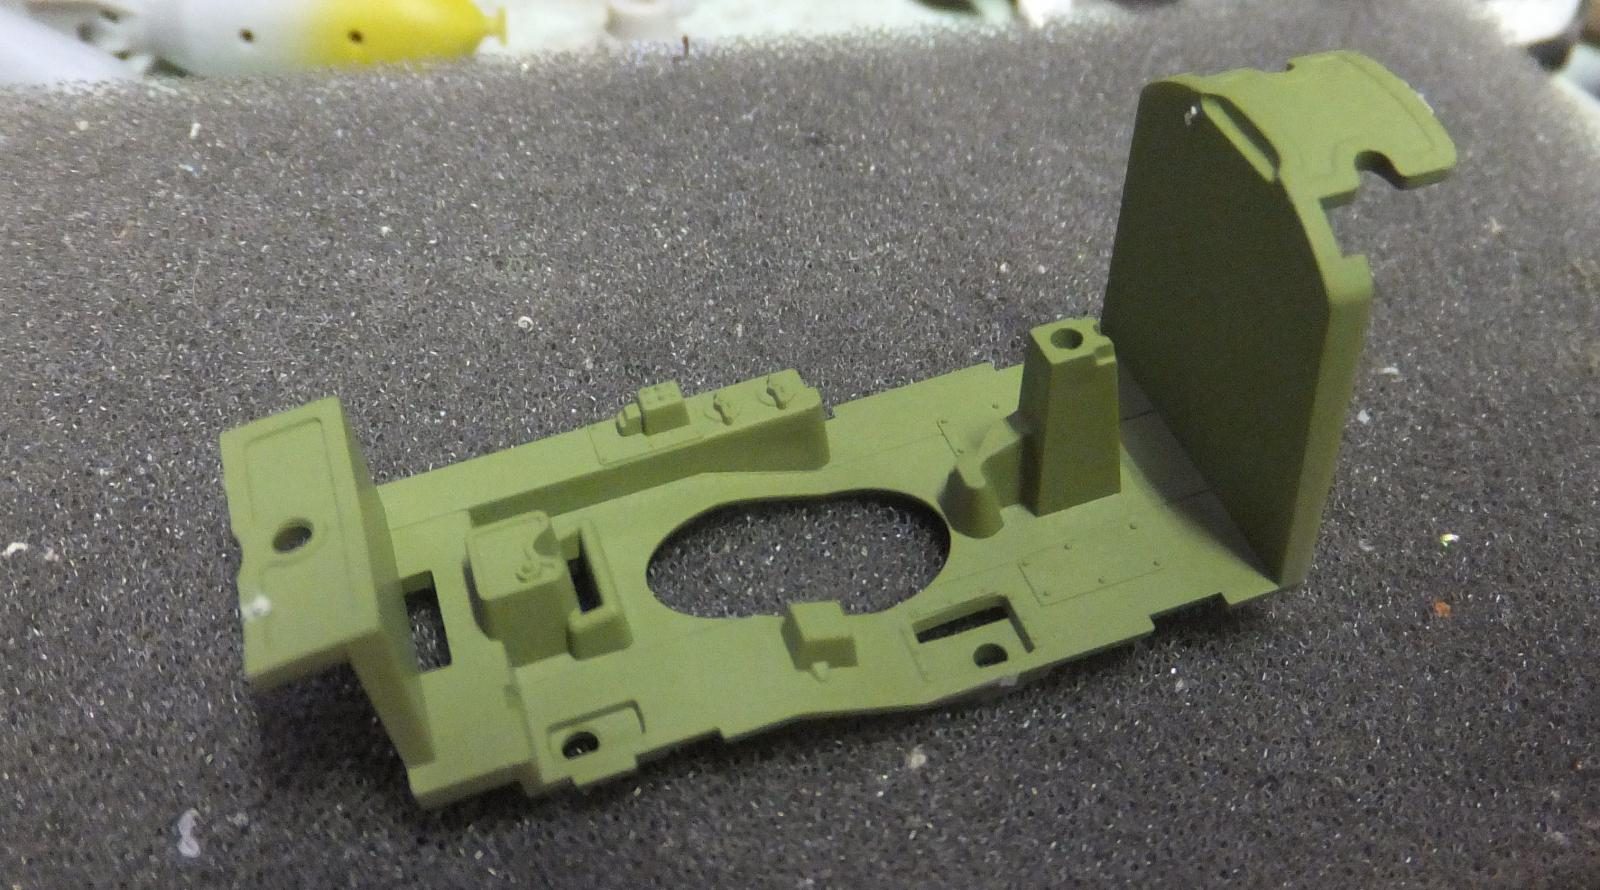
- 1. The Tamiya panel is excellent
-
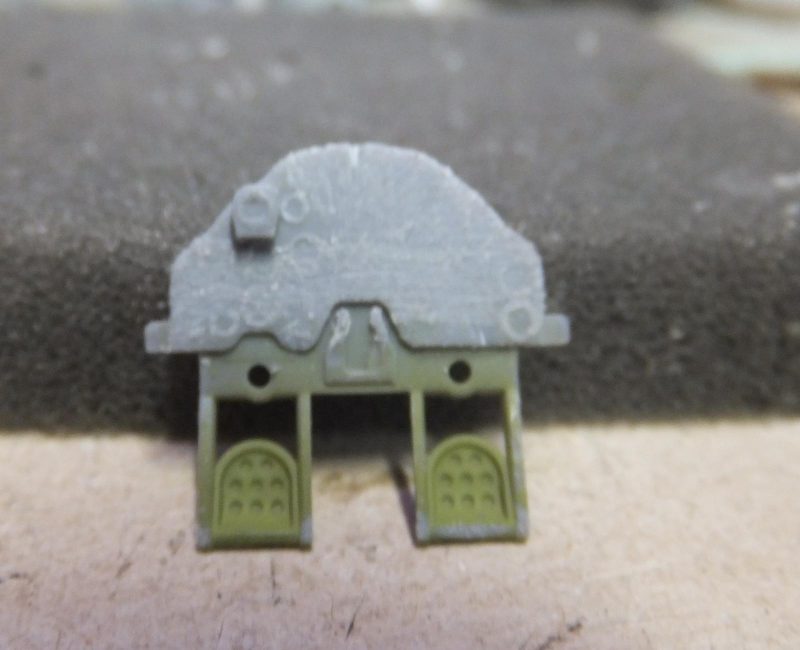
- 1. Details removed

So like a decal I cut out the IP and place it in the water. Now I am used to leaving a decal in the water for about 10 seconds and then place it on a paper towel as it loosens from the backing. Well I was horrified yes I was when after a few seconds the IP is floating in the water. Oh great already off to a wonderful start as I fish out of the water and place it back on the backing paper.
-
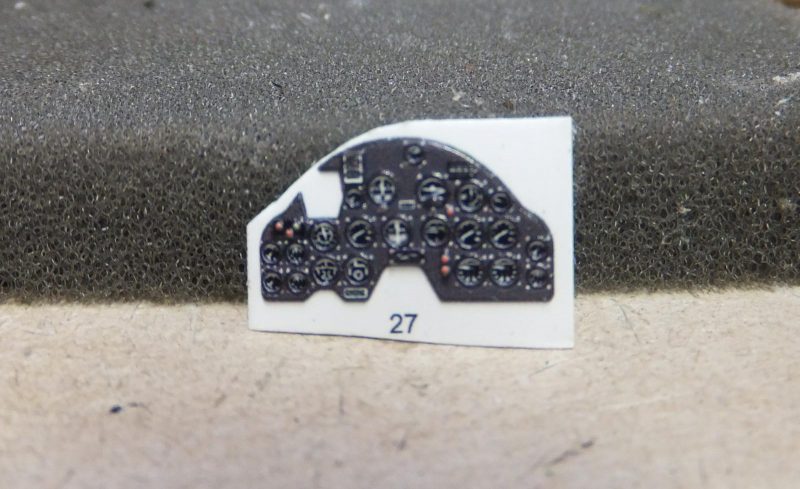
- 1. Even the gauges have a glass look over each dial
- 2. First decal is cut away from the set

A bit of white glue is applied over the panel and then with the tweezers like a regular decal hold it over the panel and with the tip of the xacto blade slide into place on the IP. Perfect fit. Now to wait and see if it sticks.
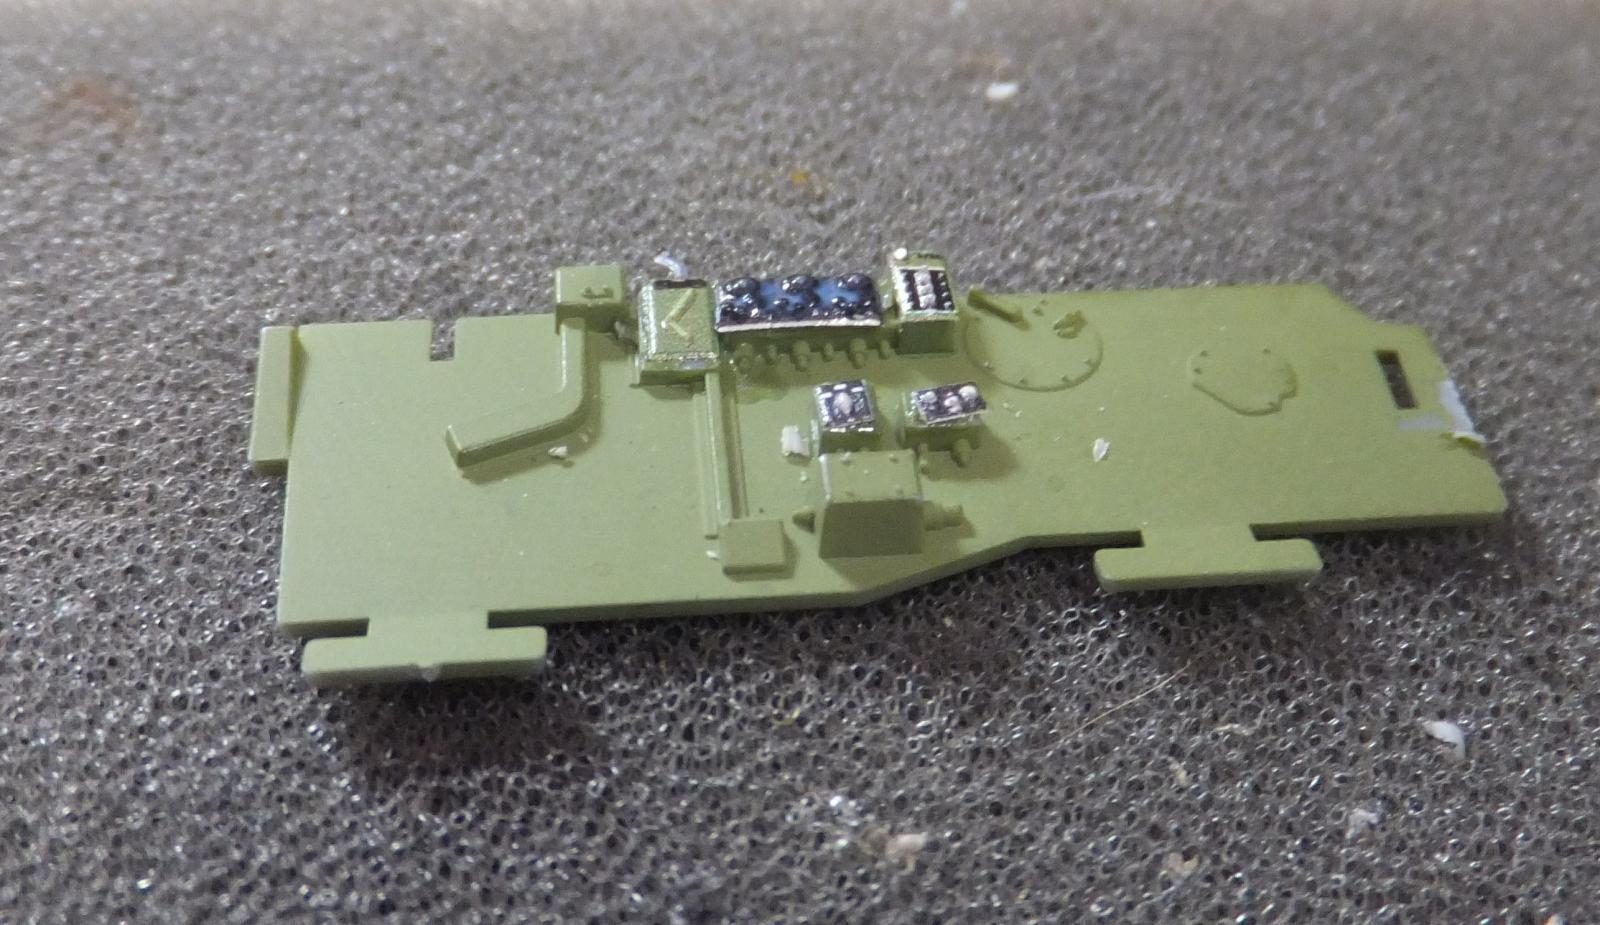
It does after 5 minutes. Then I attach the lower switch control panel on the lower edge of the panel and place 2 more decals on that unit. This time I just dip the decal in the water for 2 counts and place it on the napkin. Slides right off into place. So far I have placed 3 pieces and this is going really well.
Even the smaller dials and switches that go on that switch panel go on easily.
-
- 1. Panels placed on the lower console
- 2. Switches actually stick out
- 3. Paint black

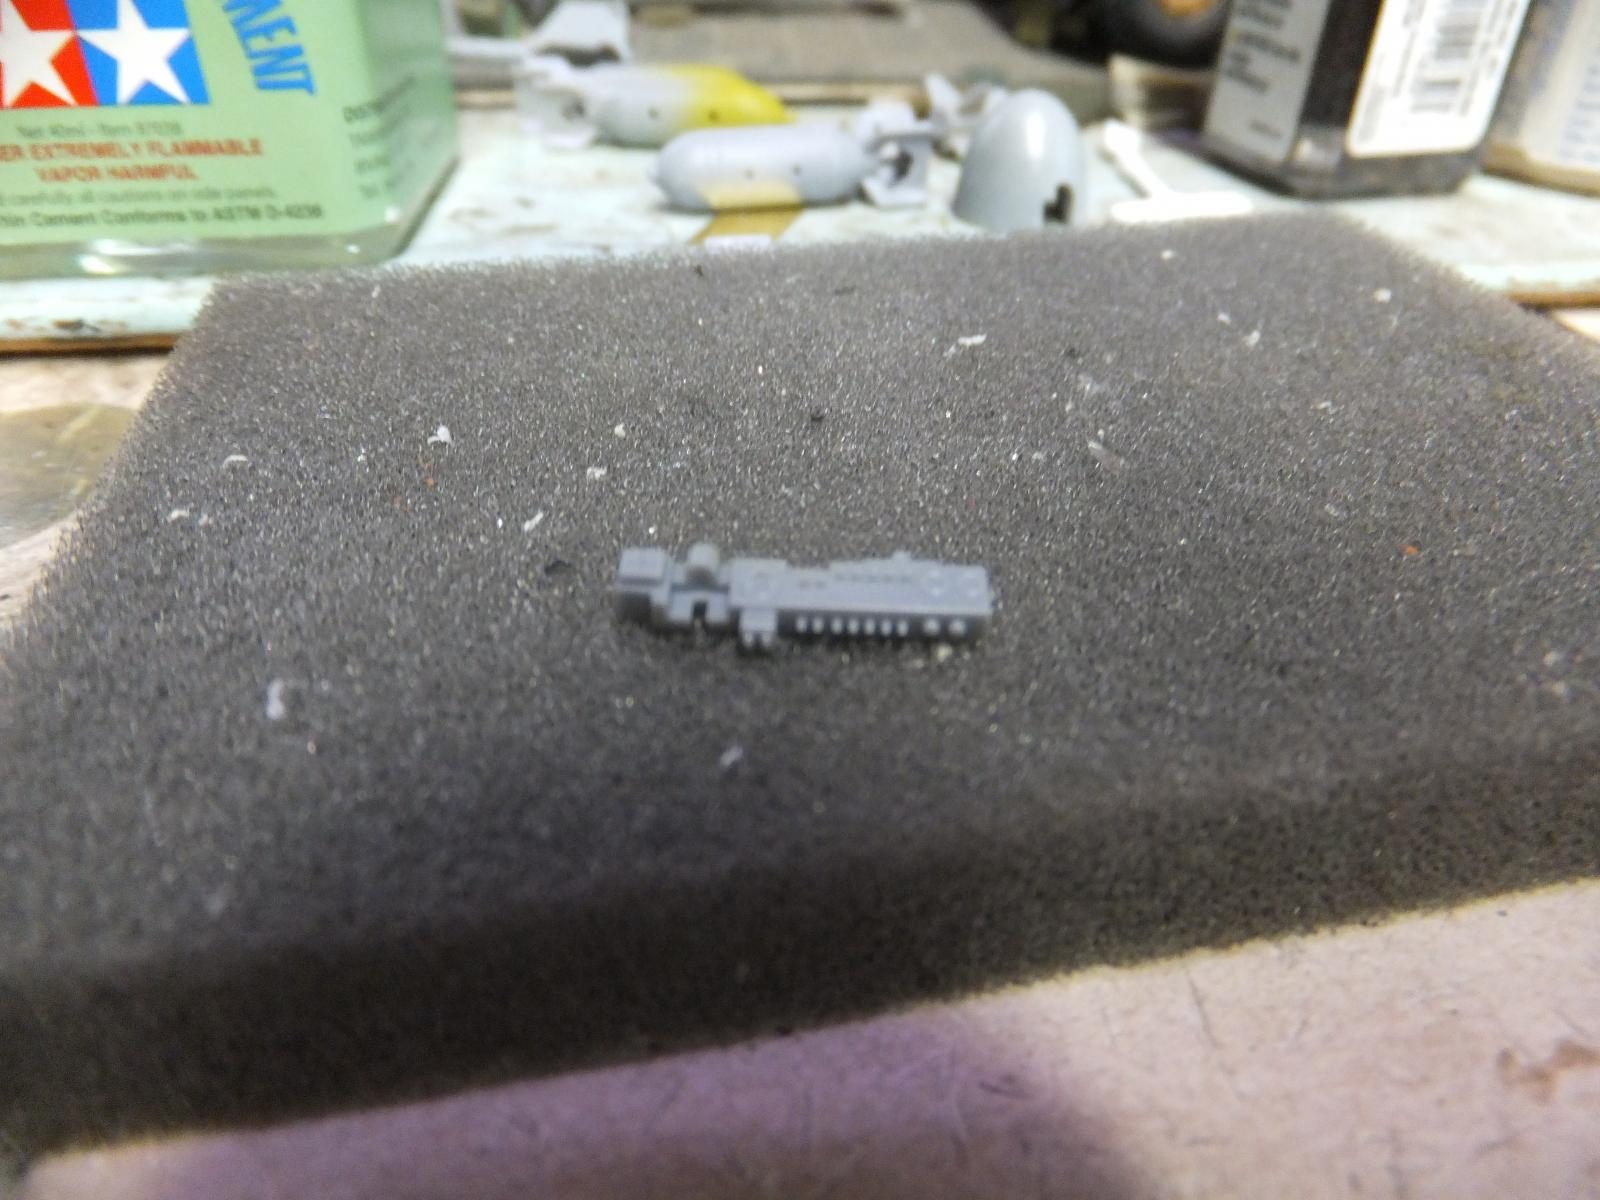
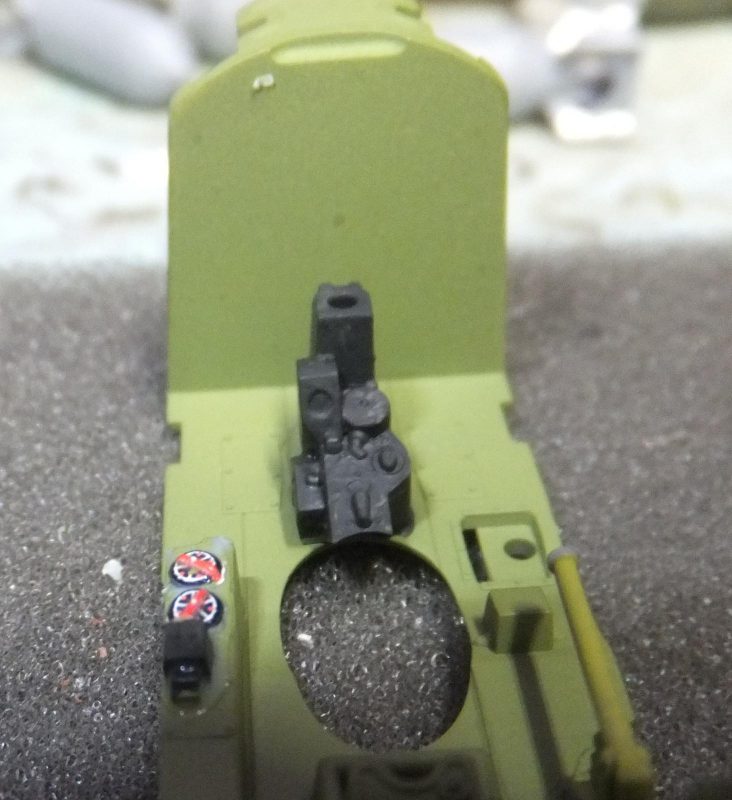
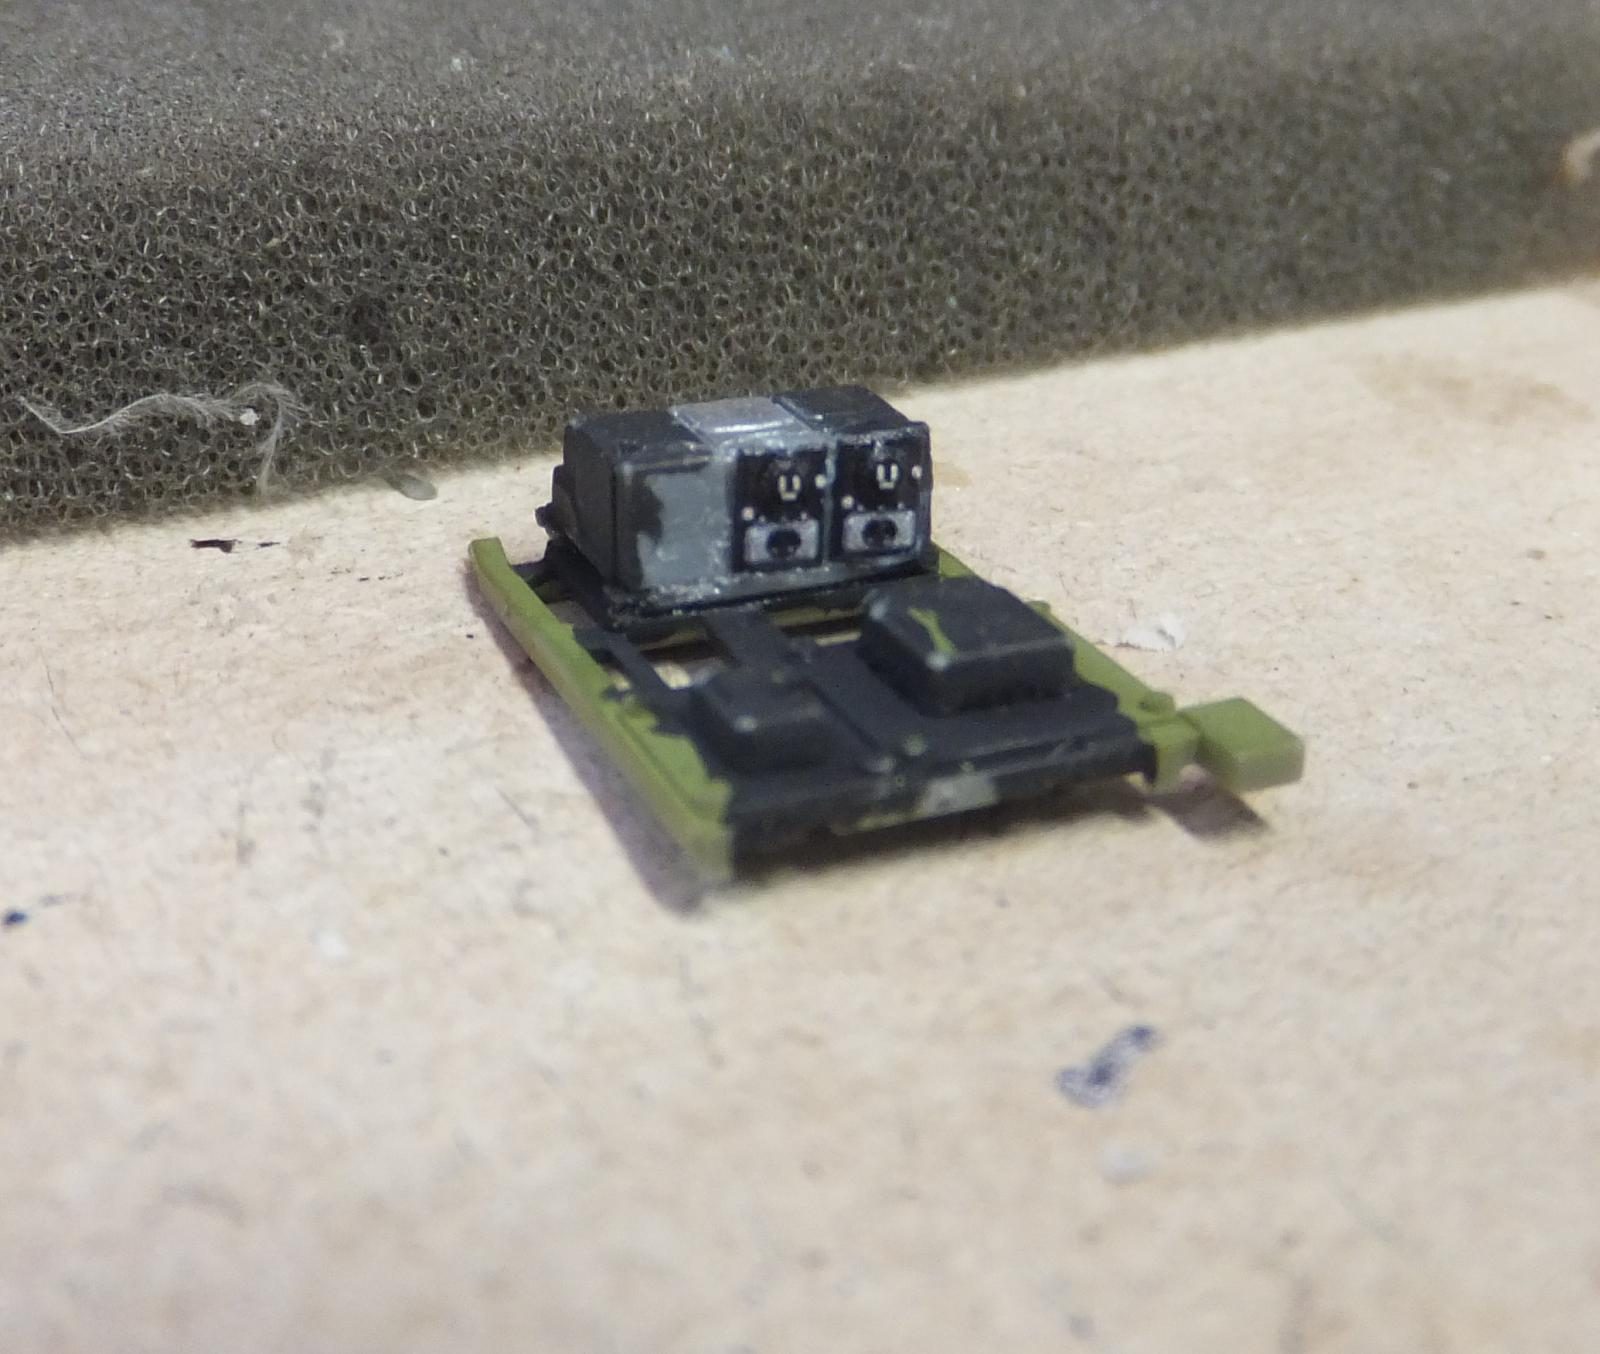
Now moving on the cockpit floor. First painting the center console Nato Black and one electrical box as well on the LH side console.
-

- 1. Painted Nato Black
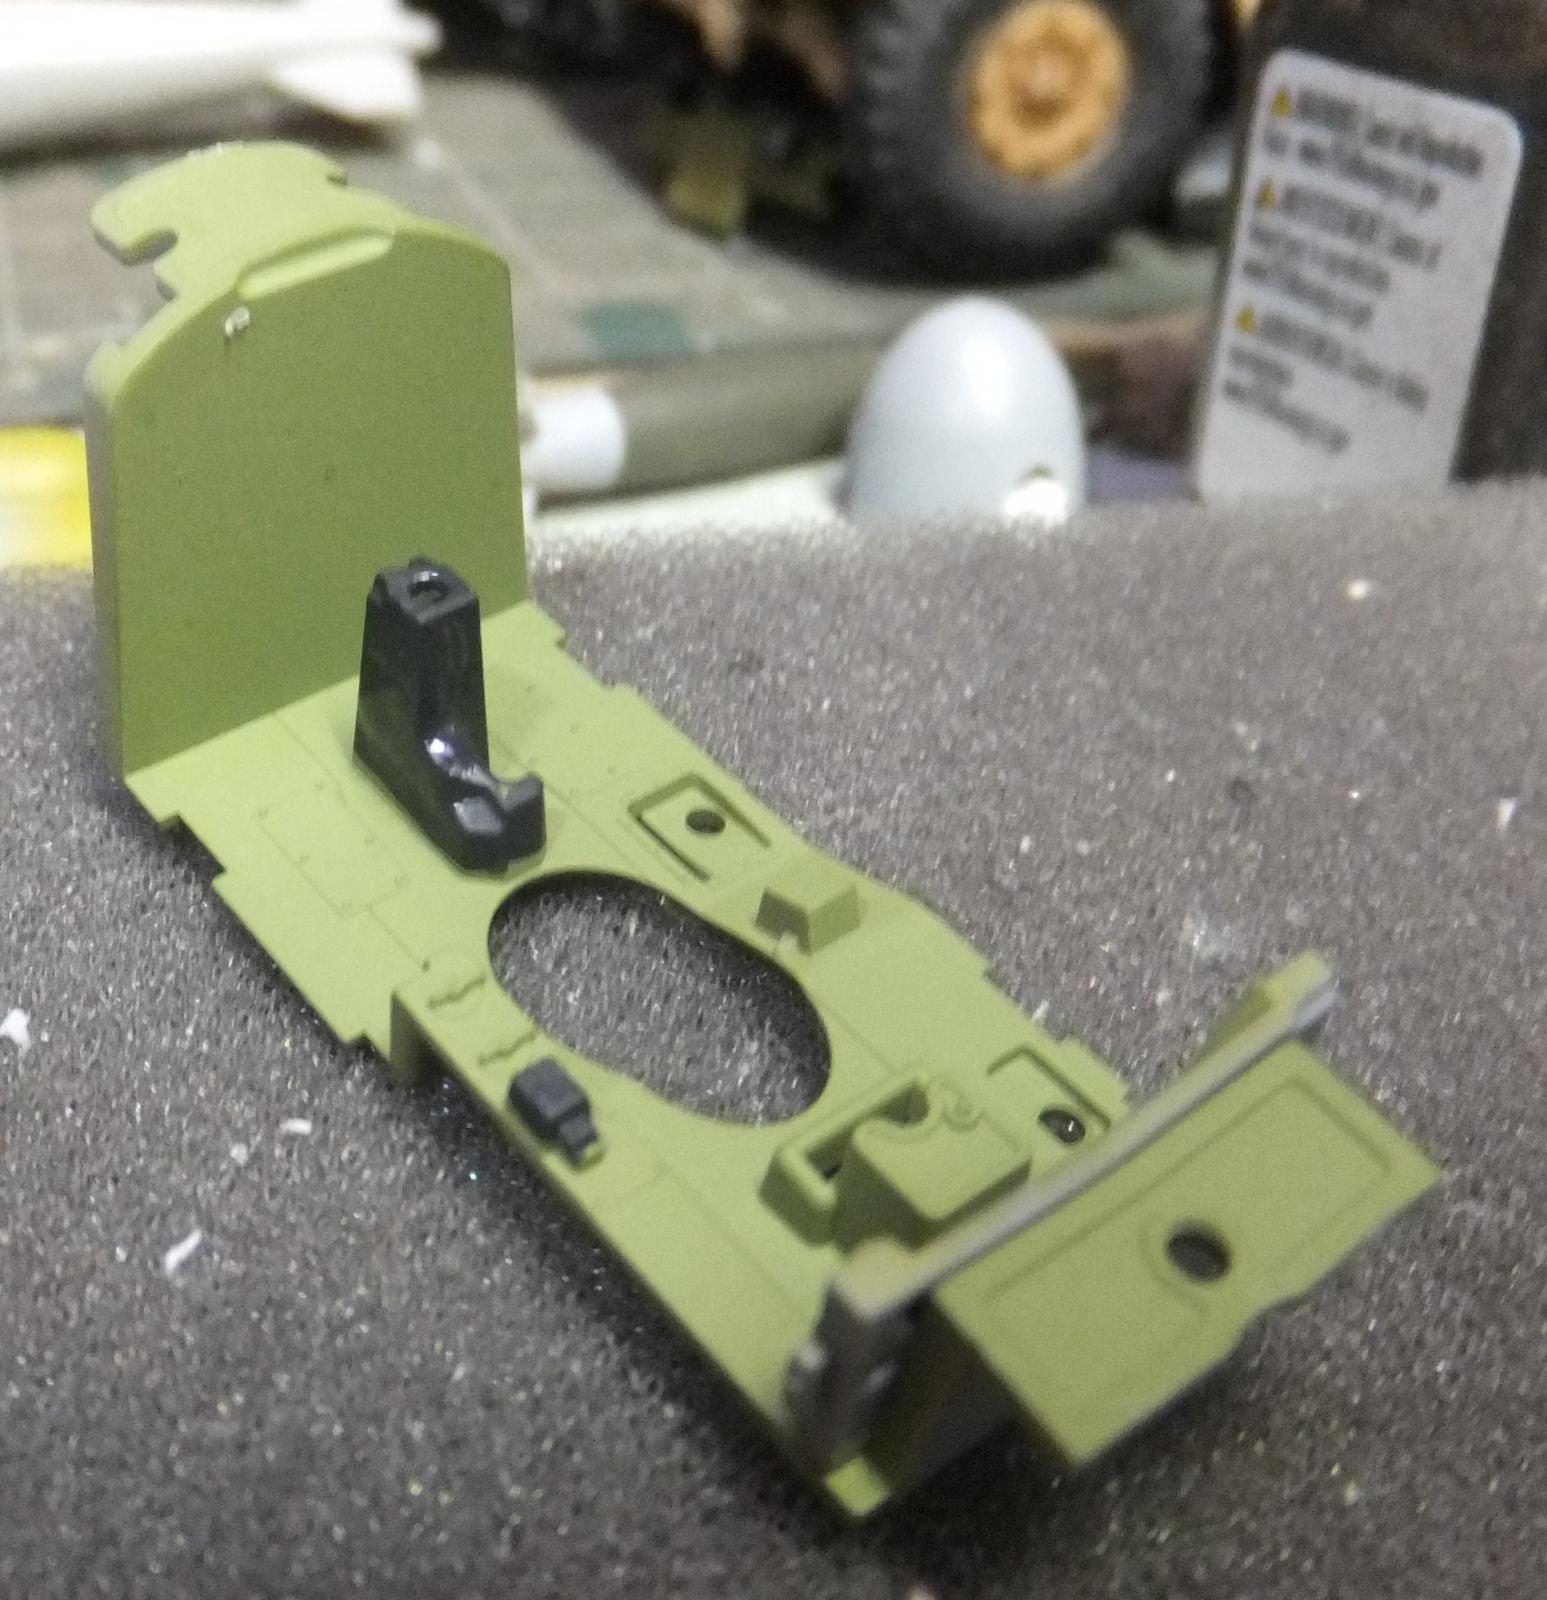
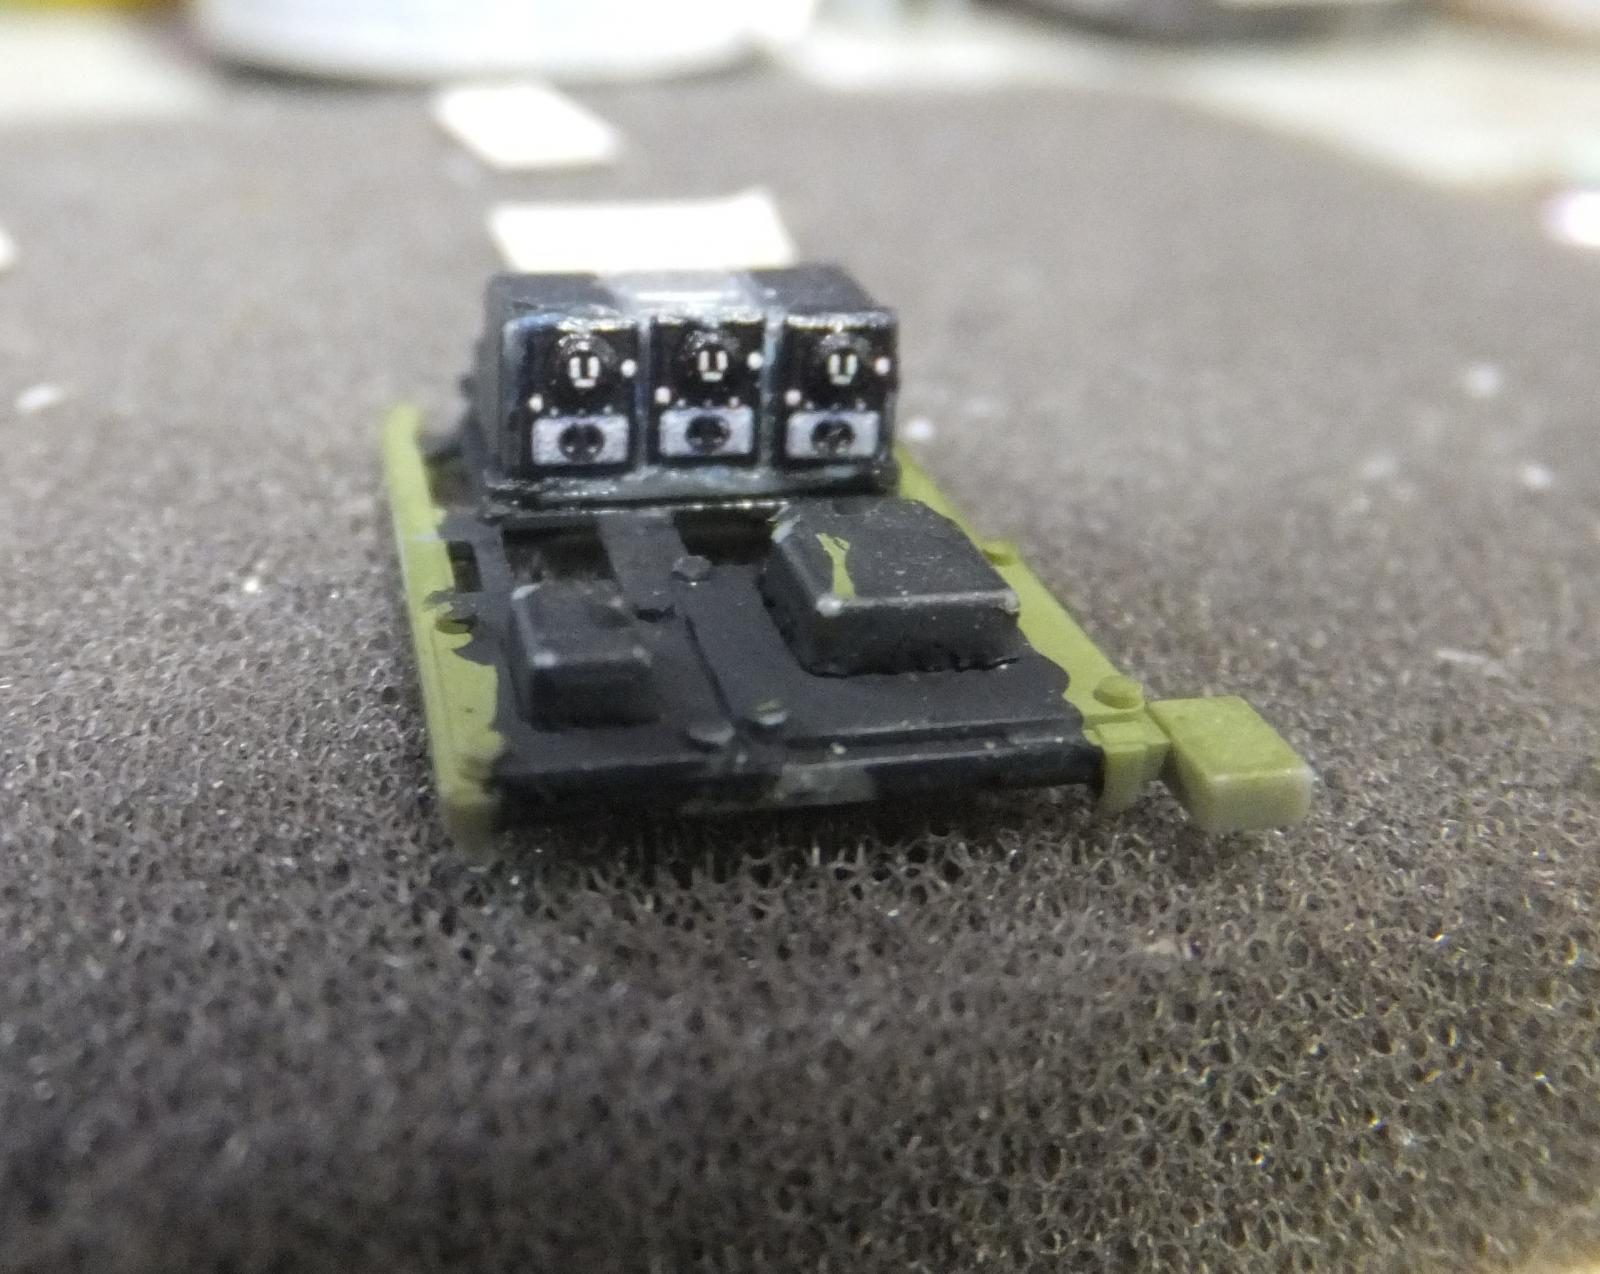
Then trim the lower section of the center console for several more decals to apply.
-
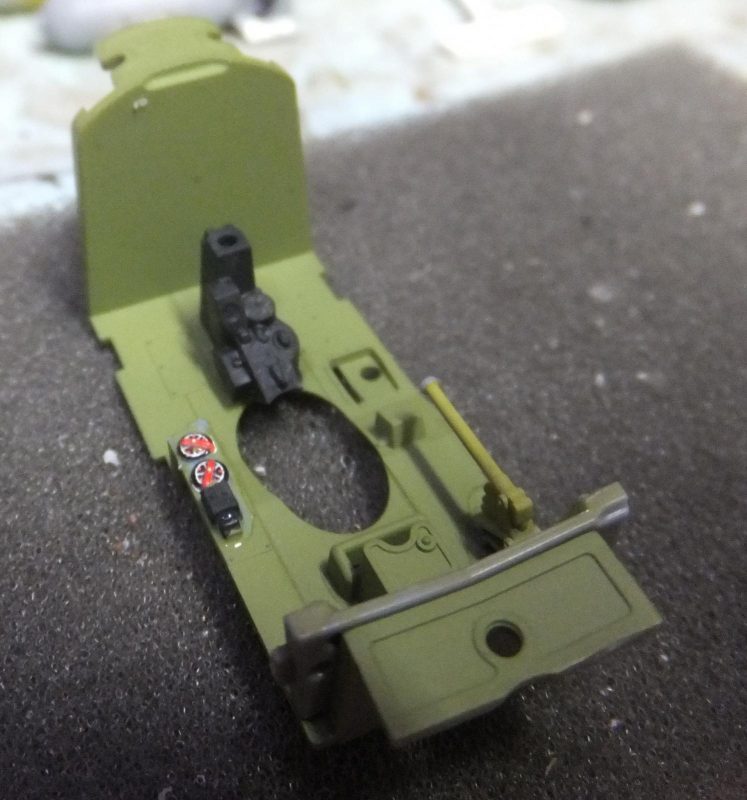
- 1. Decal dials
- 2. Remove details here

-
- 1. Before

-
- 1. After

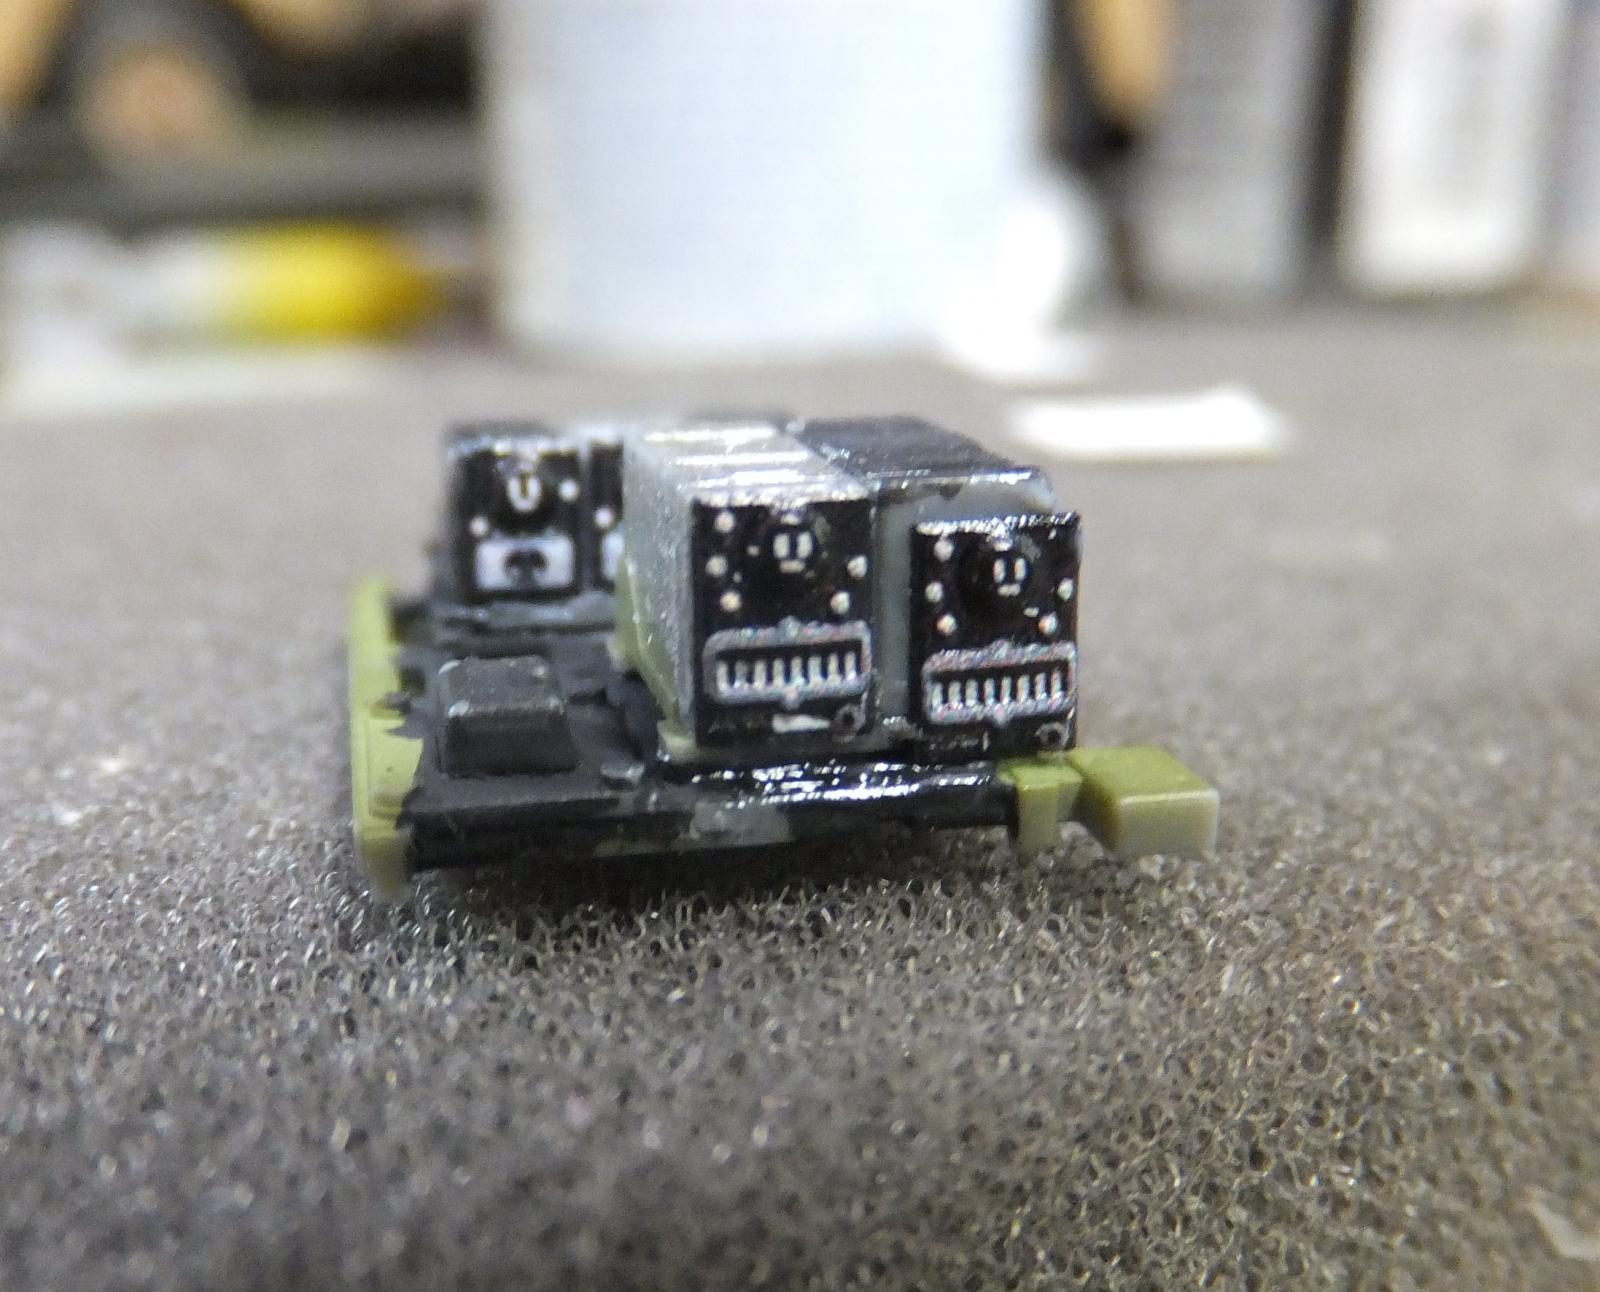
Now moving on to the side interior panels. So far the process has been stress free. I am methodical in approach so this is just right up my alley in applying these decals. So far I have not lost any in application. The fit is excellent, nothing is oversized.

So several more bits are applied on the side walls of the cockpit.
-

- 1. I must've nudged this one and didn't notice
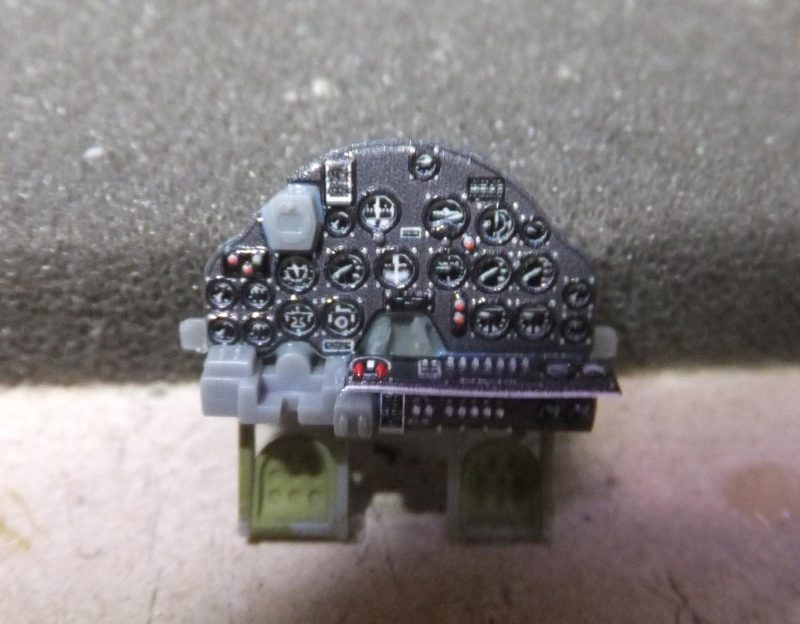
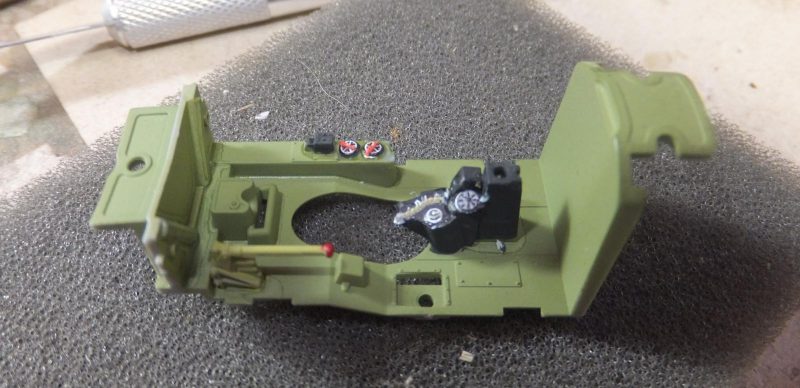
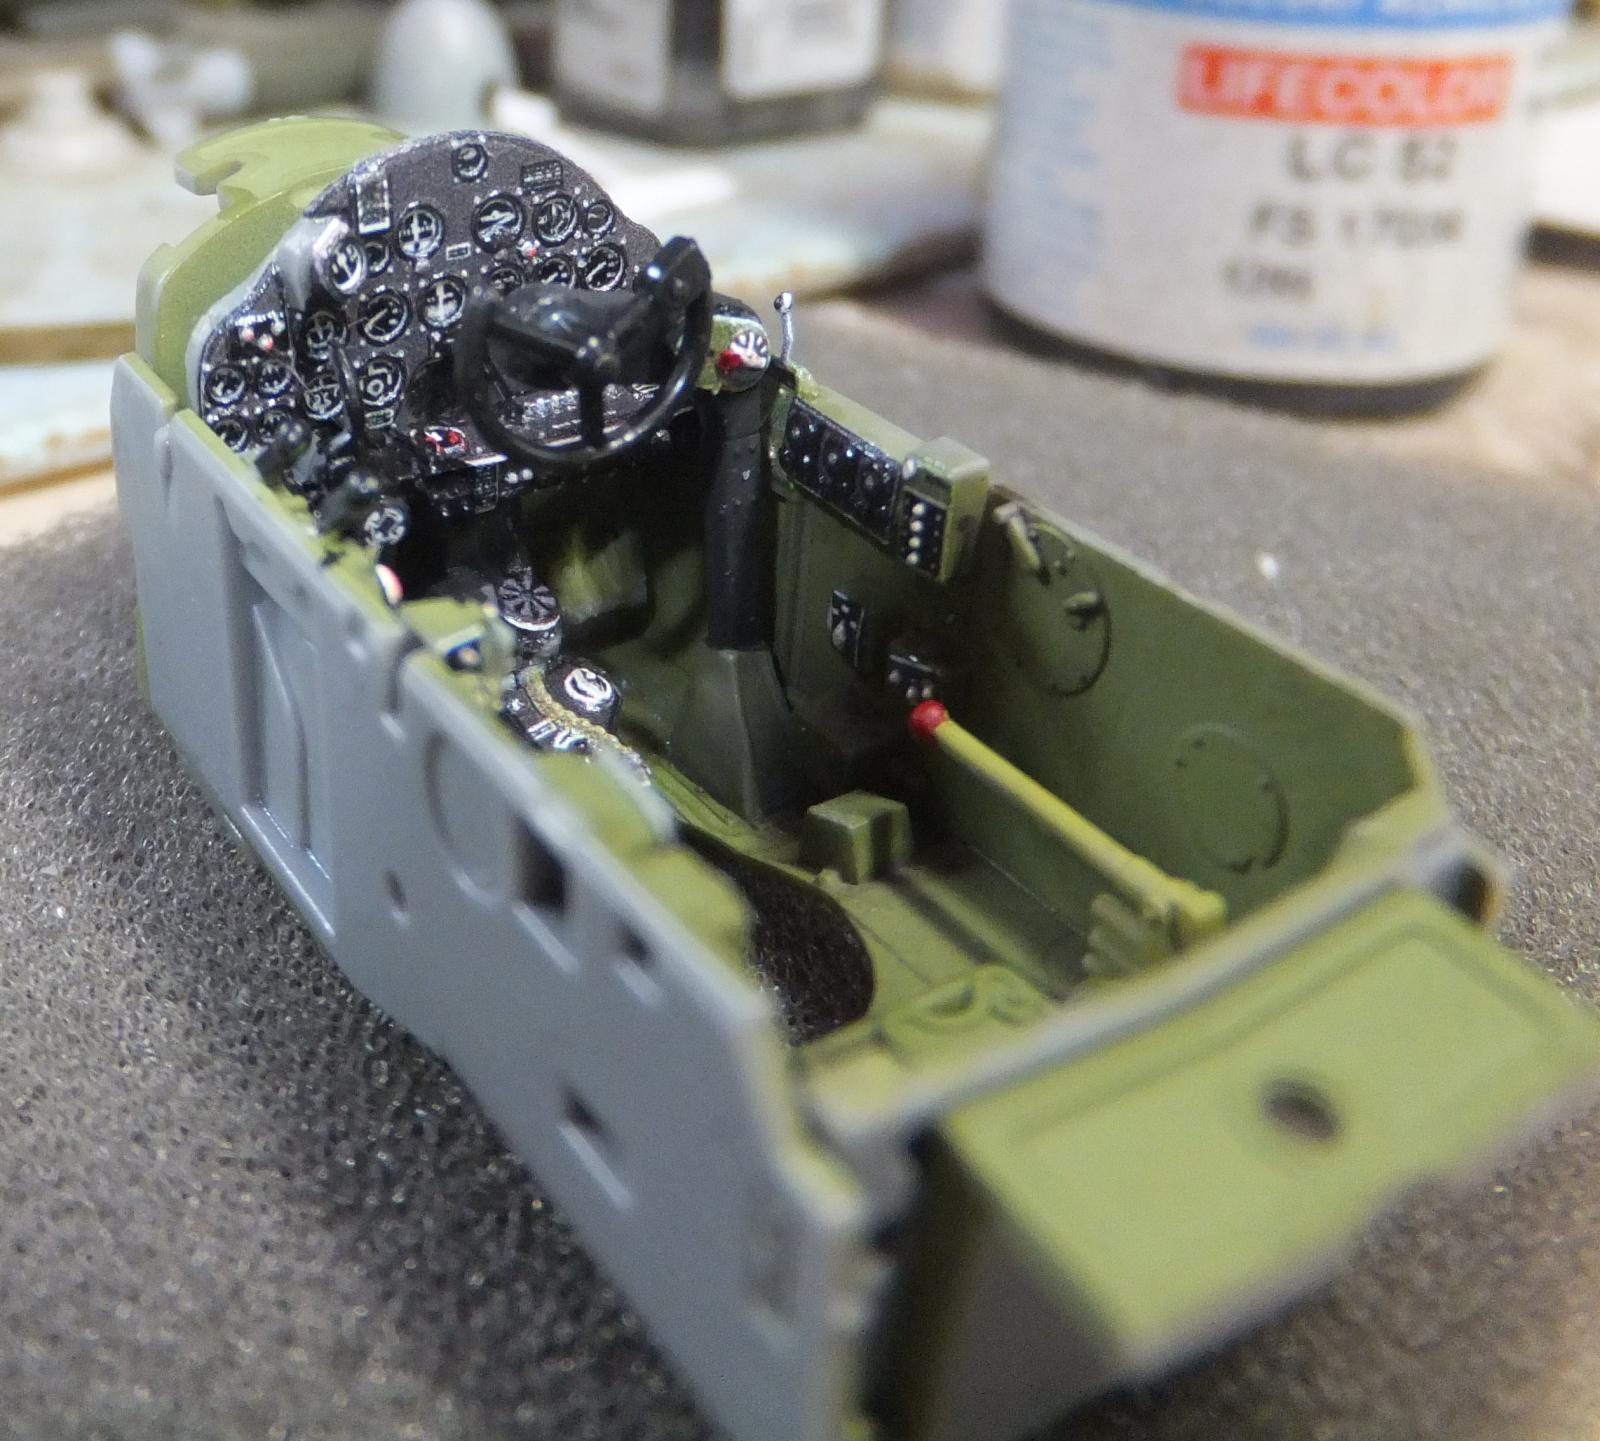
As well as the LH side which has a bit more details as well as the side control panel. Now for the most part the cockpit is completed. Rather sharp in appearance so far. I am really pretty happy so far of the results.
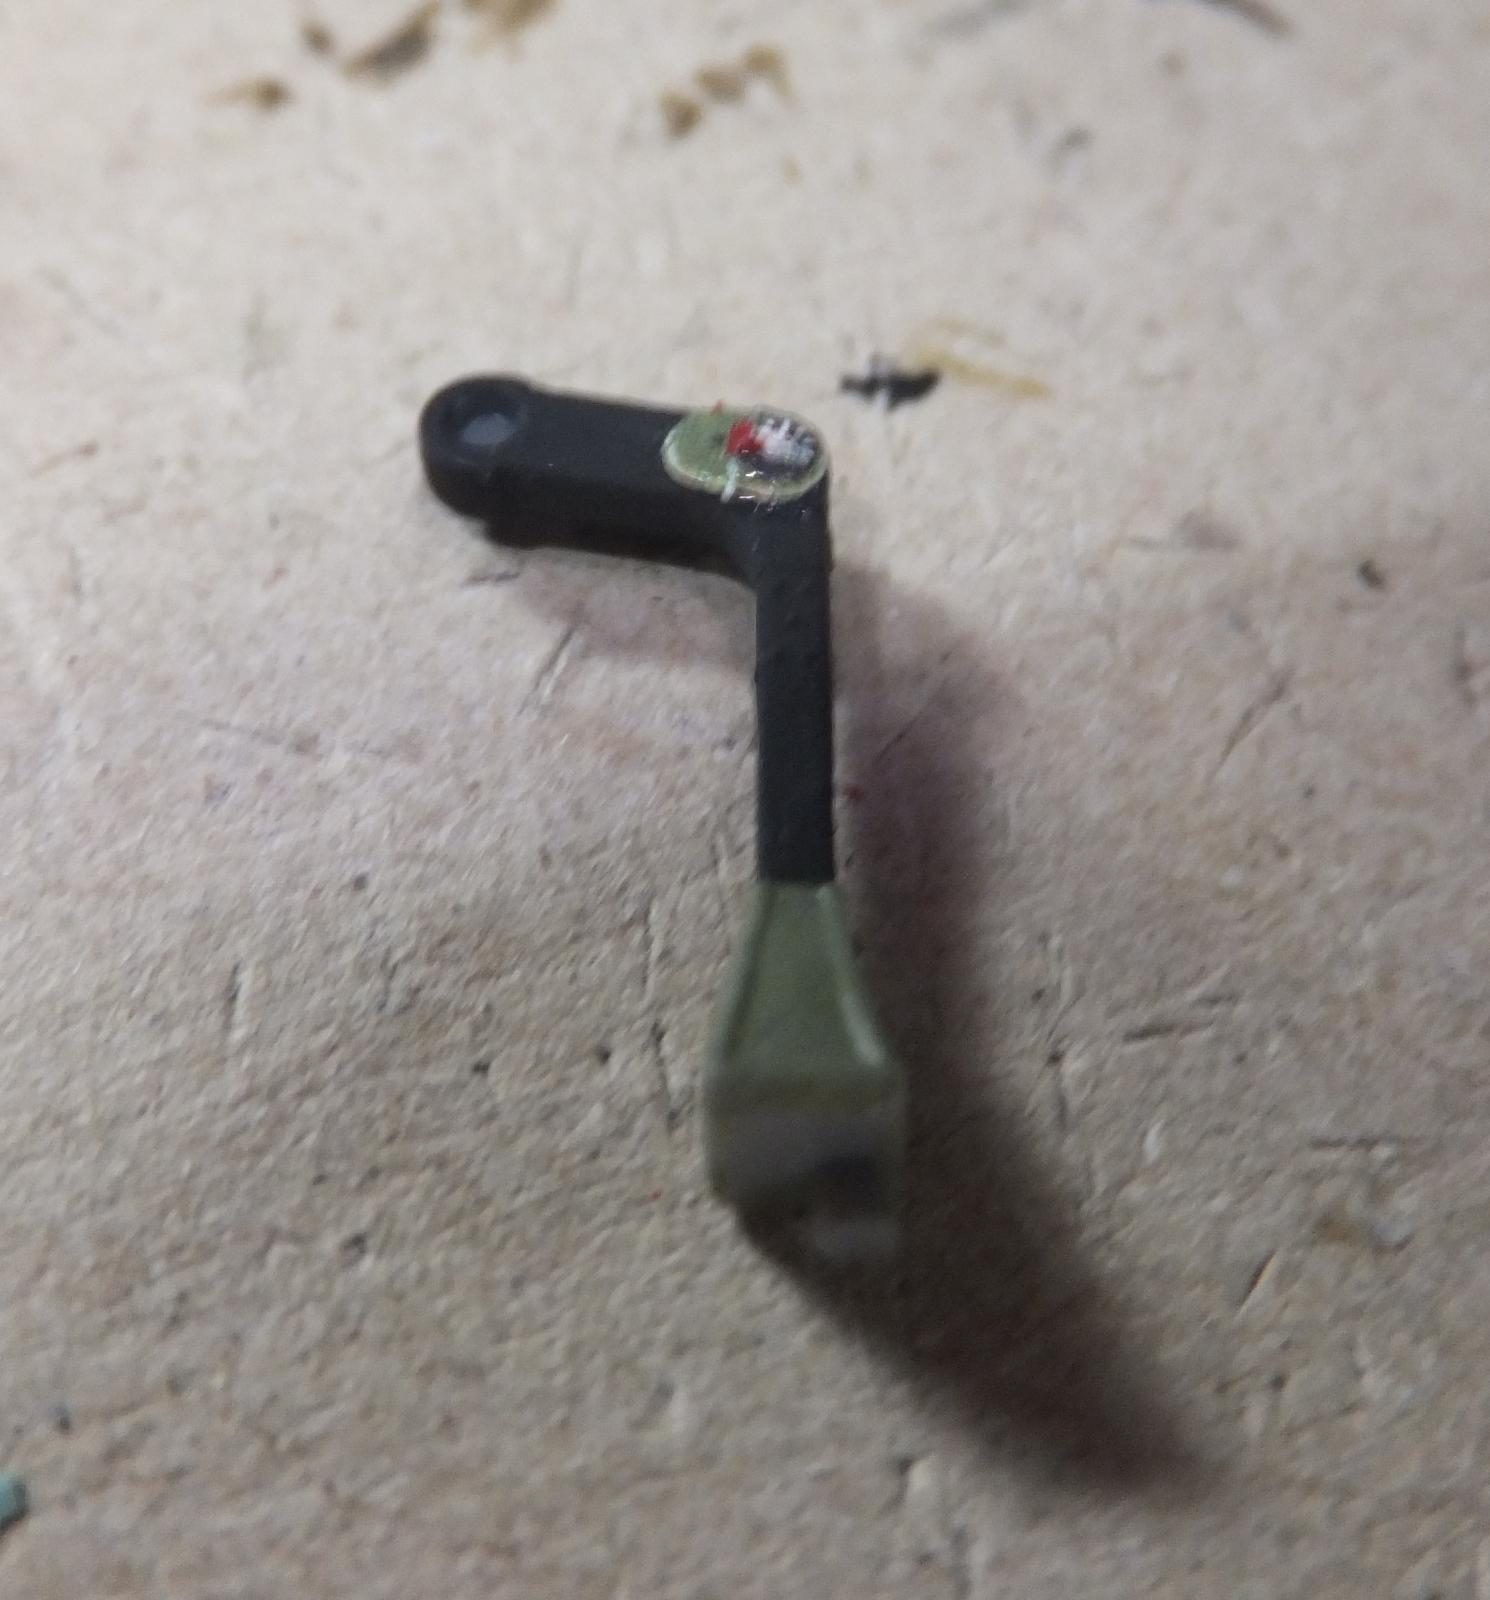
Even the control column has some decals to apply, here is where I finally lost one, doh! And then assembled the cockpit with the column. Nothing in the way of anything. Where at times you can with PE.
-

- 1. Lost one that is placed here on top of the column
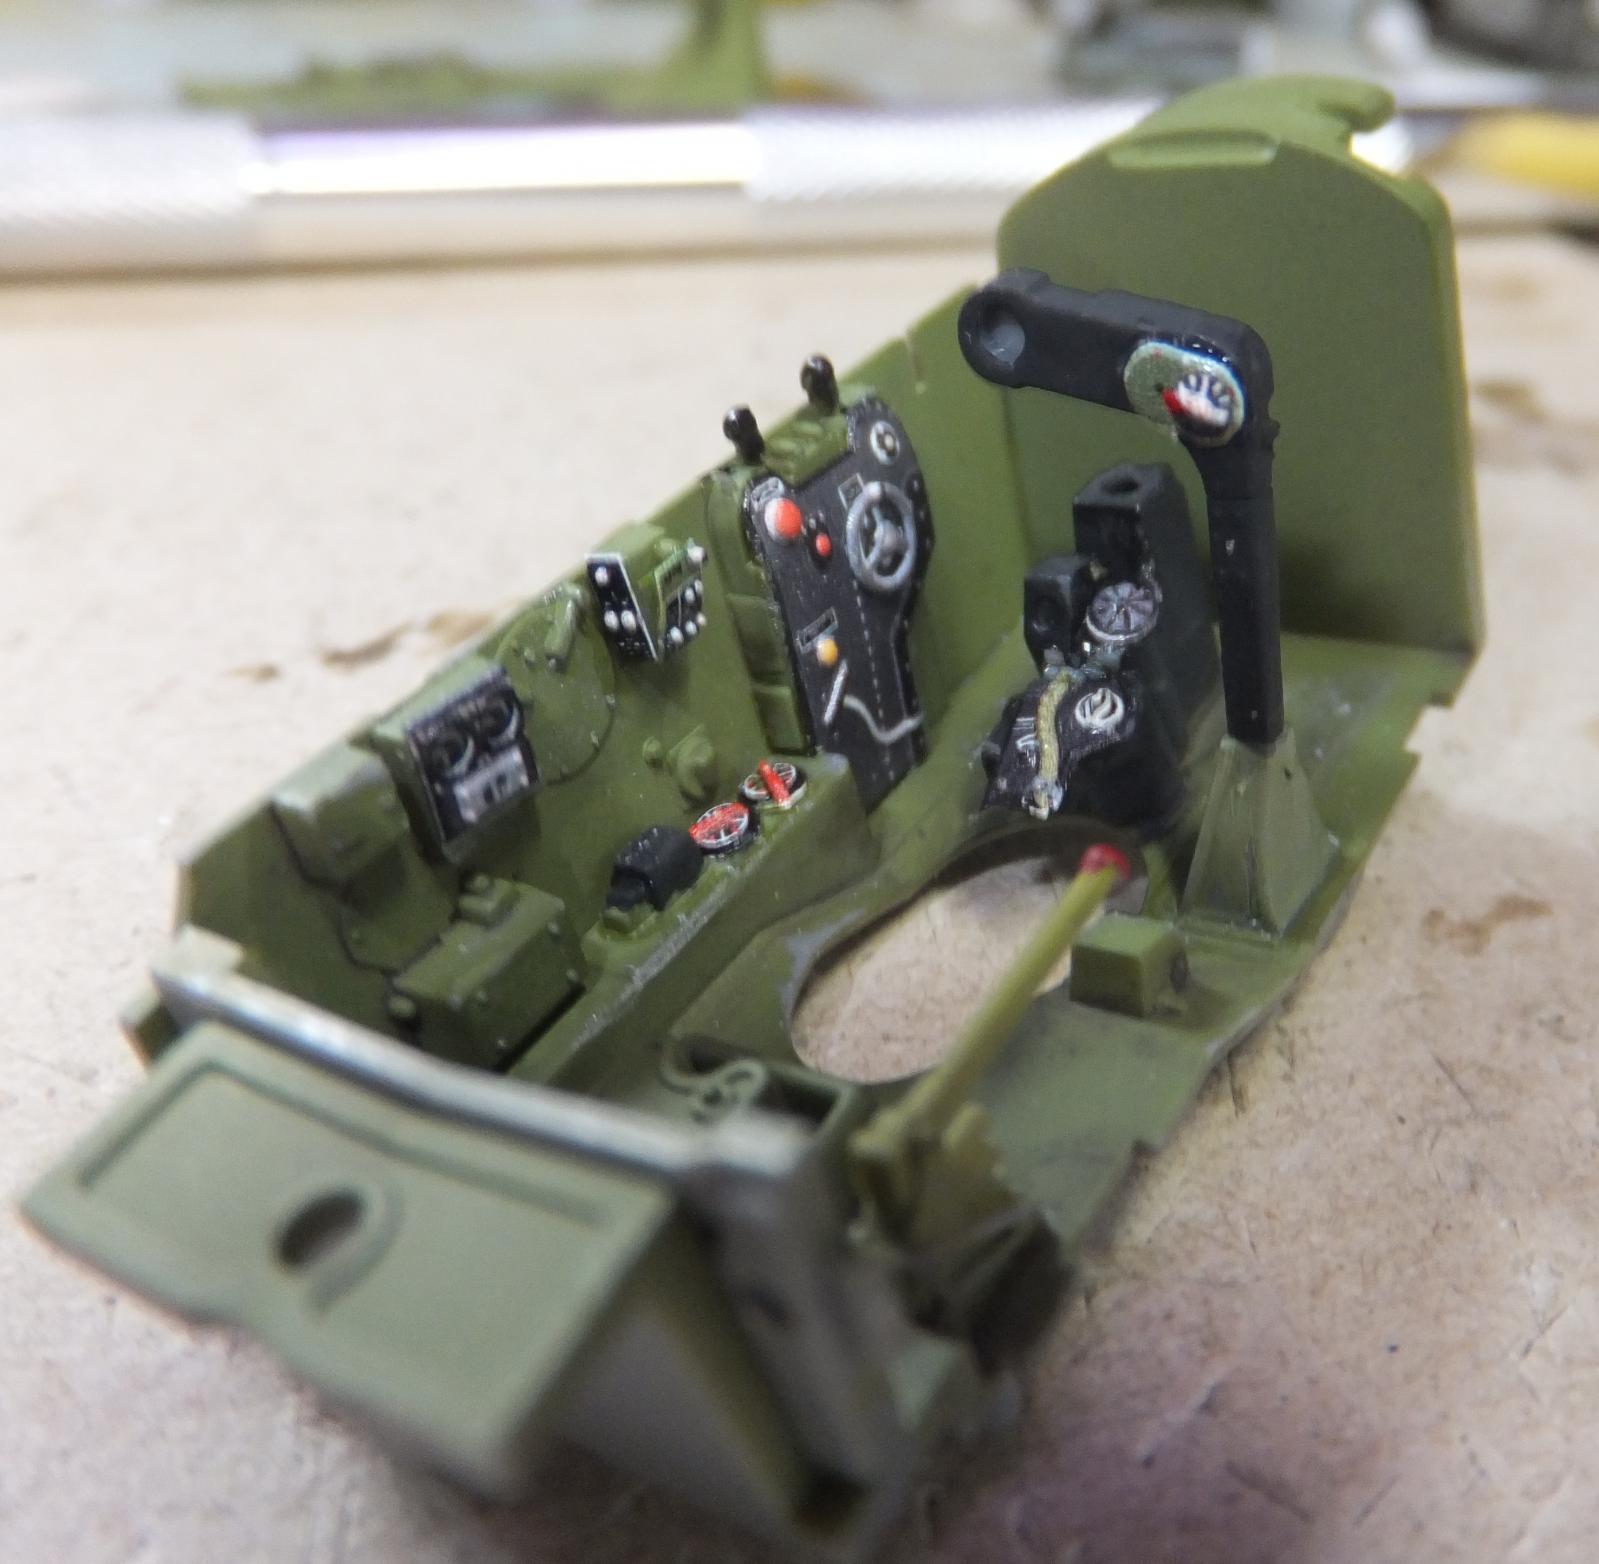


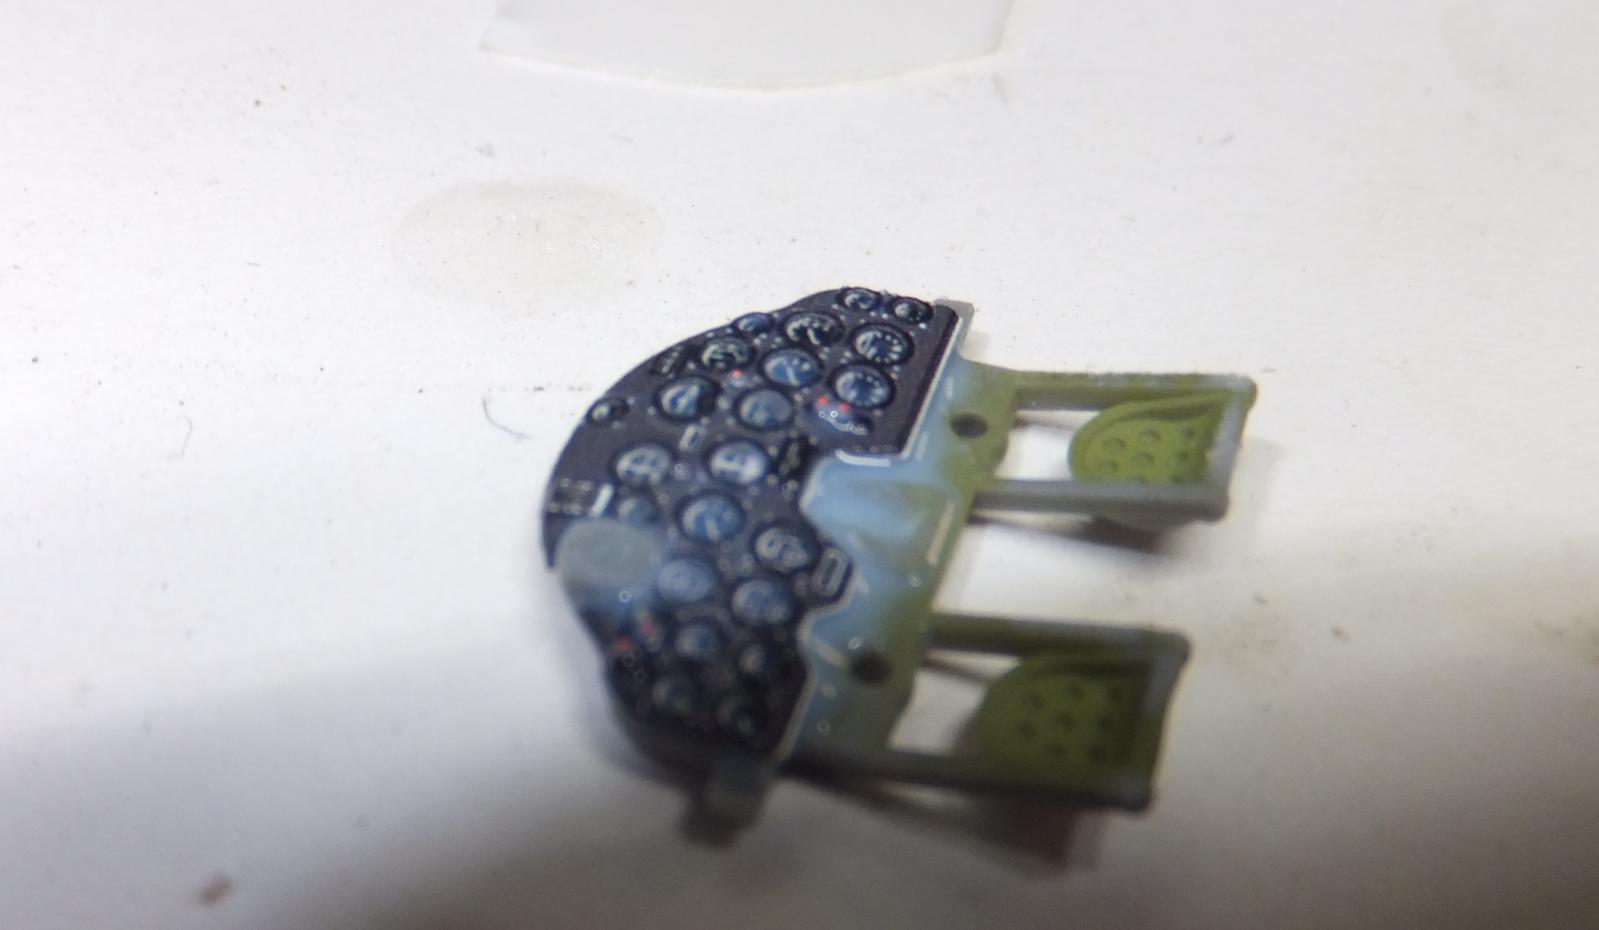
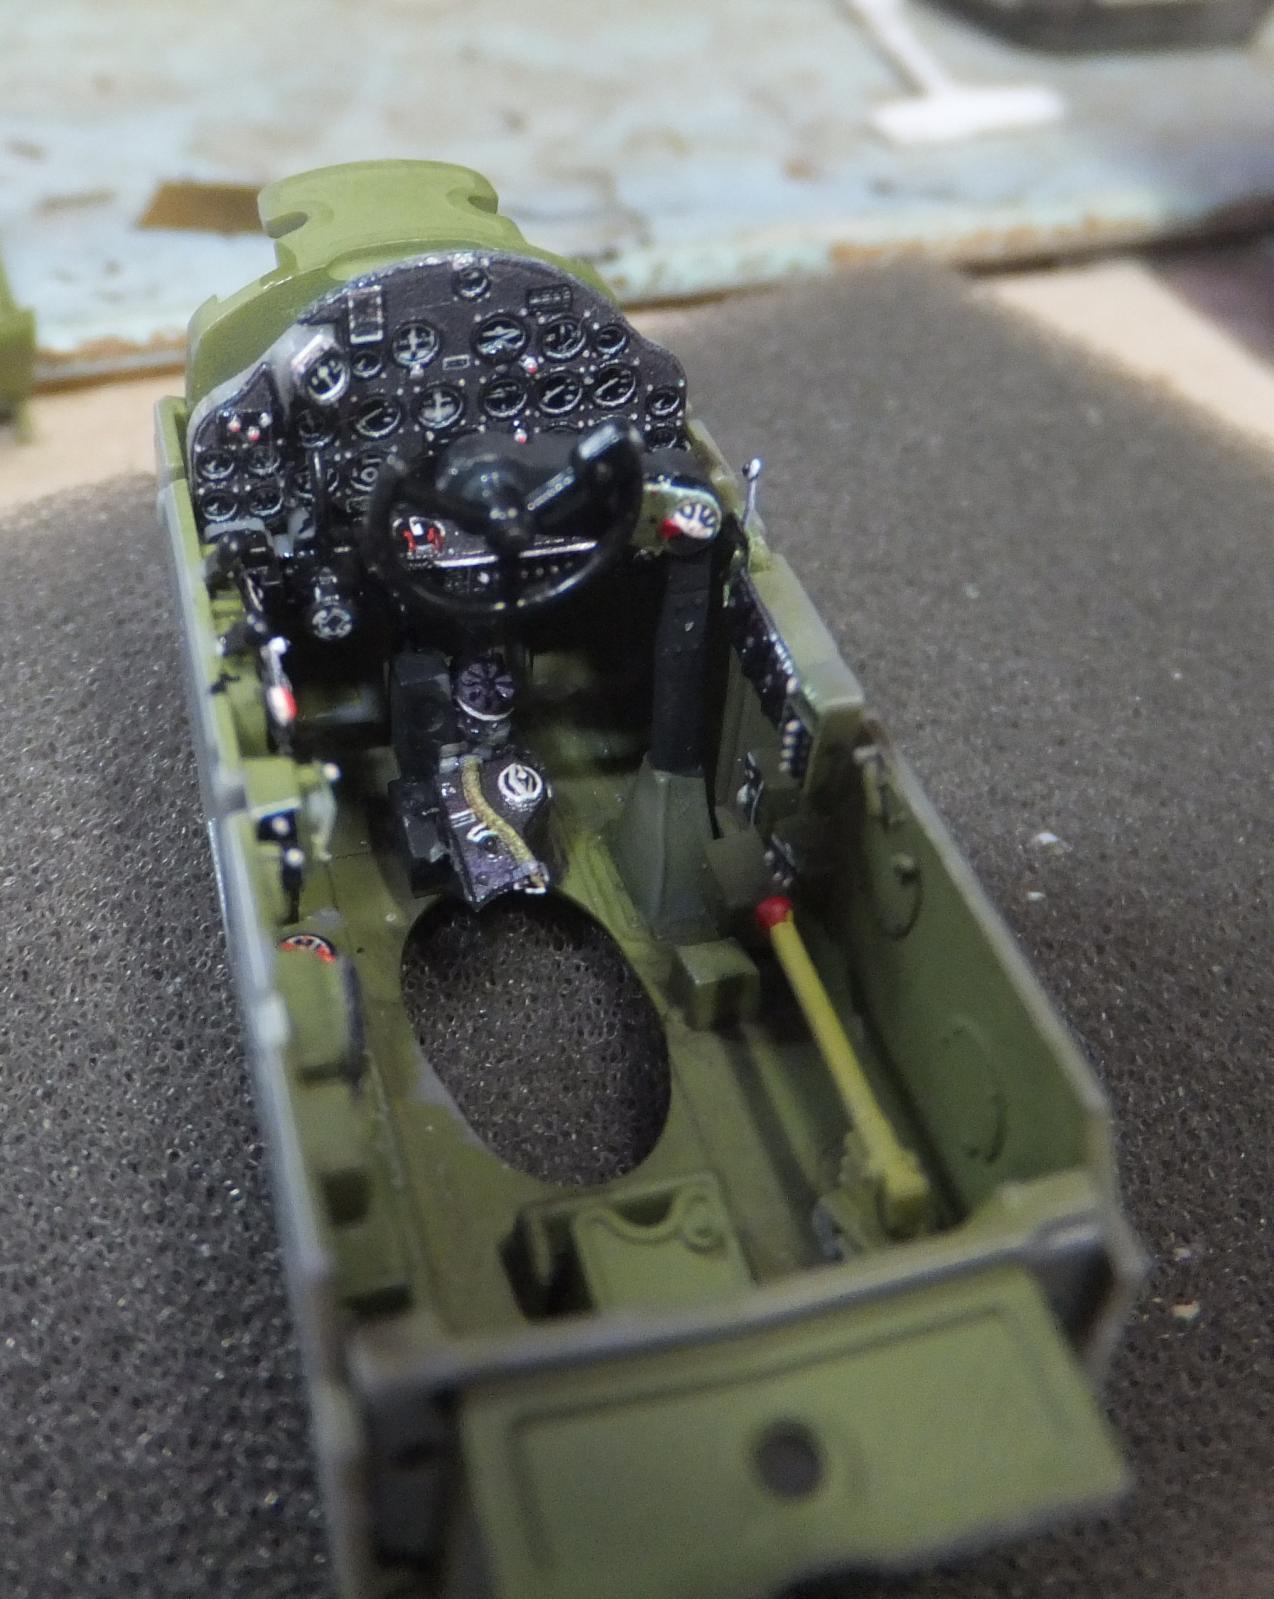
Now the moment of truth is attaching the Instrument panel. And rather impressive, What is really impressive is the fit of the kit itself so far. This is one awesome model in engineering,
Now for the seat. Though the seat will be installed later, I went ahead and assembled it and started to attach the seat belts. Now the shoulder harnesses went on ok with no issues. As these were the first decals that actually had to go over a compound panel and not lay just flat like all the previous bits have.
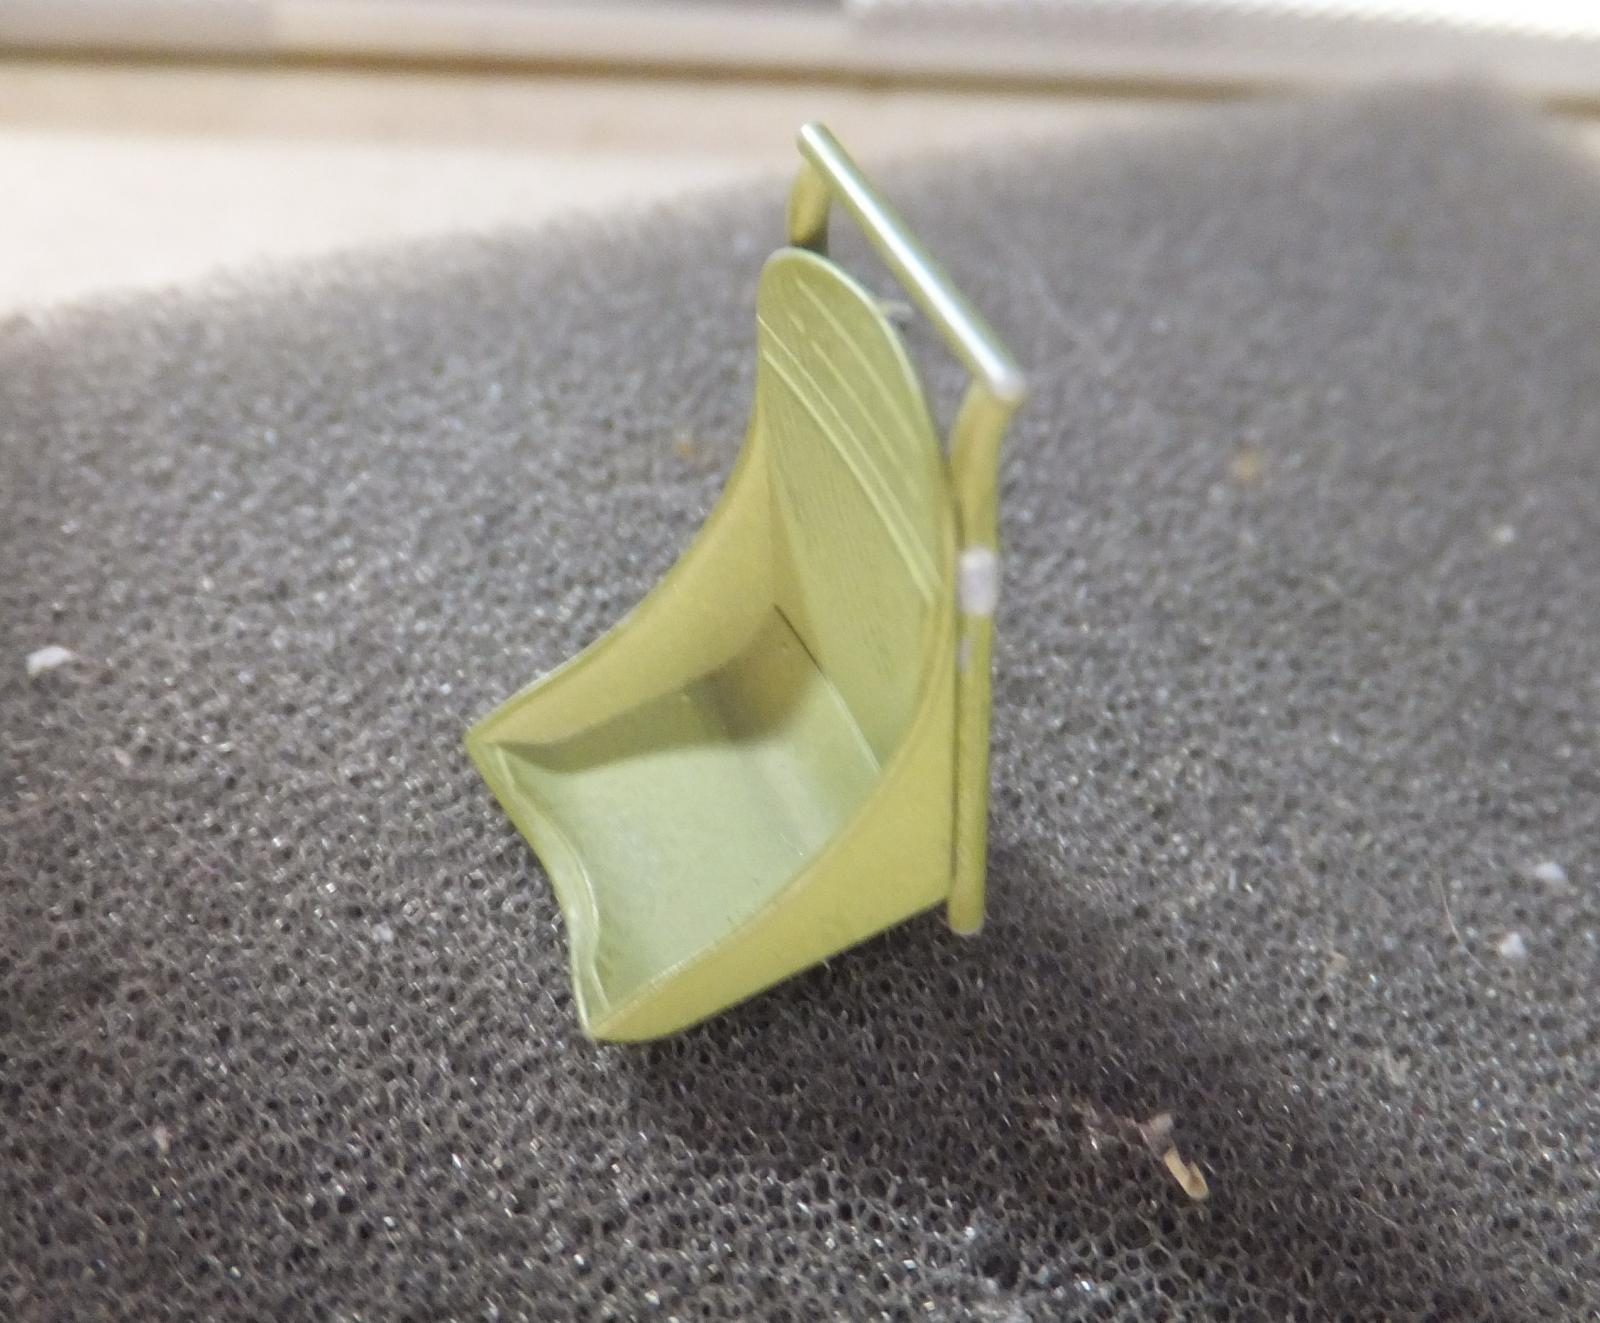

This is where I ran into trouble with the lap belts. As I placed one, (the RH side) and carefully tried to coax it over the seat side panel, it broke up and fell apart. So I tried a different approach for the LH side lap belt and placed it on the side of the seat first and then coax it over to the seat pan, no joy it broke apart as well. So getting back to Alexander Trofimov the head of Quinta Studios and they are aware with some issues on the seat belt situation. And are now working on making them more flexible and will have that solution as soon as possible. He says he will send me a new set. Which is awfully kind of them to do so. Otherwise I am totally satisfied with the set as a whole. The final bits of decal was on the rear deck.
The decals performed well here as well.
-

- 1. Just like a regular decal wicking the water sitting on the napkin

Quinta Studios has come up with an excellent new system to upgrade your interiors. Though most at the moment are for Russian aircraft, the line is expanding in 72nd, 48th and 32nd scale kits. A set has just been released for the 32nd Tamiya Mustang, a set for the Z-M F-4J in 48th scale. With much more planned in the future. So another option other than PE and resin is now available to those who prefer either medium. I have been an avid PE user for years though I have had my moments with them as well. Resin is usually a major option when it comes to some sort of surgery required to get some sets to fit. As I prefer a drop in replacement like seats or ordnance and not worry about cutting anything up. What I may do is which I have should've done and not to bash Eduard's as I love their stuff, but just to show the quality of both materials that now you have an option to choose from. I highly recommend Quinta Studio's products. They look great on the already incredible Tamiya P-38, it's a new and fun way to upgrade your model. This set i did buy and will buy some more.
Chuck
Fly Navy

-

- 1. Each panel is like a decal
-
- 1. Details removed from lower console panel
- 2. Perfect fit, looks great!


Chuck (@uscusn), thank you for that review!
I had noticed the new game in town, but thought that a decal could not possibly compete with my good old PE. Now I have to get me some of these - I'm off to check what they have available.
Always a bit skeptical when something new comes along. We do get set in our ways at times. But this new product is well thought out. Just one minor issue otherwise i will get some more.
Hi Chuck @uscusn!
This new stuff looks wonderful!
Once we had resin, PE, then BRASSIN, now this!
It IS the golden age of modeling and who knows what the future will bring...3D printing springs into mind...!
Your interior looks truly excellent!
Another alternative given us to help with our modeling fun. Not only new processes in kit development, but the after market as well is evolving.
Thanks, Chuck.
Will have to give these a closer look, especially for when I finally get to my Fork Tail Devils.
Hi Gary, thanks, your fork tailed devils will appreciate the enhancements. But your pretty good with your skills. Though you will like these. Very easy to apply that is the number one point to the whole set no fuss.
Chuck, @uscusn
This stuff looks really nice. I appreciate the time and effort you put into the article. Well done my friend. I pressed the "liked" button too.
Thanks Louis, you will appreciate the simplicity of the set. Easy to apply, except for the belts. All the pieces fit and stayed in place. It goes on the part and still have time to adjust placement when you first lay them down. Try em out. Now let see if they will venture into the dark side with some armor sets.
I've gotten some of these from JadarHobby in Warsaw, as they looked so good in their store photos. They look even better in hand, but I haven't got around to using them yet, so many thanks for the excellent tutorial. I'm not worried about the belts, as there are lots of alternatives. The Quinta colors are maybe a little stark, but that should even out once the canopy is added.
Thanks Chris. I was all set to use the Eduard's zoom set. Then I saw that Quinta had made available a set for the Tam P-38. So I figured let me get a set and give it a shot. They definitely do pop with in the cockpit. Like you I wasn't worried about the belts either as I have other options to choose from. But I am really happy of the ease of application and the end result. Though I will not give up on the PE sets. They do work for me for the most part.
🙂 ... Greetings ... 🙂 :
You my friend have just opened a box full of surprises for any modeler,
it seems to me that the hobby is not even off the table. New detail items arise and this is a good
injection. You can rest assured that this is a project I will be following .
I’m a big hater of PE parts.maybe because I’ve never really learned the right way to do them, but these look right up my alley. Thanks for the step-by-step review.