Accurate Miniatures Grumman F3F-2 Trainer 1/48 (repainted)
This article is part of a series:
Hello friends,
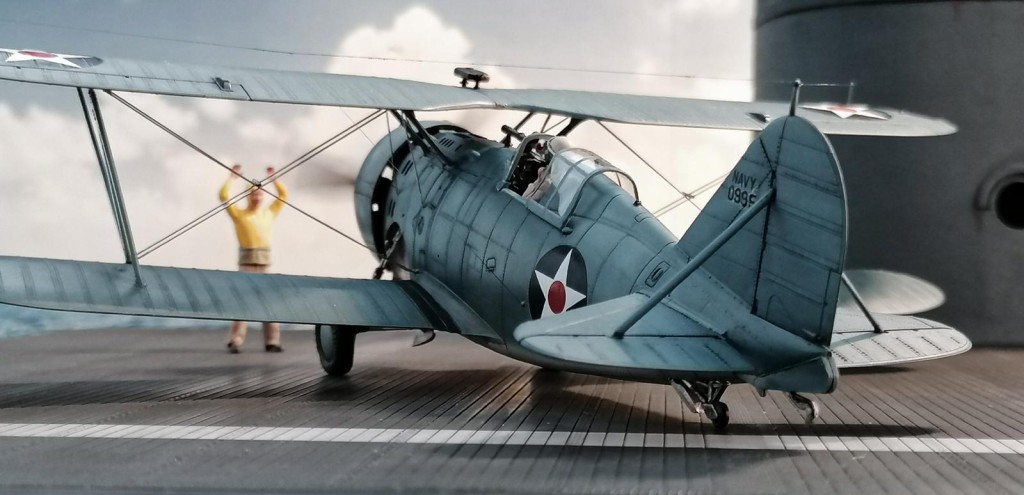
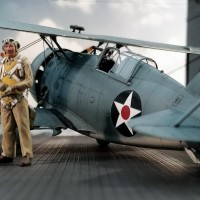
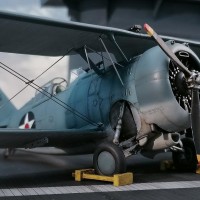
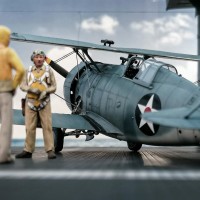
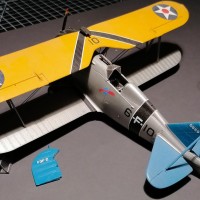
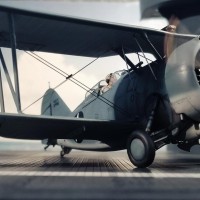
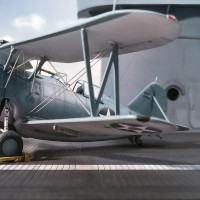
this kit is the Grumman F3F-2 from Accurate Miniatures, with some figures from Tamiya and Tori Factory. I have built the kit about 10 years ago and the model was gathering dust because of lack of space in my showcase.
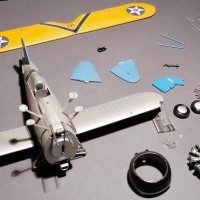
I wanted to build the F3F-2 again. instead of using a new kit, I figured I'd just disassemble and rebuild the kit. On my research over the internet, I found out that the F3F-2 continued to be used as a trainer even after the introduction of the F4F Wildcat. A lot of Navy and Marine Corps flying aces have flown the F3F.
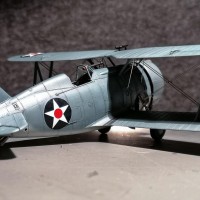
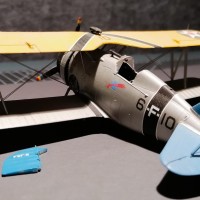
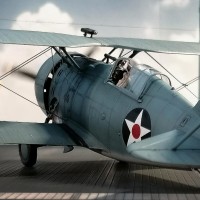
The aircraft shown here (BuNo 0995) was originally the 2-MF-16. The aircraft was damaged (crash) on December 30, 1940, and then repaired and overspayed in gray blue over light gull gray. I'll do that too, I thought!
I had no trouble taking the parts apart. After 10 years, the glued parts became a bit brittle and therefore I was able to disassemble everything with little force. I used oven cleaner to remove the paint on the upper wing. I just cleaned, primed and repainted the fuselage and lower wing.
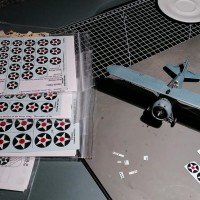
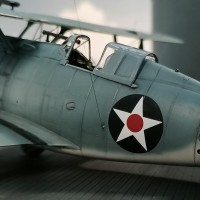
This time I have the color gray blue from the Vallejo series, set number 71157 US NAVY & USMC colors. I really like the darker tone, it's also a little bluer than AK-Interactive's. But unfortunately, the paint is not so easy to spray and, above all, difficult to rework, e.g., grinding. Since I didn't have any more decals for this model, I had to improvise. The stars are from Yellowwings decals and the BuNo is a combination of different decals (silvering a bit).
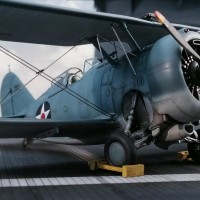
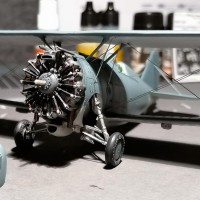
The subsequent re-attachment of the metal braces was a nightmare for me as the parts are difficult to shape. The metal is extremely stable. The super glue and I had a lot of trouble…
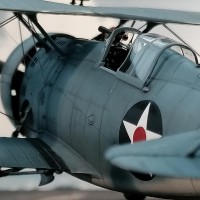
The canopy is selfmade. I always replace them, as I find the ones from the kit too thick to show with the canopy open.
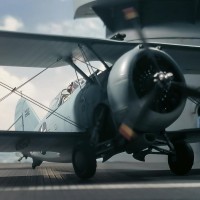
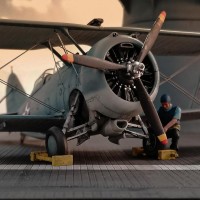
This biplane is relatively small compared to the F4F and even more so compared to the F6F. The wings were still covered with fabric and the landing gear had to be retracted and extended with a crank (like in the Wildcat). This required 28 revolutions. This must have been a big challenge, especially during the launch from an aircraft carrier! Unfortunately, I cannot say whether this aircraft (as a trainer) served to get carrier qualifications.
Therefore, the scenery is speculative, but I hope it is beautiful to look at for you.
Thank you for your interest.

Yet another spectacular result, Andreas!
I bet repainting/rebuilding a model is more difficult than building a new one.
You carried out this job in pure excellence!
Well done!
Thank you very much Spiros. Rebuilding is not as difficult as you expect. The important part is to get all parts apart without damage. Sometimes it can be helpful to search for the instructions over the internet (PDF).
Blimey! That’s a super renovation work Andreas.
One trick to better spray Vallejo air is mixing 50-50 with Liquitex Flow Aid. This stuff makes the spraying almost as good as mr.Hobby or Tamiya acrylics experience.
I also used that Vallejo shade to paint a Guadalcanal Wildcat several years ago, and it was a pain to spray! Wish I had this stuff back then.
Thumbs up as usual my friend, a very solid work
Thank you very much Pedro. And thank you for your advice regarding the Vallejo colors, I will give them a try!
Wow! Andreas, congratulations on this reburbished mode;...it came out great.
Wonderful result Andreas!
Nice work Andreas, I think I like it better in the blue vs the yellow wings.
I liked them both, but holy cow the redo just pops! Imagine manufacturers concern when they see how well you “rebuild” this kit!
Nice recycle, Andreas! That’s a truly excellent kit and you gave it new life in seldom seen colors.
I'll agree with what others have said, and add your figures and the photography are first rate. I have an old one of these that has a terrible paint job, perhaps I'll give repainting it a go as you have done.
Amazing result once more, Andreas @fletcher
Your skills of painting and weathering are superb .
As well as the way you are presenting your models, fantastic pictures.
The F3F wouldn't have been used for carrier qualification. That was more likely done with old SB2Us or early SBDs taken off ops. Also F4Fs after they came off ops.
If you want to solve the silvering, slice the decal with a #11 tip and flood the area with setting solution. It will get rid of the air under the decal (the cause of the silvering) and the decal will settle into the surface and you'll never know it was sliced. This can be done even when you're "finished" with the model.
Thank you very much Gentlemen, happe that you like it.
@Tom: Thank you for the advice, I will give it a try!
Trust me, @fletcher - it works. Just did it the other day.
Love the model, love the scheme you went with! Excellent rebuild. I built this kit years ago and would also love to give it a go again. You finish is flawless and well executed!
Your photography is inspiring. Can you explain your lighting set up?
Another great looking model Andreas! And those figures! ? They look as though one could walk up shake hands with the pilot! Great job again! ?
I hadn't considered refurbishing old builds - that might take some effort since mine are all epoxied to stands - but I might consider giving it a go! Your work paid off handsomely, and it's a subject I don't know that I've ever seen built up. A real beauty!
All of the above, looks great! These early Grumman's were not given a cat name, let's make our own, how about AlleyCat. lol
This is sweet. Nice save, photos and figures. Love the posing.
Great job reworking a previous build. I always look forward to your photos and builds.
Thank you very much my friends, makes me happy : ) The next little Fighter is on final approach!
Always a delight to view your work! This one looks terrific in it's new blue outfit.
Vallejo also makes a flow aid that works well for their non-air regular paint which definitely needs to be thinned.
Thank you very much Eric, also for the advice!