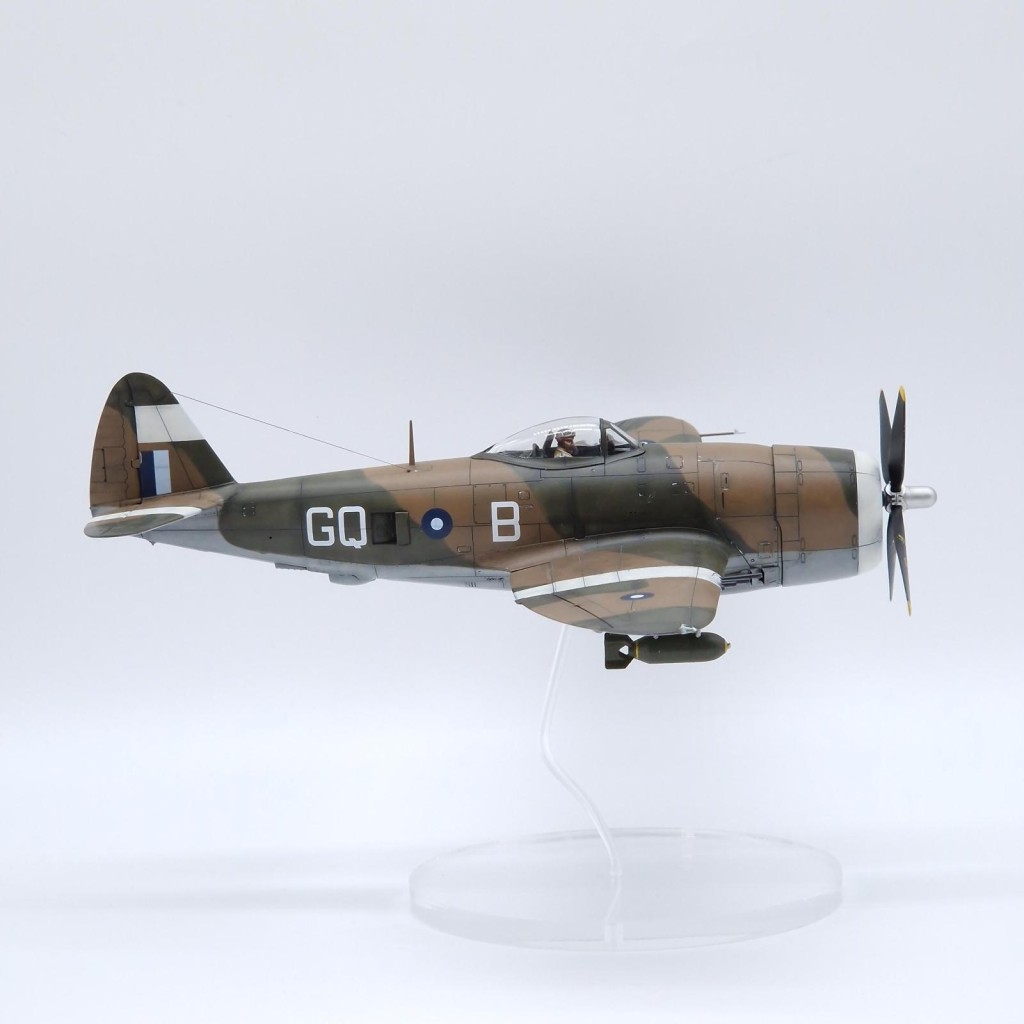
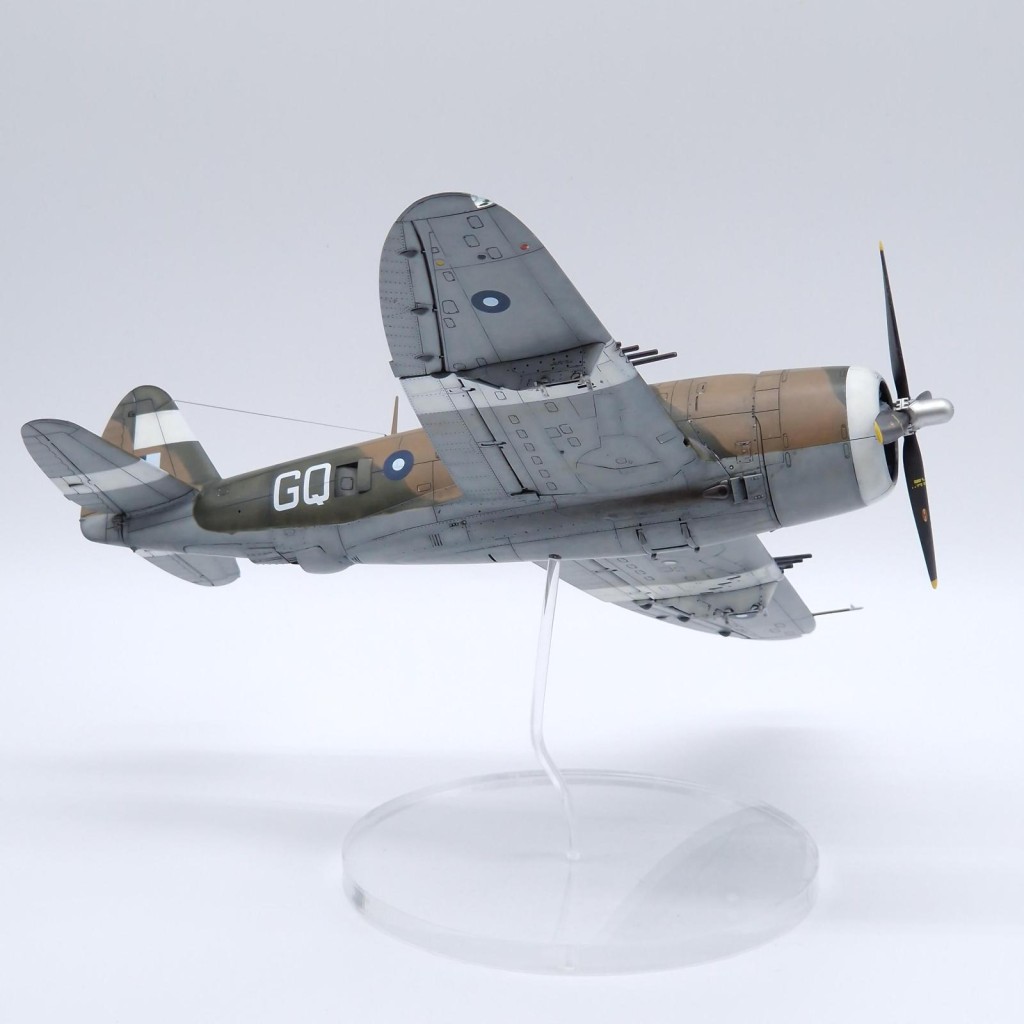
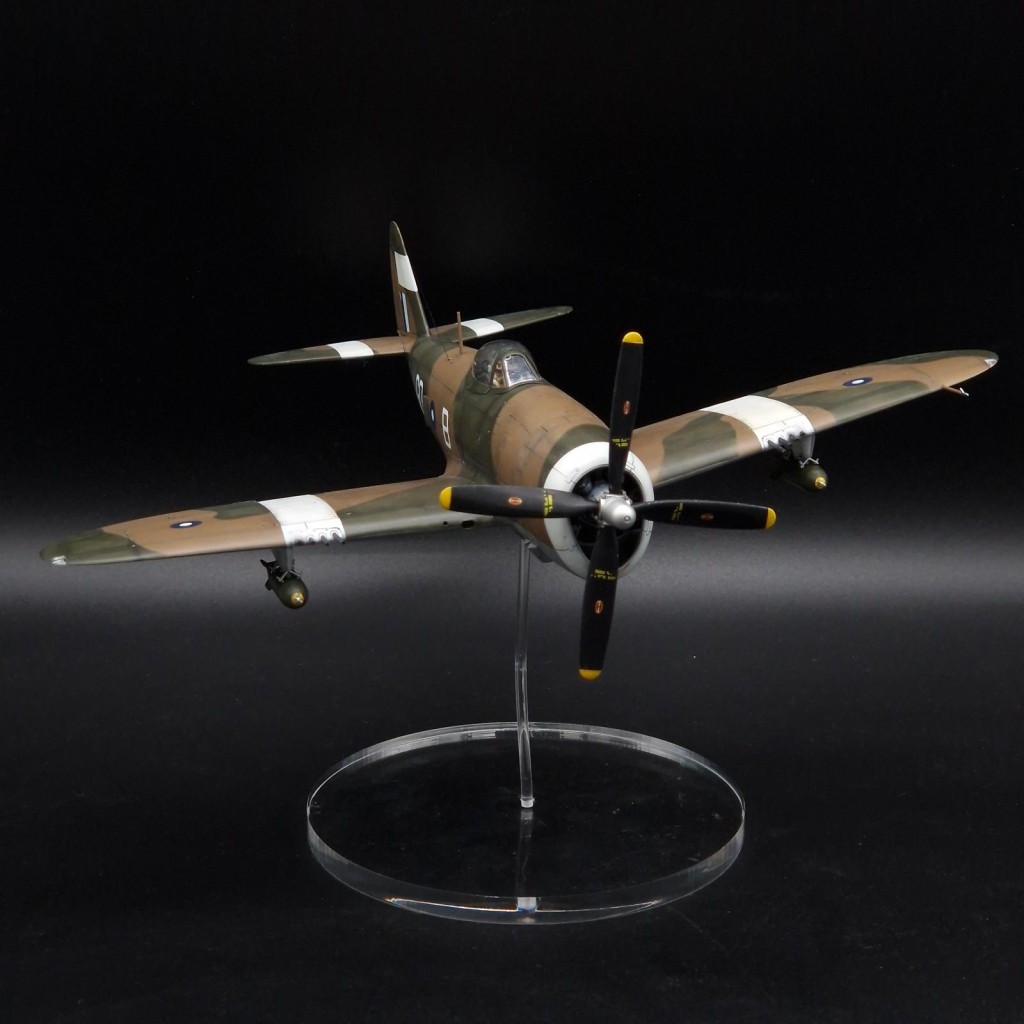
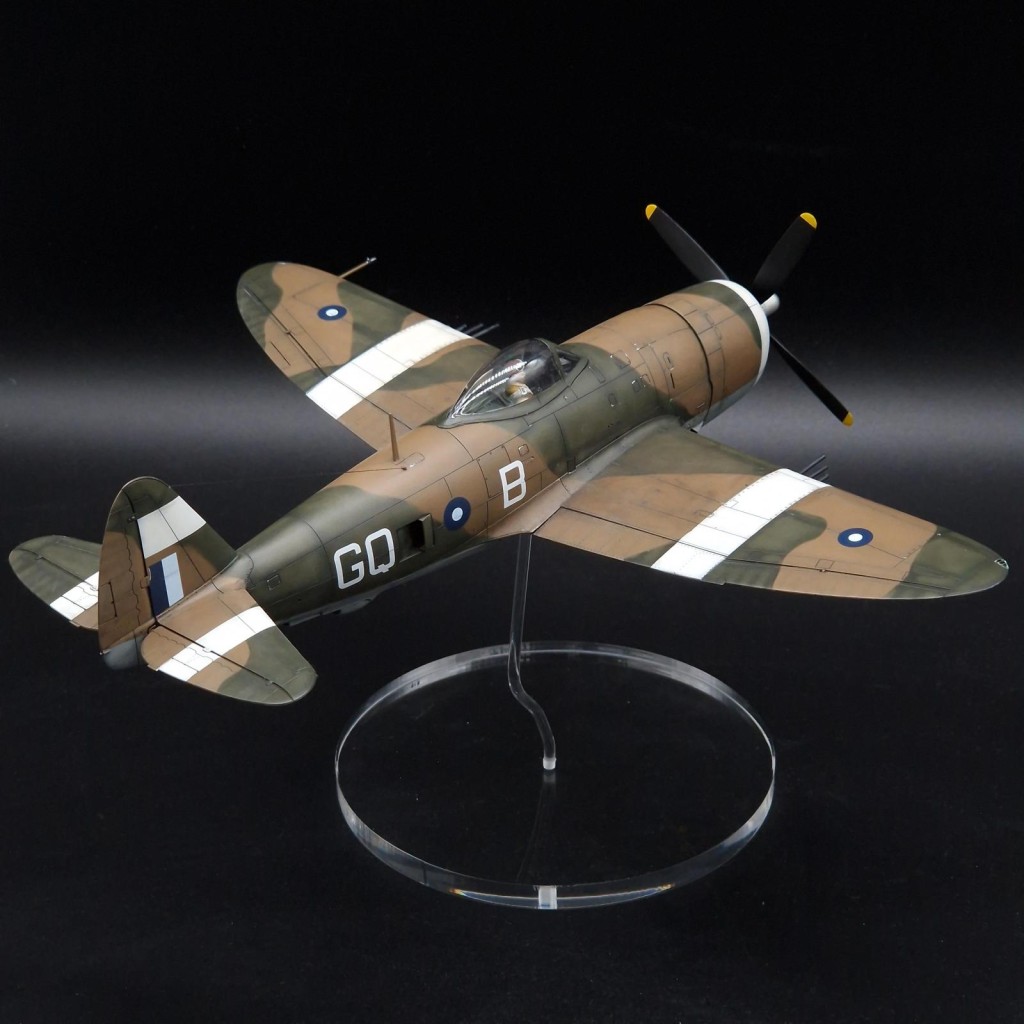
Tamiya P-47D-30-RE, 'The Bubbletop over Asia'
This article is part of a series:
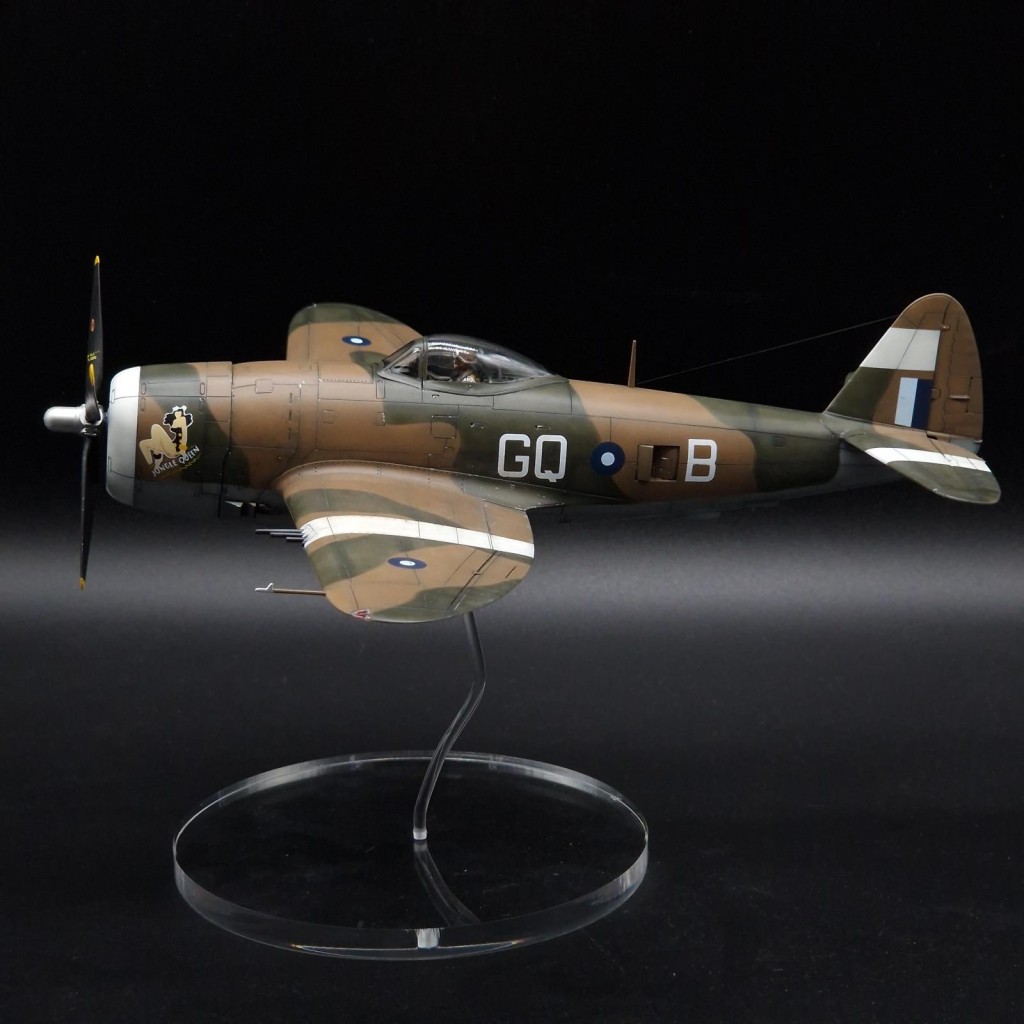
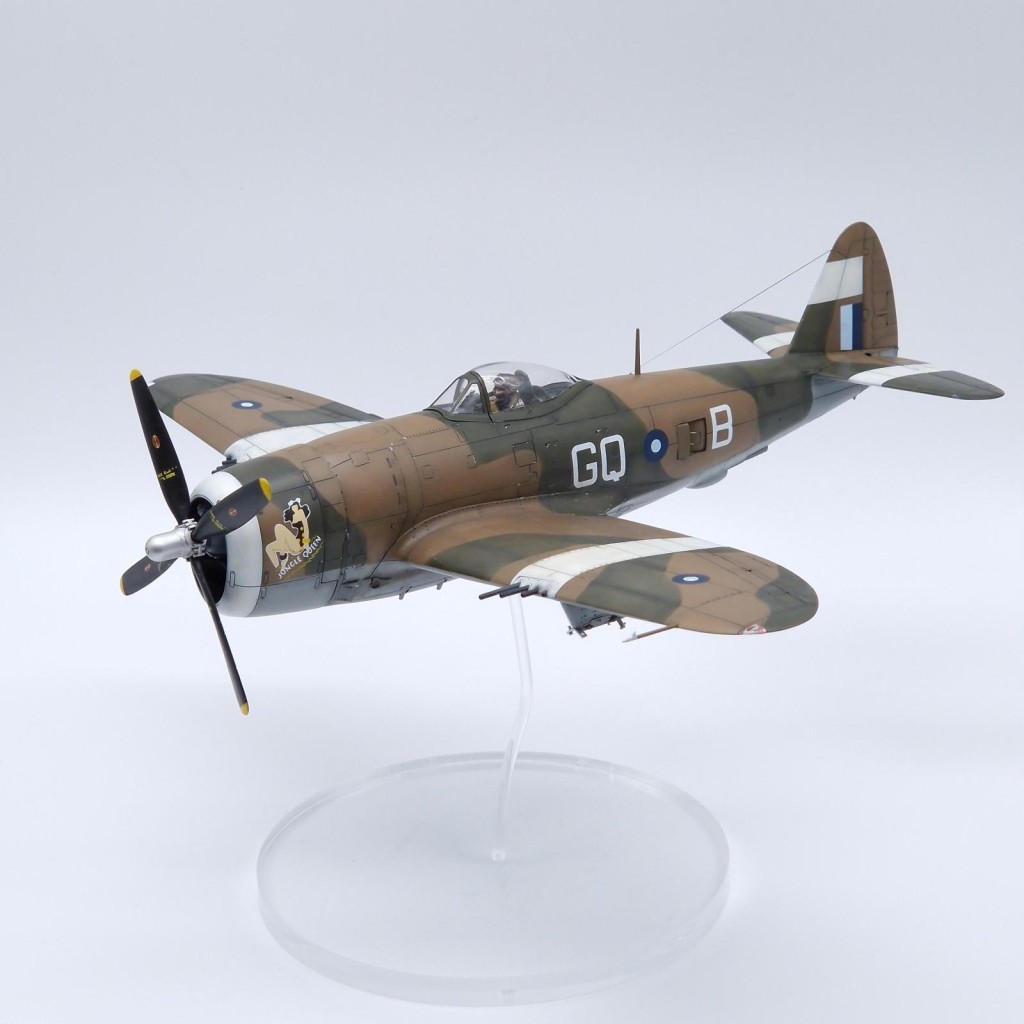
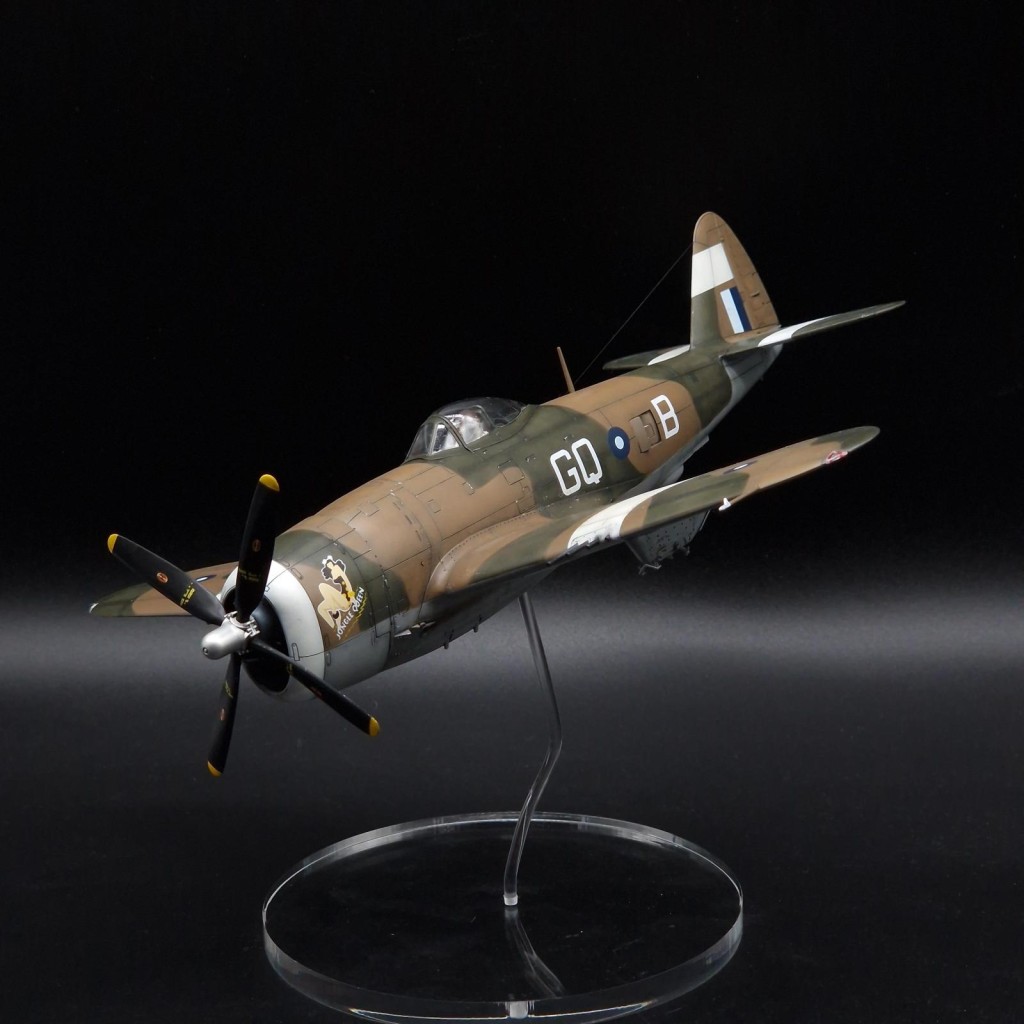
After a couple of single builds I wanted to get back to the dual combo way of building kits, and so what better than a bubbletop to go along with the razorback P-47? Having completed a bare-metal Mustang just before the Thunderbolts I looked towards good schemes that weren't needing metallic paints and was reminded about the RAFs use of the aircraft.
The Kit
Unsurpsingly Tamiya's bubbletop is only marginally different to the razorback, no points awarded for guessing where the major difference is! As such, anything said about the previous razorback post can be applied here though its interesting to note that in the short time between the two kits, the bubbletop has very slightly more refined cockpit detail in the form of more in scale raised handles and such.
The Build
Deciding on the scheme was very simple. As said, metallic bubbletops were not really on my list at the time and an olive drab (or the more likely stand in paint, as pointed out by Tom Cleaver during the build thread) were off the table as I wanted something a bit different to the razorback. Naturally this really only left a few uniquely painted aircraft and the RAF.
I've always been interested in the Far East and Pacific, perhaps because in England meant I've heard about the Spitfires and Hurricanes over Europe so much on TV documentaries when I was growing up that the lesser talked about side of the war captures my interest. I've long been awaiting Arma Hobbies Hurricane Mk.IIc in 1/48 for a foray into Burma, but I figured the Hurricane's replacement in the form of the Thunderbolt Mk.I and Mk.II would do nicely.
I was a bit conflicted whether to do wheels up or down. Firstly, shelf space is quite limited right now and a wheels down would actually fit better, secondly the decided scheme of 'Jungle Queen' has one photo of it on the ground being armed with the decorated bomb. As a side, nose art or any sort of customised markings are near impossible to see with 'Jungle Queen' standing out as the only bubbletop I could find.
In the end I went for wheels up, it is my preferred look for a model and I had a beautiful set of 3 resin figures from Elan13miniatures I happened to come across on ebay. 1/48 resin seated pilots are sadly coming rarer and rarer so I picked these up without hesitation and without really looking at what I bought and was very pleased with the great detail. Of note here was a macho pilot with a big handlebar moustache wearing shorts who I immediately thought would look great in that Hurricane build I mentioned or a desert P-40, but rather than wait for that I thought it would look great here.
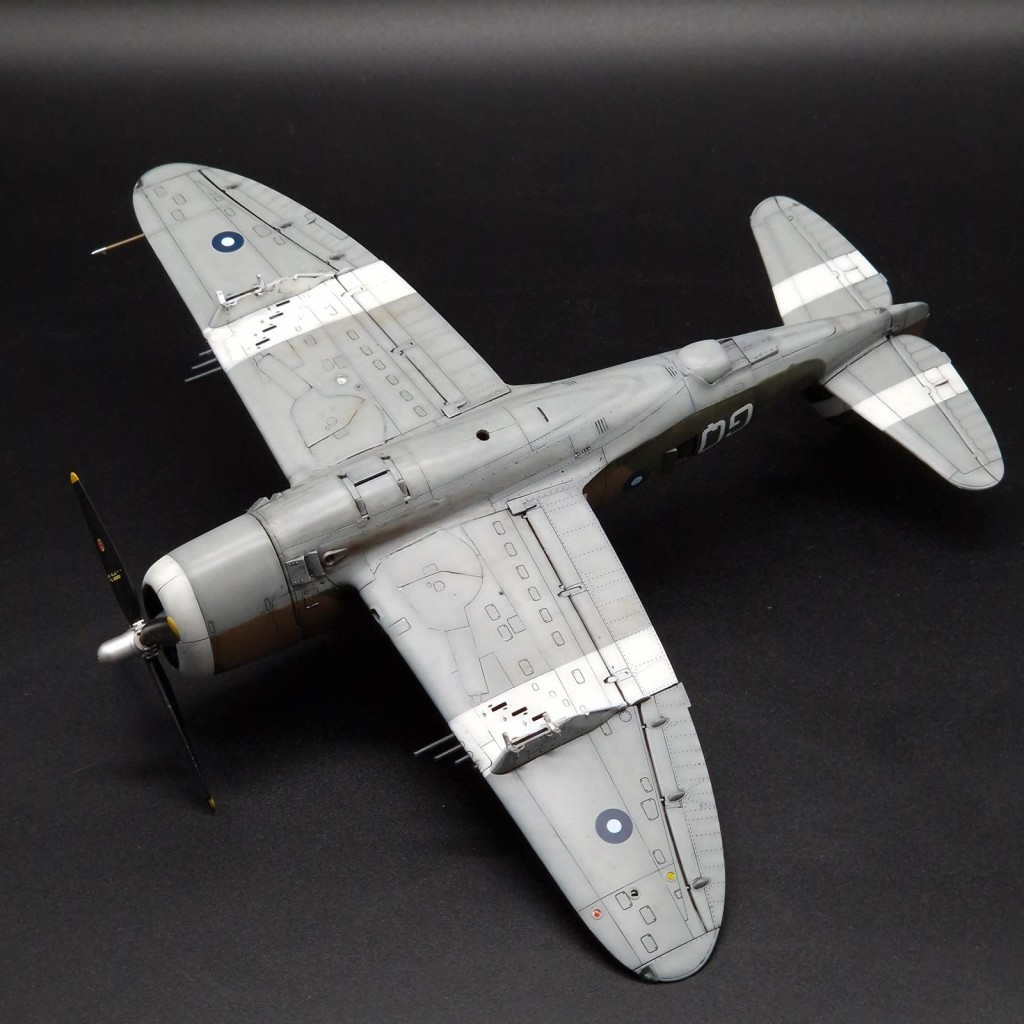
The wheels up modification was actually very easy, which is always nice. The decals used were from Xtradecal but I was quite disappointed in them as they were very weak and many ripped from just using Micro-Sol, whilst not conforming into the panel lines as I'd like. Three notable question marks are the lack of face on the Jungle Queen herself, which to be fair cannot be seen in the photo due to lighting but one can assume something is there. Also, the bomb decal says jappy xmas, lacking the QL54 and the quote marks seen in the photo. Finally, no serial is included but the Imperial War Museum says its KL139.
Painting was done with three paints, MRP's Dark Earth, Tamiya's RAF Green XF-81, and Tamiya's Medium Sea Grey XF-83. I wanted to go for an all MRP build as that's what I typically use nowadays but the colours weren't available, but I had the RAF paints in Tamiya from older builds.
Final Thoughts
As said in the previous Thunderbolt build, the 1/48 kit is a really nice and affordable build that should definitely be considered by anyone interested in WWII. The ease of wheels up modifications are a nice bonus for me, and there's definitely no shortage of users and schemes that can be recreated in miniature. The RAF usage of the Thunderbolt is often forgetten as it came late and was used in that lesser taught theatre of War, so I'm glad I have a repsentation of it.
Now I just need to do a Hurricane and Beaufighter from the SEA theatre and I'm happy!
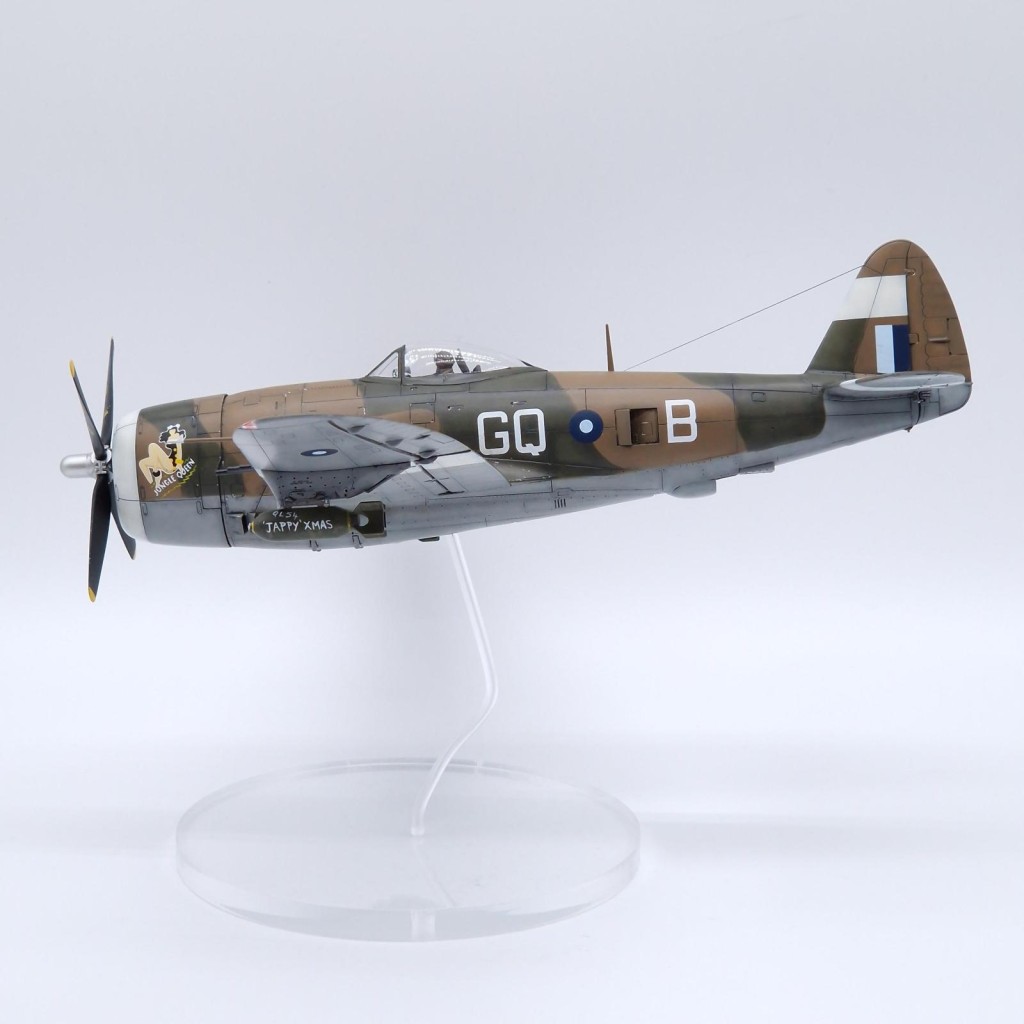
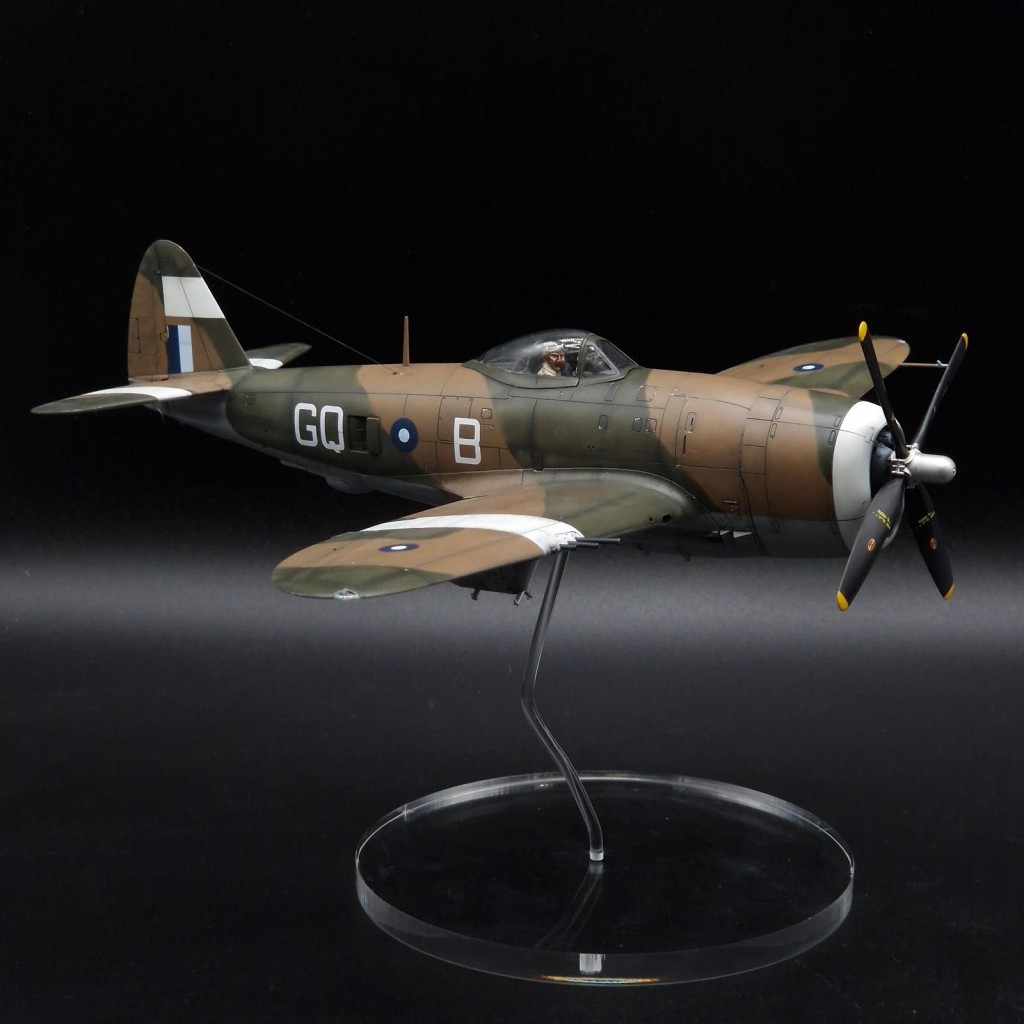
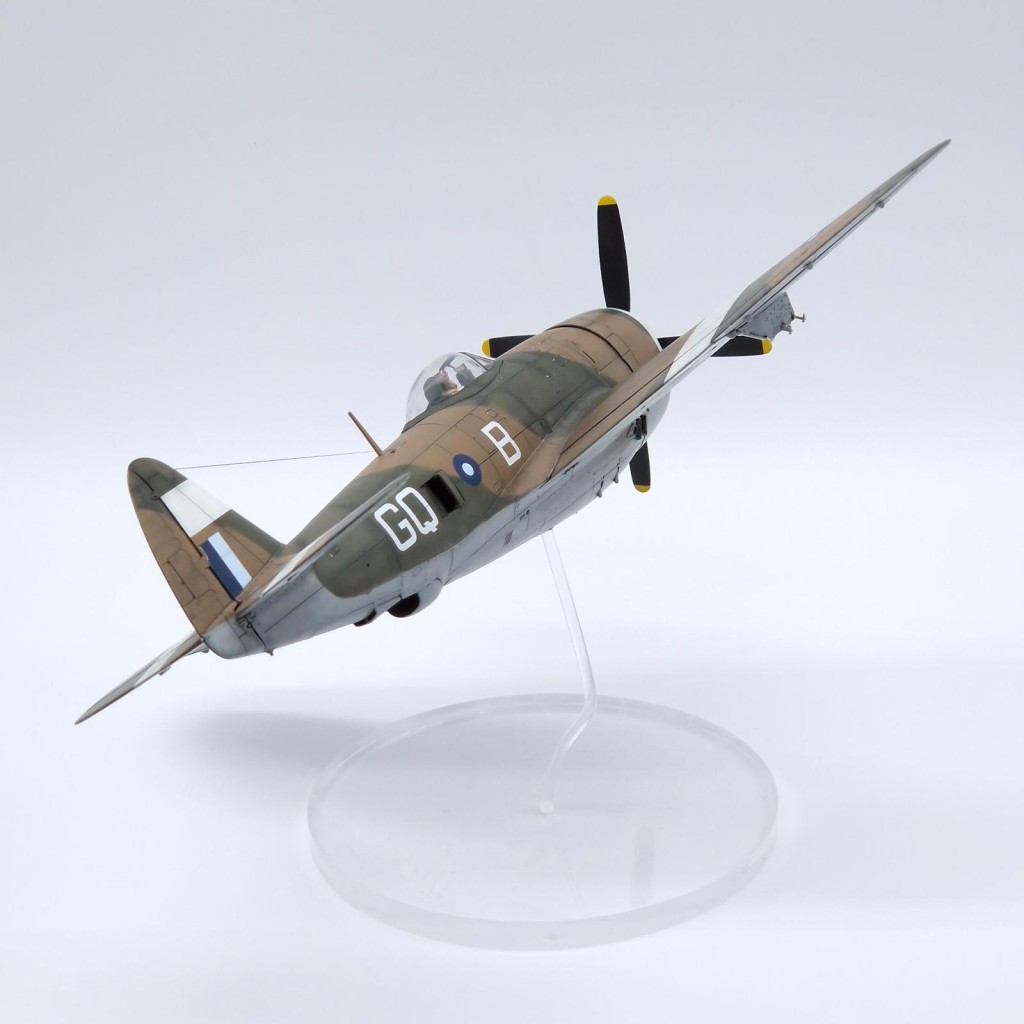
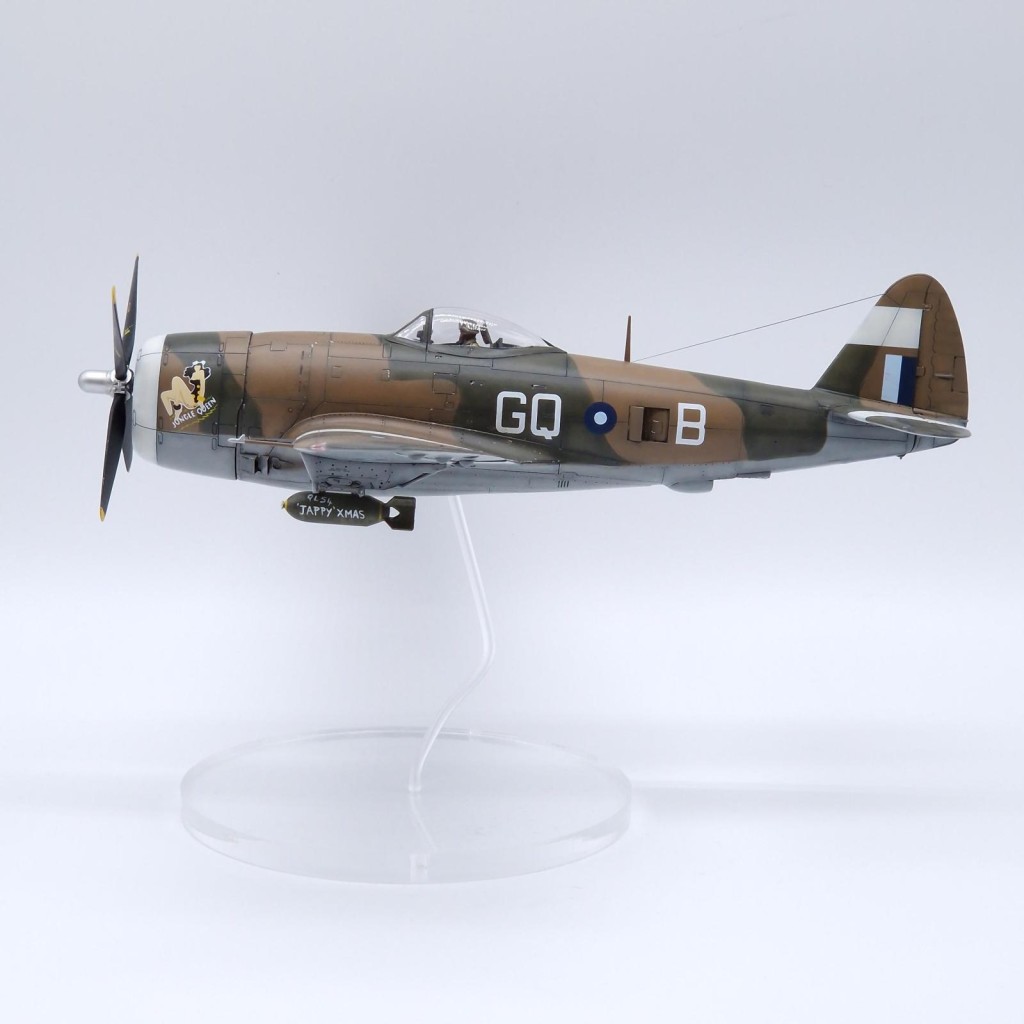
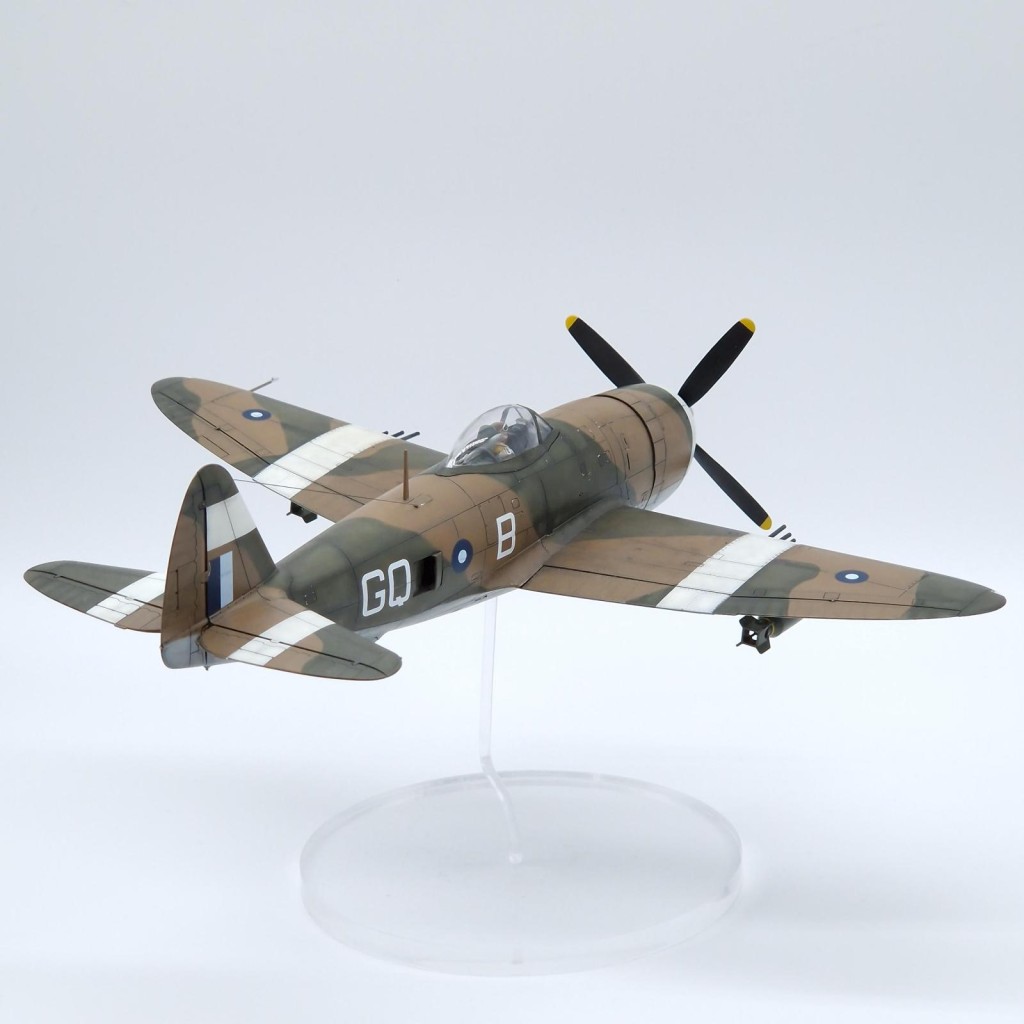
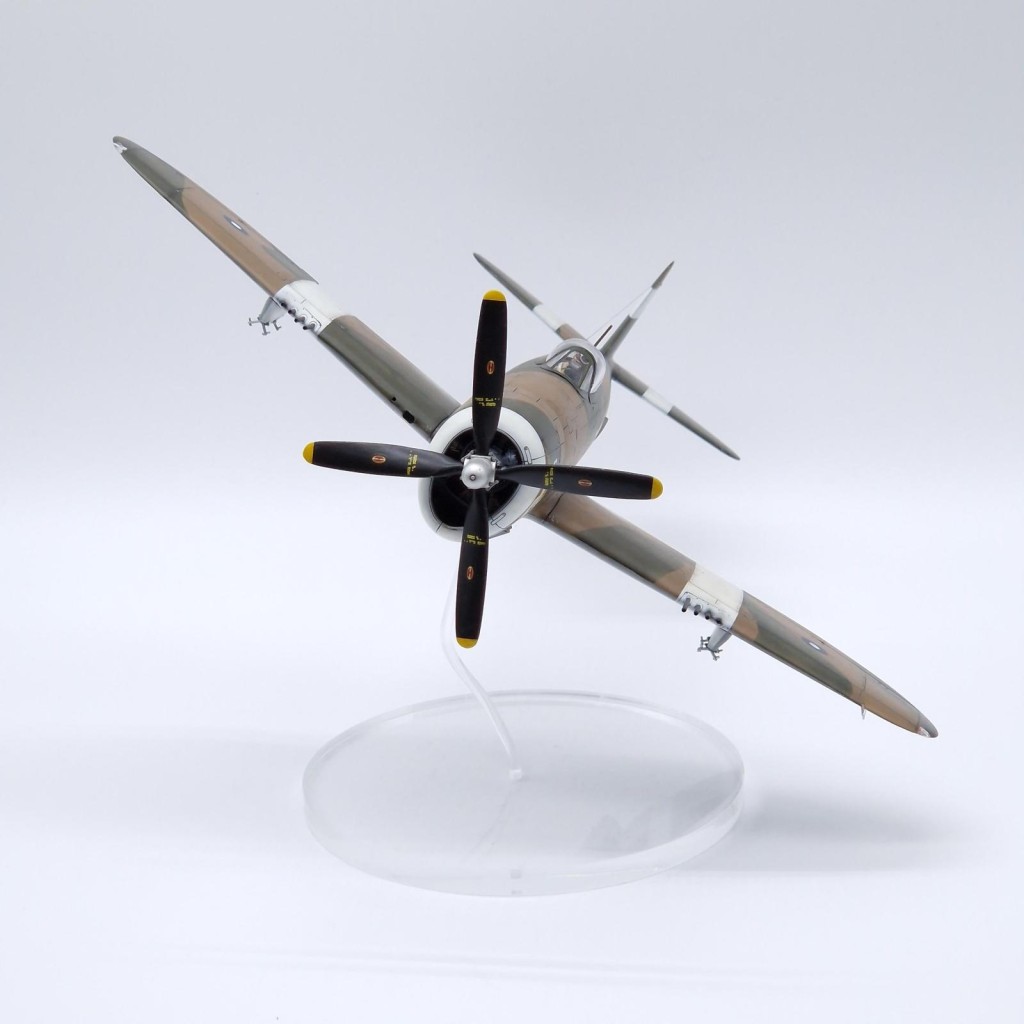
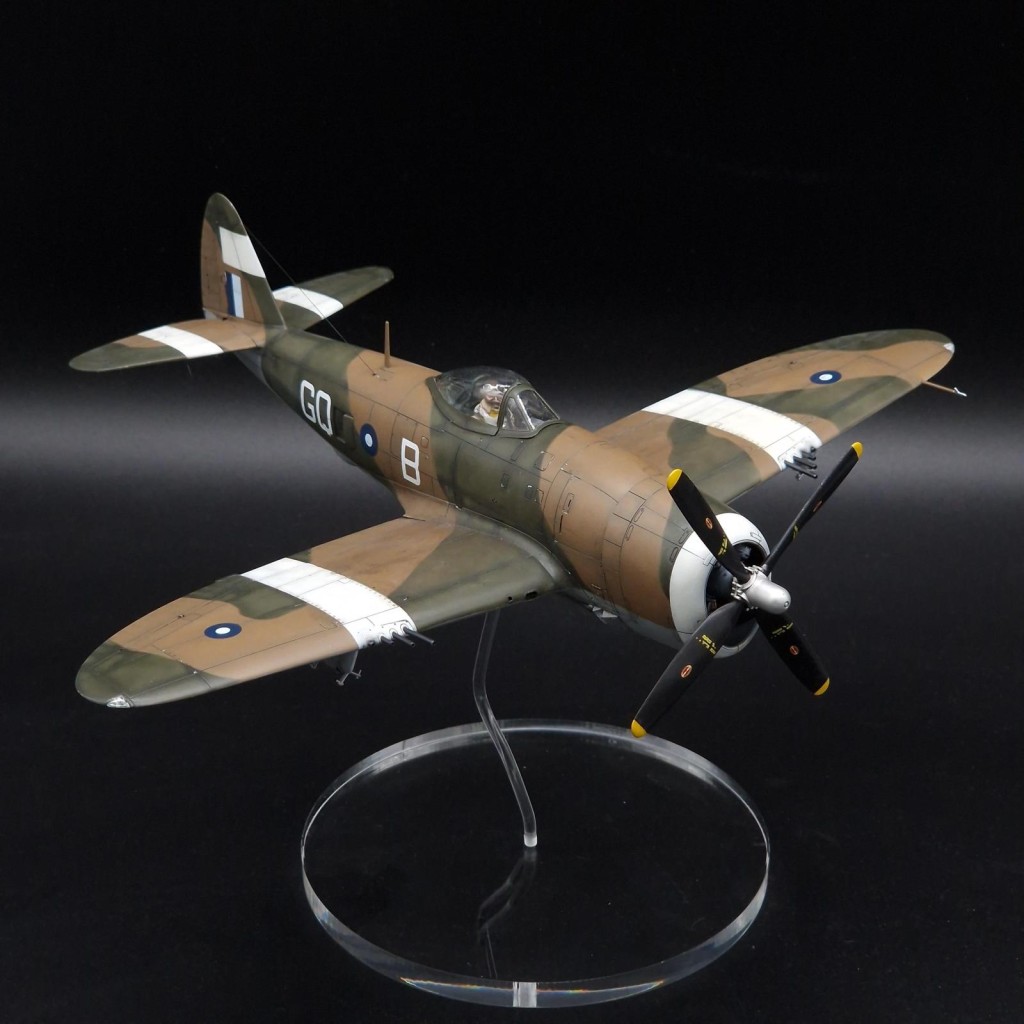
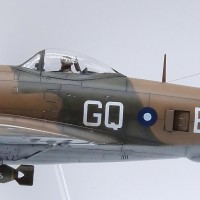
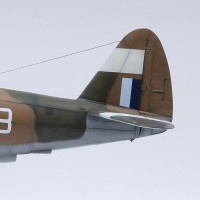
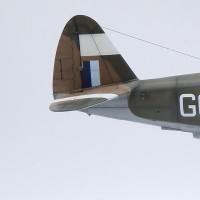
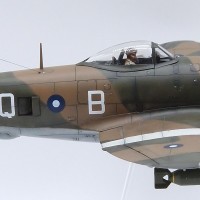
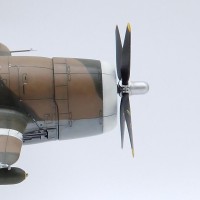
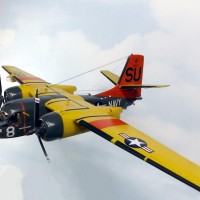

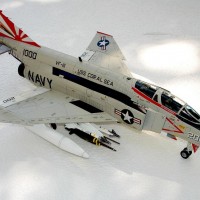
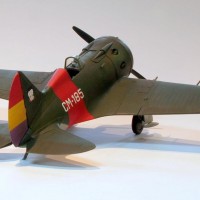
Love the not so often seen brown and green of RAF in Asia. Very nice representation. Only thing I´d like to change is the stationary propeller.
Thank you!
To each their own of course, but personally I find it's very rare the clear plastic disc type propellers look like anything other than a piece of plastic when I've seen them. There's a handful of models that stick in my mind as having done the propeller in motion right, I'll have to give it a go sometime but I have a feeling it'll end up with the 90% of times I see it and it looks a bit off.
Ideally I'd use a motor, but I haven't had a go with that yet aside from one of the old Tamiya kits that came with one, but it didn't work in the end.
Let´s agree on you using too high a shutter speed setting on your camera to make the propeller blurry on the photos
Very nice result Harvey. It was fun watching your progress.
Thank you!
A SEAC Thunderbolt! What’s not to like? Well done, Harvey. I like the pilot too!
Thanks! I'm particularly happy with him, but credit goes with Elan13 for making such a good sculpt.
Excellent result, Harvey @scalerambush
The way you present it 'in-flight' is nicely done.
Thank you very much!
Beautiful build and the overall looks are amazing! Great job.
Amazing result, Harvey!
Looks great, Harvey (@scalerambush). I am always looking for some paint schemes that are not often seen, and this one fills the bill. Well done.
Thank you! I look forward to your rendition.
I wonder if there's any other RAF Thunderbolts with notable nose art, it definitely isn't a common sight.
Beautiful T-bolt, and love the scheme (and in-flight mounting!).
Harvey @scalerambush - Your Jug looks great in these colors. Well done. Thread was very interesting as well.
Who makes that stand? I would like to get a couple of those.
Thank you! The stand is super simple, it's an Acrylic (or brass if you prefer) rod and an acrylic disc, both stuff available from eBay for cheap.
I typically get a 200mm x 3mm rod and then cut it in half, and use a 120mm x 8mm disc for the base. A hole can be quickly drilled and then the rod put in and glued in required. You can bend the acrylic rod with some heat either from a hairdryer or a candle to get it a good angle for the weight of the aircraft, especially if the centre of gravity isn't a feasible spot due to detailing or ordinance.
Looks amazing Harvey, very nice.
Excellent build and scheme
What they said! Great job, the P47 always lends itself well with nose art.
Great looking Jug!
Great looking jug. I’m doing one with wheels up as well and curious about how you did the conversion. Seems everything fits when I remove the tabs on the inner covers. But there is that small gap where the landing gear folds in. How did you fill that gap? Any help appreciated.