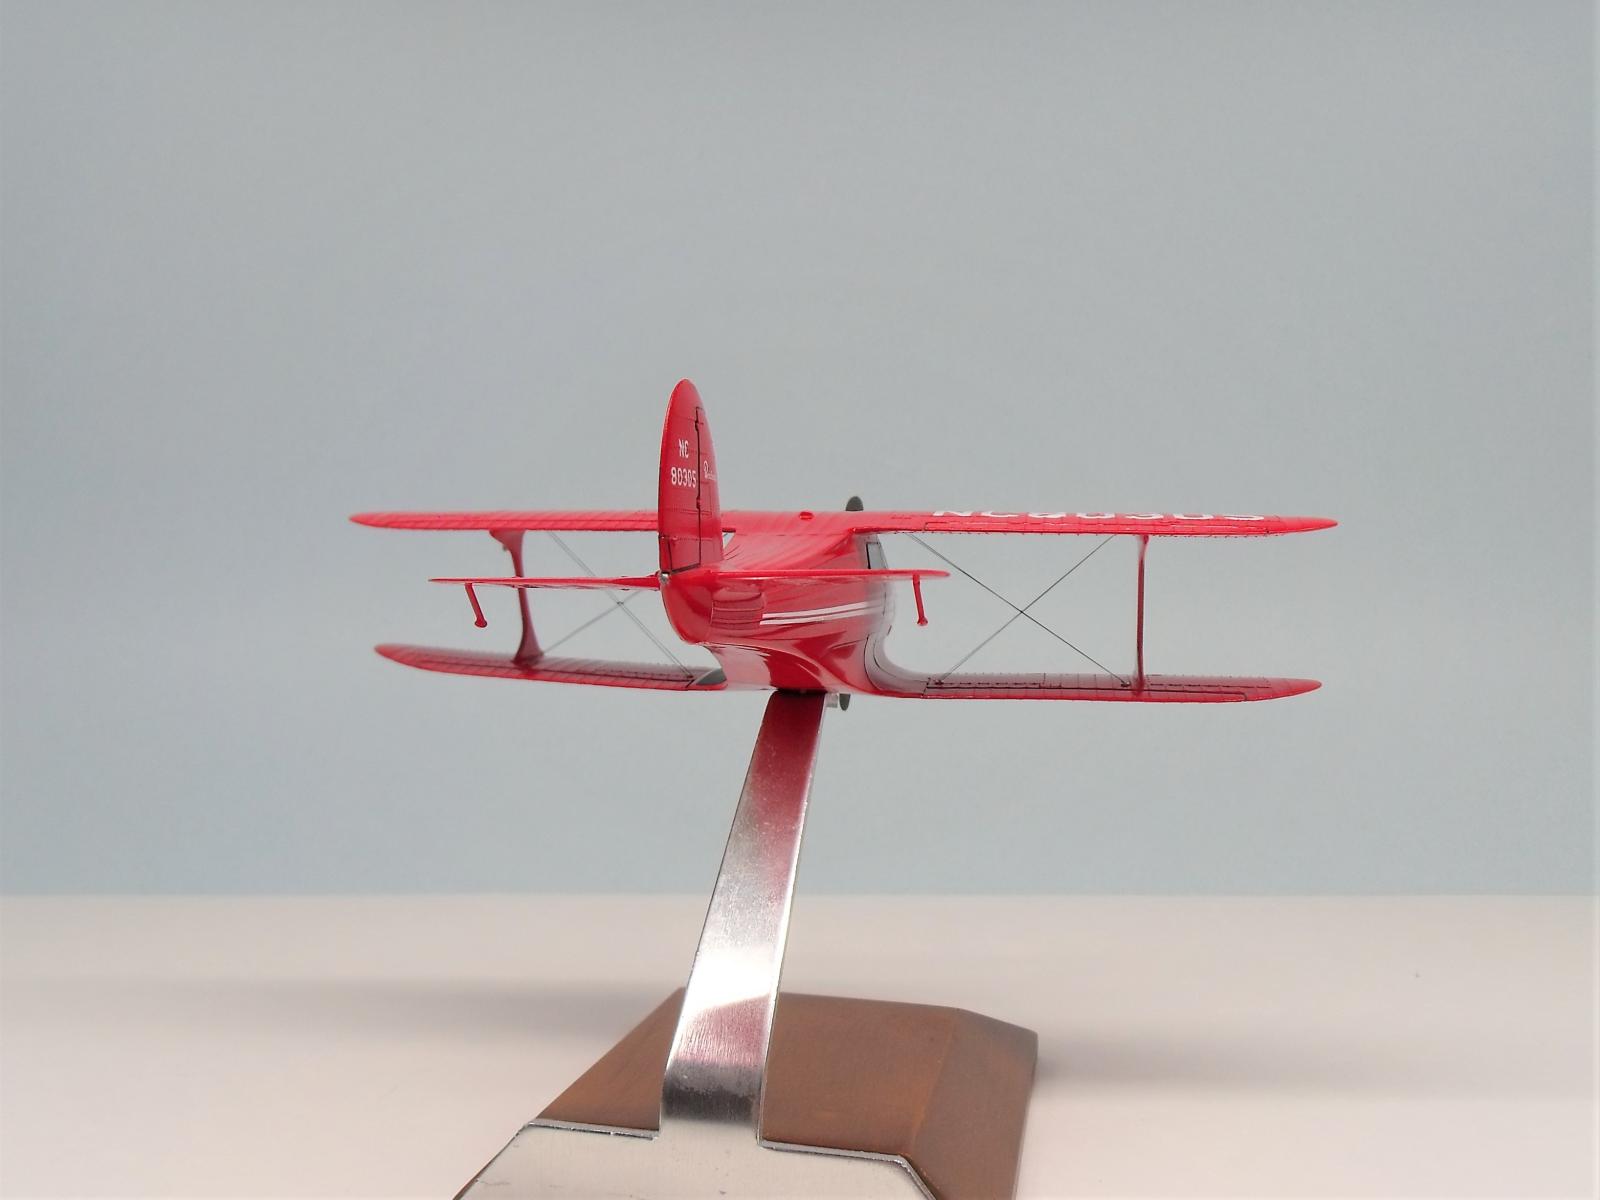
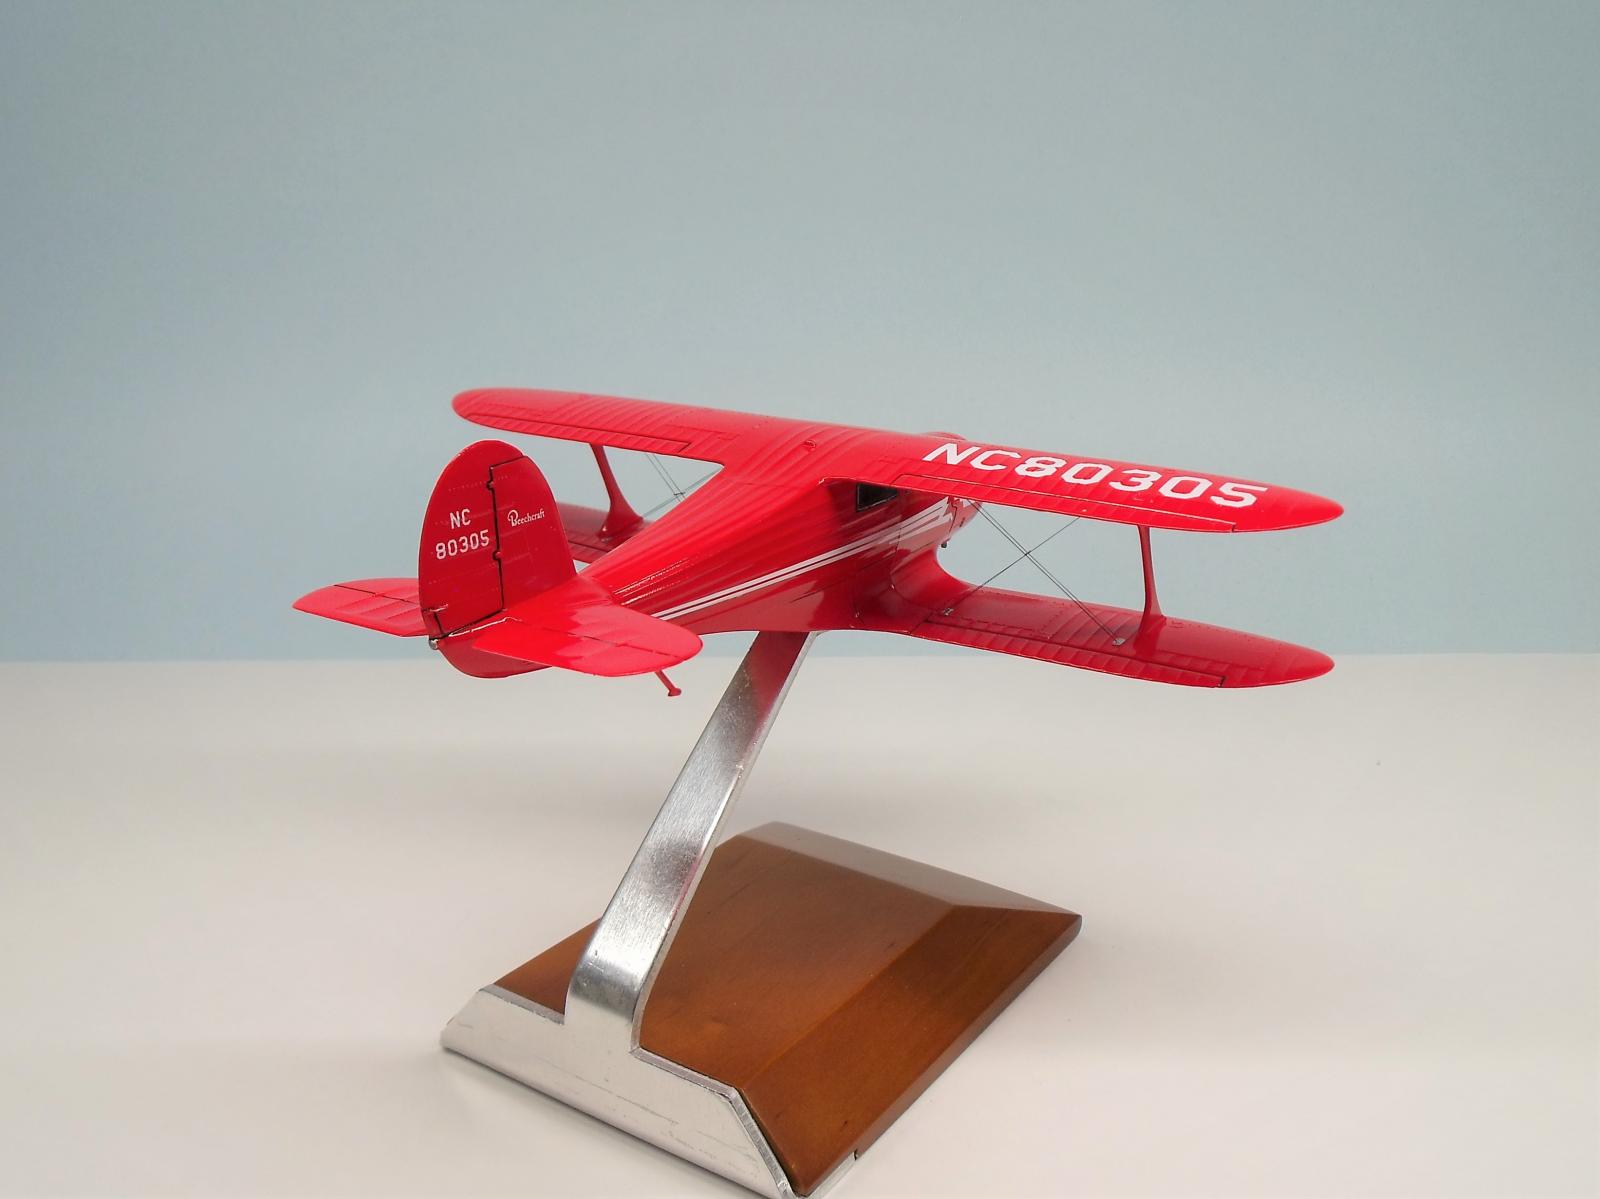
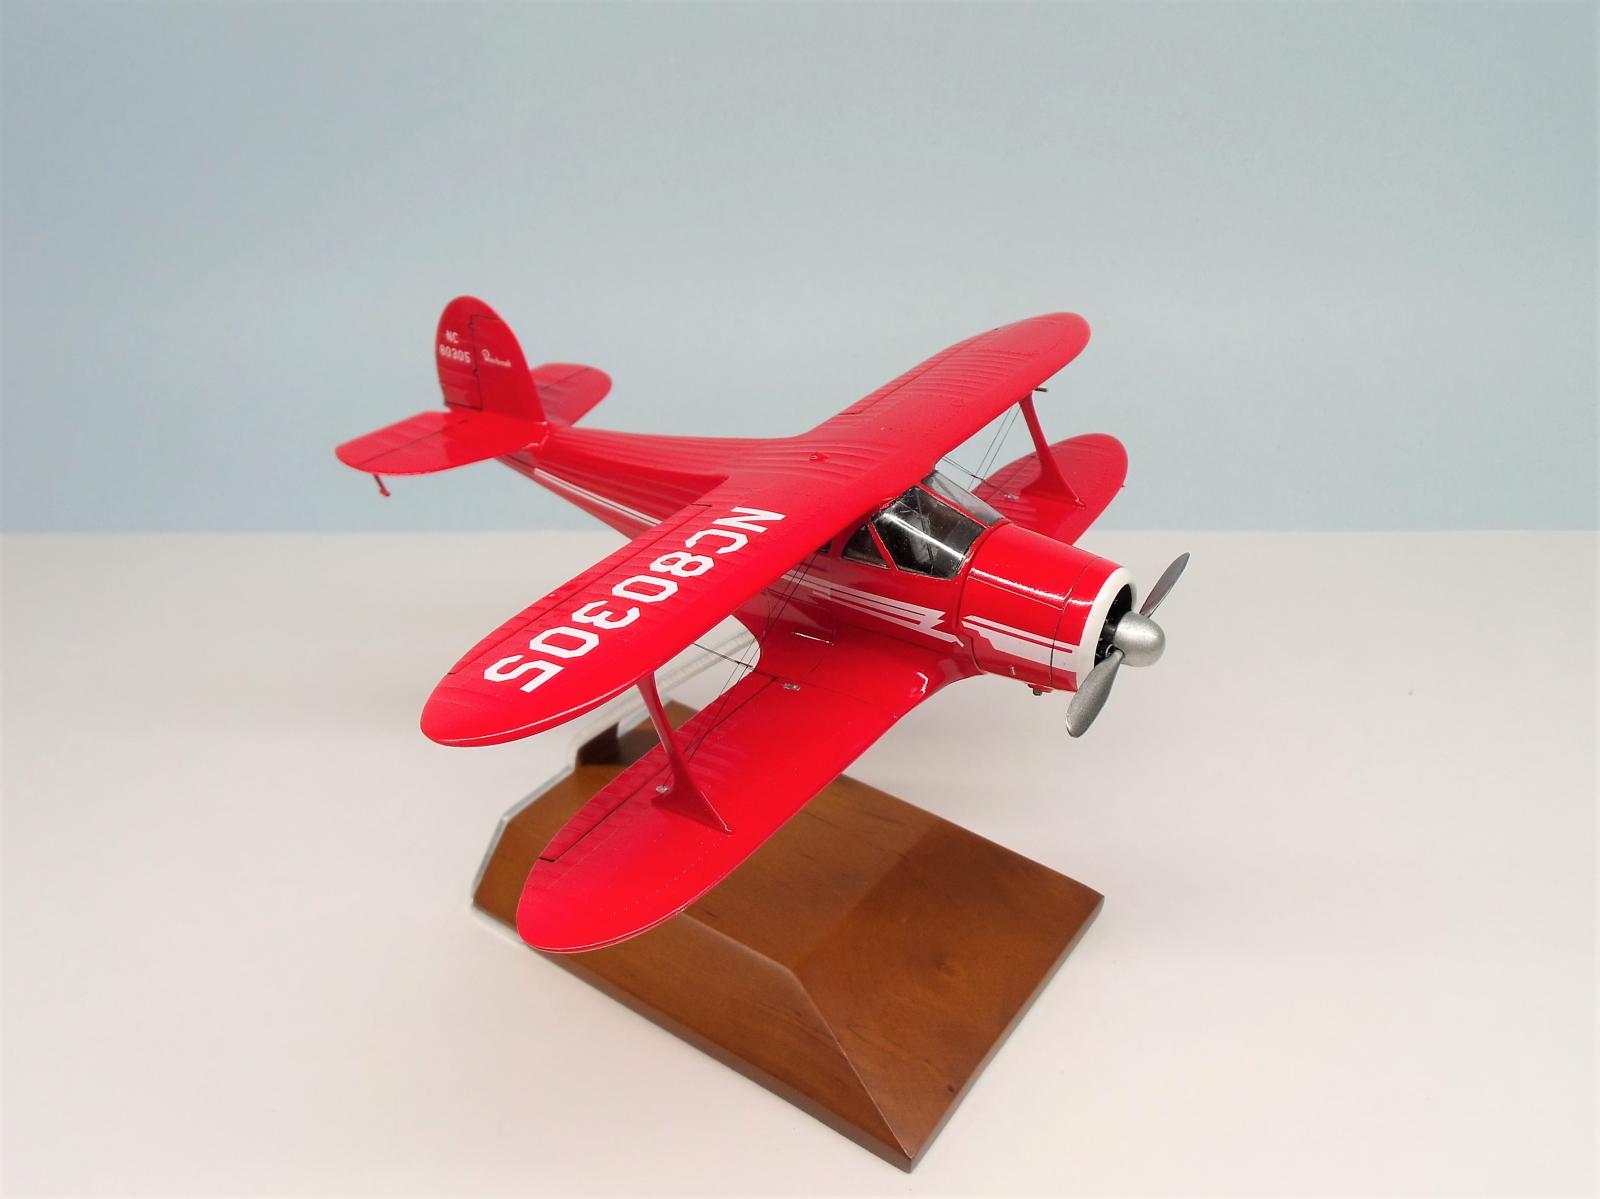
Beechcraft G-17S Staggerwing – AMT (Round 2) 1/48
After the last build of a Beechcraft Model 18, why not a Beechcraft G-17S Staggerwing?
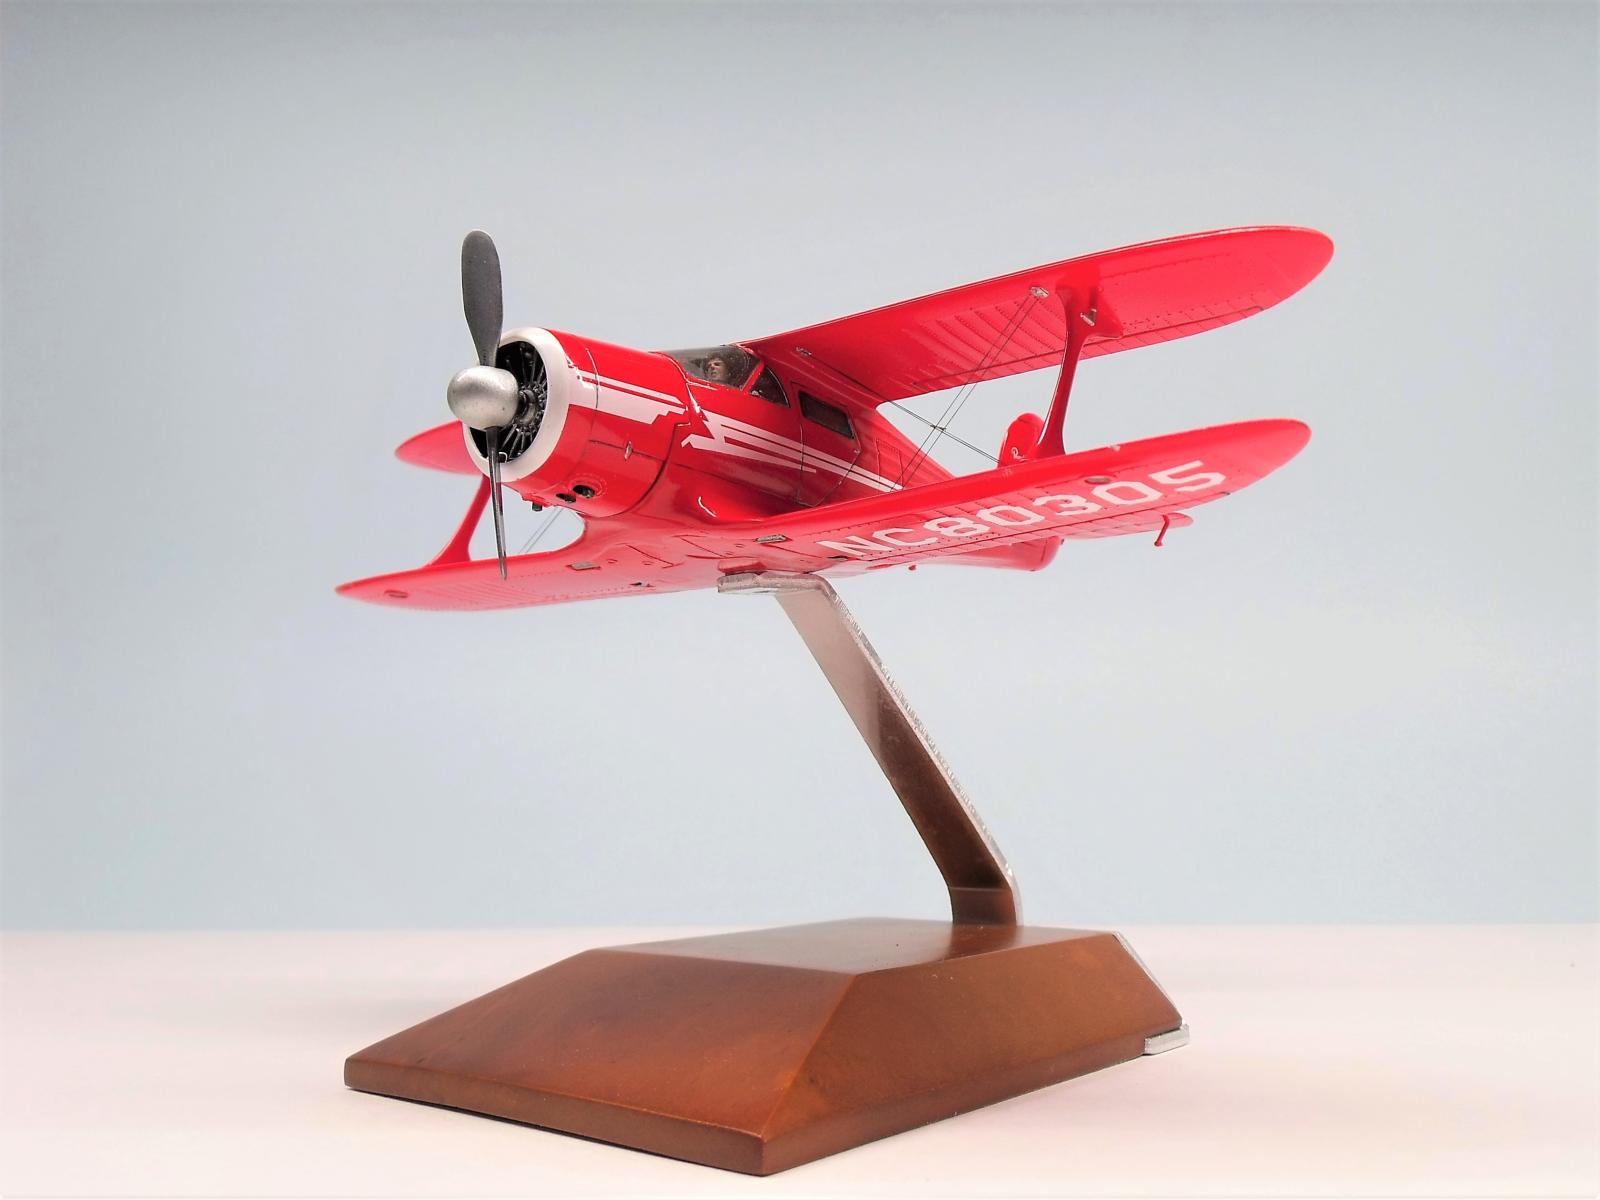
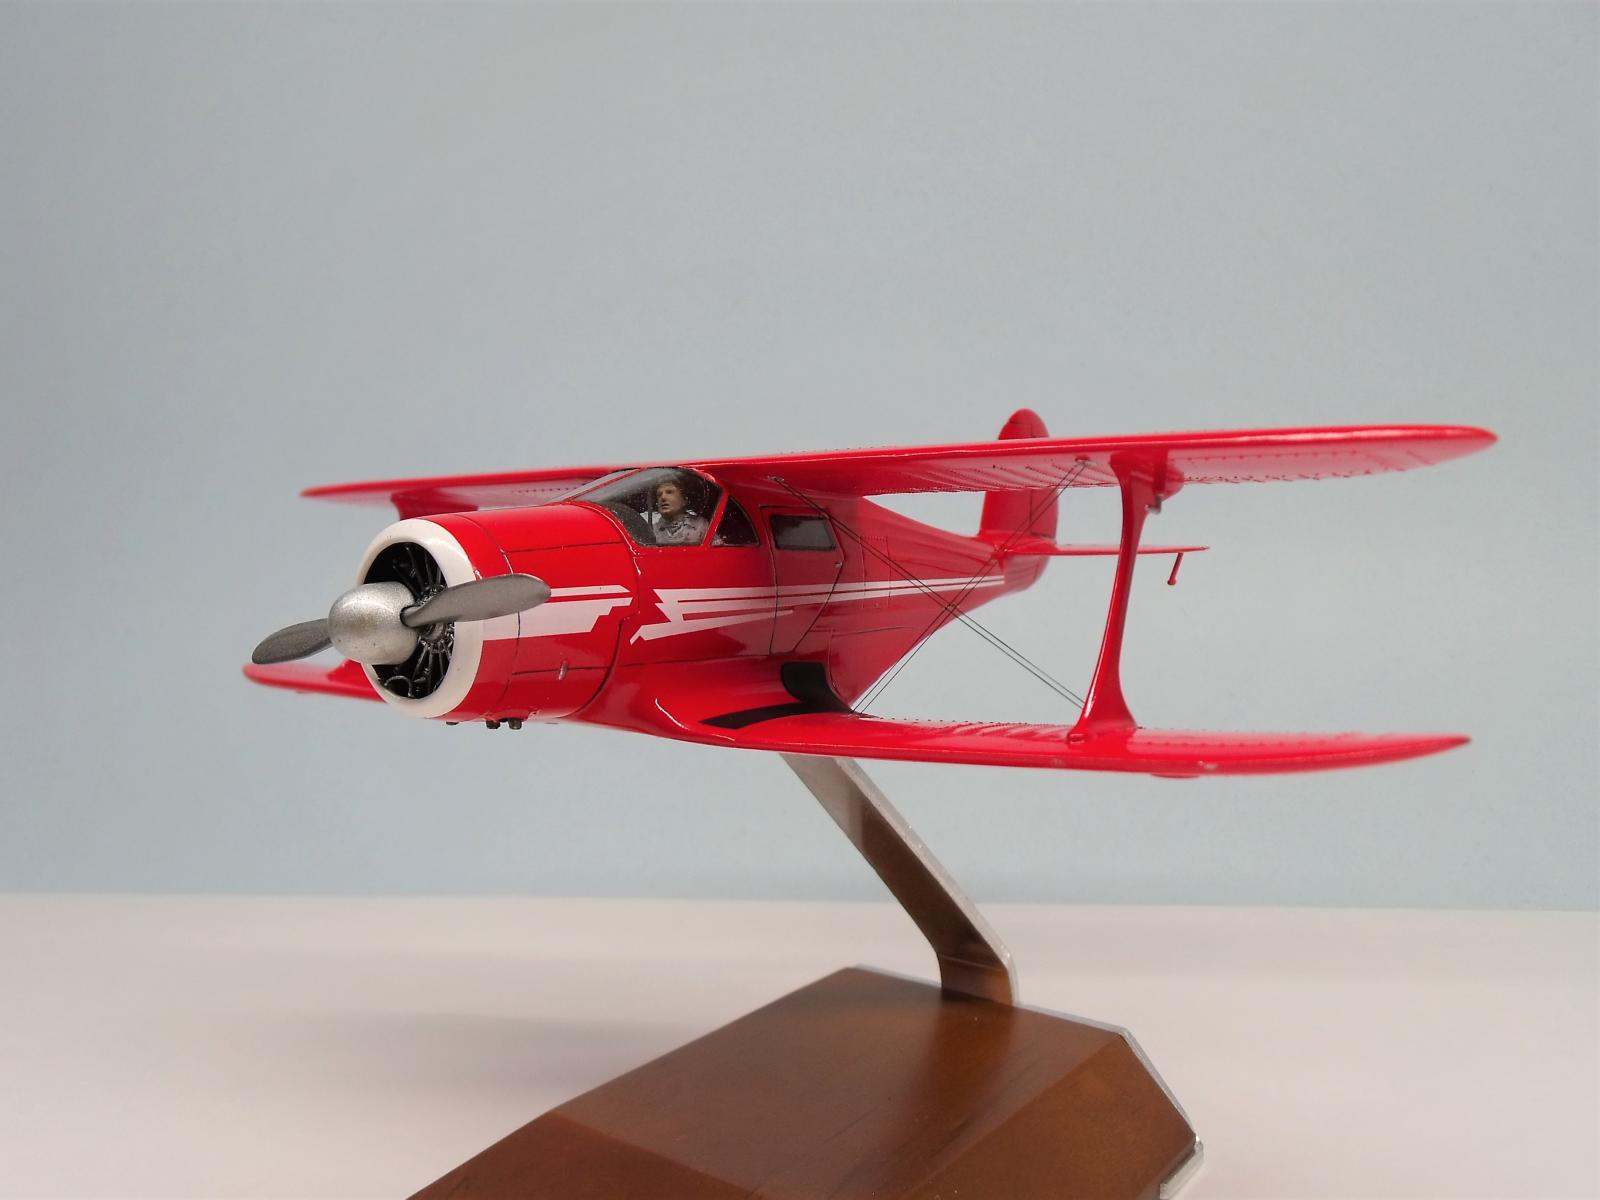
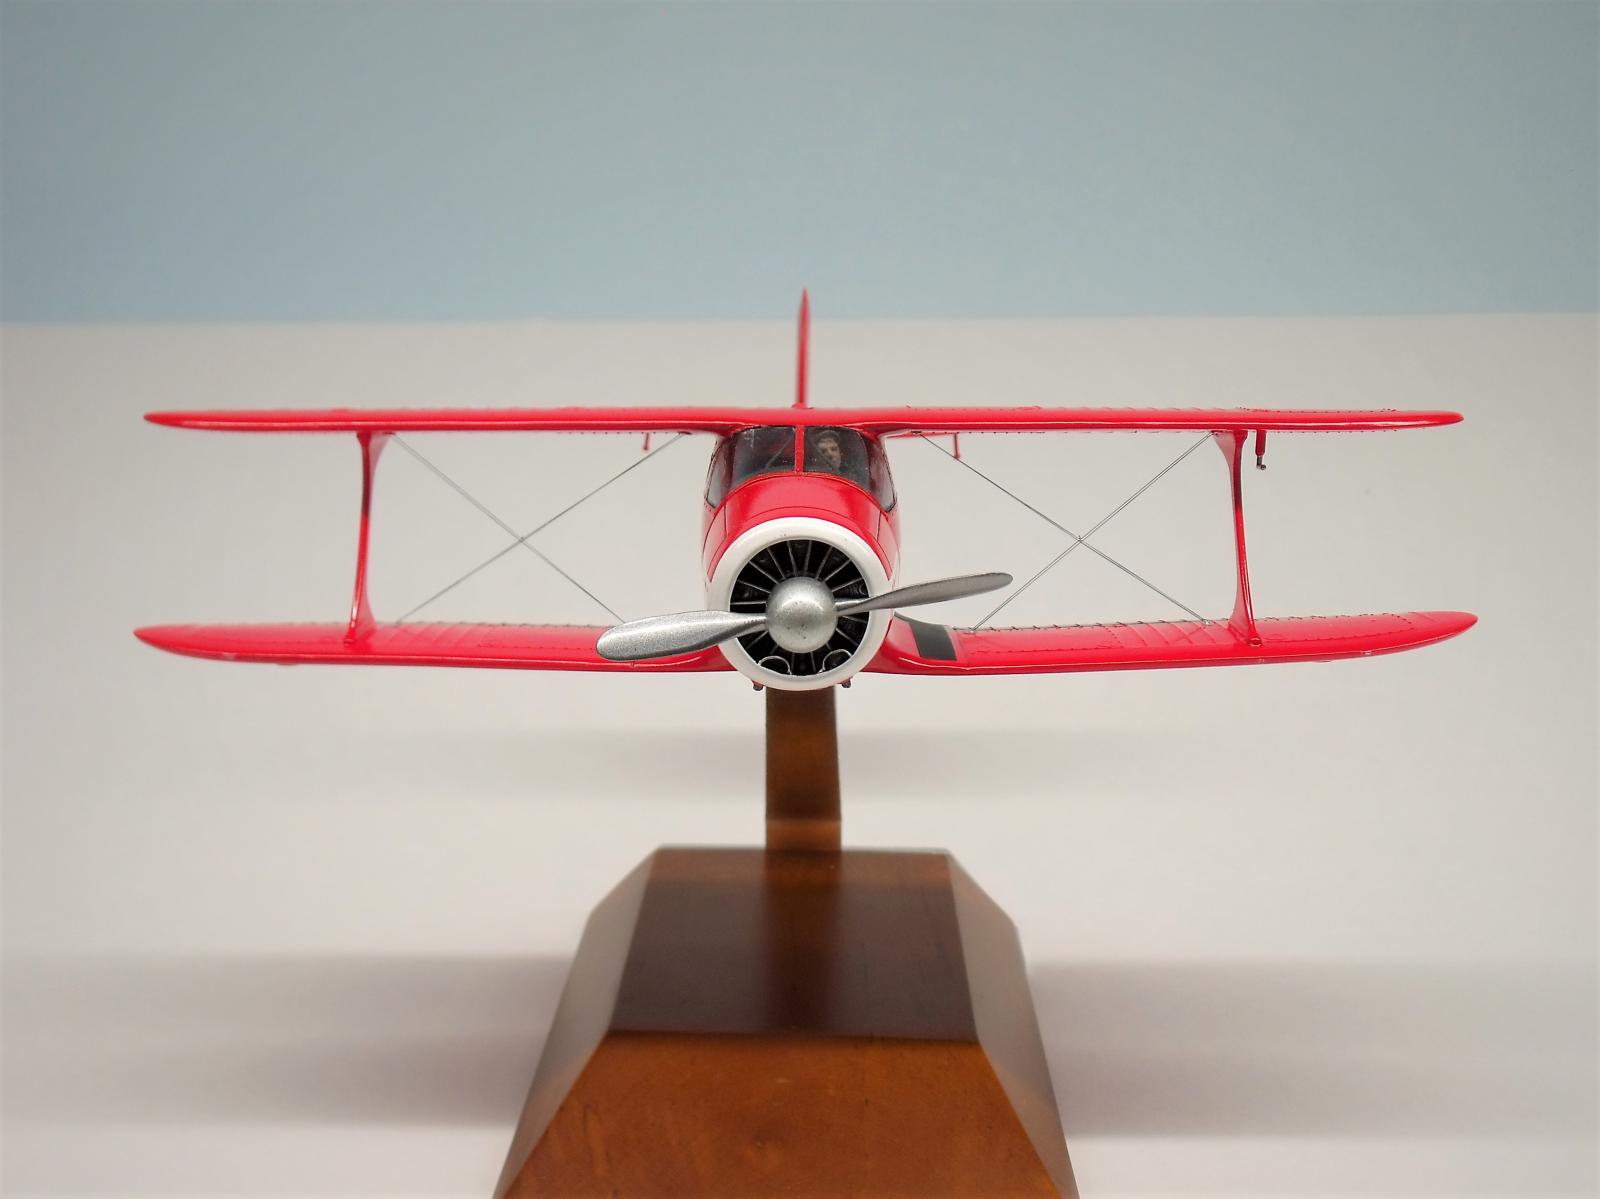
The Staggerwing is, of course, one of those aircraft that just screams "Golden Age of Aviation", especially when in the air (as I've chosen to display it). The first Staggerwing Model 17 Beech aircraft flew in 1932, and at the time it yielded performance similar to or better than most fighter aircraft! Not surprisingly, thanks in part to its P&W R-985 Wasp Jr (450hp) and its sleek aerodynamic form, the later G-17S could readily achieve 212 mph. Did I mention, it looks great too?!
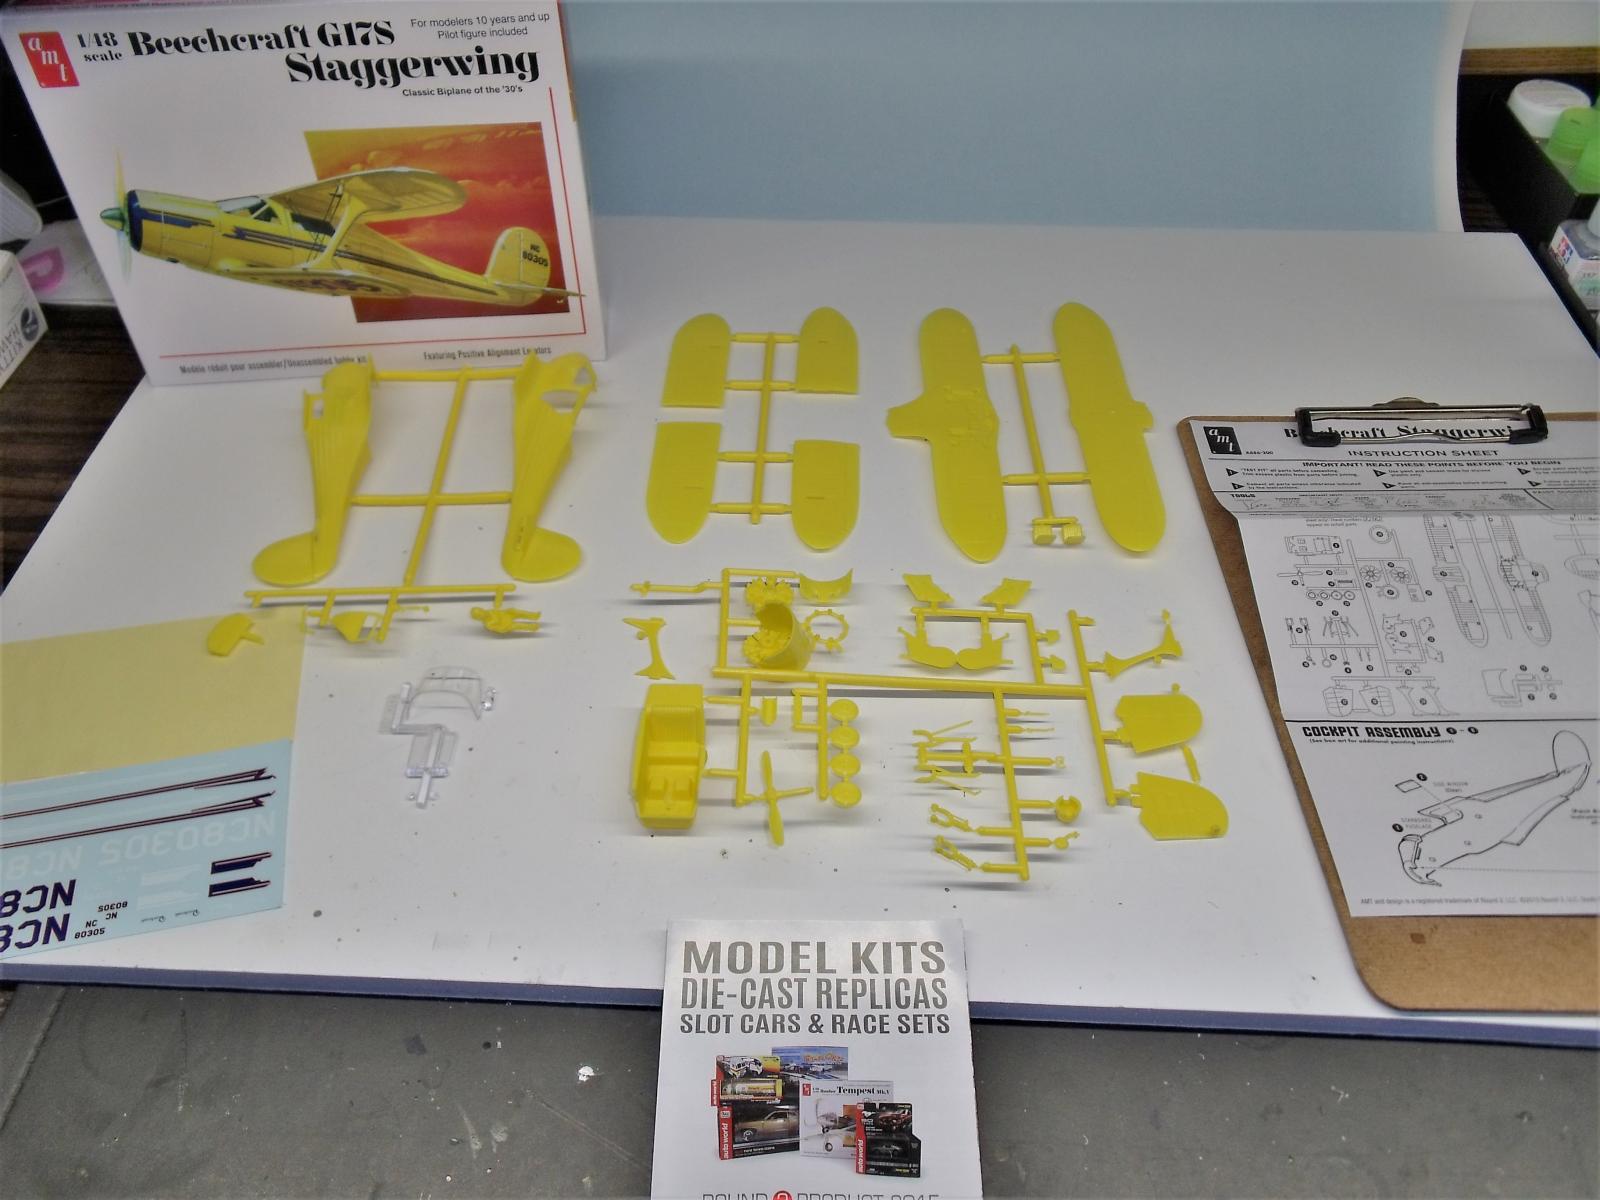
This kit is a 2015 reissued version of AMT's original 1977 release. From what I understand, Round 2 made some helpful additions to the decal sheet, but other than that, the boxing is unchanged. The sprues are rather simply cast, the parts are fairly well detailed with raised rivets, and aside from some flash here and there, my only complaint is that the gates on the clear pieces are poorly placed. The plastic is fairly hard, which makes whooping the fit into shape a bit of a chore, but it does help preserve some of the finer details.
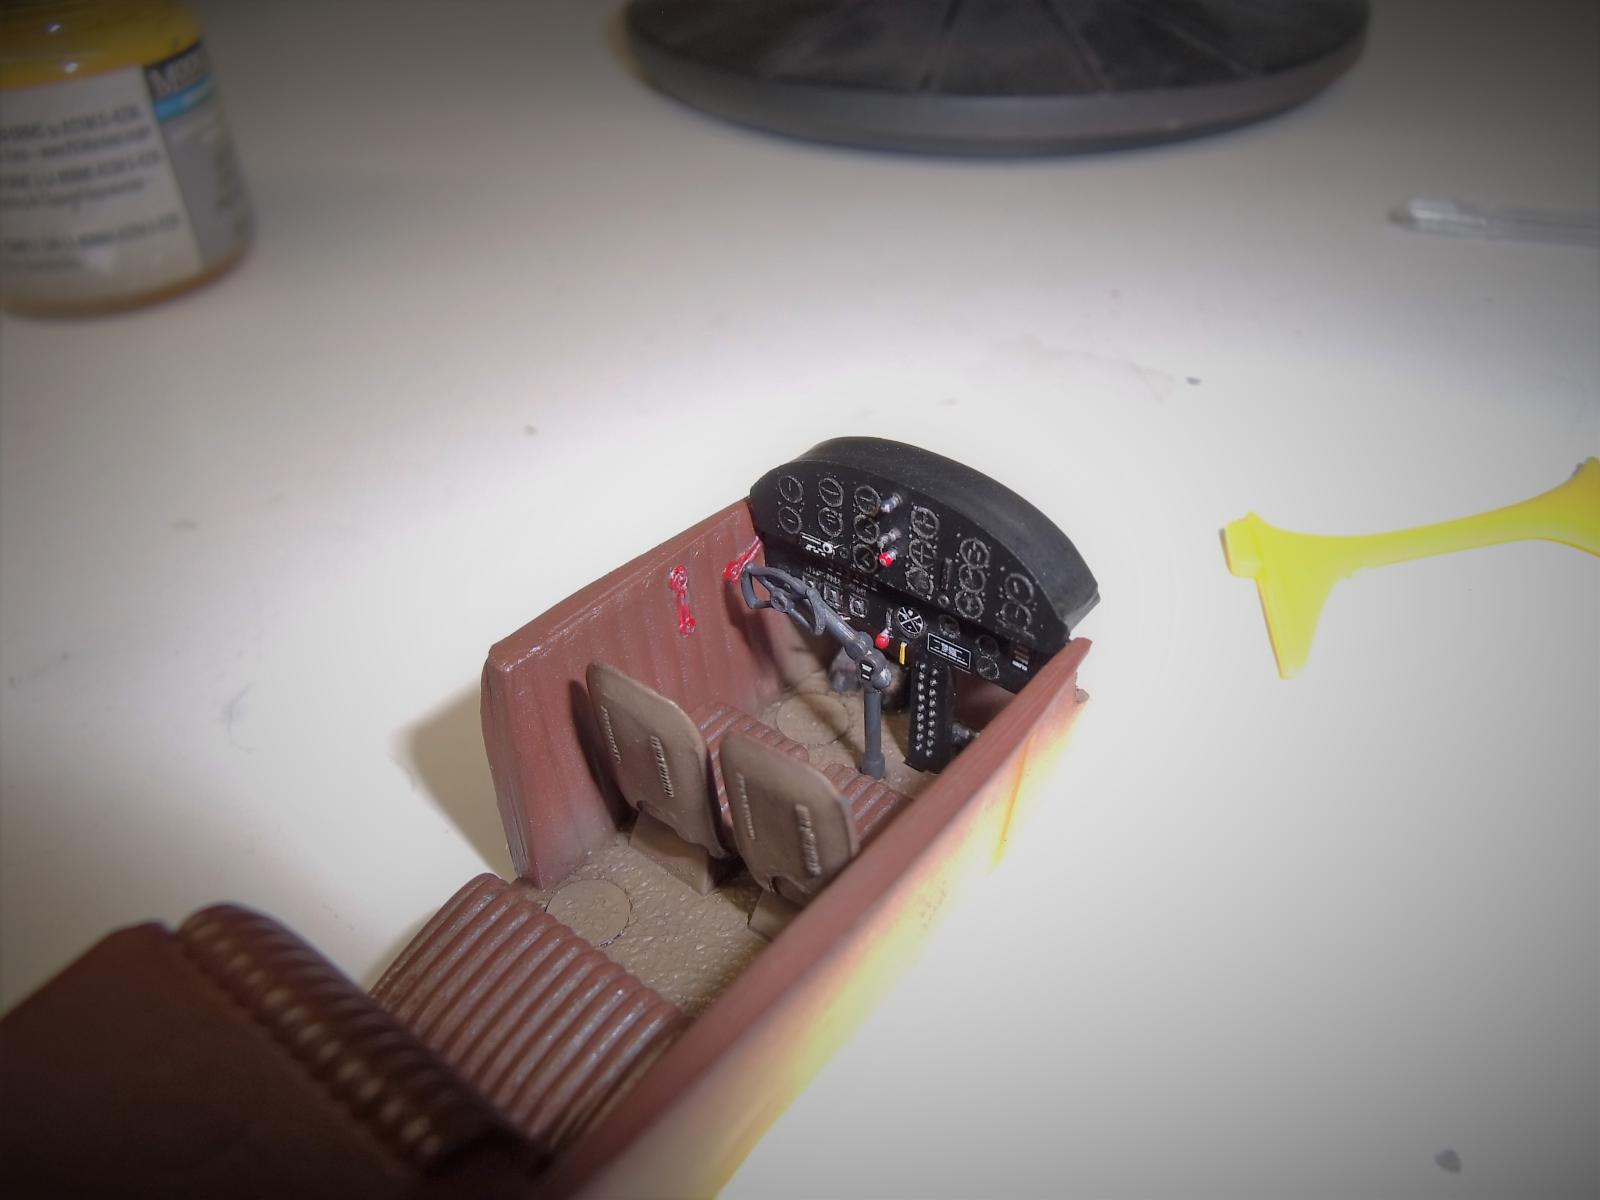
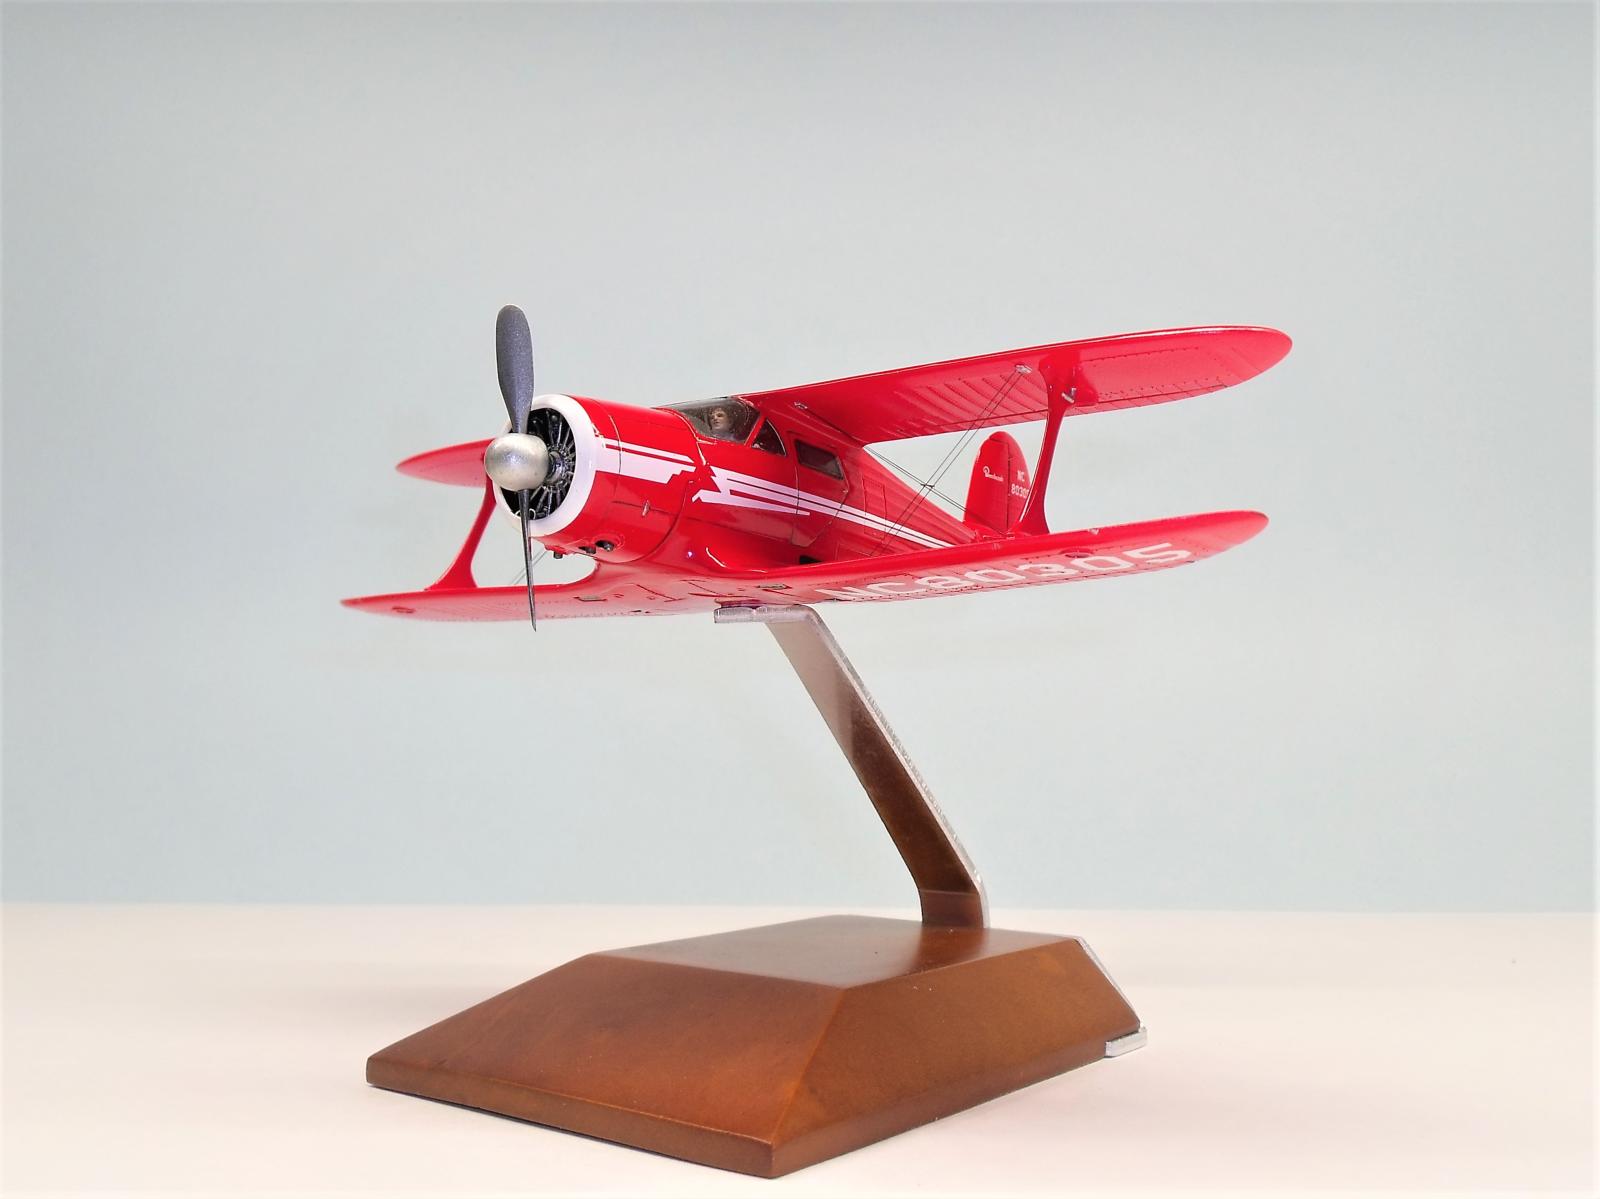
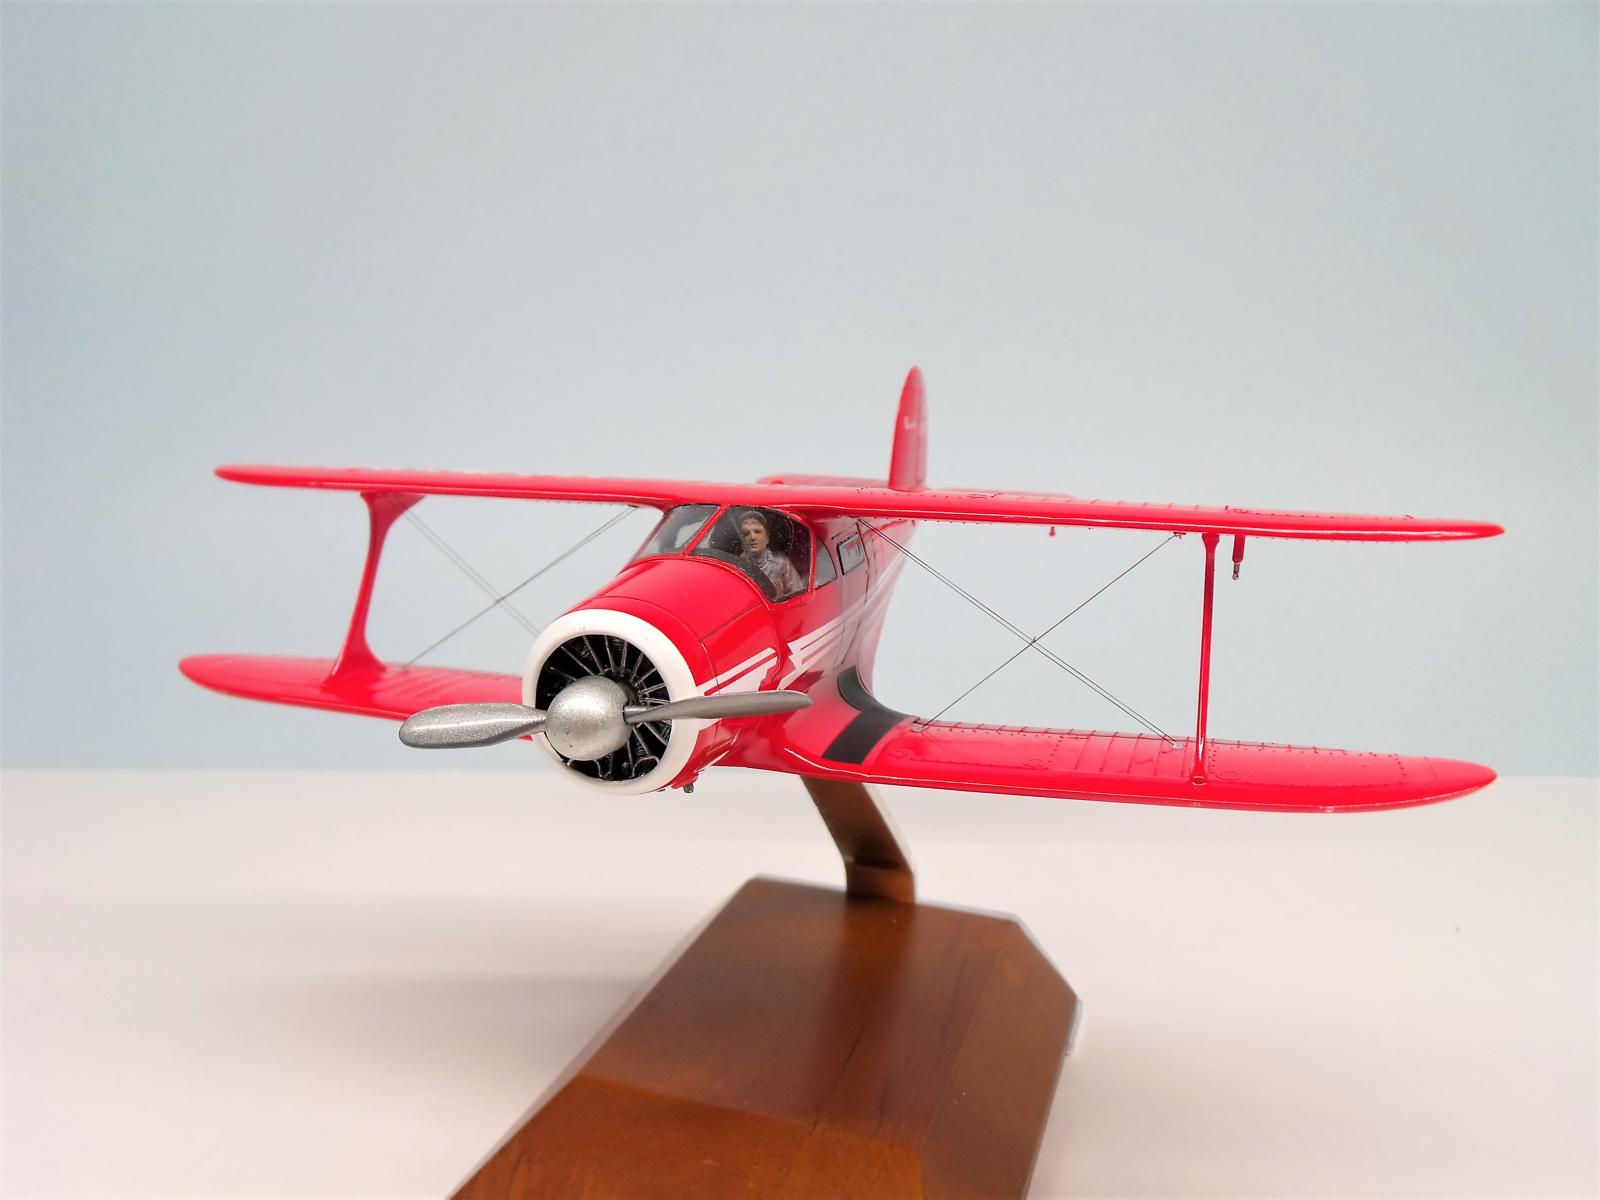
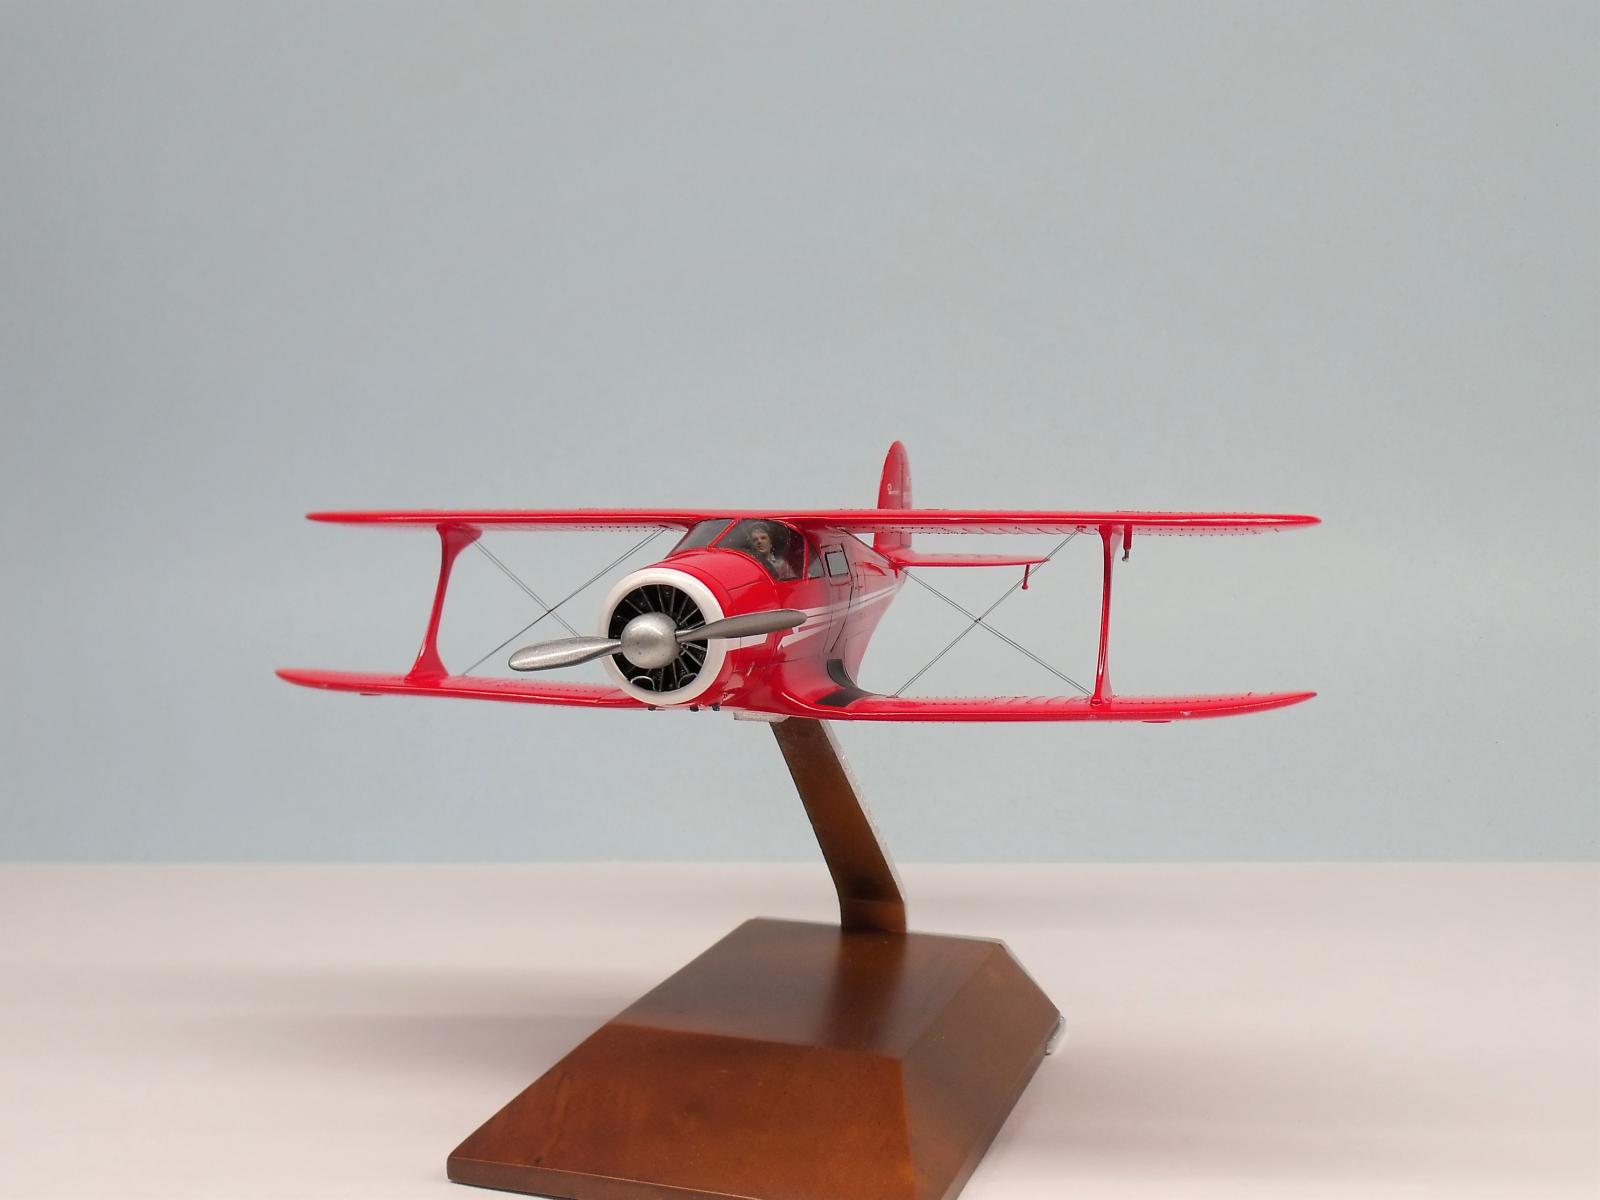
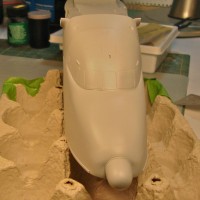
There was plenty of room for improvement, where details would be most visible. First, in the cockpit, I opted to add some detail to the IP, mainly by adding the engine controls in the center, and then adding some placards and labels. Additionally, a triangulated framing brace were added just inside of the main canopy window, a feature prominent to the real plane. On the exterior, I added some panel lines here and there, but these details primarily served to dress up the engine cowl, which was void of any detail. With panel lines added, I also decided to improve the "air scoops" at the lower cowl opening, in front of the engine. The kit's replication of this was basically a silhouette shape of the scoops, and really detracted from the decent looking 9-cyl Wasp Jr. I used some fabricated aluminum tubing, which was difficult given the lack of clearance in front of the motor, ultimately requiring me to move the motor mounting point reward.
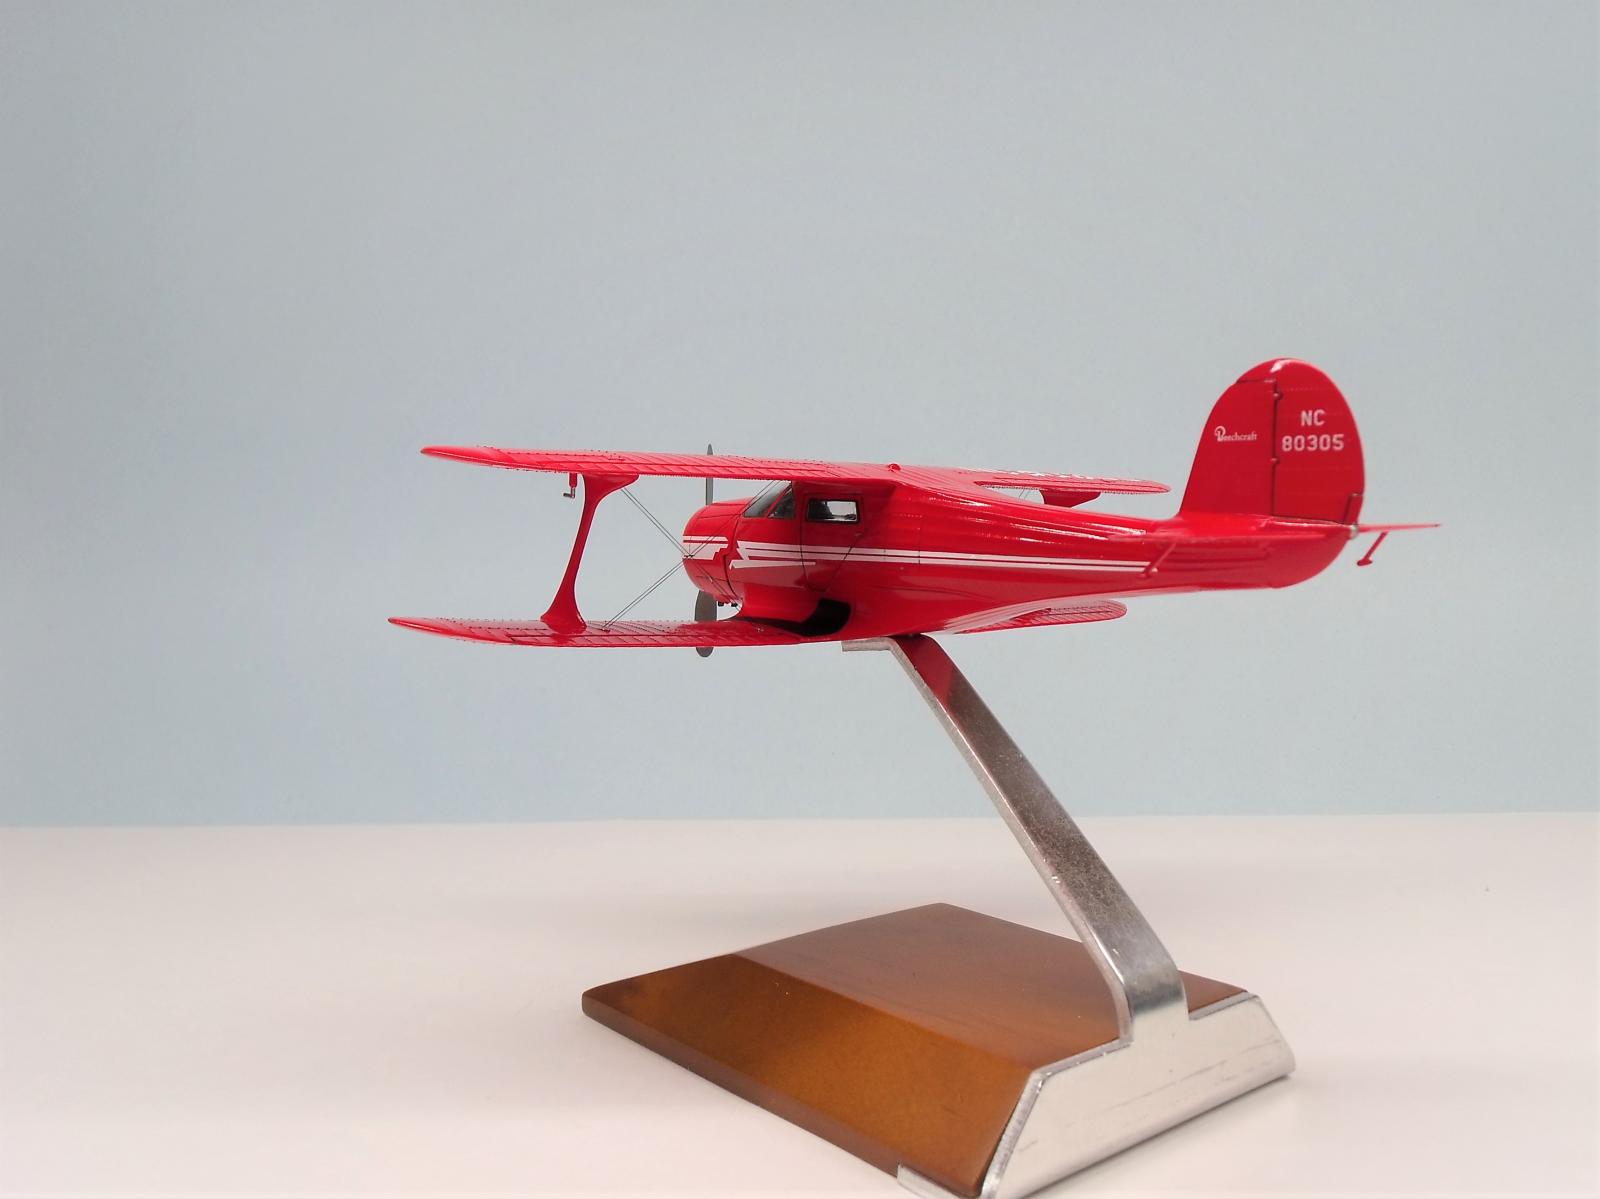
Aside from the self-inflicted "improvements", the build was pretty fun, but not without fitment challenges. Primarily, getting the wings lined up with the fuselage (on the top and bottom), while also ensuring a good fit at the top of the windshield was certainly the biggest difficulty of the whole kit. A lot of filling and sanding was done, where-in I primarily used Perfect Plastic Putty, an "easy-clean" water based, water soluble pultty. The fitment of the windows and windscreen were pretty poor, necessitating seam gaps to be filled with Micro Kristal Klear. After painting and clear coating, I used a Faber-Castell Pitt pen around the windows (and prominent panel lines), which really helped to "frame" them hide some of the gap coverage.

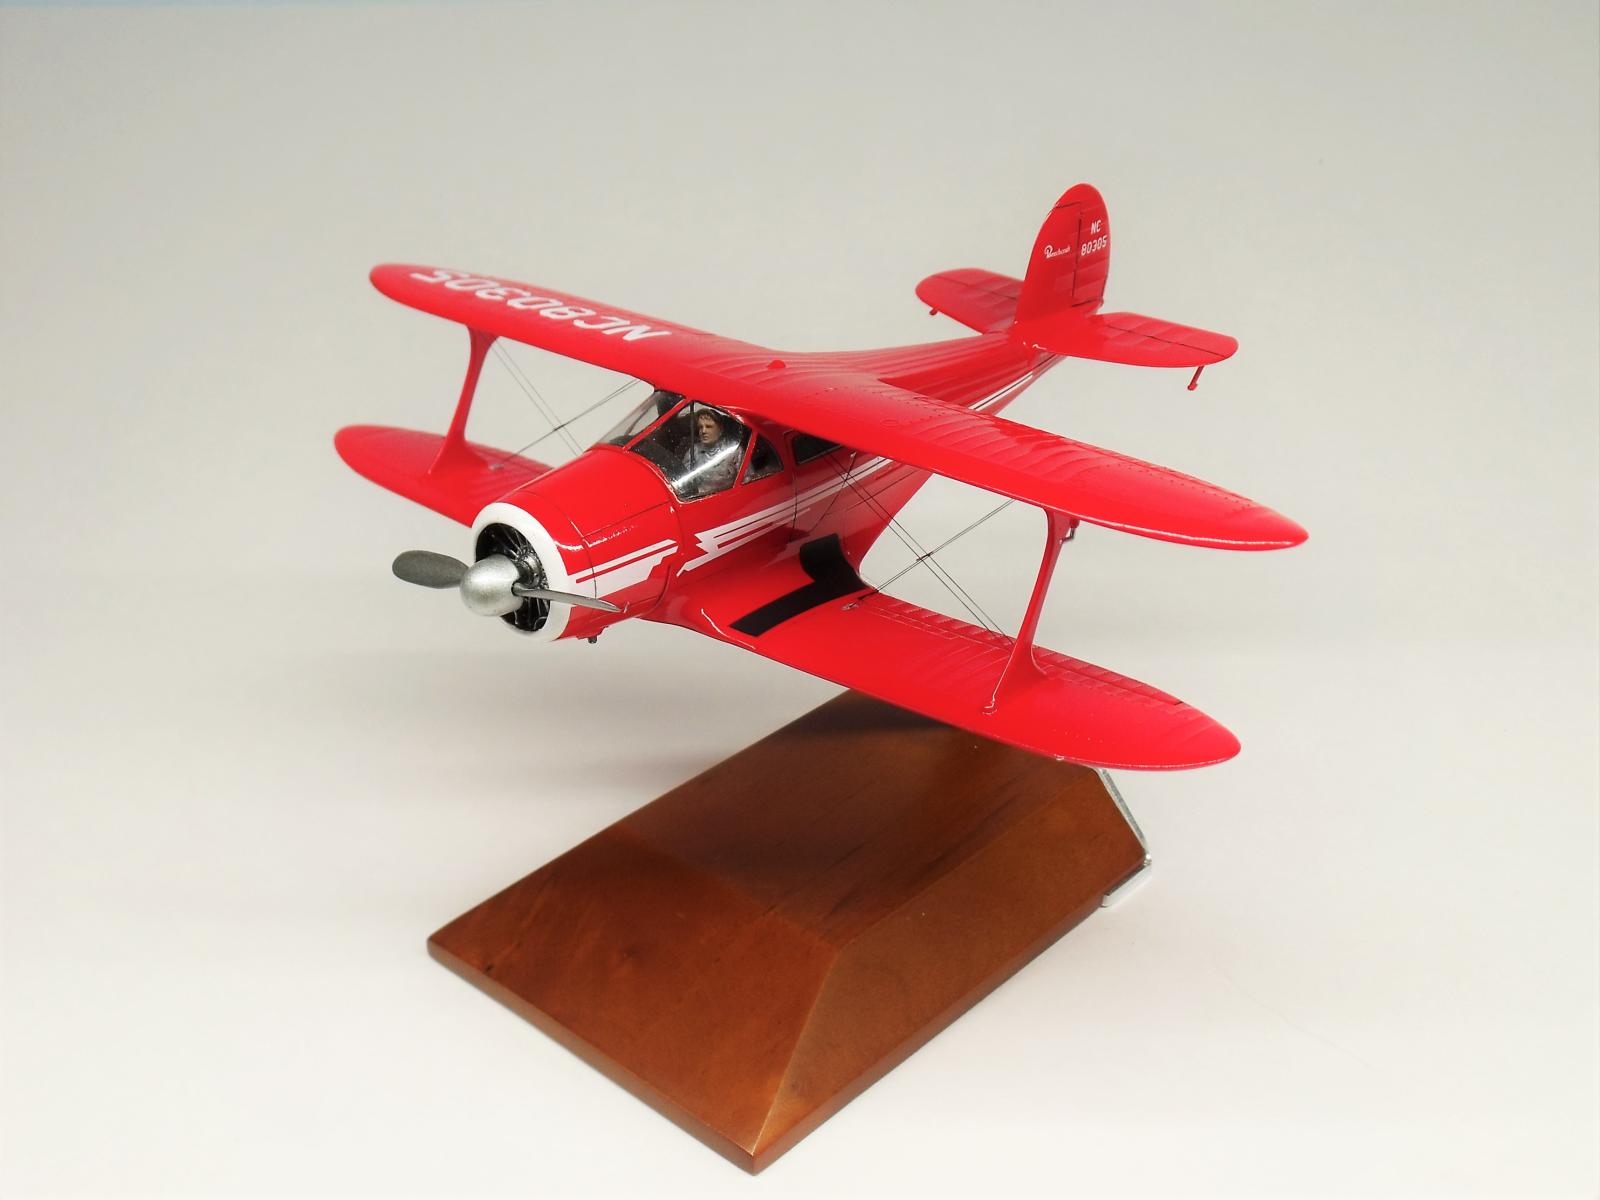
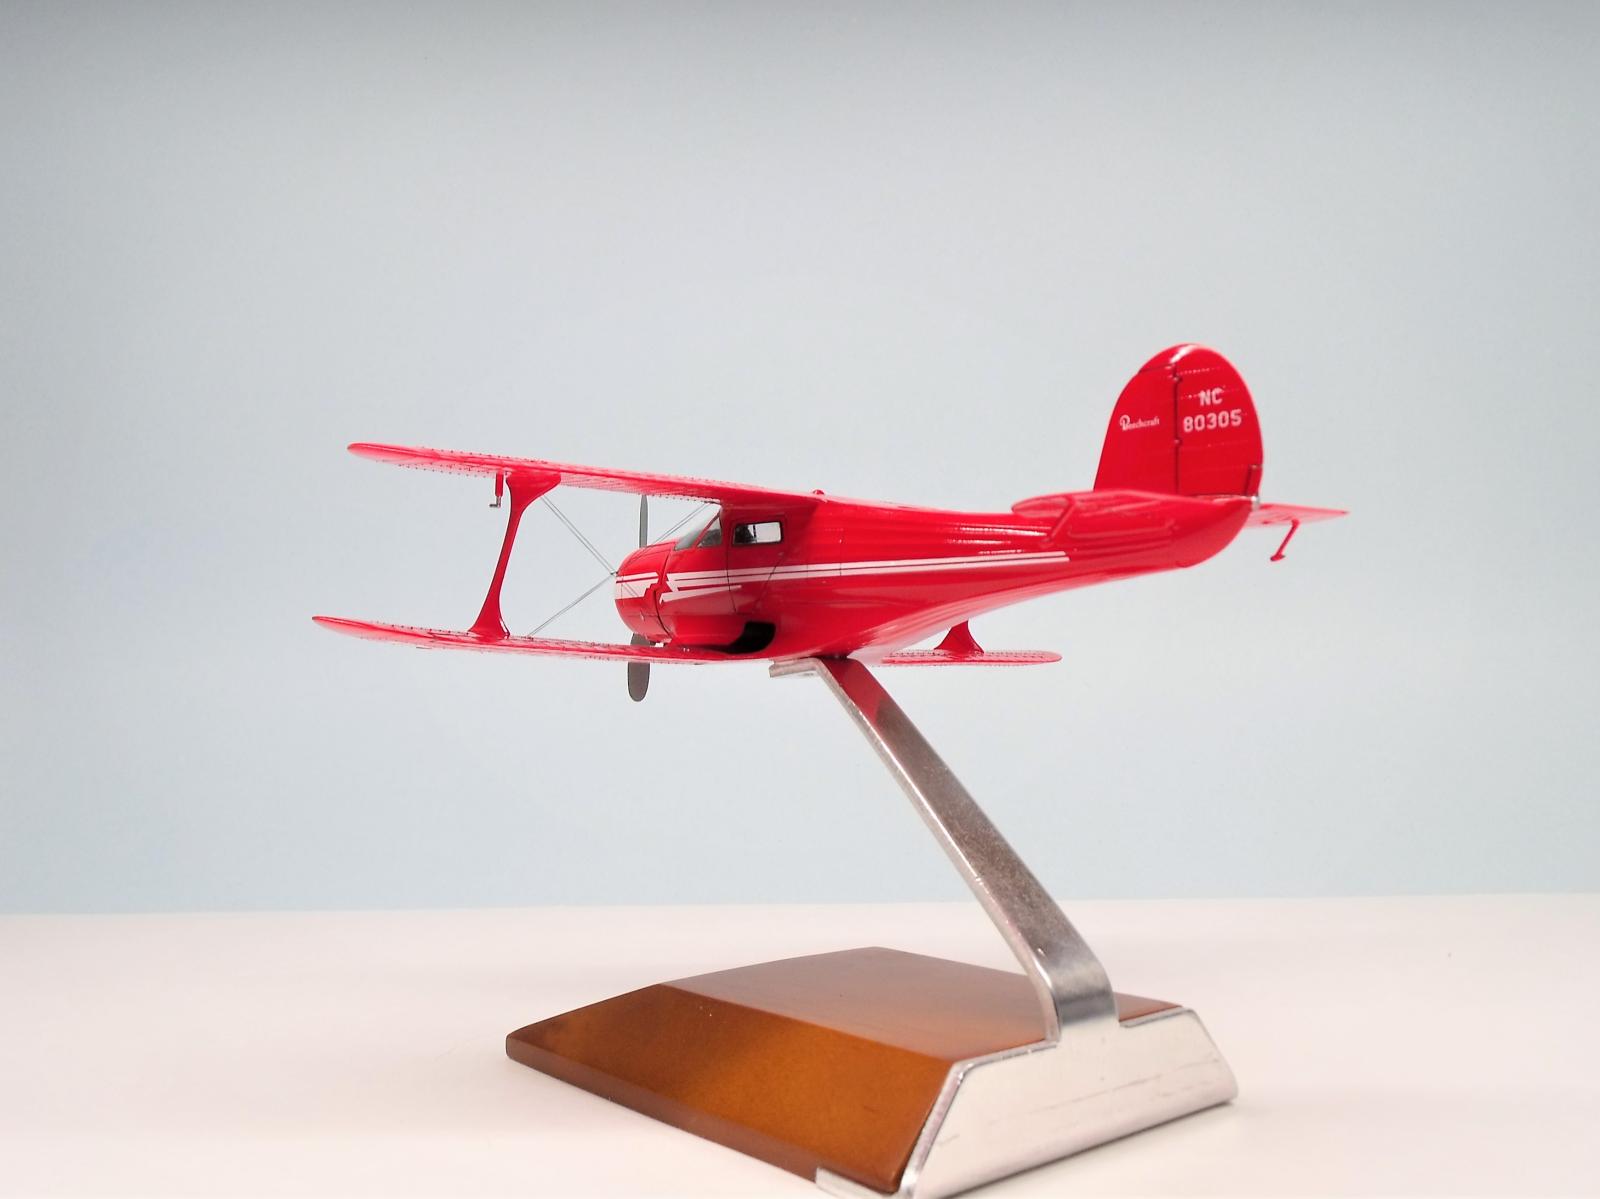
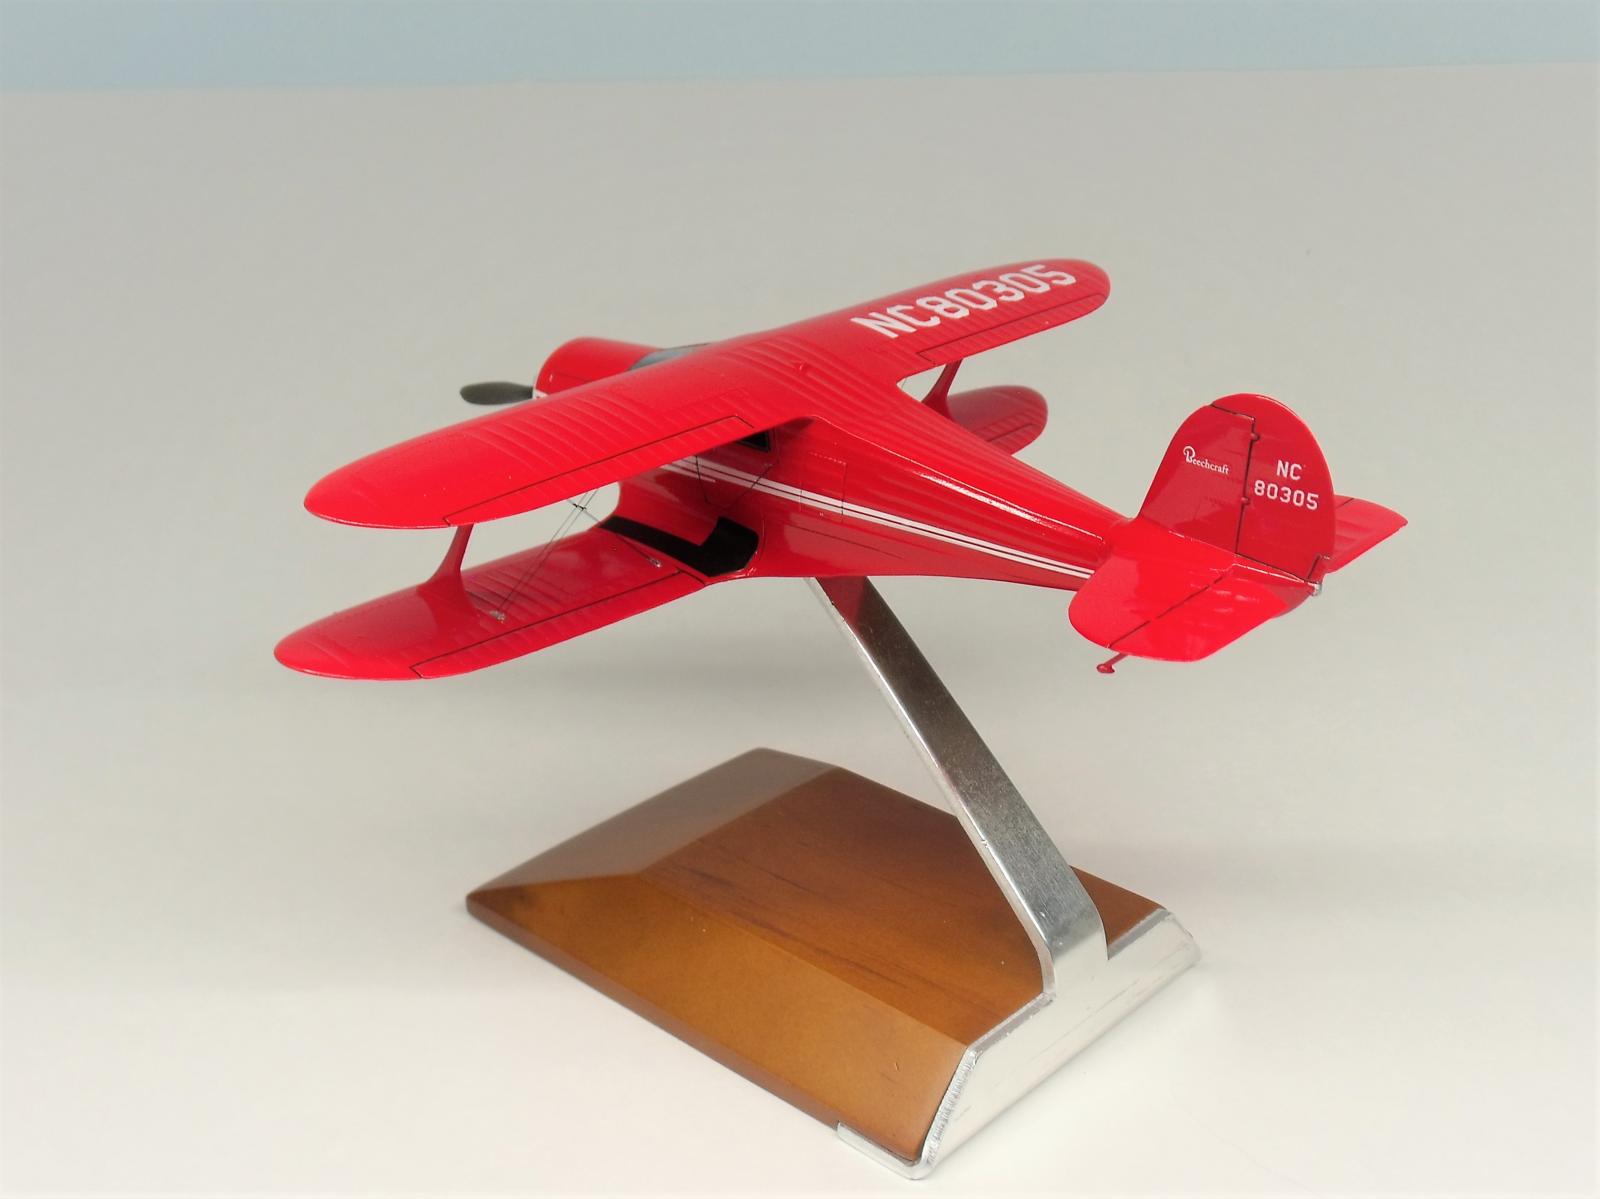
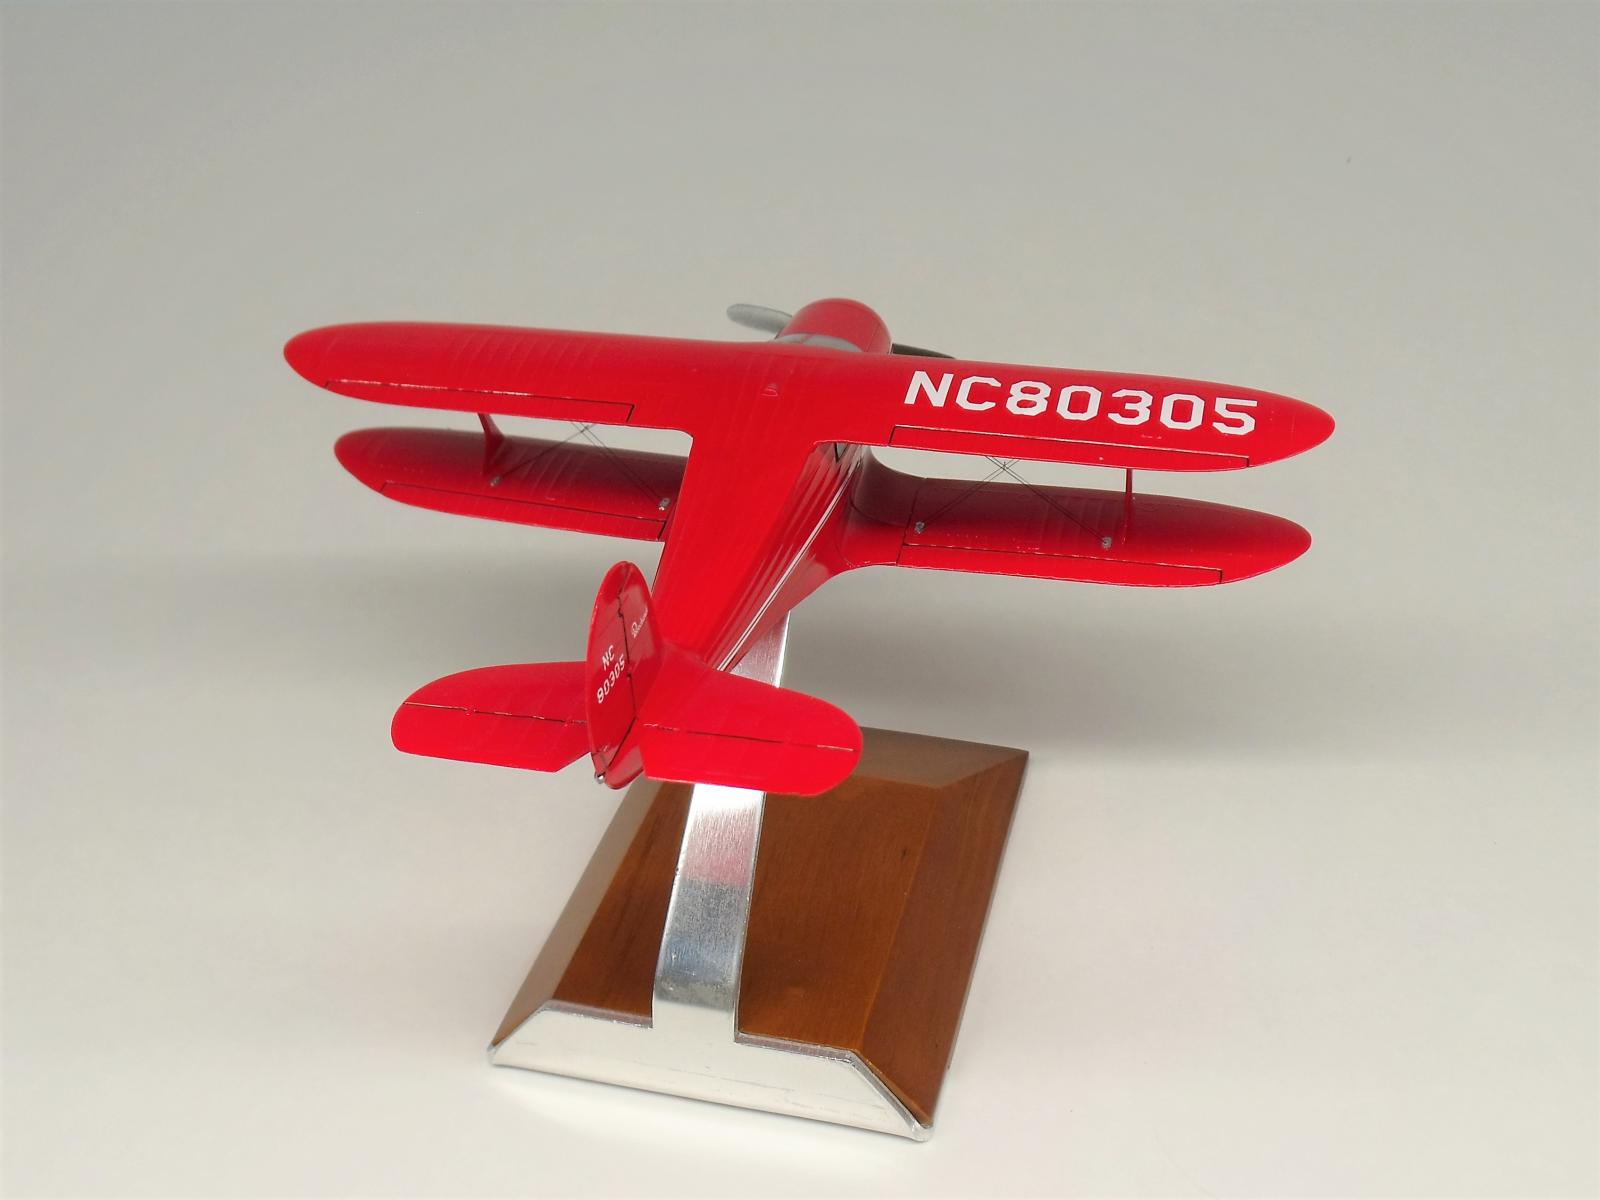
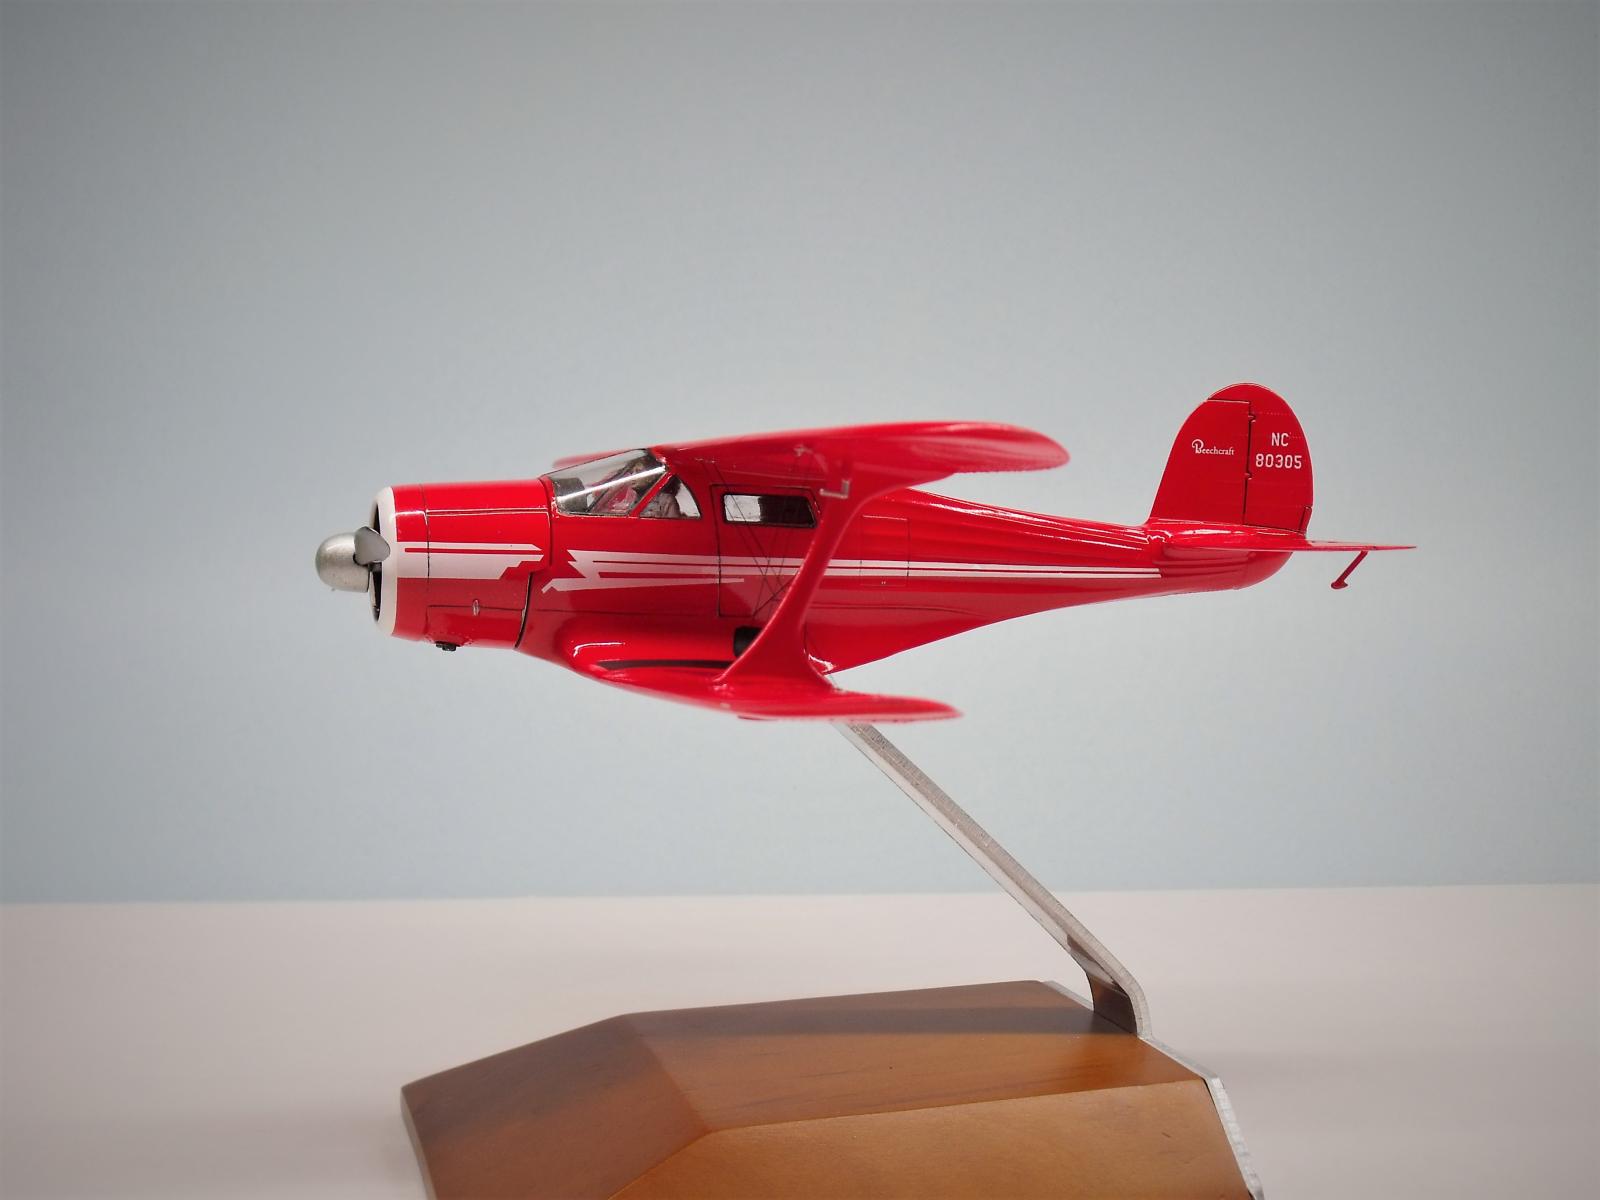
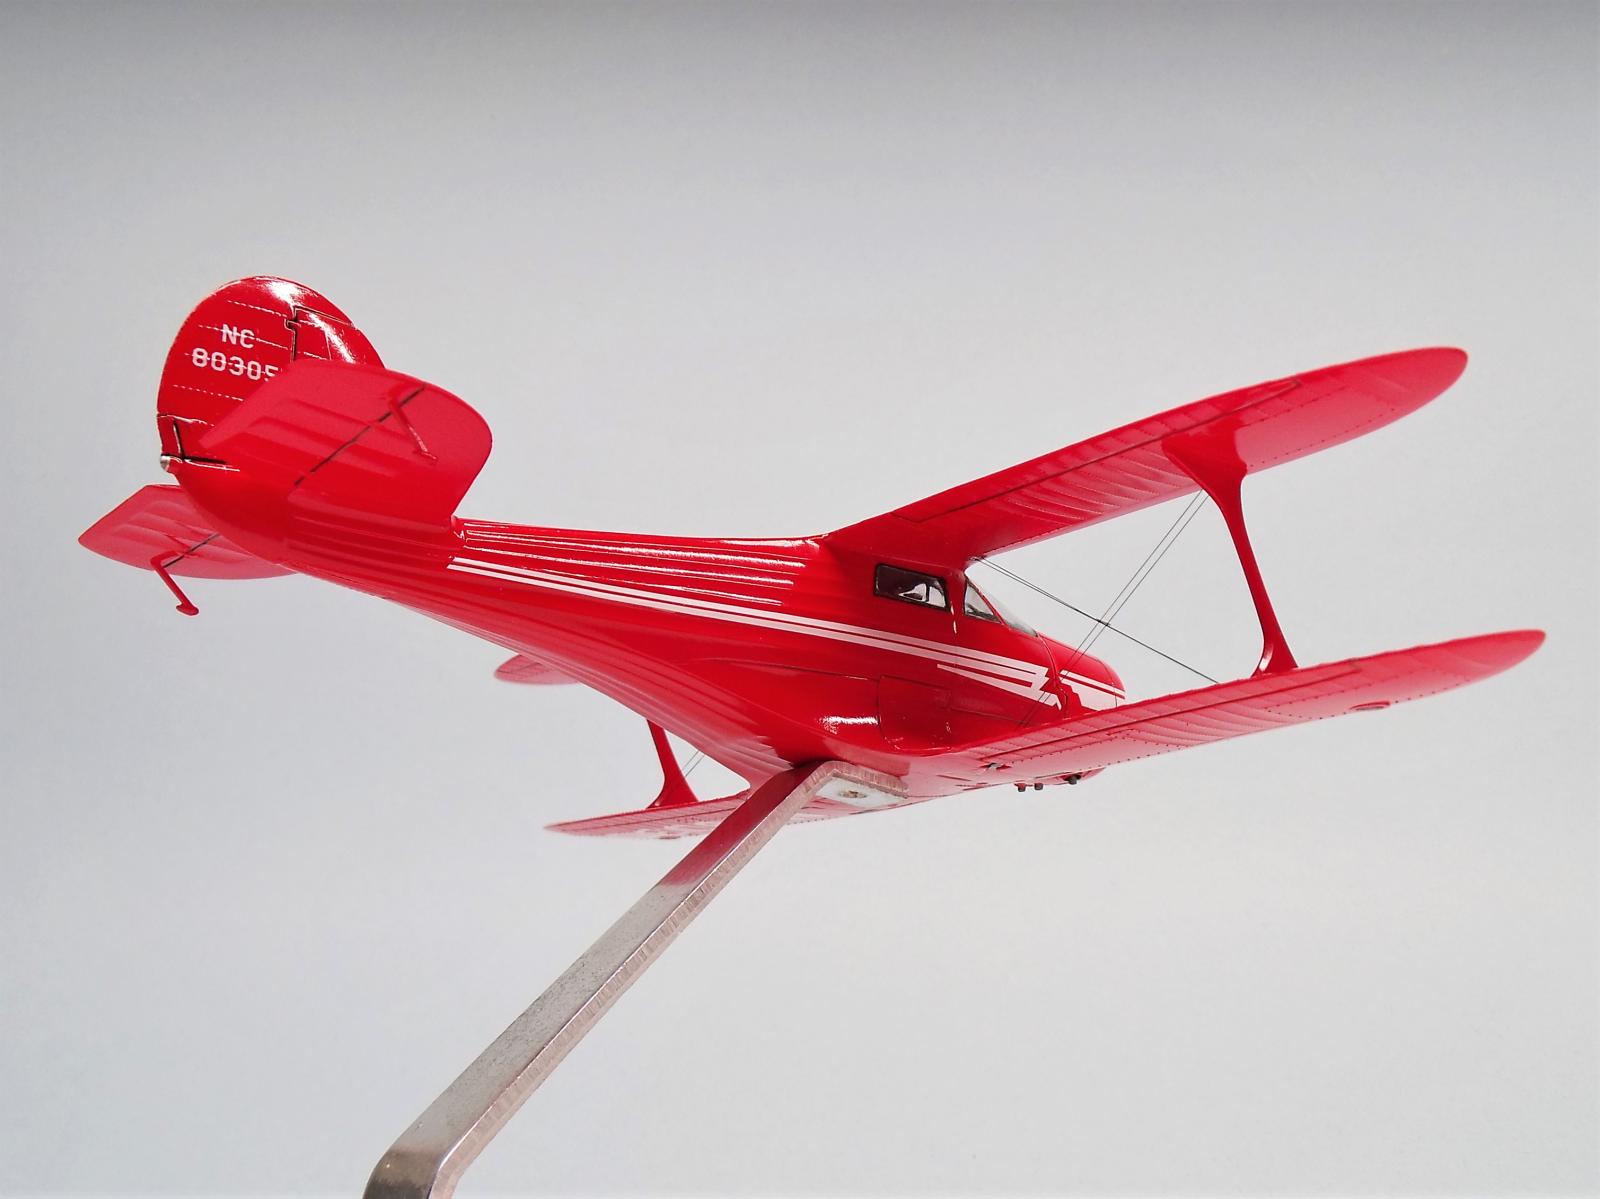
For paint, I first used Tamiya rattle can pink primer on the fuselage, and White primer on the cowl. The cowl end was then masked off (for the white nose, which is not provided as a decal), and all was painted with Tamiya TS-8 Italian Red. This color is far more vibrant than the real aircraft was likely even brand new... but its what I had on-hand, and I like the way it looks. The TS-8 sprayed nice and glossy from the can, which allowed for a great surface to apply the decals. The carrier film on the decals was rather thick, but with heat, patience, pressure, and Micro-sol, they quickly adapted to the curves and rivets of the plane. Following that, I sealed the deal with a nice coating of Mr Clear mixed with leveling thinner. After that, I masked and sprayed the anti-slip on the port side wing. After that, I frustratingly struggled with Infini's 1/48 Fine Rigging line, and after giving up multiple times, I finally came back to the workbench determined... and got the wings strung up..
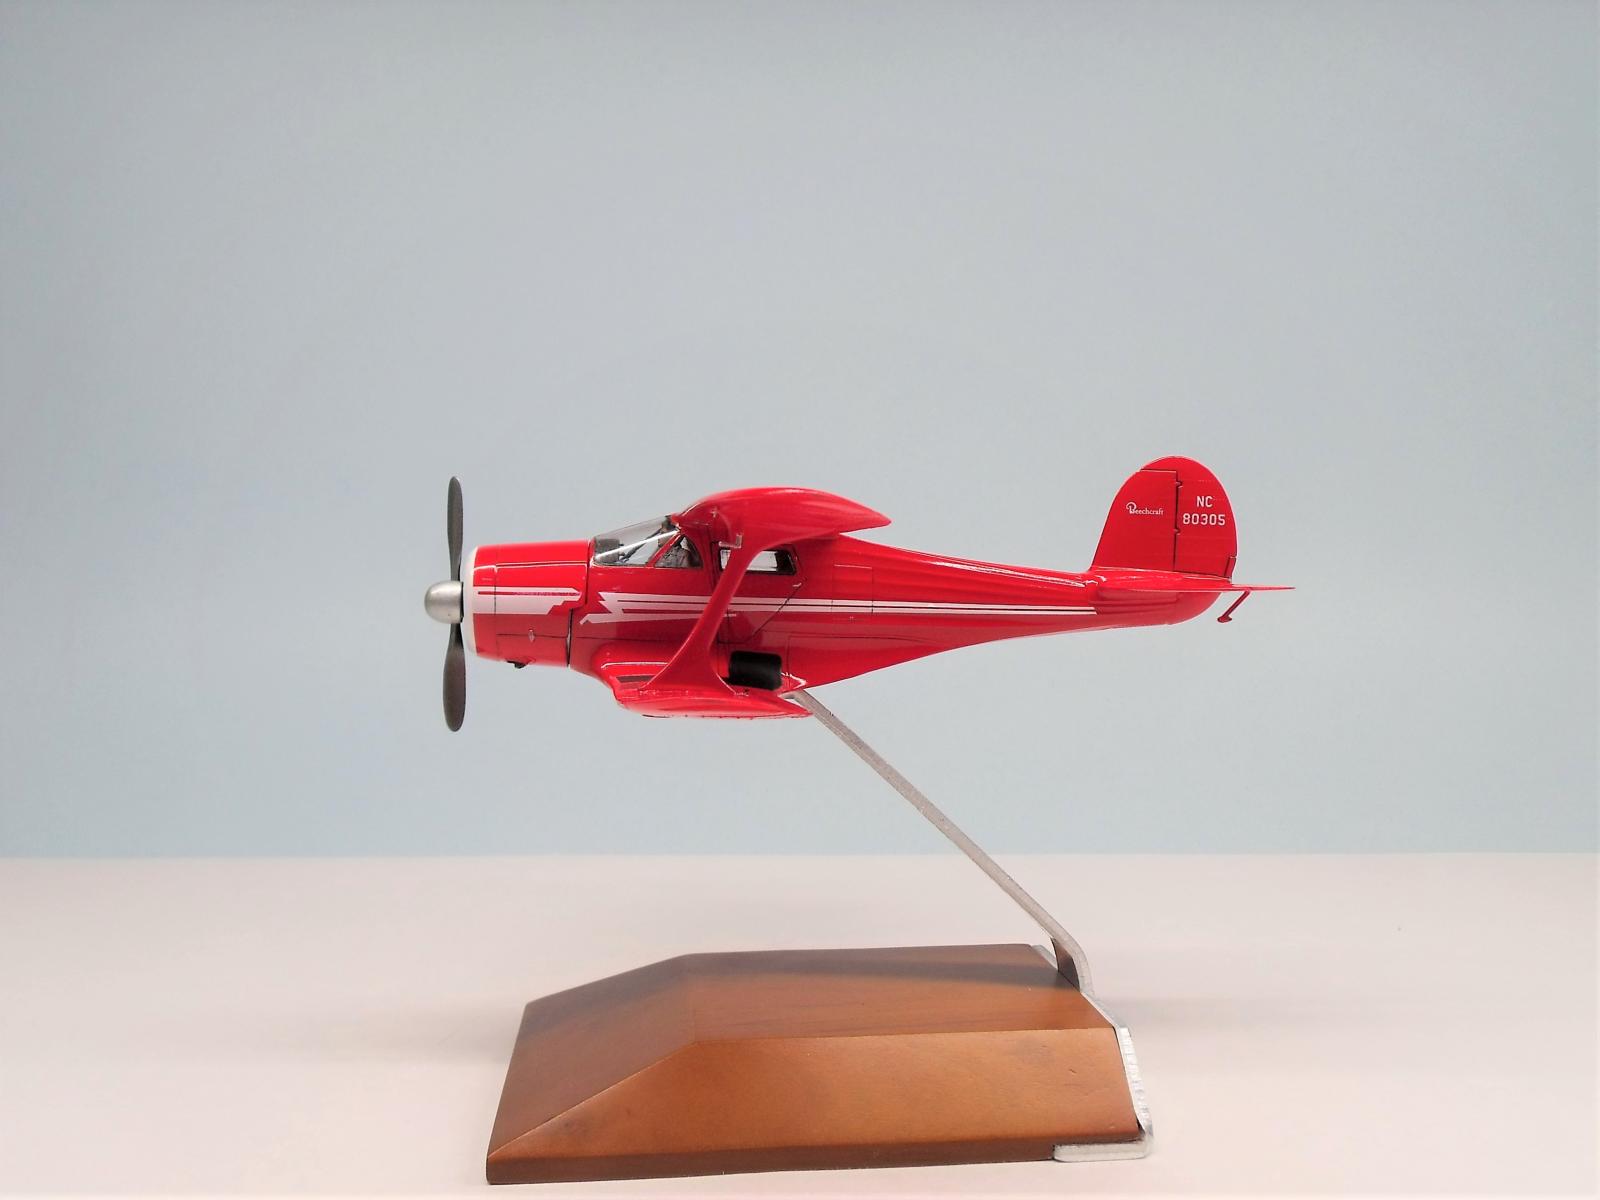
I hope you like this Staggerwing in flight!


Great looking Stag, Andrew! It's good to see some civil models being built!
Jamie, I cant disagree! Most of what I have is infact military, but when I saw this AMT kit on the shelf for half the price of a Roden Stag, I knew it was the right time to build one, since I've always wanted to. I started it the same day, and never hung it up on the shelf of doom! This thing is one of those machines that helped make flying really cool.
it may be half the price of the Roden kit, which is the classic D-17, but it isn't half as good. The kit has major outline shape problems. That said, it will make up into a very nice model, as you have done here, with that extra bit of good effort to put it up the scale. The kit was originally made off a G-17 and offered to the Staggerwing Owners Association, then AMT turned to selling it to modelers.
I once had the opportunity to have an owner of a D-17 throw over the yoke to me in the right seat. If you have it trimmed right, it will hold a standard rate turn without loss of altitude till the cows come home. It was the Learjet of the 1930s.
The G-17 (which this is) was the last of the bunch, 20 produced in 1946, while Walter Beech was getting ready to knock the world's socks off the next year with the Model 35 Bonanza. (I used to be part owner of an original "straight 35" till a D-18 lost an engine on takeoff and slammed through the parking area it was sitting in, a honey of an airplane)
Tom, thanks for sharing your experiences. I would simply love to see one in person. As far as the kit goes, while it may have shape issues (which I fail to see), i prefer the look of the G17s cowl design over the D17s. I'm sure Roden's kit is much improved, but for the purpose of this build, the AMT kit sure looks fine to me. 🙂 thanks for checking in.
Wow! Great looking Stag. You sure went all out with the beautifully appointed interior and instrument panel. The pilot looks very real.
I was surprised to see your posting because I am a few days away from completing this very kit and I’ve never seen anyone else show off this kit in ages.
I found the top wing to be slightly warped but over all it’s not bad at all for the $$. And the fit is better than I expected. The few 1:48 Roden airplanes I’ve tackled so far have been a real pain compared to this Round2 Stag so I’m satisfied.
Thanks, @eb801 Eric, and sorry to have inadvertantly preempted your article... perhaps we can just make this showing into a Beechcraft bonanza! (Apologies for the pun 🙂 ) I'm content with the kit and its results, and im glad it was reissued.
I forgot to mention, the pilot came from an old Monogram B-17, but I applied CA to his flight suit to turn it into a sweater, and also did a head swap with a ball cap wearing mechanic. Unfortunately I forgot to take good pics before seating him in the cockpit.
Fantastic Staggerwing, Andrew! Everything in this model is just perfect, including the vibrant color shade and your decision to depict it in flying position! You certainly toot the very most out of this oldie of a kit!
Congratulations!
Thank you kindly Spiros!
A great post, Andrew , I really enjoyed reading the article, the photography is excellent, and the “staggered” stand completes the picture. I’m a fan of Tamiya’s TS-8 Italian Red as well, although I mostly use it on motor bikes
George, thanks, I didnt think much of the stand until you made mention.. I'm glad you like it!
This Staggerwing looks really great, Andrew @pb_legend
Thanks for the clear description of your approach to get the most out of this kit.
Its shape still gives it the looks of a modern bi-wing aircraft.
Thanks! It would be cool to have someone build a modern Stag, much like WACO does these days.. its be popular, no doubt!
What a beautiful aircraft, what a wonderful model! Hats off to this achievement- and thank you for this visual delight!
You're most welcome.. least I could do in return for your pleasant builds.
Beautifully done, stand and all!
Thank you!
Sweet!
What a beautiful finish on this sleek beauty! You really captured the graceful lines.
Kind thanks, Greg!
Just beautiful! I have never seen anything like it.
That turned out great, Andrew!
Great work Andrew, she’s a beauty!