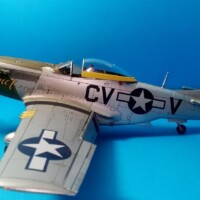
1/48 Airfix P-51K-5 Janet/Elva May
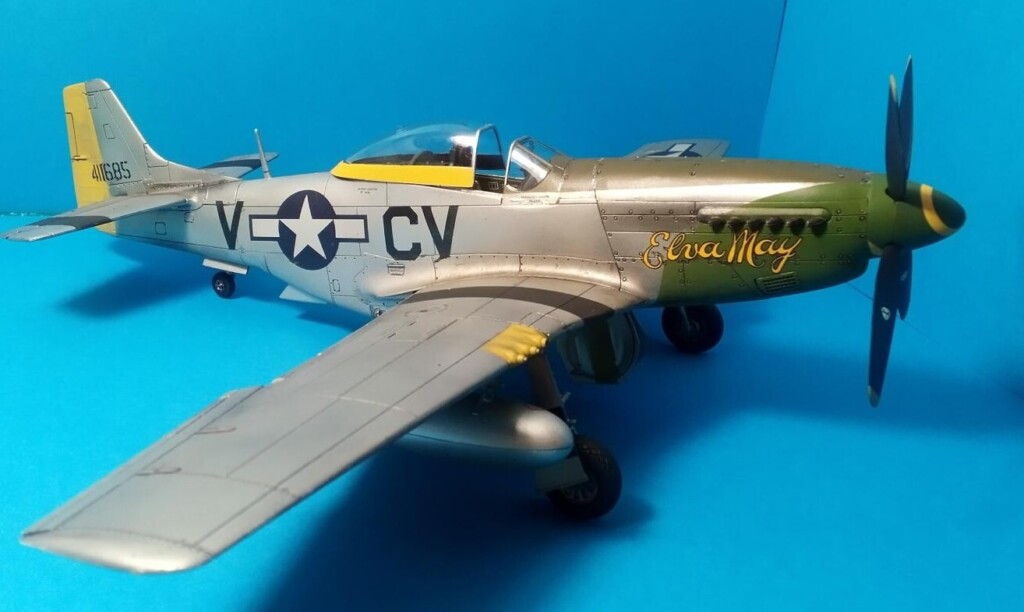
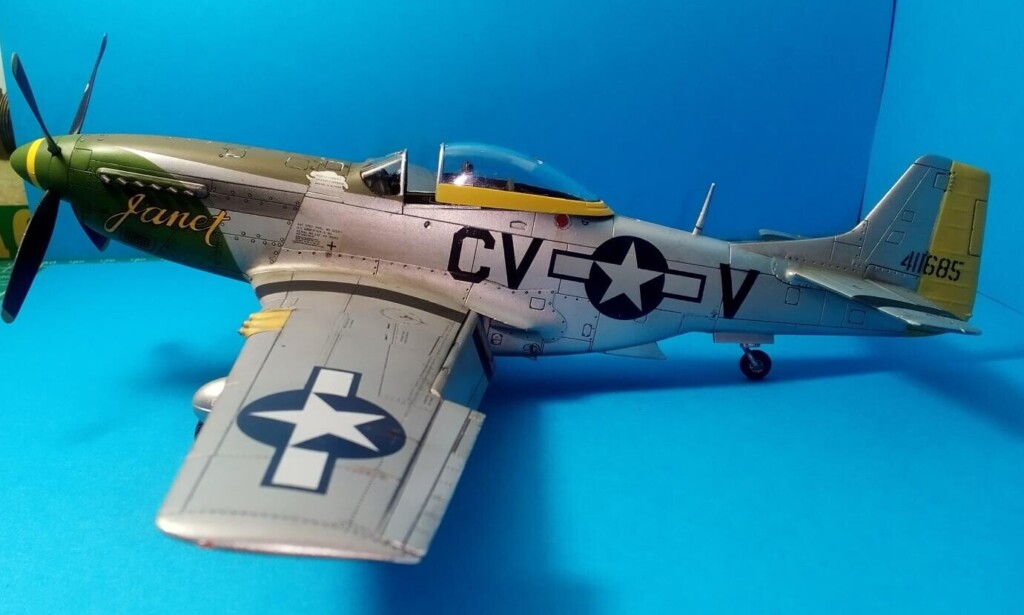
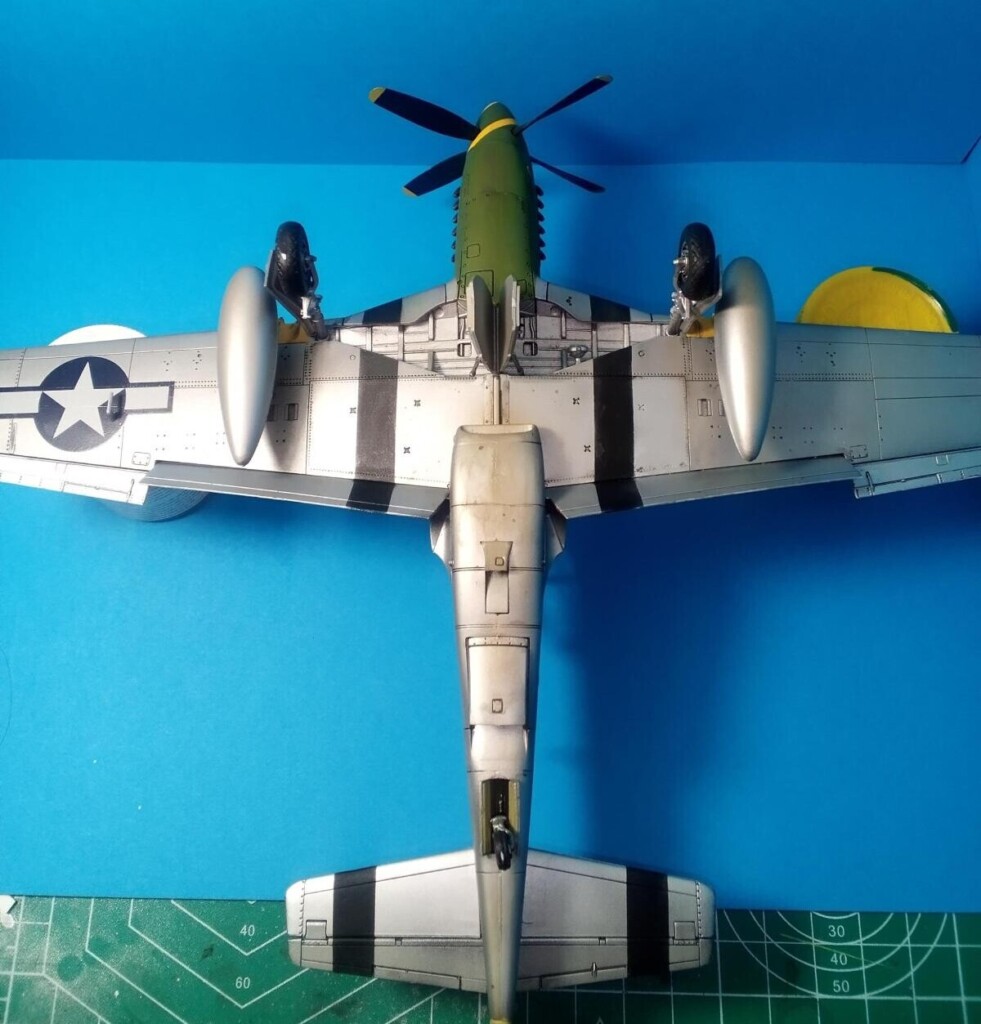
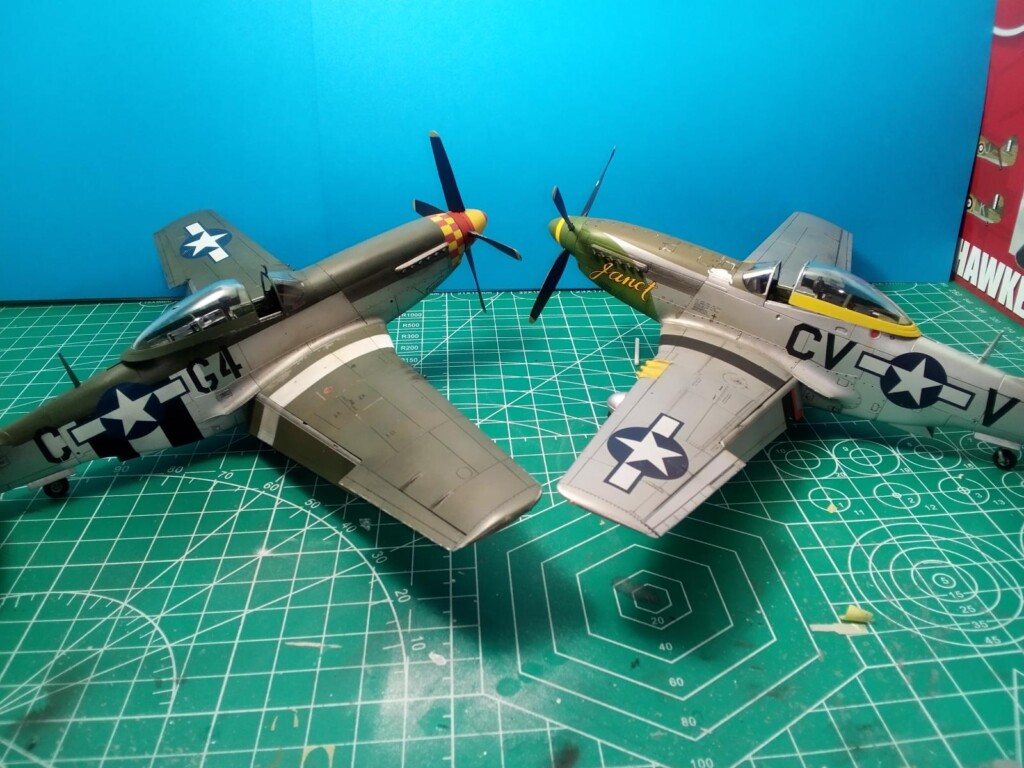
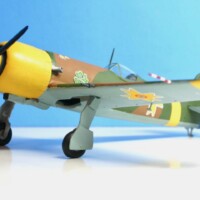
Airfix Mustangs are fabulous- perhaps just one small step below Eduard when it comes to surface detail but certainly less fussy to build. I originally intended to build this as "Louisiana Heatwave" but accidently installed the wrong exhaust. So the project pivoted and became Janet/Elva May flown by Lt. John Cooley our of East Wertham in 1945. One side of the aircraft bears the name "Janet", Lt. Cooley's girlfriend. On the other side is proudly displayed the name of his crew chief's girlfriend "Elva May"
The Aeromaster decals were fantastic and thankfully the sheet provides markings for two complete aircraft so Louisiana Heatwave is still in the works for later this year.
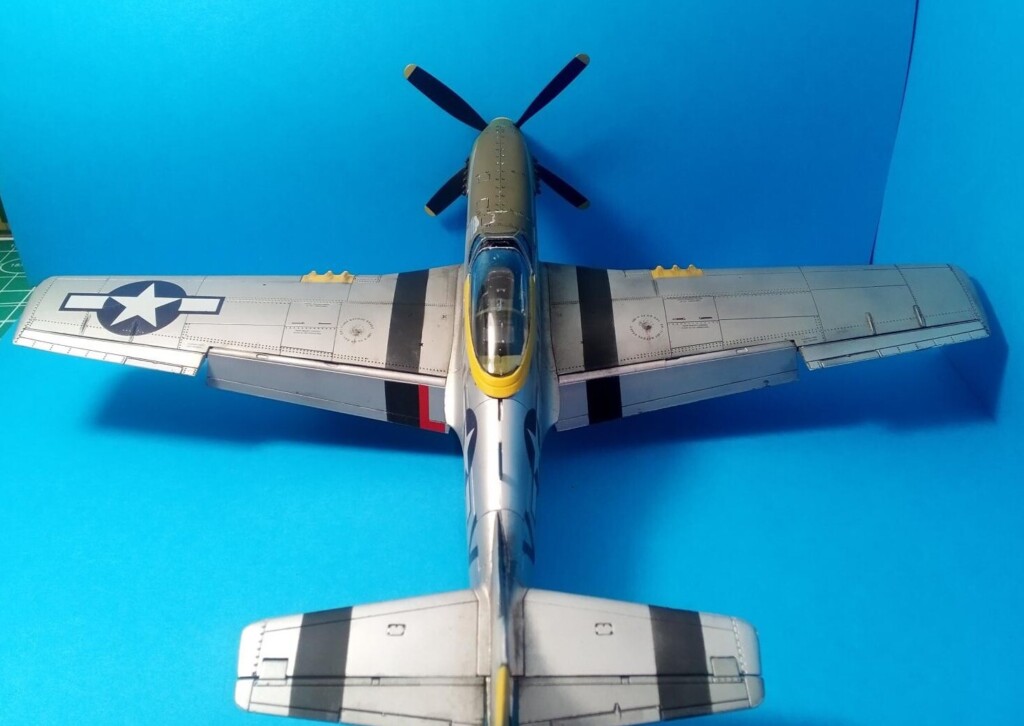
Once again Vallejo metal acrylics led the way although I really do need to be more intentional wearing gloves to handle the finished paint as the oils from your hands will cause it to peel off around the edges. Light weathering was done with artist oils, Tamiya weathering powder, and diluted Vallejo acrylics.
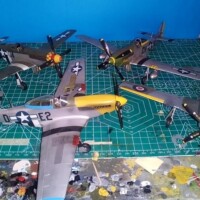
It looks great next to my recent Eduard P-51 and my ever growing collection of Mustangs in general.
Happy modeling!
Kit: 1/48 Airfix P-51D
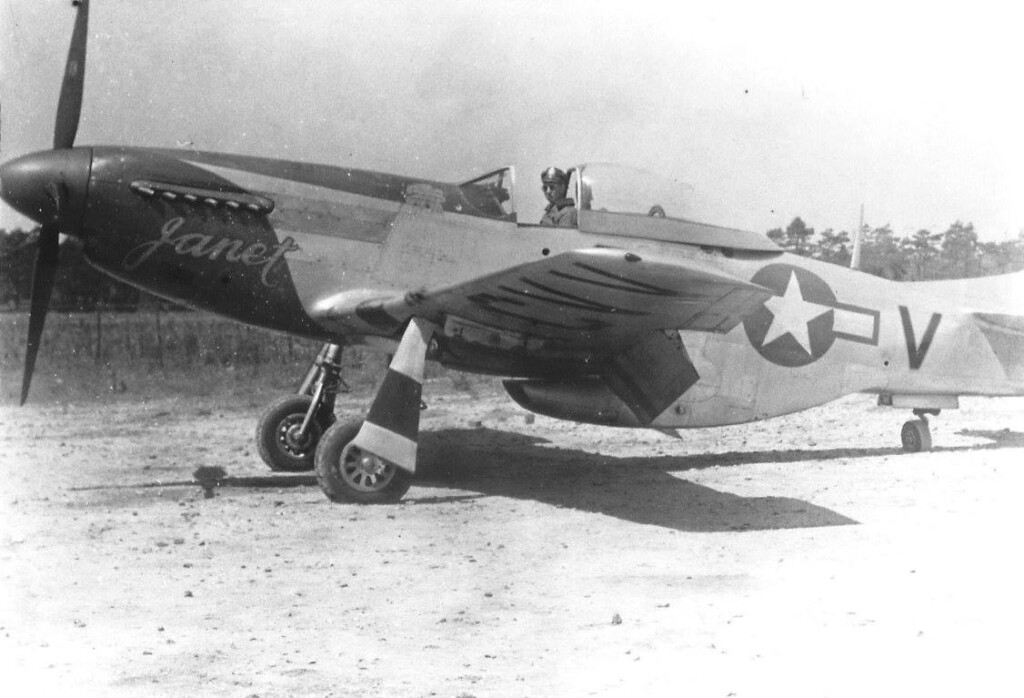
Background: Lt. John Cooley, East Wretham, 1945
Decals: Aeromaster "Green Nosed Mustangs of East Wretham pt. 4"
Aftermarket: none- I did use a Eduard Aeroproducts propeller from my spare box
Paints: Vallejo acrylics
Nice work.
A very attractive livery, I like it
Nice job, David.
Fantastic job, David! Great NMF!
Beautiful result, David @dbutlr
A very nice addition to your stock of Mustangs.
Very nice - another great scheme also! You've got some collection growing there...
Thanks Greg @gkittinger you can never have too many Mustangs! definitely one of my top 3 WWII aircraft (P-51, P-38, P-40, and Corsair come to mind- wait that's 4!) and for sure my favorite type to build
Excellent work ! All of your Mustangs look great. It’s interesting in that B&W photo that the fuselage code letters are painted under the wing. I wonder if that was done after the war had ended before demobilization .
I noticed that too, the Aeromaster sheet did not provide the under-wing markings, that would have been a cool option. On a side note there is another companion photo which I did not include that shows who I presume to be the crew chief sitting in the cockpit showing the other side of the aircraft Elva May
Excellent work on your Mustang, and a great collection!
Beautiful finish, David, congratulations! The Airfix kit does look good after a master has finished it. Apparently both the Airfix and Eduard kits present a bit of a problem with the canopy fit and proper alignment.
Thanks for the kind words Christopher @brummbaer!
Sharp work David. The Vallejo metal acrylics give a great looking finish. I recently used them on a Ki- 61 and was very happy with the result.
Lovely finish on this Airfix Mustang, David, looking forward to the next one.
Great Build David 😊 Nice one 👍
Well done, David!
Wow, what a sharp looking Mustang David @dbutlr! 😁 Great scale modeling, and an excellent finish. I may have to try those Vallejo metal acrylics too! 😊
Thanks @garybrantley! Give them a try for sure- you can buy them in sets of four or you can buy them individual. I bought the colors aluminum and dull aluminum plus the gloss black primer- they are not cheap but the bottles are large and the results are worth it!
Top notch looking Mustang, David @dbutir. You've got quite a pony stable going on here. Impressive. Not much one can do to correct that canopy tilt other than live with it.
I've never tried my own suggestion ... it just popped into my head right now. Could you do some sanding to thin the canopy piece (inside edges) where it meets the fuselage? That'd allow it to sit lower perhaps.
@dbutlr
thats a great suggestion @mikegolf I may have to give that try next time I build one of these kits!
A fine looking pair of Mustangs!
Very nice build!
Very well made. You.ve got a great stable of beautiful Mustangs!
@dbutlr
Excellent work on Janet/Elva May, adding to a fine stable of Mustangs. Great metal finish and decals that look painted-on. It's hard to get that effect on a bare metal finish in my experience. You definitely get the best results from the Vallejo Acrylics. I am using their Acrylic Metal Color on my Tamiya 32nd scale P-51D and I think they are great paints. On the other hand, I have had mixed results with their Model Air acrylic range. I don't know how much to thin them, they seem very dilute right out of the bottle. Do you use that line? They have several named products in acrylics.
Vallejo acrylics are pretty much all I use @coling The Model Air range is my go to for most projects and generally they are good to go right out of the bottle. That being said I have found that with certain colors I have to add a few drops of the Vallejo thinner to the brush (usually 2-3 drops). The primer runs a bit thick and the paints do not have a long shelf life. My older paints give me trouble and I periodically have to purge them. Overall I like the model air range but they can be a bit touch and go.
Thanks for the detailed response, David. For all the other paints I use, Tamiya, Gunze, MM Acryl, AK and Life Color, I thin pretty heavily - at least 50-50 thinner to paint. I had noticed that the Model Air paints are very thin out of the bottle. Thinning them made them a watery consistency. I will try your method of using them right out of the bottle (or with minimal thinner) and test them on some spare models I use for that purpose. I have quite a few Model Air colors on hand as I liked the particular shades they offered and bought a bunch all at once. Good to know they are actually reliable. I really appreciate getting your experience and insight. That's what this site is all about. Thanks again.
I add just s few drops of V thinner to Model Air and a drop of V airbrush flow improver for every 10 or 15 drops of paint also helps avoid tip freeze. David, did you use a dedicated primer under the metal color when you noticed edge wear?
A real gem! I've done there 1/72 new tool P-51, the fit was so good that you can interchange the lowered or raised flap parts without gluing. Your build looks great!
Very nice work on both Mustangs and a super result on this one.
If you want to solve the canopy problem, here's what I do: thin the canopy frame down from the inside to a knifepoint - start at the top of the frame. If you still have problem getting the sit right, round down the edges of the fuselage under where the canopy will sit. It will then sit right and no one will notice the modification you did.
Thanks for the tip! I'm going to try my hand at the Tamiya kit coming up and I will give this method a try.