1/48 Mi-24P Hind F, Belgorod Raid, 1 April 22
I snapped this up from Sprue Brothers right before the sanctions were in place, so this may be one of the last Zvezda models I (or anyone else, for that matter) do for a while. It was in the mail when the war started and arrived on my doorstep a few days before Ukrainian Hinds struck the Russian oil storage depot at Belgorod on April 1. My friend and I were chatting about this event when he made a remark about the music videos produced about this event. "All these videos with heroic orchestral music are kind of boring. Know what music is the most appropriate? You're flying fast and low, dodging SAMs and making a strike deep in enemy territory... of course it's AIRWOLF!" Hence the goofy title image. Forgive me.
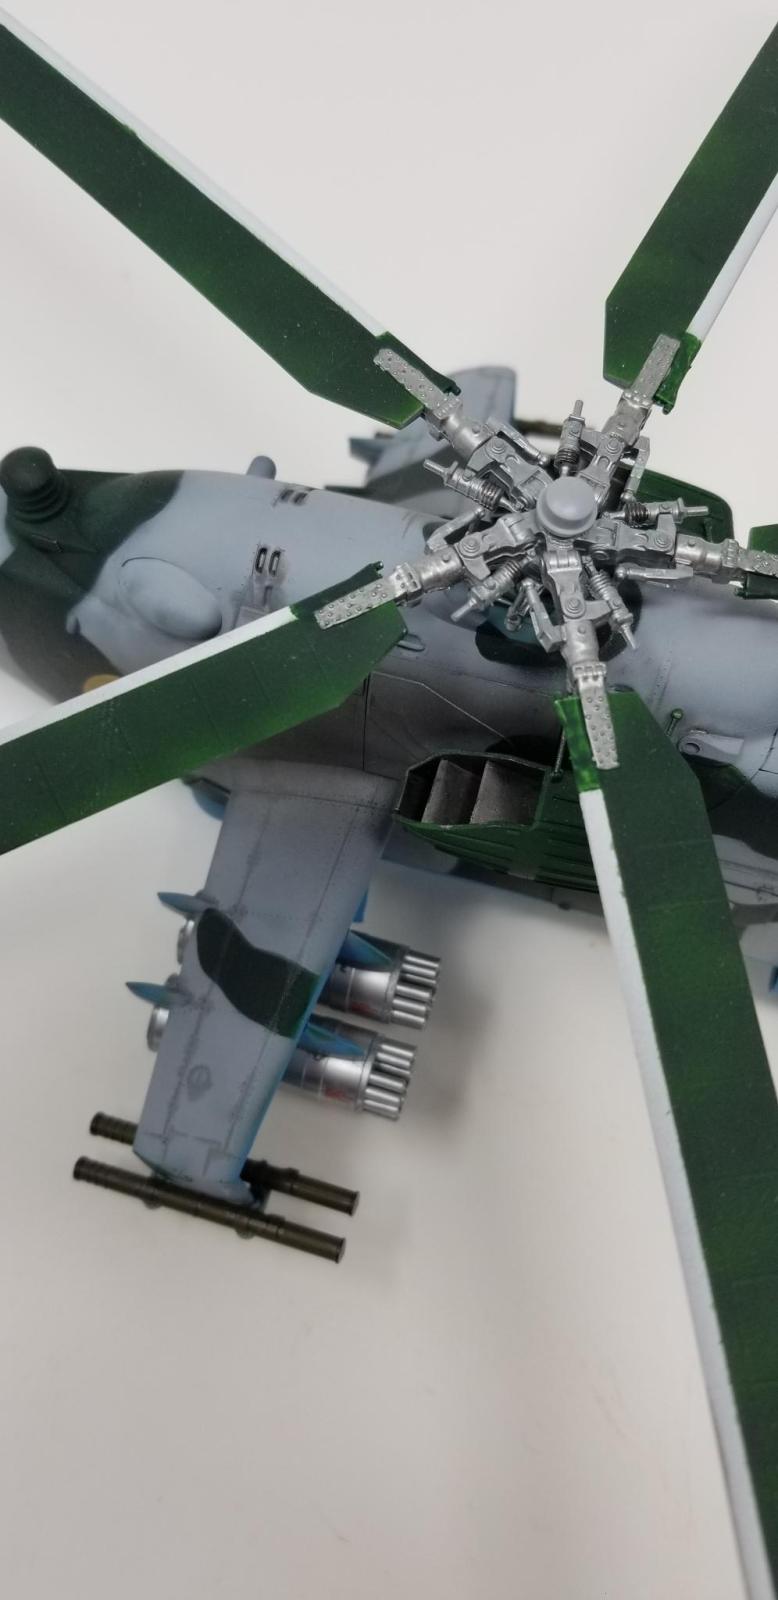
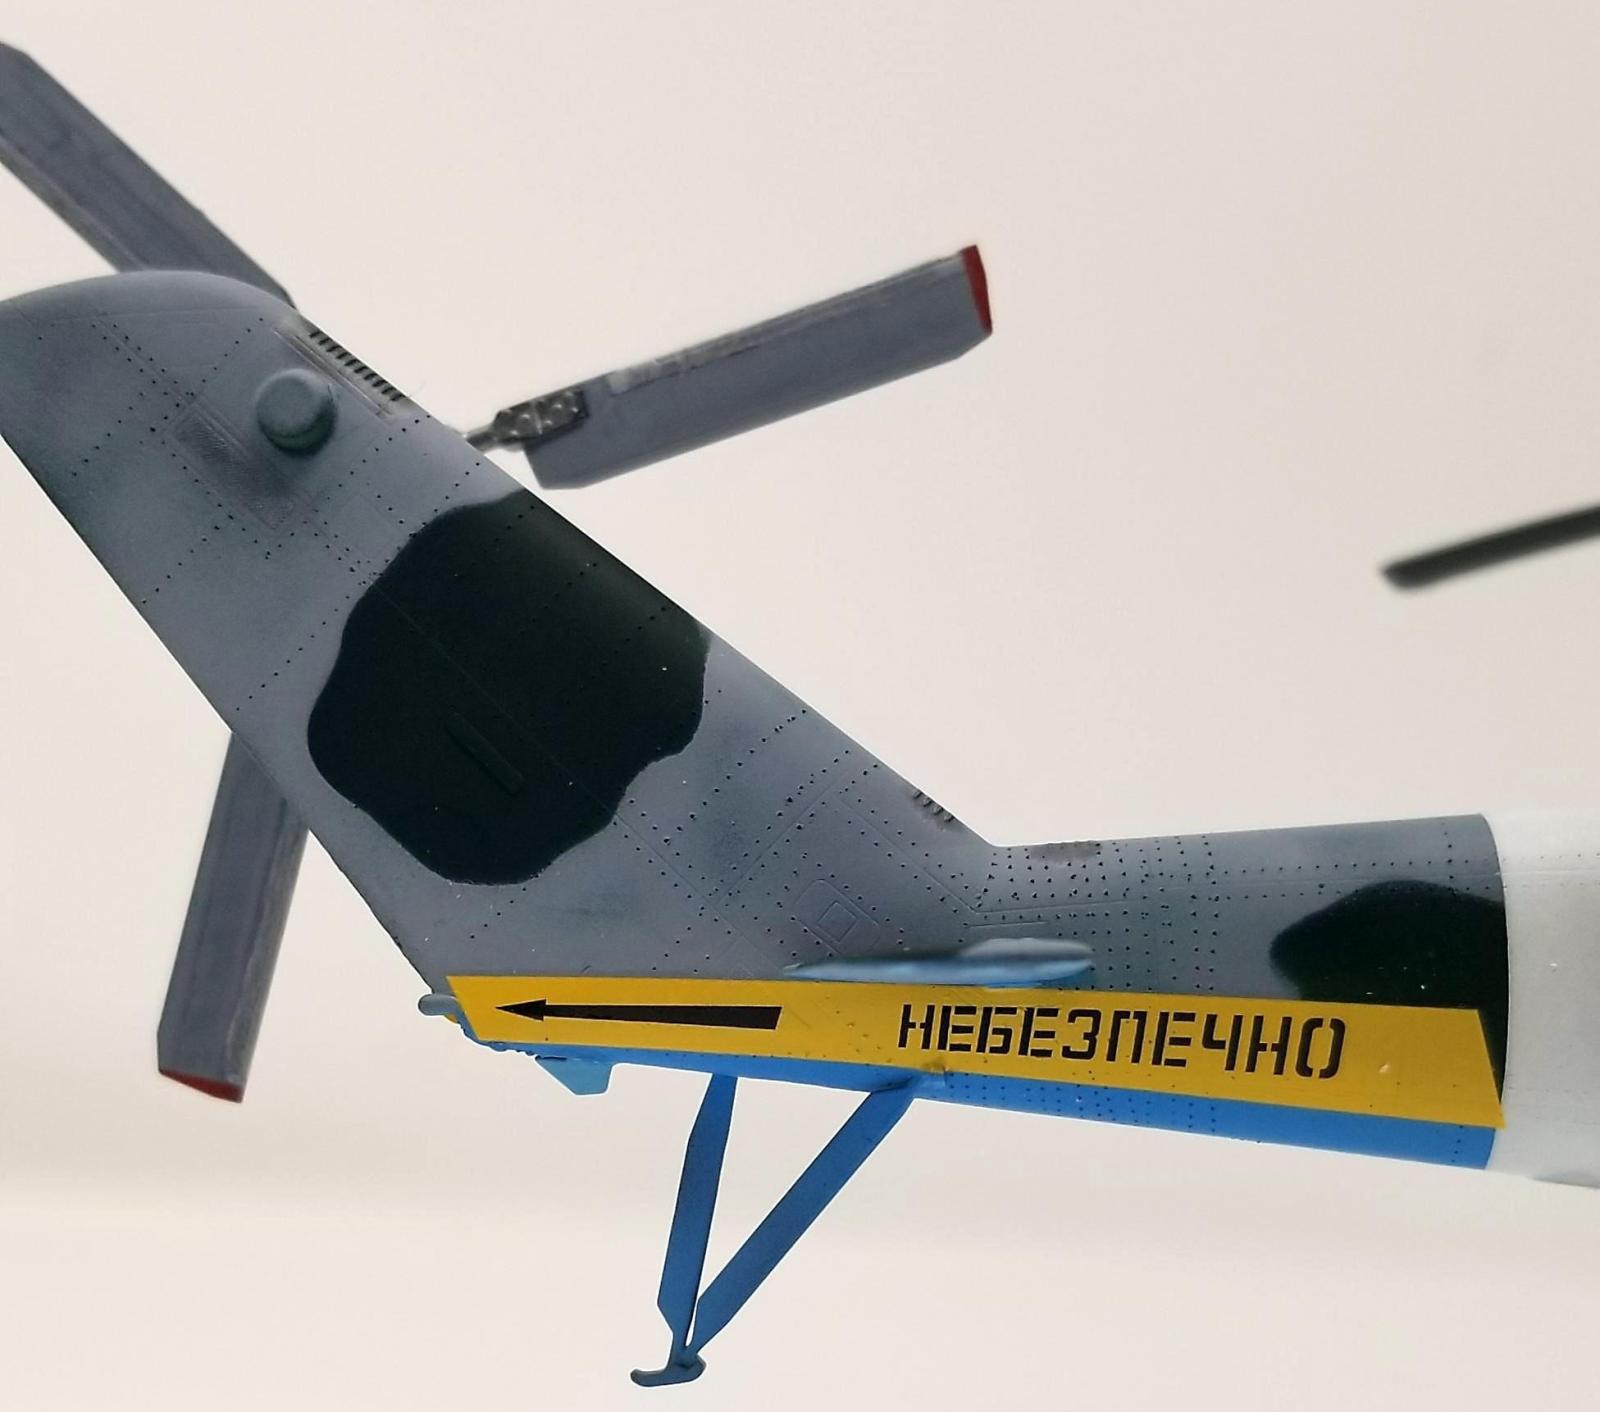
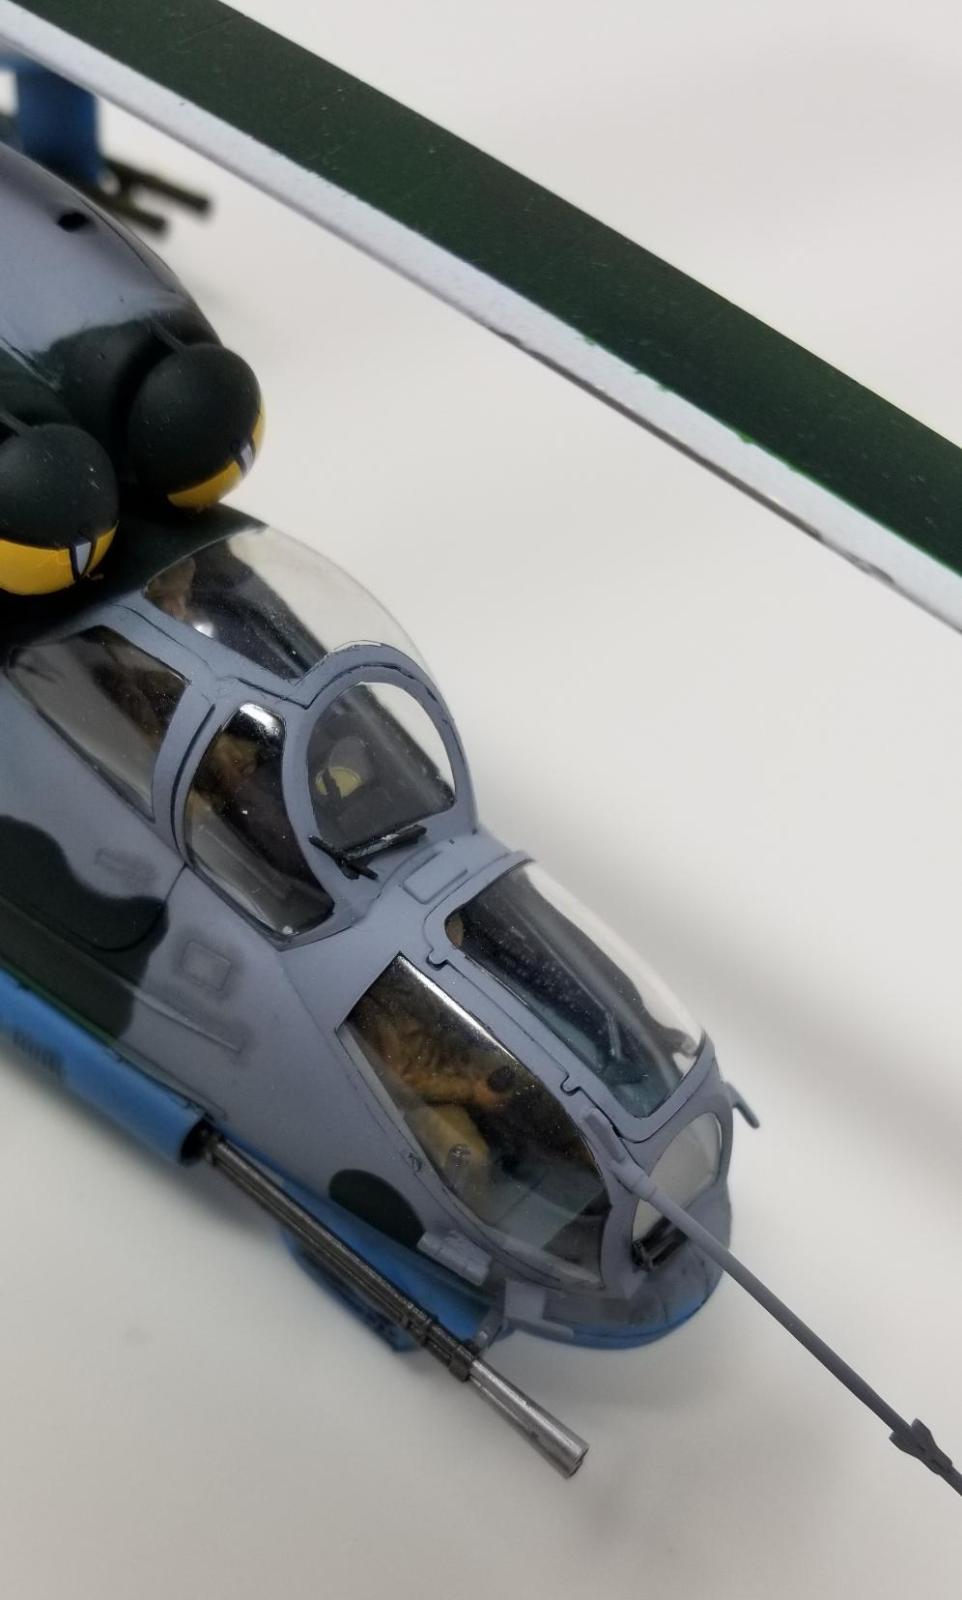
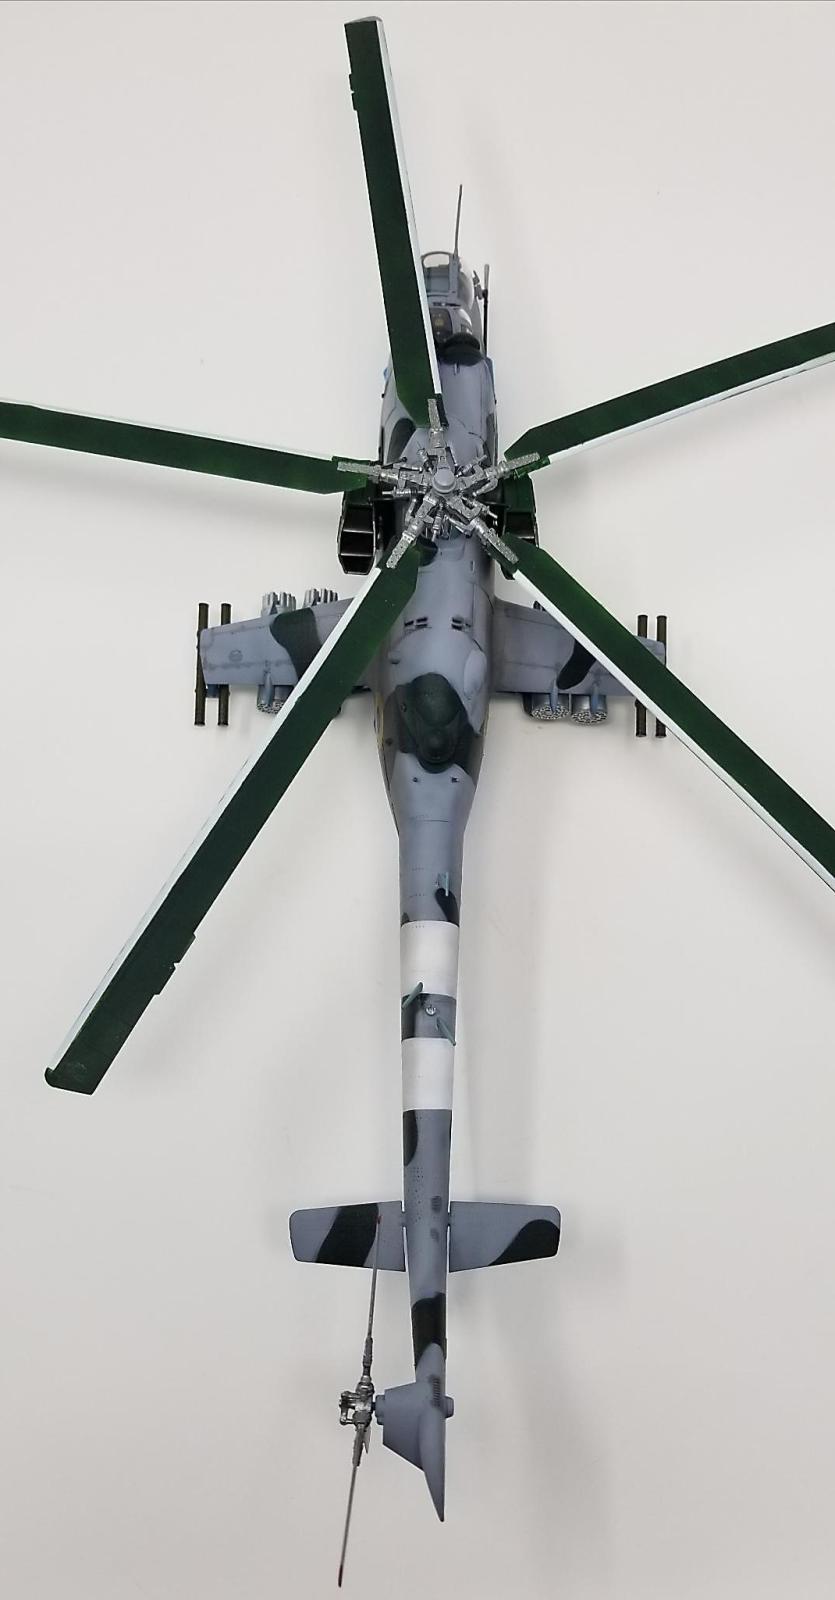
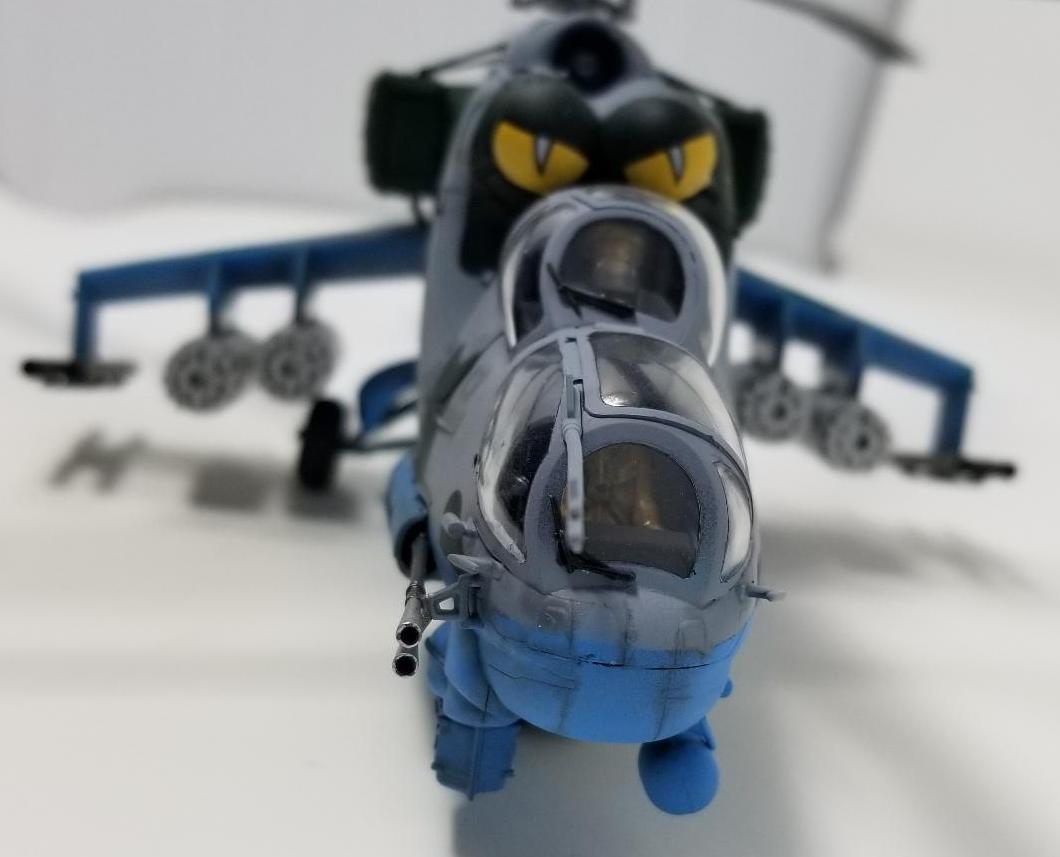
Early variants featured a large "greenhouse" canopy that covered both the pilot and gunner, but visibility was poor. All subsequent variants utilize two bubble canopies that give the Hind the look of a huge evil insect. When you look at a Hind long enough, there are things about it that seem "off" and inelegant. The first thing I notice is the "sit" of the craft when it's parked on the ground: the whole frame "leans" to starboard slightly to compensate for the torque of the main rotor. Further exacerbating the asymmetry is the rear rotor, which is canted slightly off axis to again compensate for torque. The troop compartment windows can be flipped open to allow the crew to operate machine guns from mounts. In practice, this is never done because the intense vibration of the airframe makes aiming impossible.

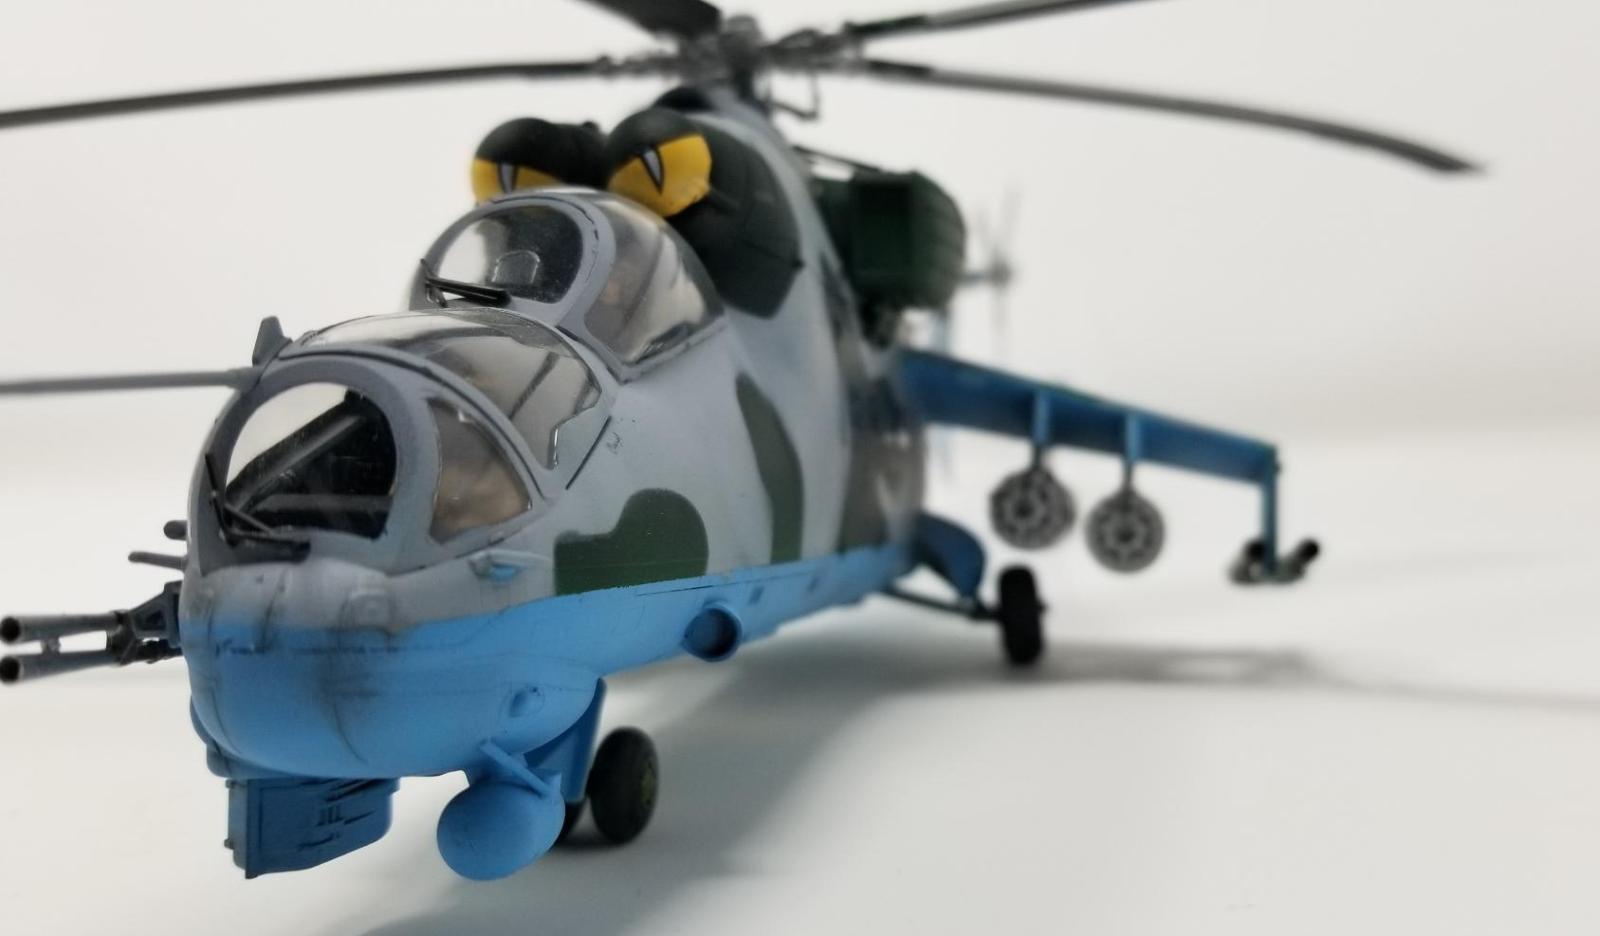
After becoming easy prey to infrared, shoulder-launched surface to air missiles like the Igla and Stinger, the Hind gradually acquired a number of countermeasure equipment, including the large EVU exhaust deflectors, Ispanka "disco light", and ASO-2V dispensers. PZU intake filters for dusty environments are also frequently seen above the pilot's cockpit. Usage of the EVU exhaust deflectors apparently degrades performance, however, so these are typically removed once the Hind is operating outside of a SAM-rich environment. The Hind F is the gunship version that deletes the 12.7mm rotary machine gun and adds a fixed, two barrel 30mm autocannon on the starboard fuselage cheek.

I'm not a rotor-head so a lot of this is somewhat outside my comfort zone, but helos occupy both the world of heavily weathered APCs AND aircraft so they scratch two itches at once.
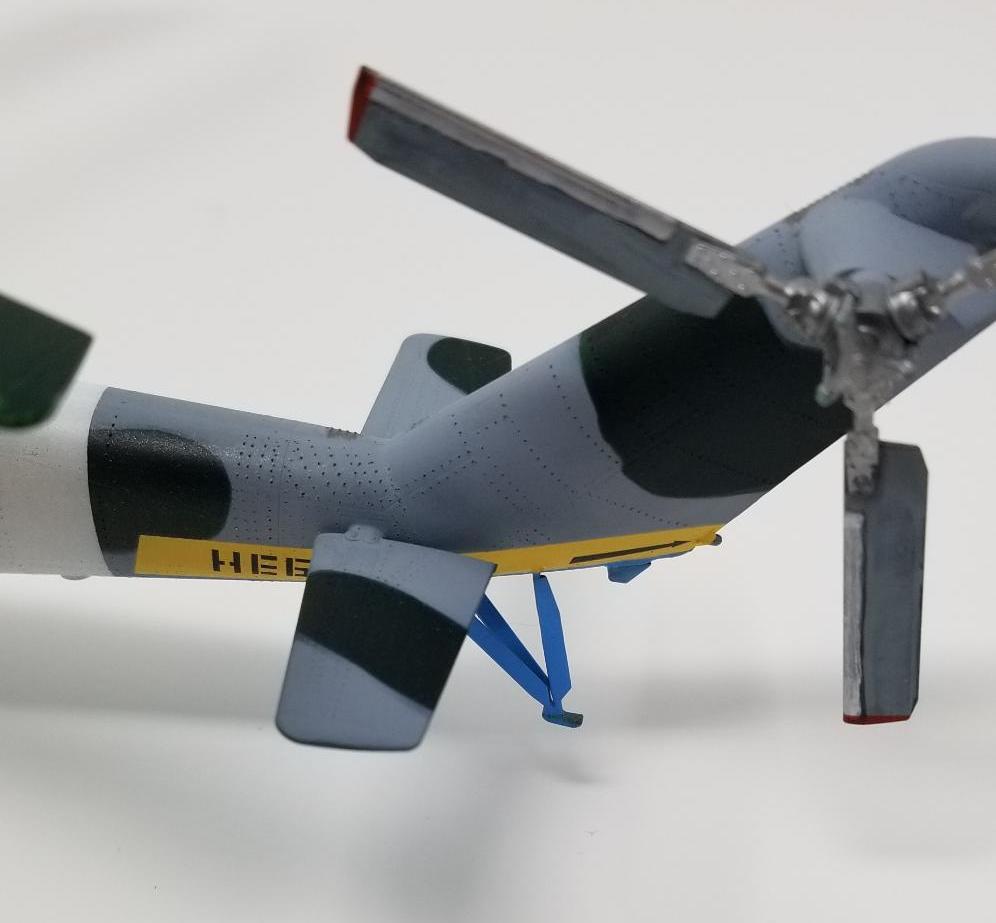
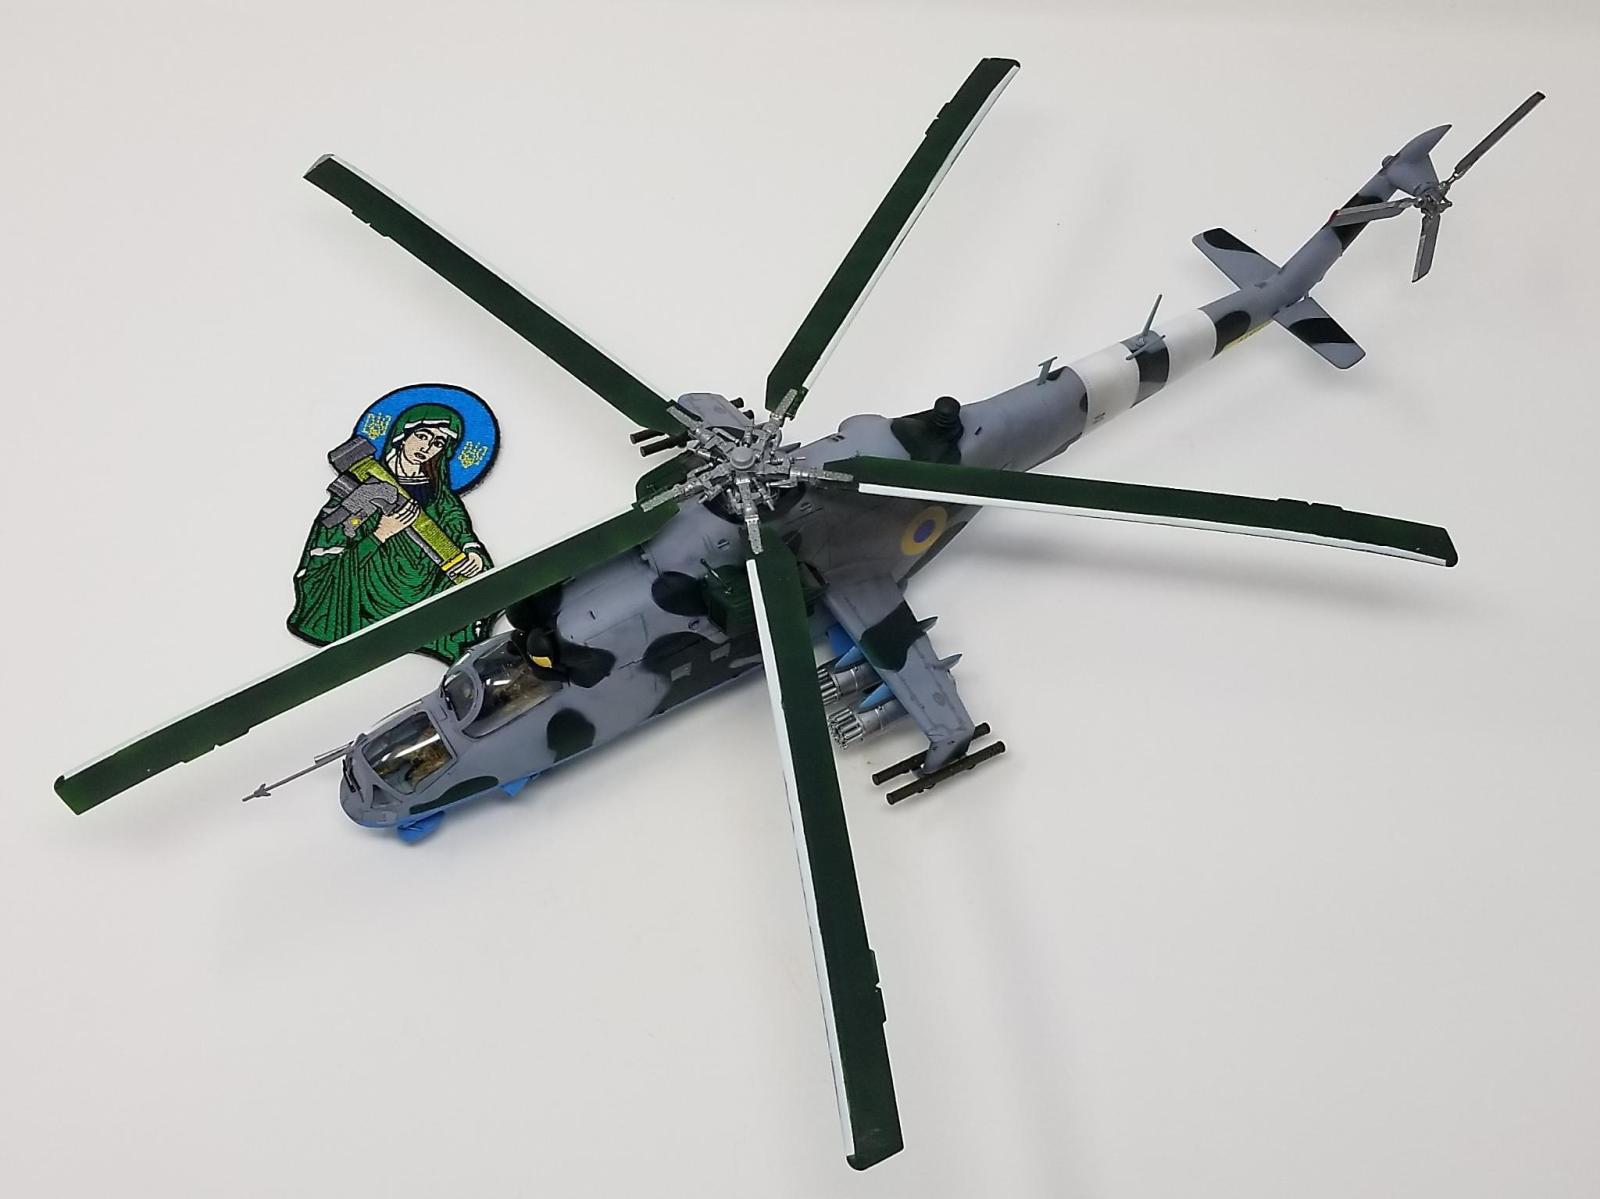
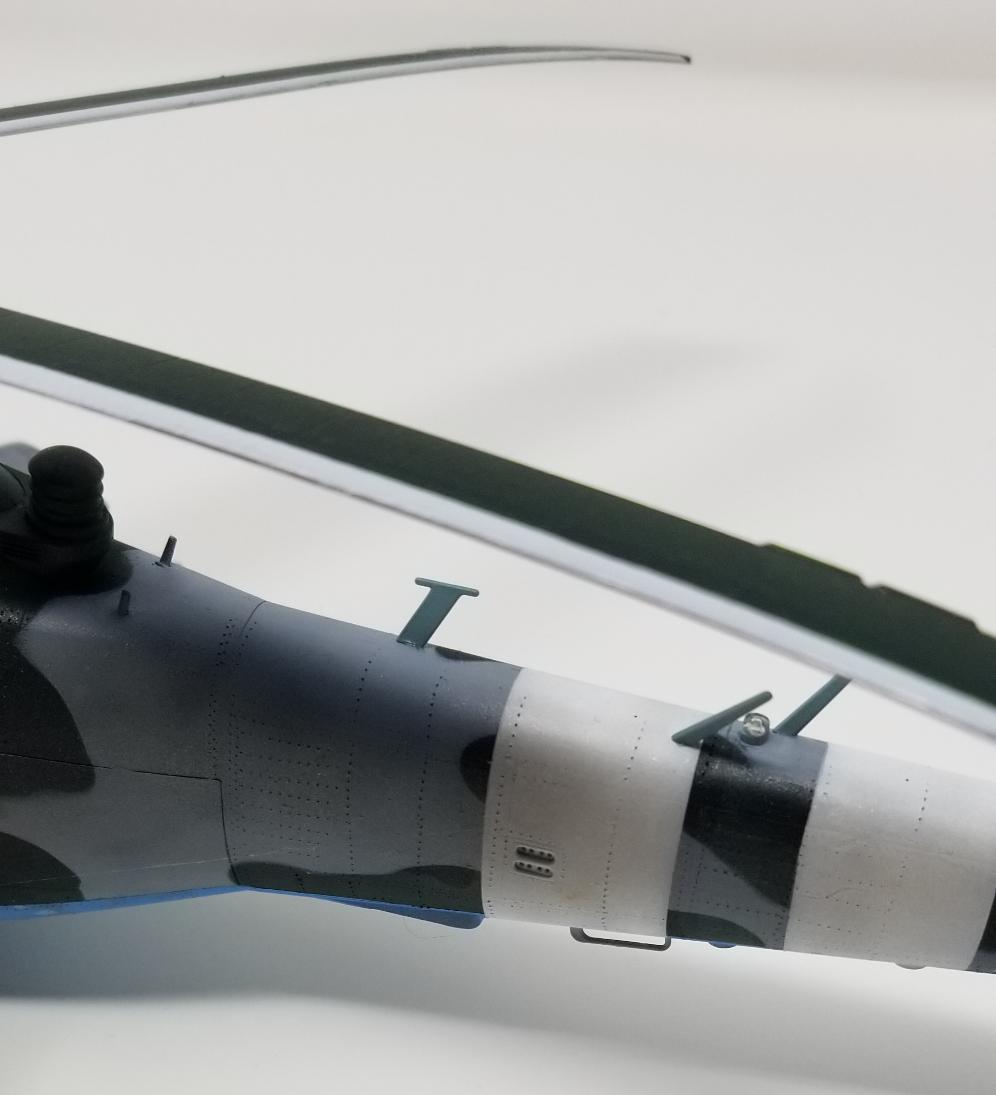
Ukrainian Hinds have two white bands on the tail boom, and since the invasion have been painted with large patches on their noses with blue and yellow to give friendly MANPAD operators extra help in not shooting down friendly aircraft.
The Zvezda kit is generally fine, but there are a few problems: the cockpit's instrument panels are flat and smooth with the details made up by decals. The instructions omit part D40, which is an instrument panel on the starboard sidewall of the gunner's cockpit. That's fine in 1/72 scale, but in 1/48 it's cheap. You can use the Quinta details set to provide some dimensional interest, but if your canopies are closed it's not really worth it. Similarly, the exterior surface on the real thing is COVERED with raised rivets, but the model isn't. Again, not a problem in 1/72 but it's noticeable in 1/48. Nothing that can't be addressed with a riveting wheel, though you will be putting it through its paces. Every panel line has one line of rivets, except the ones that have two or more. Not every moveable hatch has rivets; some hatches have a few where the hinges are mounted, others have rivets around the hatch opening. If you choose this route, which is far less irritating than using dry transfer decals, you should pore over any available photo reference you can BEFORE you start to rivet.

The canopy is very fiddly and you will have horrid fit problems if you build it the way the kit instructions tell you to build it. If you want the cockpit doors closed, build it "backwards." Cement the pilot door in place FIRST, then fit the pilot canopy, then the pilot windscreen. Fully cement the door in place. Use a dot or two of cement on the joins between the clear parts to ensure there are no gaps. Then fit the gunner canopy and do not glue it in place. THEN glue the gunner door into place so there are no gaps. When all of that glue has set up, use tape to pull the canopy down so the canopy edges meet the sill so they can be glued down. After all of that, the only place you may have a slight gap is in the rear of the canopy underneath the intakes.

The kit gives you two options for the ASO-2V jammer dispensers, one with fairings and one without; both are mounted on the fuselage. In reality, there are two other options: both feature the dispensers affixed on the underside of the tail boom, immediately ahead of the horizontal stabilizers. One mounting option has the dispenser mounted directly to the boom and the other involves two straps to hold the dispenser in place. It is a simple task to place the un-faired dispensers on the underside of the boom. Check your references.
There is currently a privately owned, flying Mi-24D in Texas, and the walkaround video of its preflight inspection is superb for modelers.
I chose to use the Quinta details set because I've always wanted to see these things up close. Five years ago, we would have to be using expensive, toxic, polyurethane resin whole-cockpit replacements that usually don't fit and need to have huge chunks of resin ground off. These are game-changers. These are perfectly sized to be placed directly on top of the smooth kit parts. All you need is a small drop of superglue on the kit part and these "decals" can be floated on into place.
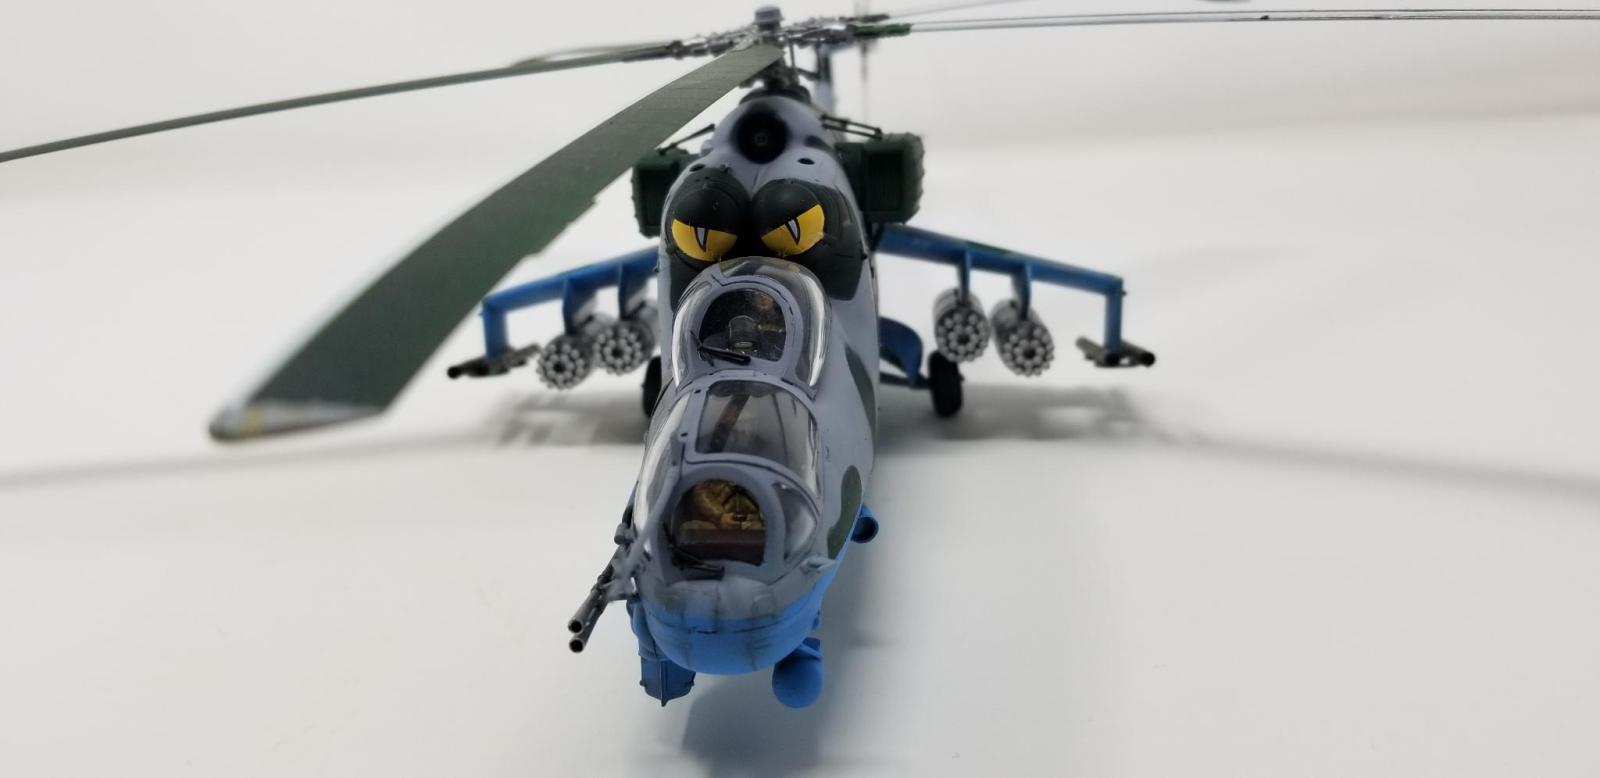
The Foxbot decals are slightly disappointing. If you use the "eye" decals you have to force them to conform to half-spheres, and the decals are somewhat stiff. I used multiple coats of straight Solvaset and still had wrinkling, so I had to resort to a tiny drop of liquid cement to truly melt the decals into place. This is a dangerous method and you have to be extremely careful to only allow the droplet of cement to touch the decal surface and not allow any part of the applicator to come into contact with any part of the model because the cement will mar the surface.
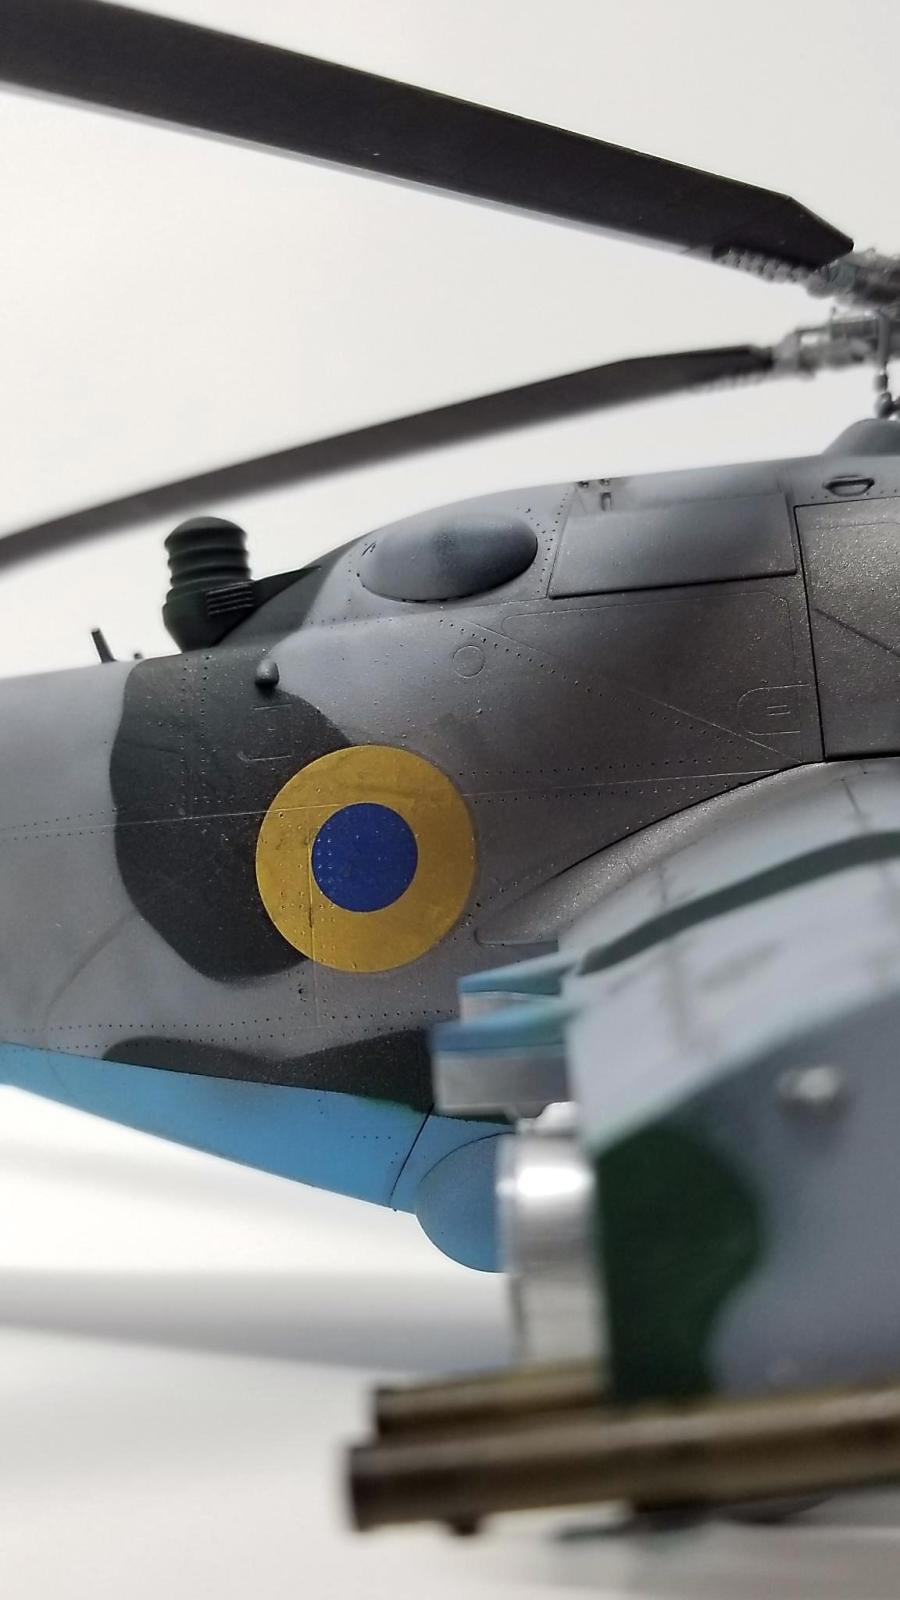
Foxbot gives you options for Hinds sporting two white bands on their tail booms, but no decals for these, nor any masks. This means YOU have to mask off the bands, which is complicated by the fact that the Zvezda kit doesn't give you enough panel lines to use as a reference, and the geometry of the tailboom is a bizarre flattened cone. I did some measurements with my Mk. I eyeball and got into the rough ballpark. To mask around the annoying geometry I used a thin rubber band and pulled it tight around the boom, then traced its outline with a soft pencil, then used flexible pinstriping tape to conform to the marks. Not ideal and I'd prefer some more help from the decals manufacturer, but I learned a new skill and that was fun.
There are a few other unused decals on the sheet, some of which are pretty distinctive like a unit award, but you get no indication where these are supposed to go. All gripes aside, the Foxbot decals are the only game in town if you want a Ukrainian Hind, and purchases from their "Warriors Of Light" series go to fund the veterans charity Return Alive, so they're recommended with reservations.
The Airwolf theme is best performed with kazoos.
Superb result out of a challenging kit, Wes! Great, very informative article, as well!
Zvezda kits are available through eBay with dealers in Lithuania and Poland. Vladimir Szulc assures me the guys at Zvezda are not Putinscum. I got the Yak-9 kit last fall from Lithuania.
Nice work on this model.
Well that's a relief!
Interesting. I was wondering about Zvezda kits and how it fits into all this mess.
Great result on a not so easy helicopter, Wes @avispa93
Thanks for sharing all the information.
Convincing looking model, Wes, we’ll done in sorting out the various problems as well.
Super cool! Loved looking at this. Well built and detailed
Nicely done. I'm no rotor-head, but the gunship looks nice in Ukrainian markings and scheme.
Not seen many of these built, well done
Great narrative, and terrific model. Thanks, Wes!
Excellent build of a Hind.
Thanks for putting in all the issues with your build. I bought the older Hind D kit around the same time and will be rereading your article when I build it.
Great build and narrative. Slava Ukraini!