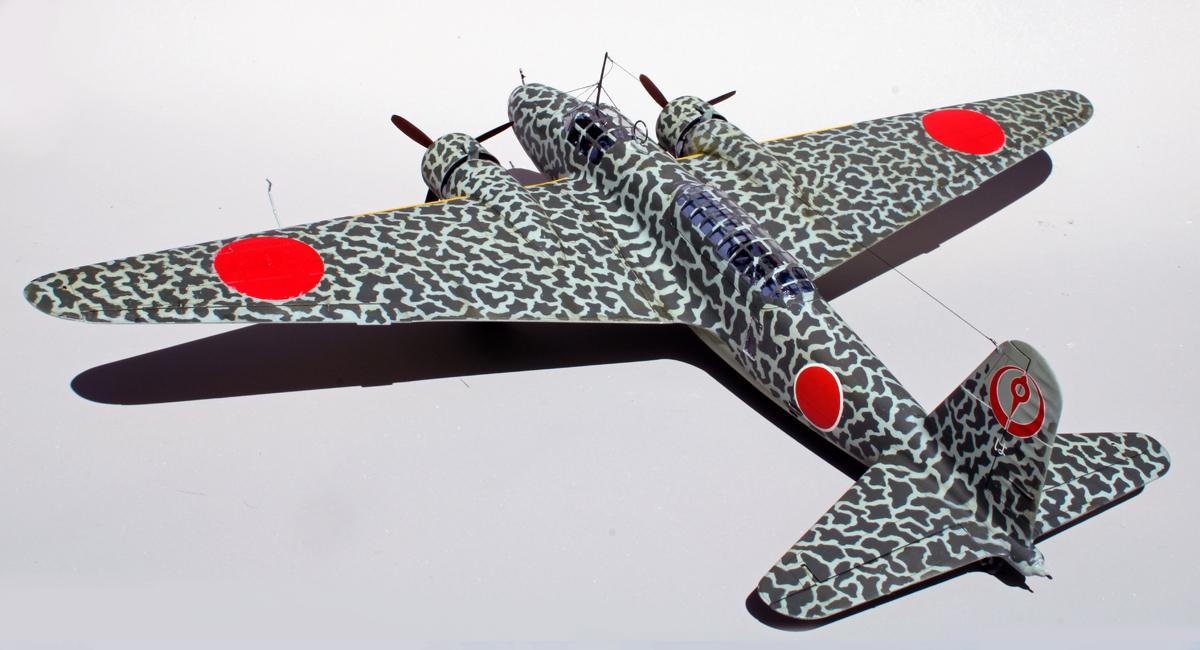
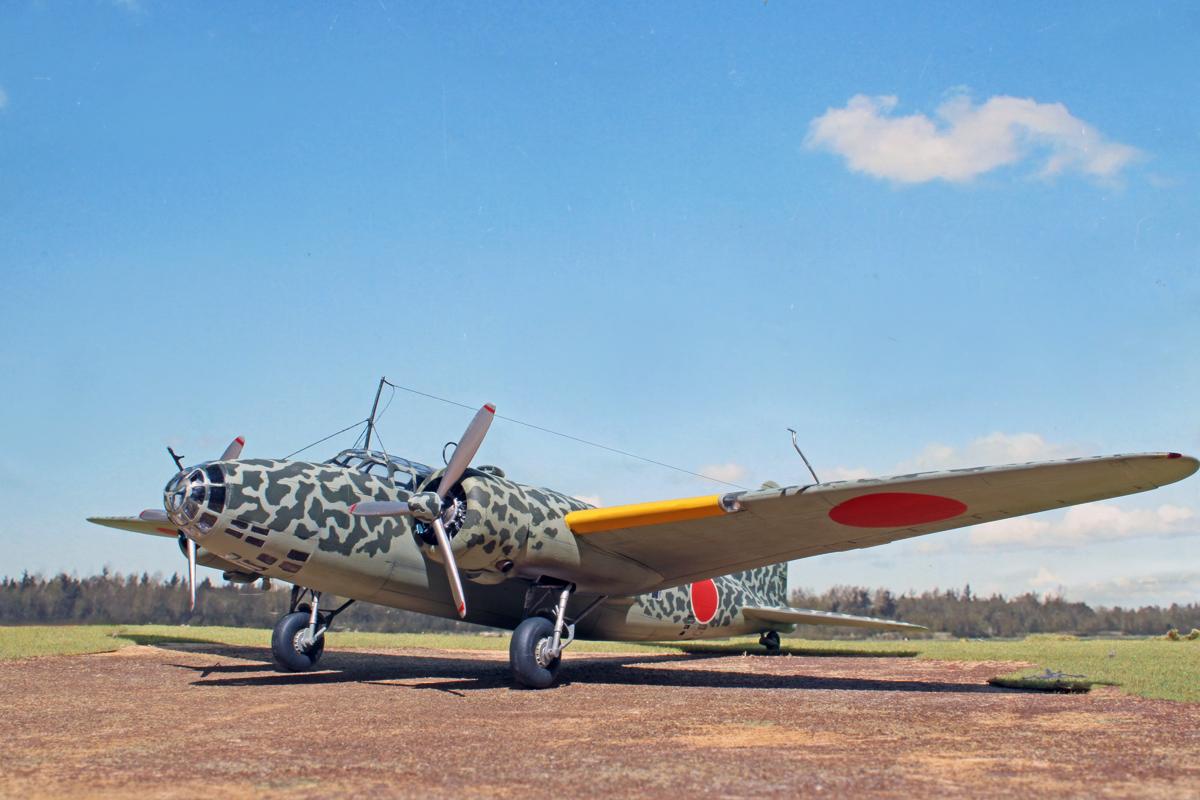
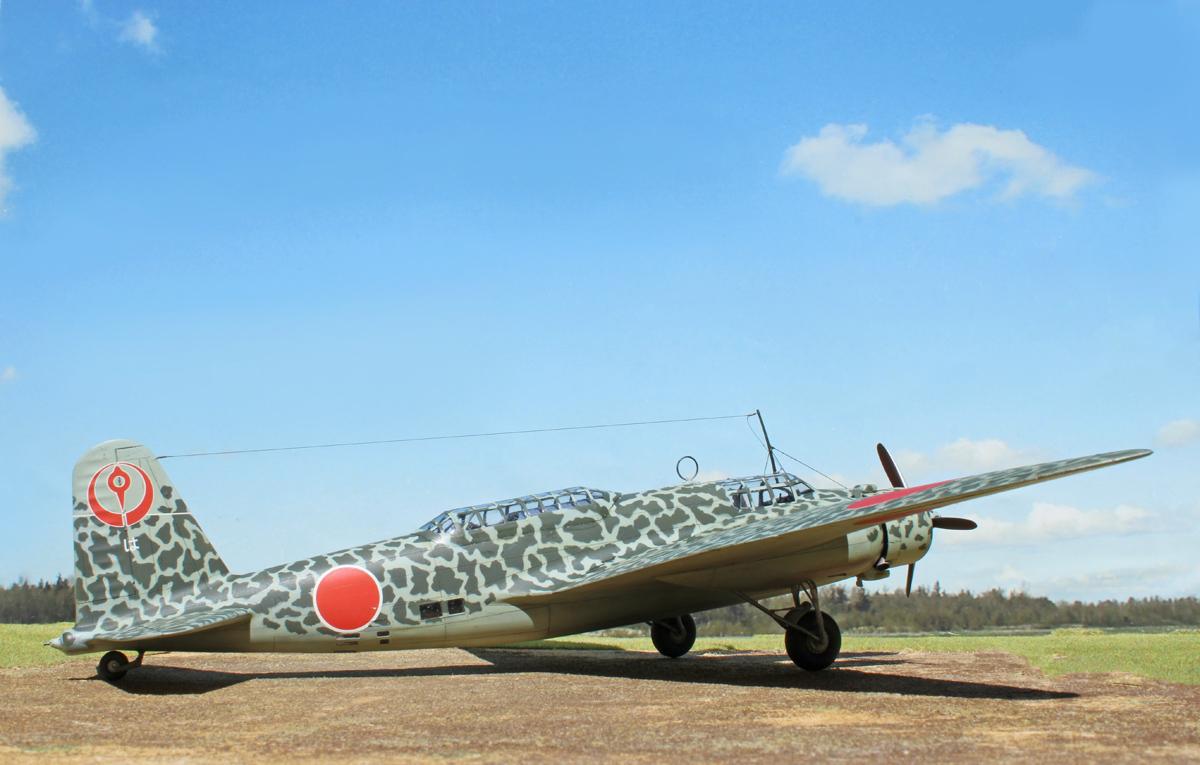
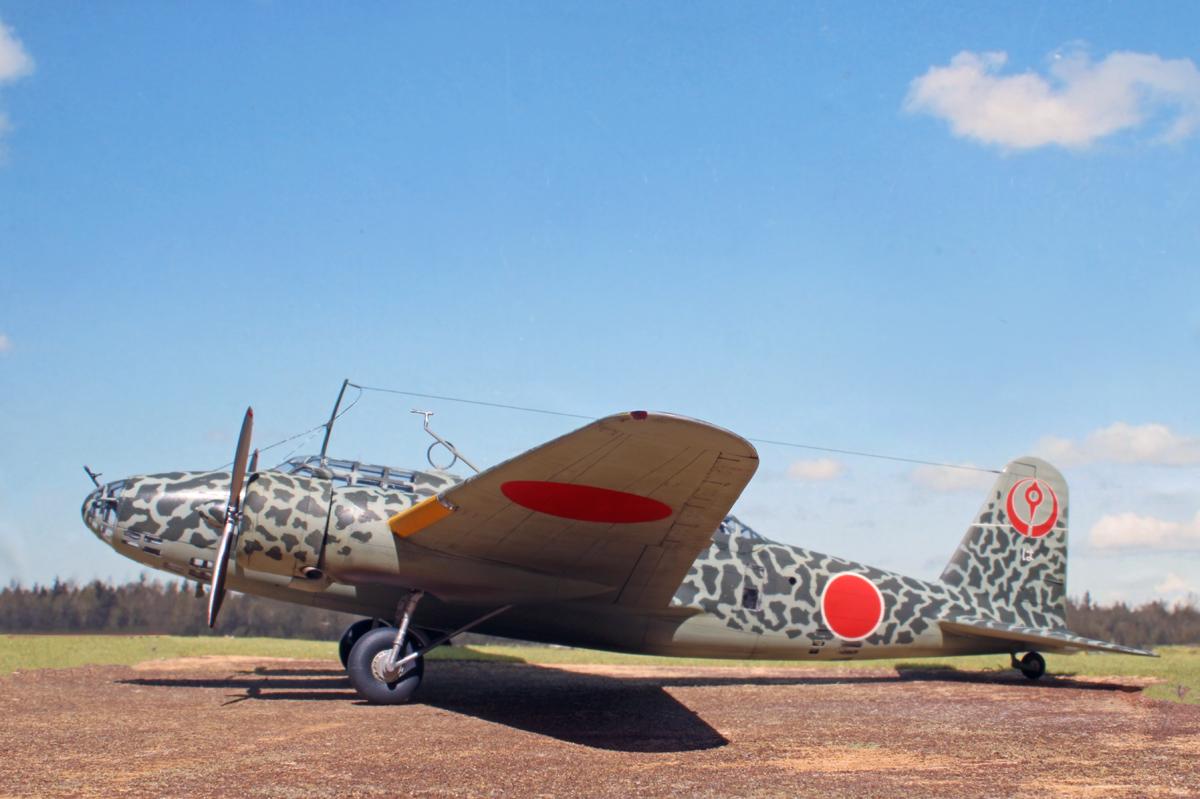
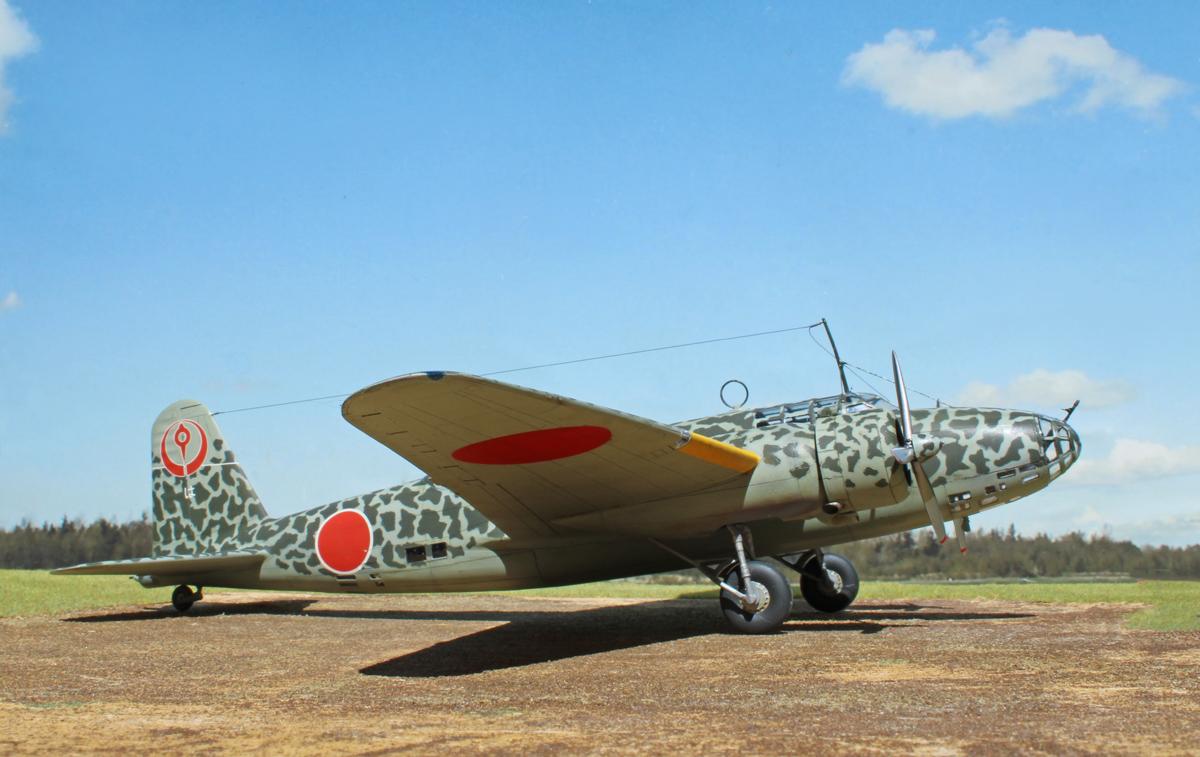
Ki-21-Ib Sally ICM
Here's my just completed Sally. For a history of this aircraft, see Louis Gardner's excellent post of his build.
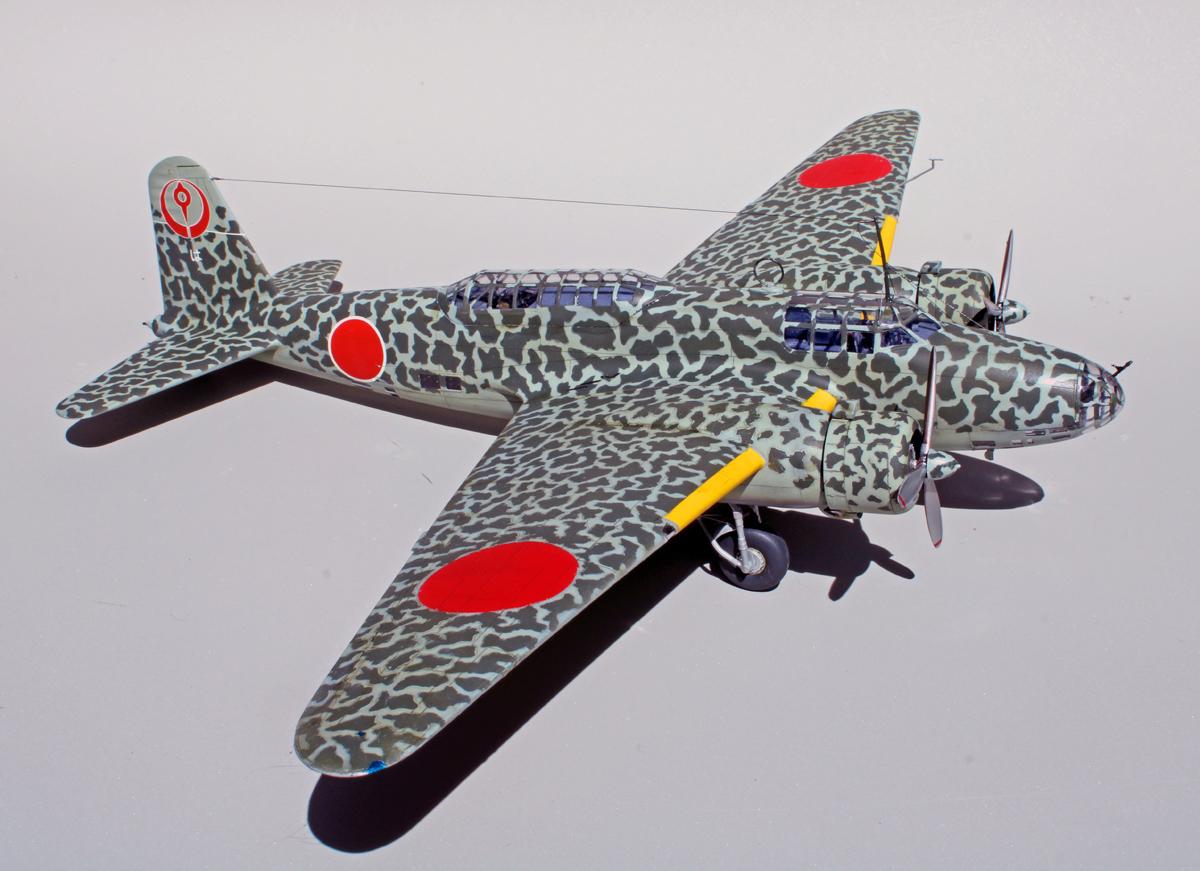
I must say that this is one of the nicest kits I've dealt with lately, like the Beaufort from ICM that I built a few months ago. Everything fit perfectly, no need for any filler. There's a lot of detail in the fuselage that will never be seen, but that's OK, I know it's there. I used Eduard PE in the cockpit, along with seat belts. I also used Eduard two-faced clear parts masks - a real time saver with all those windows! I had some Japanese Army paint from Model Master left over from the old days, IJAAF Grey-Green and IJAAF Green. Also some Interior Metallic Blue. For the crew areas, I mixed a dark blue-grey that was a close match for the grey interior PE parts from Eduard. The propeller blades seemed a little thick to me, so I thinned and flattened the back side of the blades a little. I also added ignition wires to the engines, although they are hard to see. I found a couple of MV lenses for the landing lights. The decals are very nice, although I painted the meatballs. Overall, a very enjoyable build. My only complaint is the delicate plastic antenna mast and pitot tube. I installed the pitot tube as the last step, and five minutes later I noticed that it was broken already, and I didn't even tough anything! Fortunately, the kit came with two of some parts, so I had a spare. If I had to do it again, I would scratch a pitot tube and antenna mast from brass. I may need to do that anyway, I'm sure it will be broken again soon.

This Sally looks amazing, Chas @chasbunch
How did you get that complex camouflage applied this nicely?
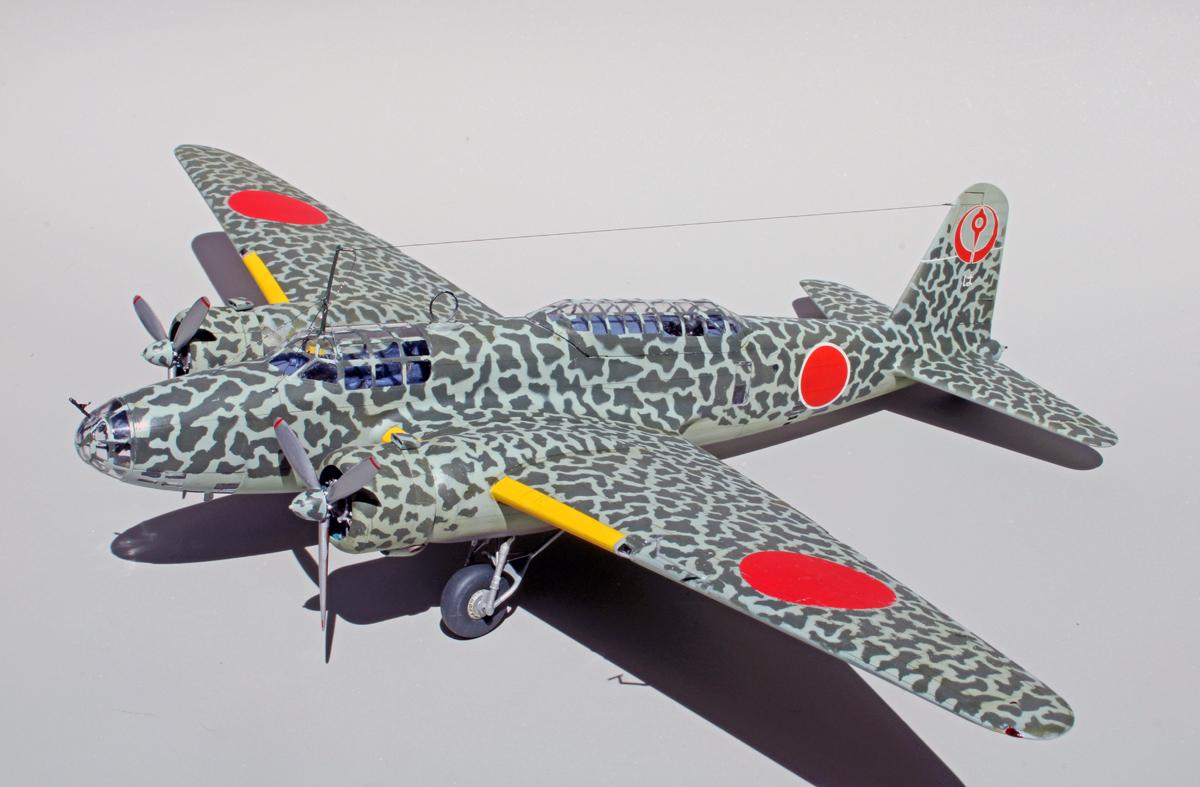
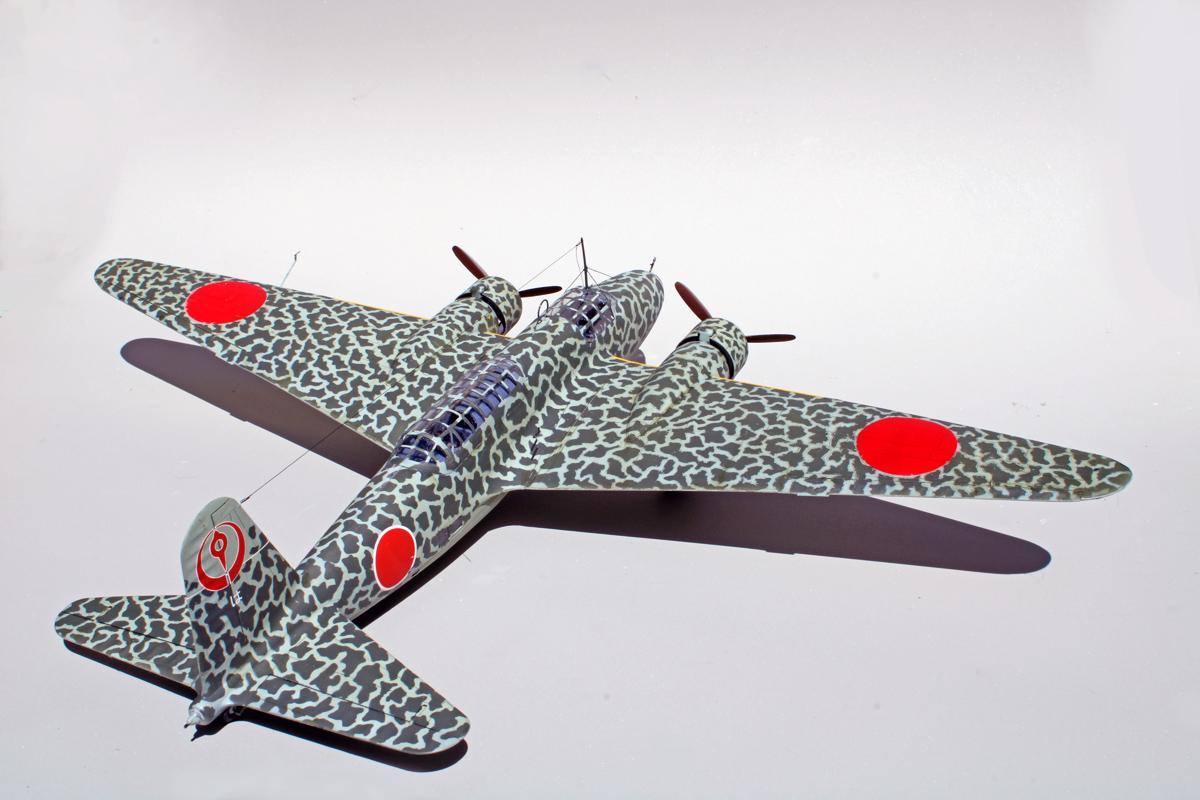
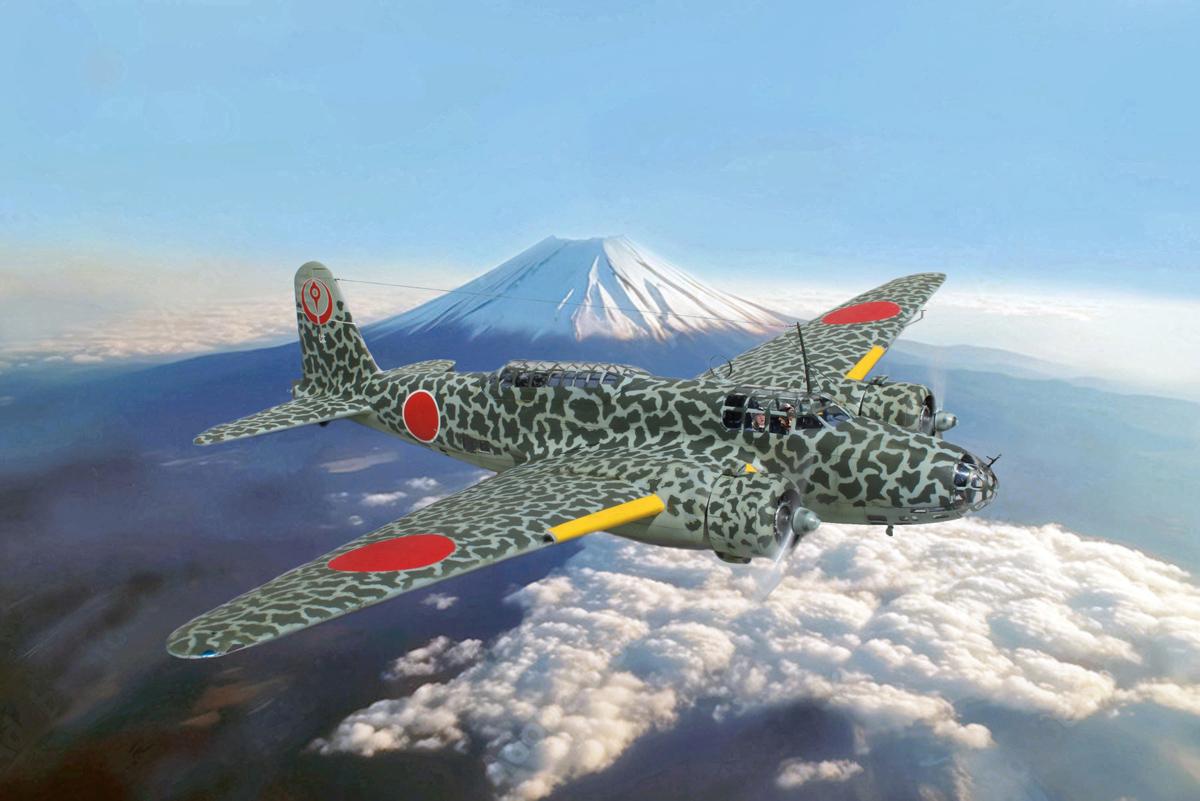
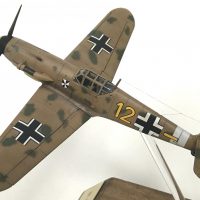
Thanks, John. I was trying for the camo scheme #4 on the kit instructions. It was for a machine of 25th Air Brigade, HQ Flight based in the home islands in 1943. See images below. I didn't quite get the size of the green splotches right, but this is how I did it.
First, the top has more green than the lighter grey-green, so I first painted the top surfaces with the darker green. Then I took some poster putty, (AKA Blu-tac), and rolled it into long, skinny strings on a piece of glass plate. Then I chopped off a small chunk and put it on the green and manipulated it into an irregular pattern with a toothpick. Repeat a few hundred times until most of the green is covered with tiny spinach shaped splotches of poster putty, then shoot the grey-green over it. After it's dry, remove all the splotches of poster putty and you got a camo job. Fairly easy but quite time-consuming. A lot easier than trying to do it free-hand with my trusty old Paasche-H. It doesn't work for all camo jobs, I free-handed most of my Italian subjects with a #1 tip on my Paasche-H. HTH.
2 attached images. Click to enlarge.
All the work you put into cutting these tiny drops of putty definitely did their work perfectly. Still impressive to see how you got those sharp edges. Thanks for sharing.
Inspiring build, Chas.
Thanks, Rafi.
Wonderful paint job! Great build! And I am just as curious as John, how did you do that amazing camo?
Thanks, David. See my reply to John above.
Holy Smokes Chas(@chasbunch), that complicated paint job! I am sure that took a lot of patience. She looks great. All these wonderful 48th scale bomber kits coming out and I made the decision a few years ago to moistly restrict my bomber builds to 1/72 for storage size requirements and a limited amount of available space. But I am sorely tempted
Thanks, Carl. I know what you mean, I need a new hangar for all my 1:48 bombers!
Well done, Chas!
What a fantastic result!
Thank you, Spiros.
Awesome build and absolutely remarkable finish (free-hand?). Special.
Thanks, Bob. Yeah, free-hand but I cheated with poster putty.
Great build and Great photos! She is certainly a looker!
Thank you, Gary.
Wow great build Chas. Don't think my eyes would do that finish justice 🤪
Thanks, Guy.
Great build, paint and photos. So typical of Chas Bunch.
Thanks, Bill.
Really nice build, Chas (@chasbunch). The camo came out very well, as did all of your detail work. I also have trouble keeping plastic masts intact, and I swear I will build a replacement on every single build, but I never do. You would think I wouldn't be so attached to the kit part.
Thanks, George. I was so happy to get those delicate plastic parts cleaned up, I just used them. Someday I'll learn to just use it as a pattern to build it from brass to start with.
Chas, Very nice looking Ki-21, really like the paint work, I'm waiting to read your response on how you did the camo work.
Thanks, Terry. See my post to John on the camo.
Great work on the model & photography
Thanks, Jay.
Yeah, inquiring minds want to know! How did you do that camo? I'd have gone crosseyed. Great work on everything else, and the photography is up there too.
Thanks, Tom. See my post to John above on the camo. I didn't realize that so many inquiring minds wanted to know!
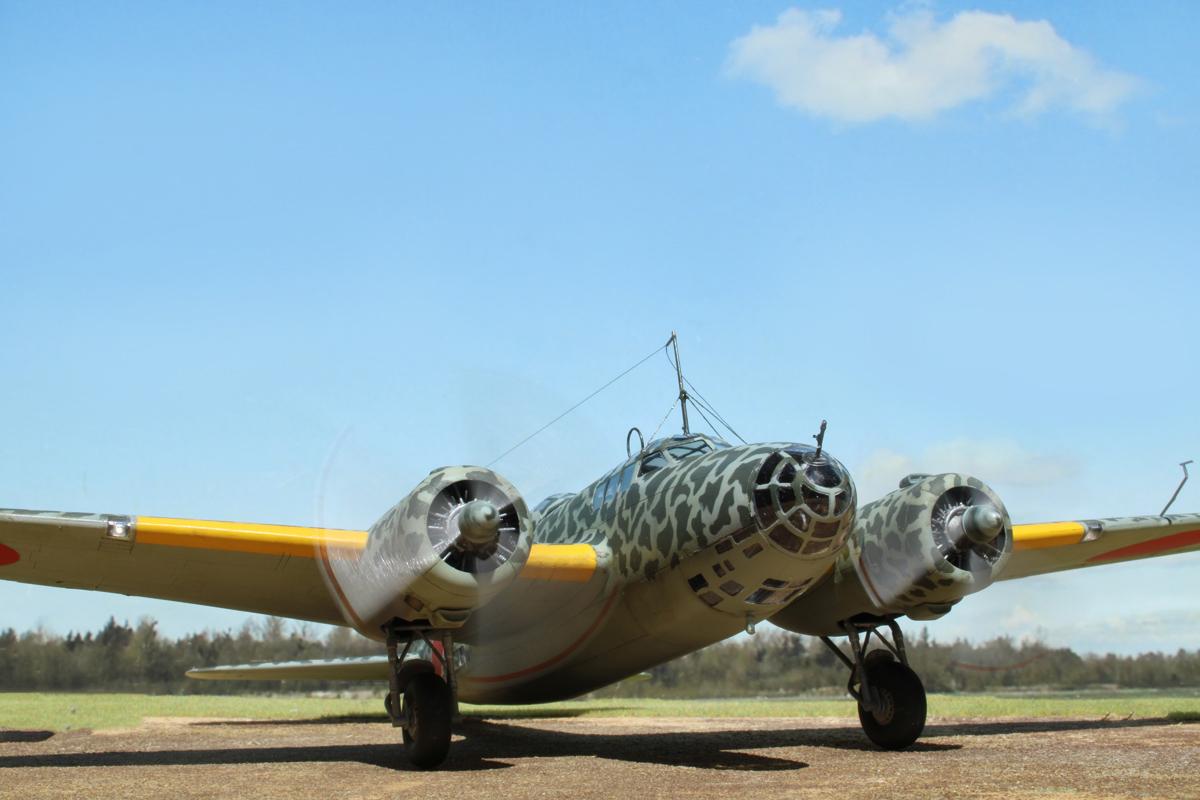
Great job on the overall finish, I love the scheme. And that shot flying really looks great!
Thanks, Bob.
Great job. ICM are fast becoming one of the best/ The Beaufort was a joy to build. I'll have to start my Sally soon. Thank you for the inspiration.
Thanks, Paul. Starting my next ICM project soon. Fun times!
Absolutely stunning work, and yes i do wonder how you did that camo!
Thanks, Felix. See my response above for the camo.
Awesome! TELL US ABOUT THE CAMOOOOOO!
Thanks, Brian. See my response above for the camo.
Very good photos!
Thank you. Photos are half the fun!
You have done an incredible job with your model. I am particularly impressed with your camouflage. You have made us all smile with this one.
It’s beautiful ! The photos are amazing too.
Your comments are spot on too about how it builds up. Masking all of the windows is the least favorite part of the process.
I’m seriously considering getting the latest edition which is the early version of this aircraft. It lacks the tail “stinger” and has some killer paint schemes for it.
I’m definitely pressing a few of the various “like” buttons.
You have done some excellent work here and I sincerely thank you for the shout out.
Take care and keep them coming !
What size MV lens did you use for the landing lights ? That’s a wonderful idea.
Thanks, Louis. I don't know, the MV lenses were in a box of junk I had since the Jurassic Period.
Wow, great model with great photography too! 👏 Top work, Chas @chasbunch! 🤩
edited to add: That last shot above Fuji is just amazing work, Chas! 🏆
Thank you, Gary.
That is a beautiful Sally, and I also am a fan of the paint scheme. Thanks for revealing the secret! I recently finished an ICM 1/72 Sally, and still have an MPM and 2 Revell Sally's in the stash. I was considering attempting your poster-putty process, but I remembered the Revell Sally's have raised rivets, and that coupled with the scale difference (1/72) makes me think I may go out of my mind attempting it! Oh well, might be a nice motivation to secure another ICM kit!
Thanks, Greg. Yeah, bigger is better for that method.
Super result, Chas. You really maintained consistency with the poster putty masks.
Fantastic camo, Chas. Changing the subject, I’ve always admired your realistic prop blur in your photographs. I assume you work in transparent layers but what’s your secret for getting the actual “blur” effect? Willing to divulge?
Thanks, Eric. On most of my builds I use telescoping brass tubing - larger piece in the crankcase, smaller piece for the prop shaft. Stick the prop shaft in the crankcase and crimp the aft end to keep it from falling out. When I'm ready to go flying for the camera, a hair dryer spins the prop.
Chas (@chasbunch) So no tweaking in Photoshop or a similar program at all? Amazing!