Revell model kits
The Revell Database at iModeler
1207 articles
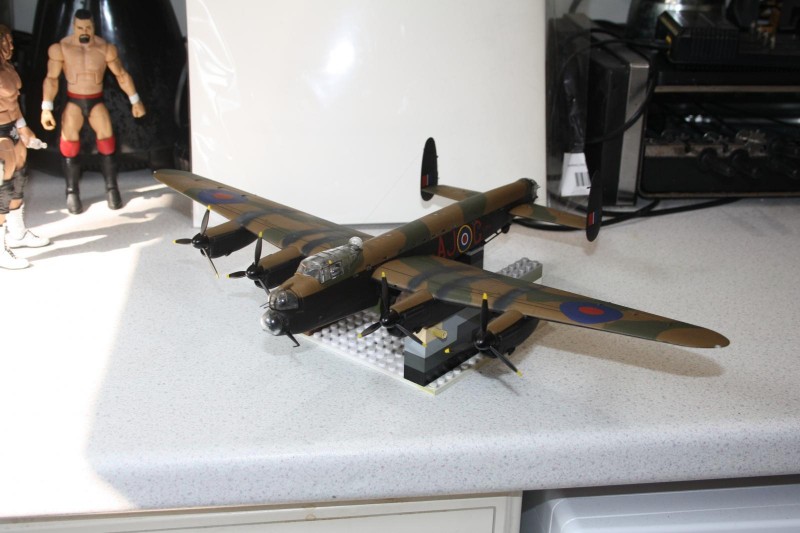
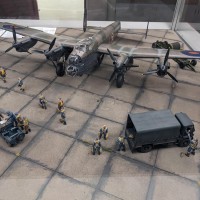
Revell 1/72 Lancaster B.III. "Dambuster"
Hi There,
This was being built in parallel to the Firefox but this one is for the wee man's roof, so wheels up.
When I started I thought that the dihedral fix wouldn't make that much of a difference so decided not to bother...Wrong!
Primed [...]
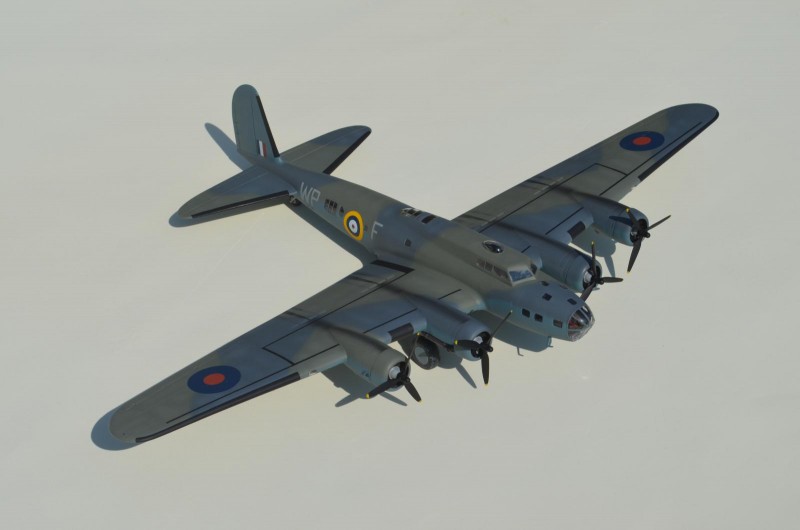
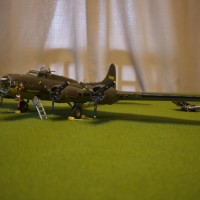
1/48th Boeing Fortress MkI (B-17C) Koster / Revell conversion
I've been working on this on and off for the last few months and have finished it off this week.
I've used the classic Revell 1/48th B-17F kit and coupled it with Koster's vacformed beautiful early Fortress conversion set. This comprises [...]
Review: Revell PT 579/588 Build Review
This is a build review video of the Revell 1/72 scale PT 579/588 kit #05165.
Website page for the build: (link)
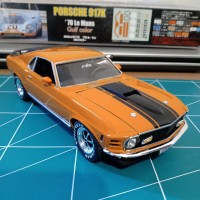
Revell 1/24 Mustang Mach1 1970.
Hello friends, taking advantage of the quarantine, I chose to assemble a kit from another subject which I like as much as aviation, in fact it is my job, muscle cars ... In this case a 1970 Mach 1 Mustang, which I was as faithful as [...]
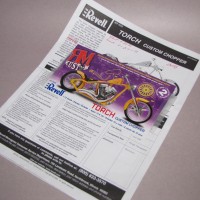
1/25 Scale Revell Touch Custom Chopper
This is my first what I call a "motor-cycle" but Revell calls it something else. I put it together in 2011 however I did not take hardly any "in-progress" building photos.
In 2012 I took the model to a contest and found [...]
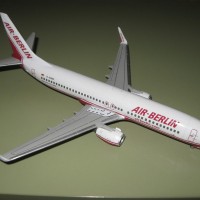
Boeing 737/800, Revell 1/144
Here is my B-737/800 from Revell. i made some corrections on engines, winglets are from Dacos b-737
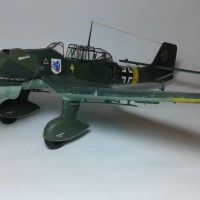
Revell 1/32 Junkers Stuka B-2
Hi everyone!
Here's my Revell 1/32 Junkers Stuka B-2, built about 12 years ago.
The Junkers Ju 87 or Stuka (from Sturzkampfflugzeug, "dive bomber") was a German dive bomber and ground-attack aircraft. Designed by Hermann [...]
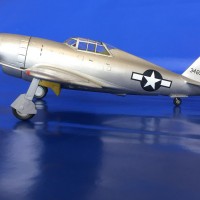
Koster/Monogram 1/48 XP-47J Superbolt
Finished early in the Lockdown, this was quick and easy for a vac conversion. The required Revell/Monogram donor was easy to locate, in this case a "razorback".
Koster provides a fuselage, resin prop/hub assembly in one piece ( [...]
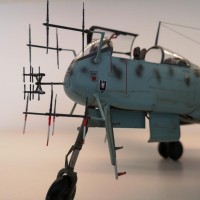
Revell 1/32 Heinkel he-219 uhu, 1./NJG1 1944
Hello. This is my first 1/32 scale model. A model of a German night fighter he-219 in camouflage 1./NJG1 stationed in 1944 in Venlo, Netherlands. Hptm. Modrow flew on this machine. The pilot shot down 34 RAFu bombers on a plane of this [...]
