Last Orders
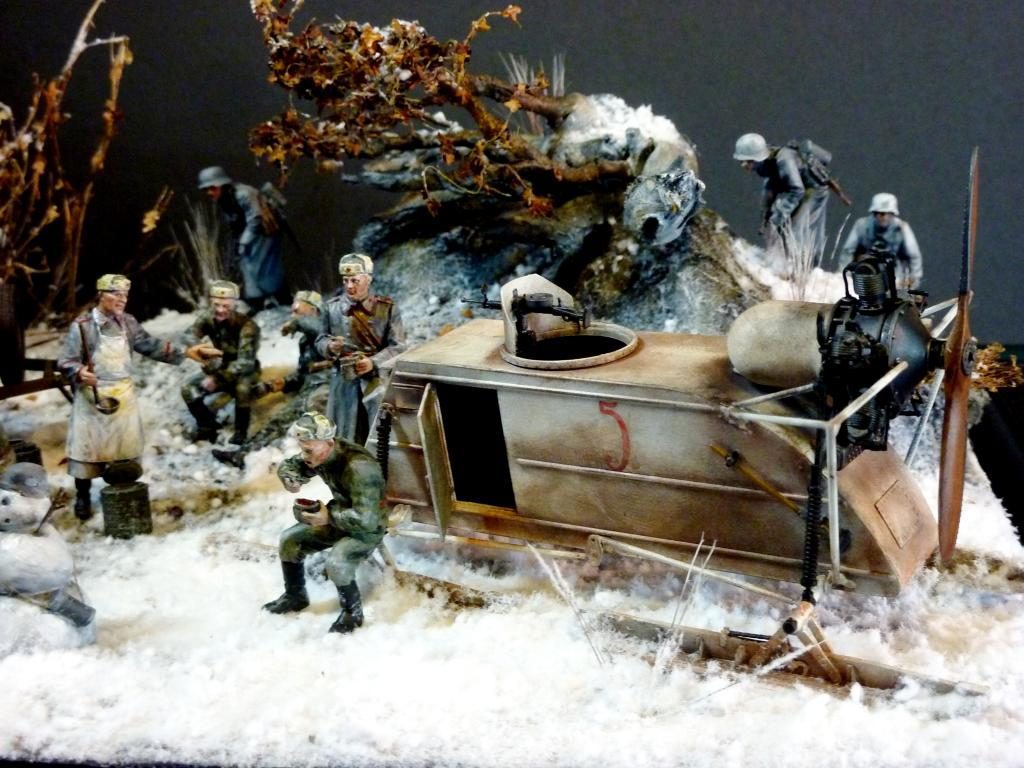
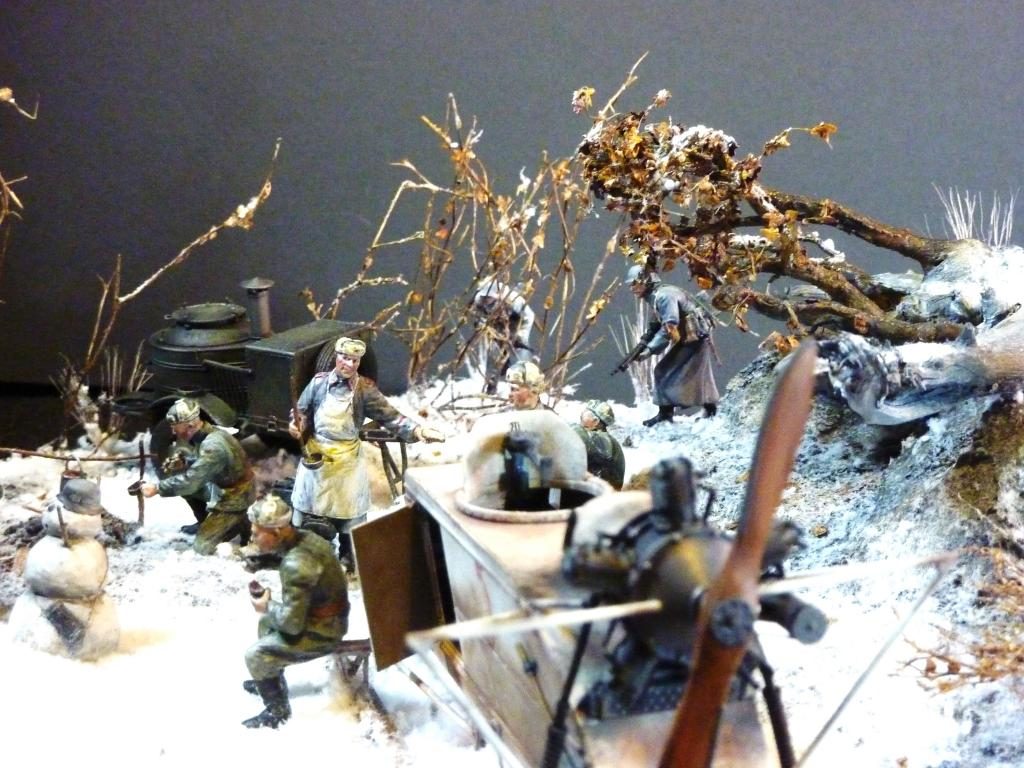
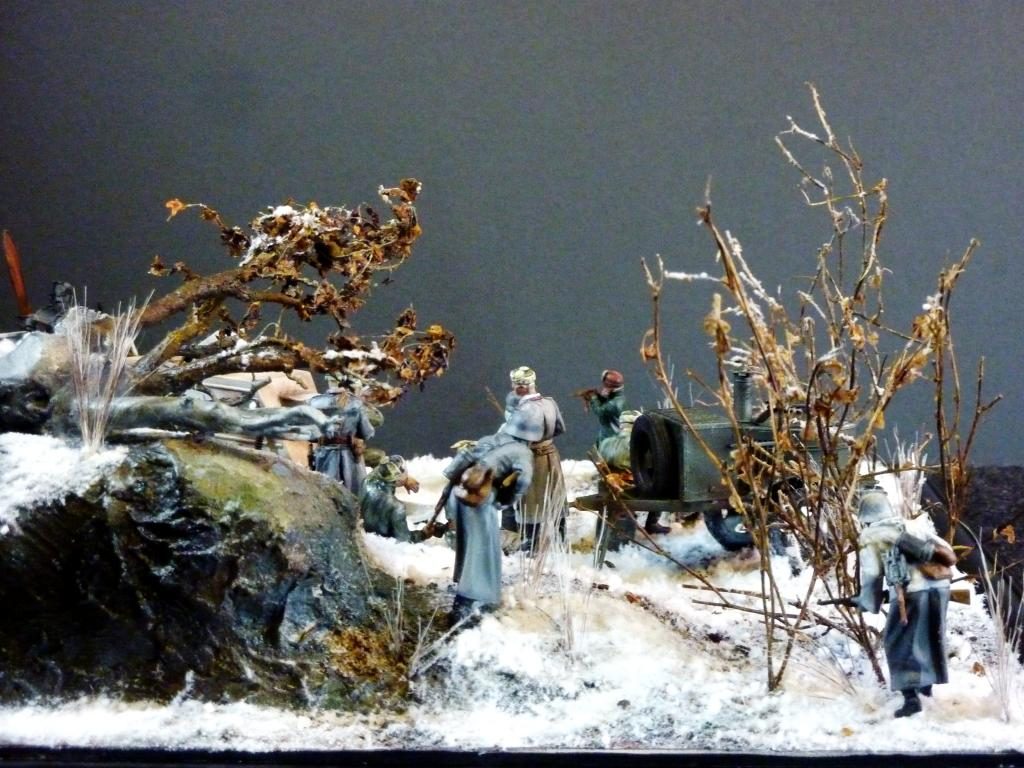
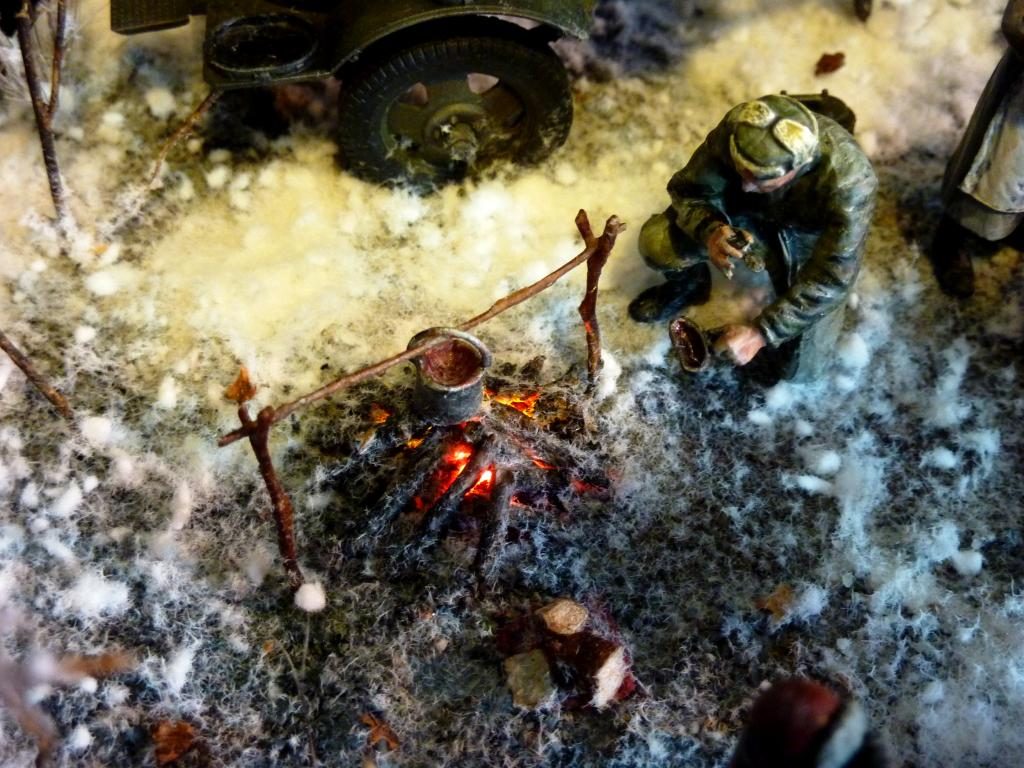
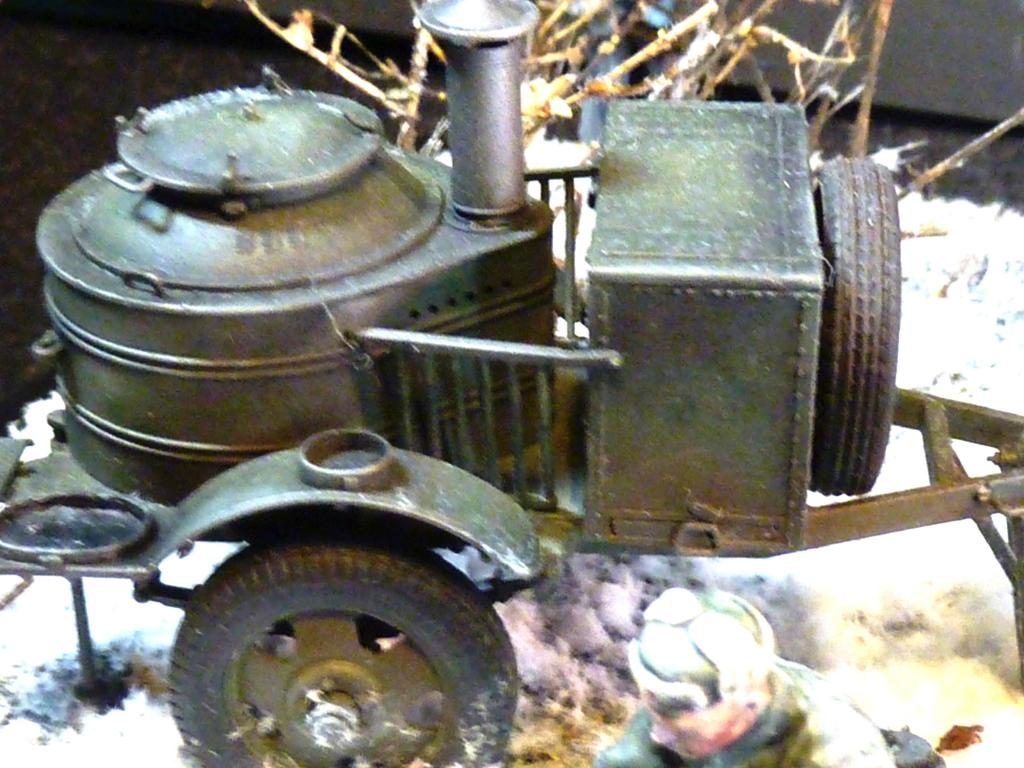
This winter diorama is made using Miniart's Russian Field Kitchen (Winter) set, Tamiya's German Assault Infantry set (Winter), and Trumpeter's Aerosan (posted recently in its own right during WiP stage). The Russian boy and Snowman are a new Stalingrad Miniatures resin set.
The snow effects are a base layer of powdered white granite followed by shredded white flock, for depth.
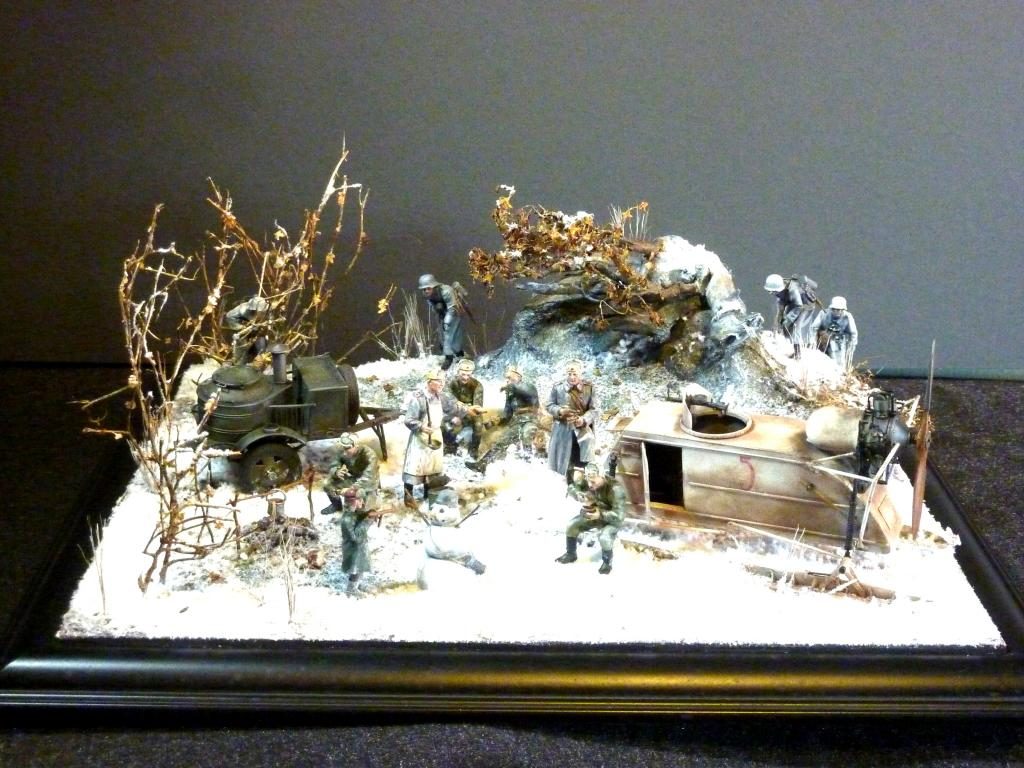
As well as the still image of the fire, consisting of two LEDs fixed in place - one red, one orange - utilising a flickering effect in the supply, which is run beneath the display base, powered by a 2032 'coin' battery and controlled by a recessed switch, I've also included a short video clip of the effect here https://1drv.ms/v/s%21Au6PmBA3Vso5vjBdjc3duJB2xf4e.
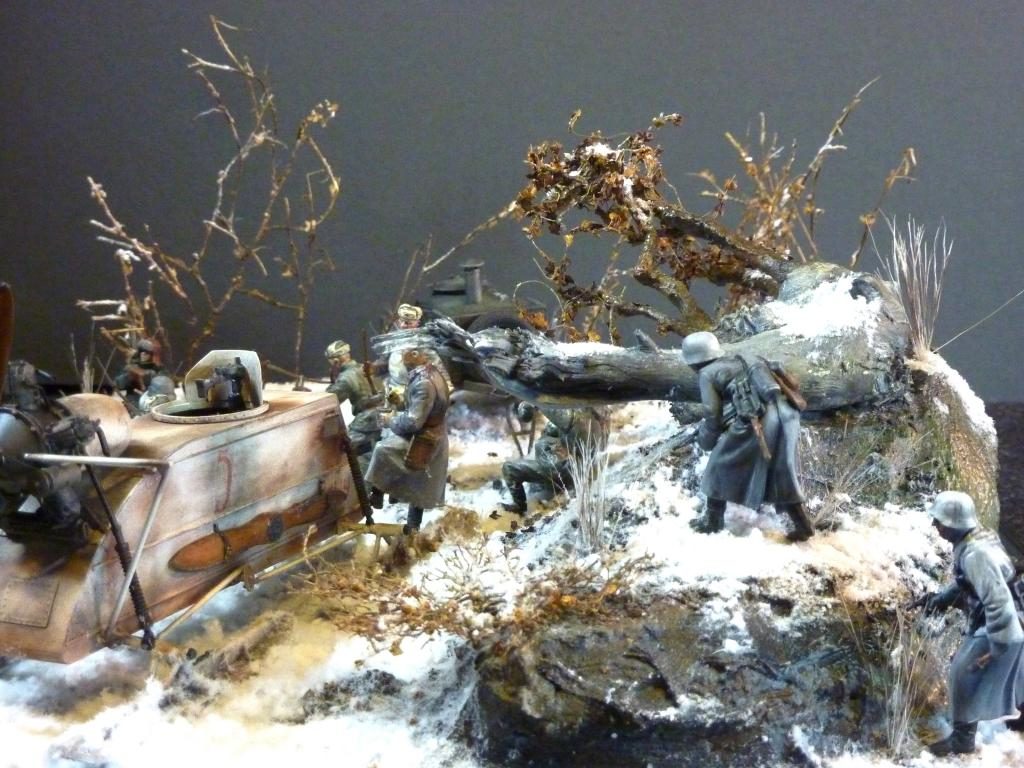
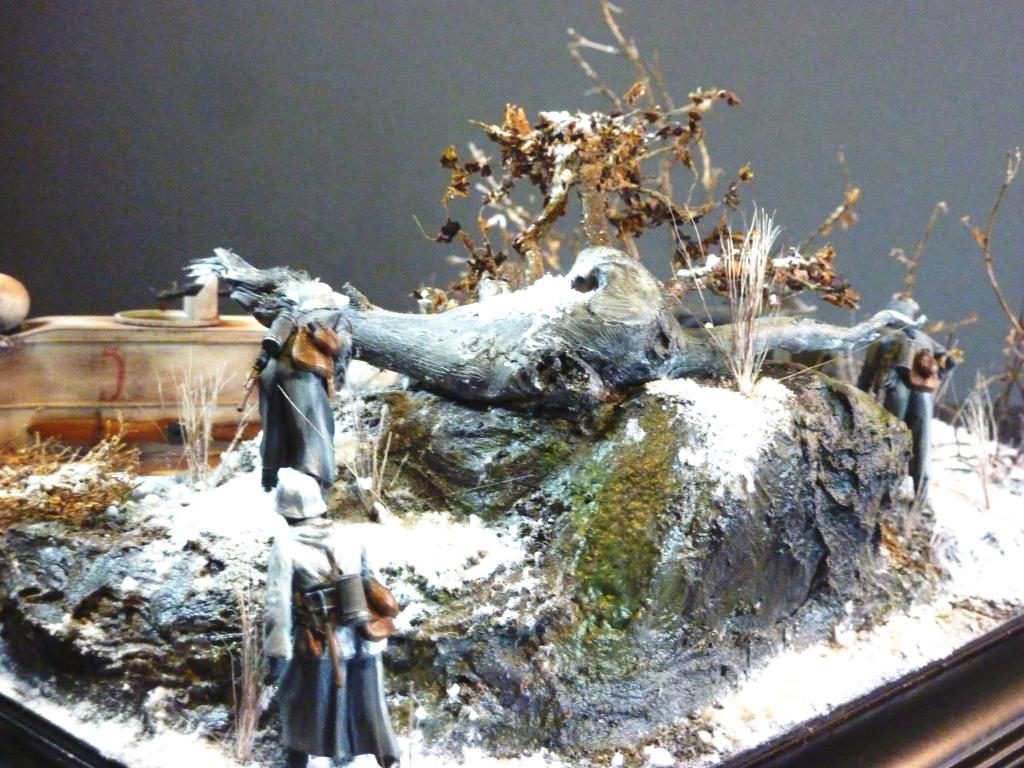
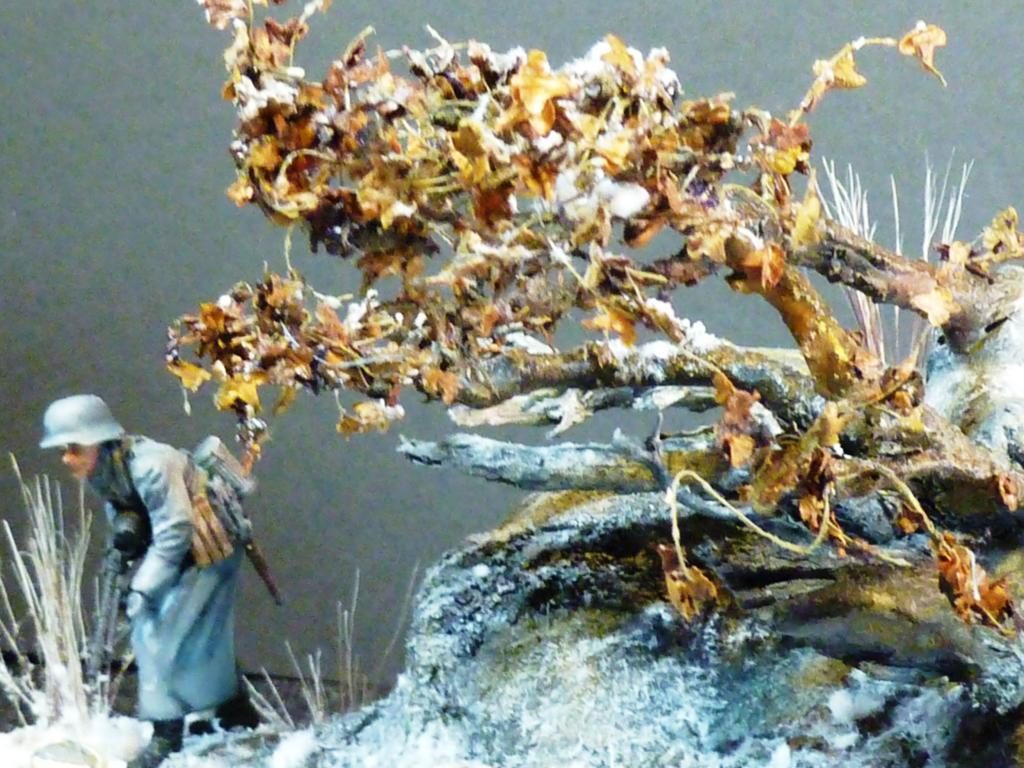
Landscape materials include an old ivy root, scientific wire, garden stems, miniature leaves, shaving brush cuttings, various fillers, washes and pigment powders.
Paints are Vallejo acrylics and Artists Oils, various.
NOTE: since the original posting, I decided to change the title of the project from 'Late for Chow' to 'Last Orders' as the new title works with both the culinary and military meaning, against the double meaning of 'Last''.


Very well thought out and executed, Rob. How did it come about? Was the Trumpeter kit the catalyst? I like the way you combined the figures and accessories from various manufacturers along with a great deal of scratch building behind the scenes.
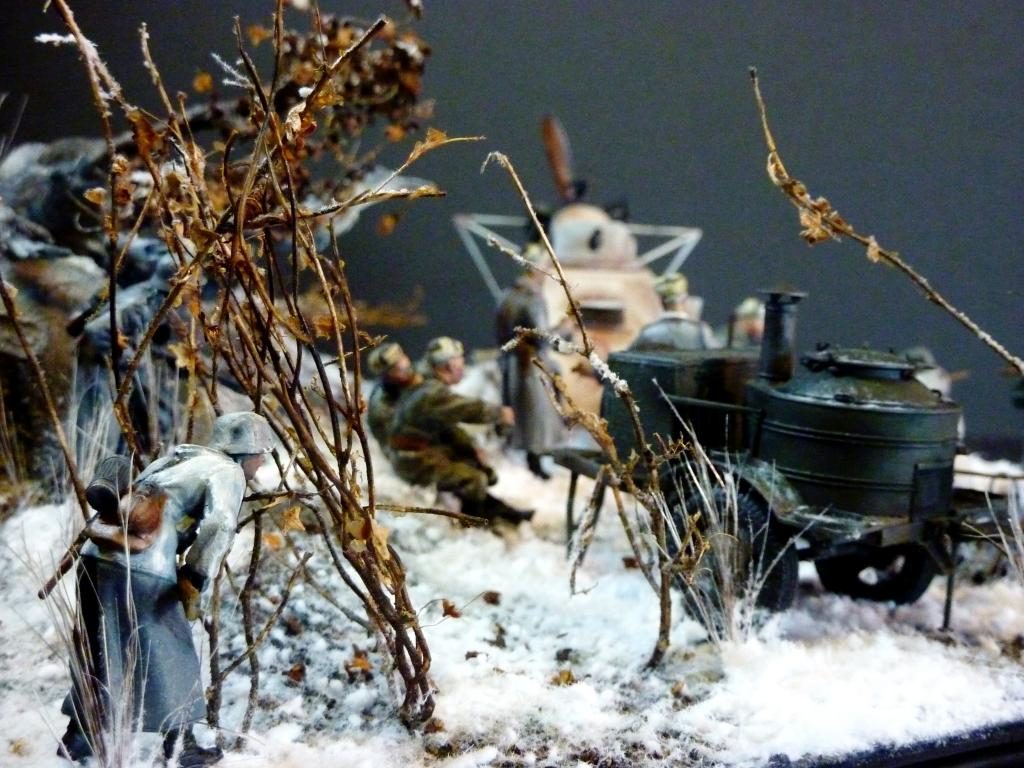
Hi George. The Aerosan as the principal vehicle in a military scene was always the mainstay, but the other items were used to 'layer' the detail, both in depth and complexity.
As a point of irony, I delberating showed the Russians without any apparent personal weapons to hand, except for the kid with the wooden machine gun.
When I started this, I thought it was going to be a bit bigger, then I realised I had in fact two separate but similarly themed dioramas vying for attention; the other dio is now a project on its own.
That's a very well thought out and executed diorama Rob, lots of really cool detail which tells a story. I especially like the fire effect!
Cheers, Richard.
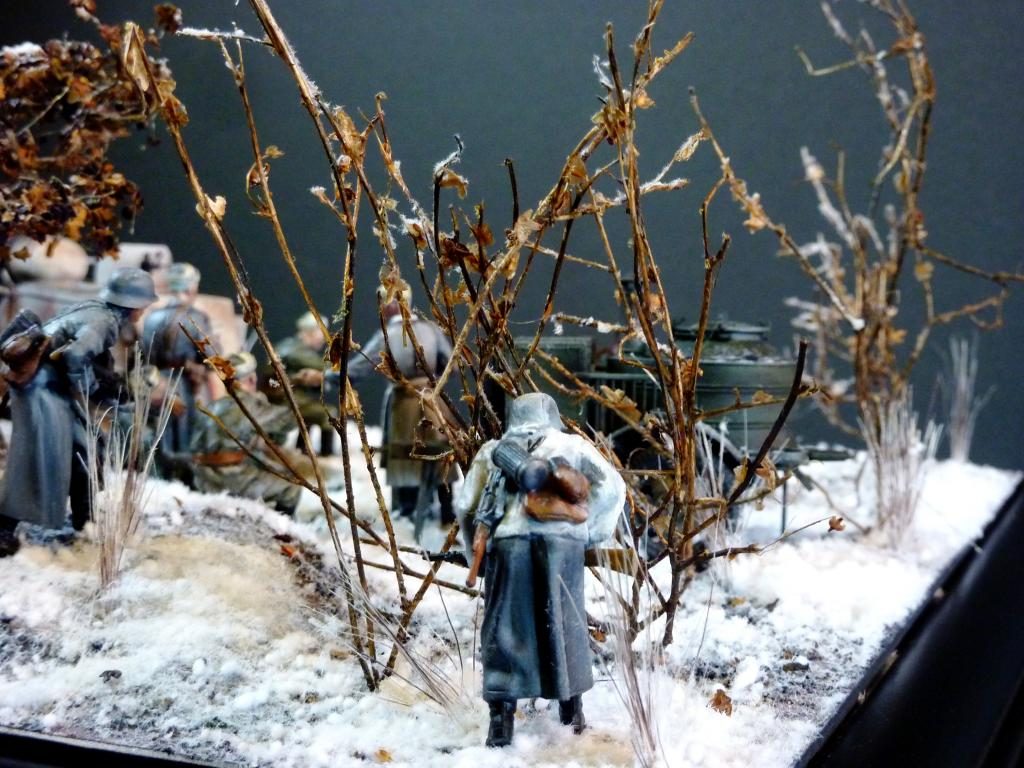
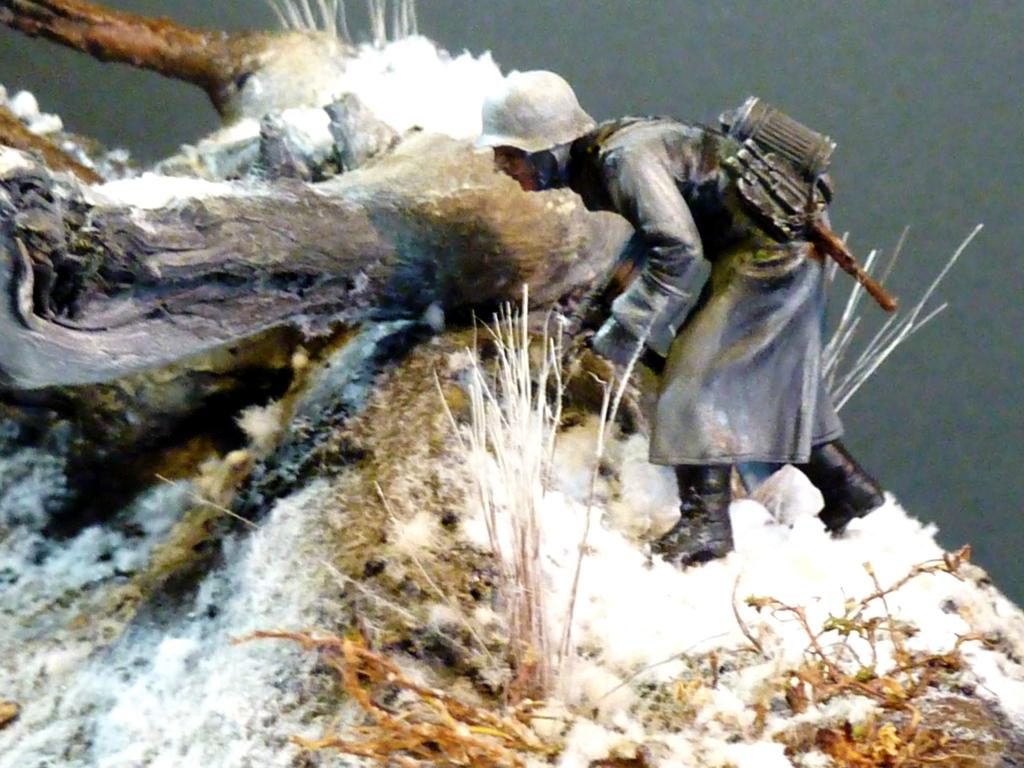
Very nice! I love the tension - relaxed on one side, wound up like a spring on the other! As always your detail is impeccable. Great work Rob.
Thanks, Greg. Much appreciated.
PS. Maybe a link to some video showing the fire effect...?
I've now edited the document above to include a link to the actual effect. It's shot in the dark to emphasise the effect but it's clearly visible under normal viewing conditions as well.
Stellar craftsmanship, Rob...just outstanding work. Very nice.
Thanks, Craig.
Nicely done Rob, the fire effect is great.
Looks really effective.
Well thought out mate.
Well done sir.
Cheers, buddy.
Excellent work.
Sincerely, Viad.
Thanks, Vlad.
Rob, Fun to look at !, I had to go back more than a few times to take it all in.
Nice work !
I guess that's the test, Terry. Cheers!
Probably the only hot meal for weeks, and then this! Great storyline, the fortunes of war! Nicely done, Rob! There's a followon?
Thanks, Bernard. Yes another Russian armour project.
Excellent "storytelling" here.
Cheers, Tom.
Excellent, looks like last chow.
Thanks, Robert. A kind of 'uninvited guests' scenario.
Your diorama is outstanding, A lot of detail It relates the story you are presenting. by the way how diid you do the campfire. It really looks real
Tom
Thanks, Thomas.
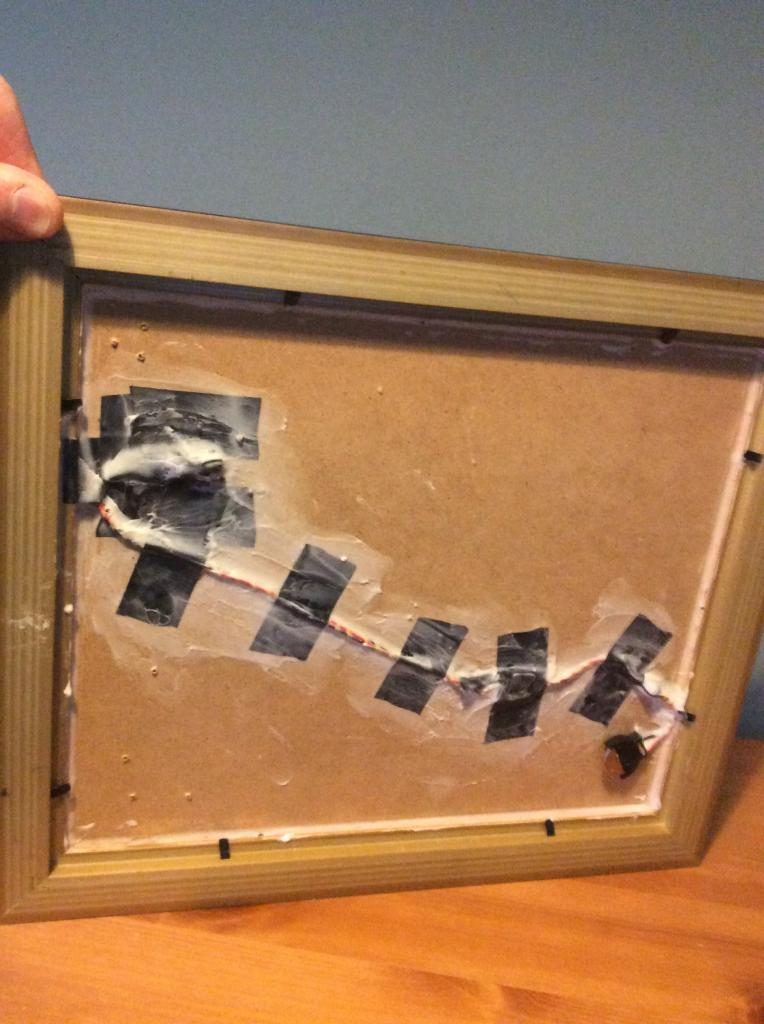
As I mentioned, two coloured LEDs were used for the fire. Each one has two small leads for power and the interruption effect in the supply that we see as 'flickering'. The bare ends of these are twisted together (x2) and each of these is inserted into two separate ports of a small electrical block and the block screws tightened to hold the wires in place.
A 'coin' type battery holder with a red and black lead runs to a small button switch and the red/black leads run from the switch to be inserted into the block opposite the LED locations. The second set of block screws is tightened. Press the switch and the flickering lights go on, then off again with another press of the switch.
I drilled a hole at the point where the campfire was to be sited, inserted the LEDs from below, these having been taped together along the length of their leads for ease of placement, and also secured the remaining run with electrical tape, leaving easy access to the switch and battery. The block was a deeper profile than the space available beneath the base, so I cut out a small rectangle in the base board and exposed the styrofoam the hillock is made from, and removed enough styrofoam to create a gap into which to insert the block. Strips of electrical tape were added and a 'no more nails' type mastic smeared across everything to fix in place.
As a picture is indeed worth a thousand words (apologies here for the length of this explanation) I've now added a photo of the set up as it looks from beneath the base.
nice
Thanks, P.k.