Rocktober Fest! Academy Phantom update
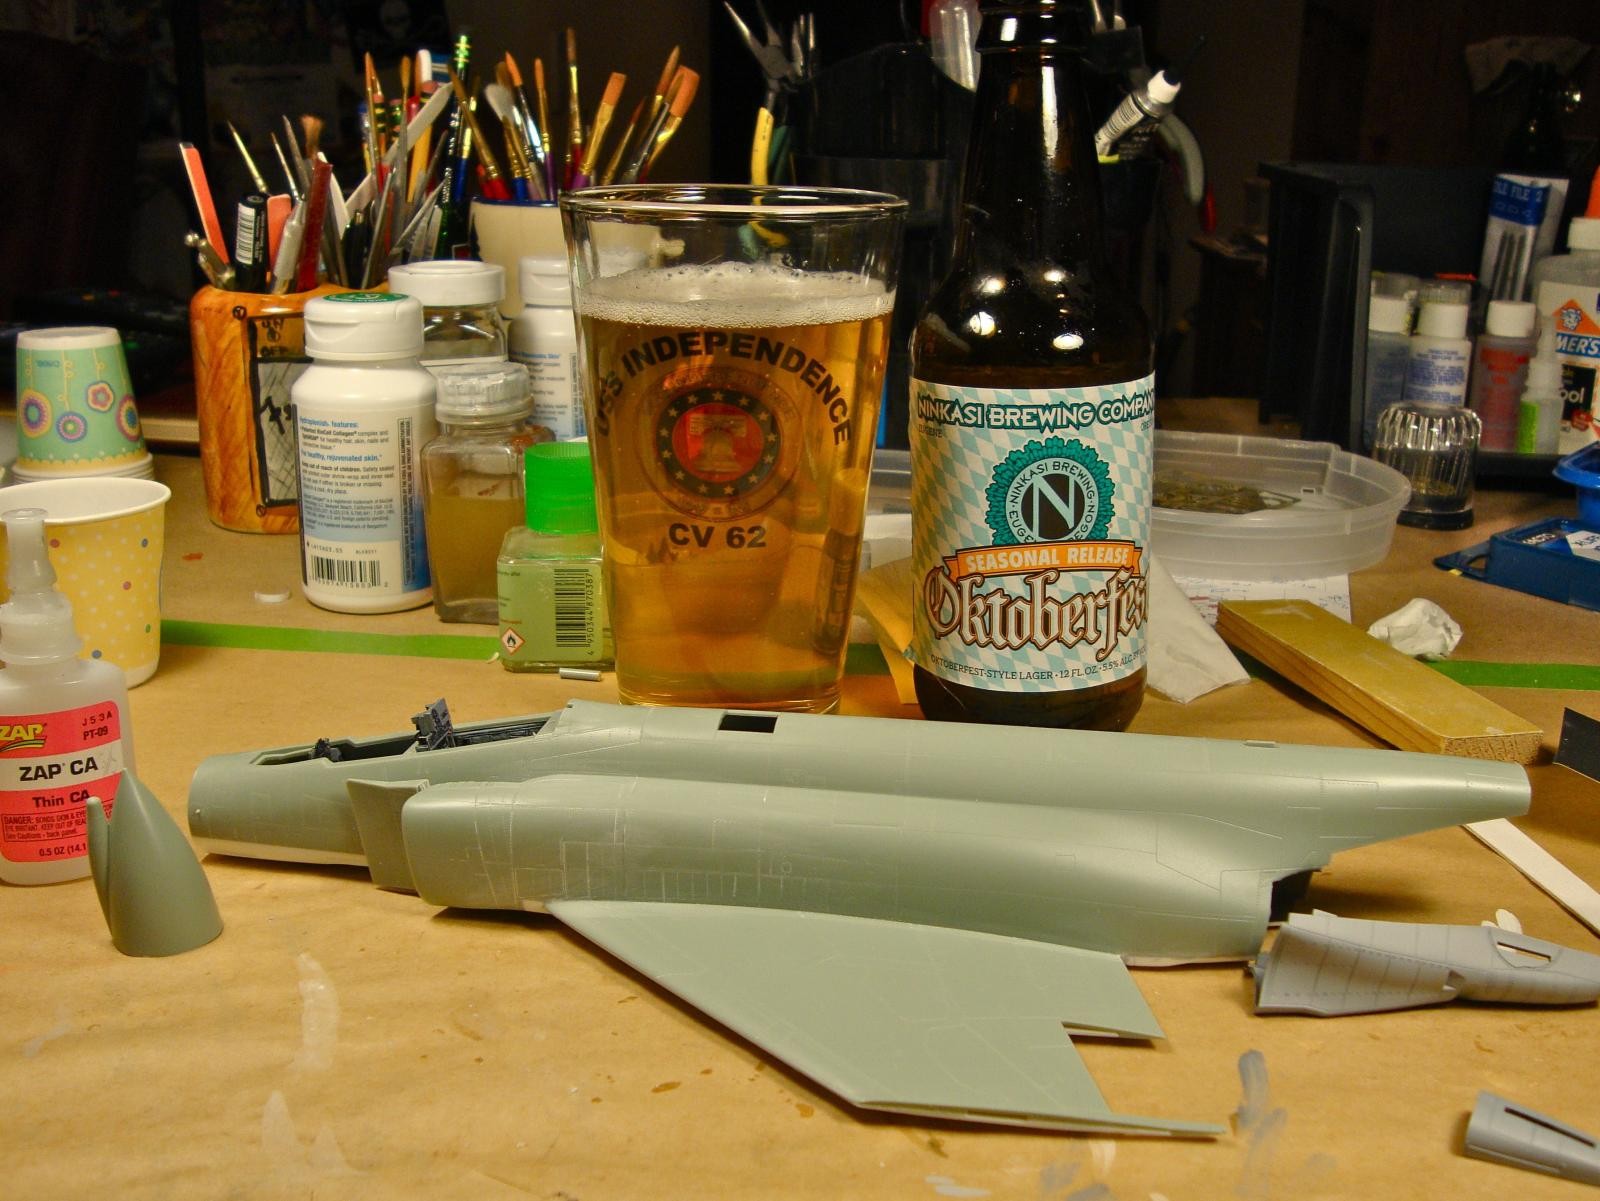
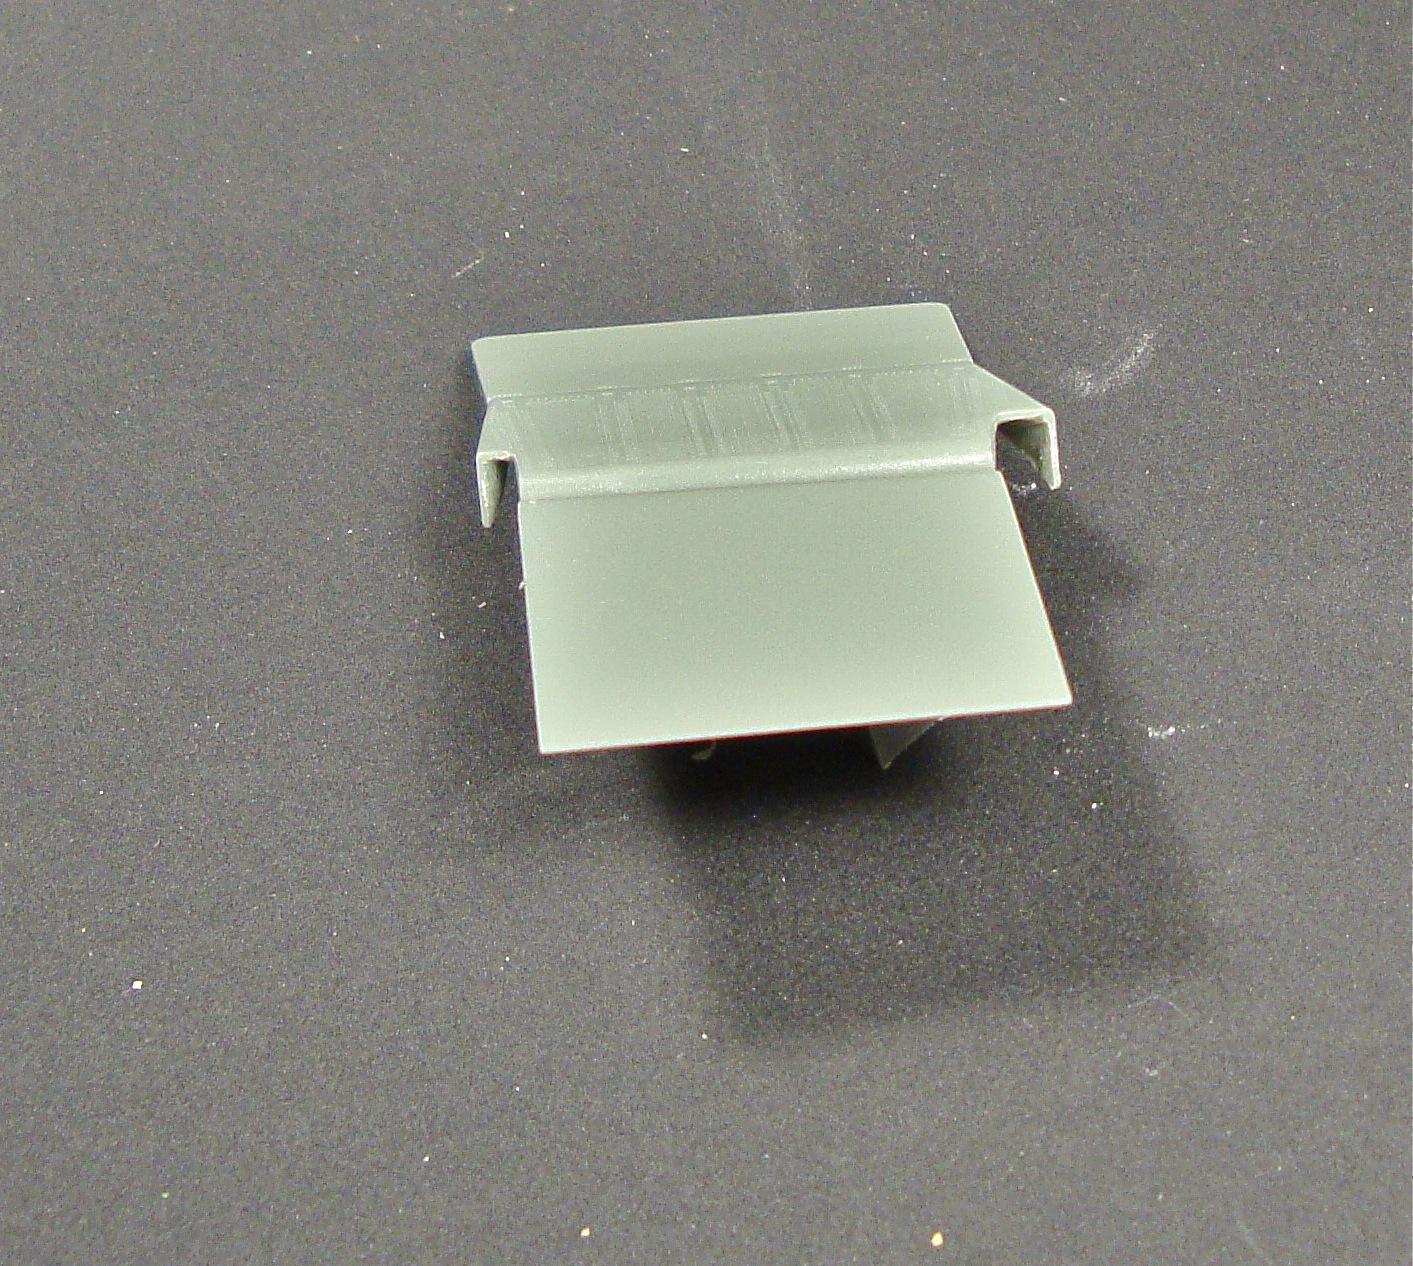
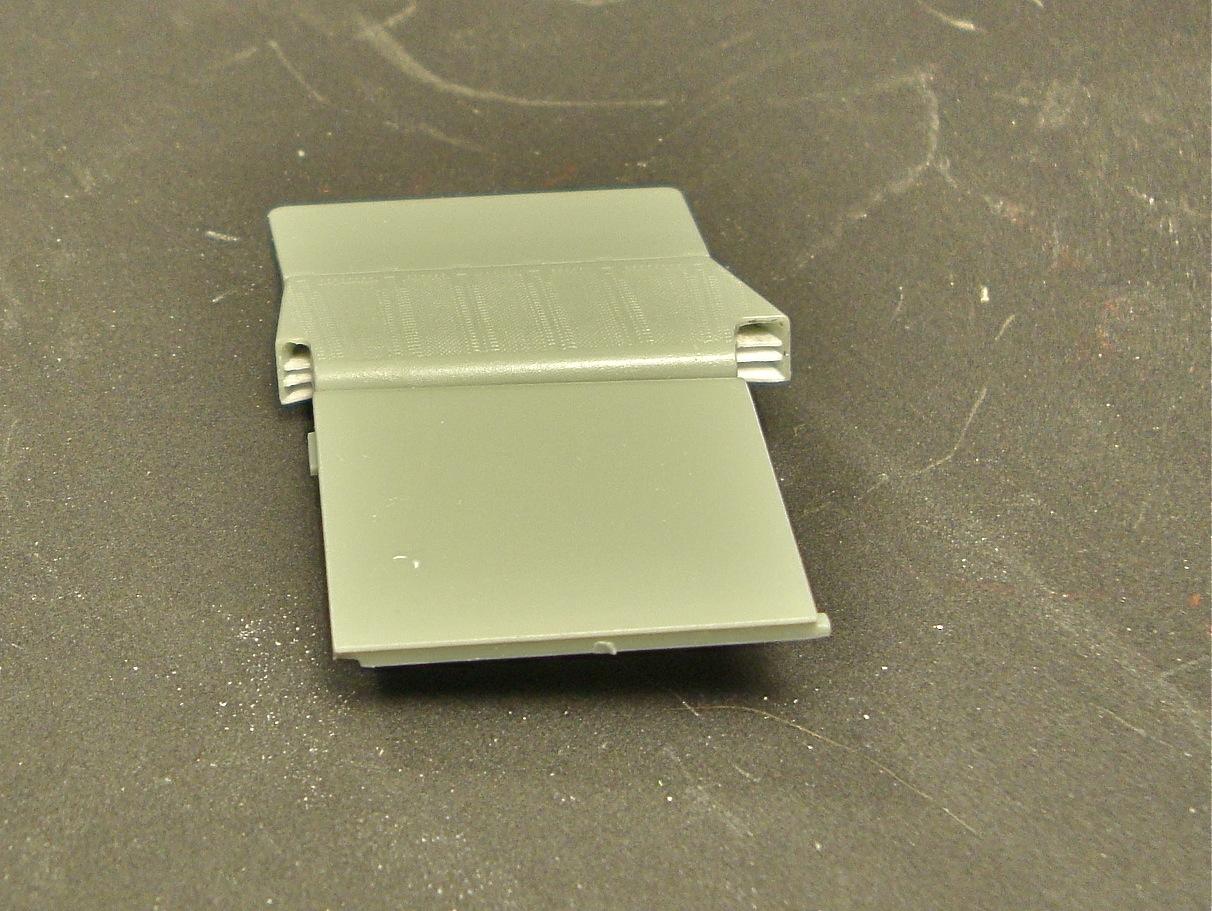
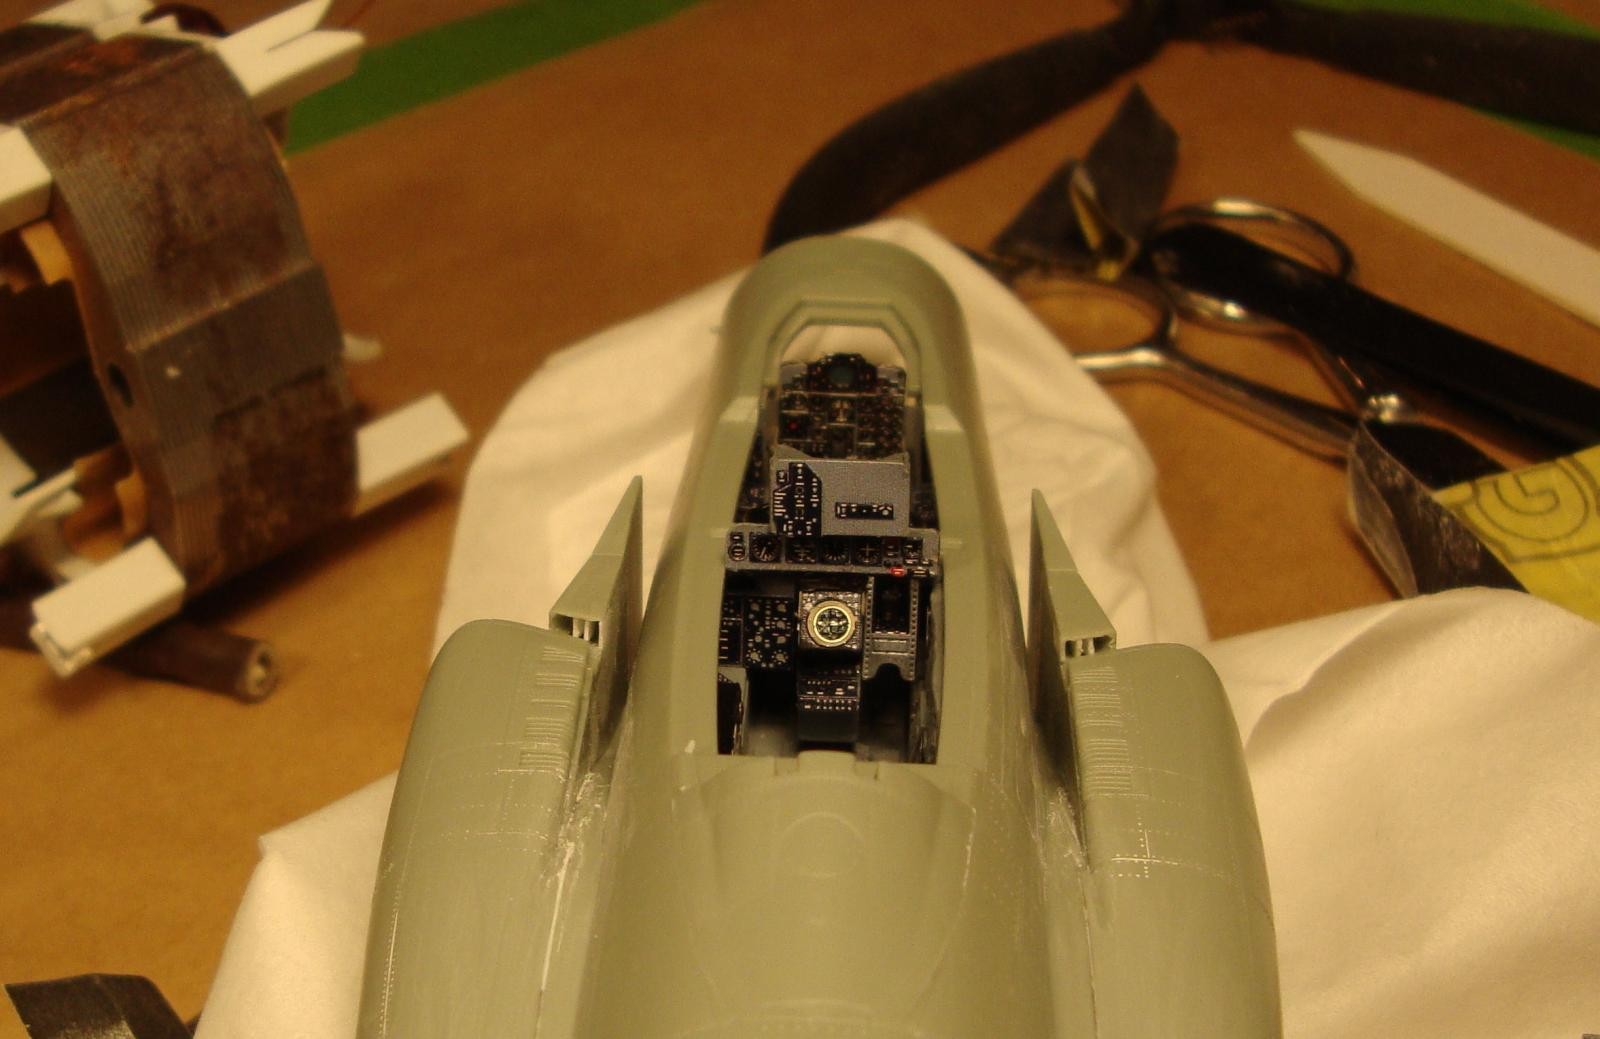
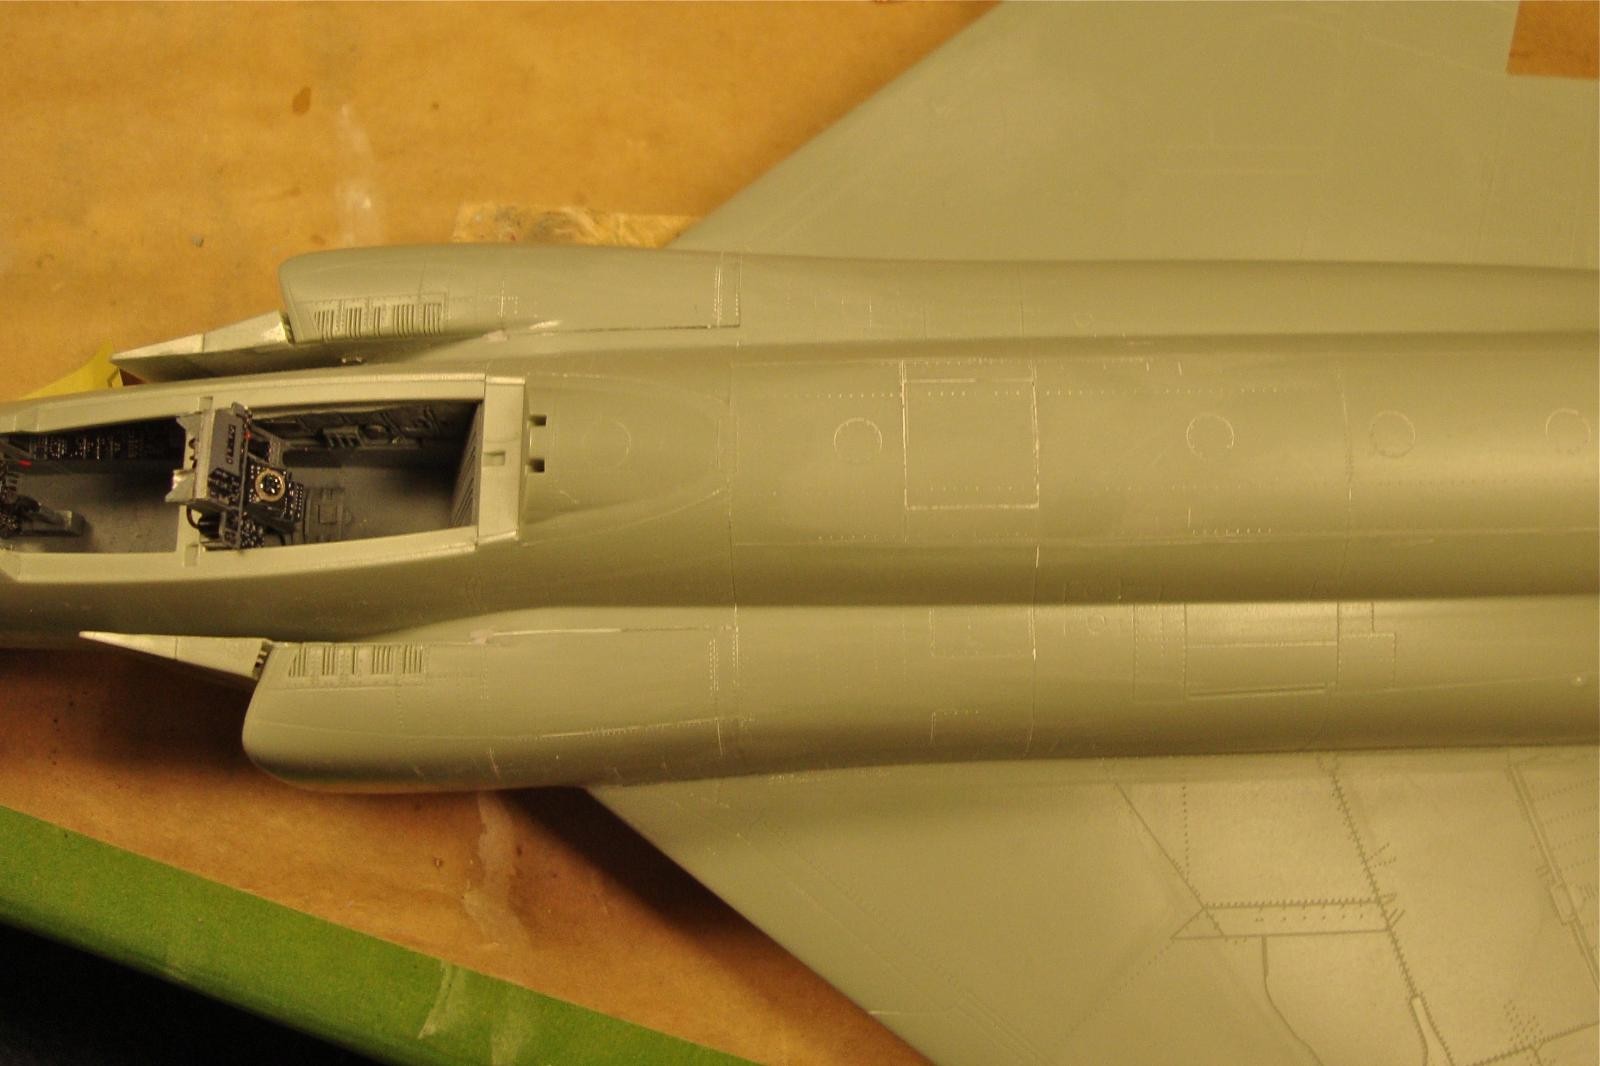
Ninkasi brewery in Eugene Oregon brews a very nice Oktoberfest, and that is this updates beer. Very much like the beers I drank when I visited Germany many years ago. The Academy Phantoms have been bashed many times for the fit of some parts and I had many of those problems the first time I built the kit. With the experience of the last build in my pocket, this time round I spent much more time fitting, testing sanding refining mating surfaces, fitting and then gluing. I found I only really still had issues with the refueling probe door, which is just plain too small. But some careful fitting to get an equal gap, then some Mr Surfacer fixes the issue. I got a great fit of the intakes by diverging from the directions and gluing the splitter plates on first then adding the exterior part of the intake, using Zap CA to glue a bit at a time to get a tight fit. The tail section has been written about lots, and I had a step I had to fix on my last Phantom. This one I primered the black plastic before attaching so I could see to align things better, and had no fit problems there either. Lastly the Academy phantoms have the rear of the splitter plate molded solid, I cut it out and added plastic sheet to replicate the vents.


Lookin' good, my friend...the gear assembly can be a bit 'problematic', too.. 🙁
Excellent, Rob! I always love these snapshots of your bench. Rock on my friend.
I'll echo David & Craig: well done and Rock On! Prosit! My Sis lives in Eugene & I had some of that fine brew when I visited her a few years back. As you said - it tastes very German. Typisch Deutsch!
I look forward to seeing the finished Phantom.
Craig, I had great luck following this method last time
https://www.tapatalk.com/groups/hyperscale/academy-f-4b-are-y-a-feeling-lucky-punk-t41801.html#p1841452
Looks good, F-4 and brew! Fly Navy!
Thanks guys, I just solved one problem with the kit, the nose cone being slightly to big. Use the other nose cone in the kit (pics later). It fits much better than the one designed for the F-4B. I assume it is for the C boxing? Now I will have to cut down and blend the IR fairing to fit since it is designed to fit in a cutout in the nose, bit it beats all the sanding I did last time.
Rock on Rob... looks good buddy !
i haven't tackled an Academy but i remember a problem i had with lining up the Hasegawa tail dihedral...the 1/32 Tamiya exhaust shielding and tailplanes were molded together so it is set for you...i wish someone else would pickup on that wonderful feature even though it's delicate, you leave it off till after painting because it screws on...watching with interest...phantoms have such a ridiculous amount of tiny (no step etc.) decals but they look great...keep us posted ;o)
Looking great!
Added the primer coat for the main parts today, one or two tiny spots of Mr Surfacer 500 needed, but everything else is lined up great! The nose job is too. I'll post pictures later this week.