Modelsvit 1/48 P-51H/F-51H

The P-51H/F-51H was the last of the single seat ponies built by NAA. It was made in kit form for 1/48 scale in 1999-2000 by HiPM (best forgotten) and Classic Airframes (not the easiest build.) It wasn't till Dec 2019 when Modelsvit released their version of the kit.
It is a much better detail and building wise than either of the two previous putty monsters. For a short run kit it is pretty good and almost easy to forget that it is a short run kit. Here is my experience with it.
CONSTRUCTION
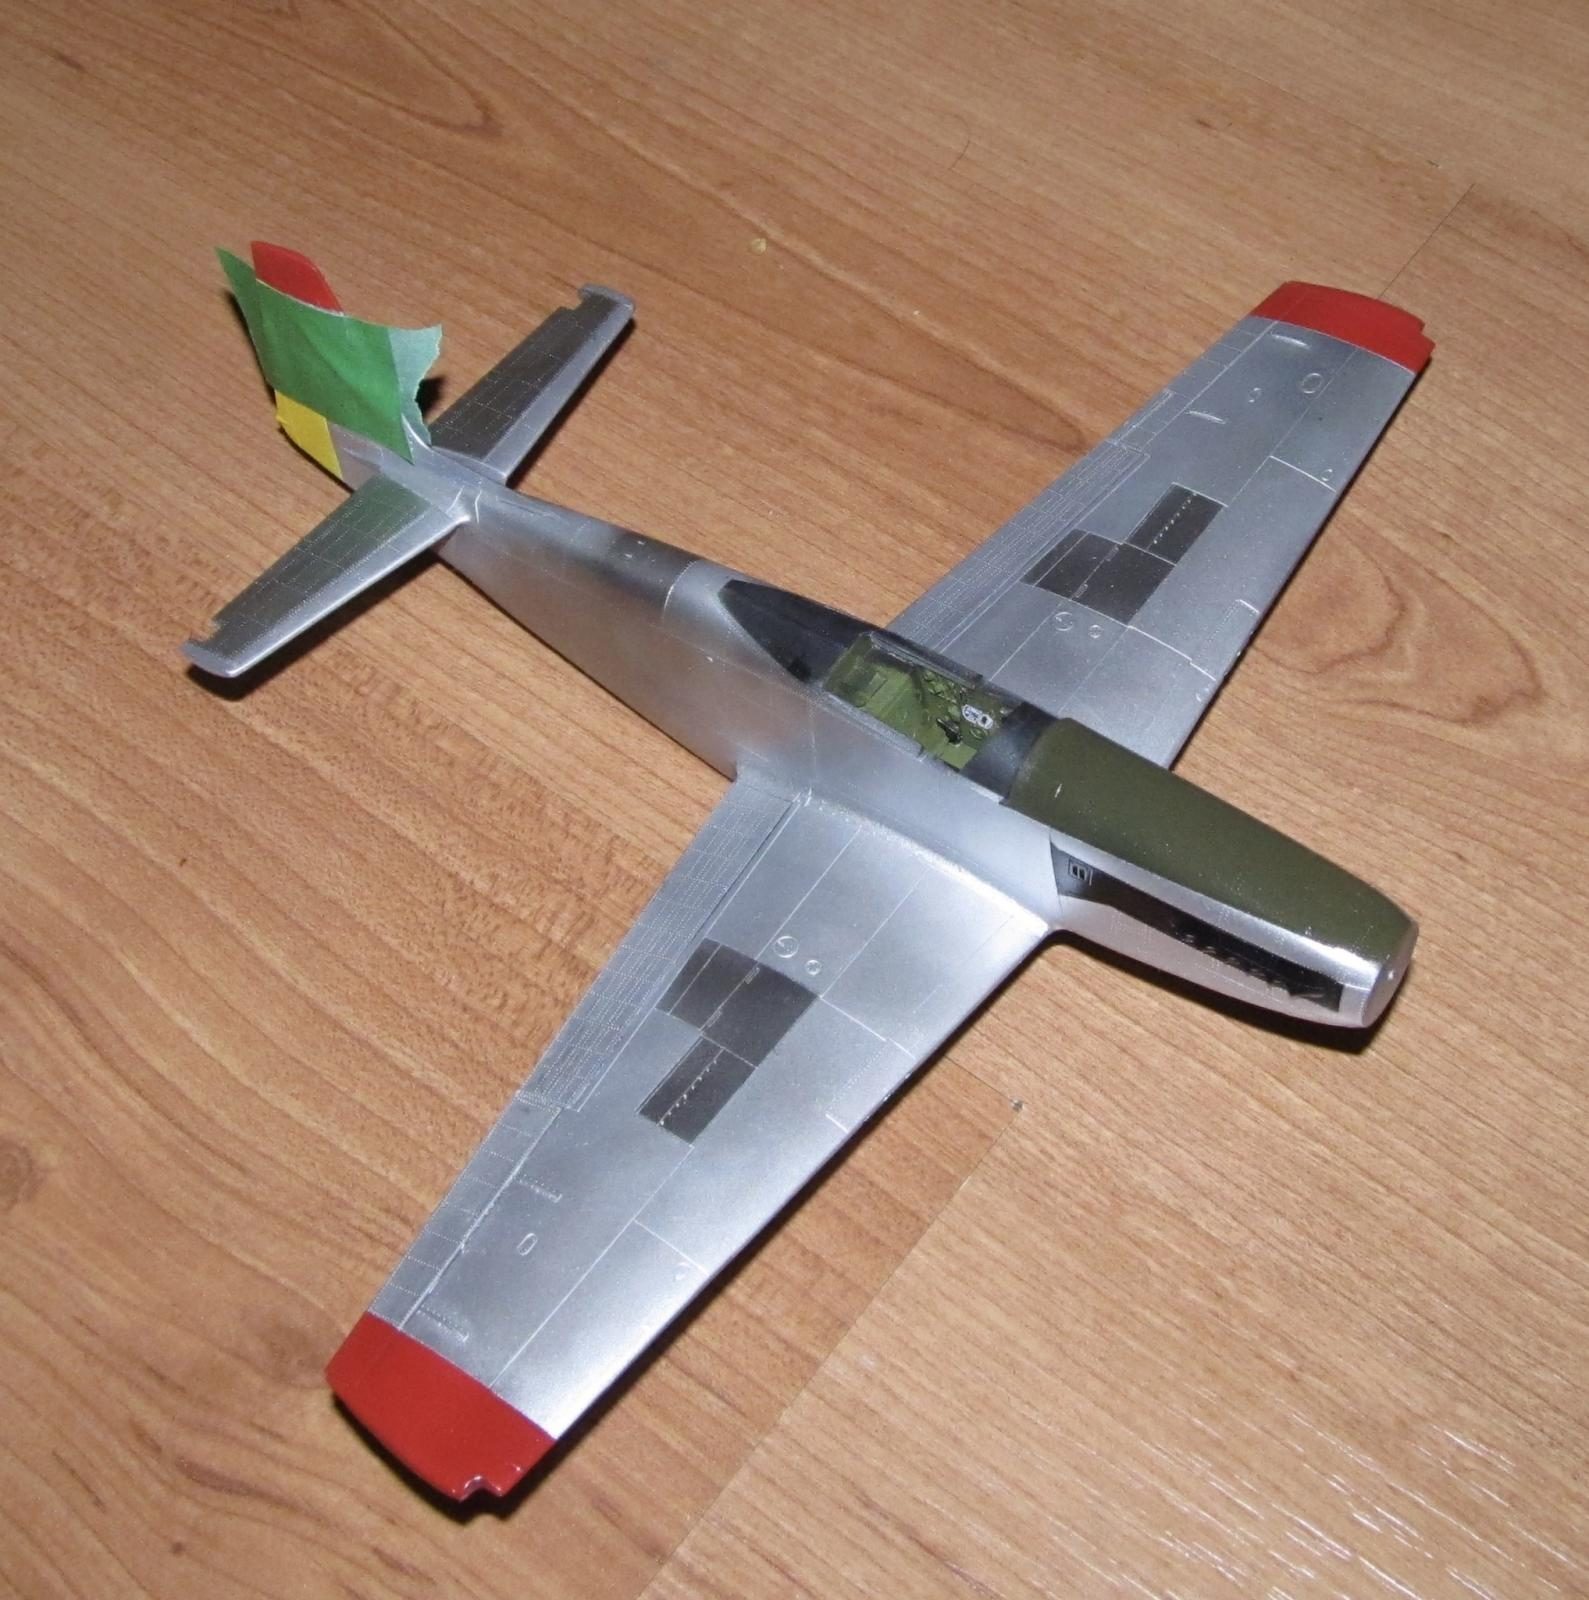
It all began with the rear tailwheel well. I removed the bulkhead pieces from the sprue tree, cleaned them up and glued them together before slapping it into the right side fuselage. It was painted with an approximation of zinc chromate yellow (a 60/40 mix of Tamiya XF-8 flat yellow and XF-4 flat yellow-green) along with other interior (non cockpit) parts. Next the intakes and exhaust parts were primed first with Stynylrez black primer and when the primer coat was dry, it was painted with Vallejo Aluminum and Pale Burnt Exhaust. The oil cooler pieces were painted with XF-56 metallic grey. Modelsvit's P-51H exhausts and intakes are a little more complex than other P-51 models, but they go together easily. I left off the bottom scoop and the bottom scoop actuator.
The cockpit parts were first primed then painted Xtracrylix interior green or just left flat black primer (instrument panel) Once the paint was dry, I added all the warning stencils, placard decals and the instrument panel decals. The Modelsvit decals went down okay with the use of MicroSol/Set as well as Solvaset for the stubborn ones. I left out the seat and other small cockpit bits that I tend to knock off during handling when I sealed up the cockpit and added it to the right side of the fuselage.
The hollowed out exhaust stacks and other small interior pieces were added before it was sealed up. Unlike the other new P-51D kits, this Modelsvit kit did not minimize any of the seams. I used CA glue to attach the two halves together all along the visible seams and Tamiya Extra Thin glue where they weren't visible.
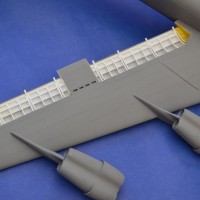
Next the main landing gear wheel well and small frame pieces were cleaned up and assembled. They had already been painted in the Tamiya Zinc Chromate Yellow mix so some touchups were needed. Didn't have too much issue assembling the wings. I left out the solid plastic gun barrels because I thought I would use much smaller brass tubing instead. In the end I left them empty.
The wings were inserted into the slot of the fuselage for a test fit before gluing things together with CA glue.
At this point there was a fair amount of sanding and filling going on. This took a fair amount of time to fix up the seams for NMF. I found that the leading edges of the wings and sides of the intake were the most work. I thought about cleaning up the interior seams of the intake but laughed that idea off because it was too small an area to work in.
I assembled the stabilizers separate and left them off.
The prop parts were removed from their sprue trees and cleaned up to be ready for painting.
COLORS AND MARKINGS
Paint and Gloss Coat
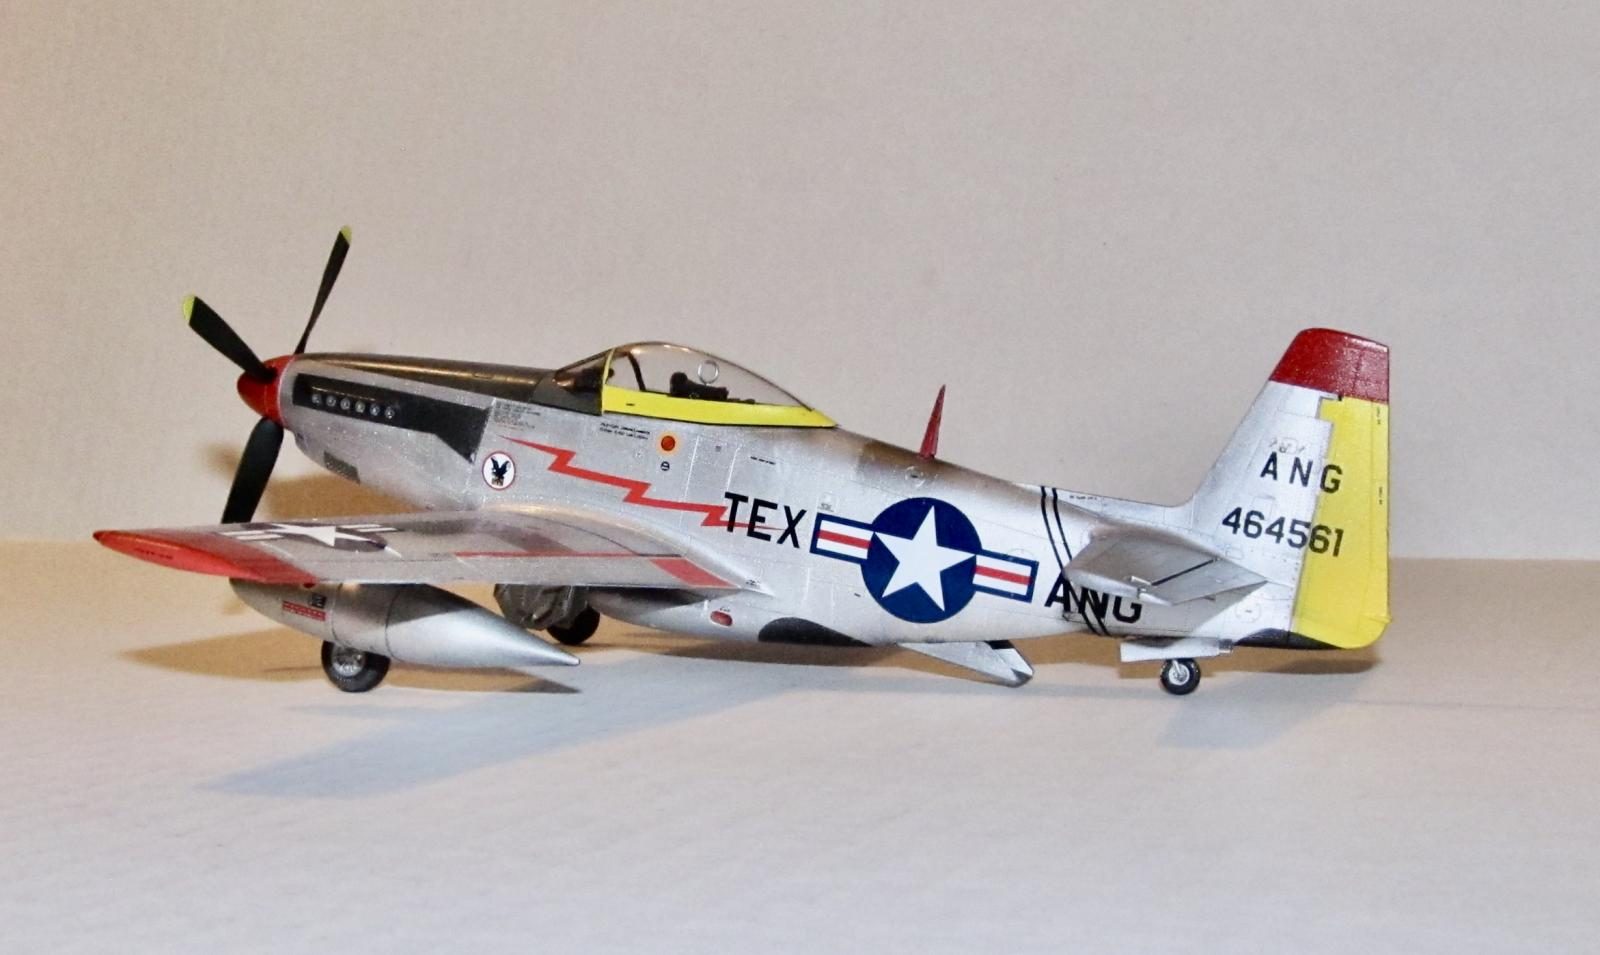
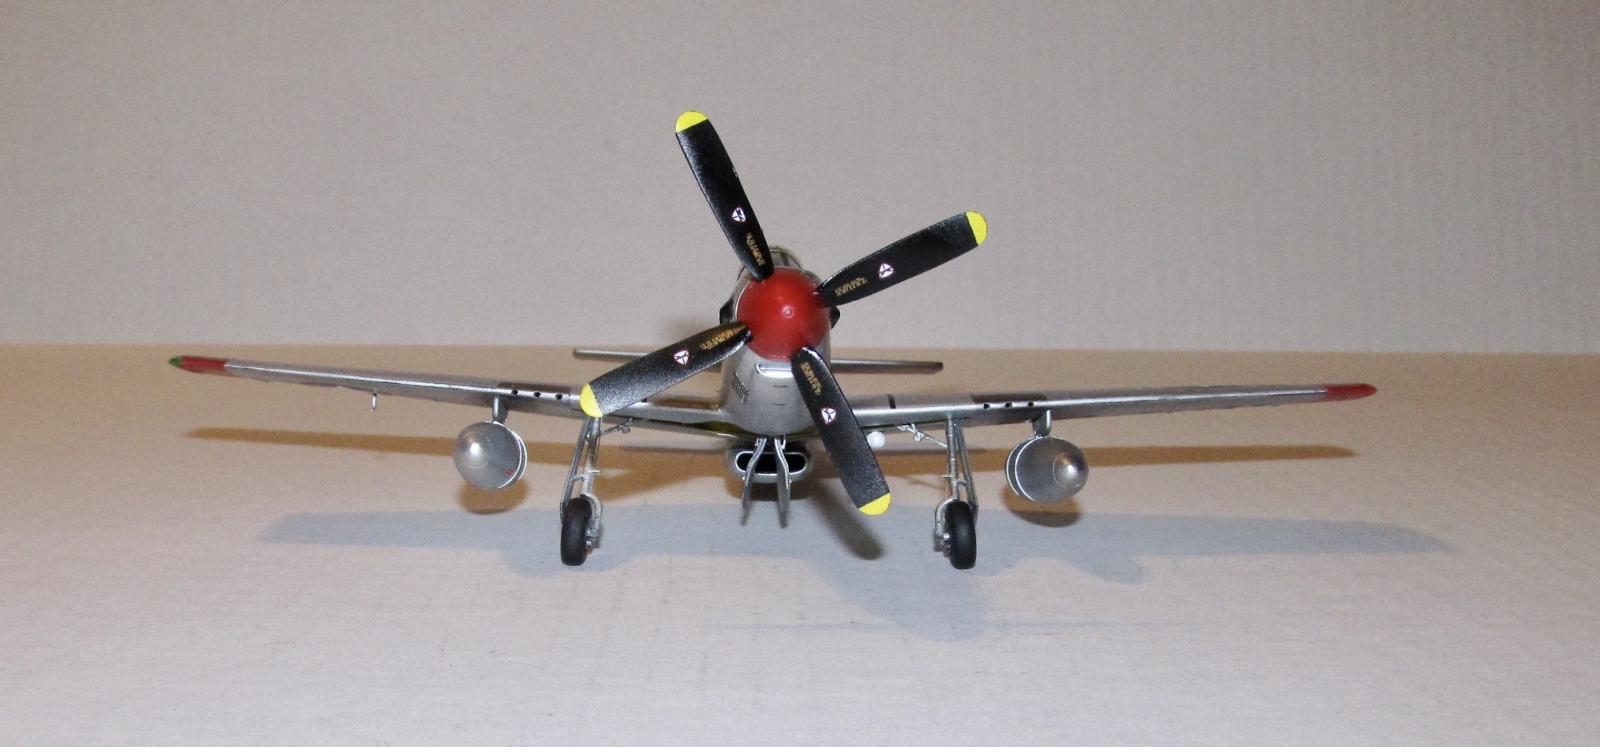
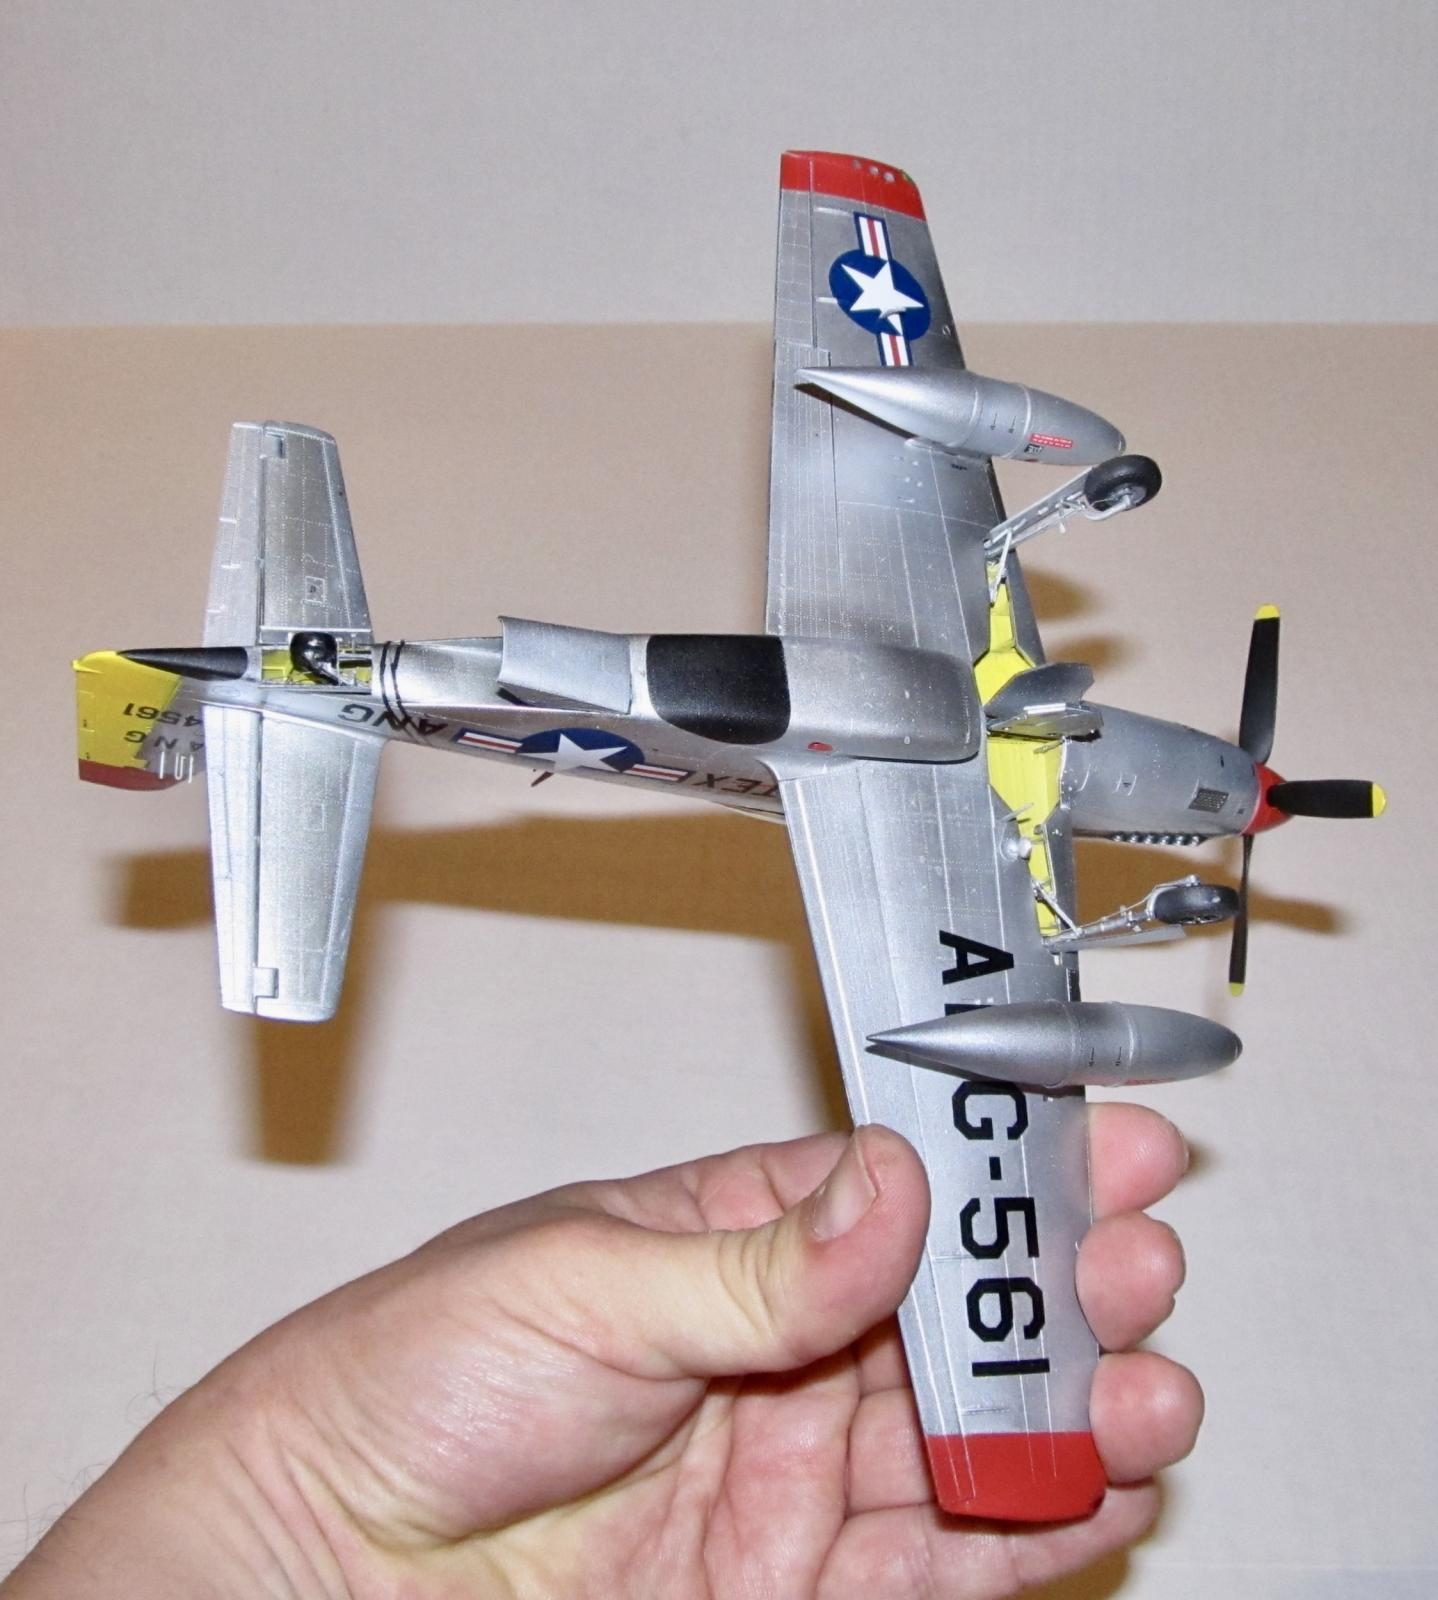
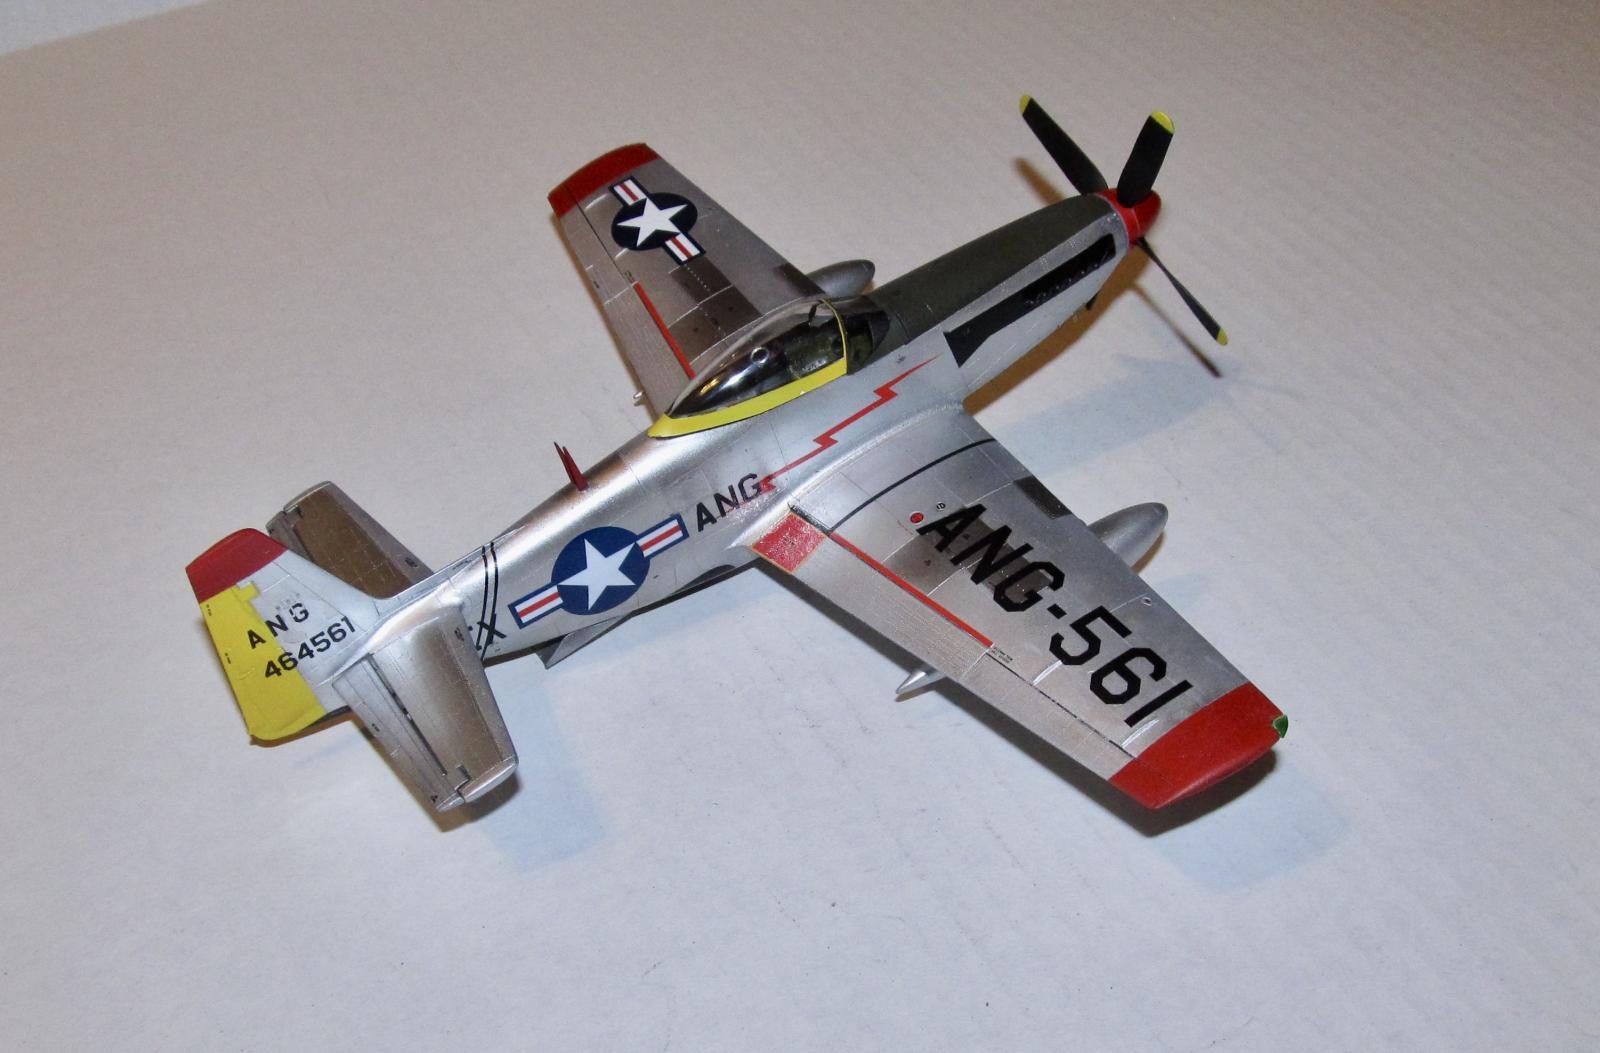
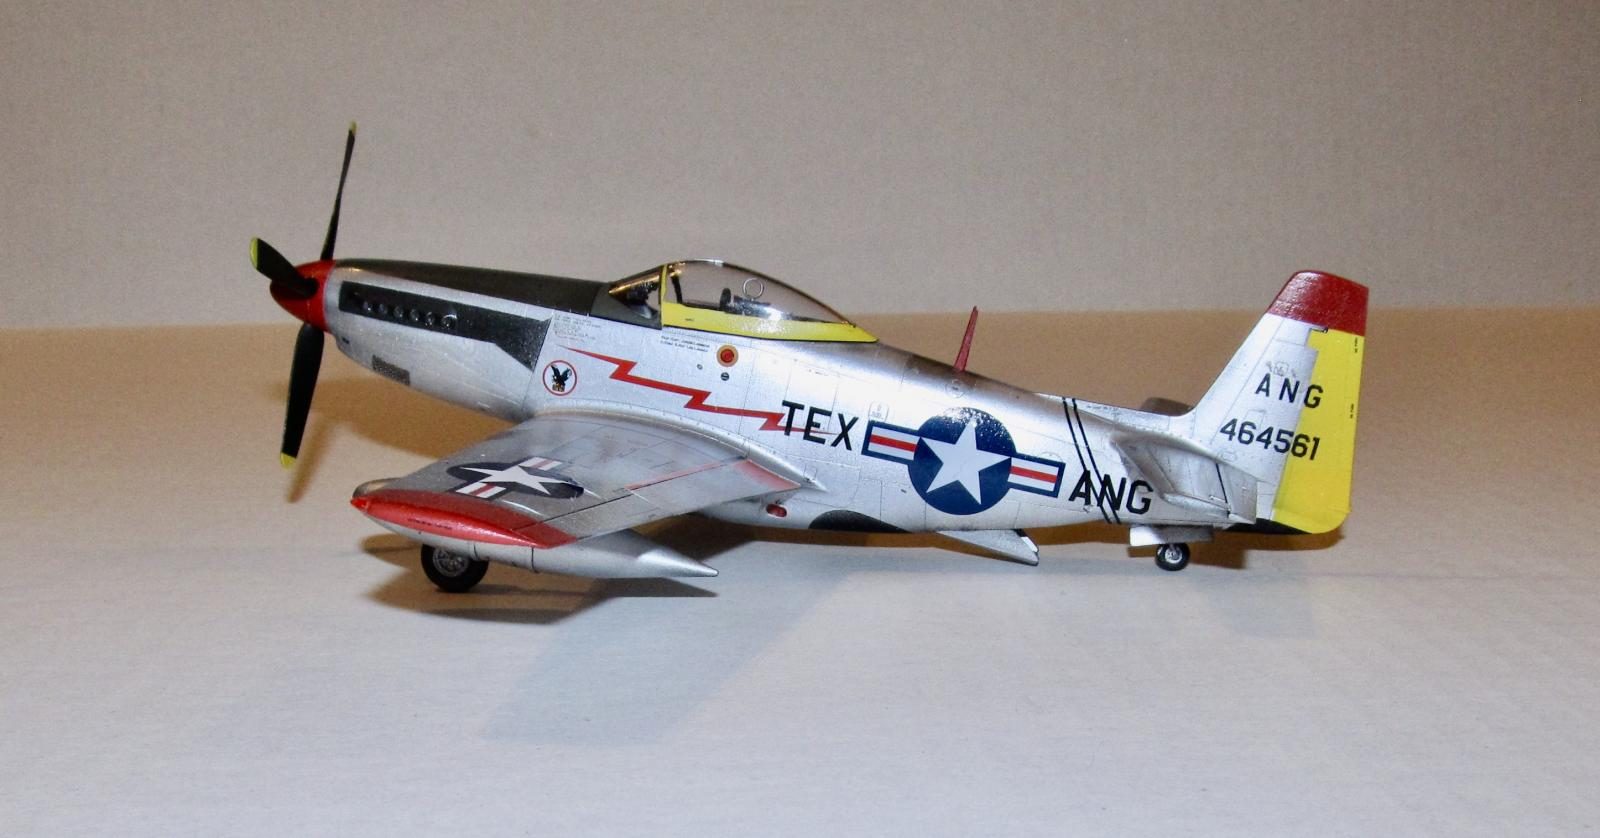
I was going to make the Texas ANG plane from the box cover because I like colorful paint schemes (maybe not so much painting them but I do like them.) The prop and prop hub were the first things that were painted. Stynylrez black primer for the blades with a bottom coat of Tamiya flat white and top coat of flat yellow for the prop tips. The hub was primed with two light coats of Stynylrez white primer and then lightly sanded down with 1800 and 3200 grit polishing cloths. The remaining paint residue was wiped down from the hub and then it was painted two light coats of Testors Acrylic Insignia Red. Once dry, it was glued together, sprayed with a gloss coat, prop decals added. The prop was sealed with Tamiya Flat coat for the prop blades and Vallejo Metal Color Gloss Varnish for the prop hub.
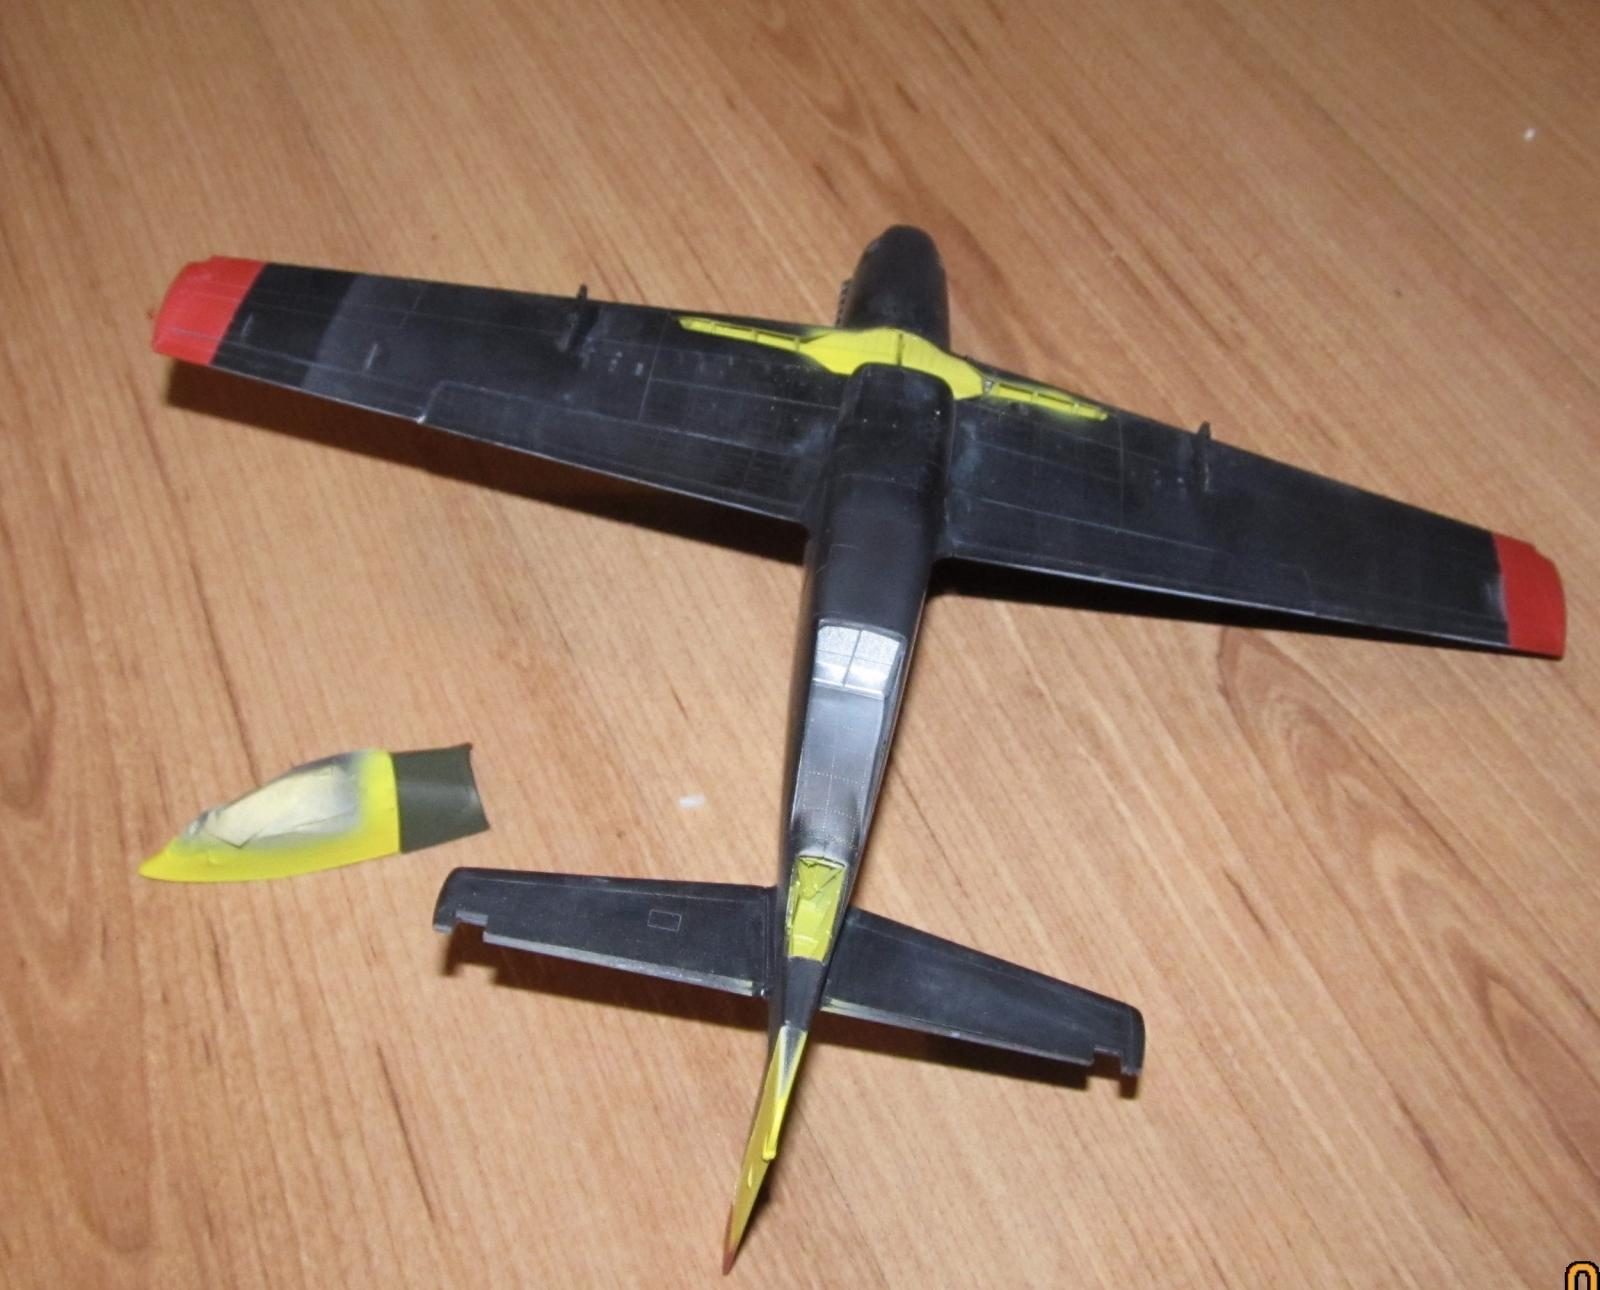
The first thing I did was insert foam sponges (I use the foam inserts that come with various afternarket companies packaging as I discovered to my dismay that makeup sponges stick to certain paints) cut into the shape of various airplane orifices (exhaust, cockpit and wheel wells) to prevent overspray. Next I primed the model with the first coat of Stynylrez black primer. I let it dry for a couple of weeks (because life got in the way) and sprayed another primer coat down. It was then I polished it using various grits of polishing cloths from 1800 to 8000. Certain areas needed some repair work and this spray/polish cycle continued till the model surface was covered in a mostly uniform semi gloss black primer coat.
I then masked off the metal areas of the plane and sprayed the wing tips and tail with Tamiya flat white to provide a base for the brighter colors. Once the paint was dry, I sprayed Testors Acrylic insignia red on the wing tips and Tamiya flat yellow for the rudder. I let it dry overnight before masking off those areas in preparation for the NMF.
At the same time, I painted the canopy. My copy of the kit rear canopy (open) was cracked and I couldn't fix it so I opted to use the single piece closed canopy instead. I put the single piece closed canopy on to check its fit and it didn't fit well at all. I trimmed the canopy piece and the canopy ledge to get it to fit. It was then I noticed that there was a step between the canopy and the fuselage. I trimmed the inside of the canopy windscreen and sanded the step on a slight angle (I protected the windscreen from accidental sandpaper swipes with a piece of painter's tape.) I read Tom Cleaver's review of the same kit later and realized I could have saved myself the trouble (it pays to read.) The canopy was painted with Stynylrez black primer first then flat white. The chrome yellow portion was painted first. When it was dry, I masked the rear canopy off and then sprayed on Xtracrylix Olive Drab as per the painting instructions.
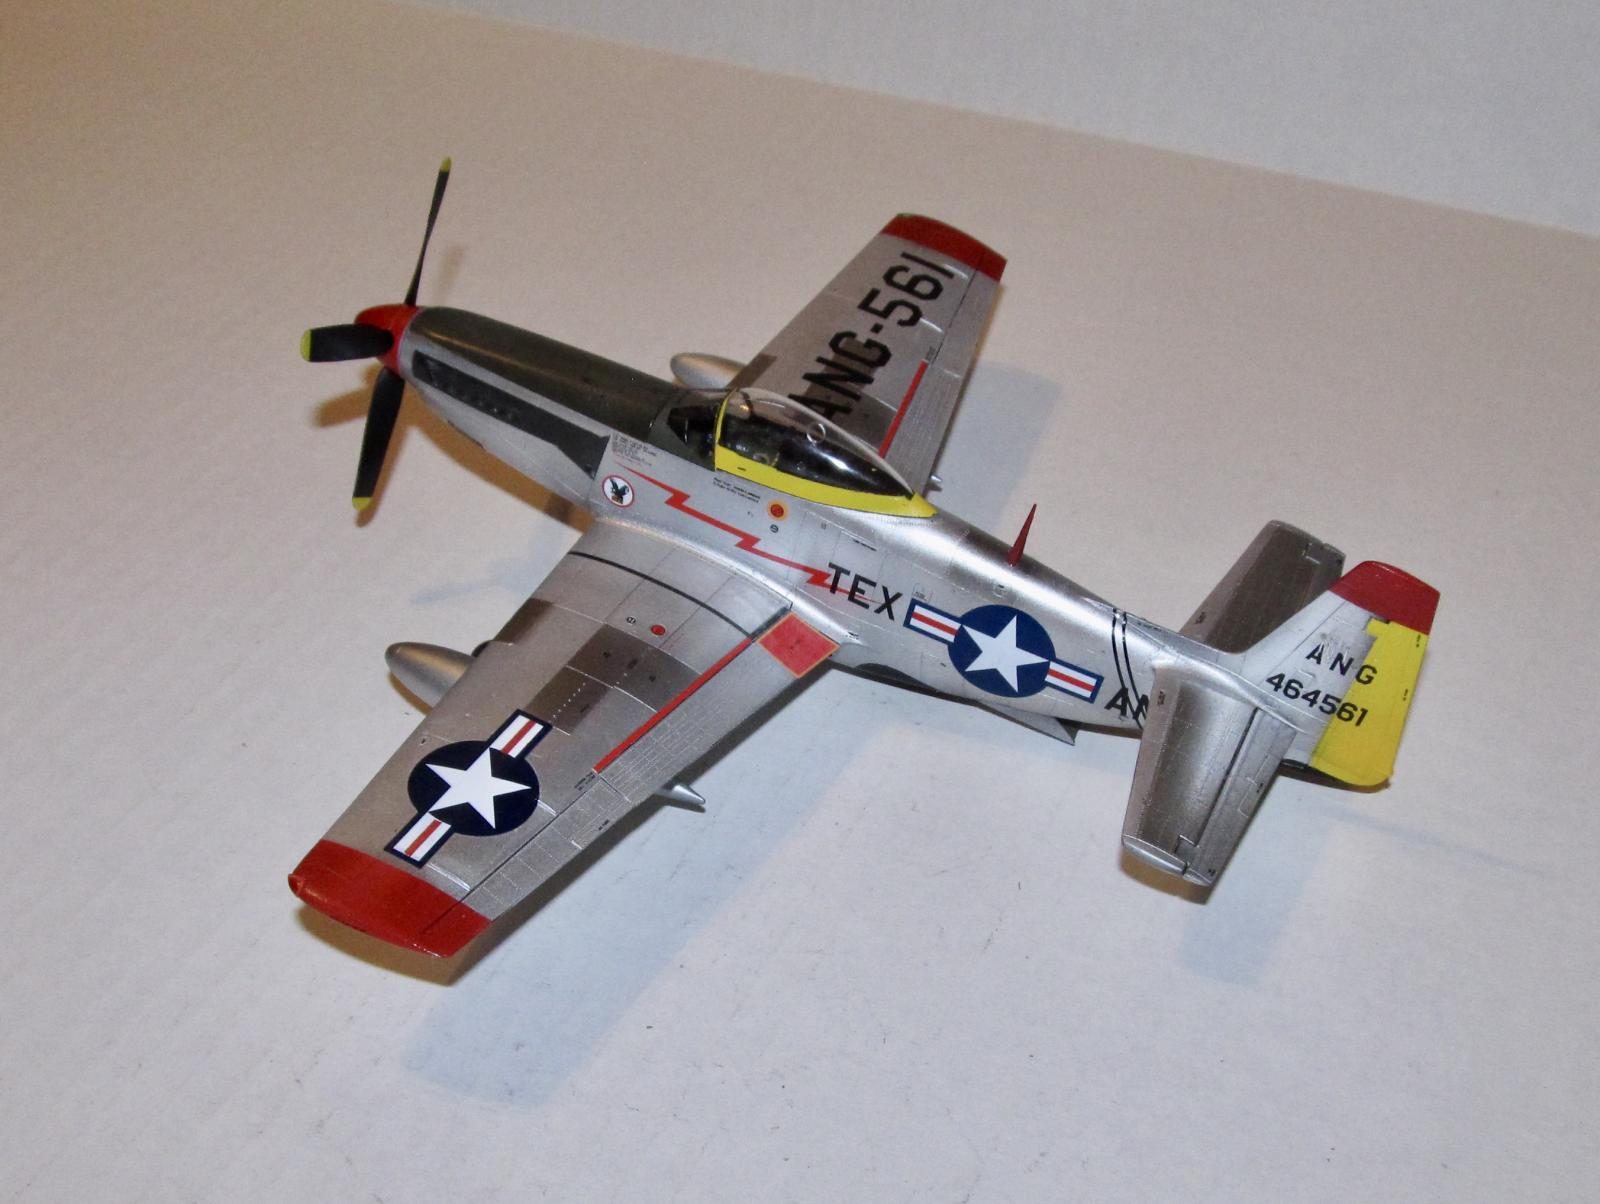
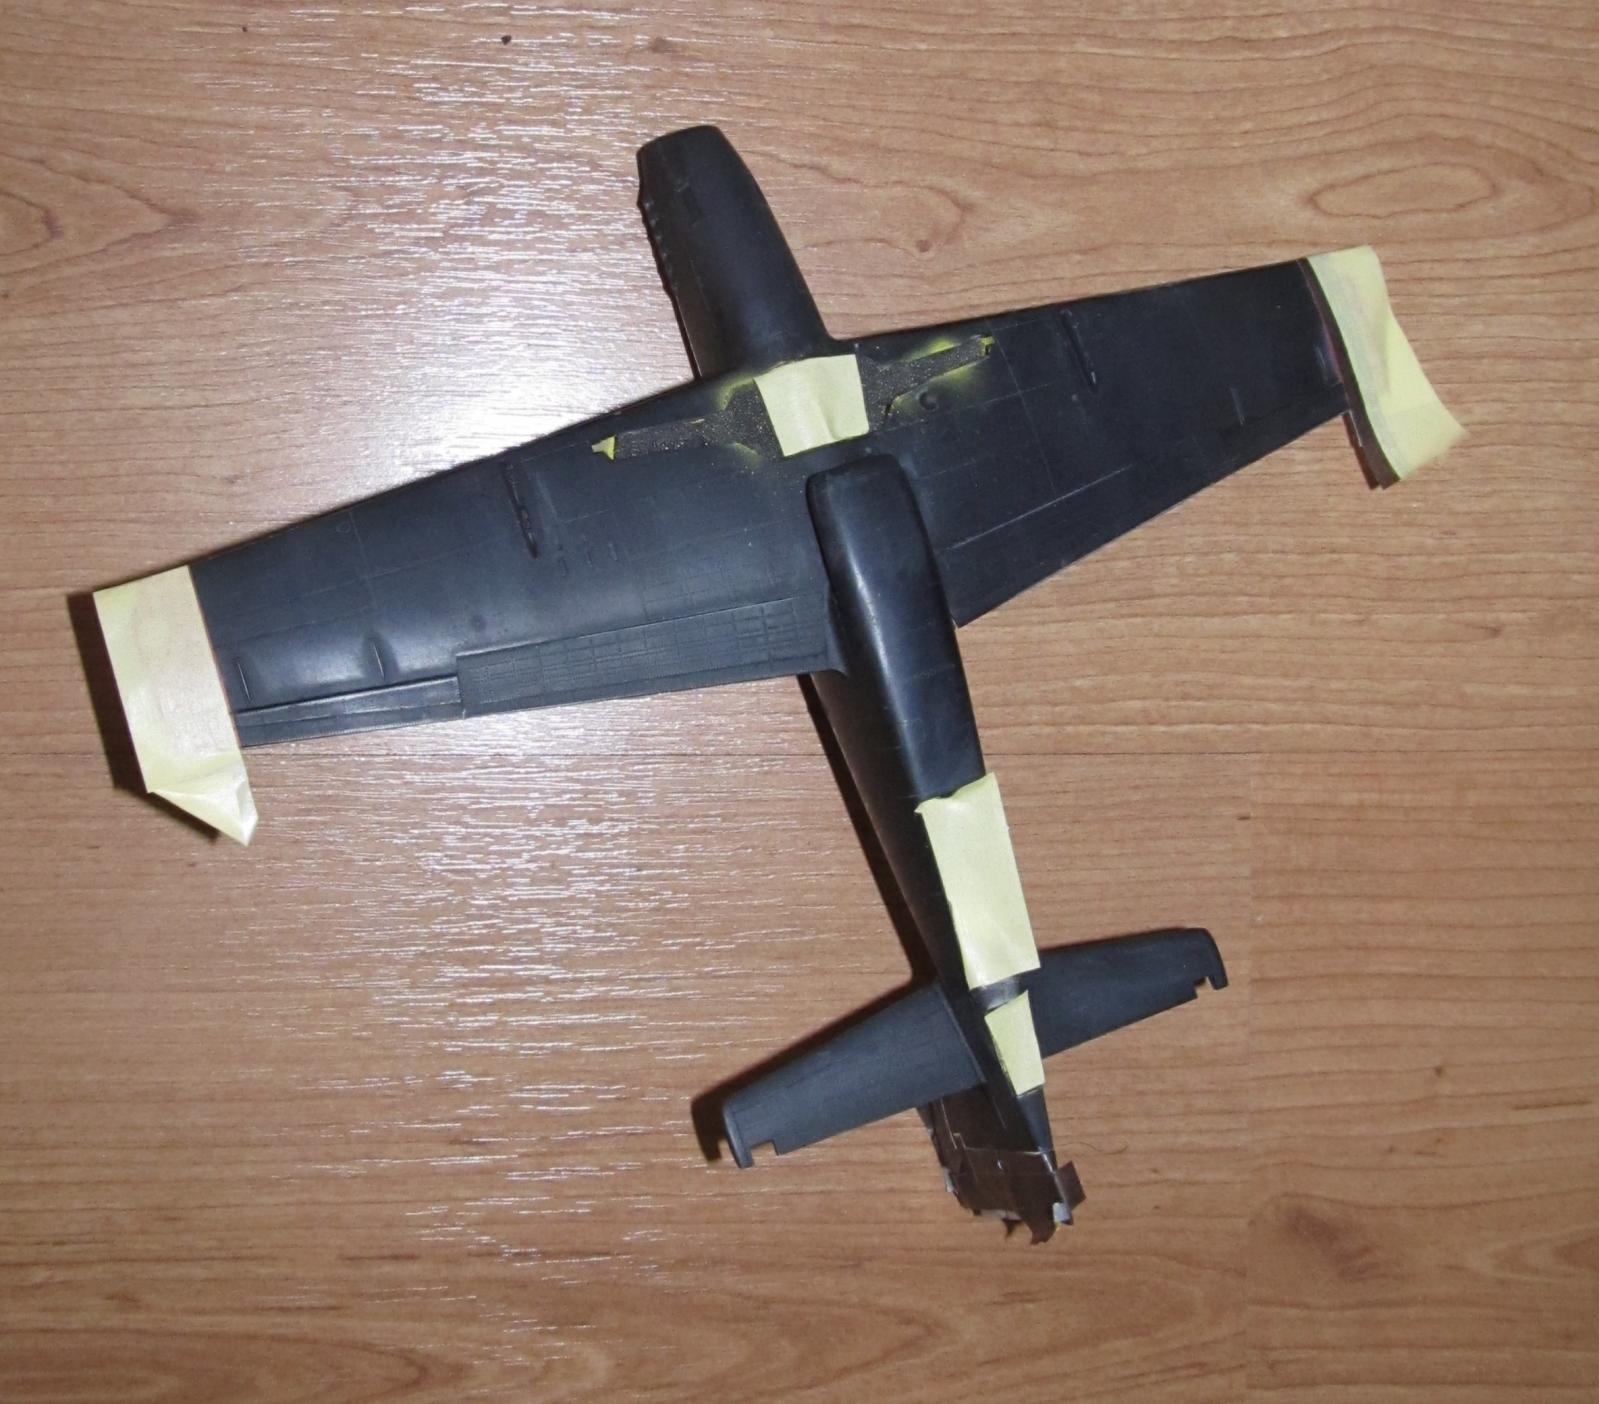
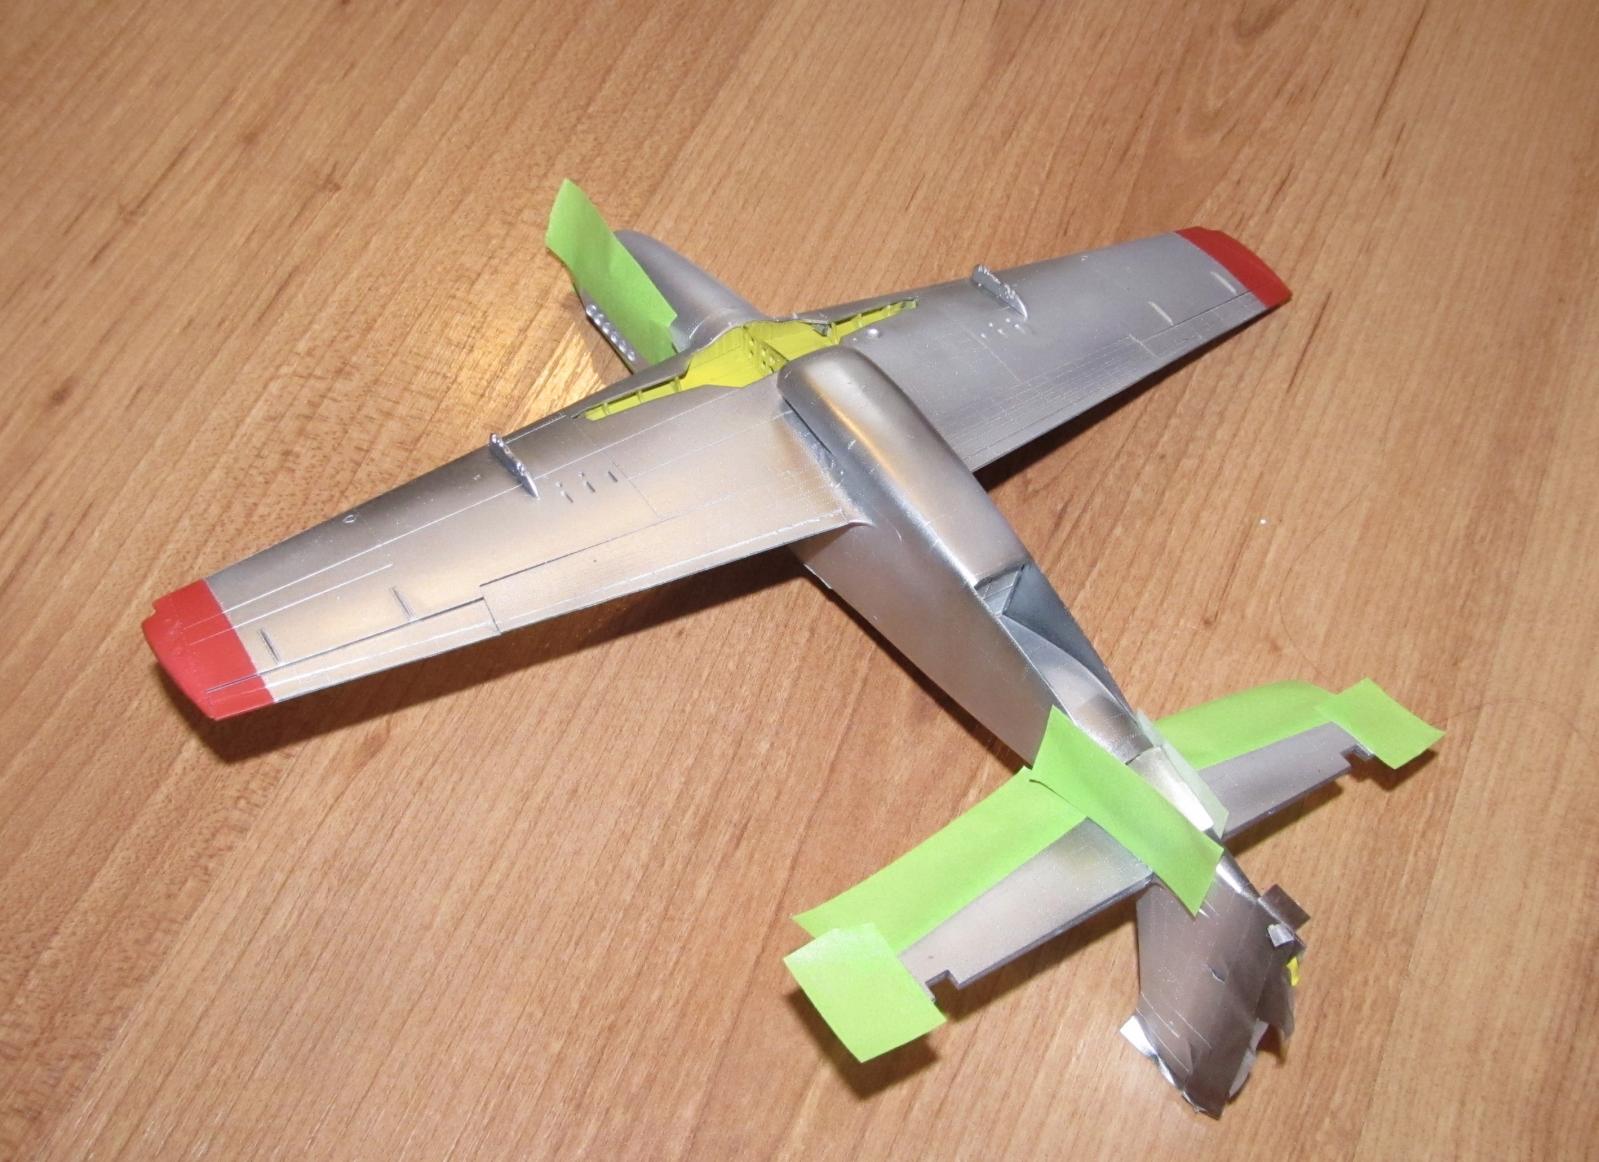
Finally, I got to the NMF. I used a base shade of Vallejo Metal Color Aluminum. I found that this particular color has to be sprayed in very light coats or it beads up and runs. Once the paint was dry, I masked off various areas using cheap Chinese made knock off Kabuki tape because its stick is so weak that it doesn't pull up decals. These were sprayed various Vallejo Metal Colors (white aluminum, dark aluminum, pale metal exhaust and silver.) I had some issues with the leading edges during handling because it was during the CoVID-19 pandemic and I had handled the model after I wiped my cellphone down with 90% alcohol wipes coming home from work. For some “reason”, alcohol causes finger prints in acrylic paint. I kind of wanted to kick myself for being oblivious. Some quick sanding, masking and spraying paint fixed most of the problems (and a vigorous hand washing before handling models.)
These areas were masked using the supplied vinyl masks for the black areas (plus some tape and paper towels for the overspray.) I used Tamiya Flat Black without too much headache or spray thru.
Once it was dry, I sprayed on two light coats of Metal Color Gloss Varnish to provide a smooth surface for the decals and to seal in the paint.
Decals
The Modelsvit decals went on okay with the use of MicroSet/Sol. It was a tedious task because the post war USAF or North American Aviation really loved putting maintenance stencils everywhere (it was as bad as my recently done P-38 Lightning.) The decals took a week to finish.
It was at this moment when I made a series of mistakes that nearly caused this model to get trashed. While working on the landing gear (nothing stuck and the landing gear would fall out), I accidentally knocked over a bottle of Tamiya Extra Thin glue. No biggie as the bottle was almost empty. I inadvertently dipped my thumb in a glue soaked side of the bottle and then grabbed the plane with that hand.
GRRRRRRRRRRRR! My very nice NMF plane suddenly had an very visible thumb print after I pulled my hand away I stared glumly at my paint covered thumb. I took several (hundred) deep breaths and then stepped away from the model lest I do something stupid.
My only solution was to sand down the thumb print which proved to be a bit more difficult than I thought because Vallejo gloss doesn't polish well. I ended up spraying on several thin coats of Vallejo Gloss to level out the damage. Once the paint was fairly level, I sprayed on Vallejo Metal Color Alumnium which didn't cover as well as the original paint. This damage took a couple of weeks to fix.
I didn't bother to weather the model as they were kept in pretty clean condition.
FINAL CONSTRUCTION
The landing gear on the P-51H is probably the weakest point of the kit. It is basically a butt join which doesn't have any strength. I used several types of glue including epoxy and the landing gear all fell apart. After a couple of weeks of frustration, I ended up drilling out part of the depression in the wheel well where the landing gear leg sits and putting a fair amount of Tamiya Extra Thin Cement into the depression. I jammed each landing gear in and let it cure for several days. Once dry, I added a dab of CA glue to reinforce the join.
The rest of the parts went on without too much problem including the PE IFF aerials located at the tailplane.
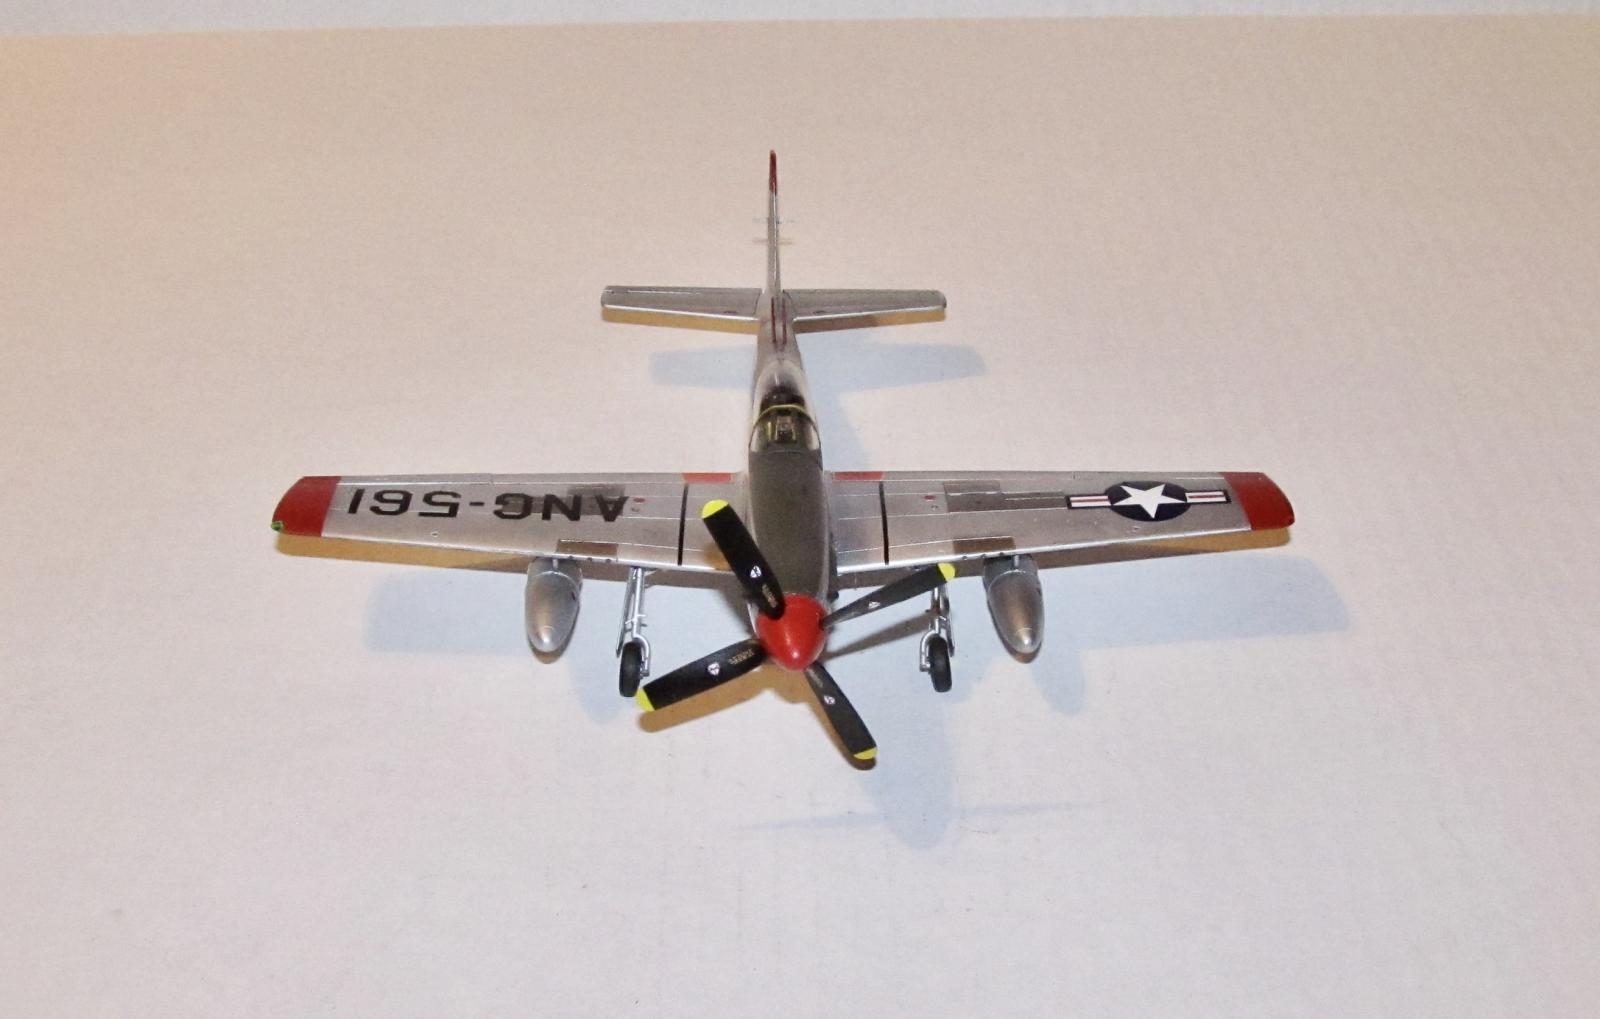
Lastly, I added the fuel tanks. The metal reinforcements around the tank were sanded down because of the sanding/filling process. I took some cut lengths of plastic card strip and glued them in place over the remains of the reinforcements (the seam located where the tank meets the pylon to hide the seam.) These were primed and painted Metal Color Silver and the fuel cap painted bright red. The tanks were glued on using small dabs of CA glue.
I had finally completed my P-51H.
CONCLUSION
The Modelsvit P-51H is a much better kit to build than its predecessors (the Classic Airframes and the HiPM kits.) It still has some build issues especially with the landing gear. Some folks didn't have an issue with it, but I did. These issues aren't a show stopper if you want a P-51H, but it will make completion quite a chore.
I am glad I finally have the last of the single seat North American Mustangs (the later COIN Cavalier doesn't really count.) I look forward to the release of Modelsvit's F-82 kit.


Very nice and colourful
Dan, great results! Your build is a testament of perserverance. I can't help but sympathize with your workbench experiences... I've knocked over two Tamiya square jars (albeit panel line marker), once from forgetting to tighten the lid and once out of shear clumsiness.
Your fine results should encourage more to build this pony, even with it's quarks.
Great post on a great looking kit, Dan (@dbdlee). We have all been there with unexpected fingerprints. I usually find them after I have posted the photos on iModeler. I have this kit in my stash, so thanks for the build info.
Thanks guys. Thumb prints happen (it marred what I thought was my best NMF paint job to date.) Outside of my clumsiness, the Modelsvit kit is one of the better short run kits I've built.
Very nice job, Dan. Excellent painting!
I like the panelling shades!
Tell me about thumb prints!
Or lifting your hands after grabbing your freshly decalled model, with that exquisite decal detached and stuck in your hand (and destroyed of course).
Nice work, Dan. It looks good. Very colorful.
Despites the accidents and frustrations you delivered a very nice looking pony.
Not an easy kit to construct but you did a great job Dan. Looks terrific. I agree that the landing gear attachments are the kit’s weakest point. One has to be very careful when re-drilling those locator holes not to punch through to the other side.
That's one colorful pony! Looks fantastic - well done.
Marvelous Mustang! Great work.
Thanks again everyone.