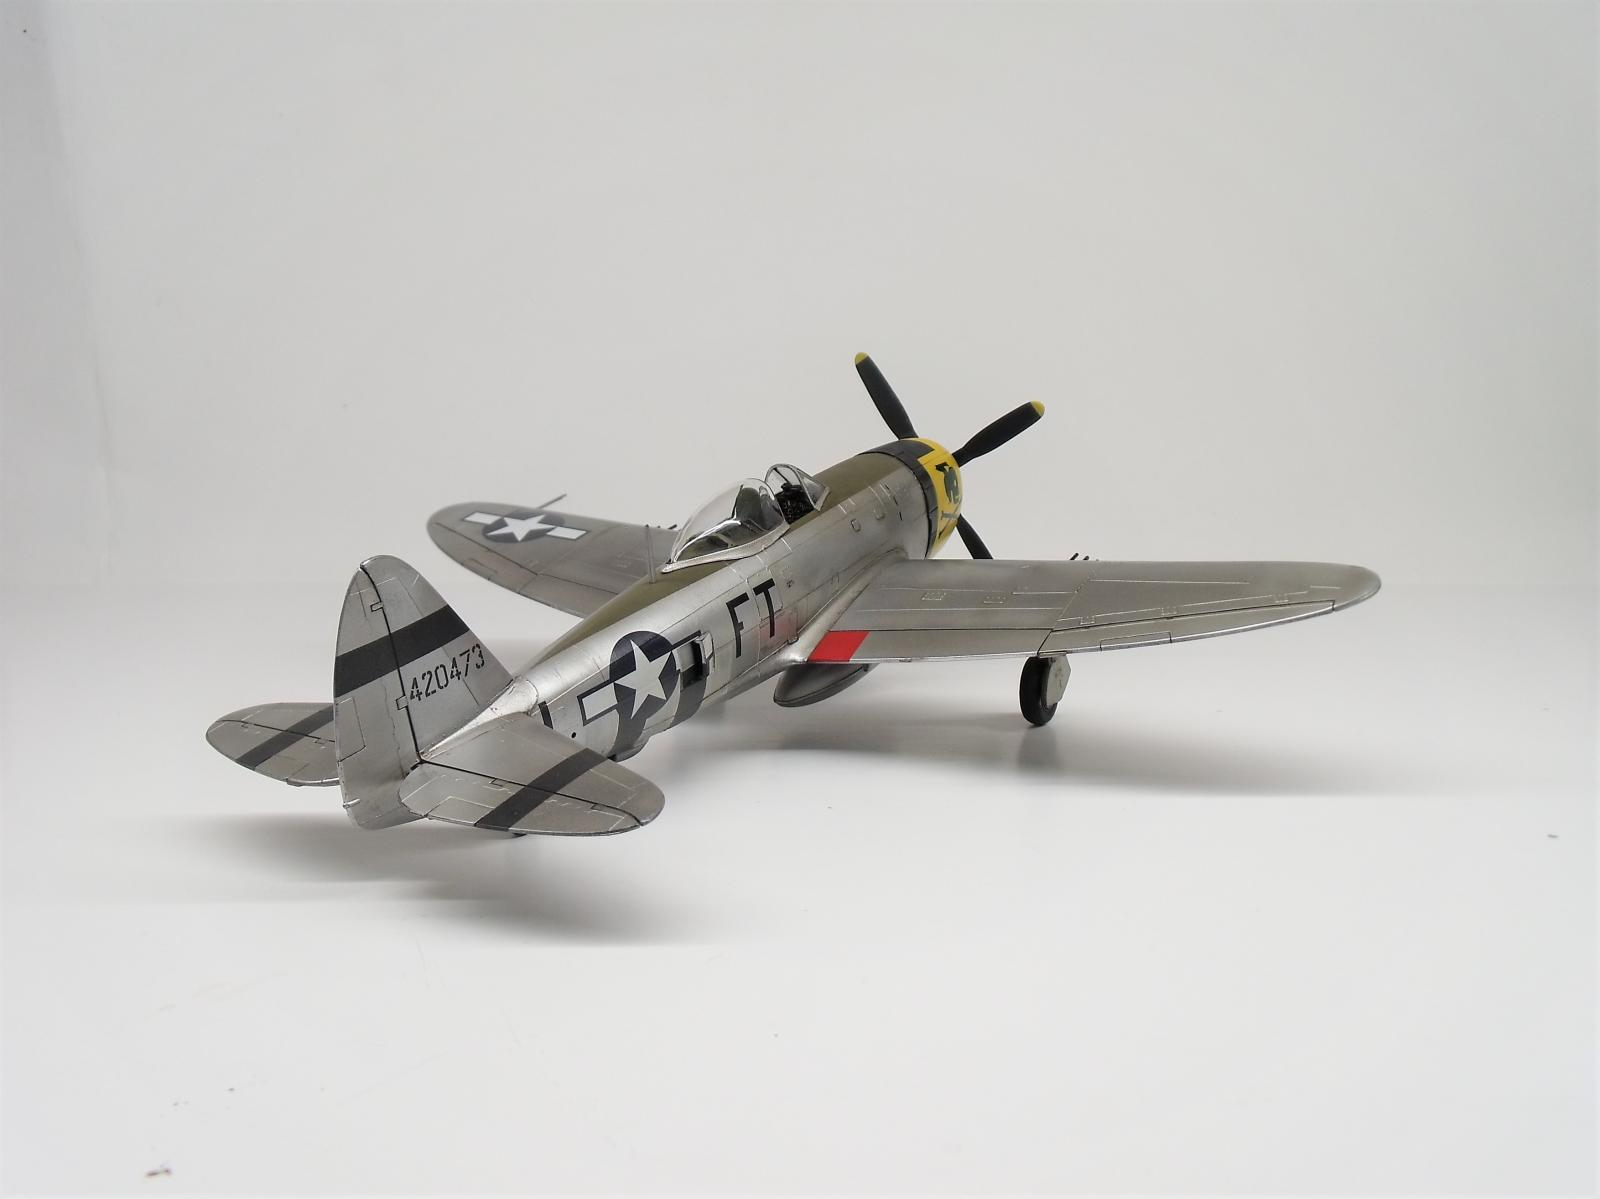
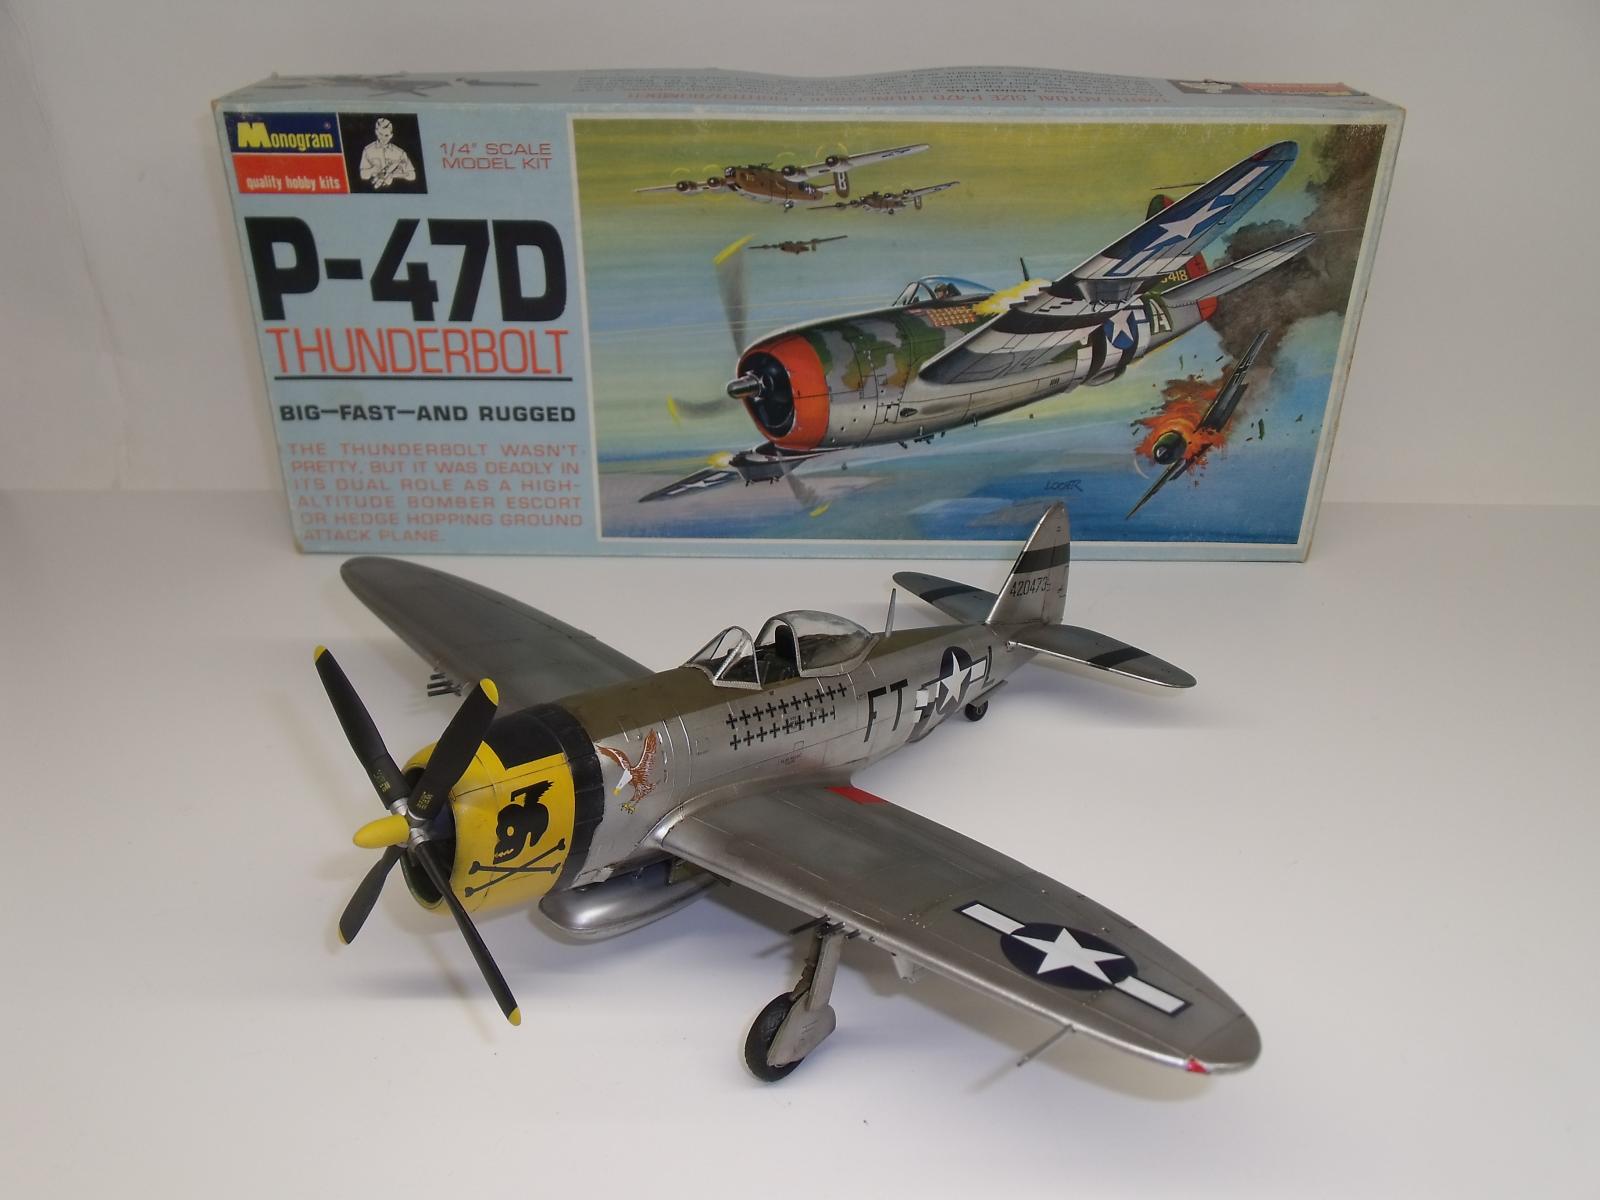
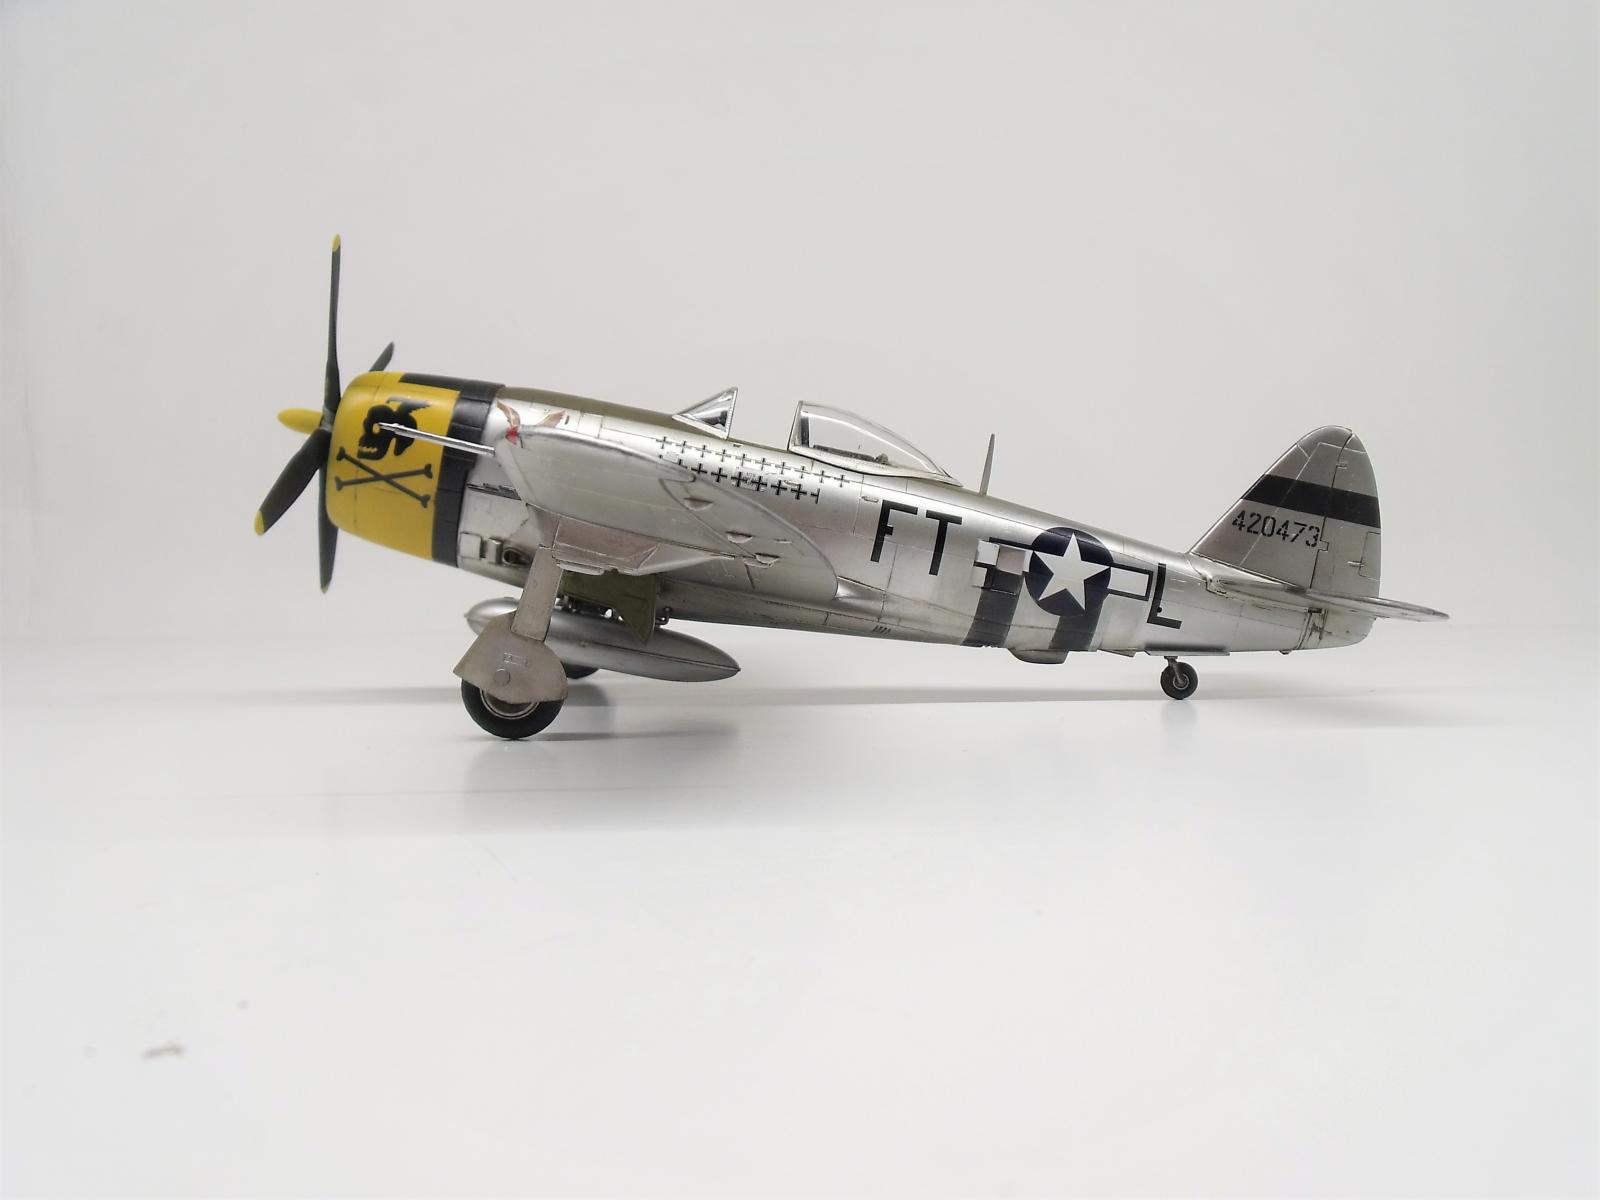
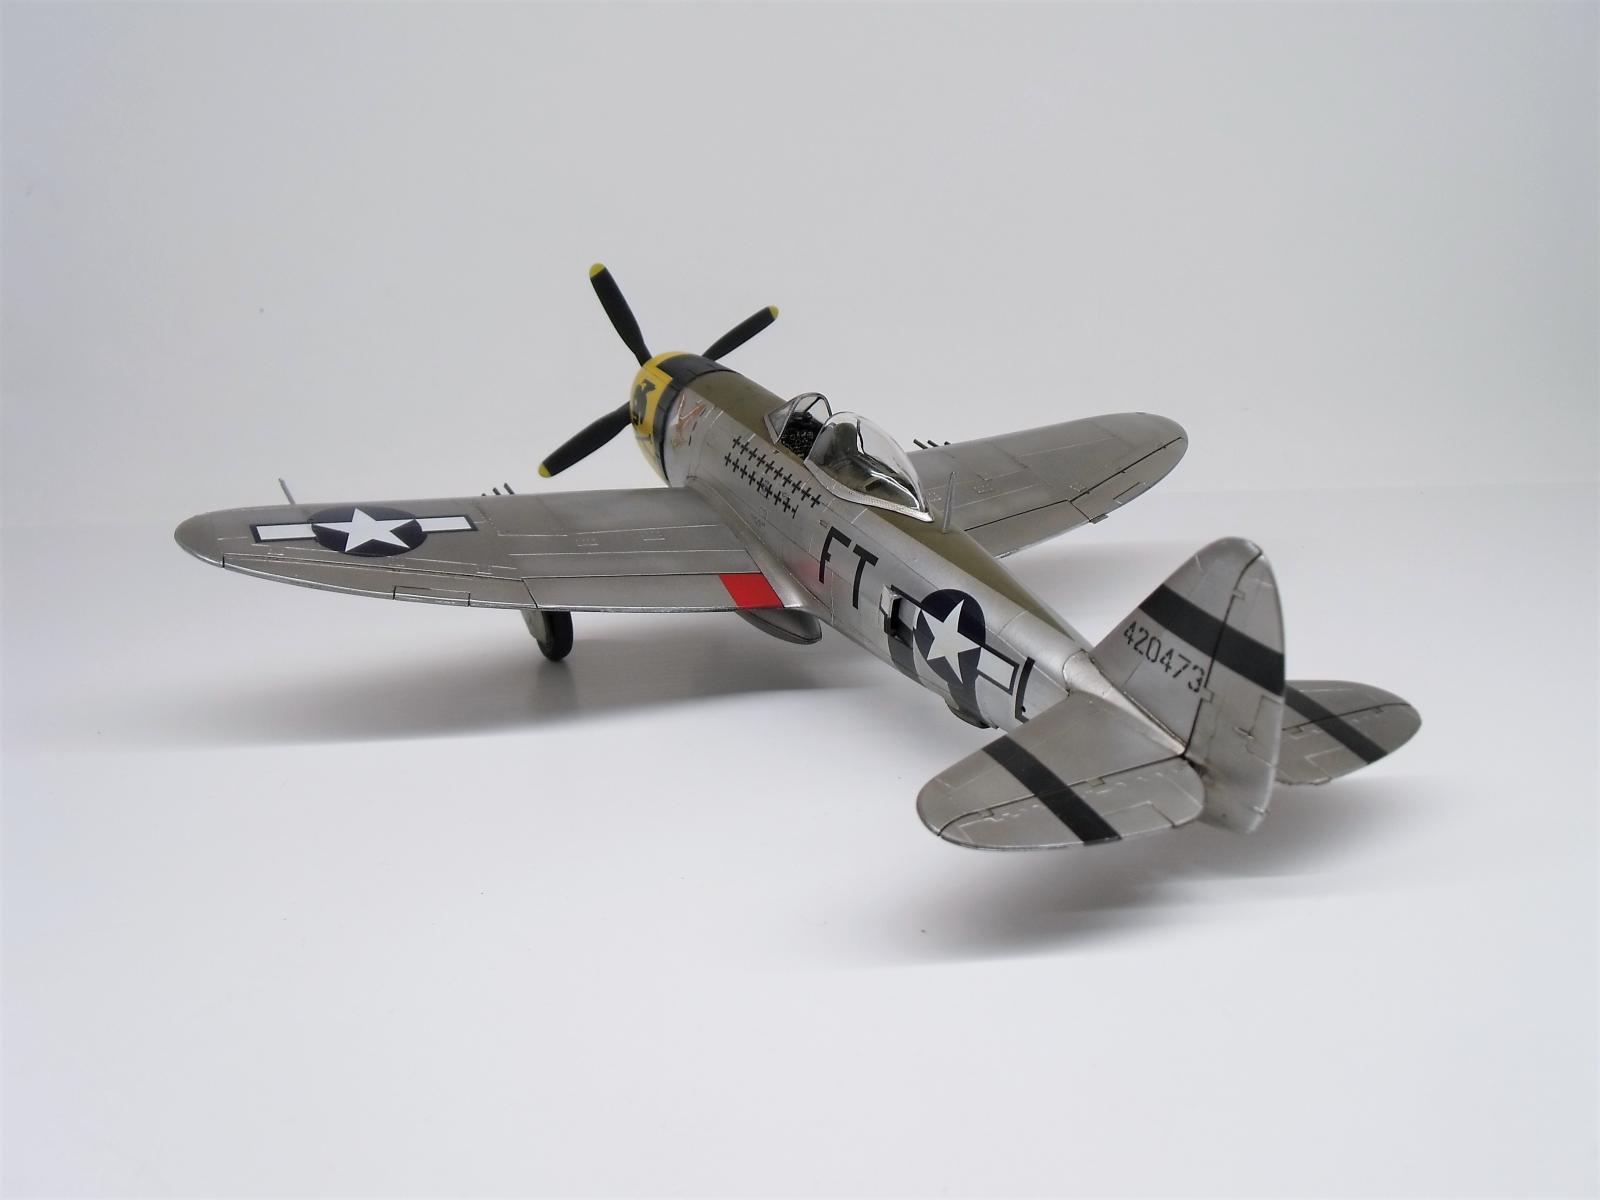
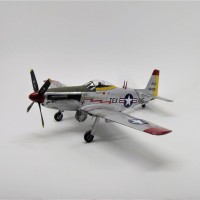
Republic P-47D Thunderbolt – Monogram 1/48
I've finally completed this kit after a long period of in-process limbo. But first I must briefly explain how this kit came to be on my work bench in the first place. It all started when I purchased a second-hand Hasegawa P-47D, mainly due to the price point, and that I thought it would be a nice example of a "Bubbletop" Jug. The kit itself had some issues that I was willing to look past, and would've needed new decals too... but what put the kibosh on that build was the fact that the kit had been robbed of its canopy pieces, and I didn't notice until I got it home. So I messaged the store owner online, and he said come back in, and he'd make it right. Making my way back to the shop, I didn't know what to expect, so when I got there, I inquired what he could do to help me out. Kindly, he said "go ahead and find another P-47 on the shelf, and it's yours". Immediately, I thought, I'll grab a cheaper kit to reciprocate his kindness, with the plan of swapping the windscreen from that kit to use on the Hasegawa kit. With that in mind, I selected this vintage P-47D from Monogram. To my surprise, when I went to check out with a few other kits in hand, the sub-total for my purchase didn't quite add up... The simple explanation was that the store owner had given me the Monogram kit for free, and refunded me for the Hasegawa kit, which he let me keep!
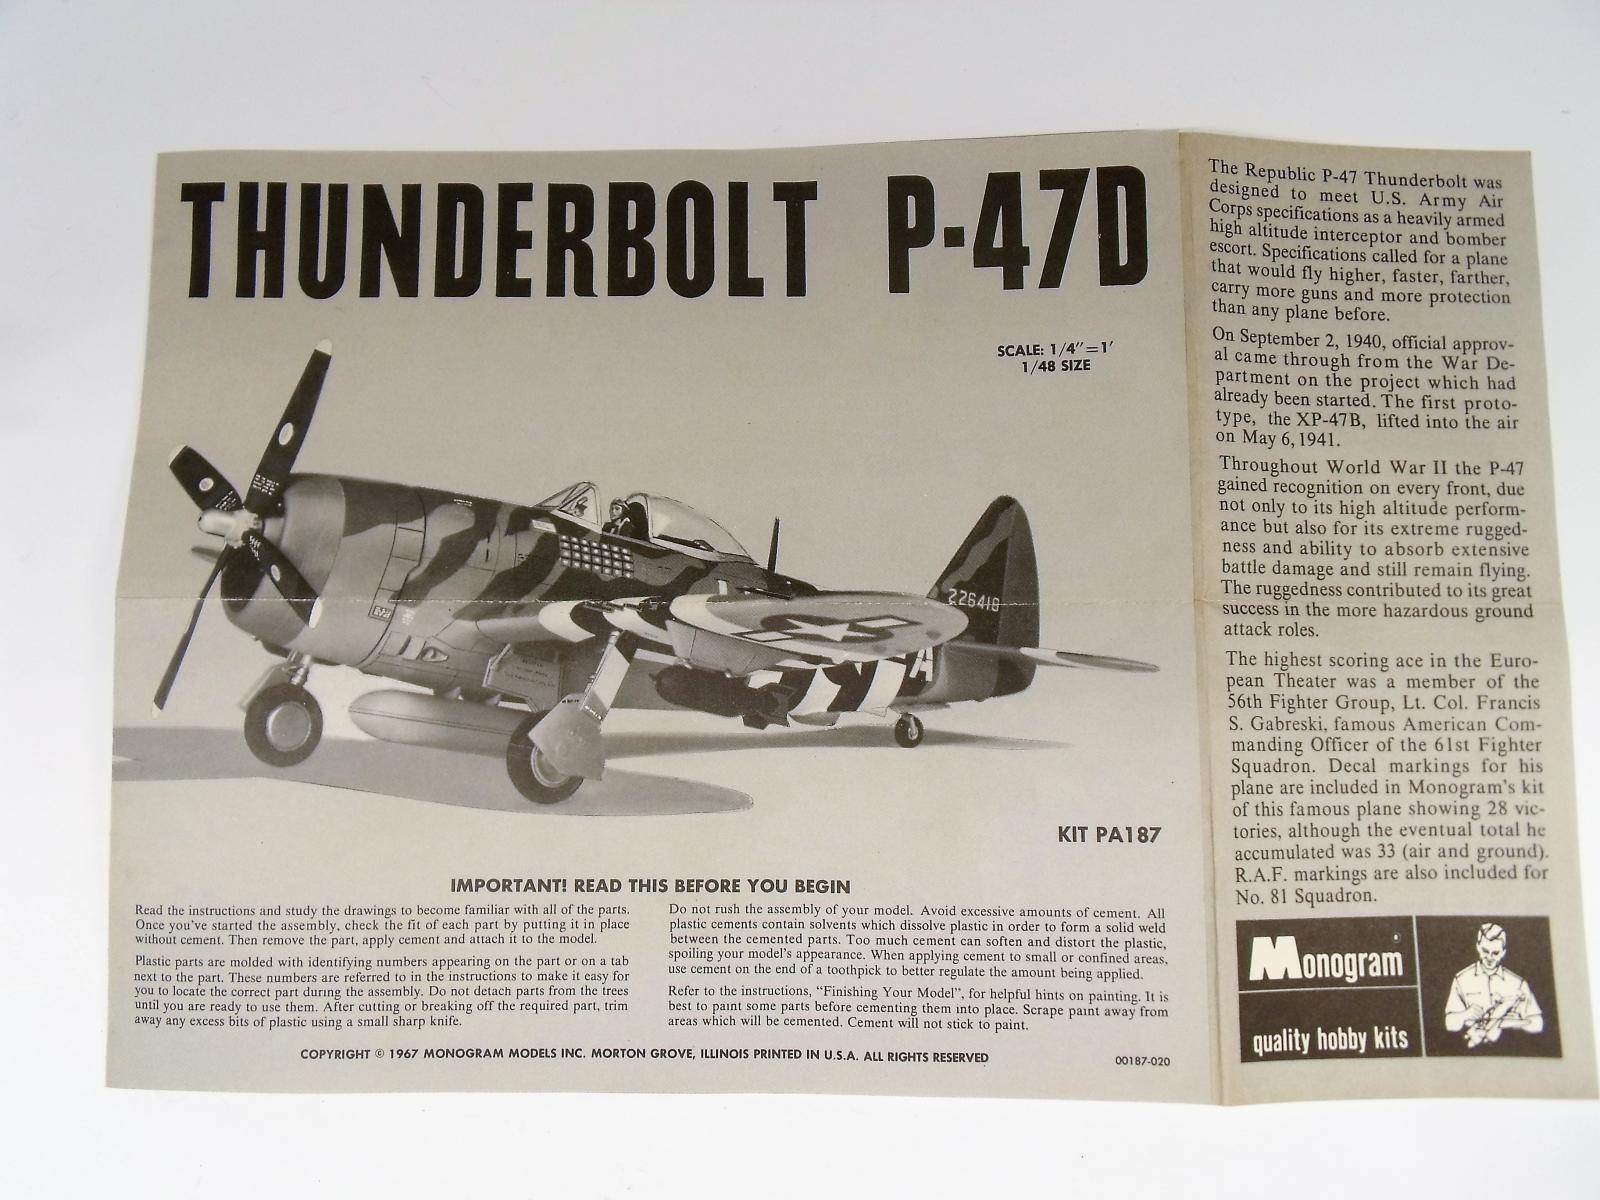
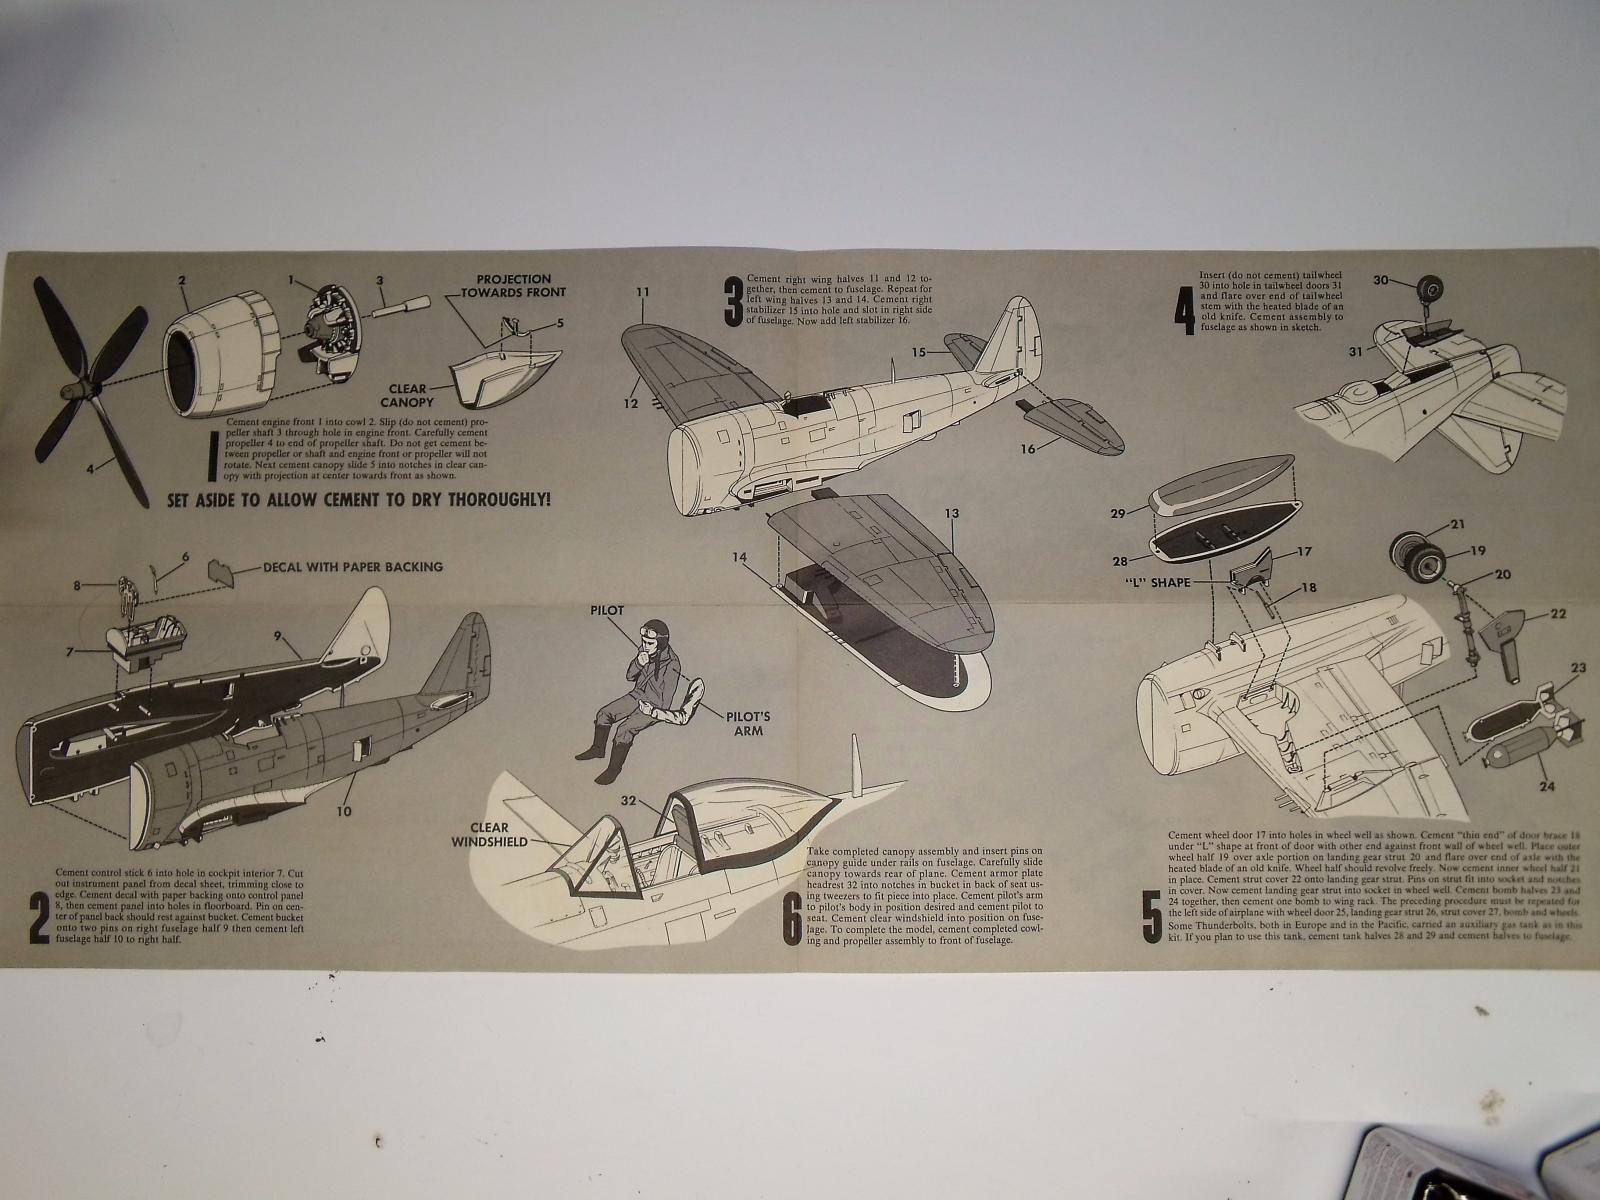
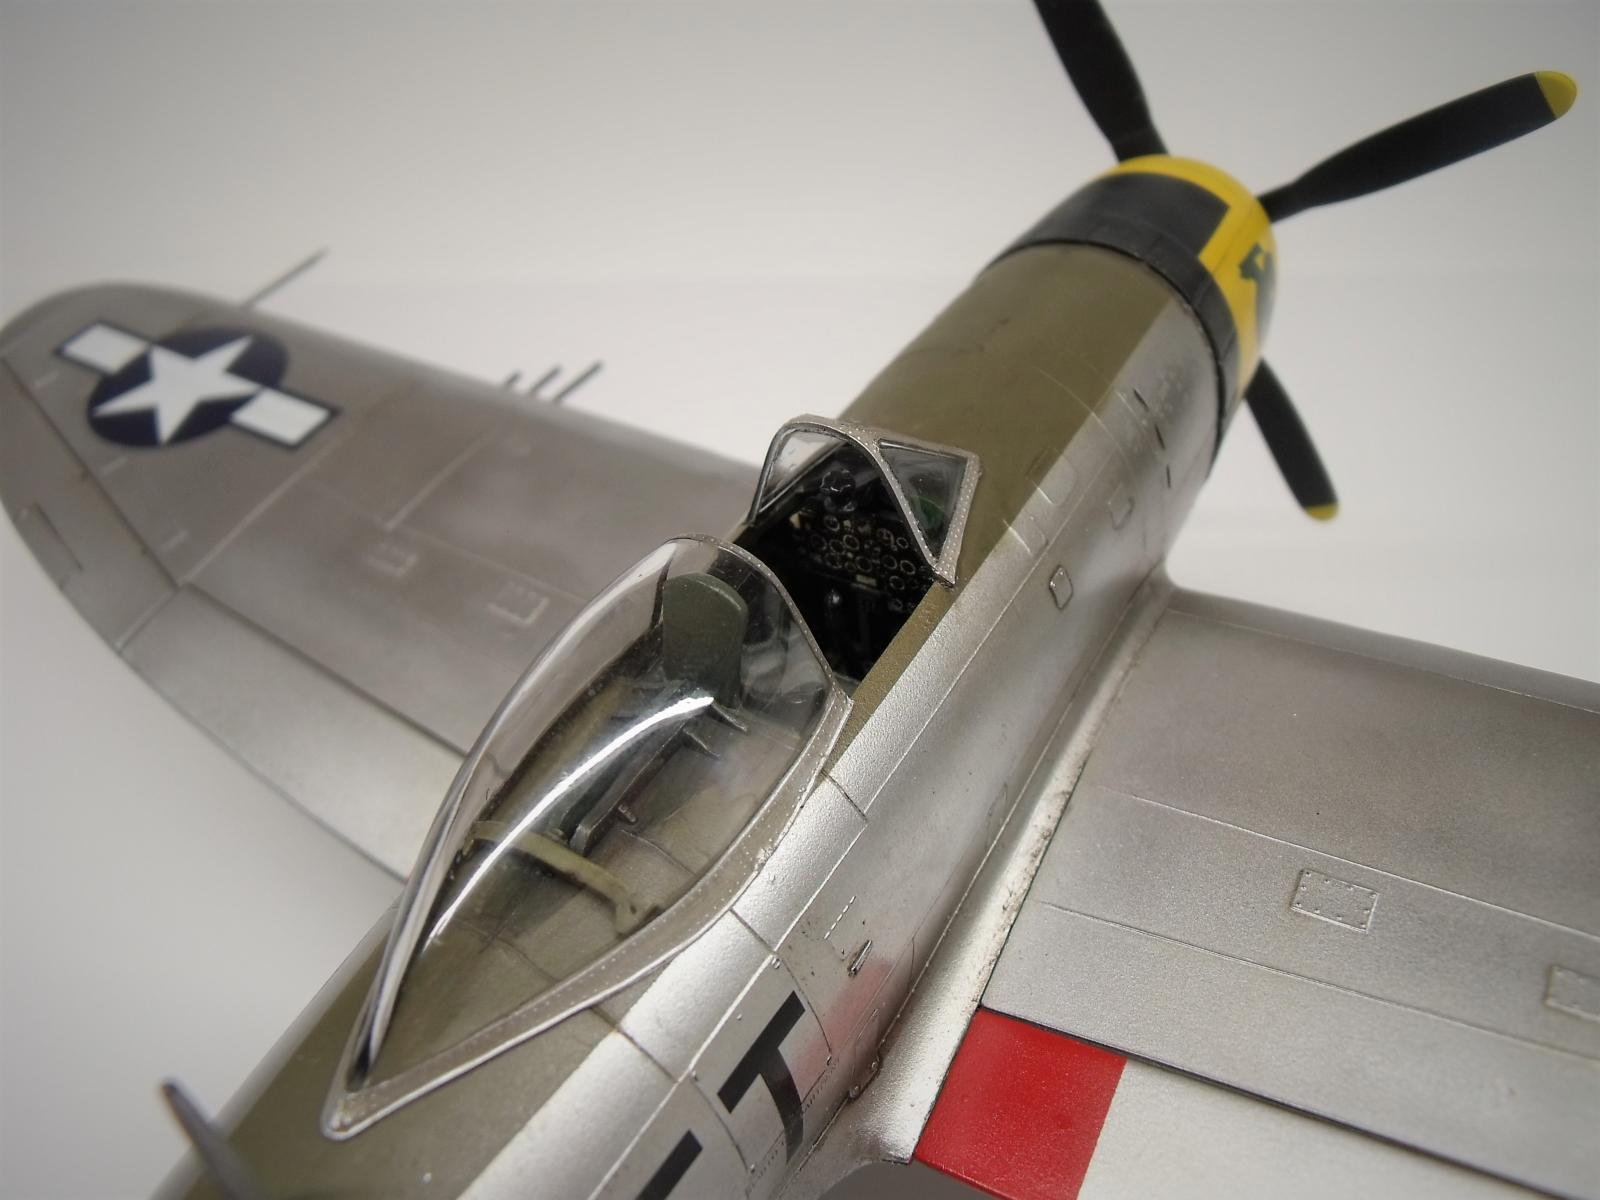
Bringing the kits back home, I was once again amazed that (decals aside) the Monogram kit was kept in great condition. To validate my kit selection, I tried fitting the Monogram canopy pieces to the Hasegawa kit, only to find that they would require work to make them fit, which would risk me loosing the canopies for both kits... So I did what I thought was best, and shelved them both. Some time later, I got the itch to start a Thunderbolt, and thought, why not just build the Monogram kit!? Despite its 1967 manufactured date, raised panel lines, and spartan cockpit, it actually holds up quite well.. Thus the build commenced. As you can see in the nostalgic instructions, the build has few parts, and straight forward assembly.
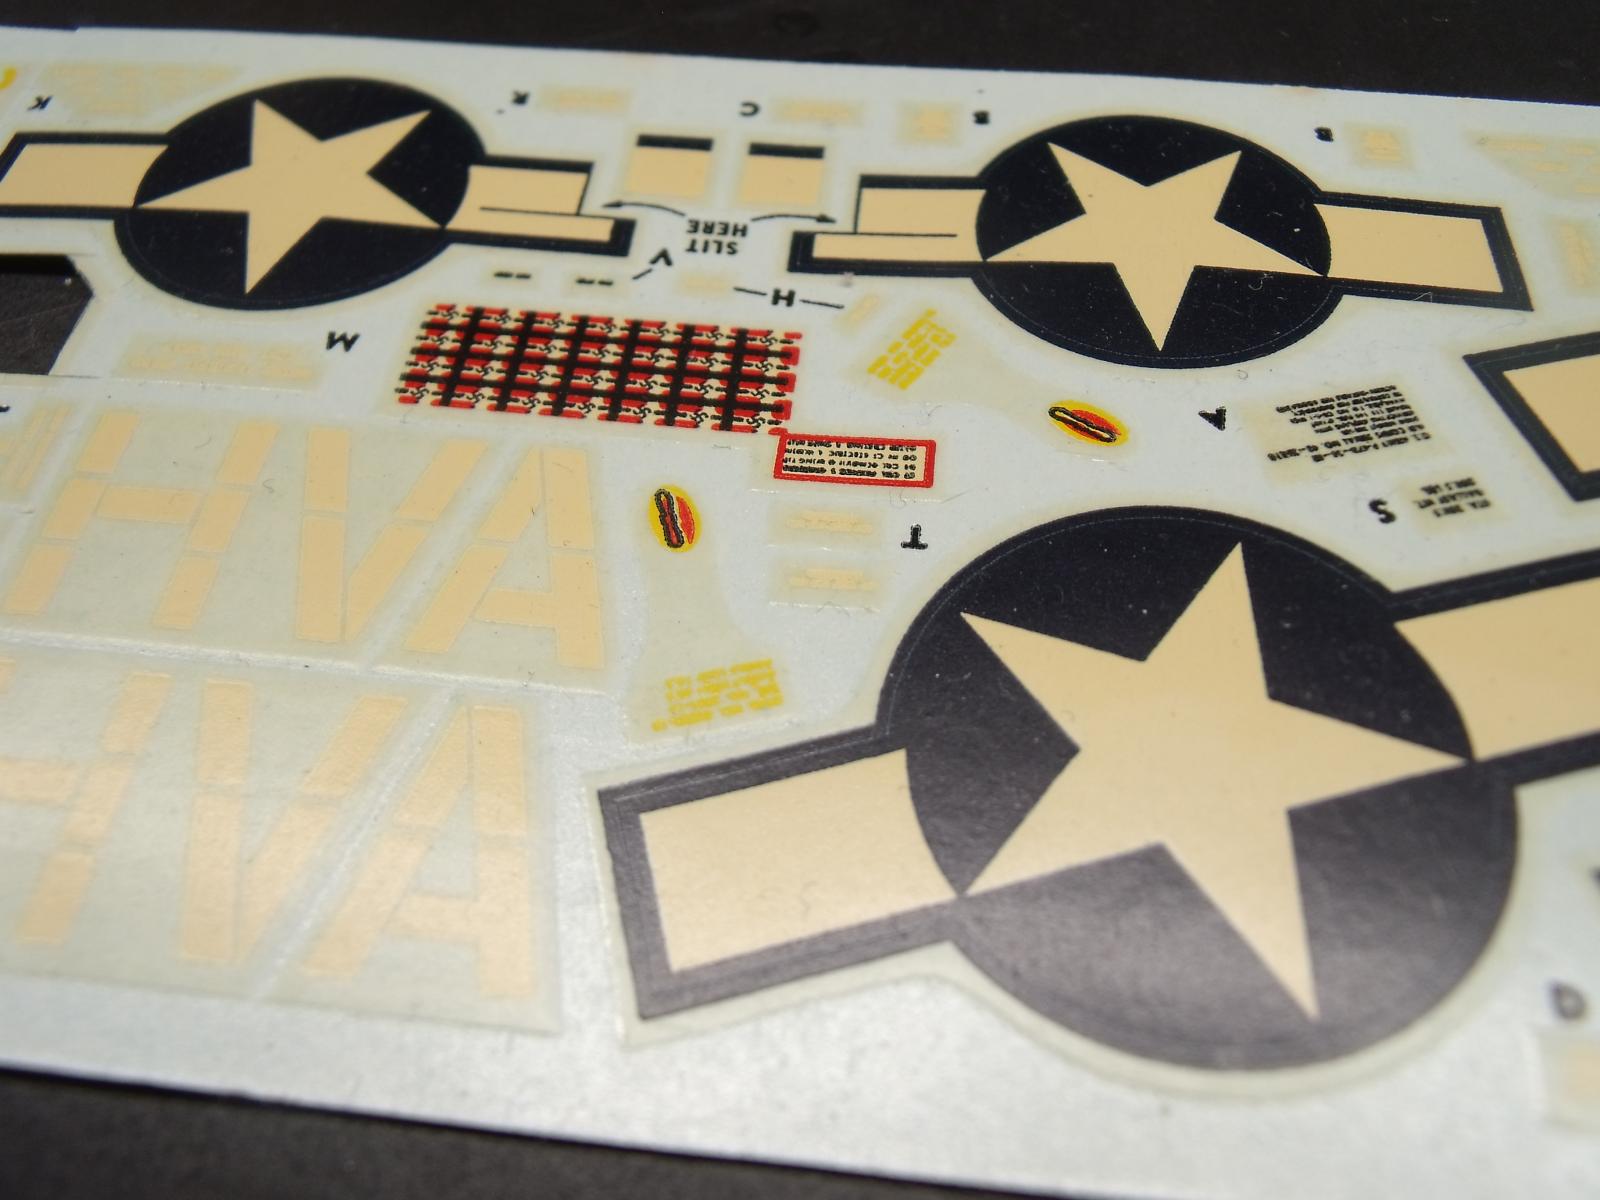
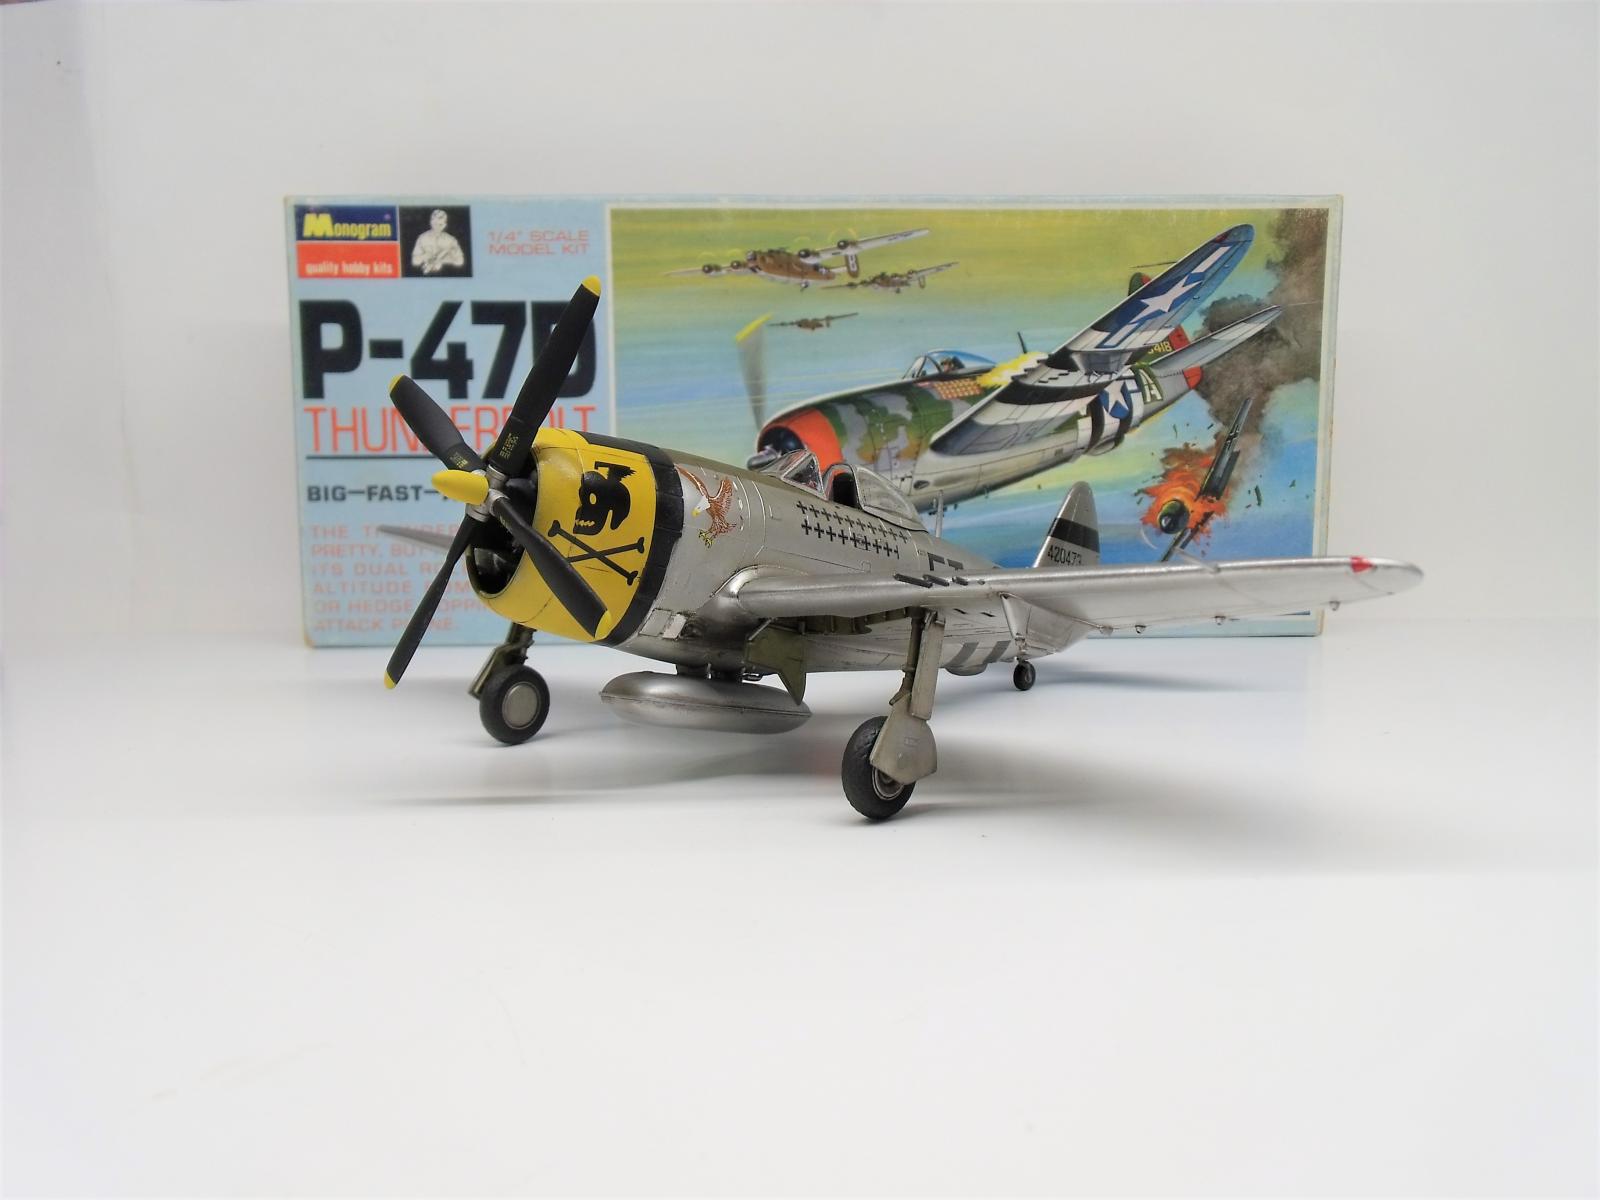
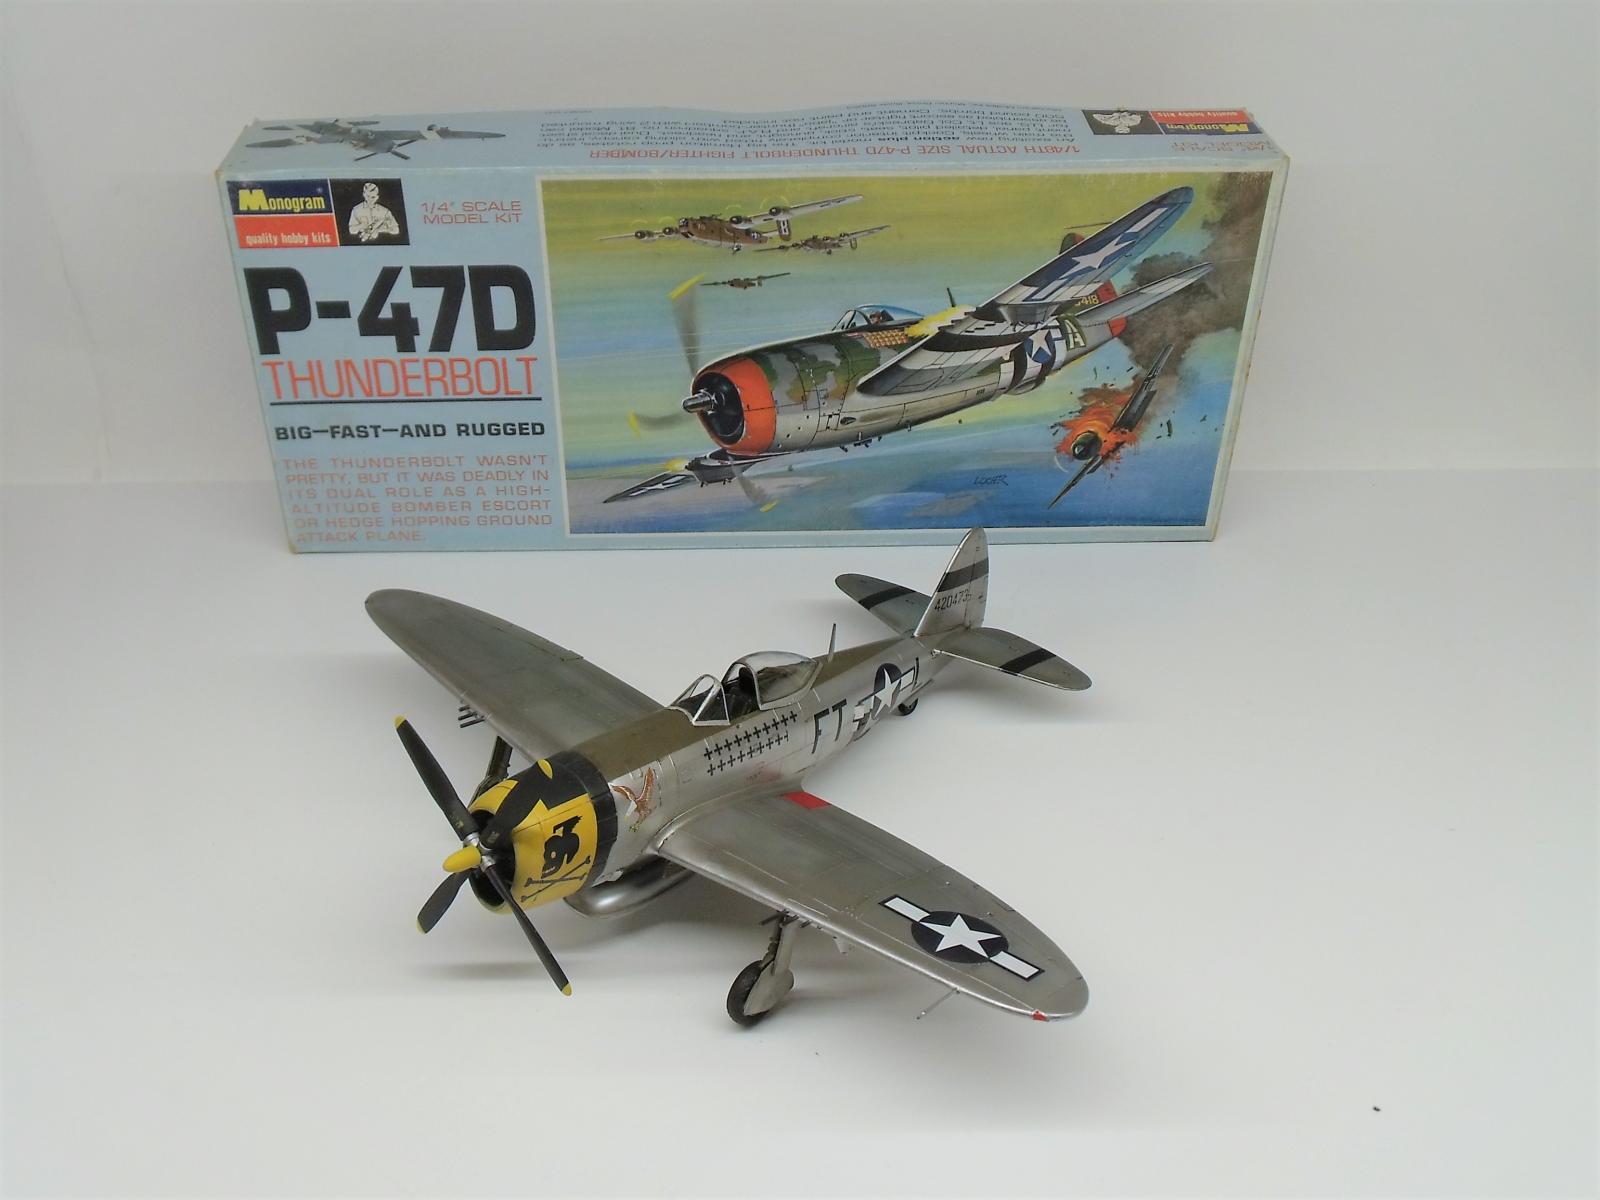
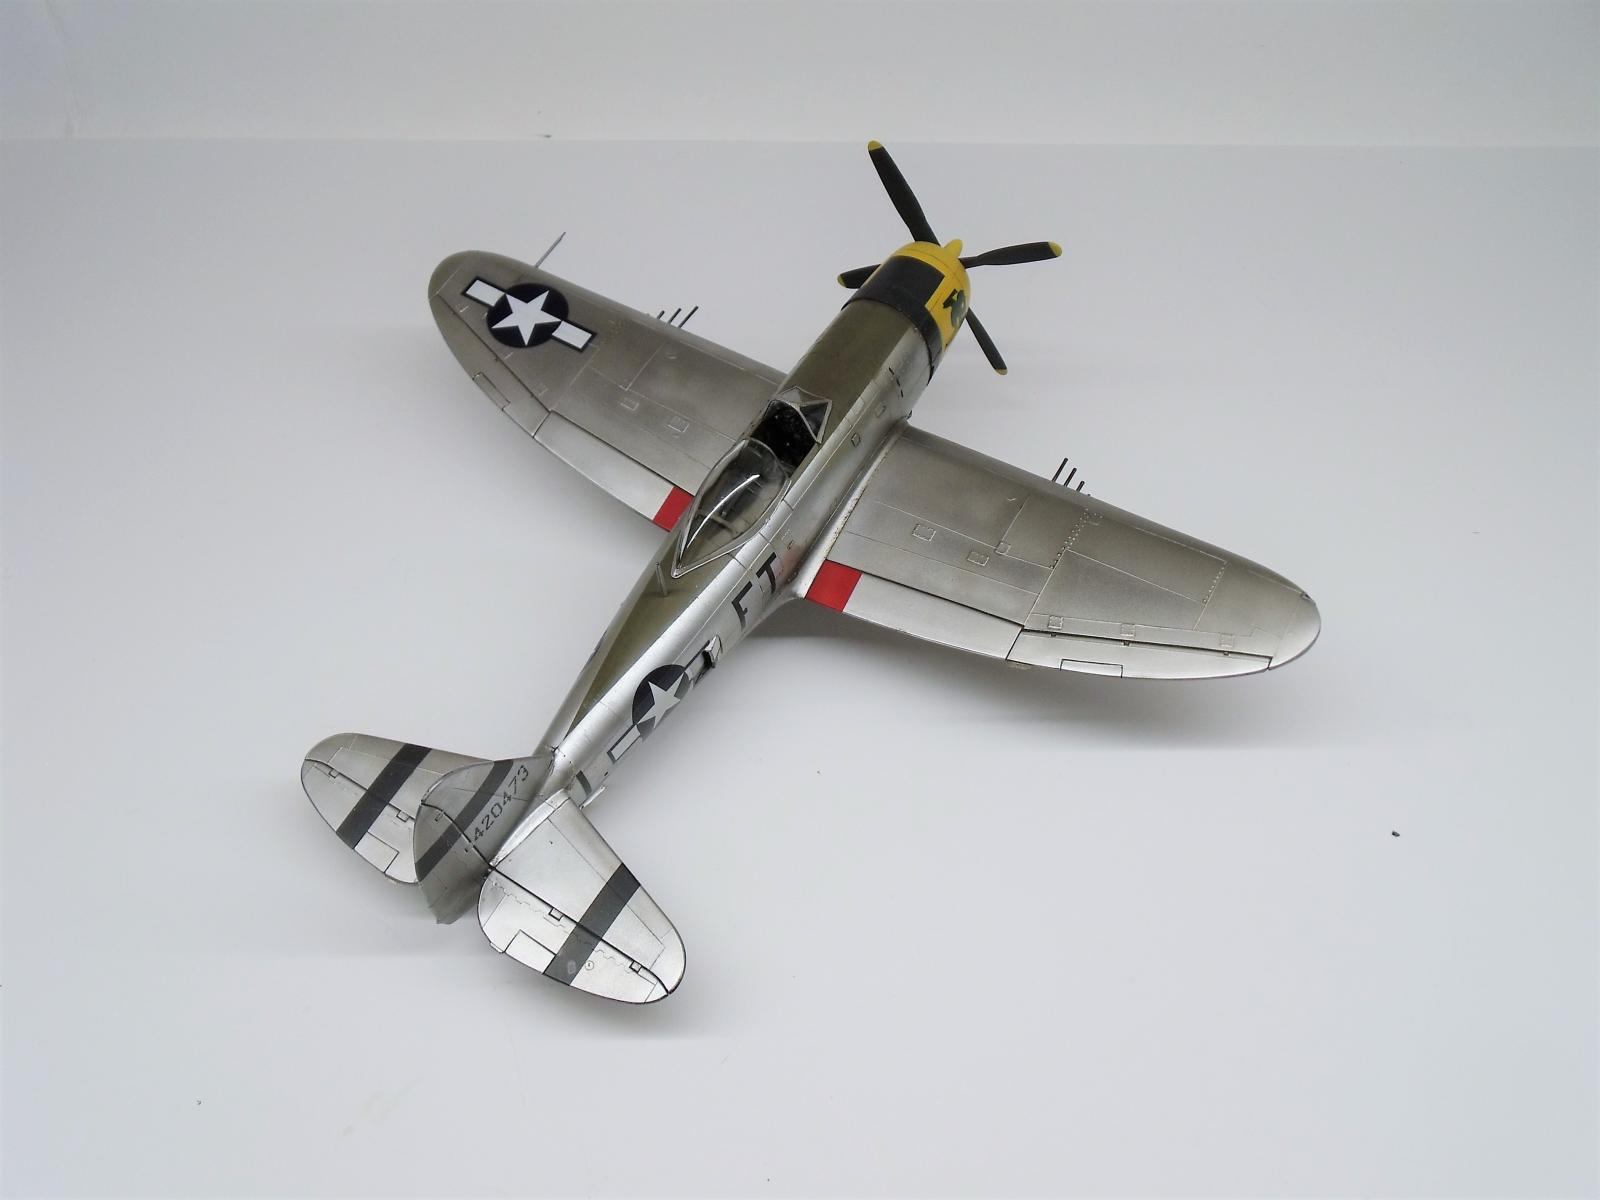
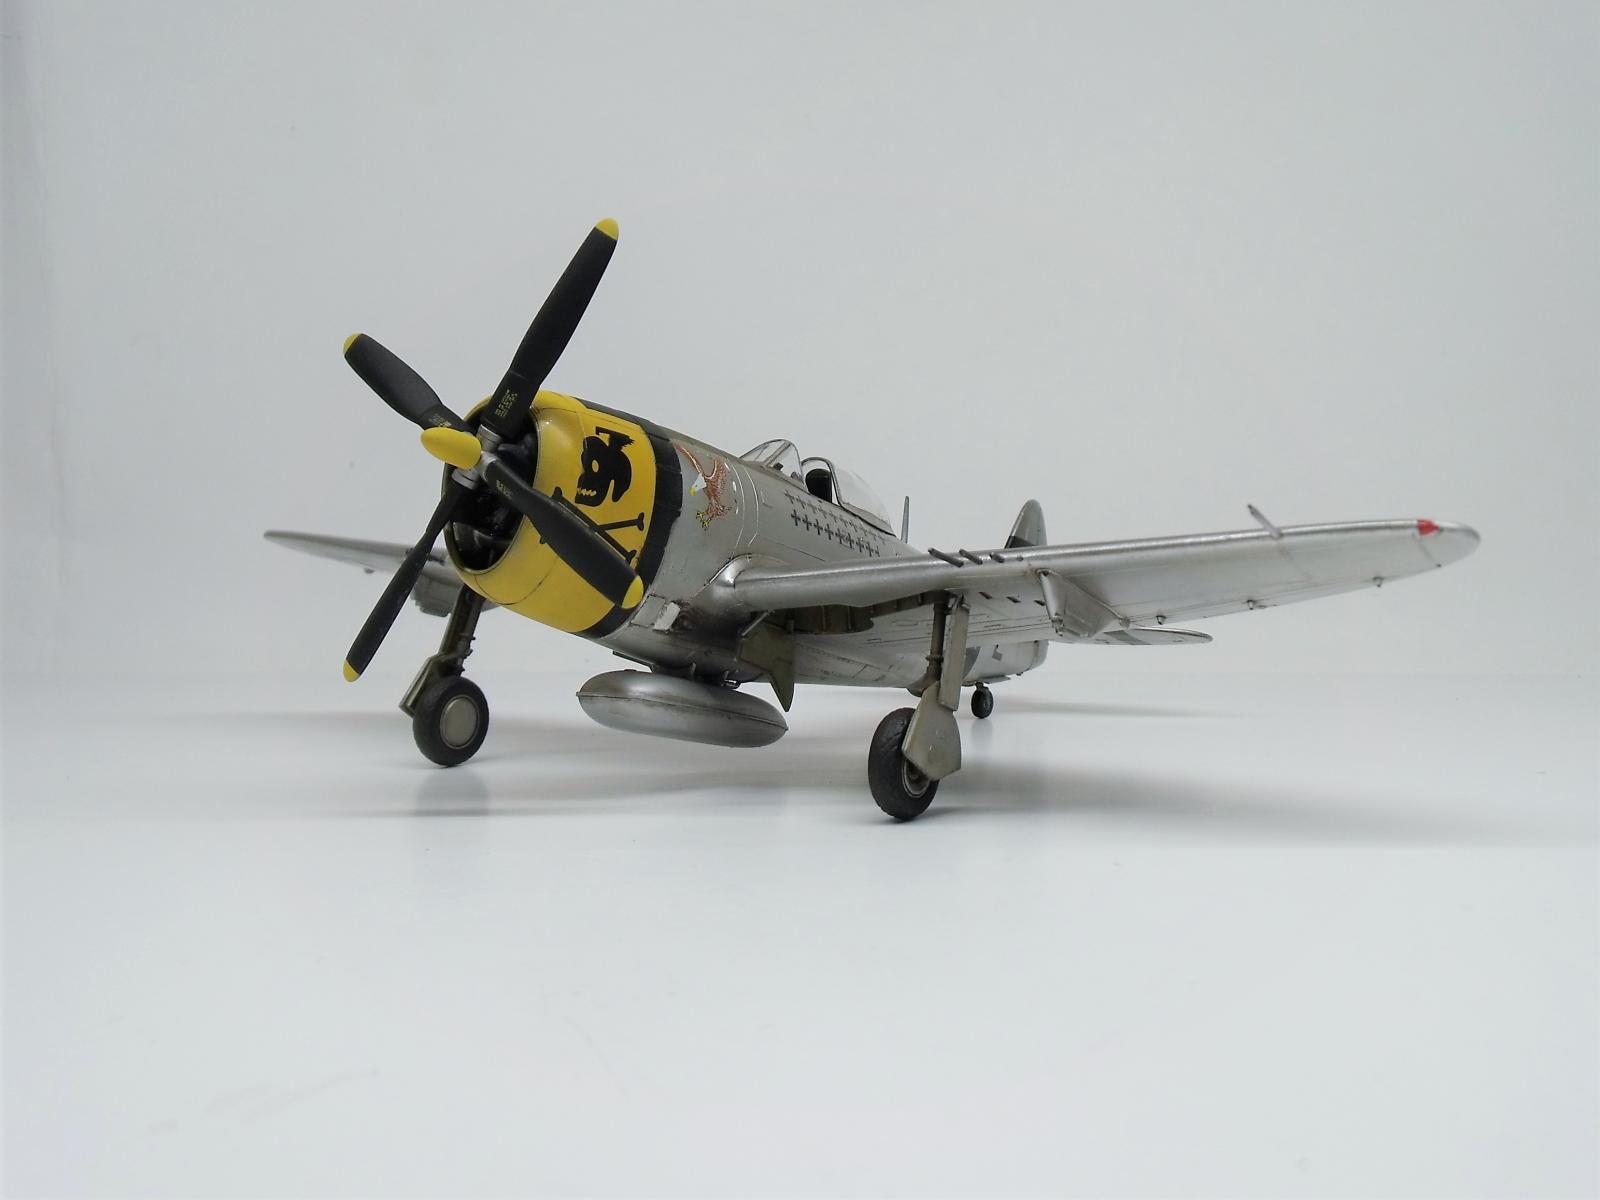
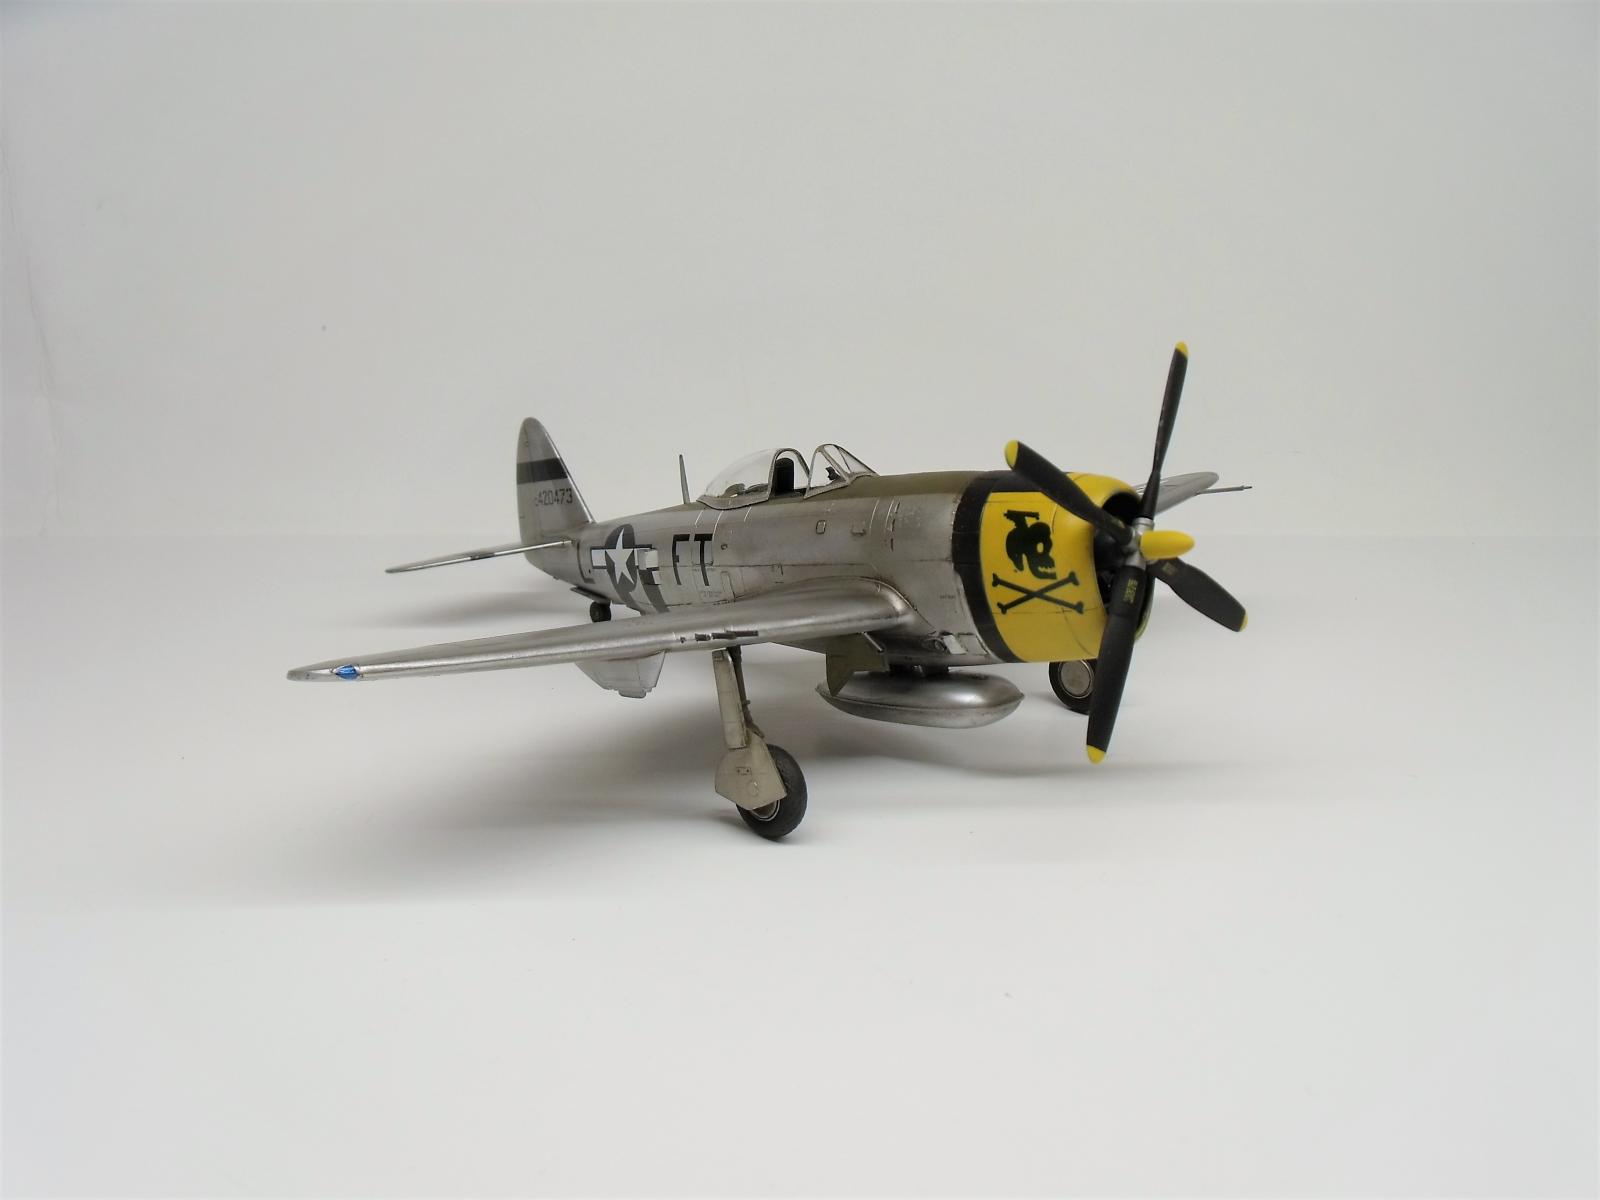
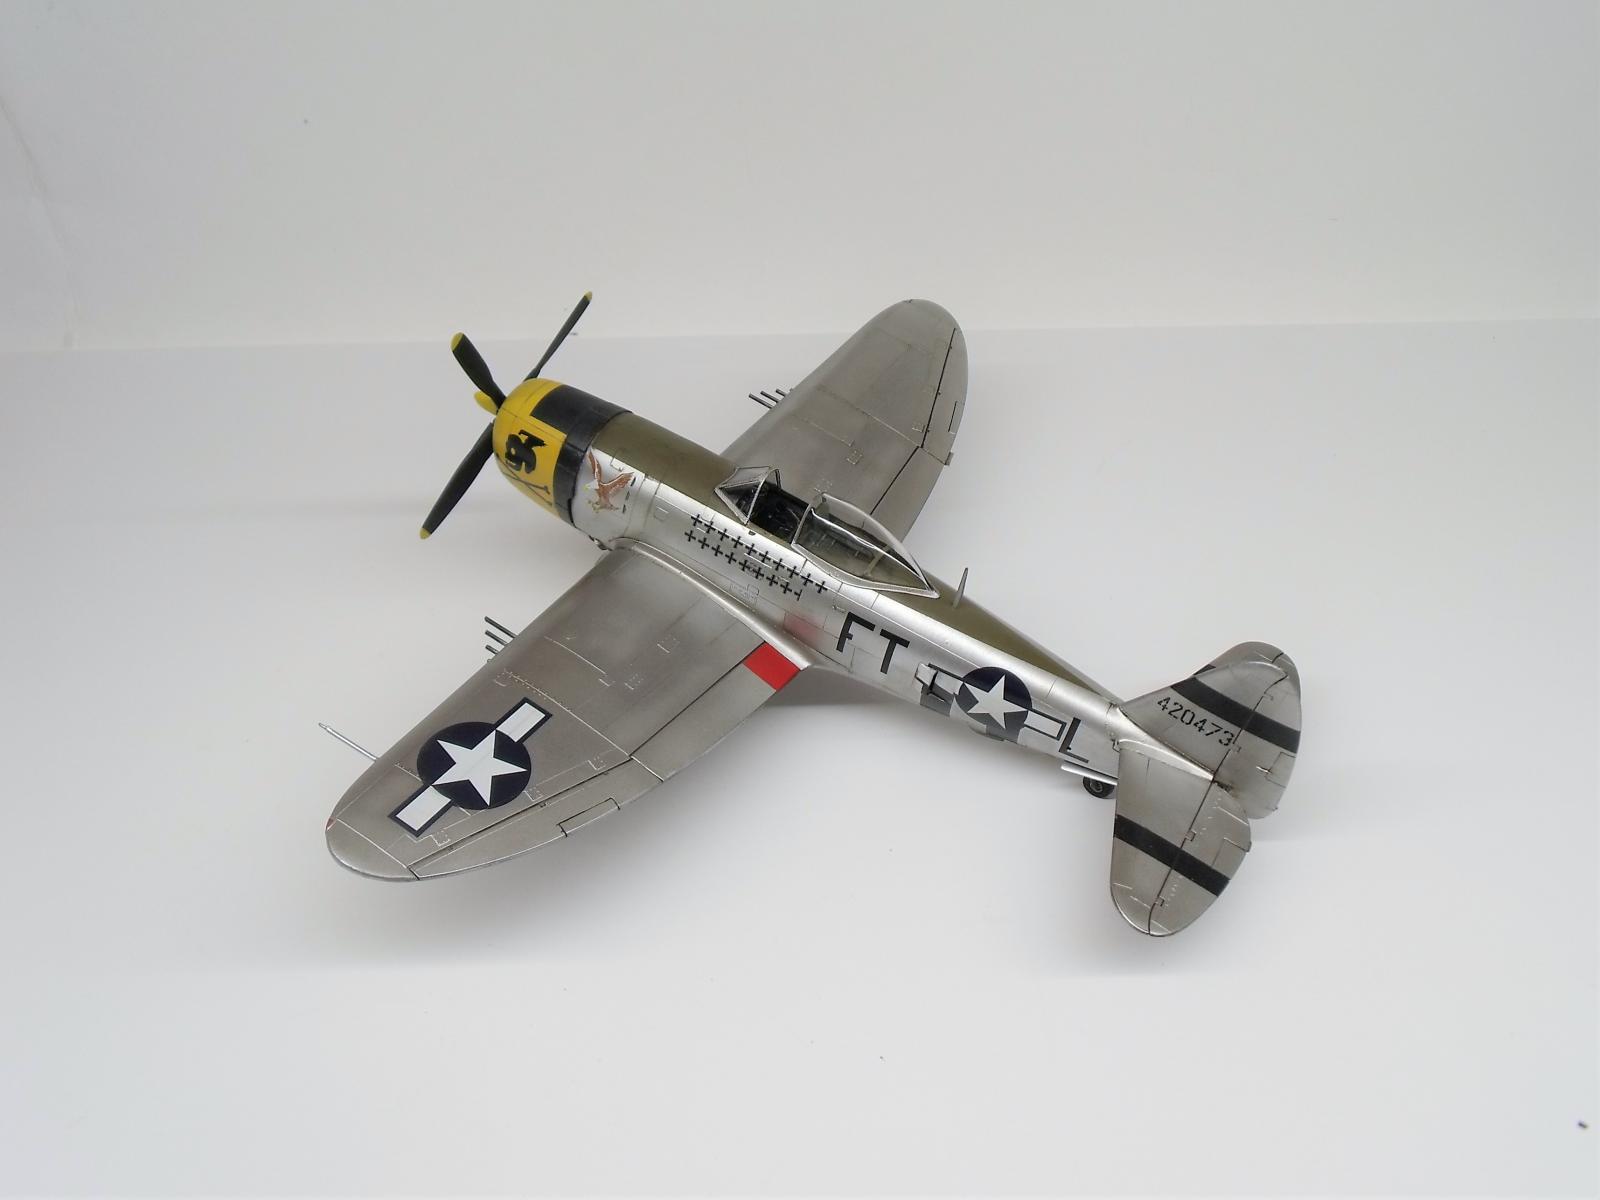
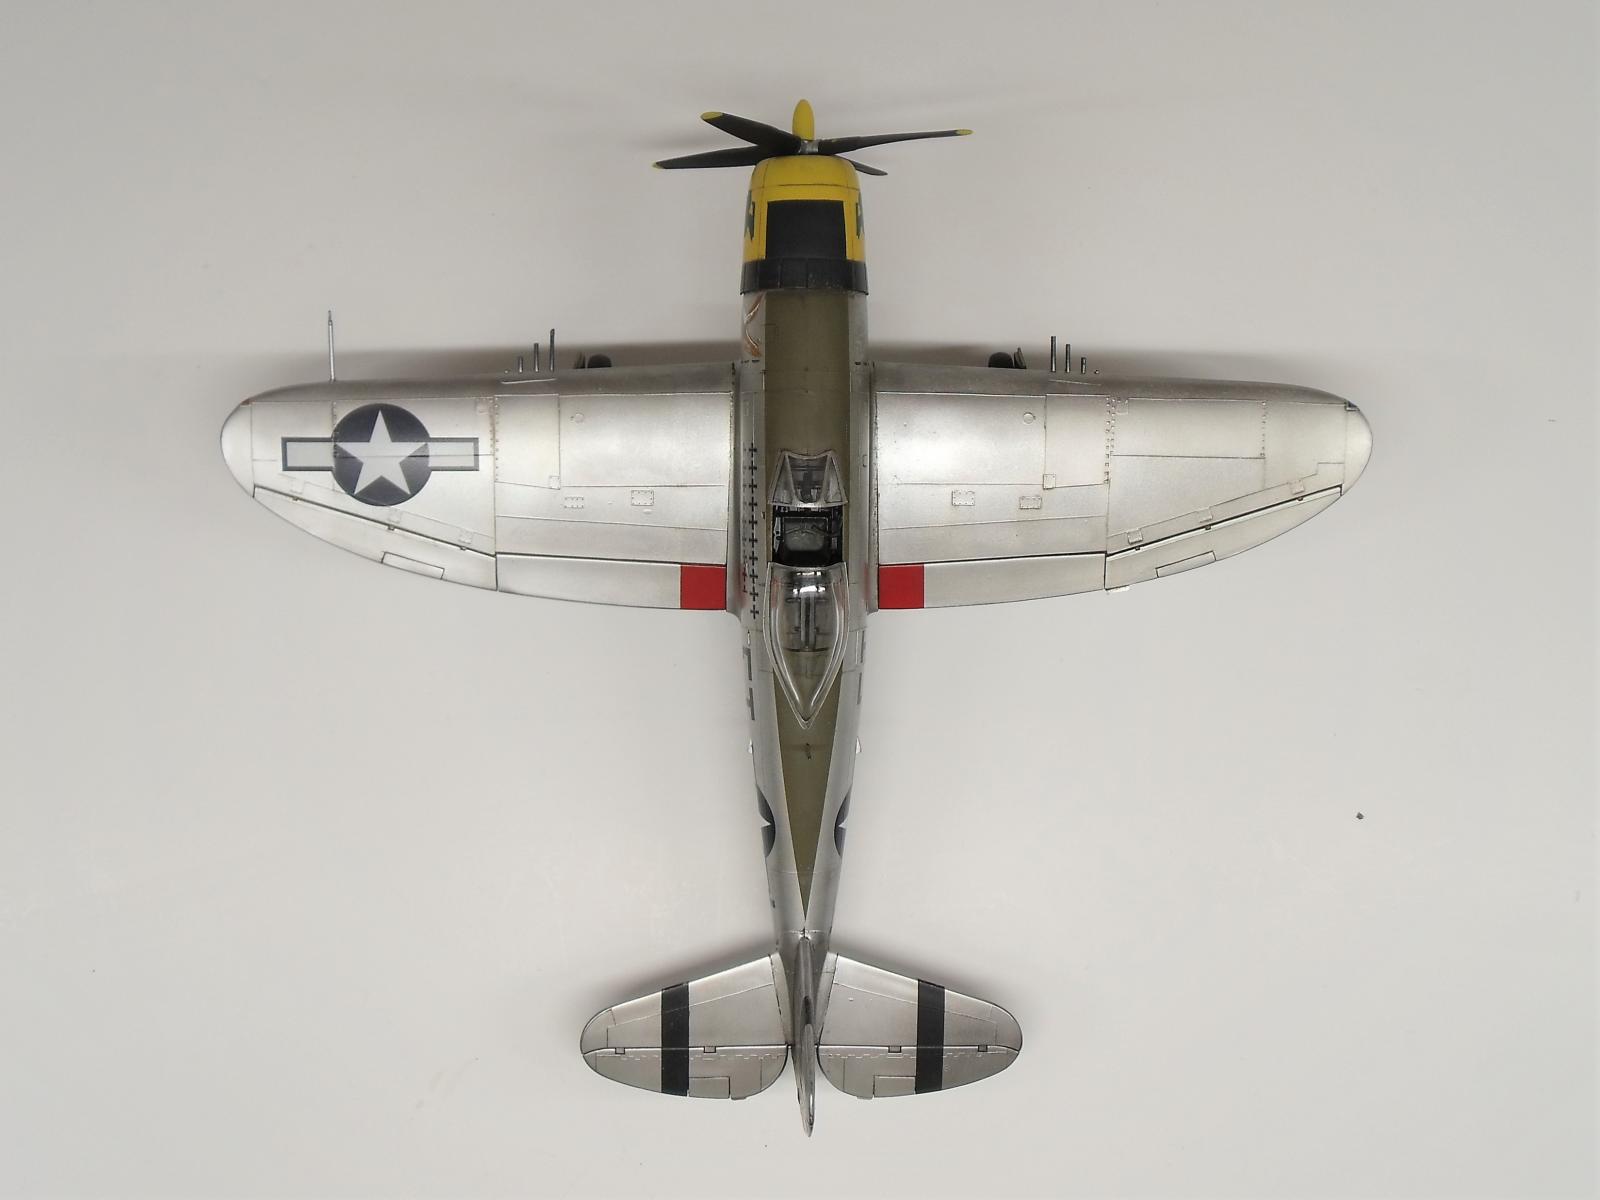
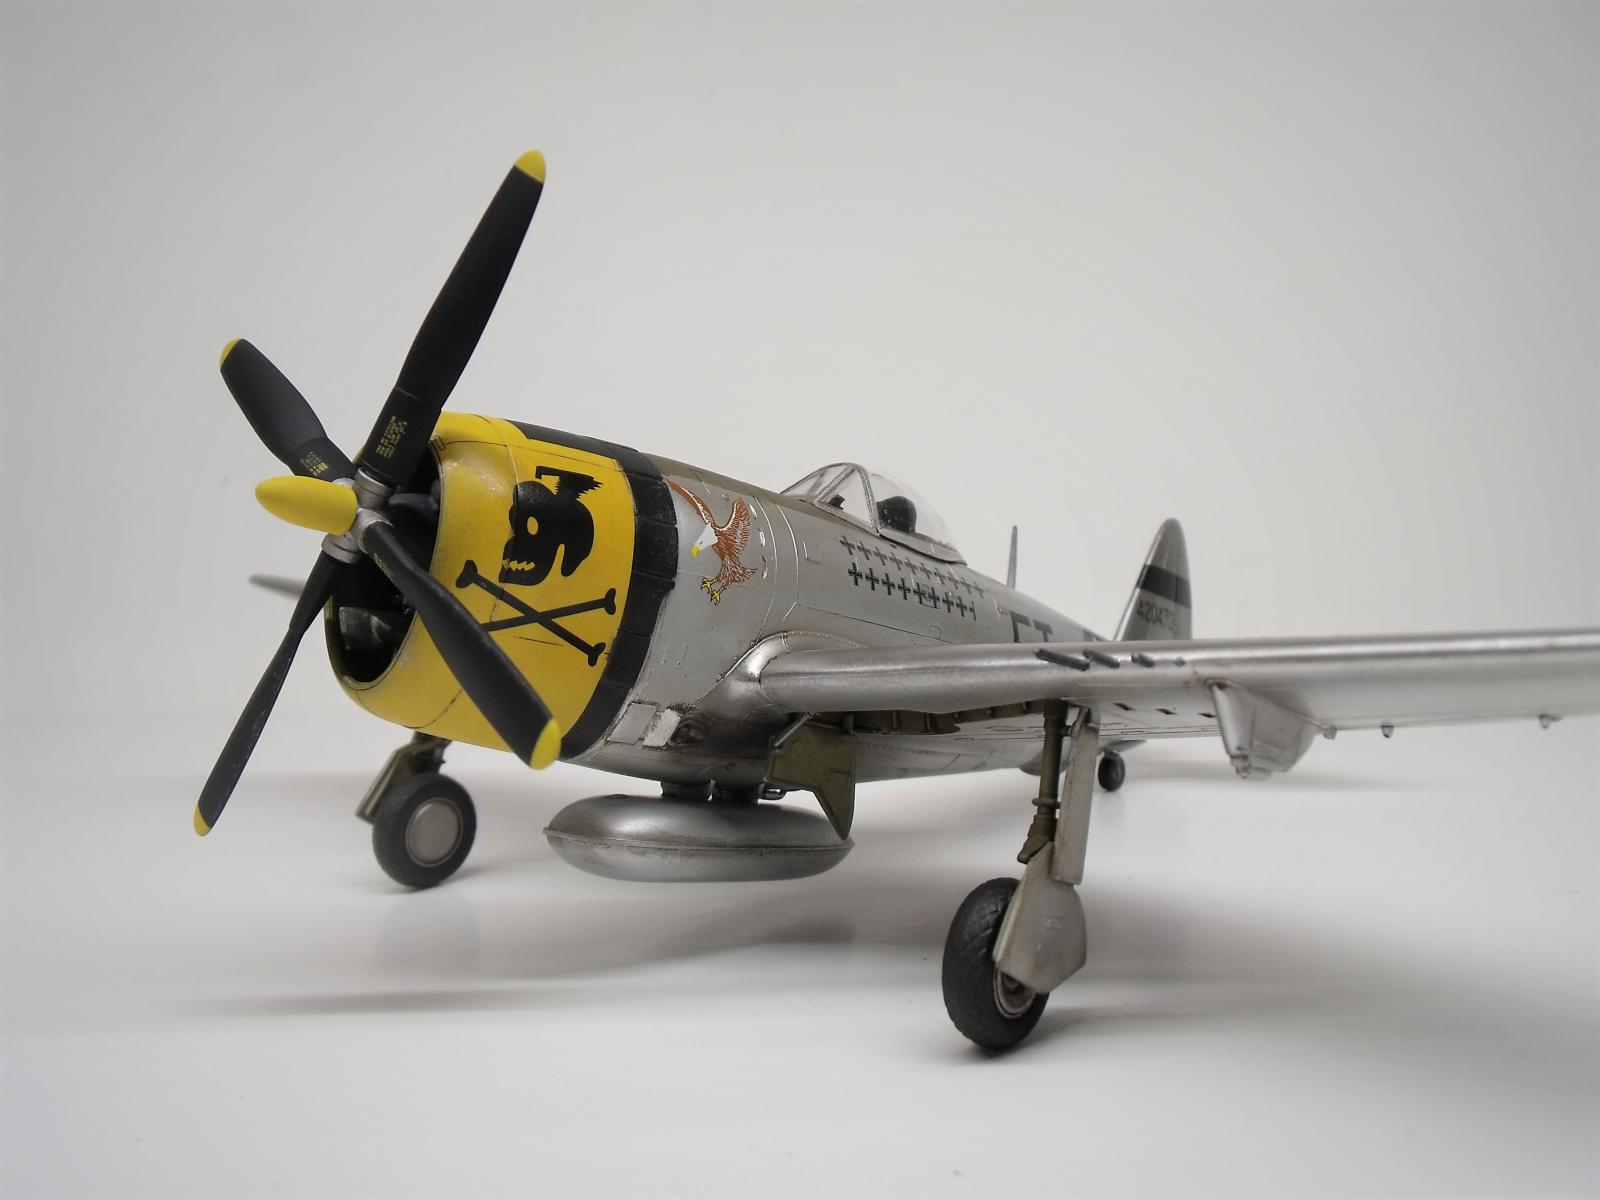
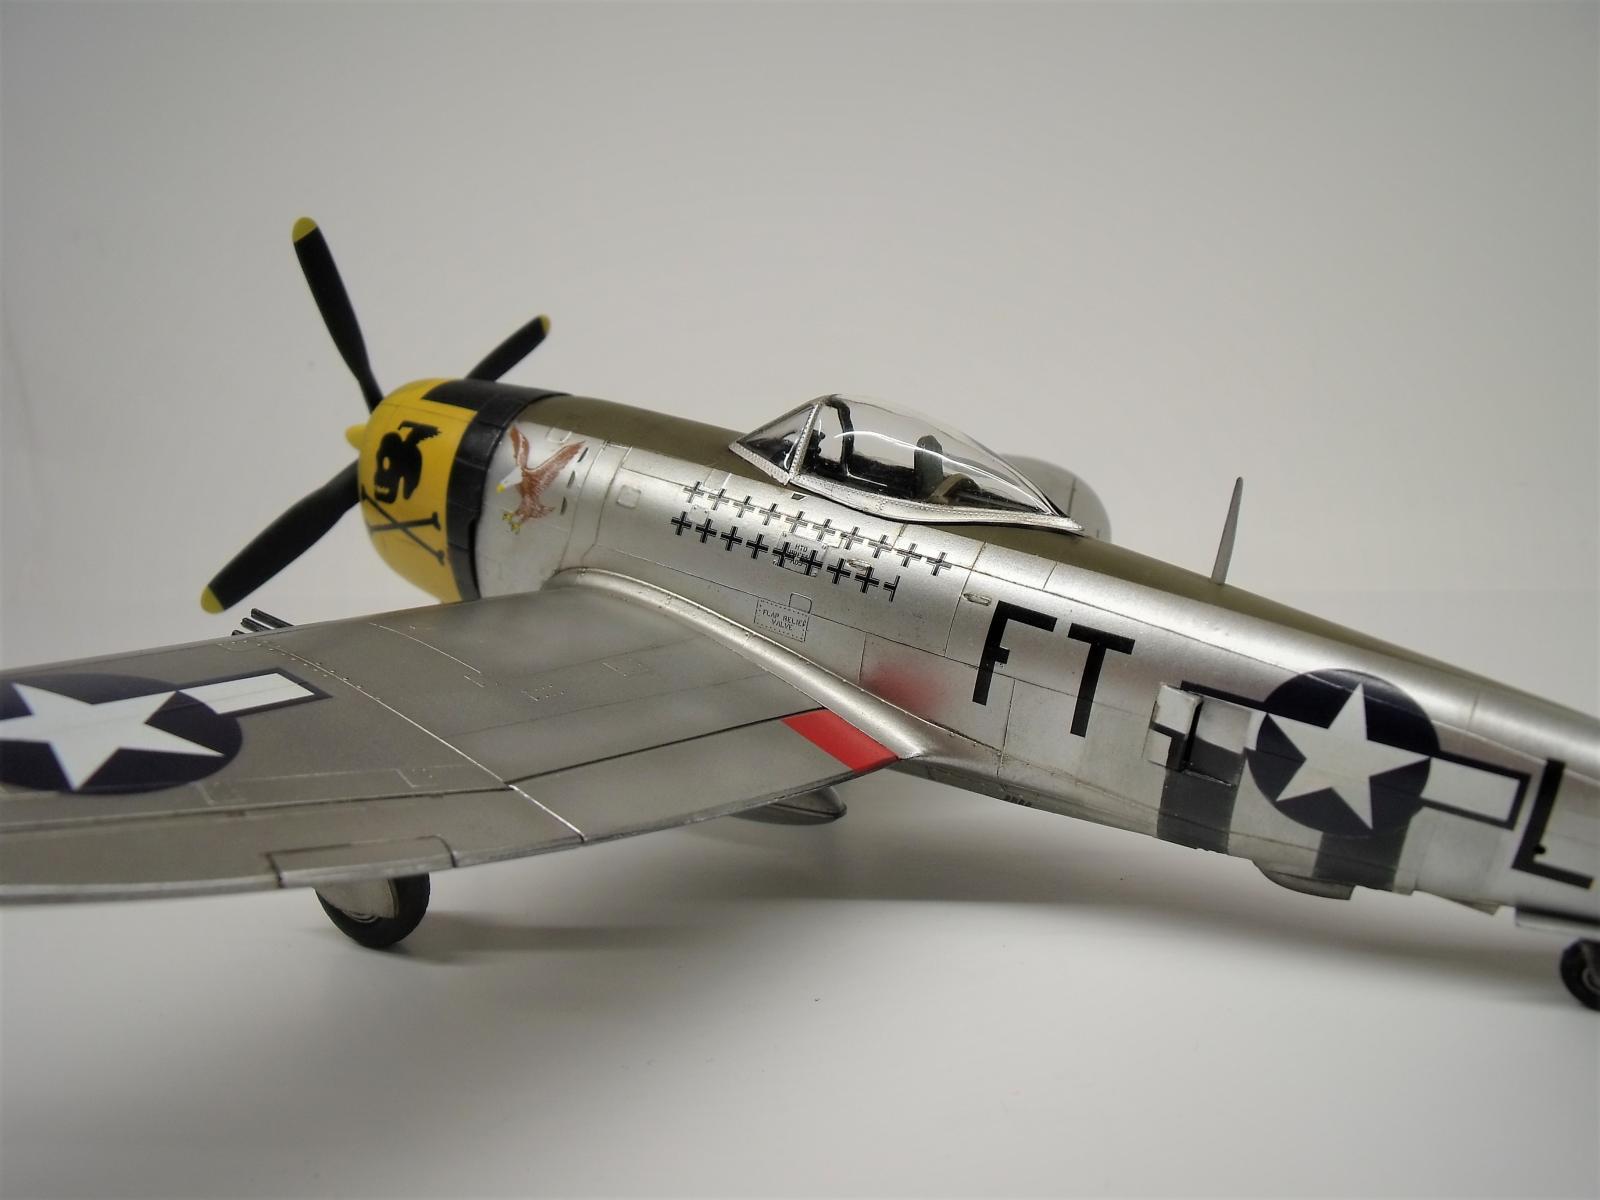
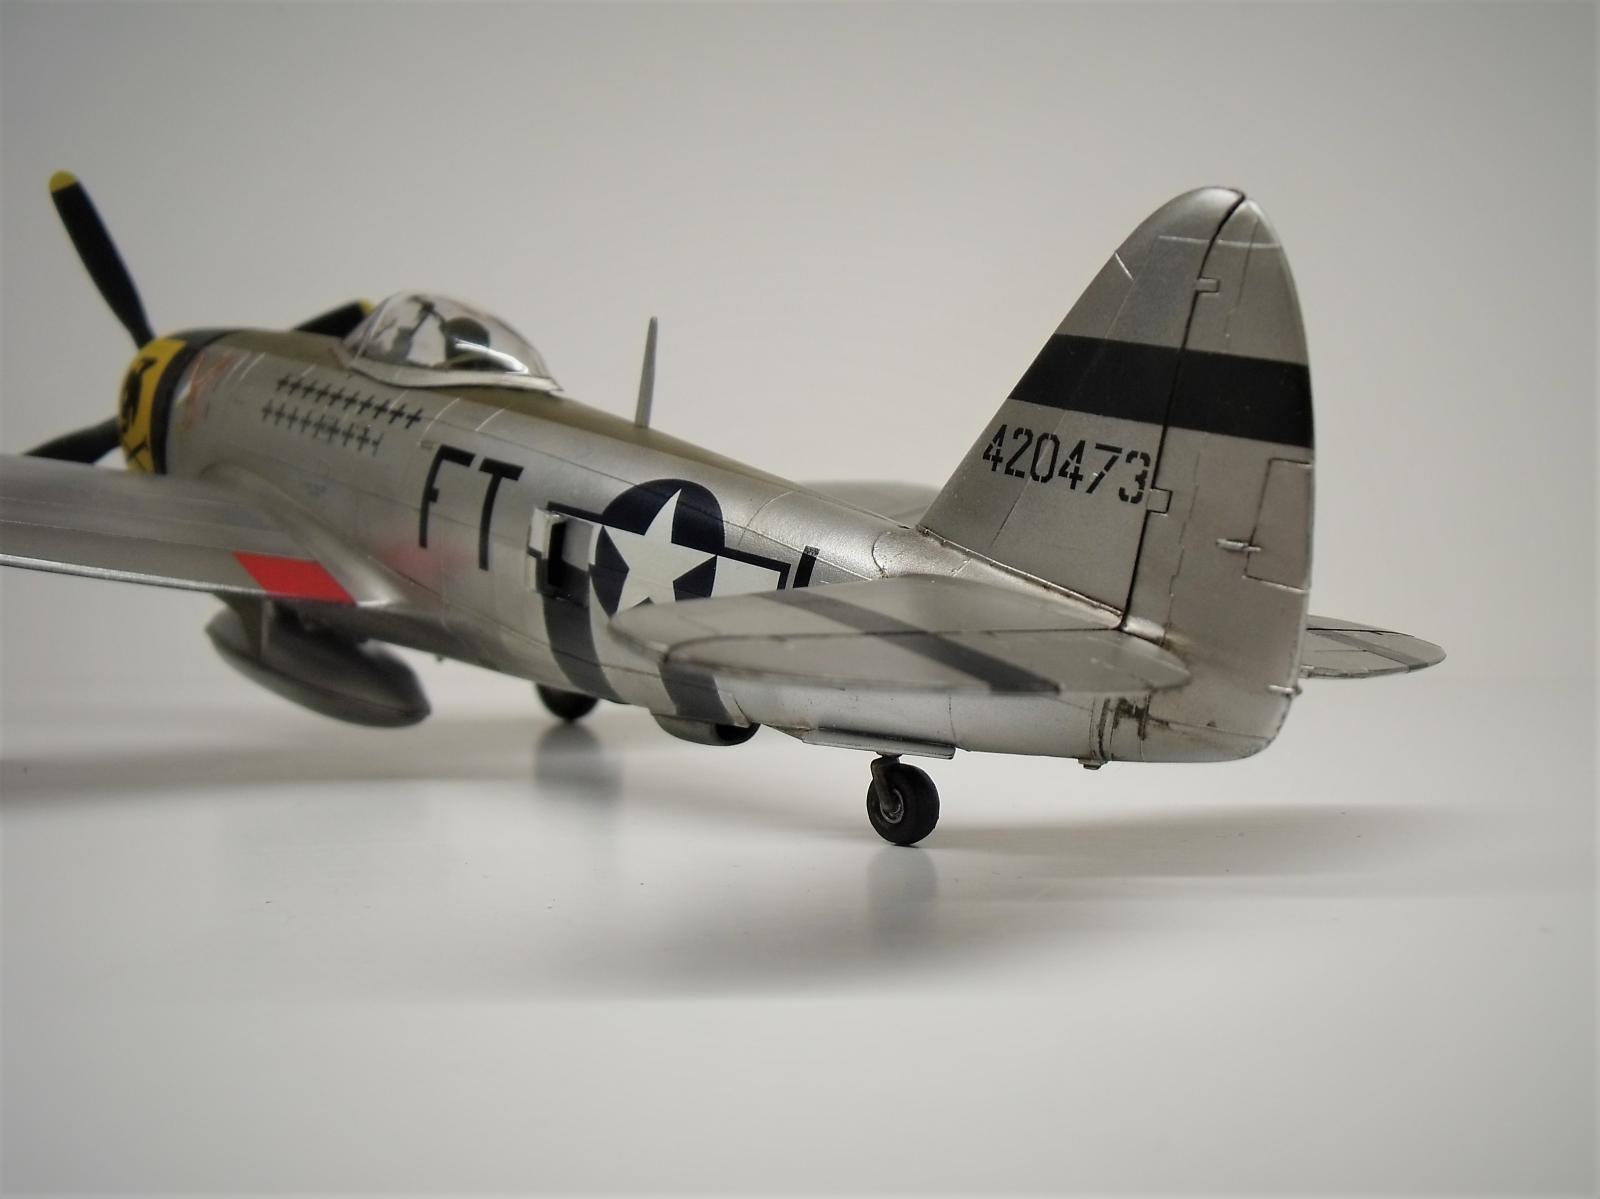
The only problems I recall encountering were with the wing root on the underside, as a fair amount of filler was needed here. For paint, Vallejo aluminum colors were used overtop Tamiya X-1. The yellow, black and OD were all applied carefully after the aluminum was well dried, with no lift. Sky Models Decals (48-039) were used to produce Maj Glenn Eagleston's P-47D-30, which was flown with the 353rd FS in France, 1944. The decals worked fairly well, and offered a vast selection of choices for numerous P-47s. The only downside was that I had to rob insignias from the parts bin to complete the set. Also, there is some uncertainty about whether the aircraft had the "skull and bones" on either one side or both, I'll admit that despite only one photo found of one on the starboard side, Eagleston's plane likely did not had it on both sides. Despite this, I thought it would be a worthwhile venture to use this as an opportunity to try making a decal for the other side (the decal sheet only supplied a port-side decal). While I'm generally pleased with how this went, I will not be doing this again, at least not with my home office ink-jet. The ink did not saturate the color well enough, and thus the black does not look very black against the yellow. Anyhow, it is what it is.
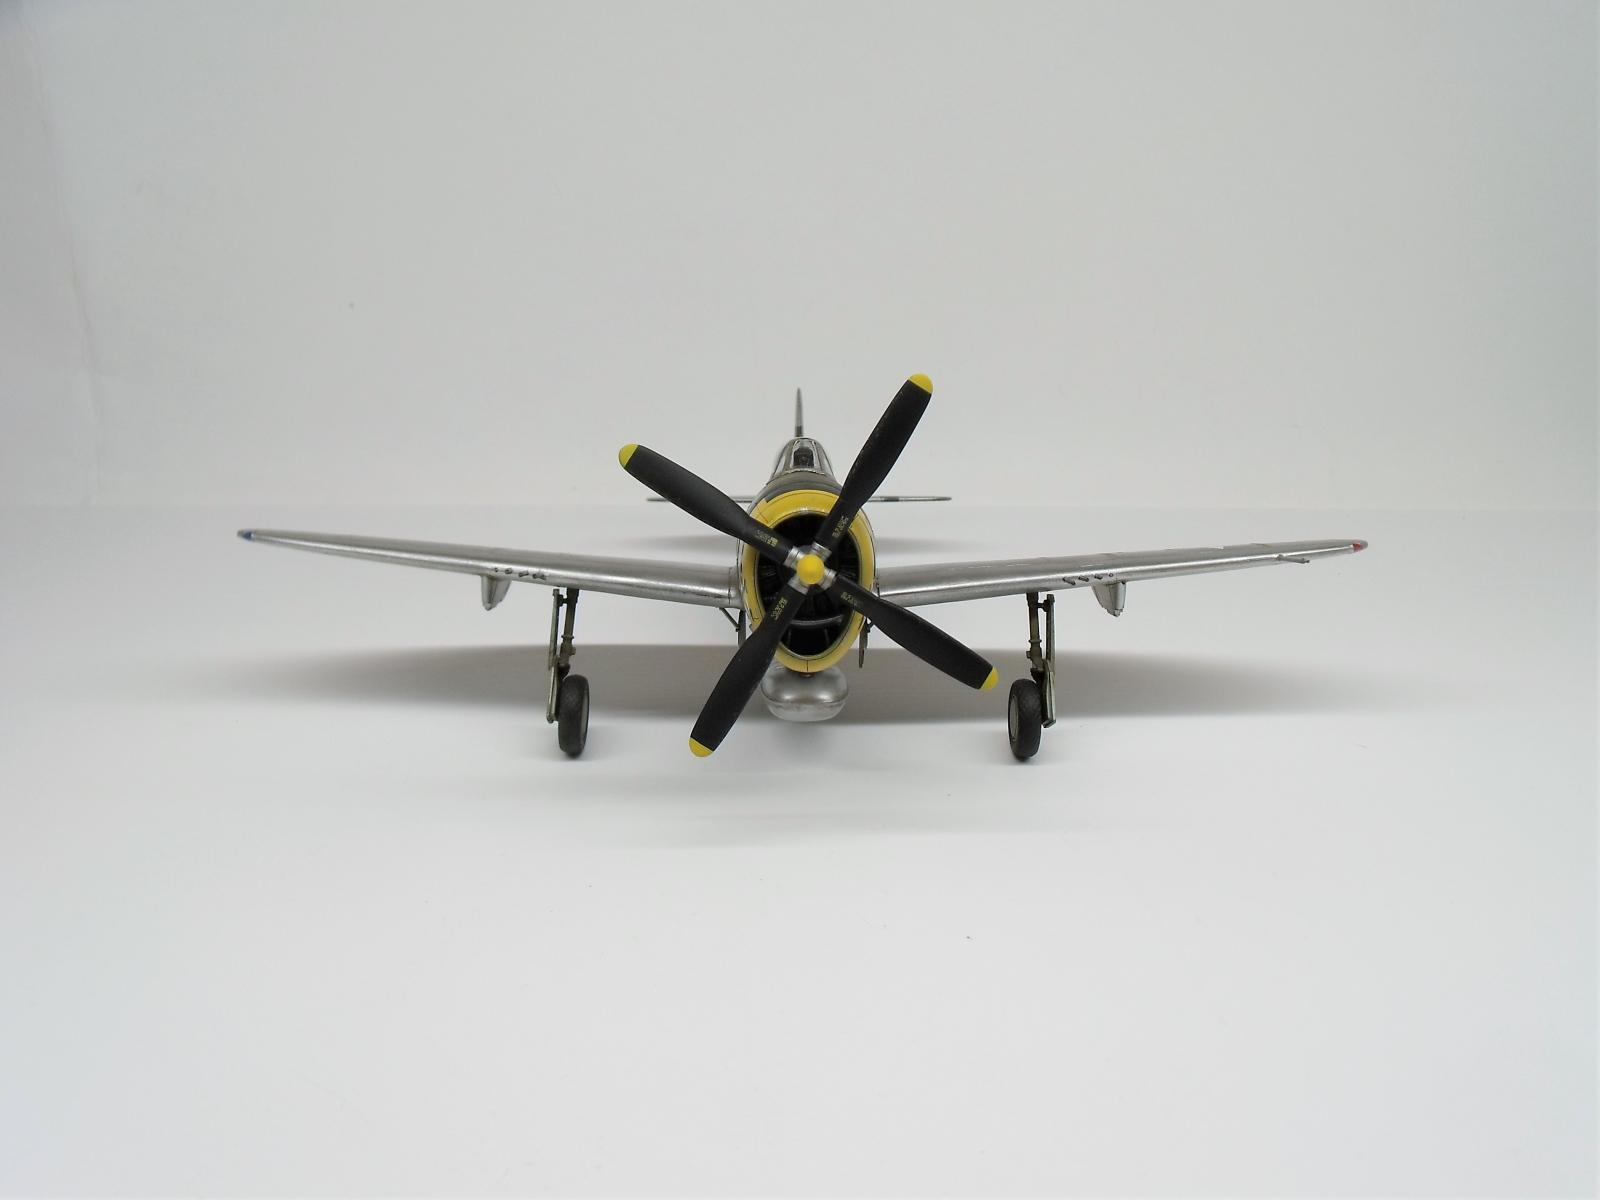
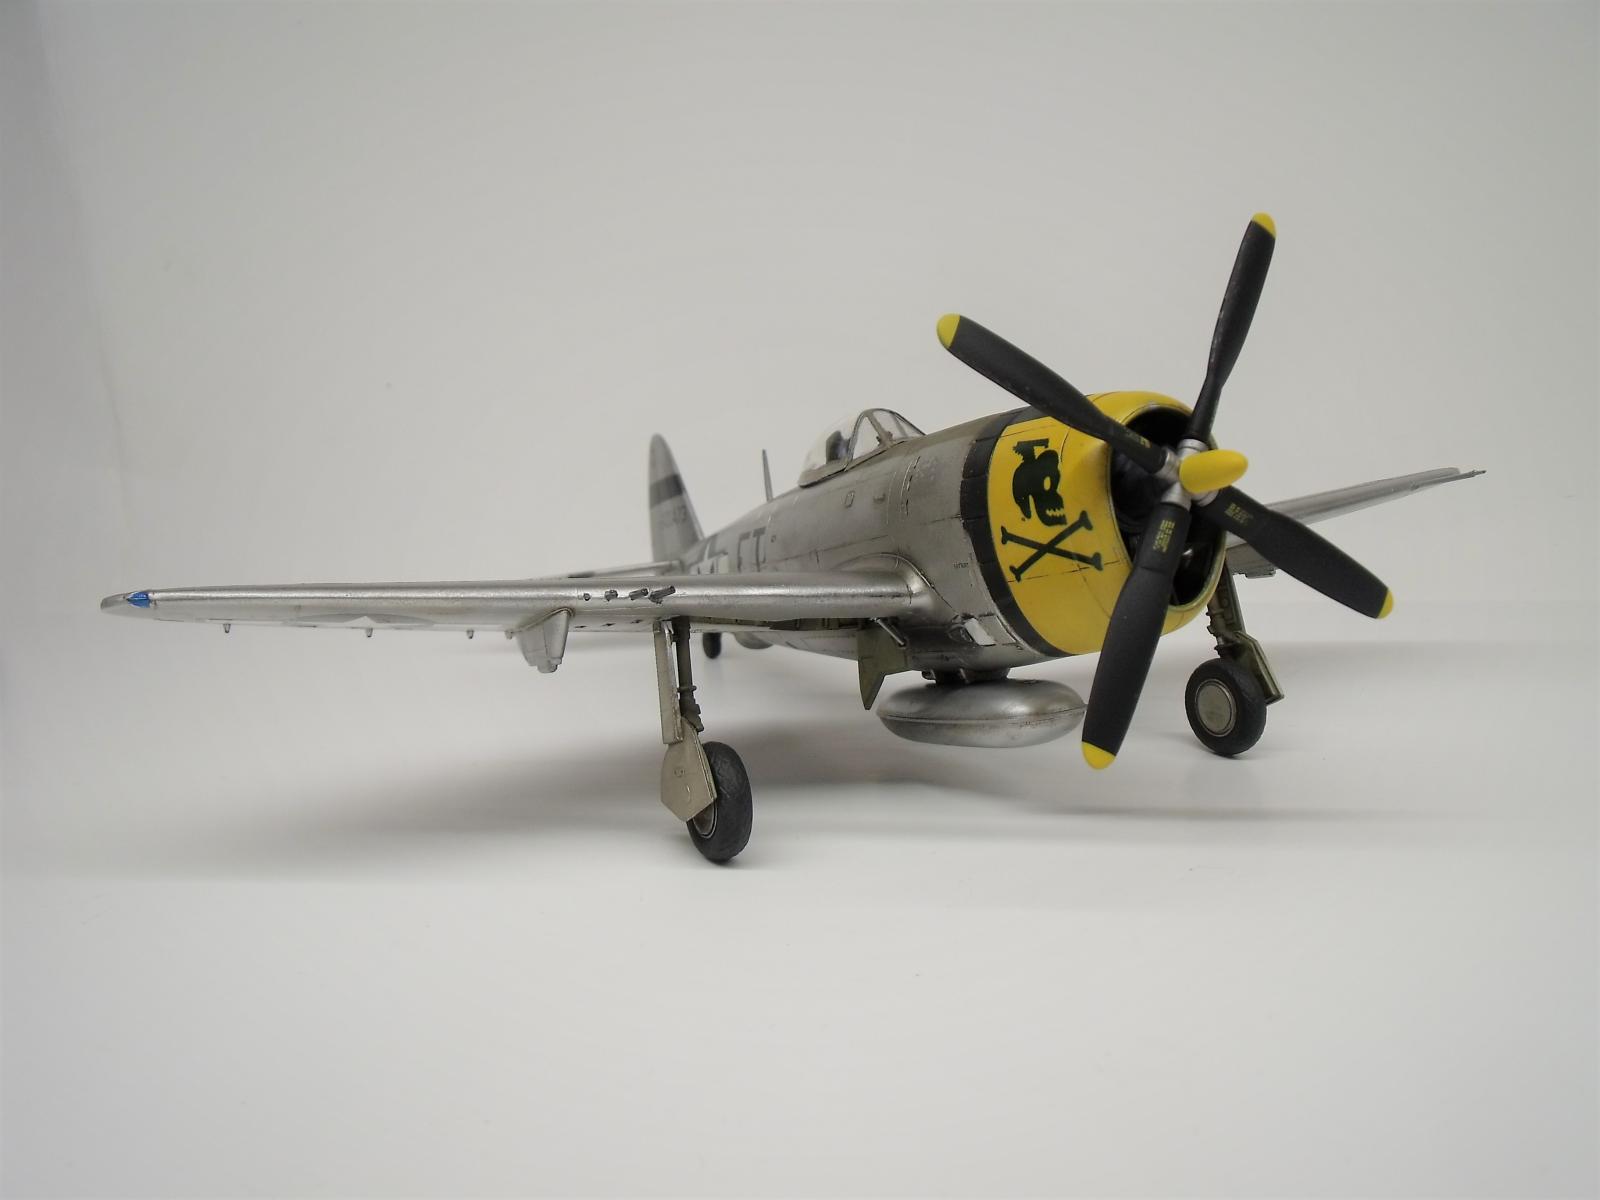
The whole model was gloss coated with Tamiya X-22, before applying the decals and belly invasion strips. After applying the decals Tamiya Dark Brown Panel was was used for most of the airframe, then the model was coated with X-35 Semi-Gloss, and the antiglare panels were hit with some matte varnish. I washed out the white of the invasion strips with SemiMatte Alum because they looked to be partially scrubbed off in one picture I saw (this may or may not be accurate..?). At this point in the build, ironically enough, I lost the main canopy, and shelved the whole model for about 6 months. After cleaning around my desk a few weeks ago, I happened to find it, and have since put the wraps on the model. With the final touches such as adding the belly tank (which I don't know is right, but the Monogram kit looks wrong without it due to the block hardpoints), and borrowing a Curtiss A-sym prop from one of my Tamiya kits, I was able call this one complete.

I hope you like this Vintage rendition of Eagleston's Eagle.


Turned out great and a wonderful story to boot
Fantastic result and you spin an entertaining narrative to go with it. I love to see an old kit given proper respect. The model and storyline get Two Thumbs Up.
I love it! I have that same kit in my stash and had it out not too long ago. Your beautiful build is a great inspiration @pb_legend! 🙂
Great job on an elderly kit, Andrew (@pb_legend). Old Revell and Monogram still build up into great models.
These old Monograms have life in them yet - as you have demonstrated. Nice result!
Amaxing model, Andrew!
Nothing better than building a classic/elderly kit in such excellency!
NMF is superb, among others!
I love old Monogram models, and you did a great job on this Jug!
Awesome build, Andrew @pb_legend
This oldie has been brought to life superbly.
Nicely done Andrew, that old kit can still shine with a little tender loving care.
A Monogram blue box! Looks great!
A vintage jug, and nothing wrong with that, definitely liked.
Nice T-bolt! I built a 1/72 version of these markings in grade school, so fond memories of this scheme! Well done.
Nice work, Andrew. That’s one of my favorite Monogram kits.
You did a great job building this P-47, Andrew @pb_legend, I wish it were mine. The old Monogram Thunderbolts are two of my favorite kits . It’s hard not to buy them if the price & condition are right.
Thanks Jay @ssgt. I certainly enjoyed the build, but I'm not one to build the same kit twice. They certainly are available for pennies on the dollar though, which is great for what is still an easily built, presentable kit. Your two t-bolts look great in my opinion.. I'd be happy with them on my shelf. 🙂