The 1/32 Zoukei-Mura Do-335 Rear Oil Cooler Assembly
This article is part of a series:
- 1/32 Zoukei-Mura Do-335
- More work on the 1 32 Zoukei Mura…
- The 1/32 Z-M Do-335 Forward Engine is Done
- 1/32 Zoukei-Mura Do-335
- The 1/32 Zoukei-Mura Do-335 Rear Oil Cooler Assembly
- More Do-335 Madness
- 1/32 Z-M Do-335 Progress Report
- Painting the 1/32 Zoukei-Mura Do-335
- I just painted the Braunviolet areas on my...
- Quick Update 1/32 Z-M Do-335
- 1/32 Z-M Do-335 Progress Report
- Do-335 weathering
- The 1/32 Zoukei-Mura Do-335 Pfeil is finally finished!
- New pics of my 1/32 Zoukei-Mura Do-335

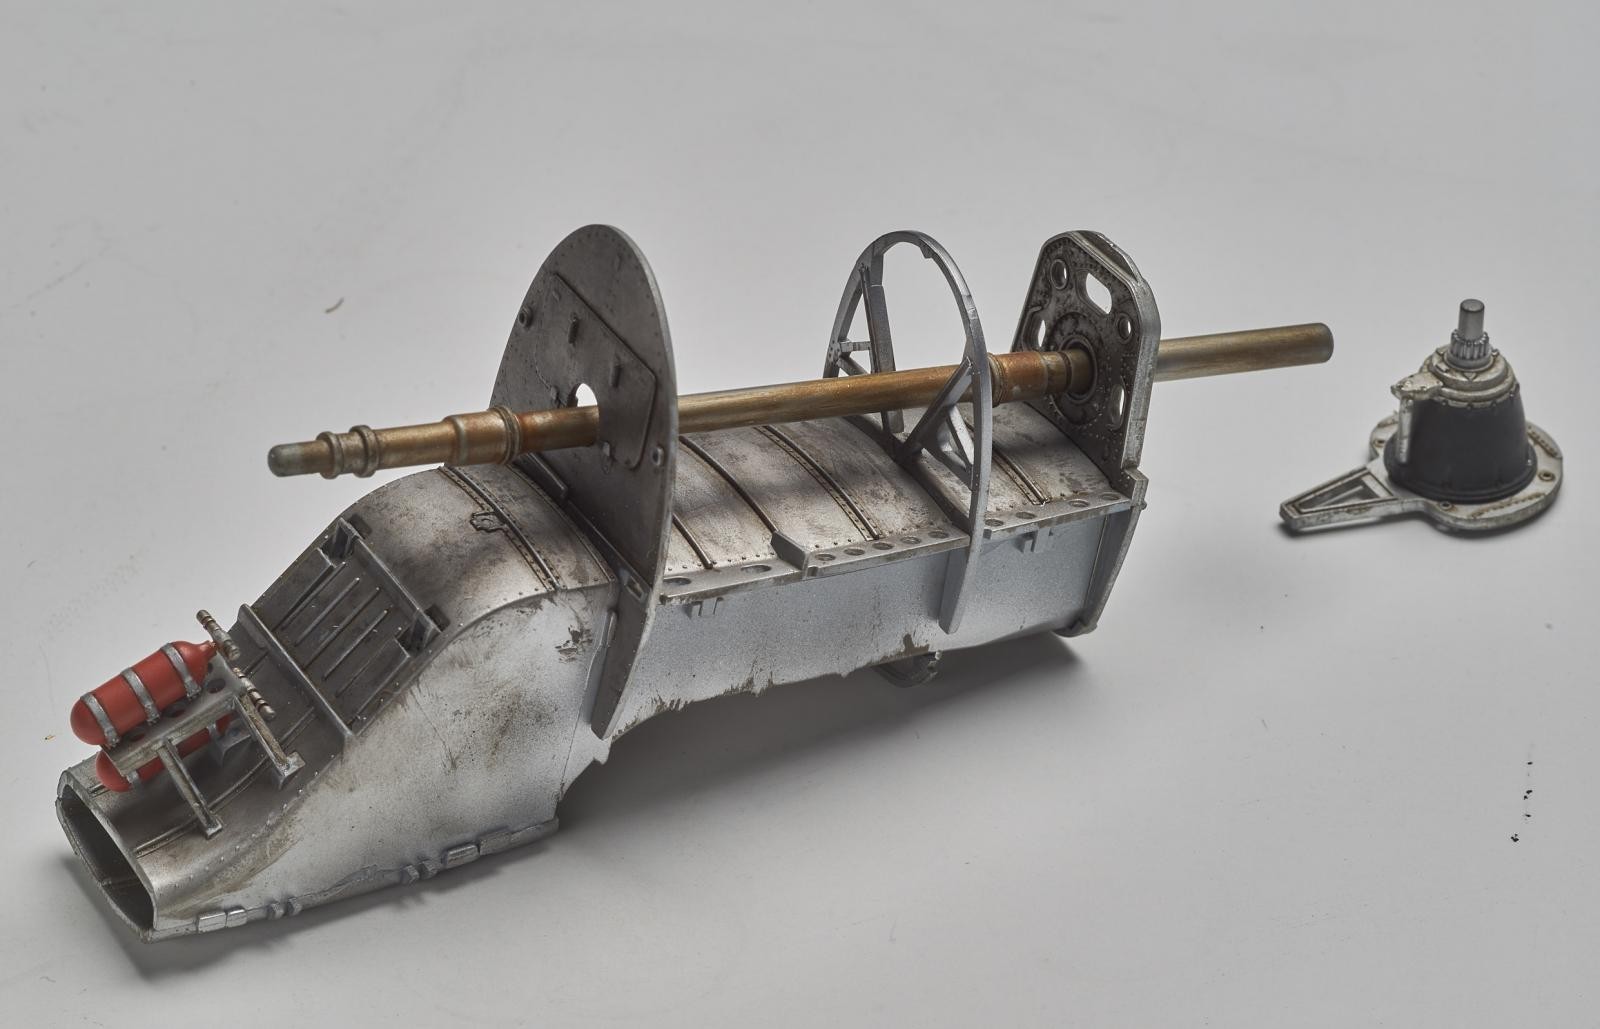
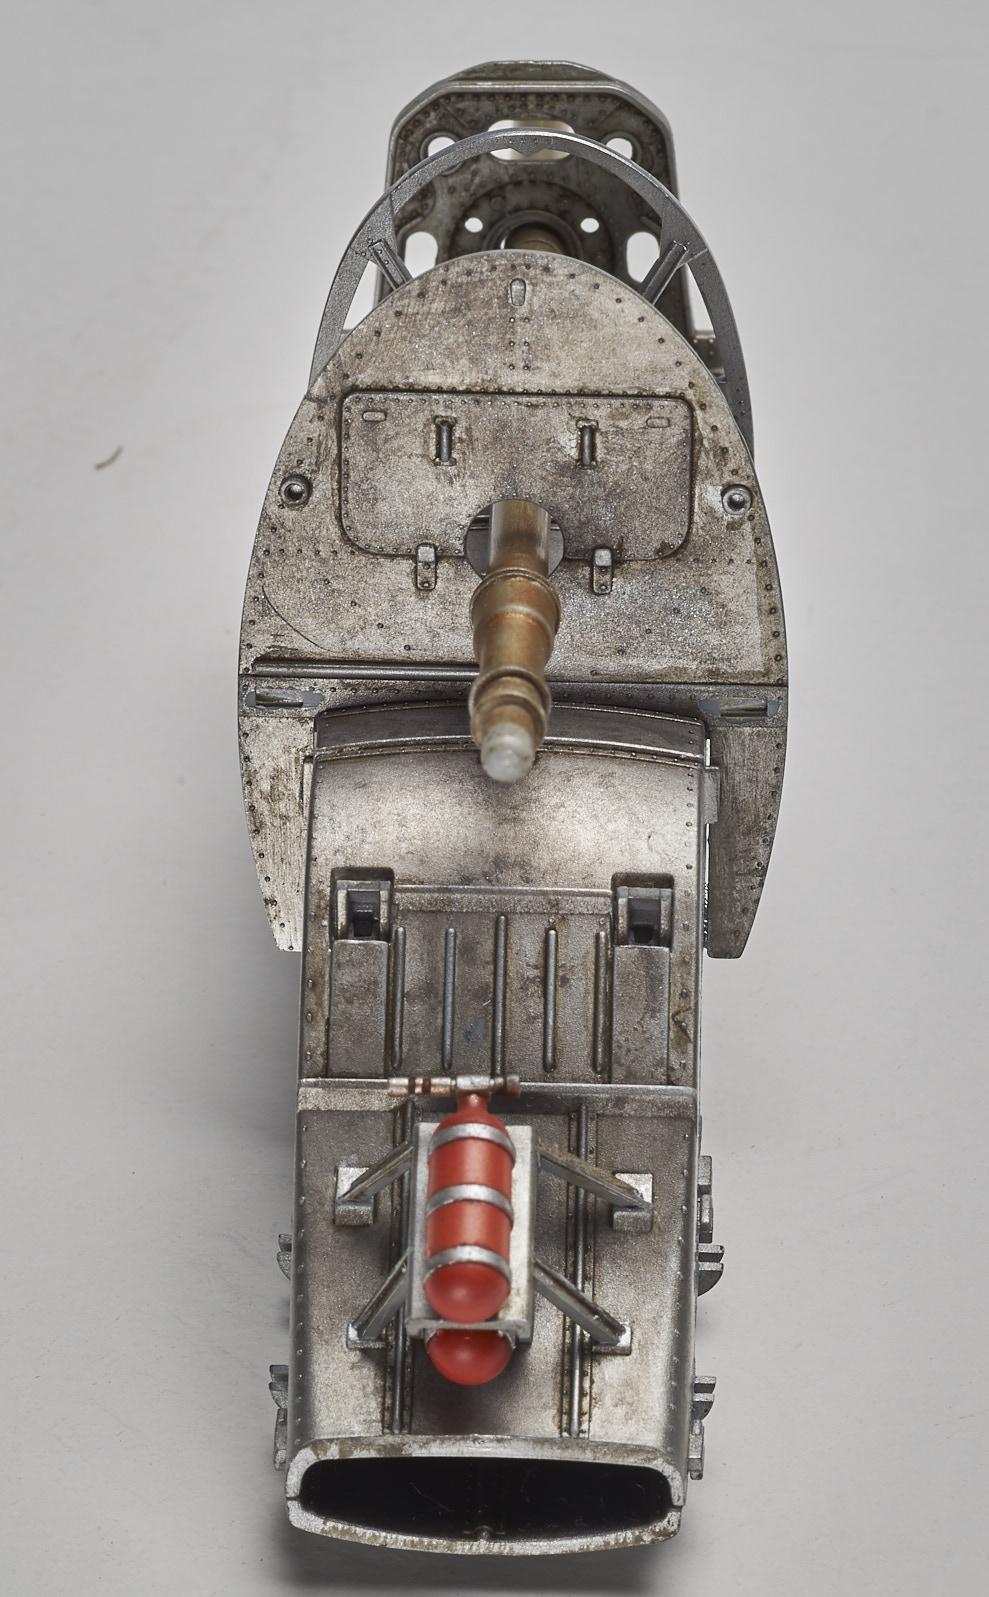
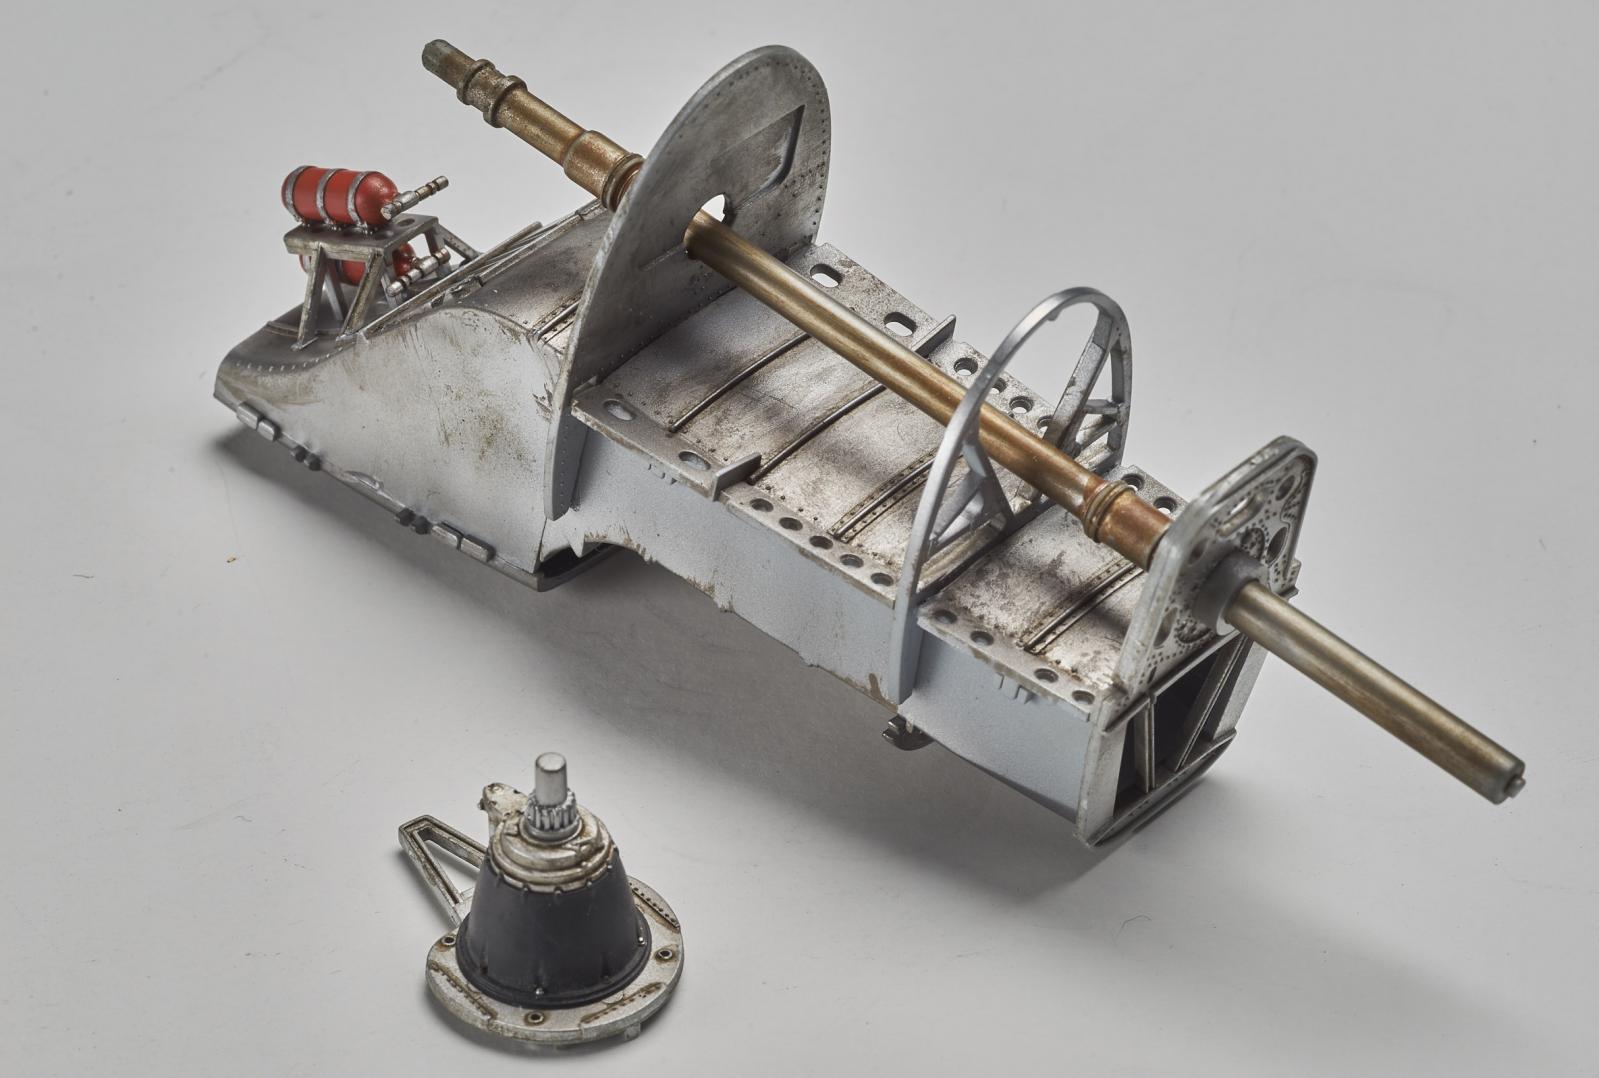
Hello every one. I finished this part of the kit last night and I would almost consider another lit kit all by itself and it seems like every sub-assembly in this kit is a mini kit. I kinda went nuts weathering it, but most of it won't be seen so I'll consider it practice.
Let me ask you a question ... Just how hard was it to get Dornier to agree with allowing you building rights to produce another Arrow ? Looks to me like that's exactly what you are doing here... 🙂
Absolutely stunning...
Well done and
"liked"
paint skills beyond belief...man don't even put a plane around that
Thanks, guys. This is a fun build.
A shame all that spectacular workmanship will be hidden from the viewer. 🙁
Gorgeous! Simply gorgeous!
Looking Fantastic, your painting is simply outstanding.
I wonder how you painted the silver straps on the fuel reservoir. These raised details are always a challenge which I recently faced at a Ford lettering on a cylinder head. My answer was: painting the whole thing silver first, then applying the black and polishing it off on the letters.
Hey Johannes- It was a lot easier than I thought it would be. First, I painted the tank with various shades of black- dark and light splotches, but keeping it subtle. Lighter shades on top, darker on the bottom. The finish was way too matte so I lightly sprayed gloss clear over the entire thing. I carefully masked off the black with Tamiya tapa and masking solution and painted the straps with aluminum.
Looks Fantastic
1 attached image. Click to enlarge.
Just awesome!
Much like building a stick and tissue model, when you're done with the inside it almost seems a shame to put the covering on! A photo etch airframe with no skin would be awesome here!
George, every time you post an update from your Pfeil I tend to repeat myself... just amazing, the painting really pops up the details, very realistic sir
Magnificent detail and coloring. Looks like a museum piece.
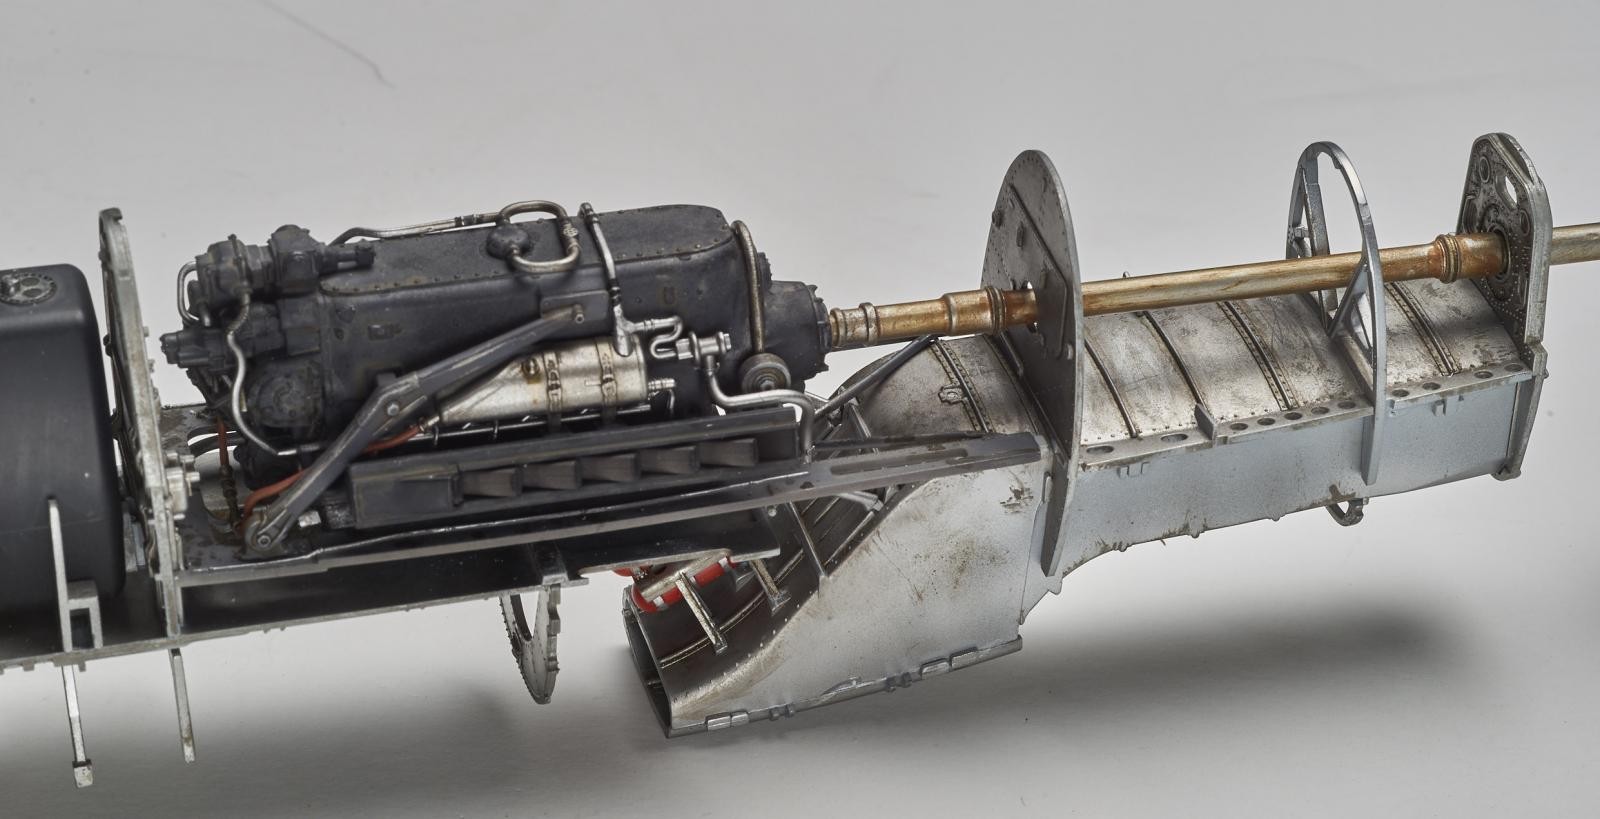
Thanks, gentlemen. I really appreciate the comments. I sealed everything up inside the fuselage and a lot of the detail is still visible. I'll update that later.
Fantastic!
That is pretty impressive mate! Is there anyway you can do a cut away cross section in the fuselage?
Might be easier said than done mind!